

Extra Large Vinyl Wall Project
Hey, guys, it's Jessica with Expressions Vinyl and today, I'm going to show you how to cut, weed, and apply a piece of vinyl that is huge! The whole sign that we're going to apply to our wall is about four feet by four feet, with each piece being about 12"x40".
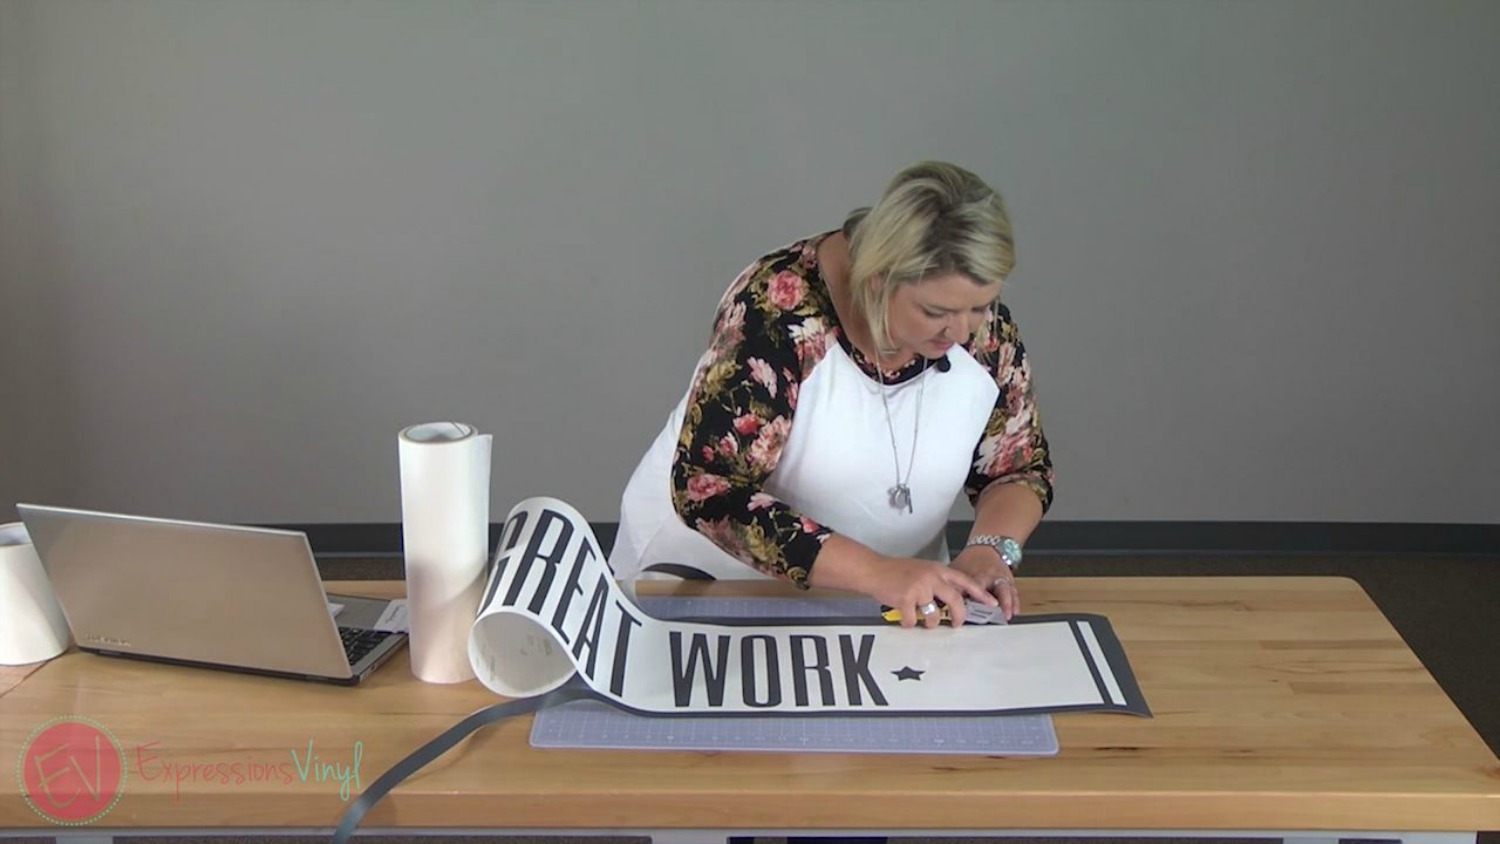
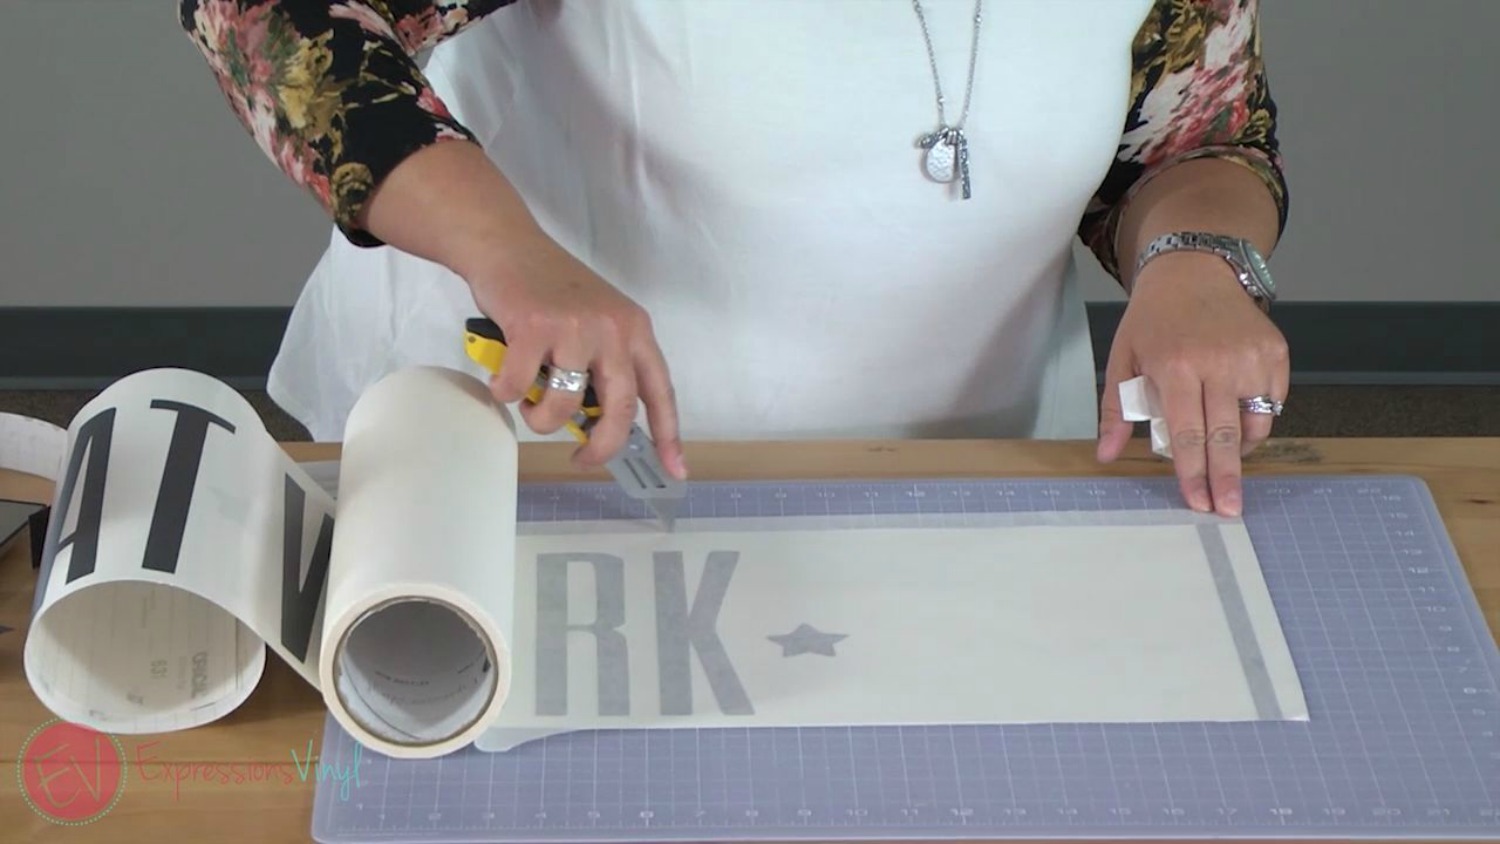
I have cut a weeding box around my design, and I'm going to show you how I weed that out and then we're also going to apply some transfer tape to it. I'm just using my utility knife and I'm going to go slow and you can see I have a lot of blank space, but that is because we are lining this up with other pieces and I want to keep my spacing so that they're all even.

I'm just going to keep this ball of vinyl in my hand so it doesn't fall back down on my letters that I've already weeded, and just go slow all the way down the design.
When I get to a stopping point, I'm going to take the end that's weeded and roll it up and keep going.
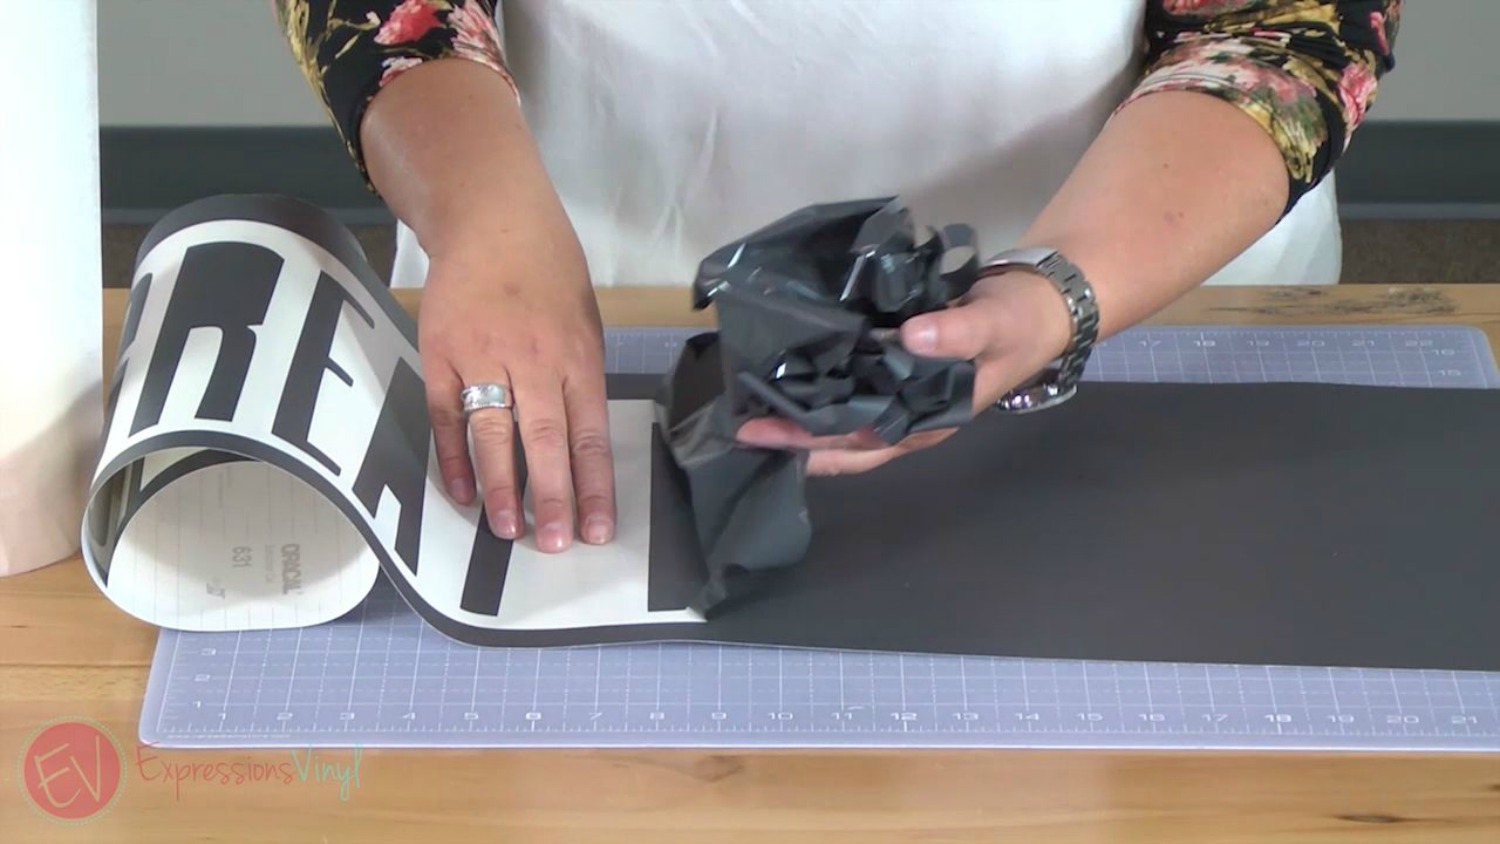
Go nice and slow making sure your vinyl doesn't fall back on itself and if it does, just slowly peel it back off. It's not a big deal. This is removable vinyl so it's great for walls.
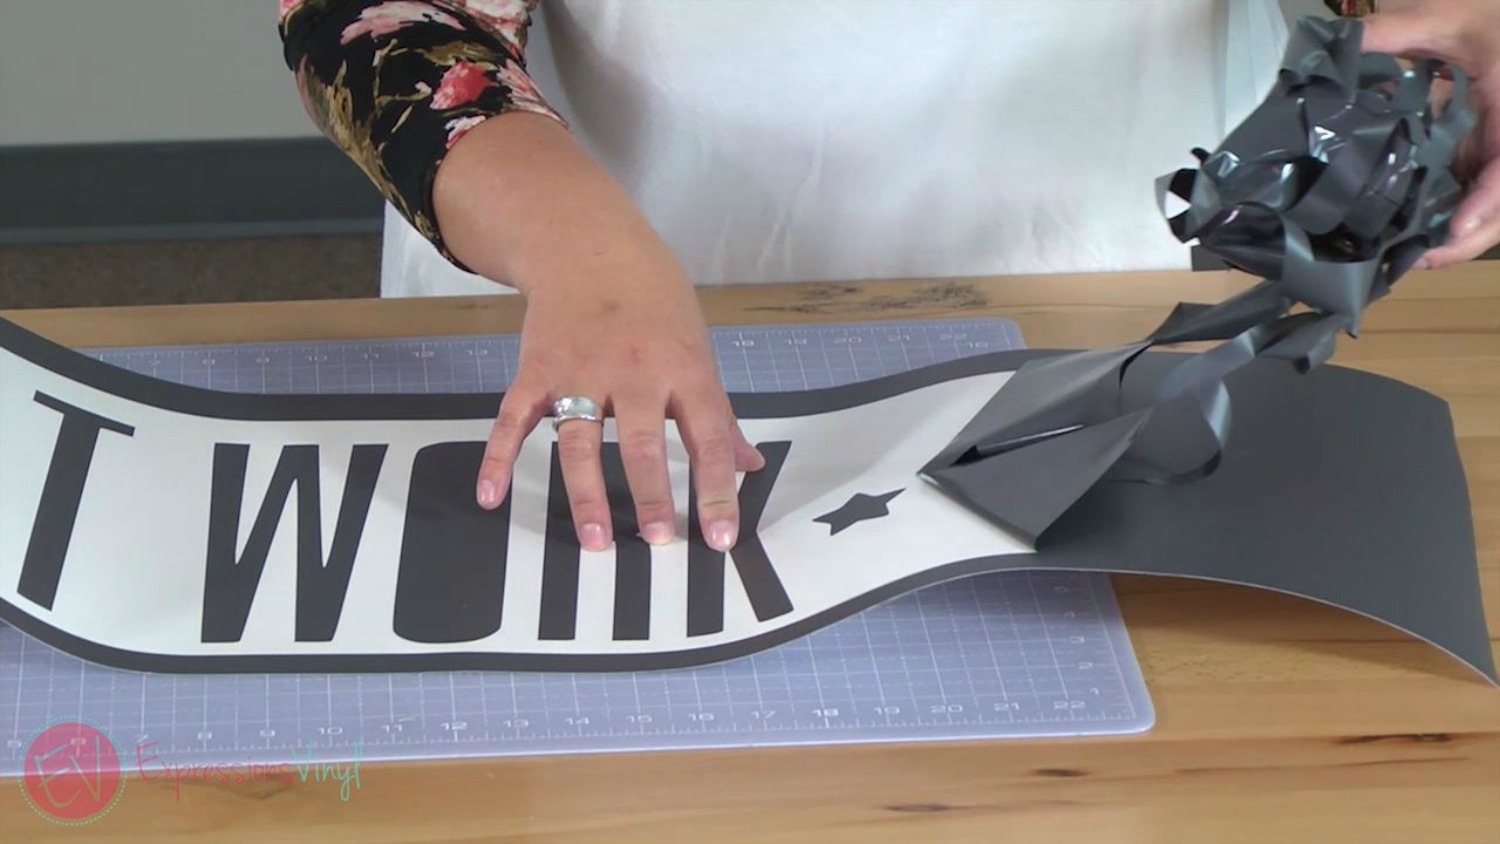
Once it is all weeded out, I'm going to take my knife and just trim around where that weeding box was so I have nice straight edges. This will help me when I apply it to the wall to keep everything nice and straight and evened up.
Once it's weeded out and our edges are all trimmed off, I am going to start the transfer tape. I've got my one end rolled up so it doesn't get in the way, and I'm just going to pull out a little bit of transfer tape from my roll and lay it across probably about eight inches or so, and make sure it's nice and straight, then I'm going to rub it down. Take the application tool and make sure it gets nice and rubbed down.
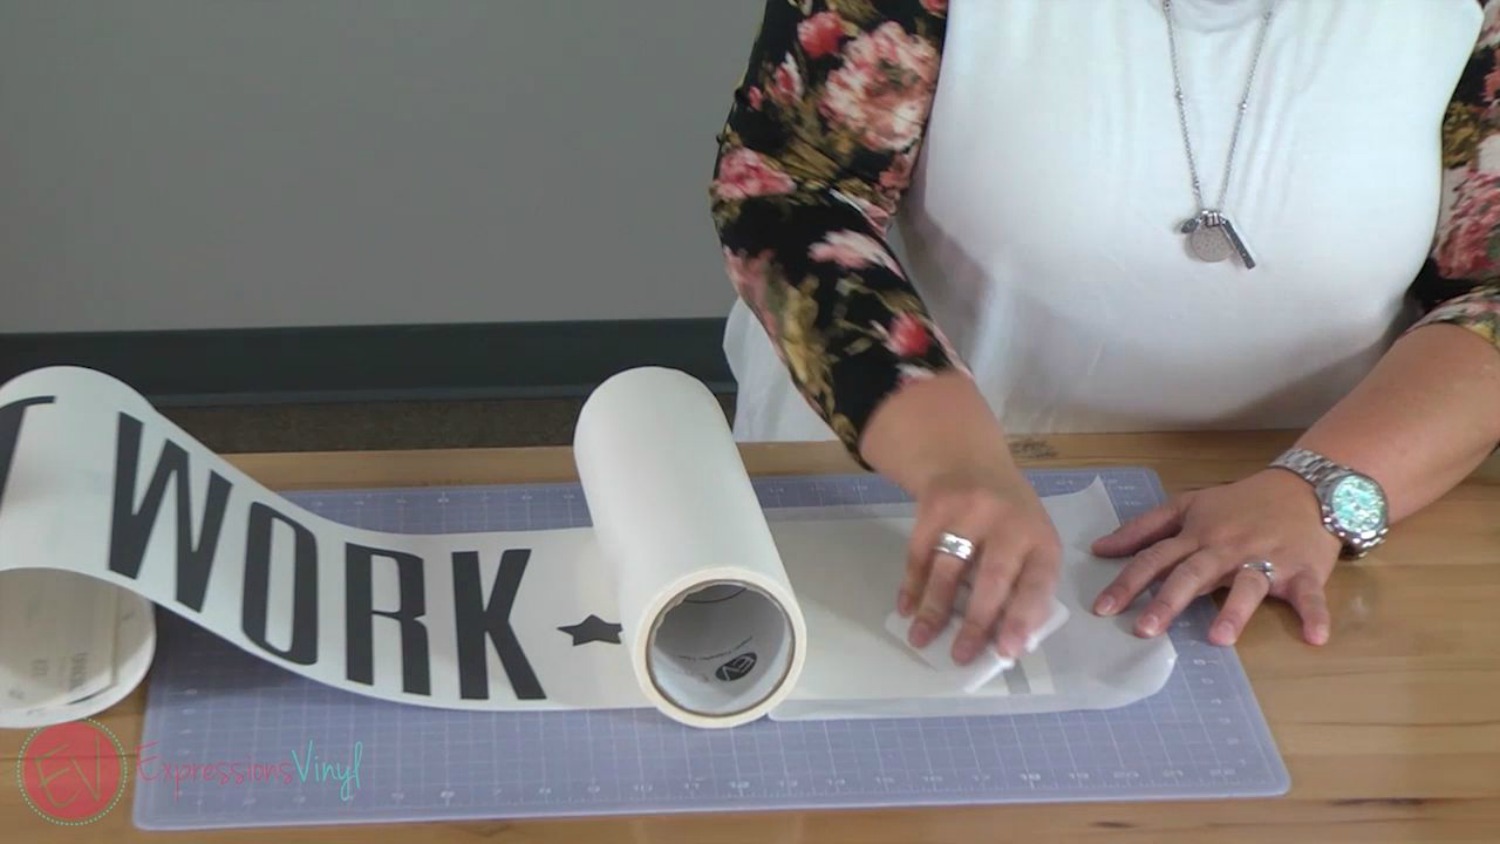
When you run out of cutting mat, trim the tape off as far as you can and do another section. Keep doing the same thing all the way down.
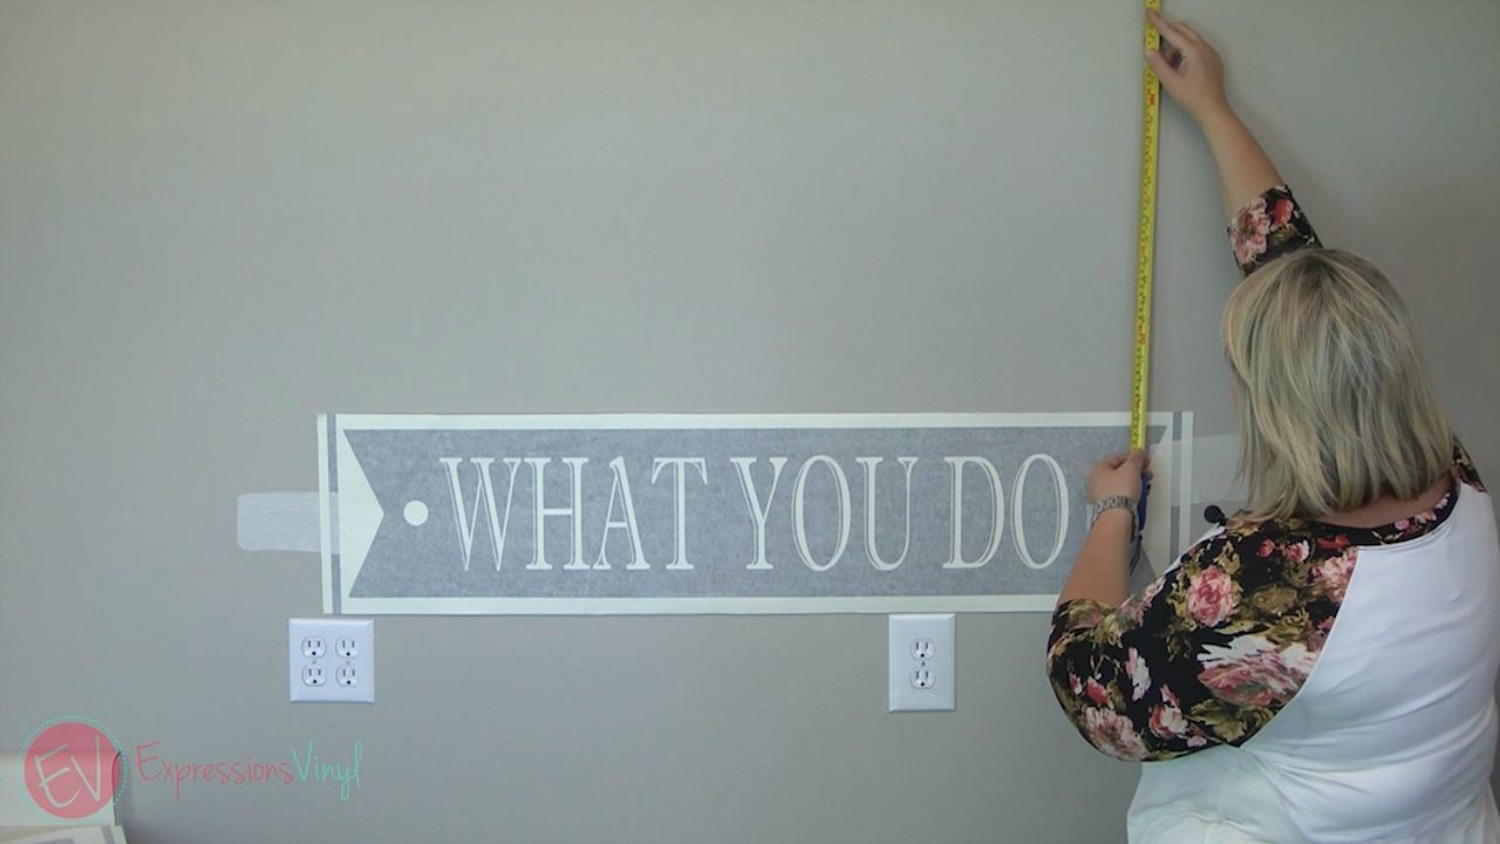
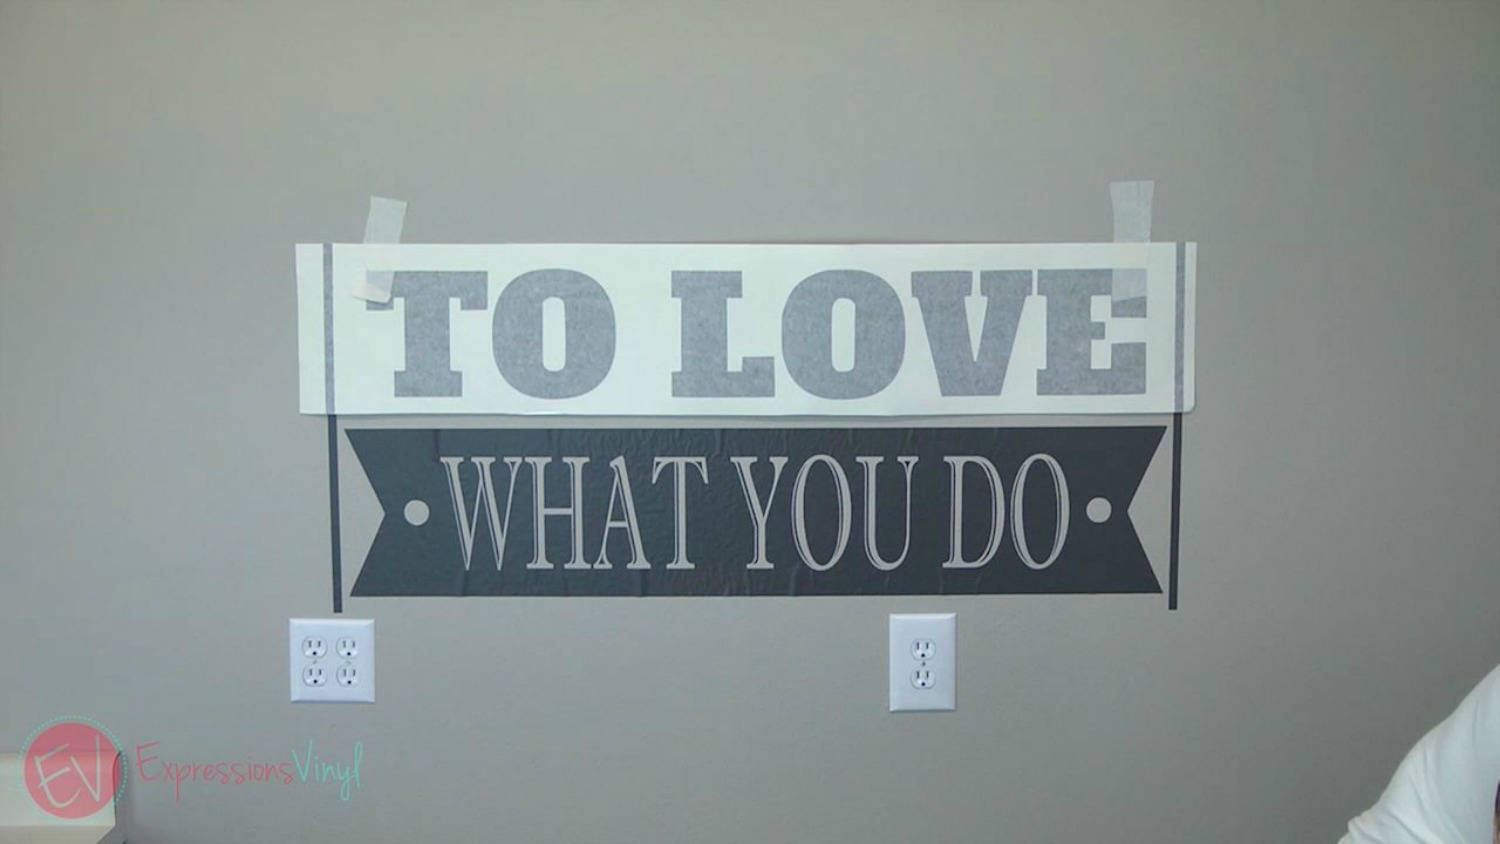
Now take a measuring tape and measure from the ceiling. I got it right up in the corner and measured to about 40 inches. Then I went over to the other side and made sure that it matches and is nice and even, and secured the piece to the wall with transfer tape.
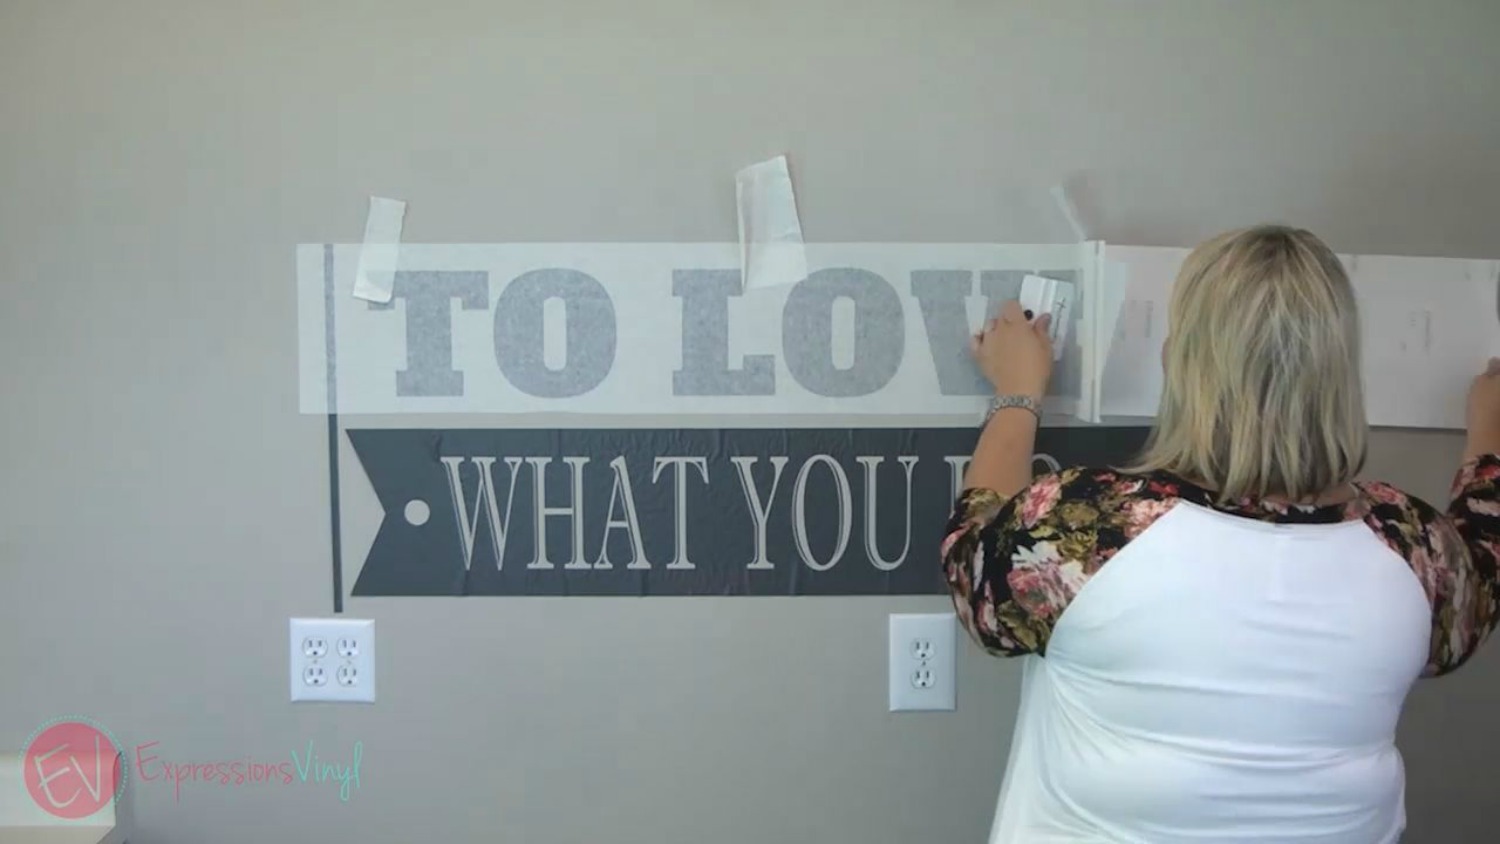
Now grab a piece of transfer tape and hinge it from the top. I just do half of it at a time and then I cut my paper backing off so I can adhere part of to the wall at a time.

Make sure it's nice and straight, and just put it back on the wall. Push it down so you don't get any bubbles in it, and then smooth it out with your application tool.
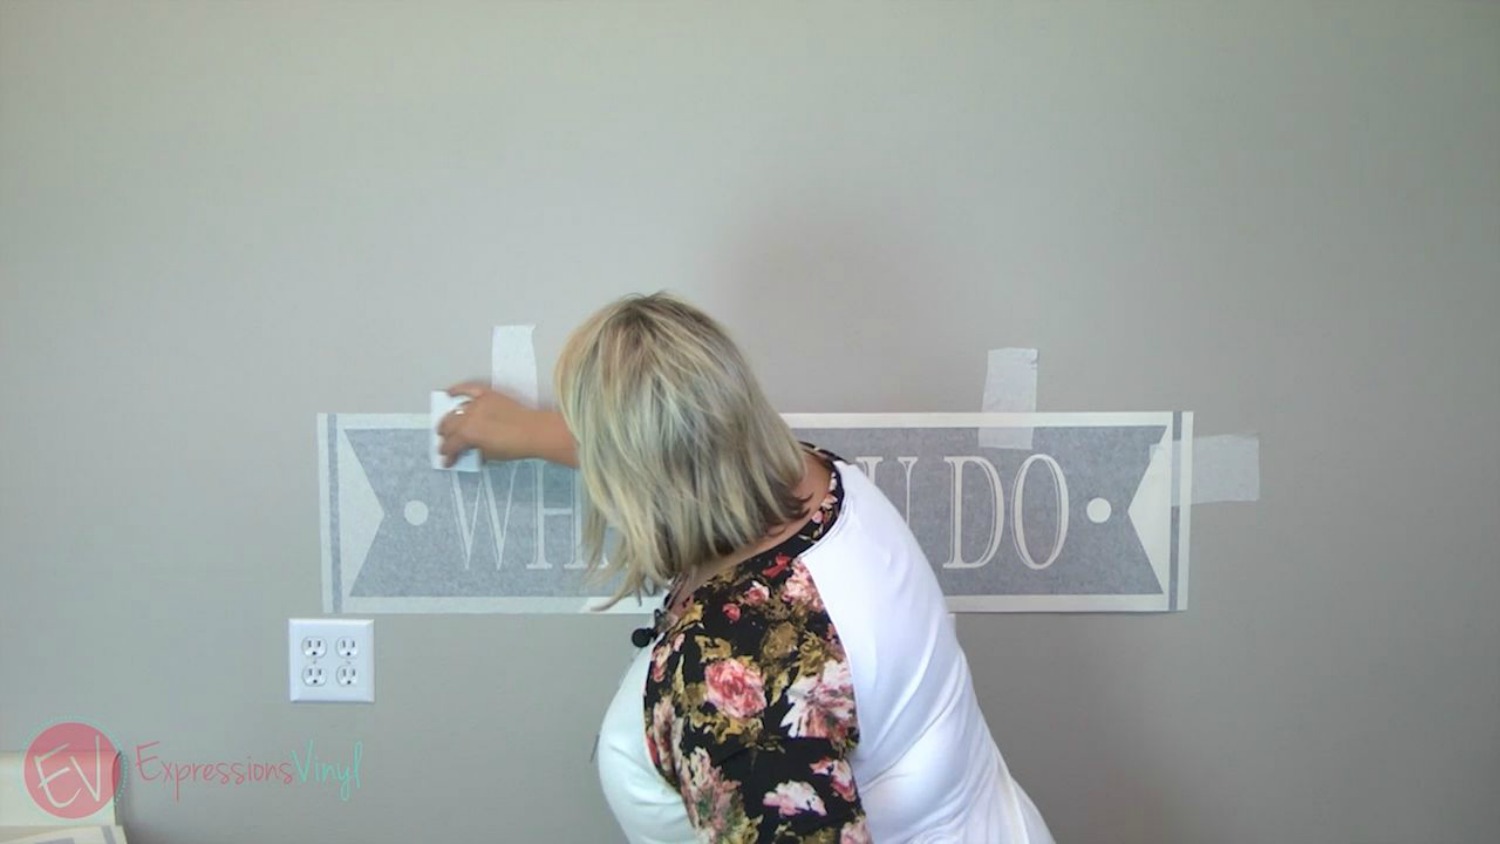
Then repeat this with the other half of the design.
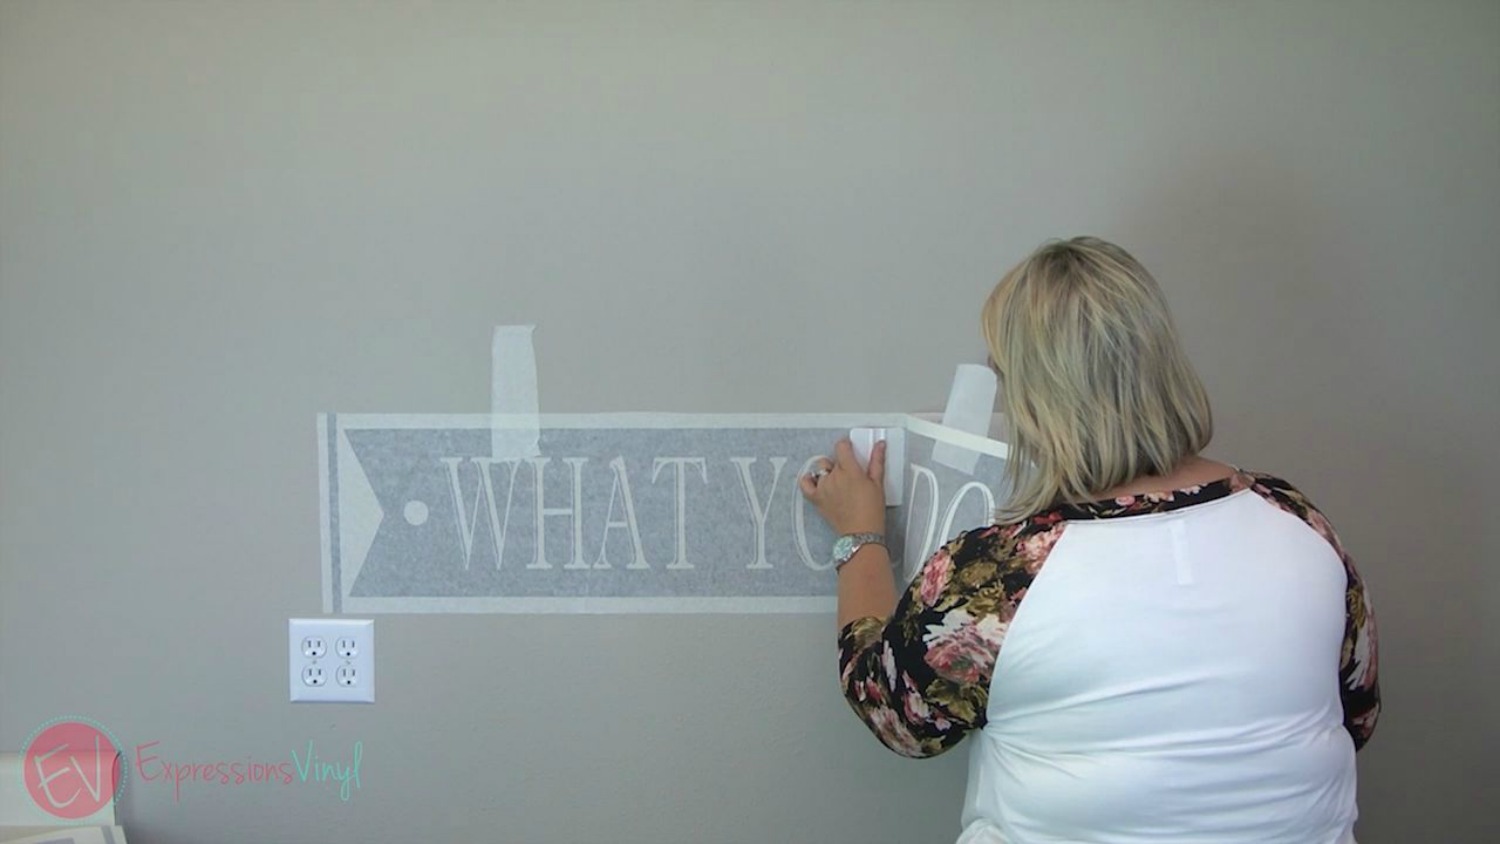
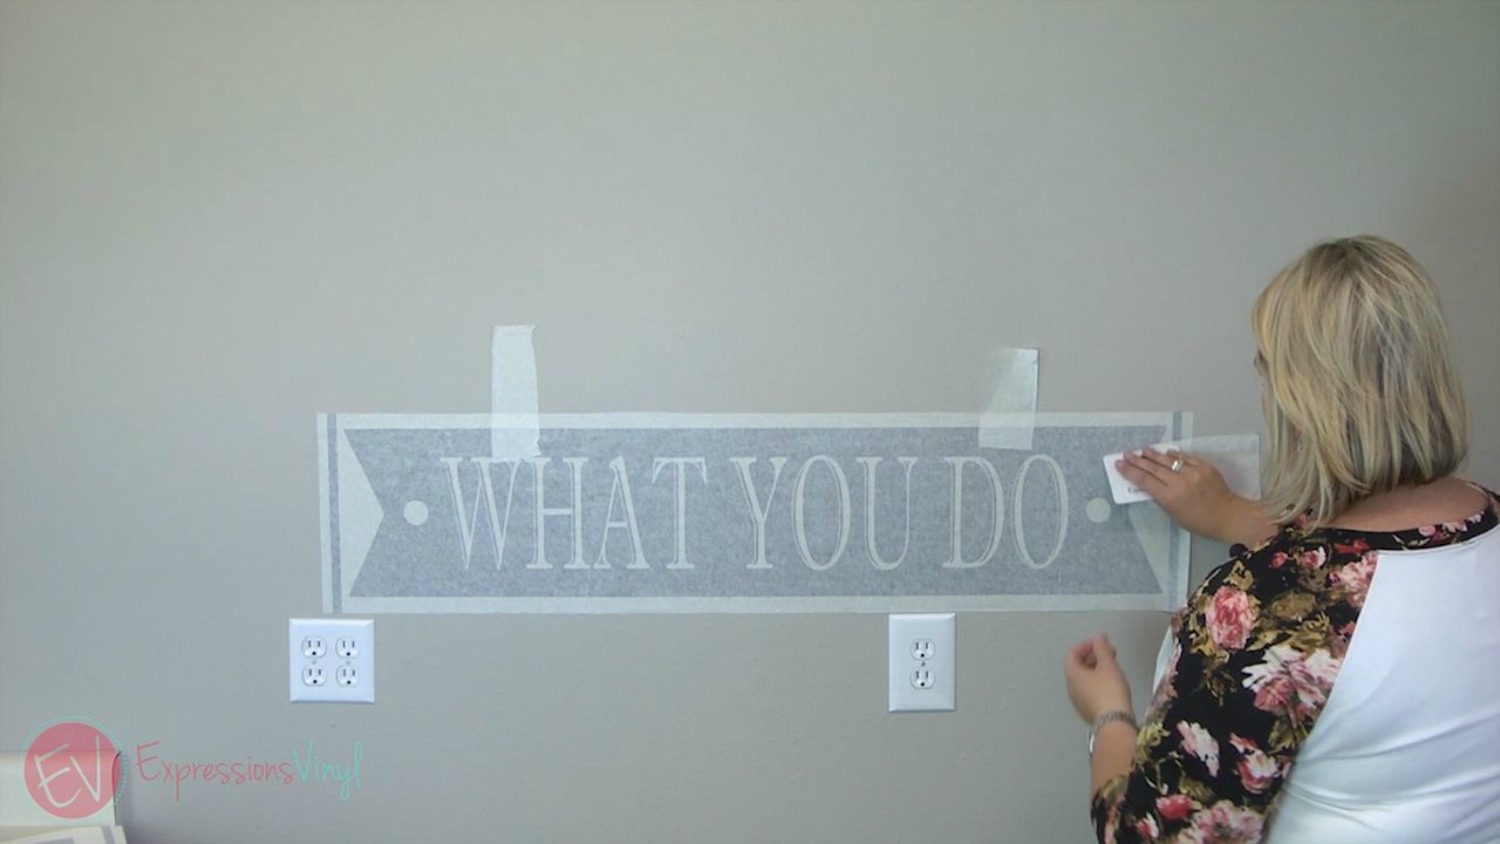
Make sure you've got it on there good and then peel off your transfer tape. You will want to go slowly, pulling the tape off at a downward angle. You can also use your knife and cut off the transfer tape as you go so that it won't get in your way.
(Don't worry about the little bubbles for now, you can fix those at the end with your application tool or using a blow dryer to shoot a little heat on it. The heat will help the adhesive stick to your wall and also help lessen any bubbles!)
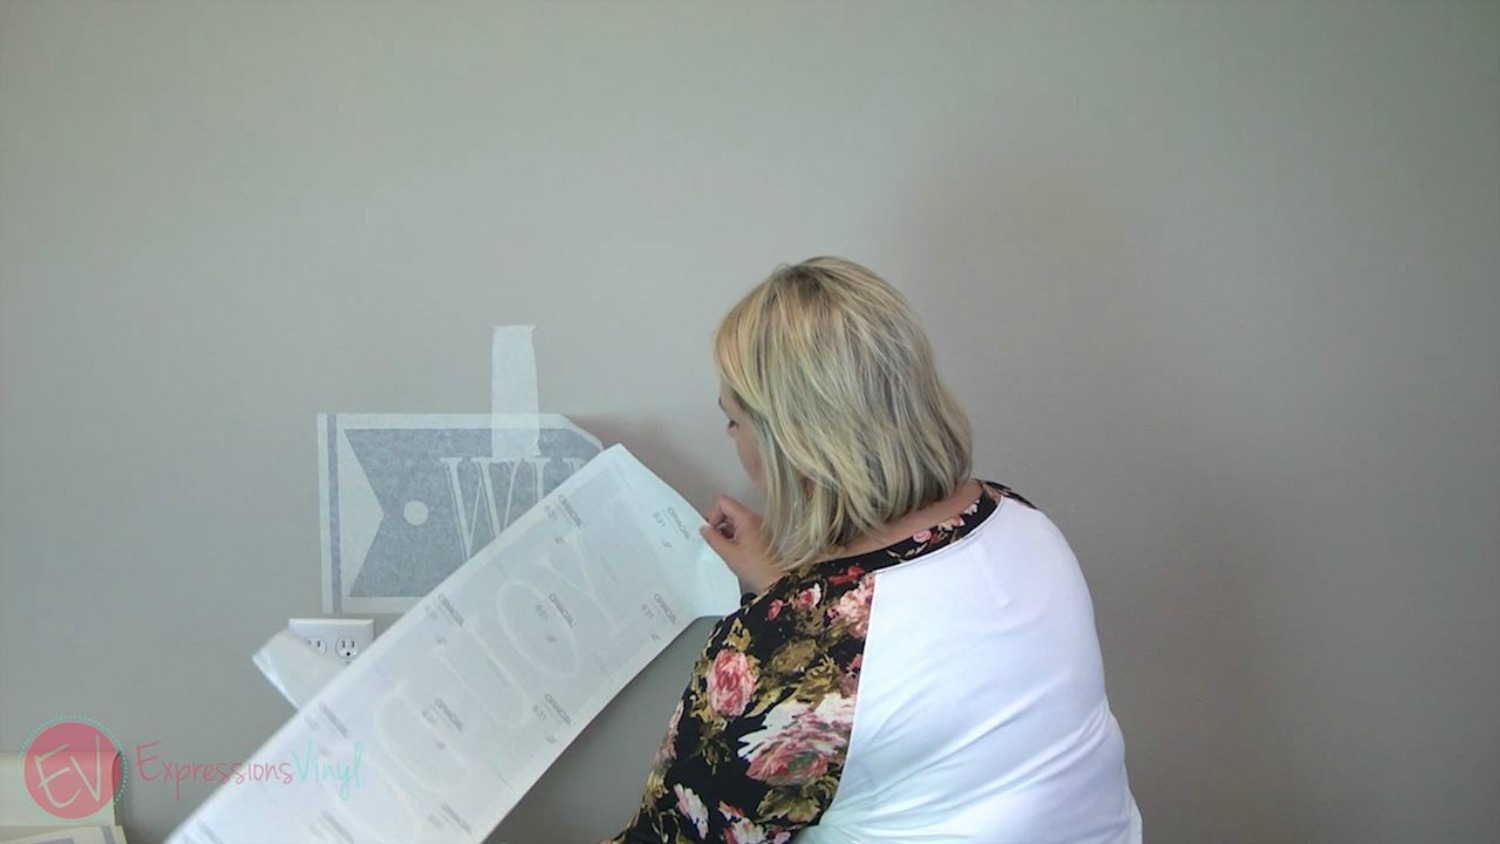
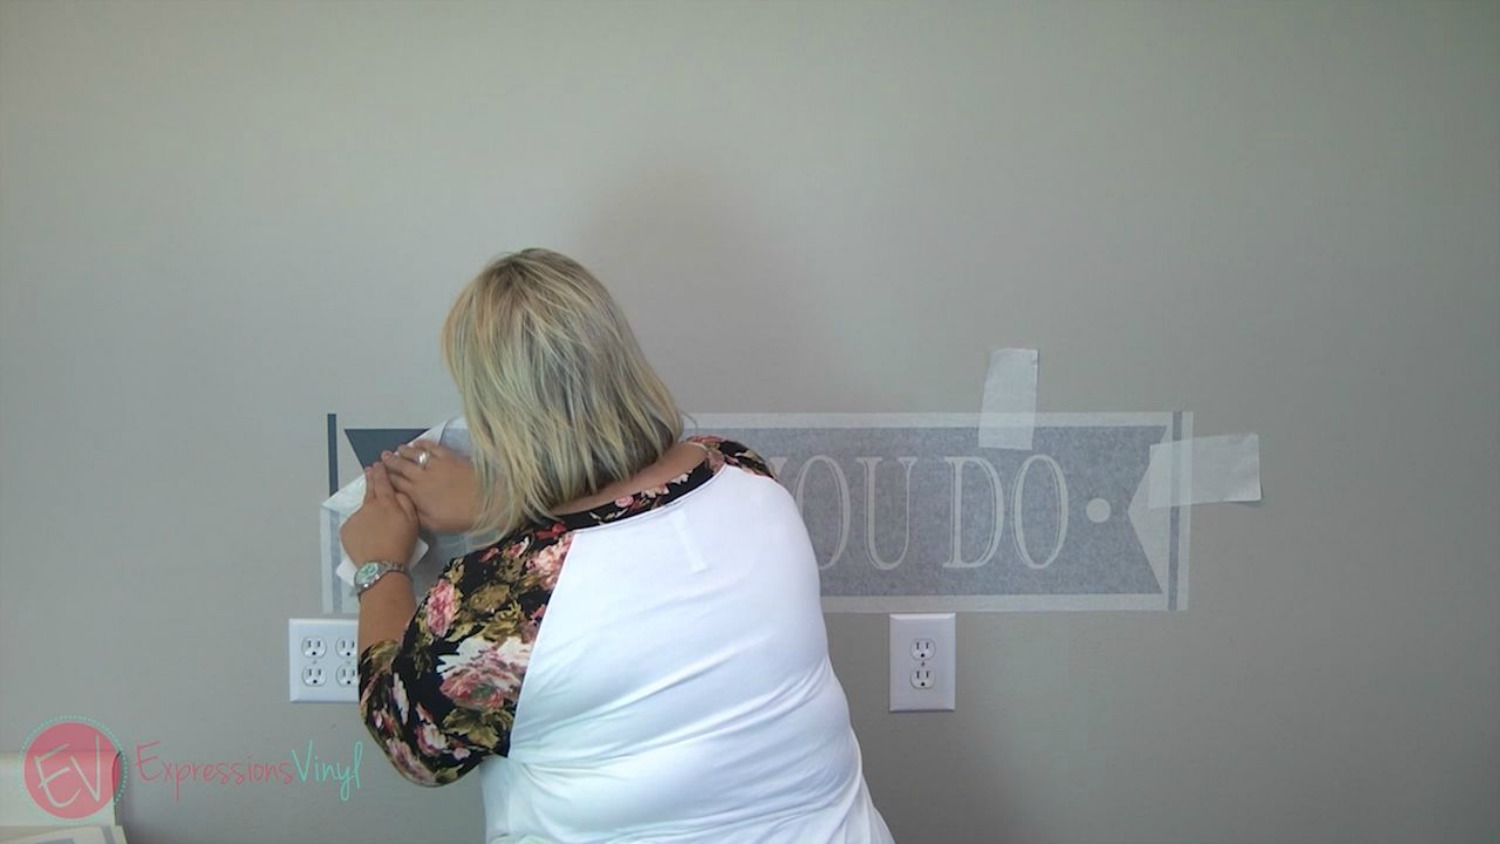
Now on to the next section. See the lines on the outsides? They are not part of the design. If you add those you can simply take each piece of vinyl and line them up to ensure that your design will be level and correct without having to measure each time. They are great little "cheat" marks!
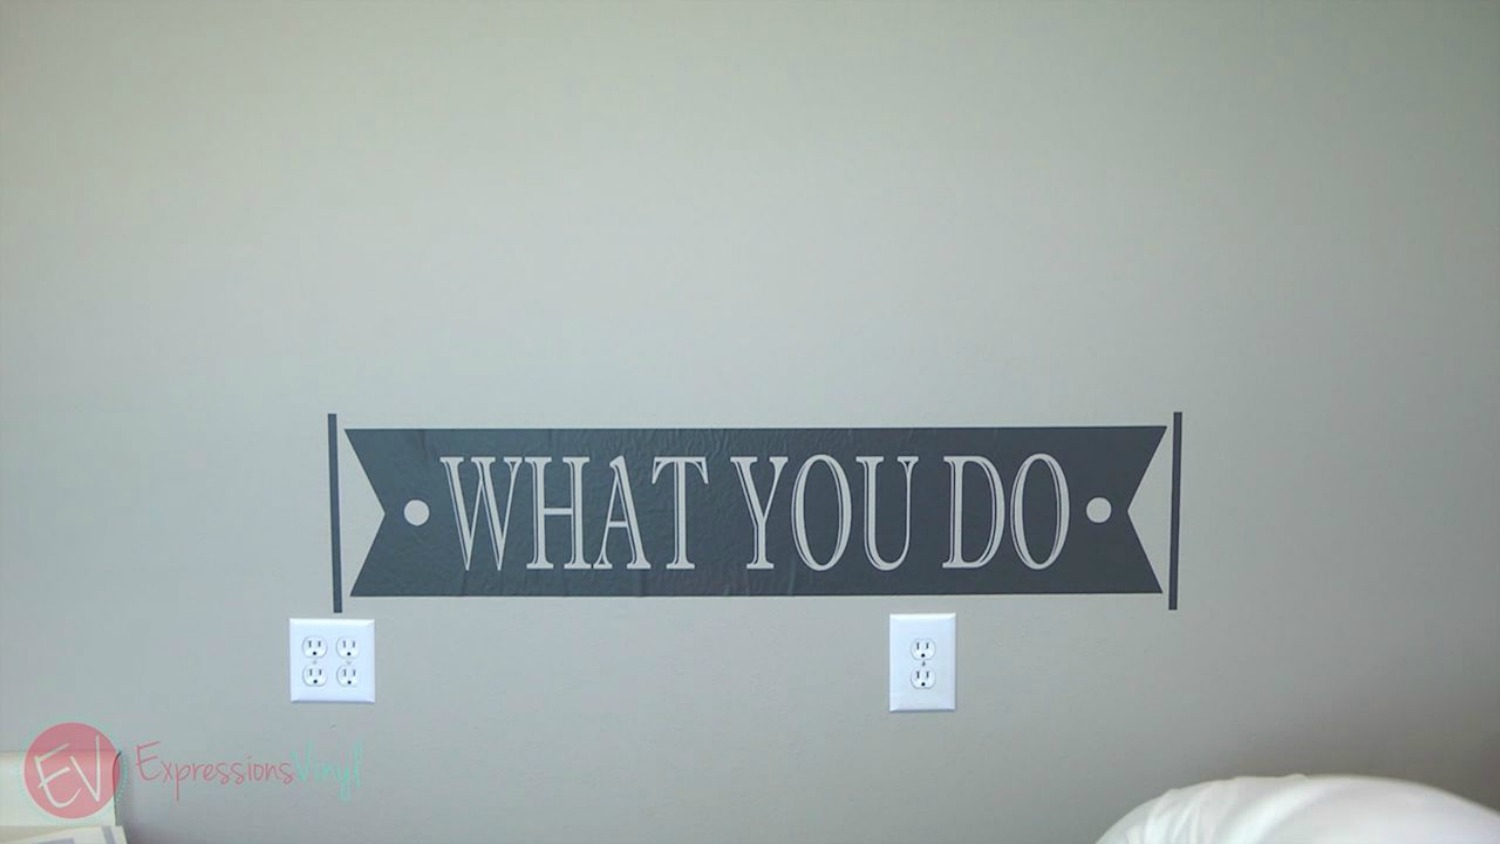
Then follow the same application steps as before to apply your large vinyl decal to your wall.

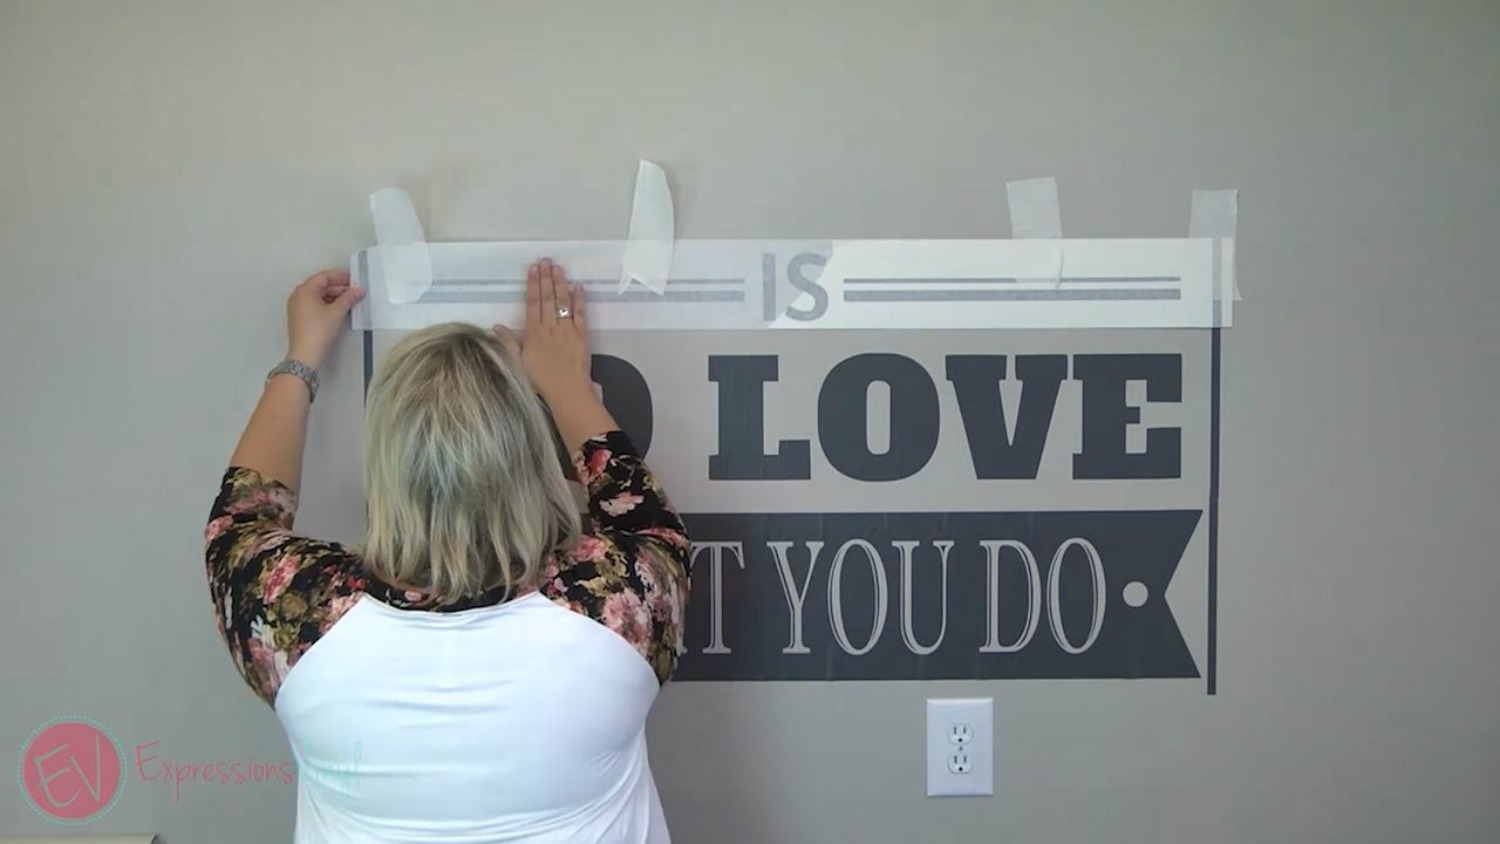
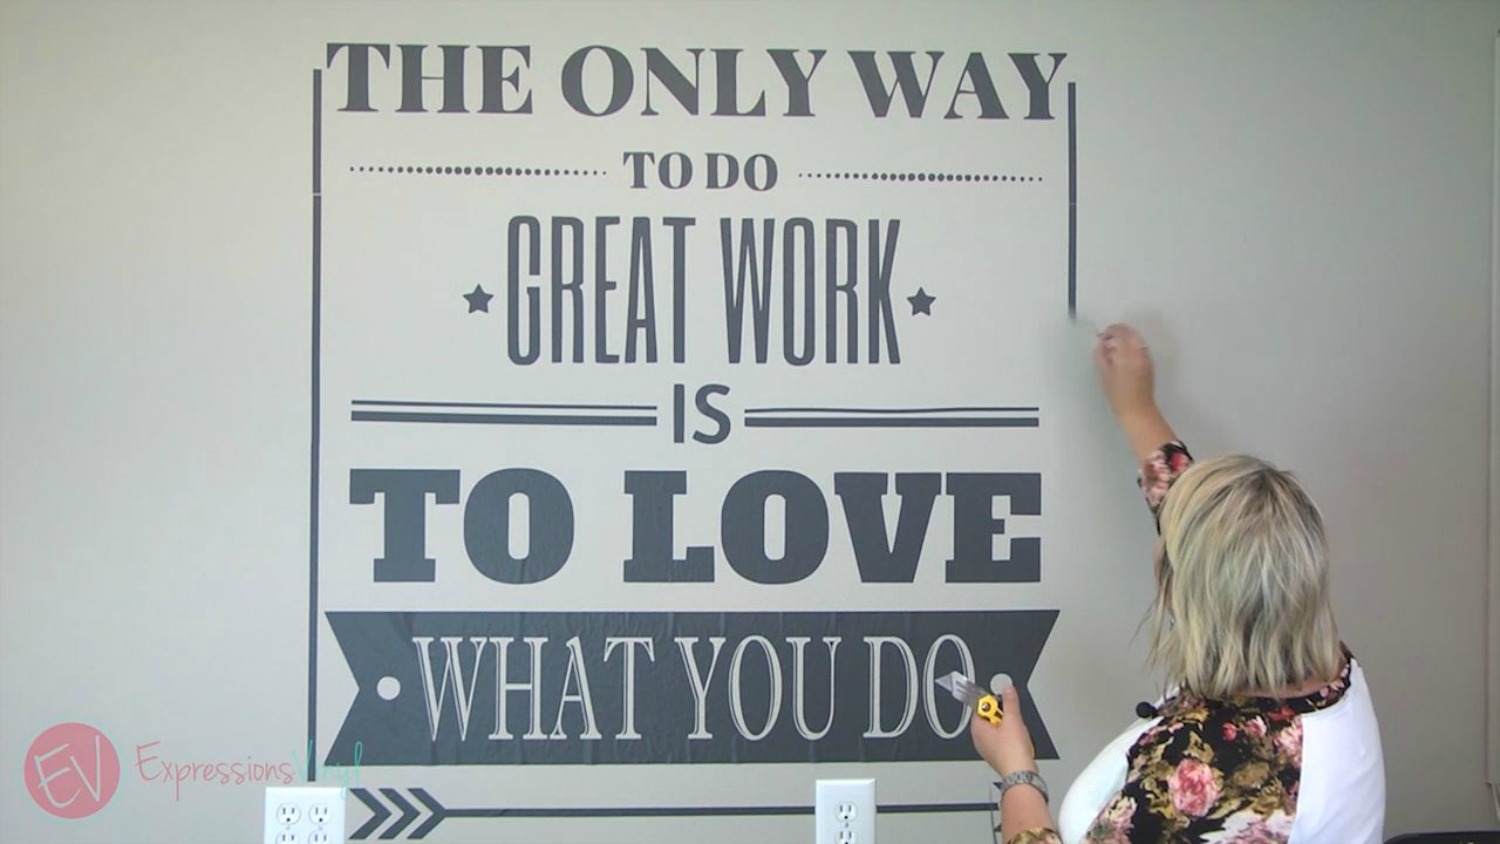
See how I had to go over our electrical box? I just had to take my knife and trim right on the edge of both sides.
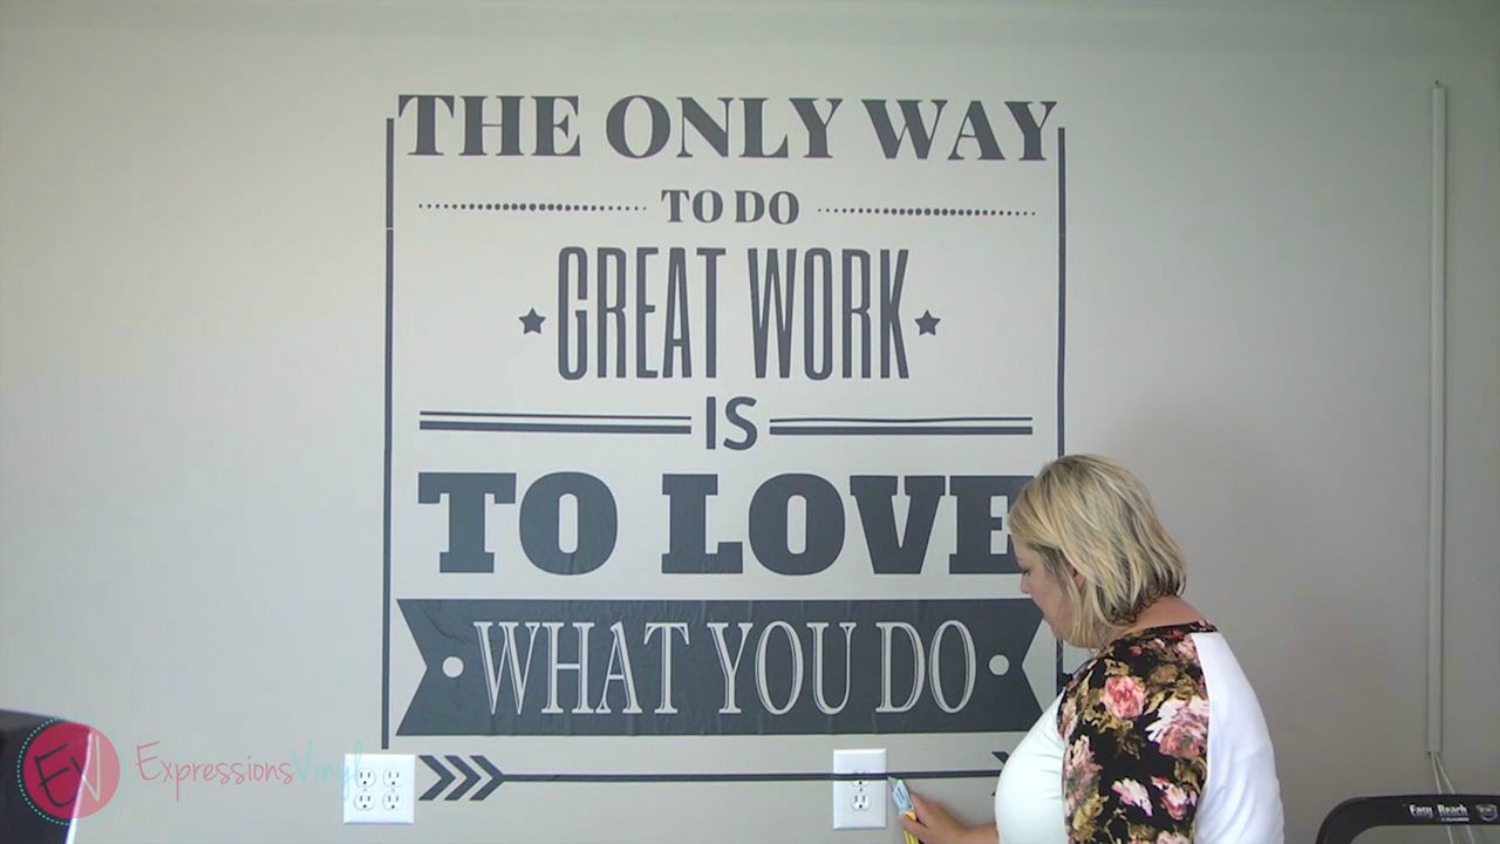

When you have all of the pieces applied, you can simply pull of your "cheat" lines, and wa-la! A perfectly level, ginormous piece of vinyl!
If you have any questions or comments, please let me know in the comments below. And make sure to watch the full video of this project here!
Recent Posts
-
Hop into Spring with Cute Easter Vinyl Crafts
Do you love our Vinyl? Sign up for Vinyl Club today to get FREE vinyl and save big! …Mar 28th 2024 -

Fixing Wrinkles and Bubbles in Vinyl
How do you get air bubbles out of vinyl? There are a few different ways to ensure a flawless …Mar 26th 2024 -

20 Creative Craft Quotes You Will Love
March 12, 2024 20 Creative Craft Quotes You Will Love You can never have too many craft …Mar 12th 2024