

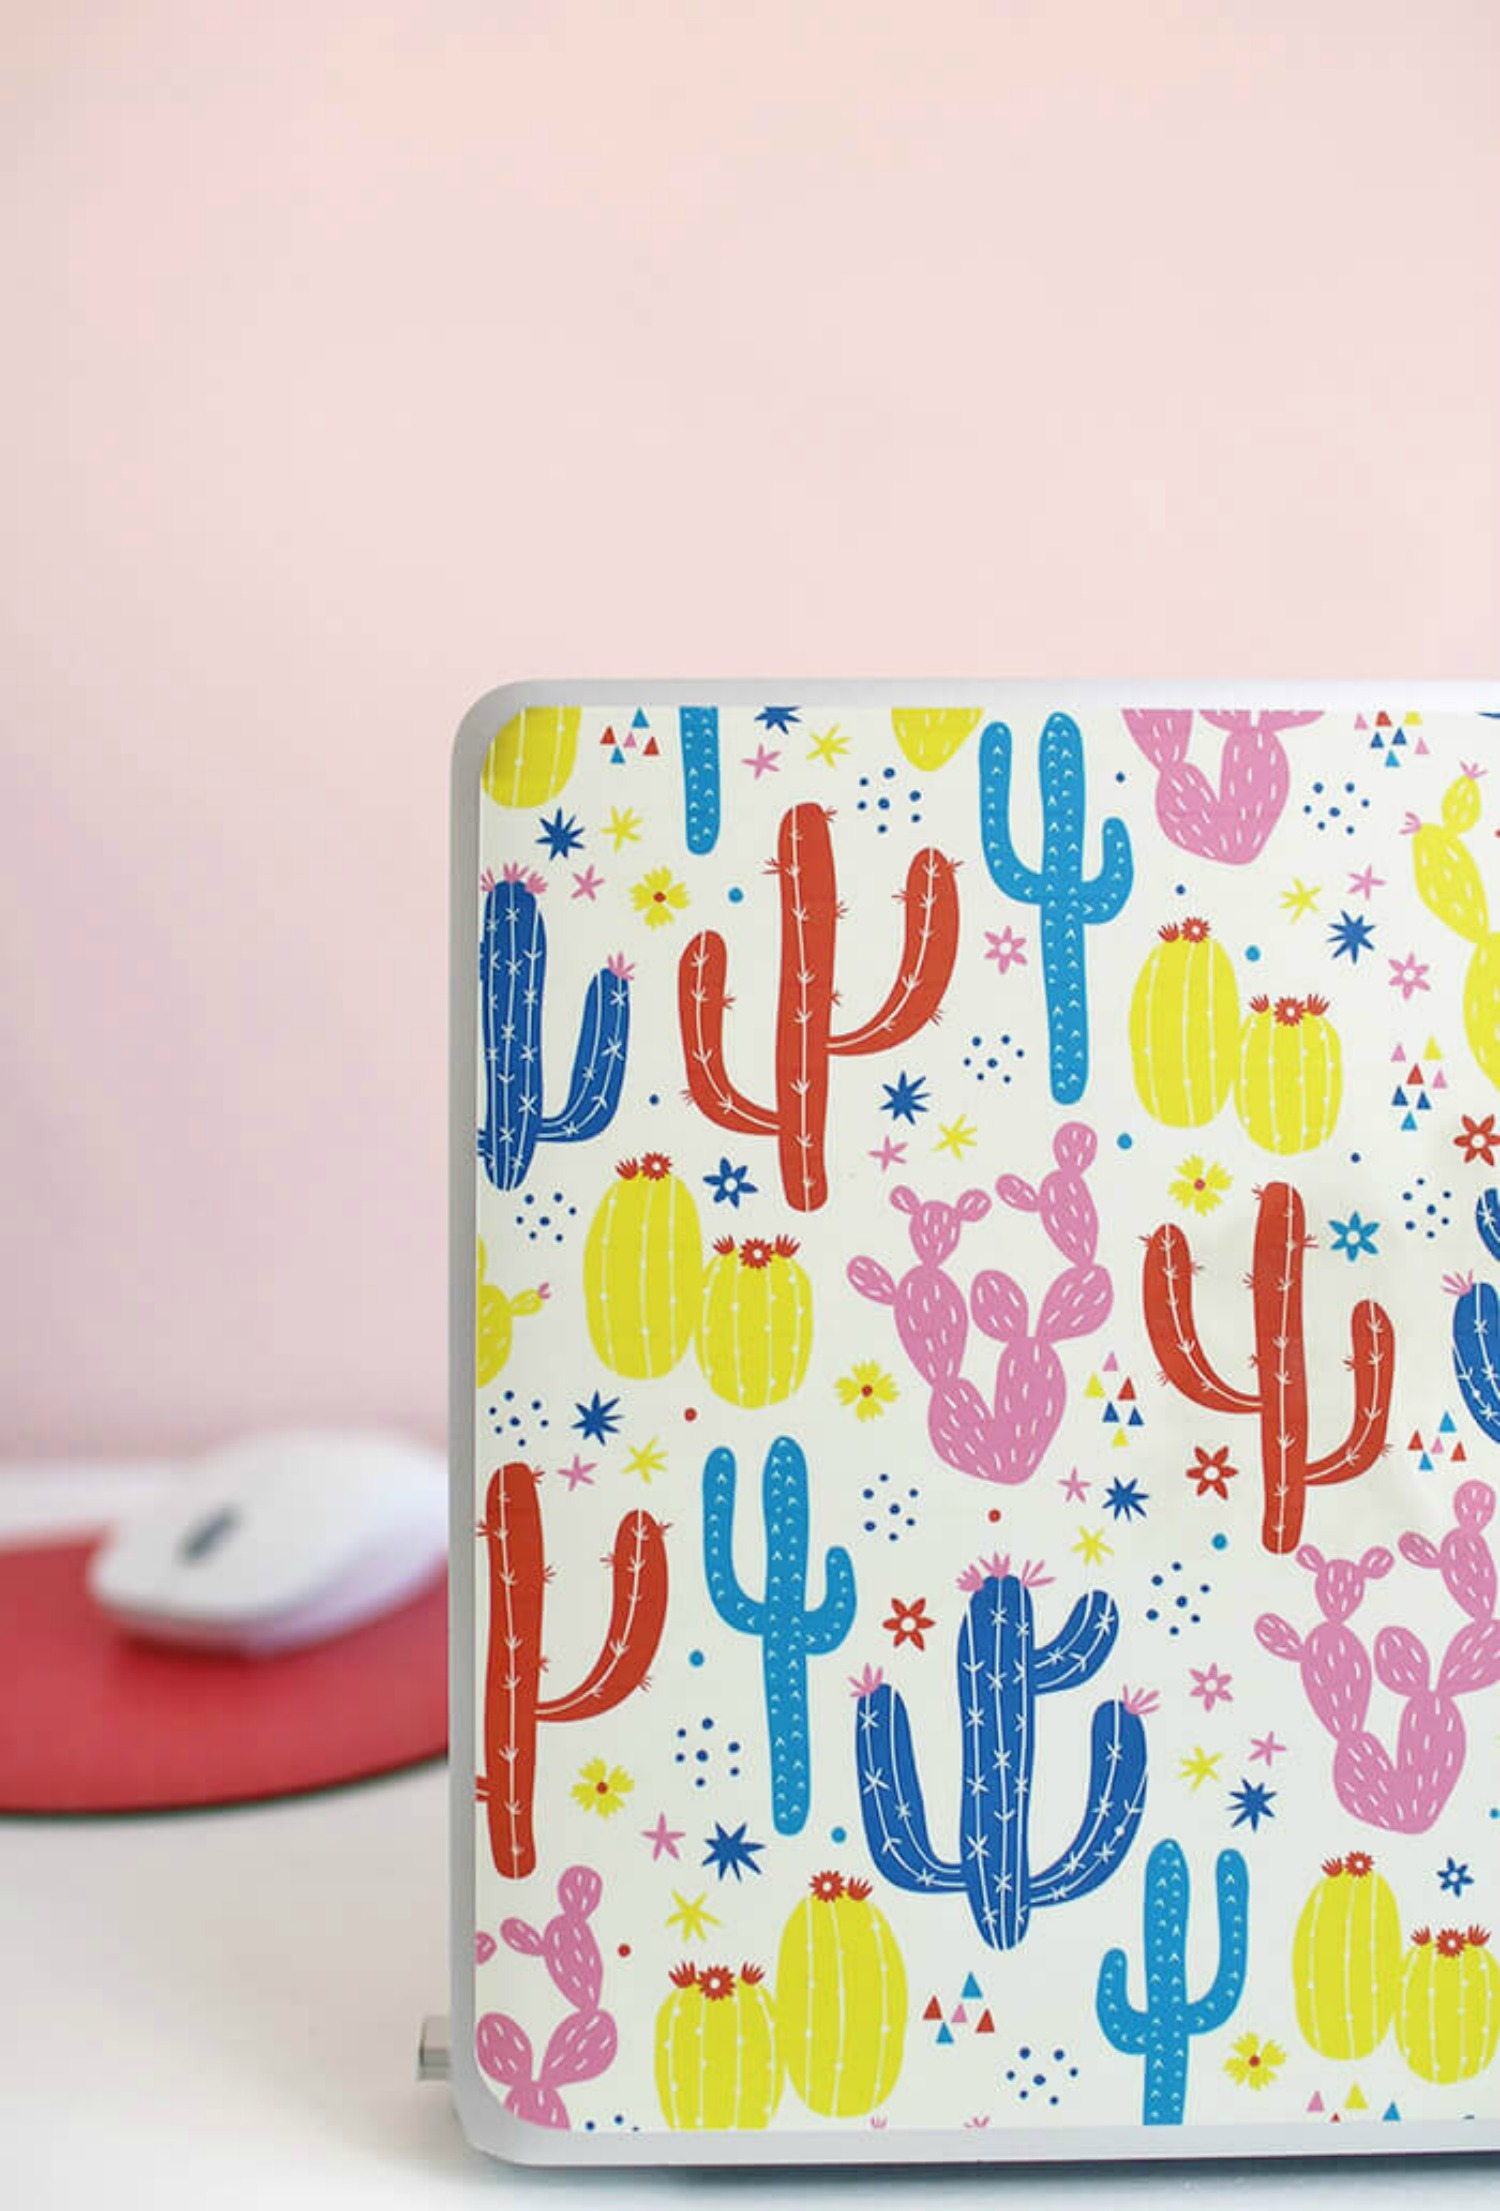
Laptop Skin with Printable Adhesive Vinyl
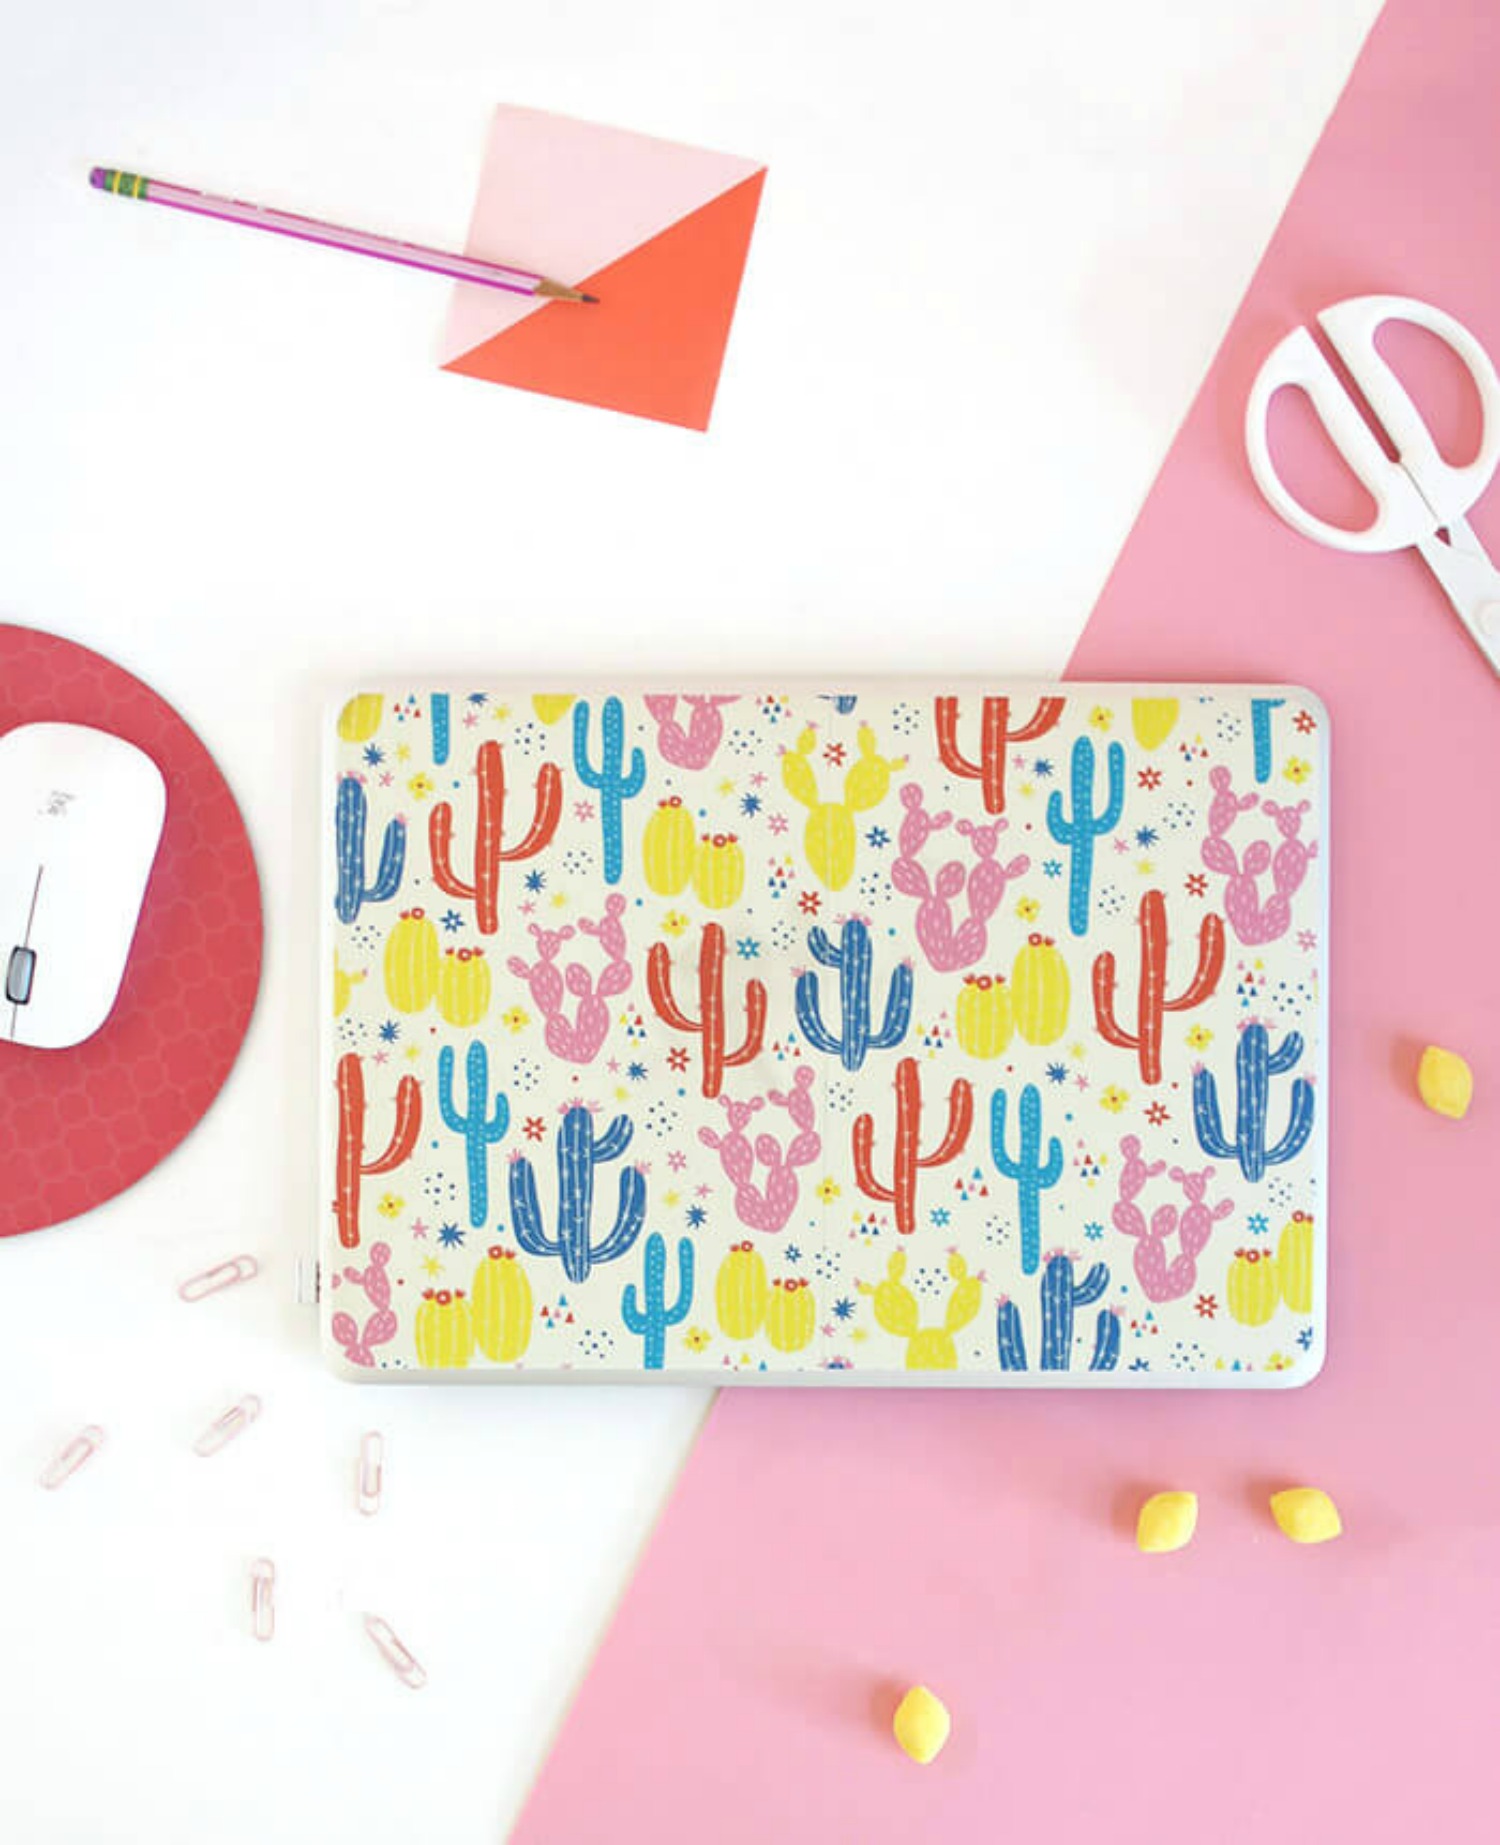
Hey there! I'm Alexis from Persia Lou and I am so excited to share my first printable vinyl project with you all today - my new laptop skin! I am so happy with the way this little project turned out, and I know I will have many more printable vinyl projects in my future.

I finished this project a couple of weeks ago, and I have been really impressed with how well the laptop has held up. I was concerned about the ink smearing or rubbing off, but the printable vinyl seems to wear really well when paired with the vinyl laminate. I can't wait to try making some custom printable vinyl stickers!
Want to customize your own devices or make your own personalized vinyl decals? Let's do it!
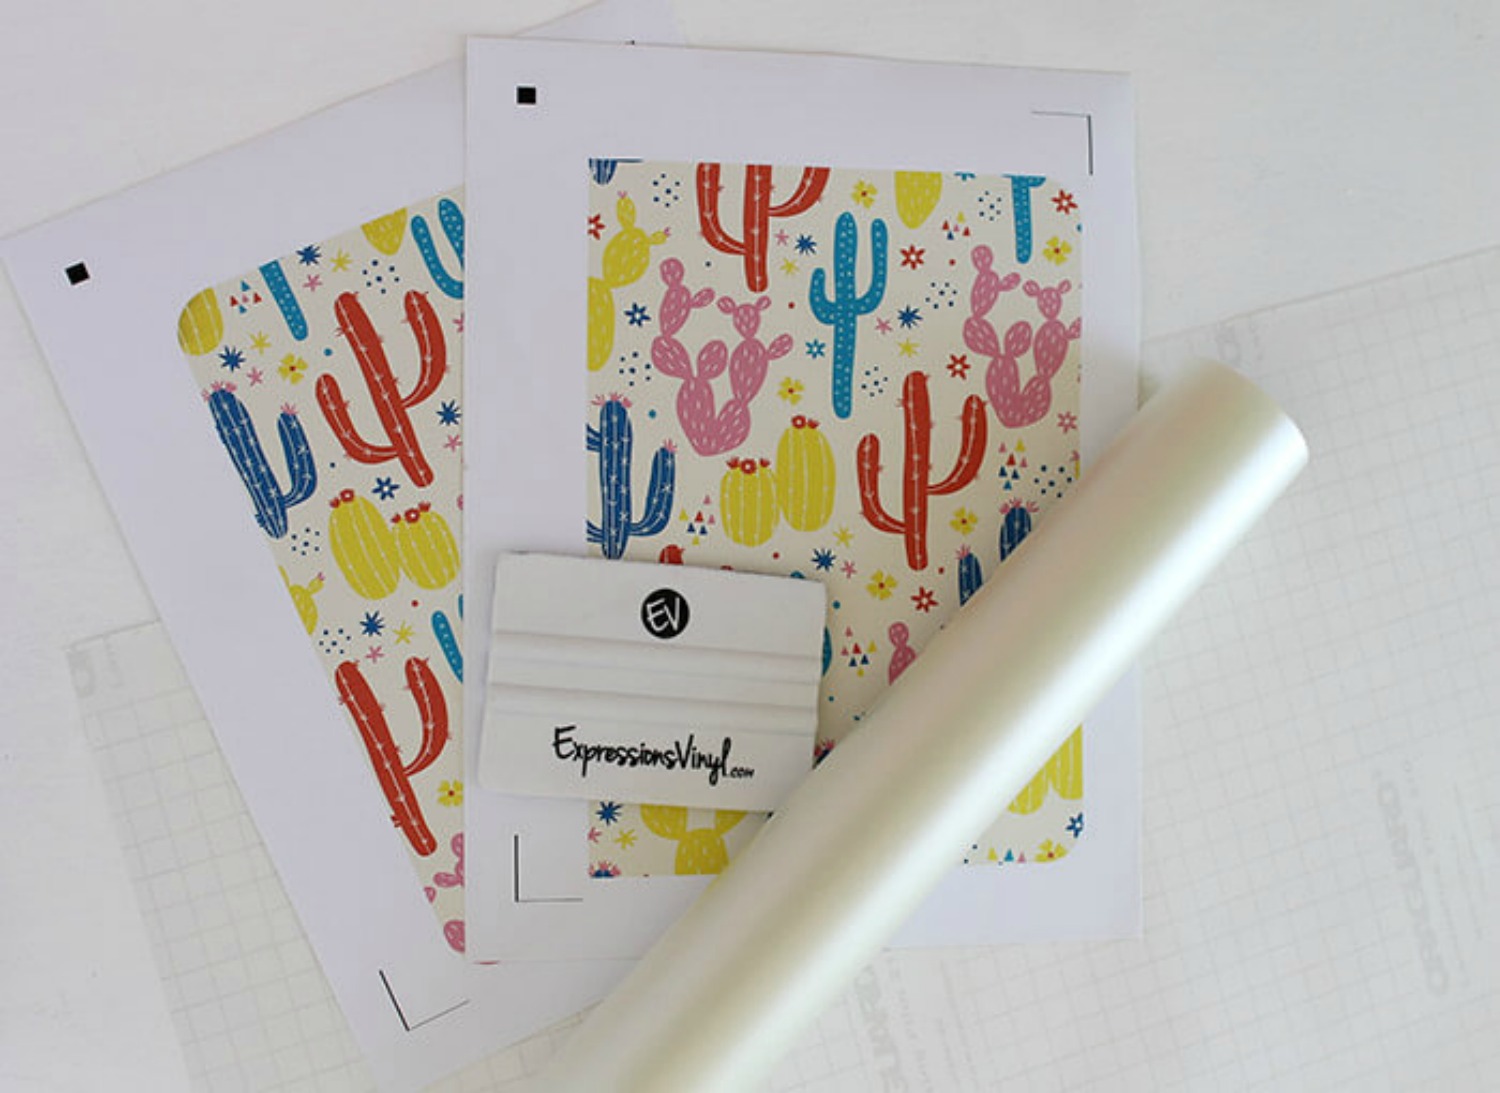
What You'll Need:
- Inkjet Printable Vinyl
- Vinyl Laminate (I used Economy, which has a matte finish)
- Application Tool
- Printer
- Silhouette Cameo or Scissors
First I found a pattern I liked that I wanted for my laptop skin. I found this cute little cactus pattern in the Adobe Creative Cloud, and in my photo editing software, put it into a rounded rectangle the size of my laptop.
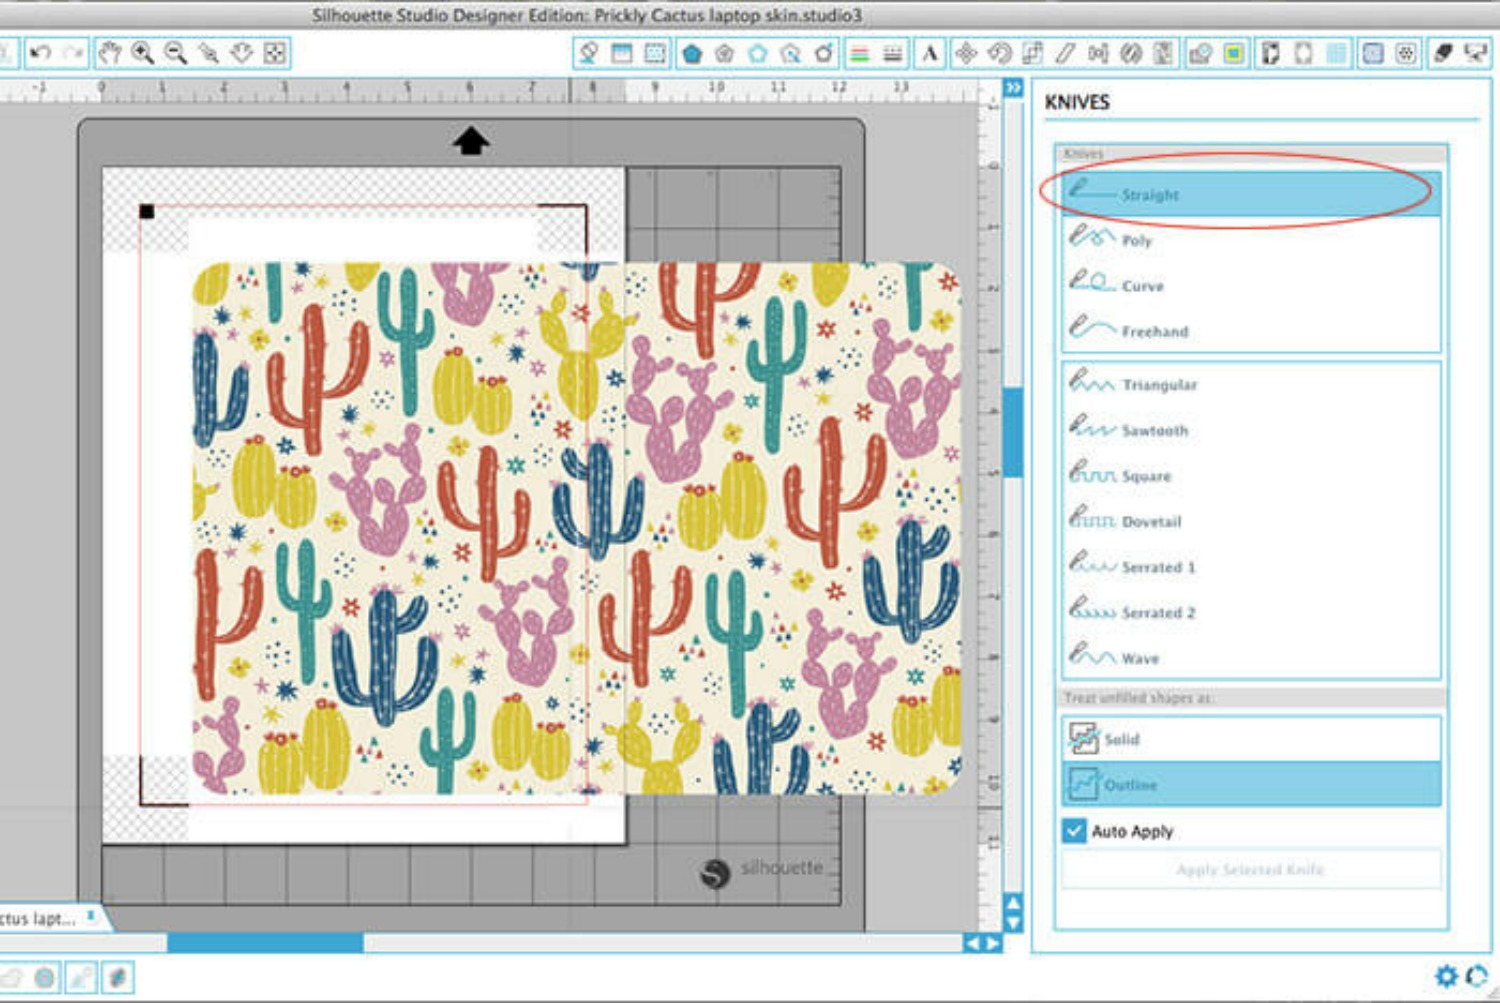
I opened the rectangle in my Silhouette studio software and made sure it was scaled to print the right size. Because my laptop is 13 inches wide, I had to print the skin on two sheets and piece it together on the laptop. To do this, I placed the image so that half of it fit on the page, and then used the straight knife to cut it in half. Hold down shift as you drag to keep your cut perfectly straight.
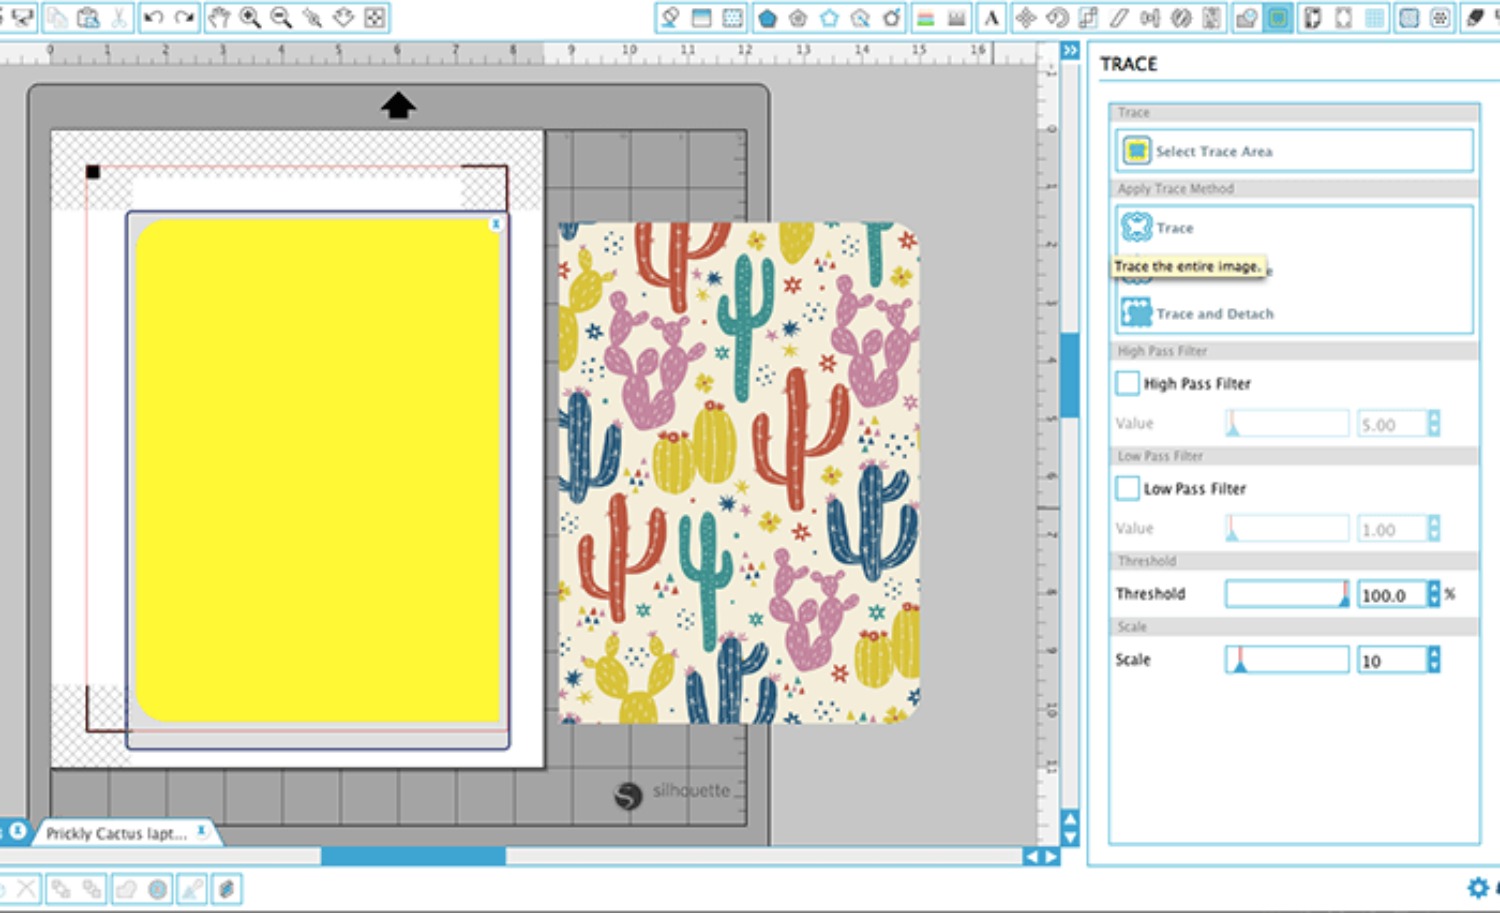
I used Silhouette's print and cut feature, but since the shape is so simple, you could absolutely cut it out with a pair of scissors or a paper trimmer. To use the print and cut feature, you will have to trace around your image to tell the machine where to cut.
Draw a rectangle around the shape to select the trace area. Uncheck the "High Pass Filter" box and slide the threshold all the way up to 100. Then click trace outer edge. This should draw a cut line around the outside of your design.
Now send the image to your printer. But before you cut your design, we have to do one thing - apply the vinyl laminate. Vinyl laminate is a thin, clear overlay that protects your printed design so it will last and hold up to wear and tear.
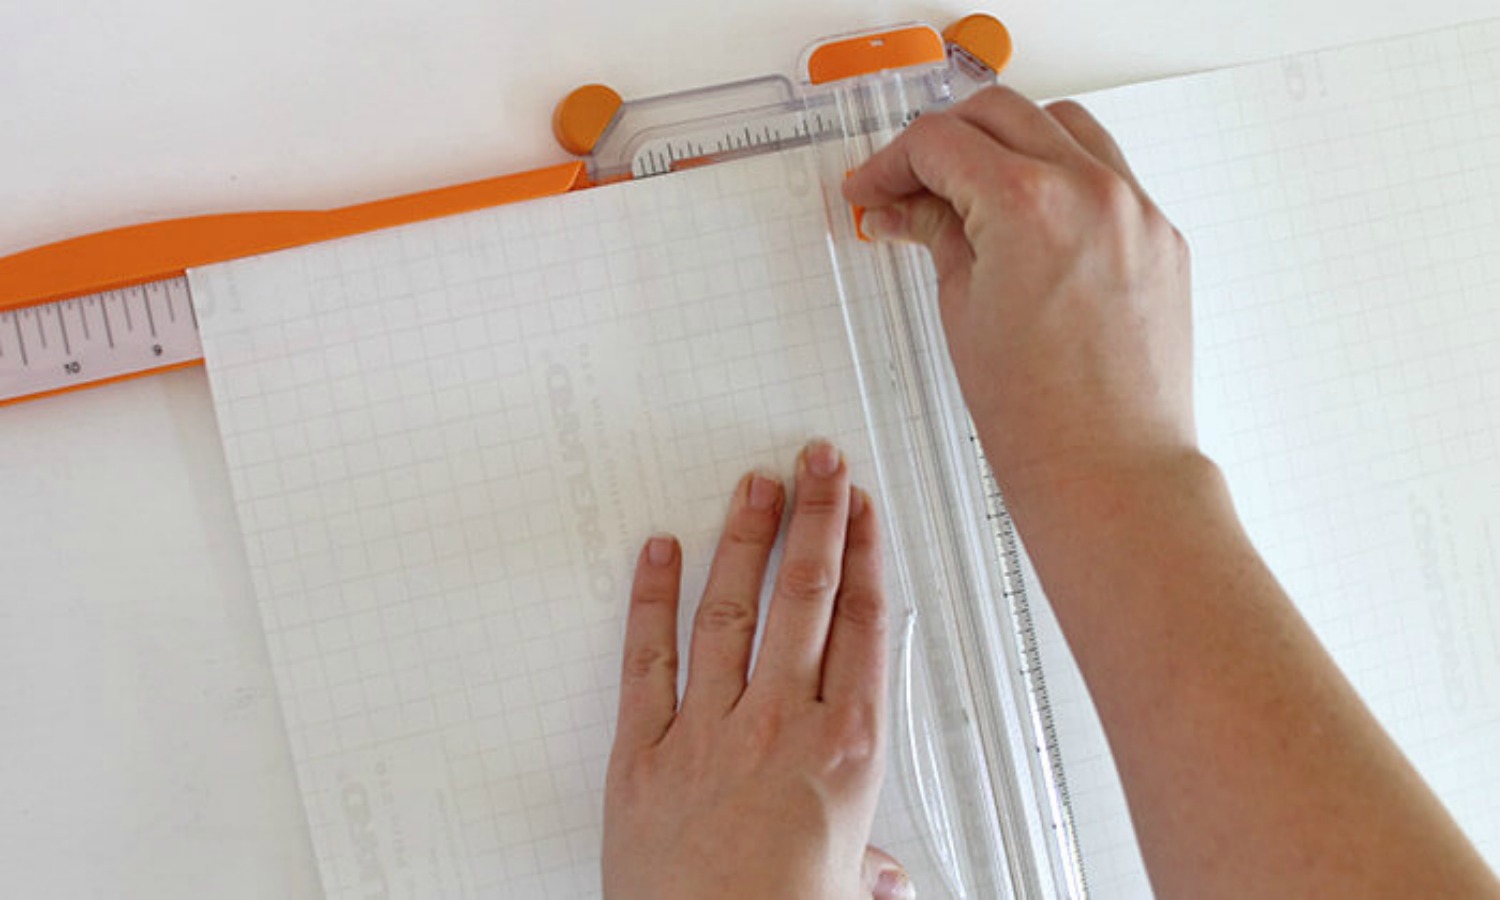
Start by cutting a piece of the vinyl laminate down to the same size as your paper, 8.5" x 11" in this case.
Then peel the backing away from the top of the vinyl laminate and carefully line it up with the top of the printed vinyl sheet. Slowly smooth the laminate down onto the printed sheet as you pull away the backing.
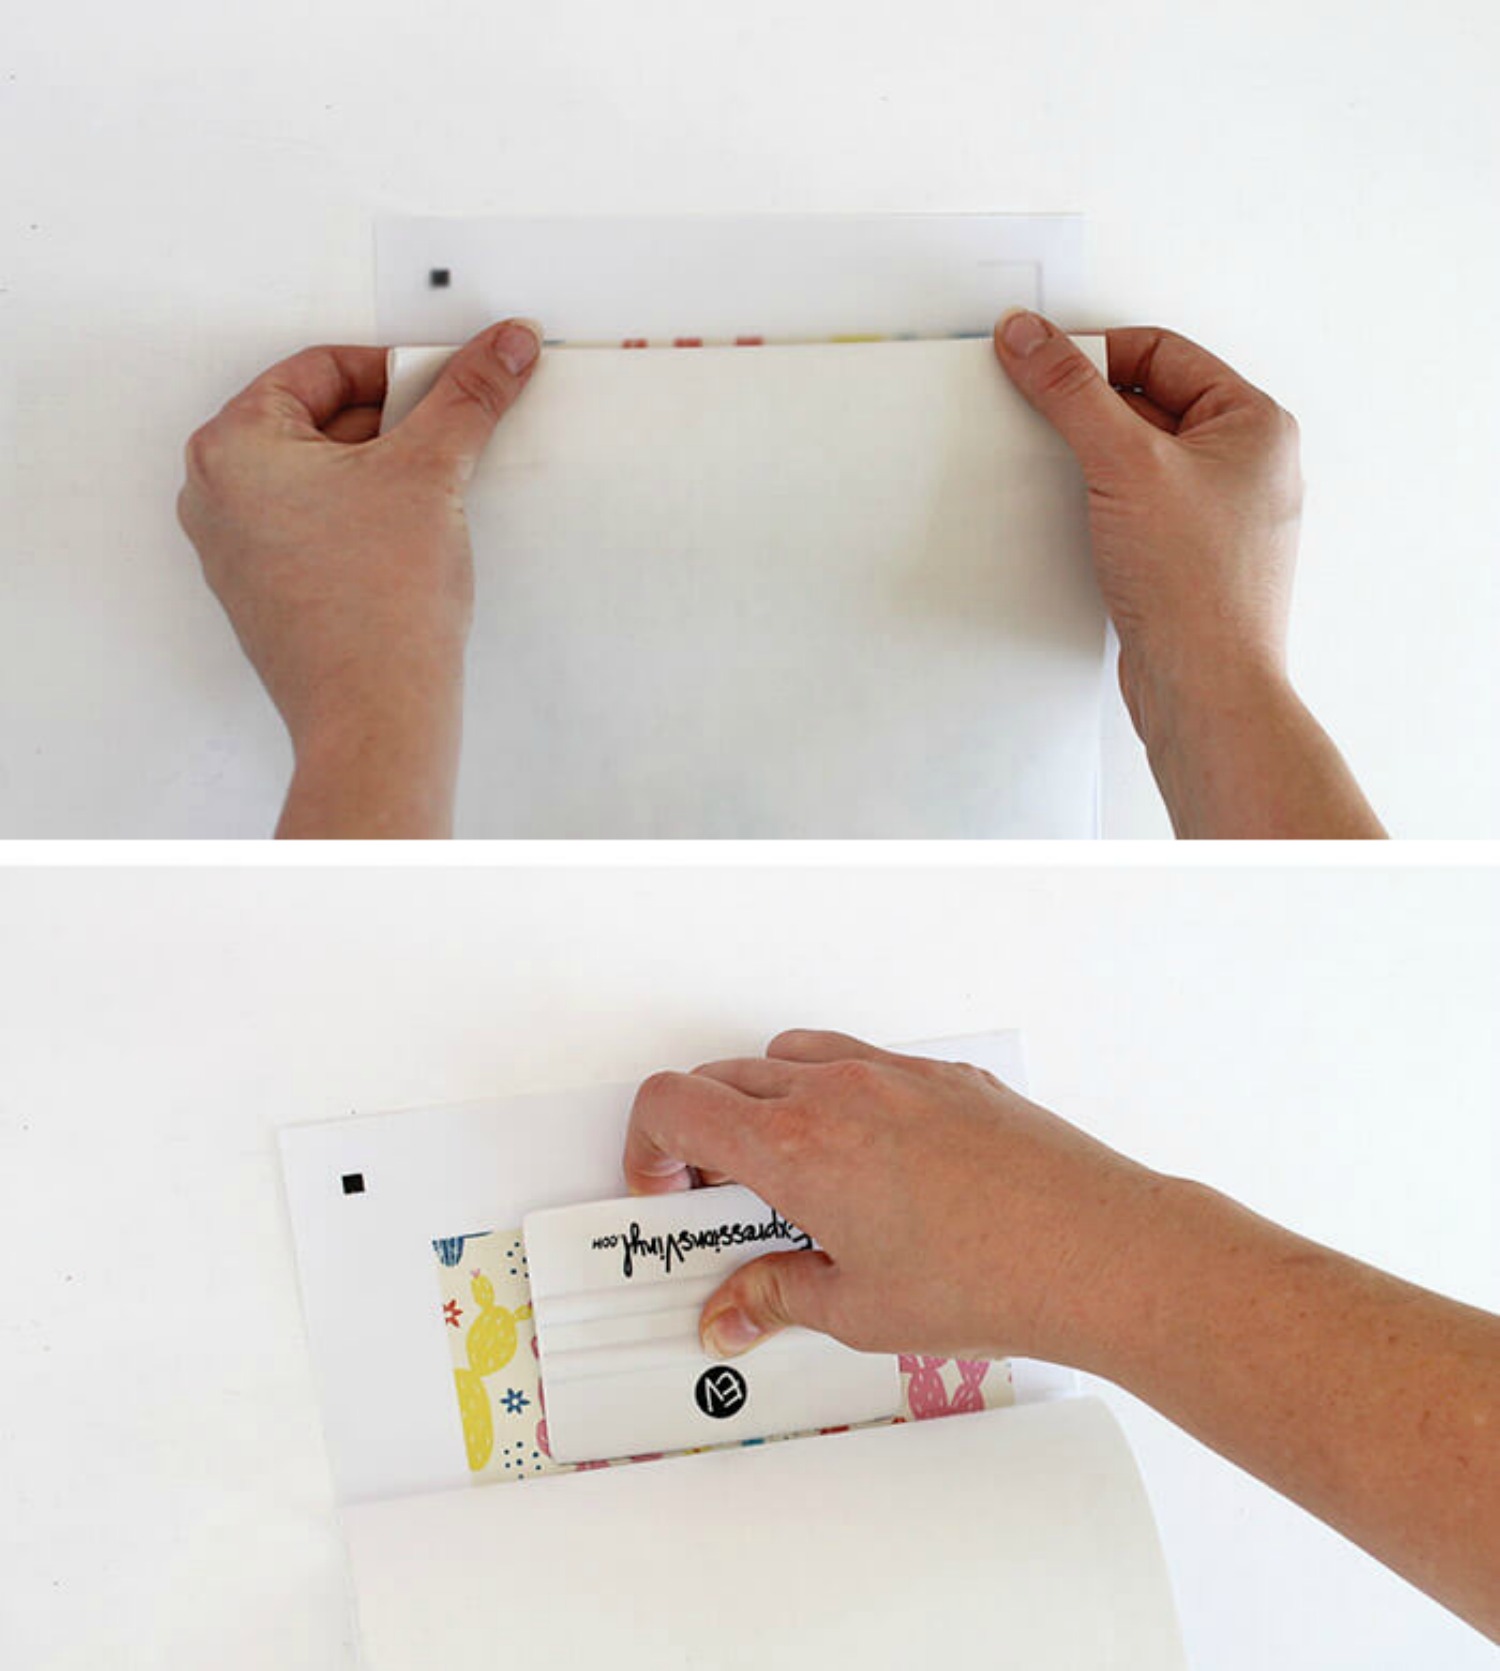
Finally burnish the laminate onto the printed sheet with your application tool. I would absolutely recommend using the vinyl laminate if you want your printed vinyl to be durable. I have been really impressed with how well my skin has held up, and I am sure that the laminate is the trick.
Once the design has been printed, and the laminate has been applied, you are ready to cut! Use your Silhouette or scissors will work just fine too.
Next, it is time to apply the skin to your laptop. (It is important to know that the printable vinyl does have a permanent adhesive, so it may be difficult to remove, leave adhesive if it is removed, or damage some surfaces. You may want to test a scrap of vinyl on the bottom of your laptop first.)
Position the two pieces so they fit, centered, on your laptop. Tape one half down in place with the backing still on. Next, peel the backing off of the other half and carefully line up the center edge with the other half. Slowly press it down onto your laptop, smoothing it down with your fingers.
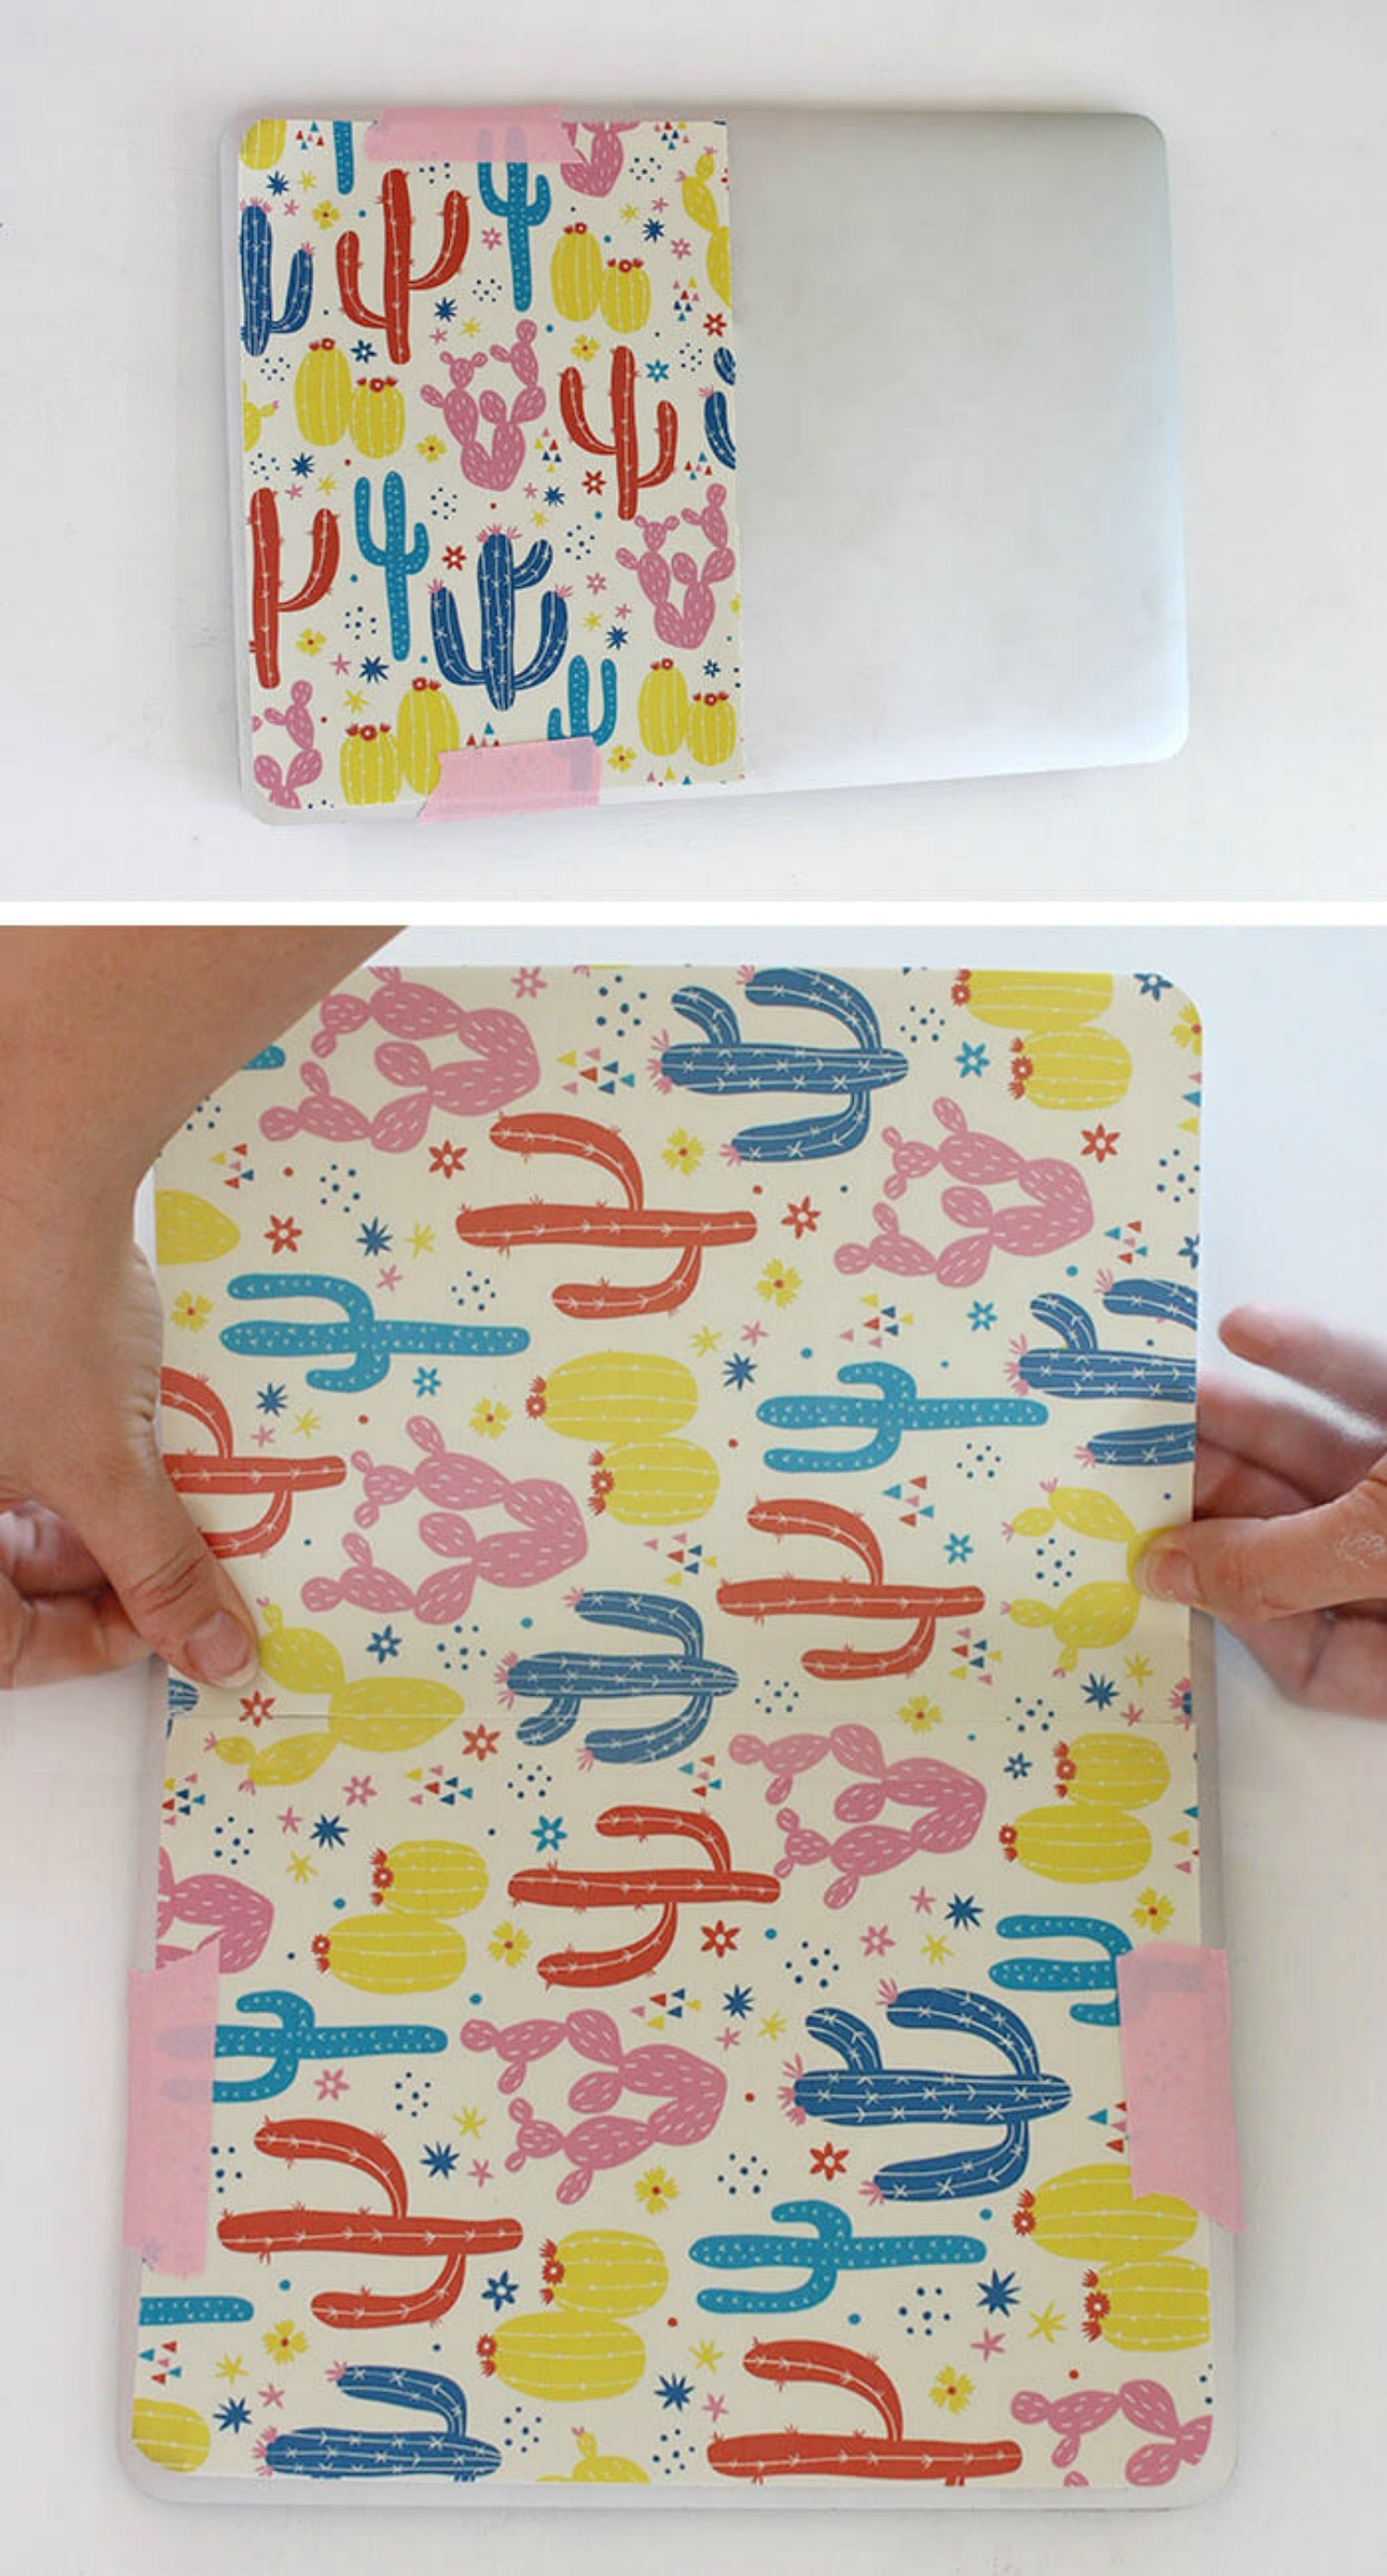
Repeat the process with the other half, burnish your skin onto your laptop with the application tool, and you are all done!
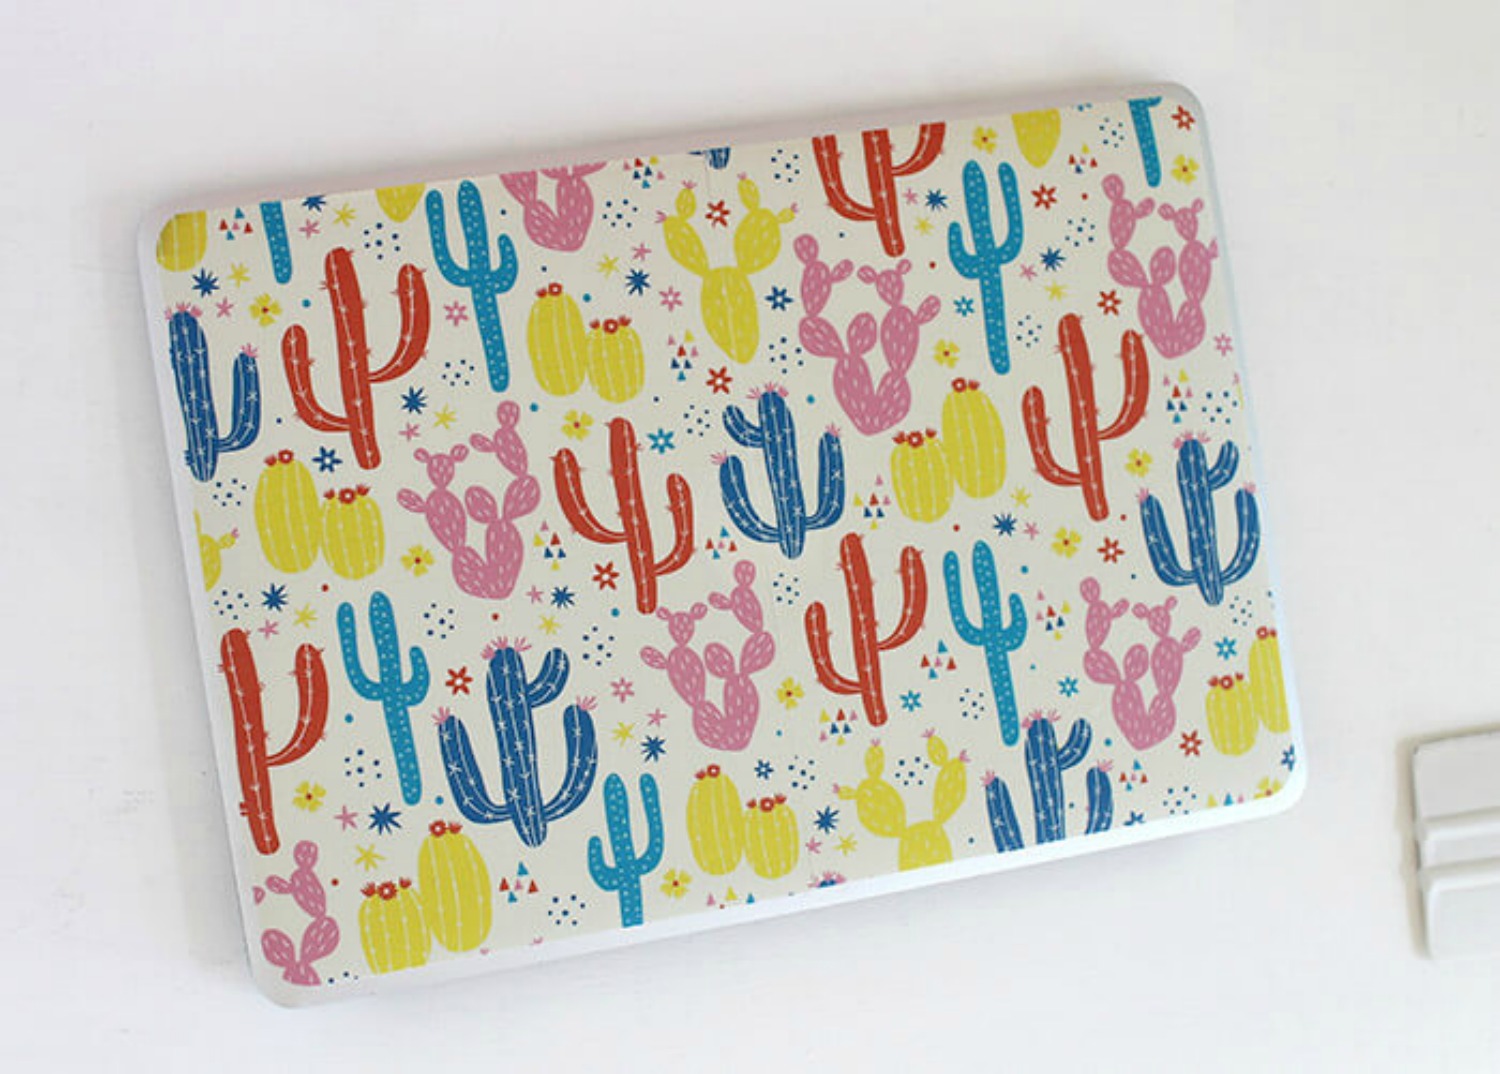
I really love my laptop's new look, and I especially love how inexpensive and easy it was to create the exact design I wanted.
Check out some of my other vinyl projects here:

Giant Otomi-Inspired Wall Decals
Recent Posts
-
Hop into Spring with Cute Easter Vinyl Crafts
Do you love our Vinyl? Sign up for Vinyl Club today to get FREE vinyl and save big! …Mar 28th 2024 -

Fixing Wrinkles and Bubbles in Vinyl
How do you get air bubbles out of vinyl? There are a few different ways to ensure a flawless …Mar 26th 2024 -

20 Creative Craft Quotes You Will Love
March 12, 2024 20 Creative Craft Quotes You Will Love You can never have too many craft …Mar 12th 2024