

Vinyl Stencils on Rocks
Hi everyone! Connie here from Kutie Kaira Designs showing you how to create vinyl stencils to use to paint your own rocks!
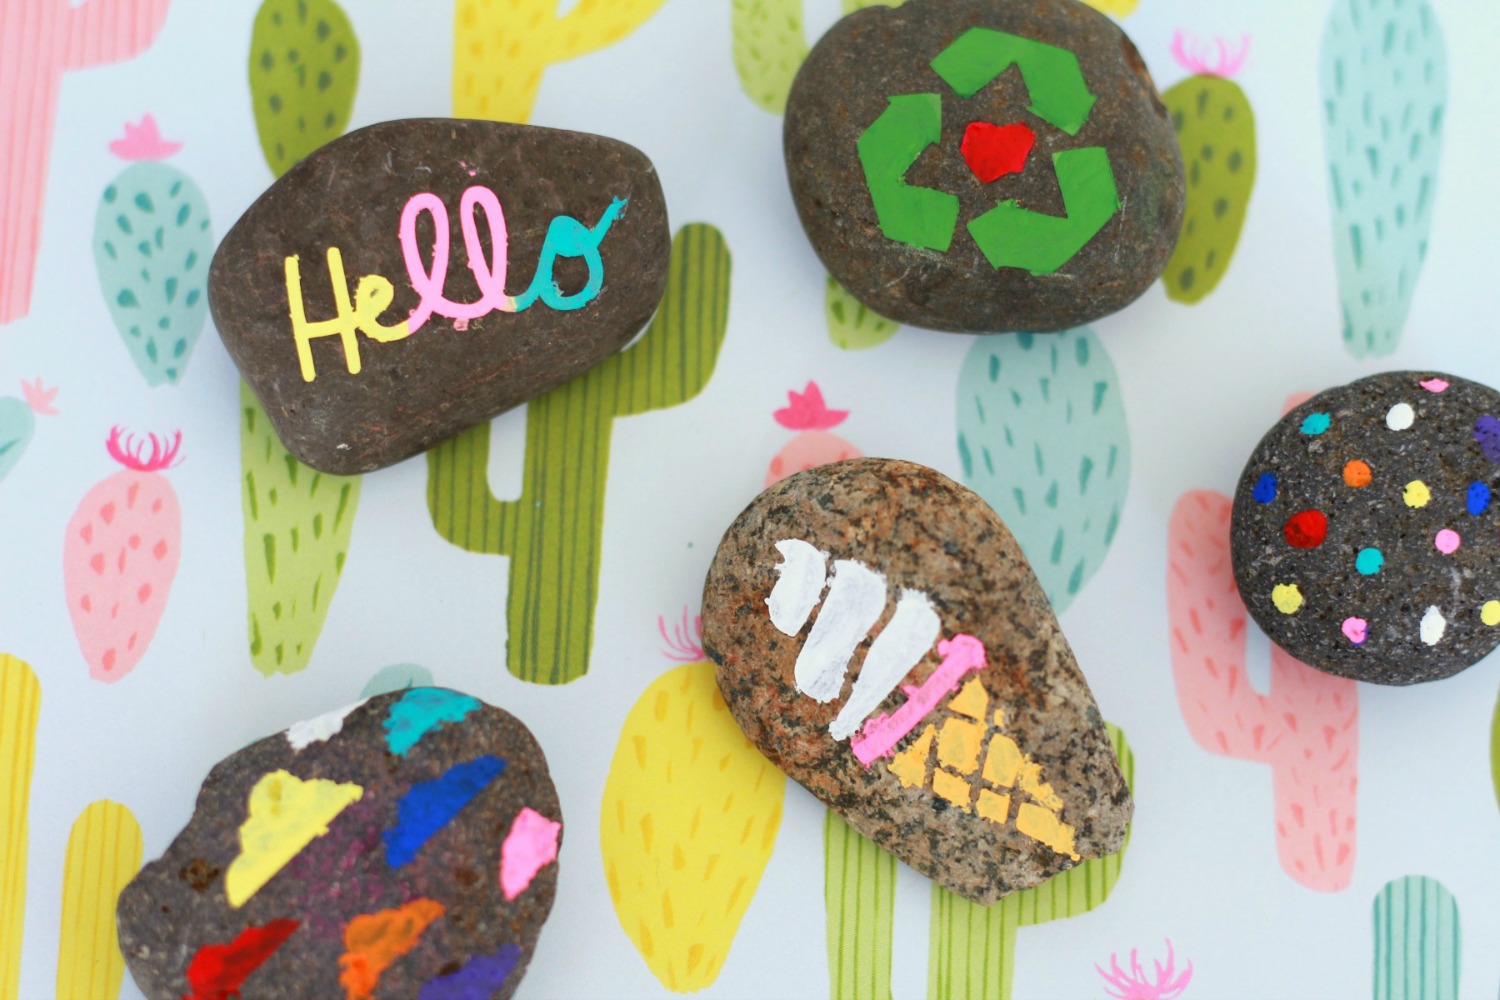
Painted rocks is a super trendy phenomenon where you paint awesome rocks and hide them for others to find. I have been seeing these rocks everywhere online and I figured I would find a fun way to DIY using my cutting machine. My 2-year-old daughter has an obsession with rocks! You will usually find her with 2 or 3 rocks in her hands at all times. I knew this project would also be a fun way to jazz up her little favorite rocks! Let's get started!
Things you will need:
-Cutting machine (mine is a CAMEO 3)
-Vinyl/stencil vinyl (I used white Oracal 651)
-Transfer tape
-Rocks
-Acrylic paint
-Paintbrush
-Waterproof sealant of your choice
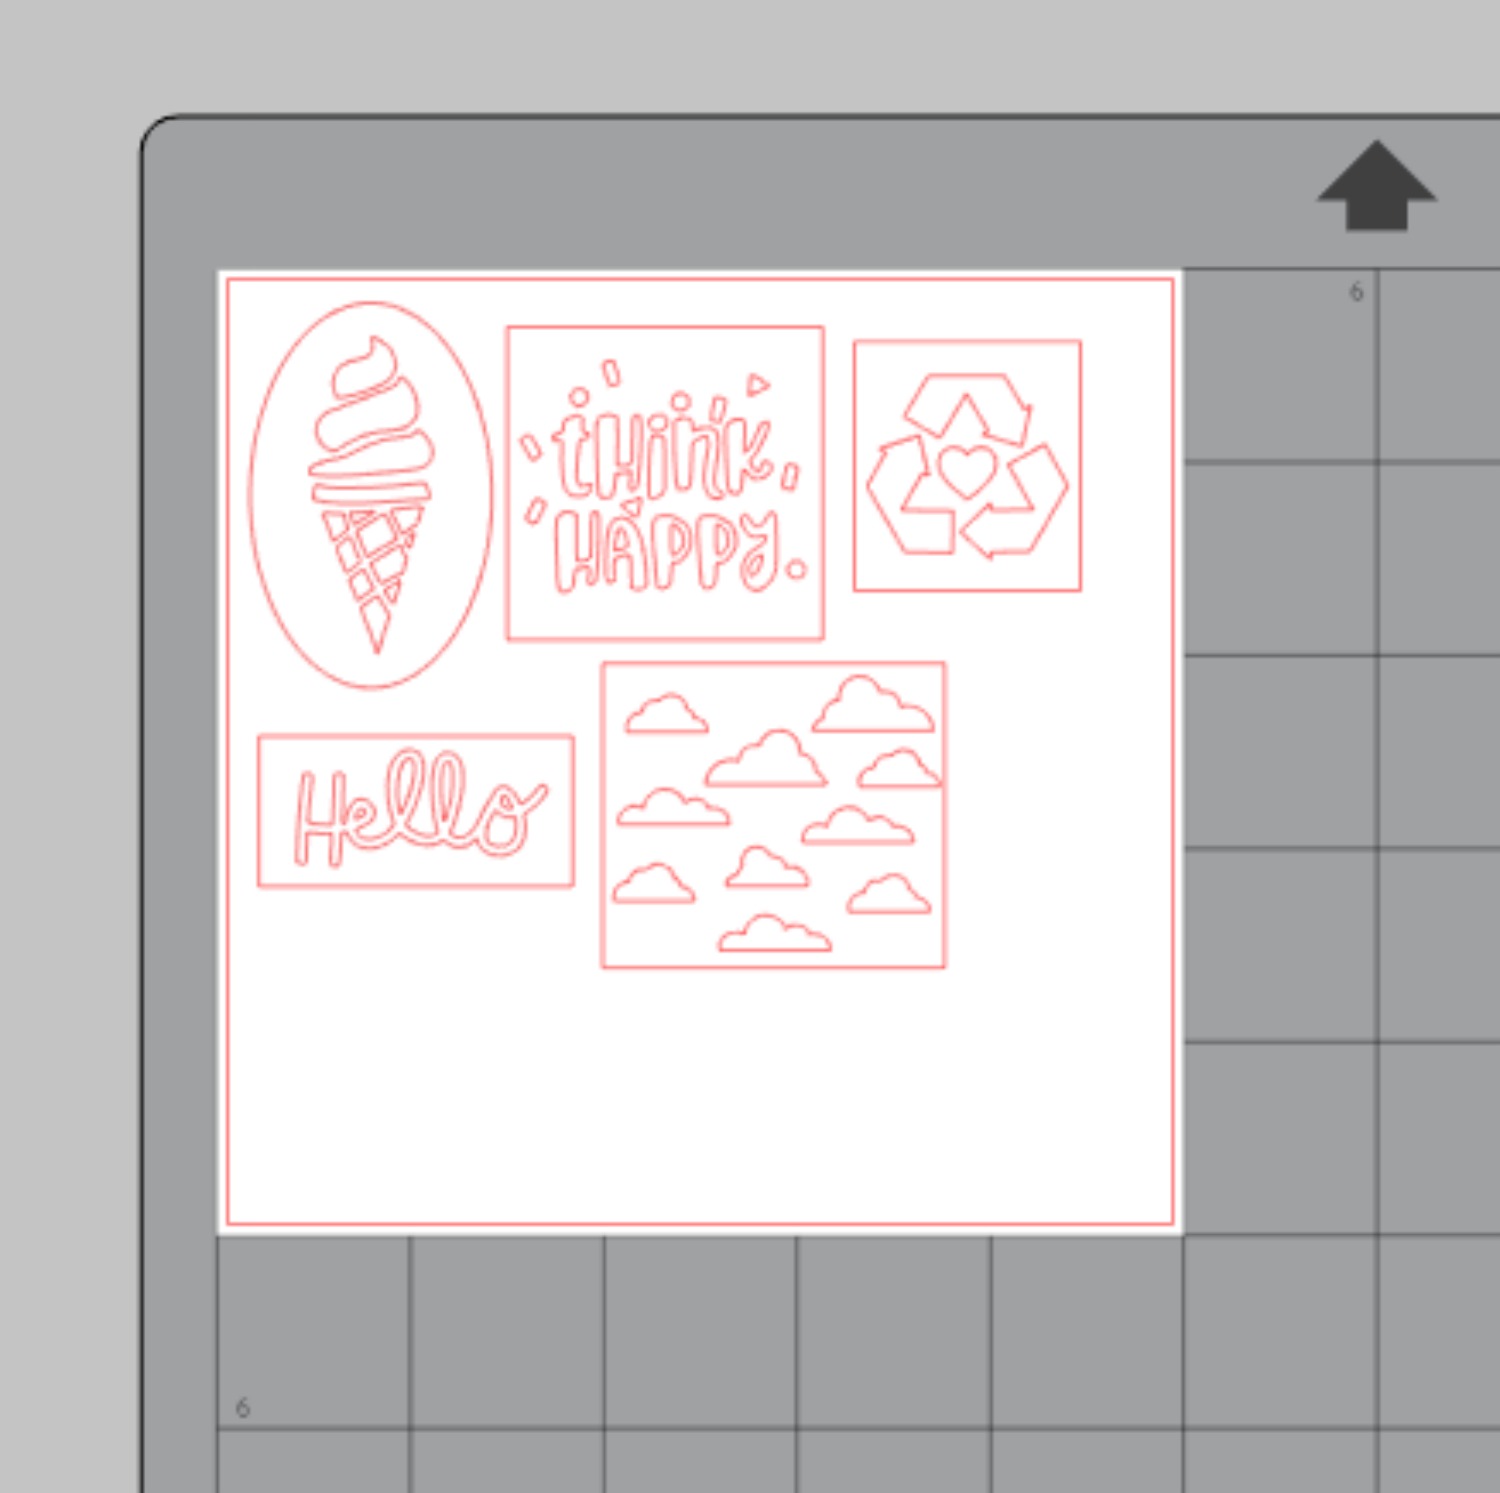
Step 1: Choose and Cut Your Designs
I found some random cute designs and I cut them really small. I measured my rocks and they were all under 2 inches so I made my designs pretty small. The vinyl square was 5 in. x 5 in. so you can see how small they are, since they all fit so nicely in the square.
Cut the vinyl stencils out using the appropriate vinyl cut setting for your machine. Once they are cut, weed out your designs. Since we are making a stencil, be sure to weed out all the middle pieces so that we can paint through them. Apply clear transfer tape over your designs and cut them out individually.
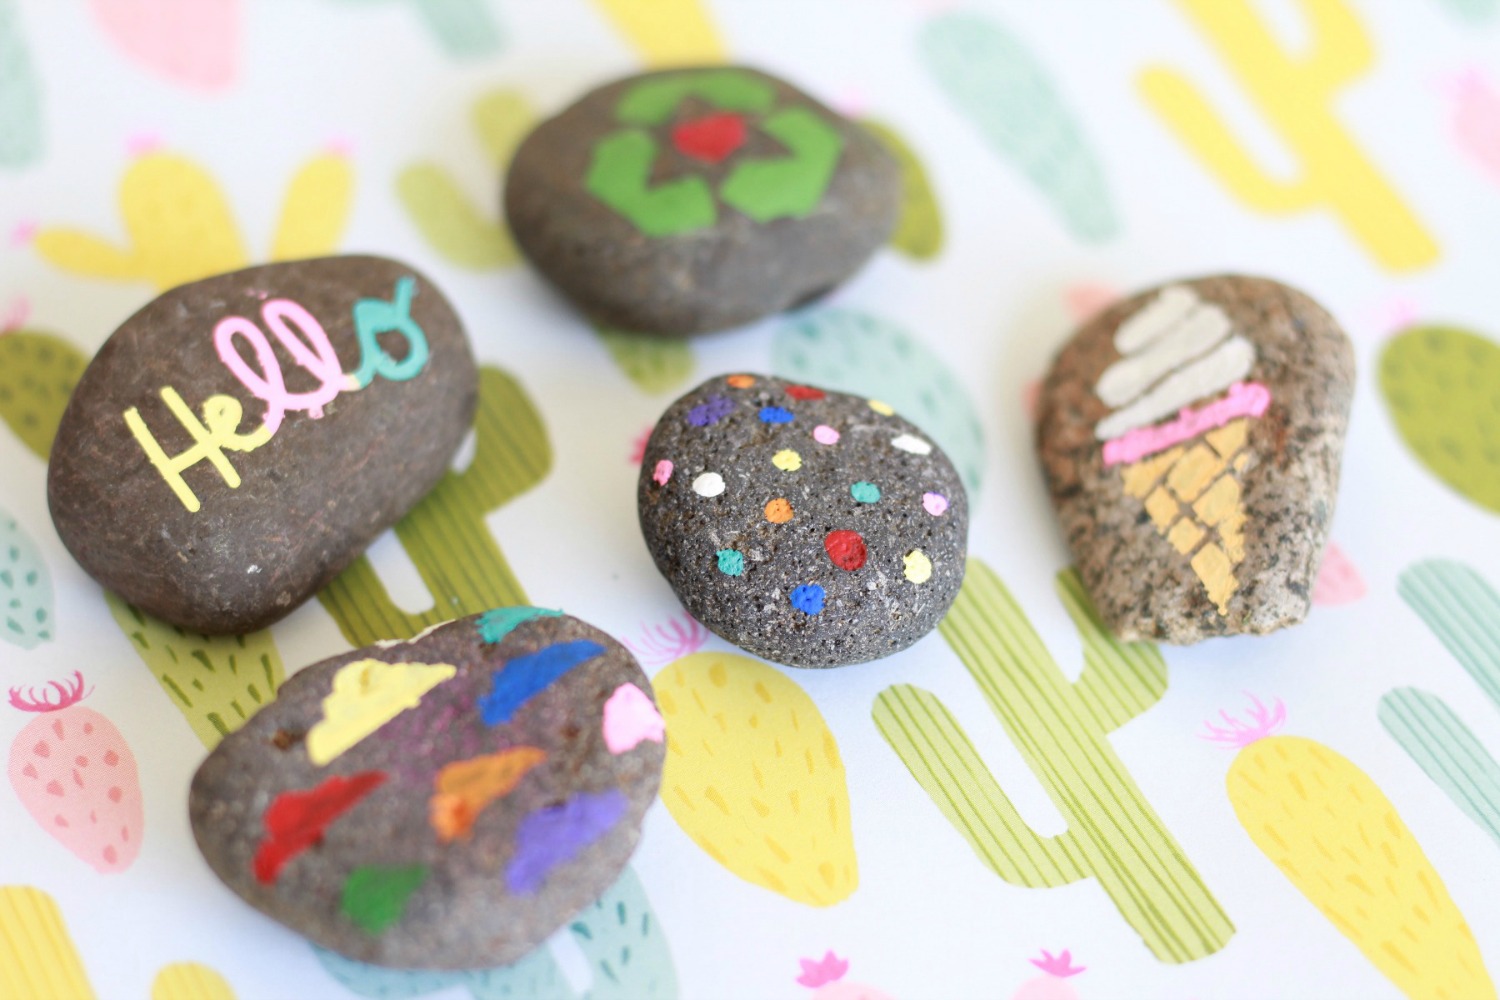
Your little designs should look like this! Pick out a fun color palette and get ready to paint!
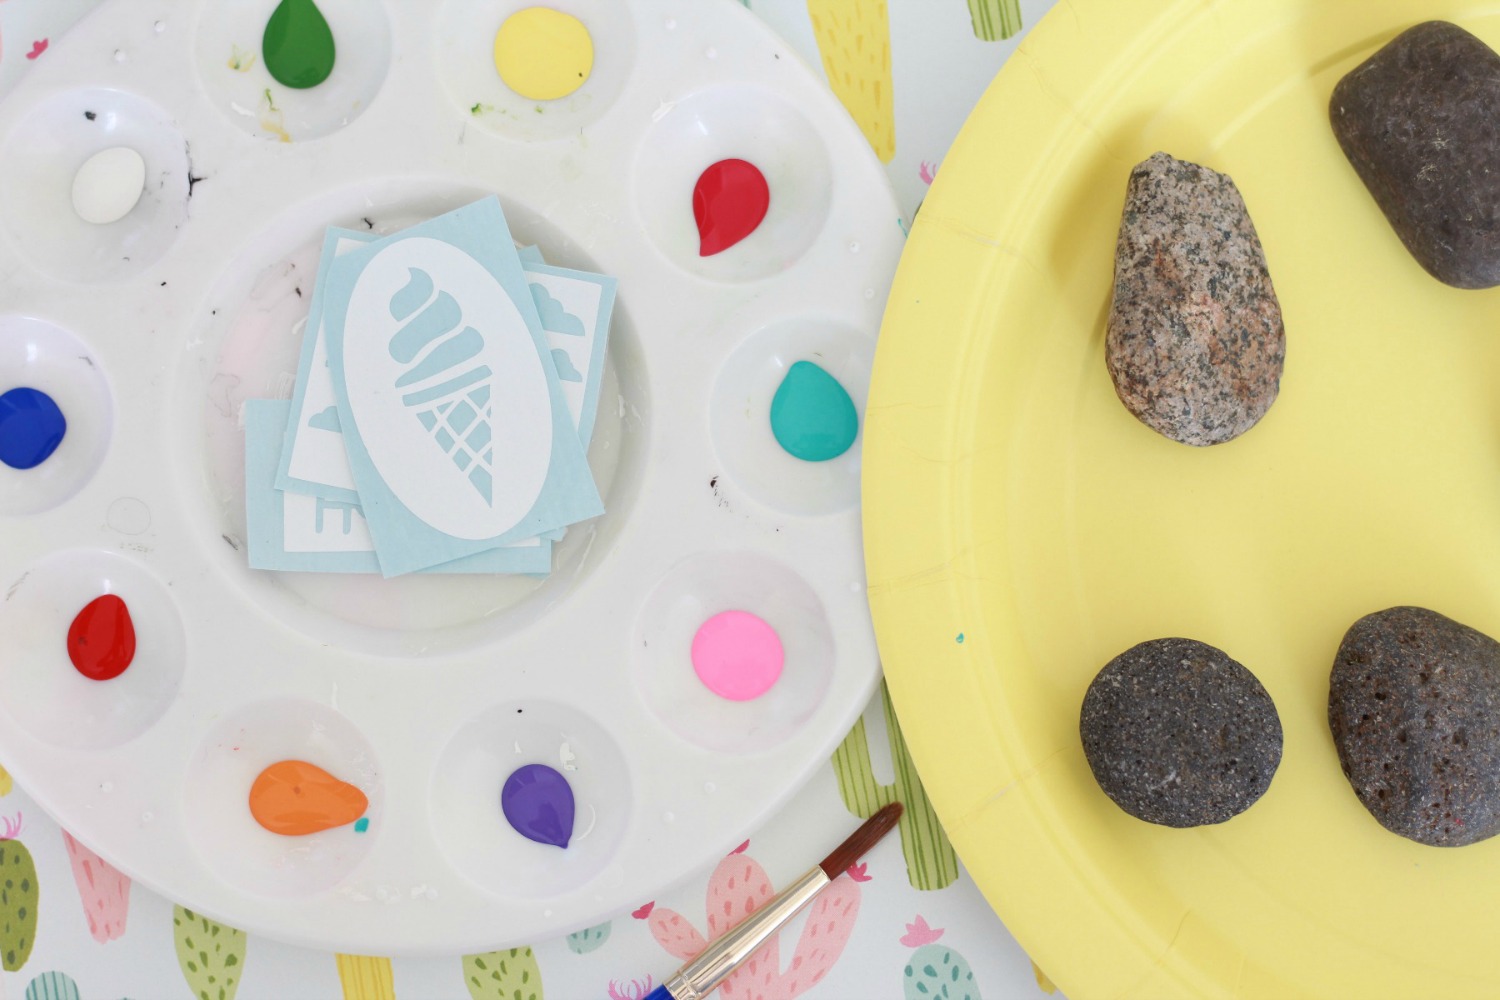
Step 2: Apply Designs On Rocks & Paint
Peel your designs off of the paper backing on the vinyl and slowly begin applying them on the rocks. I found that using my hands/fingers was the best way to really ensure that the stencil was smoothly on the rocks.
Once you have applied them all on the rocks, begin to carefully peel the transfer tape away from the rocks. Don't worry too much if the design is too big for the rock (like my cloud design). You can still get good use out of it.
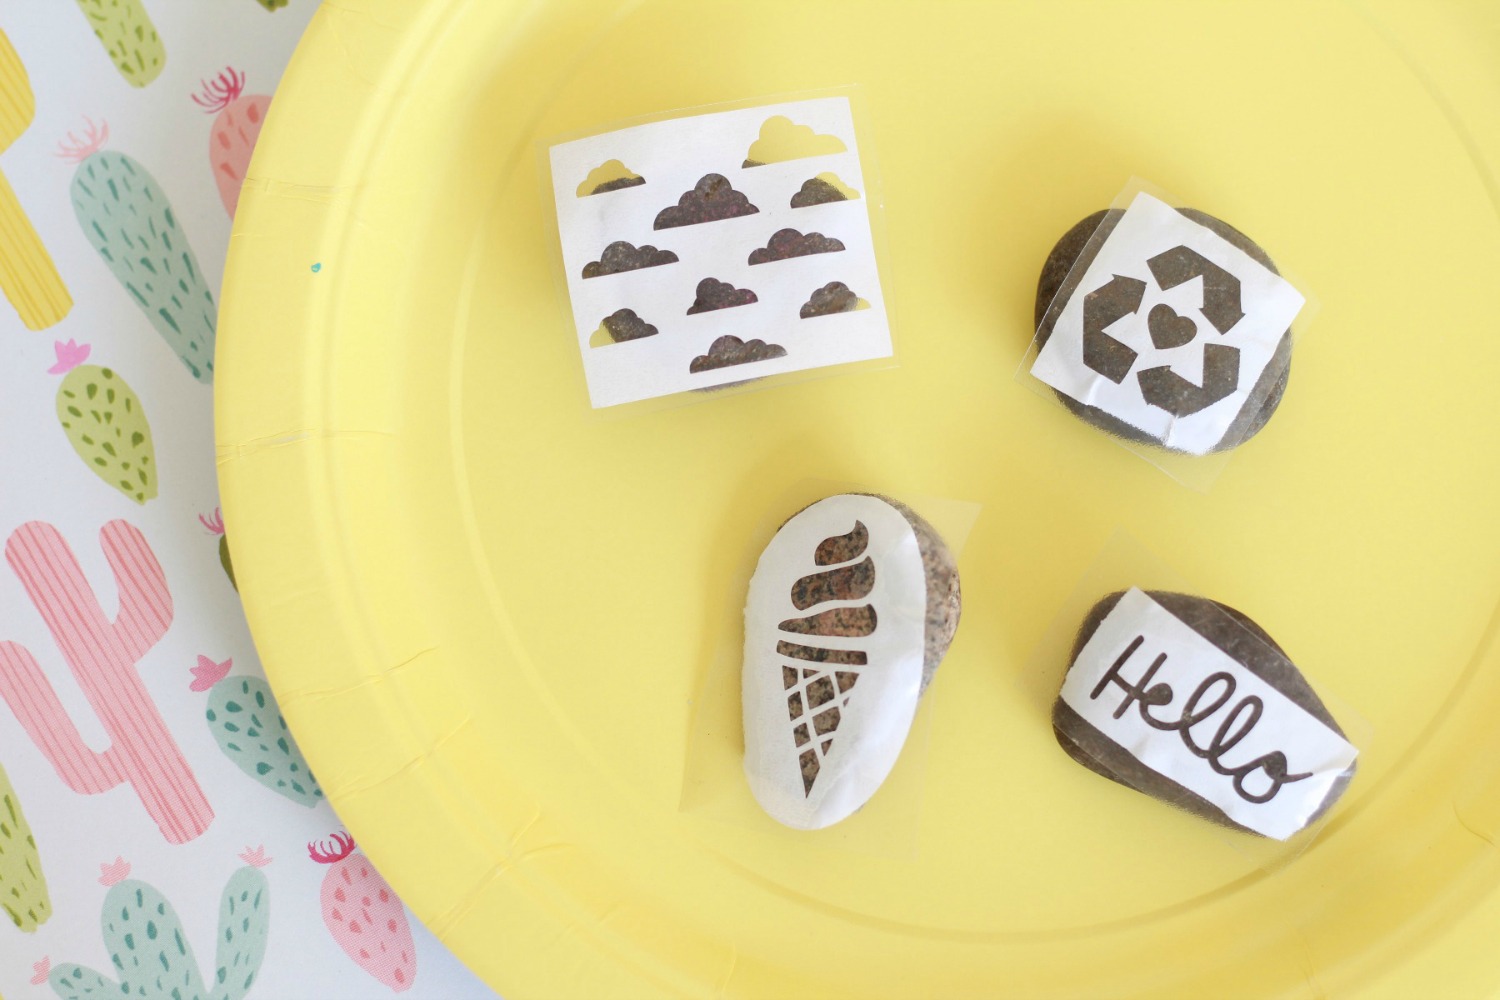
Use a small brush to begin painting on your rocks. Get creative with your colors! My rocks were pretty dark and I felt like some colors definitely needed more than one layer. Let each layer dry for a little bit before you add another layer of color.

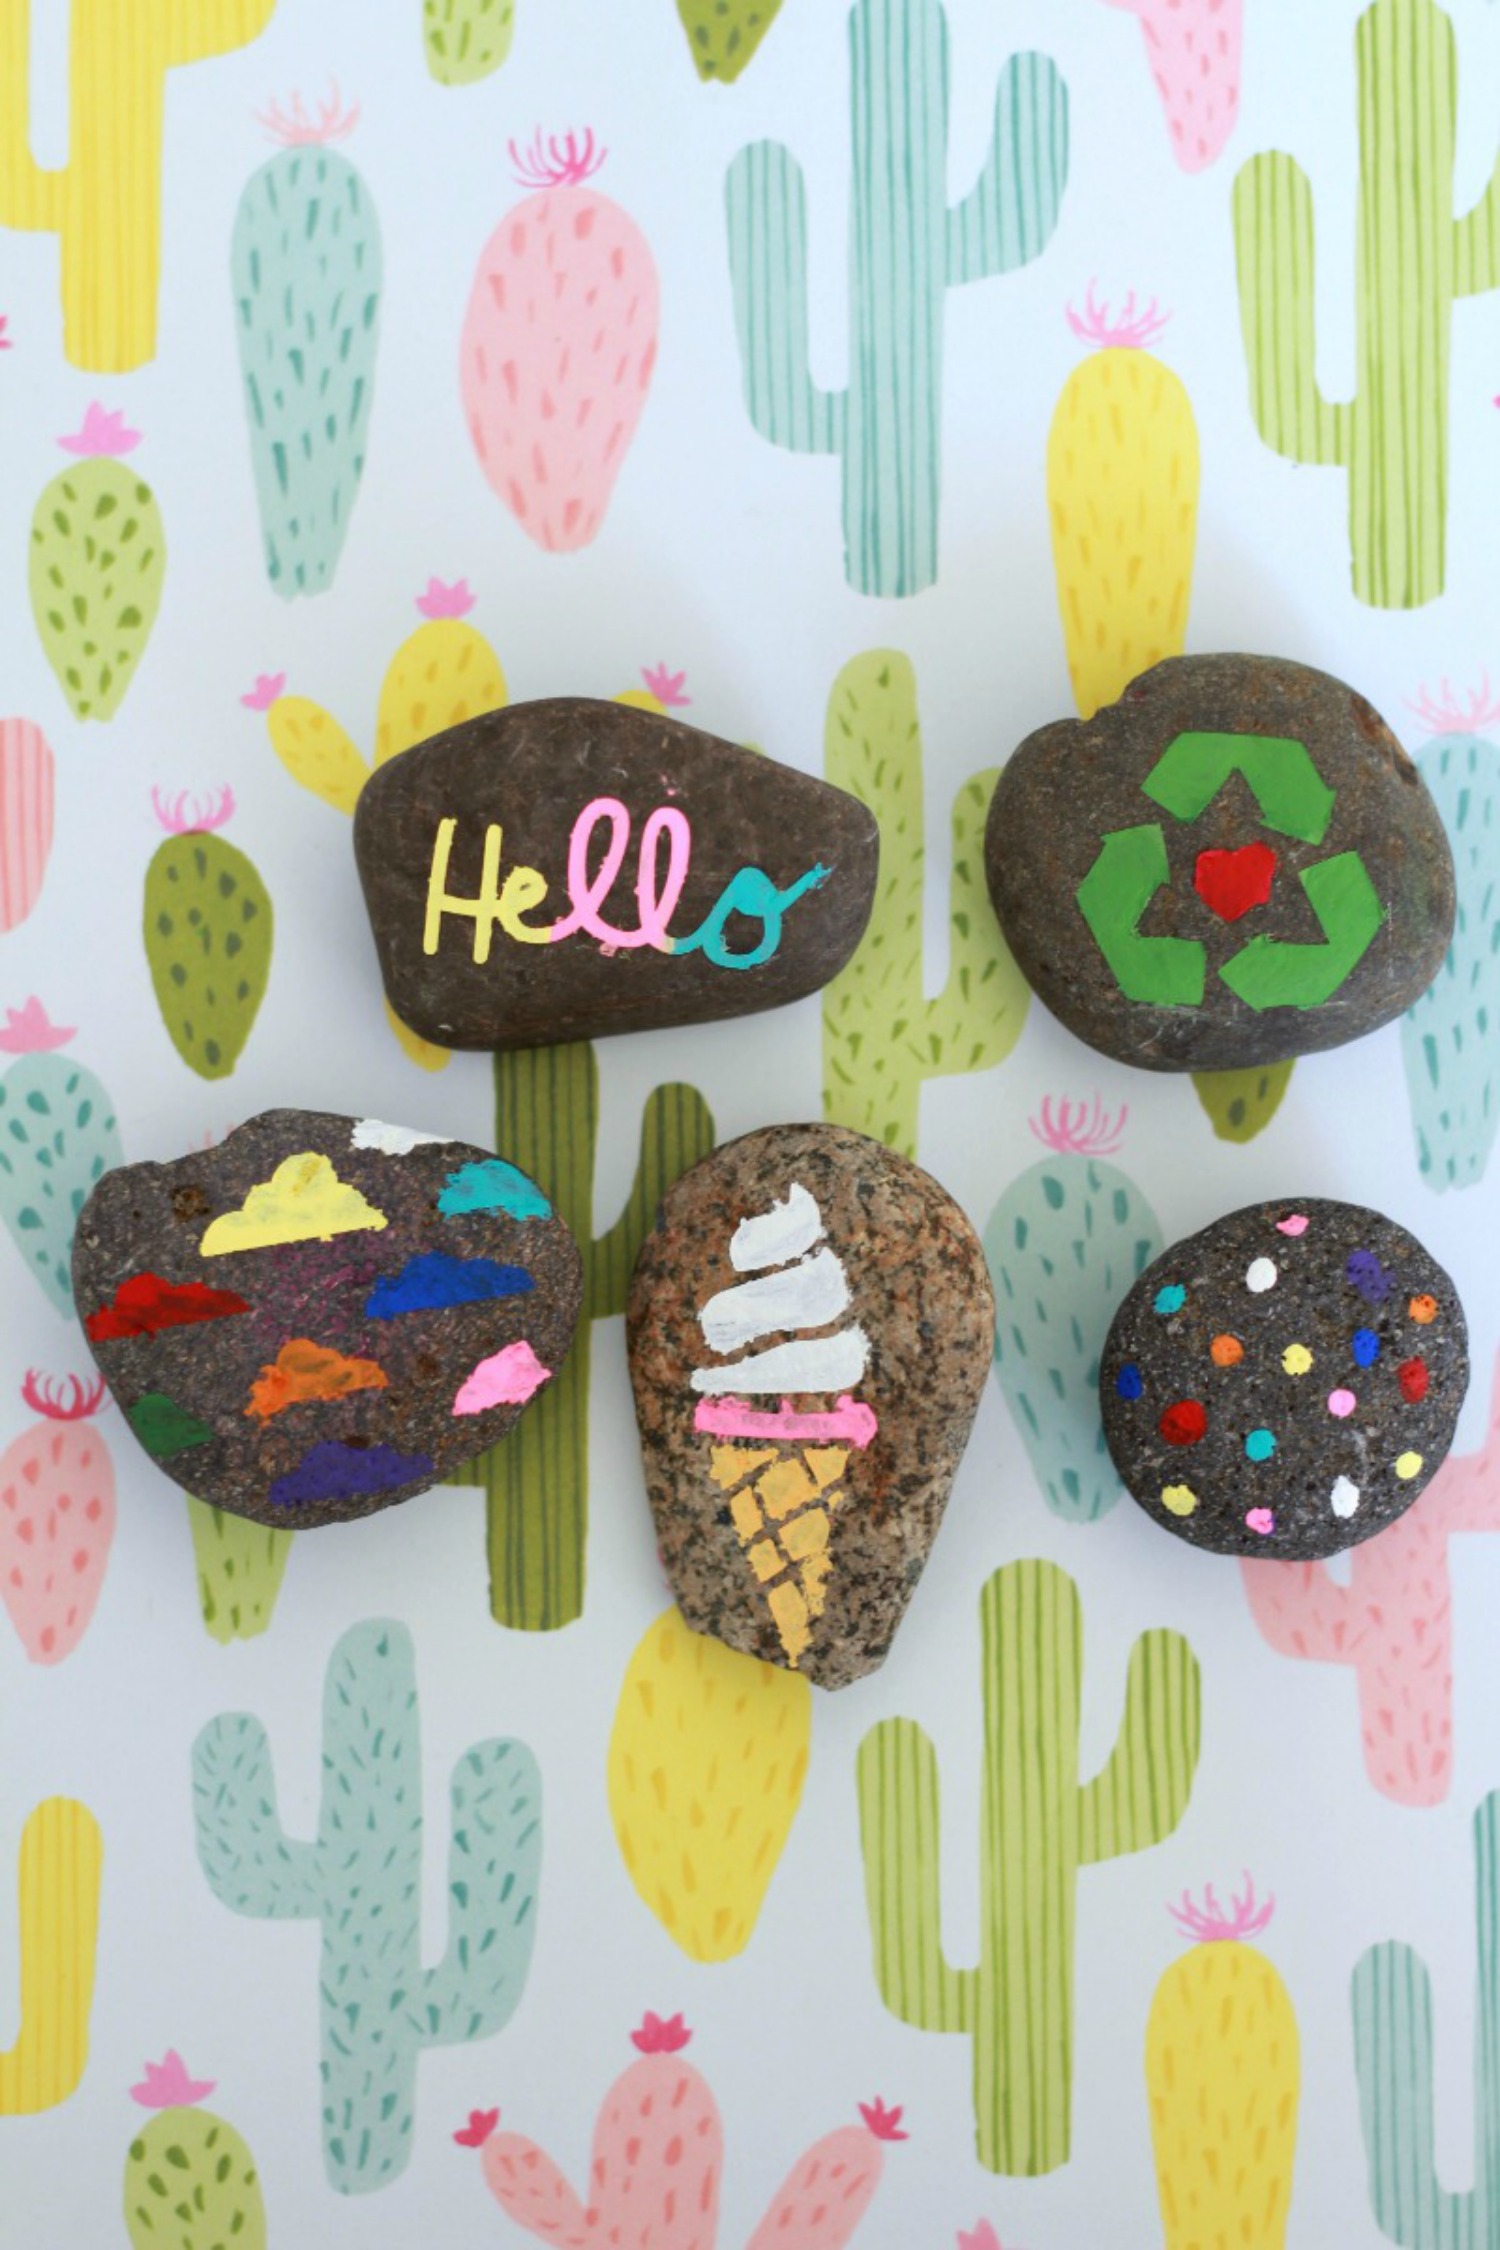
Peel the vinyl off once the paint is mostly dry. I did find that some of the designs bled a little bit, but not too much. Since most rocks (even the smoothest ones) have bumps and holes in them, I knew a some bleed through was normal. They are still super adorable and super fun to make. I can spend all day long painting rocks.
Seal your rocks with your favorite waterproof sealant and ensure they are completely dry before you handle them.
I can't wait to see what fun rocks you create! Be sure to tag me on Instagram @kutiekairadesigns so that I can see!
Recent Posts
-
Hop into Spring with Cute Easter Vinyl Crafts
Do you love our Vinyl? Sign up for Vinyl Club today to get FREE vinyl and save big! …Mar 28th 2024 -

Fixing Wrinkles and Bubbles in Vinyl
How do you get air bubbles out of vinyl? There are a few different ways to ensure a flawless …Mar 26th 2024 -

20 Creative Craft Quotes You Will Love
March 12, 2024 20 Creative Craft Quotes You Will Love You can never have too many craft …Mar 12th 2024