
Faux Laser Cut Metal Signs using Metallic Vinyl
Hello!
Carrie with Designed to be Crafty here showing you an easy way to get in on the hot trend of laser cut metal art without the trendy price tags. I know I'm obsessed with the look of those amazing signs but I just can't bring myself to pay for one, so I did what all of us crafters do. I said to myself..."I can make that!" OK so I don't have a cool laser metal cutter machine, but I do have a Silhouette cameo! This project only needs two items: polished metal specialty adhesive vinyl sheets and black cardstock that has a black core. Yep that's it!! Well your cameo or similar cutting machine as well.
Step One:
Type out your message you want to cut into your sign. I'm making a sign for my kid's playroom so I went with a fun quote. I spaced the characters and lines out a little bit more so there was more "metal" support between the cuts.
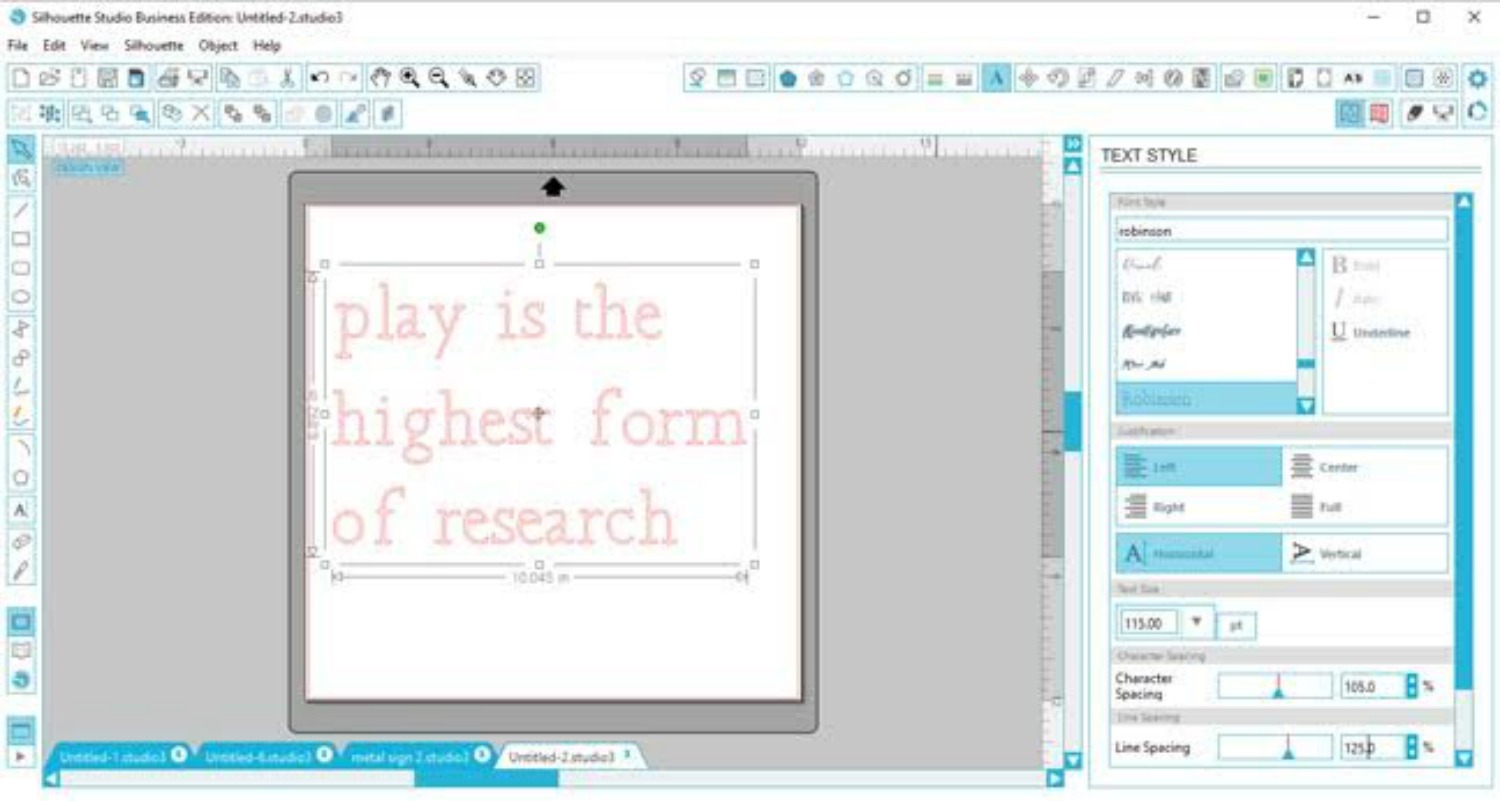
Step Two:
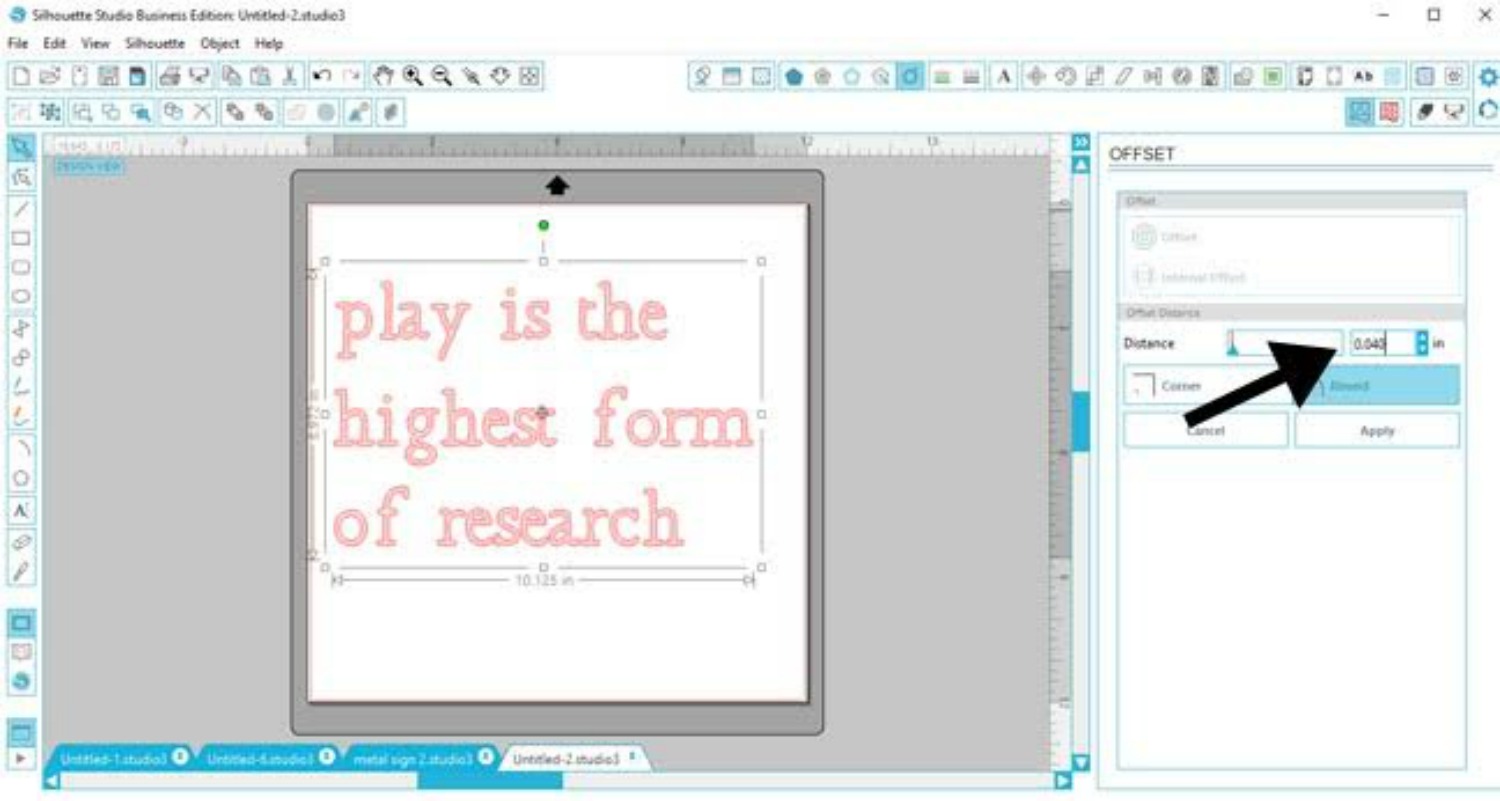
This font was a little bit thinner than I liked so here is a trick to make a "bolder" font. You can use the offset tool to make a very small offset to thicken the font. Once you do this the software only reads the letters as shapes though so wait until you are happy with your design and then delete the smaller portion.
Step Three:
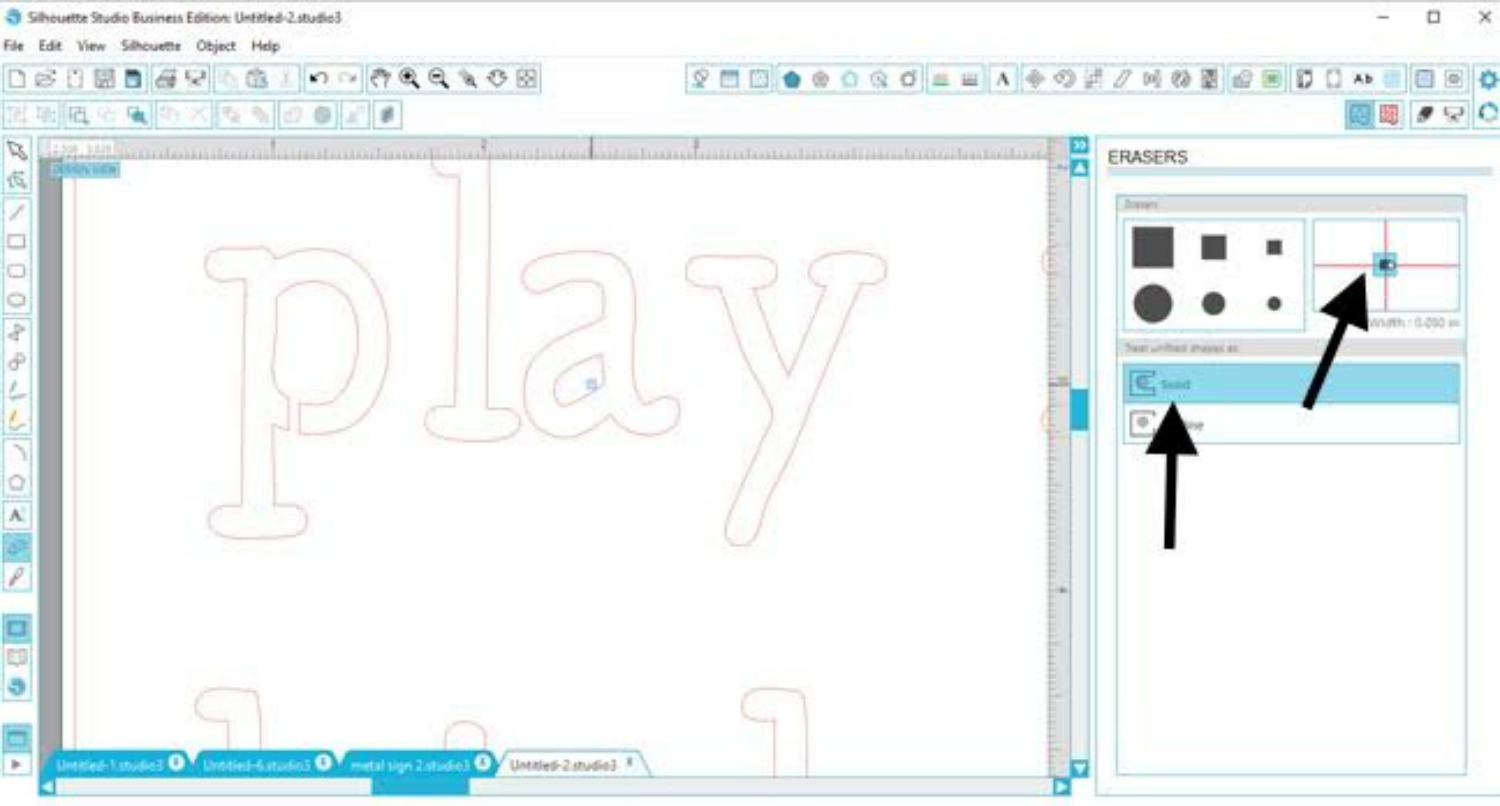
Now you need to make the font "stencil friendly" so the inner parts stay attached. This is easily done using the eraser tool. Make sure you have solid selected and you can slide the dot in the cross hairs window to make the eraser size larger or smaller. I used the square shape to have nice crisp cuts. The hardest part is holding your hand steady as you cut through the letters. You can always use the edit points to help clean up little slips.
Step Four:
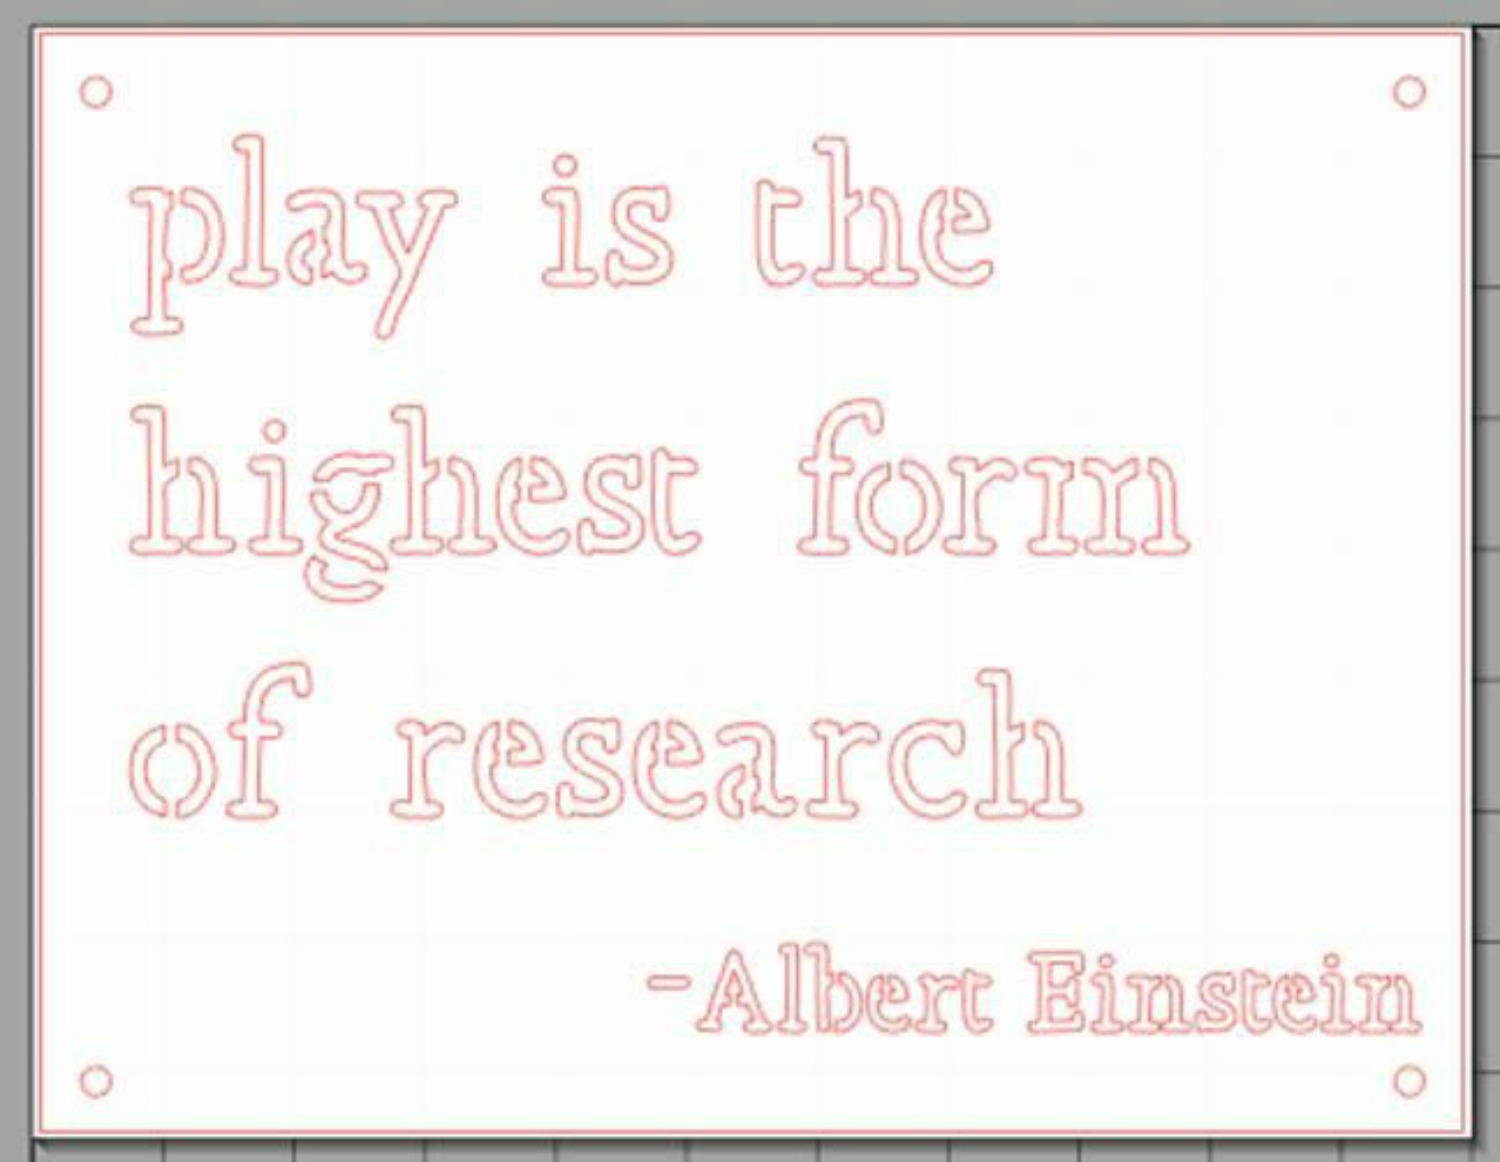
Add the nail holes in the corners so you easily hang it. You also will want to size it for your final size project. I made mine 8.5" x 11" because that's the size cardstock I had at home.
Step Five:
Prep your materials so you can cut the design. I folded back about 1" of the vinyl backing the entire 11" and then lined it up and attached it to the cardstock using an application tool. Then just keep working the vinyl onto the paper until it's fully attached.
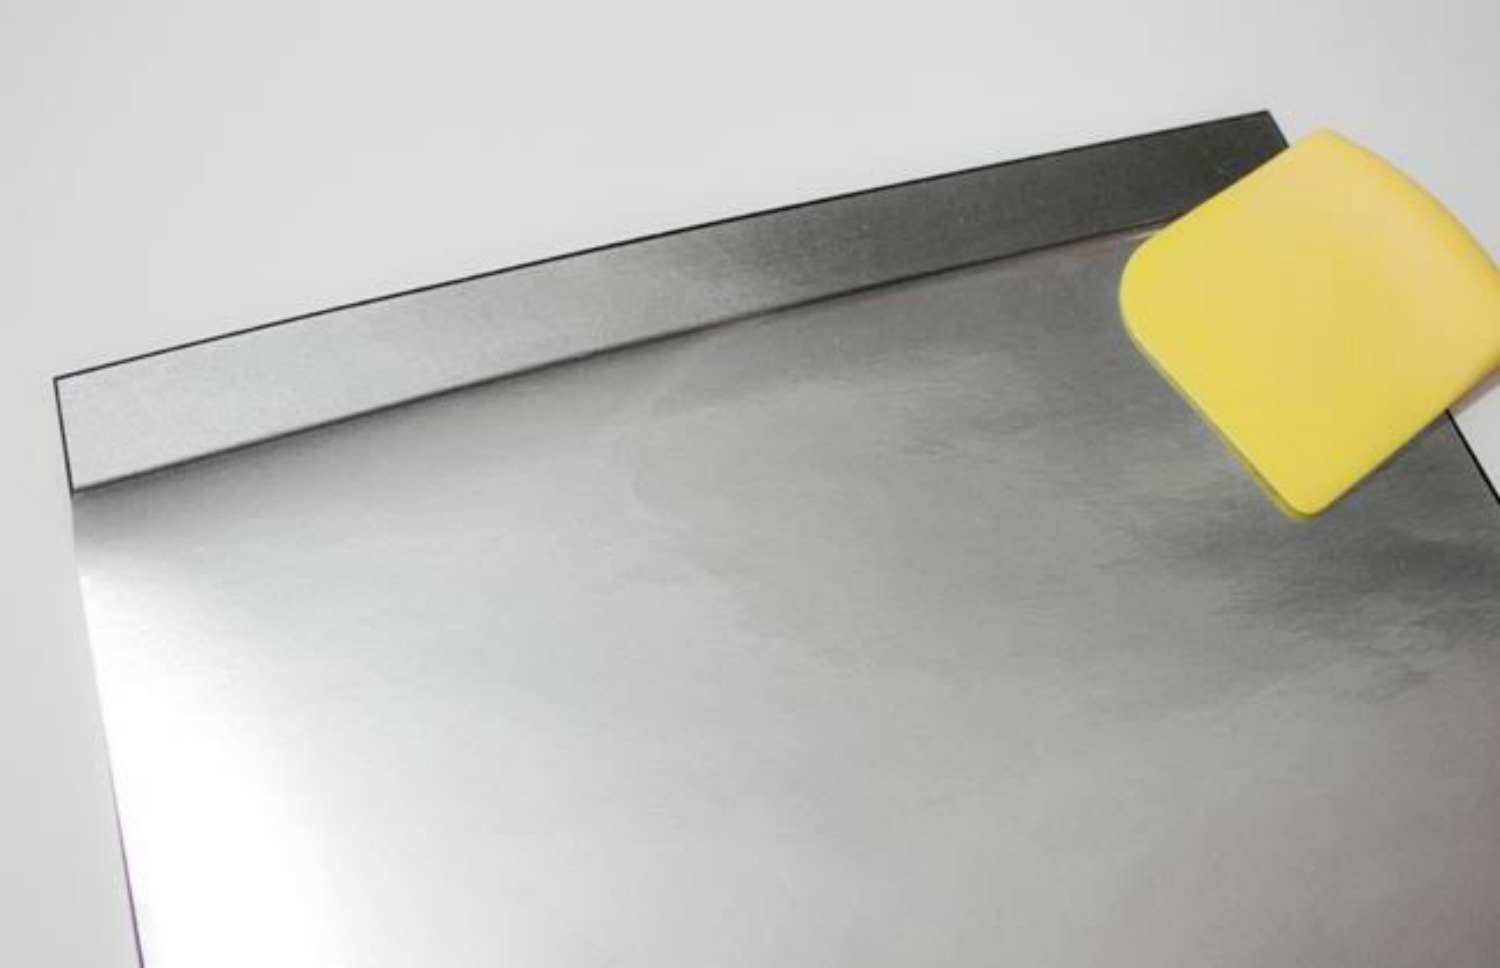
Step Six:
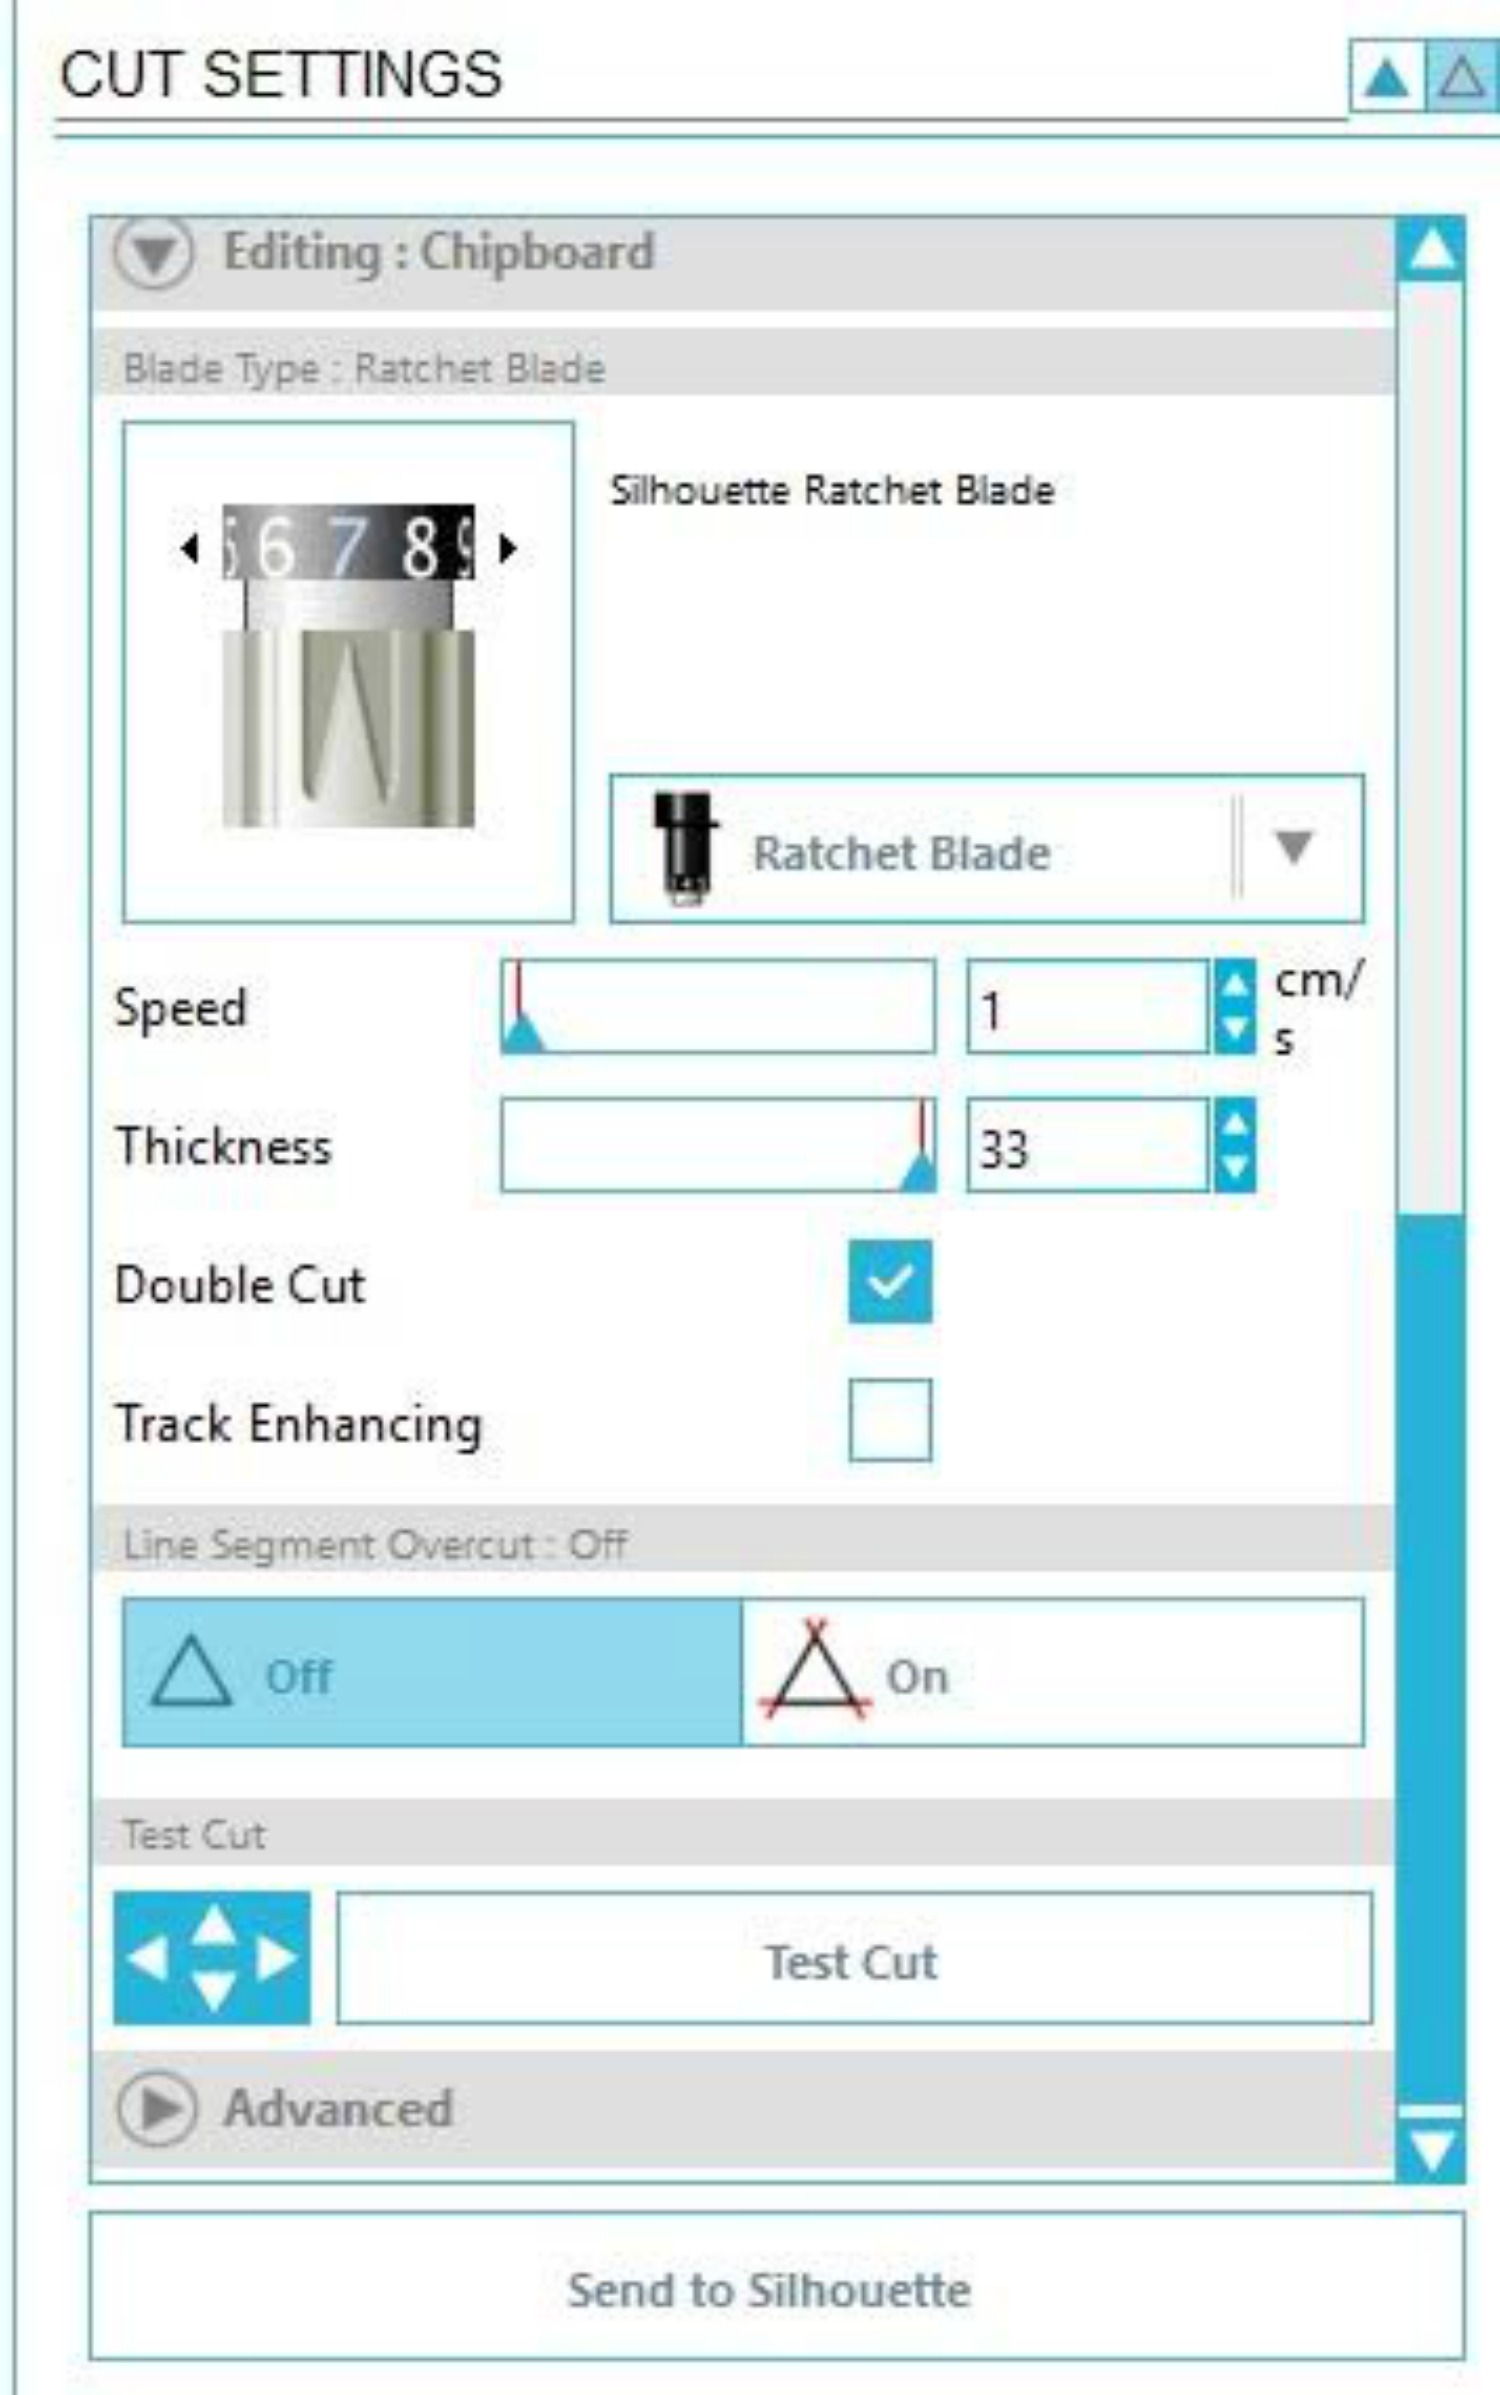
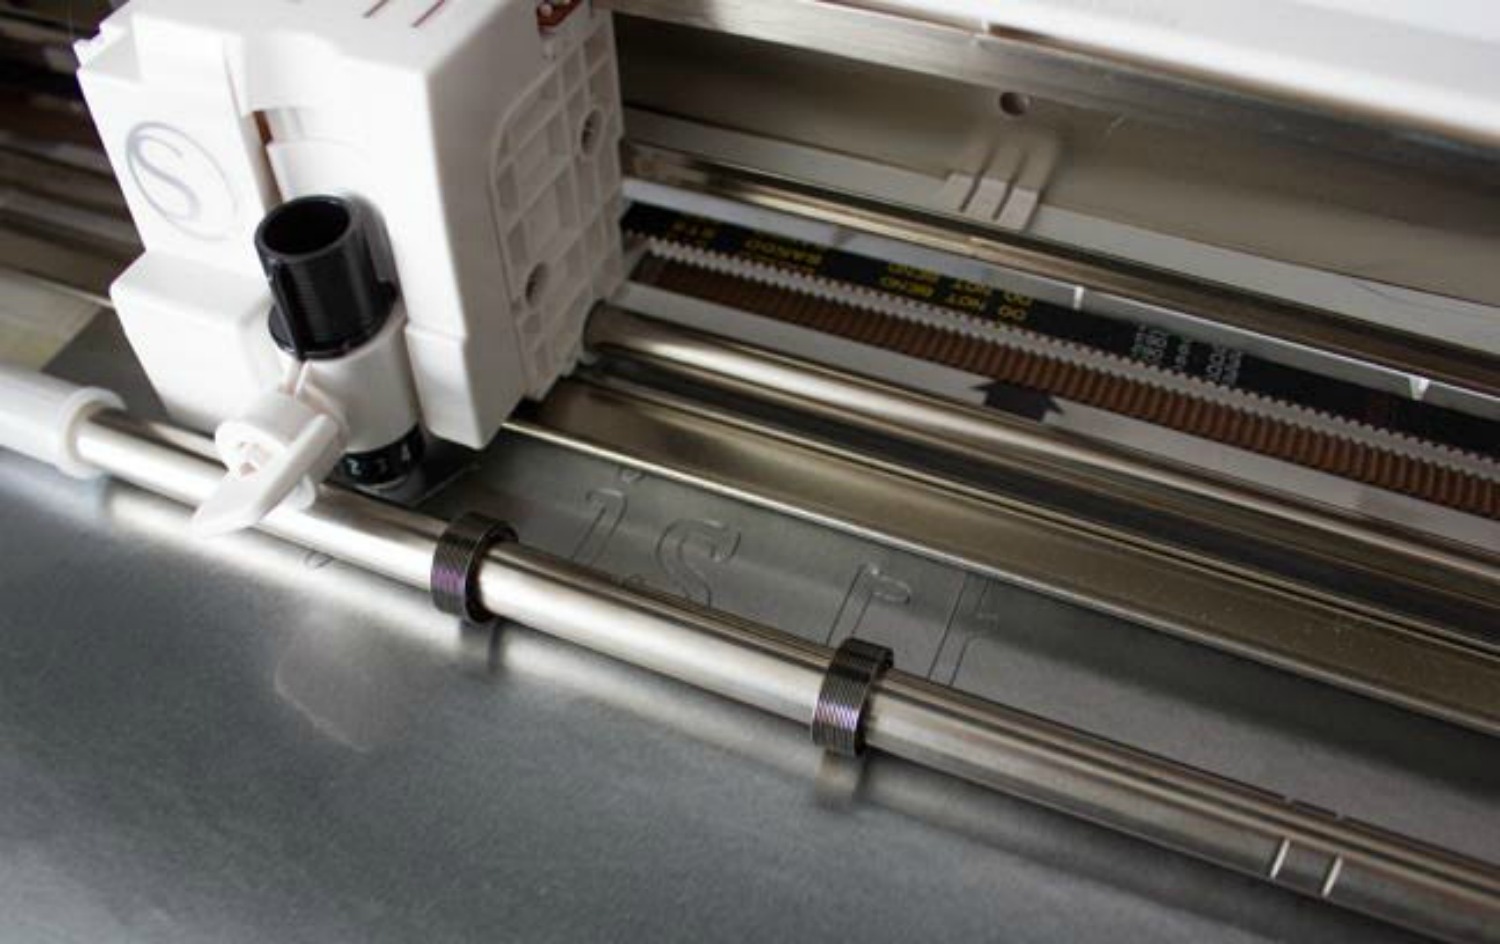
Attach the paper to your cutting mat and send the design to be cut. Here are the cut settings that worked best for my machine and materials.
Look at the beautiful cuts!!
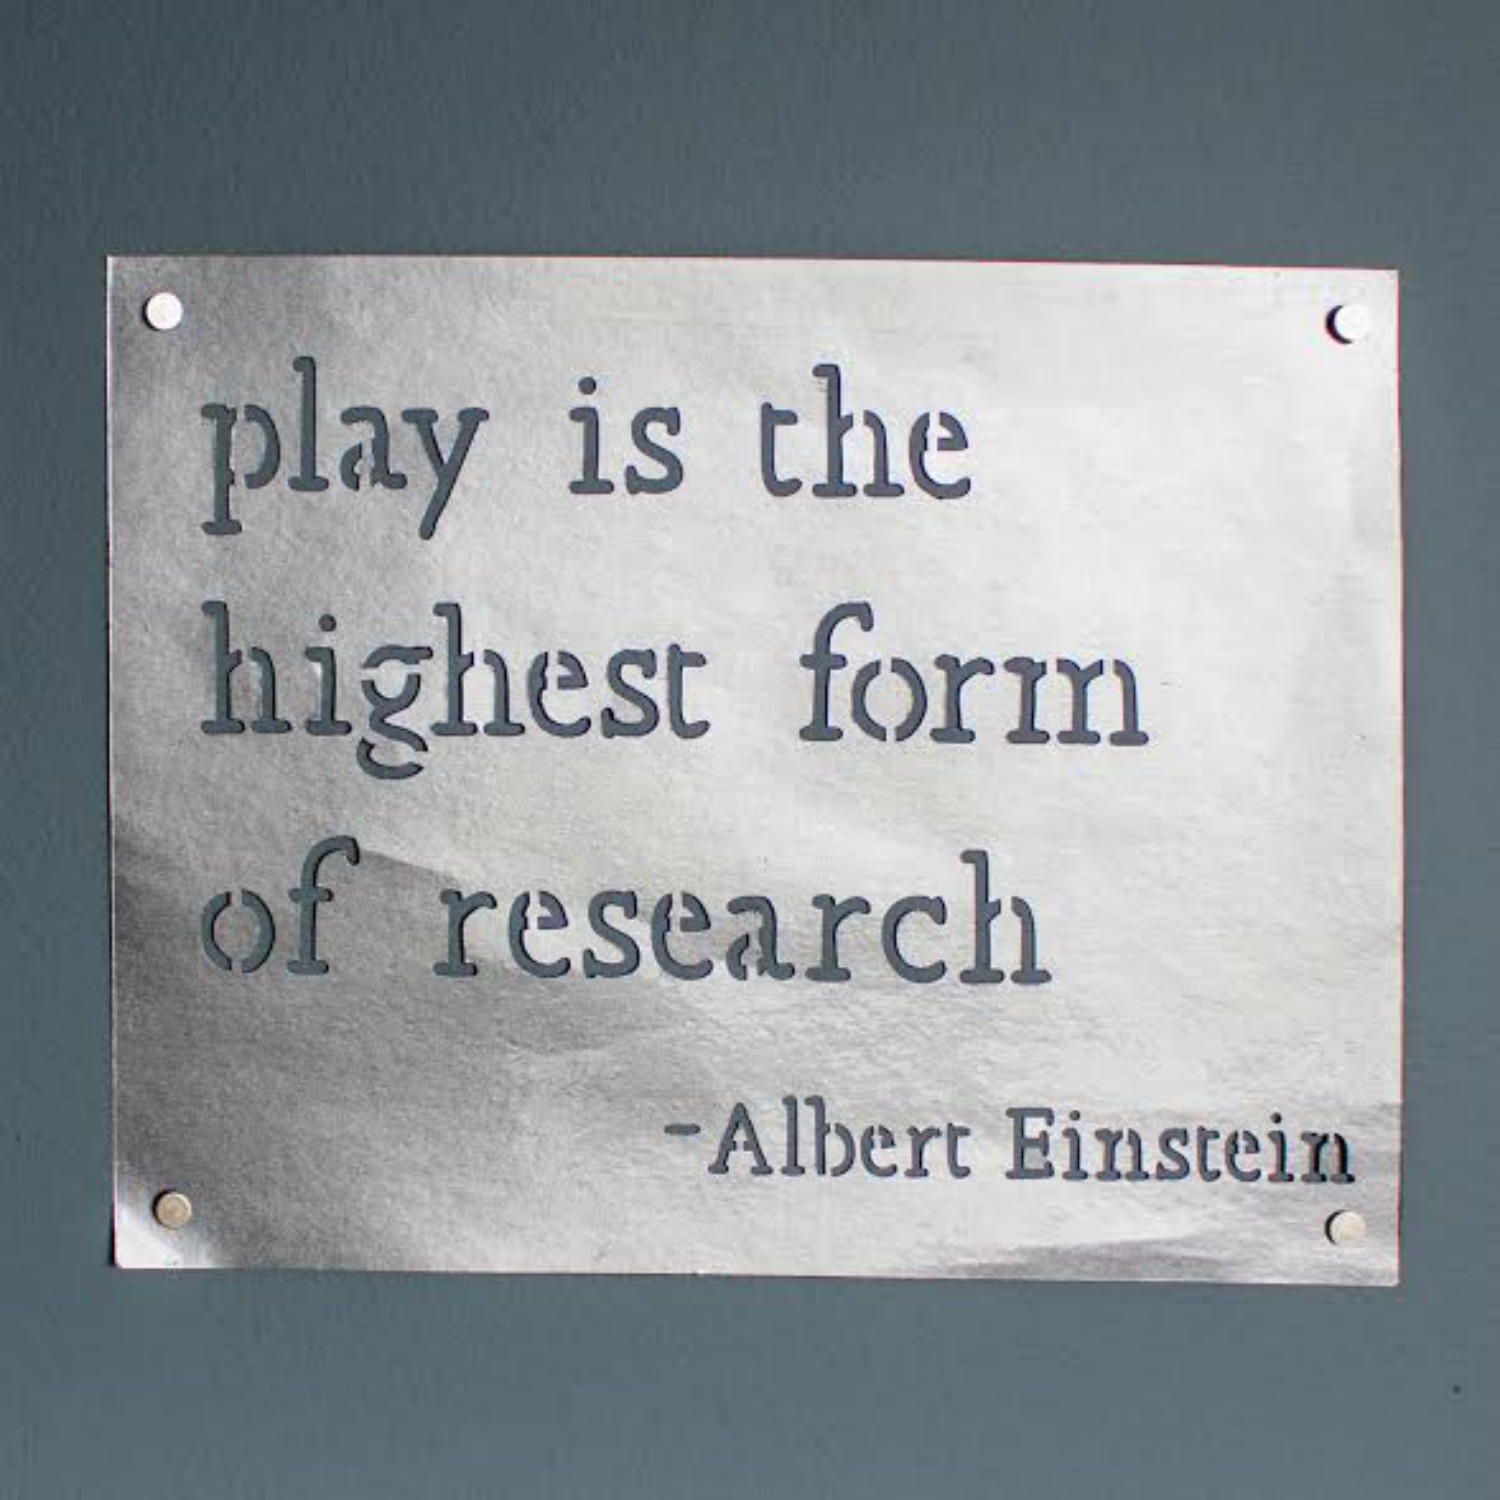
Once it's done carefully remove the letters, I used my spatula tool to help lift it off and loosen the letters out. Hang it on your wall and admire your hard work! Less than $5.00 for this $50.00 look.

Now go on and make your own faux laser cut metal artwork!! Make sure to tag me in your instagram photos so I can see what you made @designedtobecrafty
Recent Posts
-
NEW Holographic Eclipse Heat Transfer Vinyl
April 15th, 2024 3 Ways to Use the New Holographic Eclipse Heat Transfer Vinyl from Siser …Apr 29th 2024 -
Hop into Spring with Cute Easter Vinyl Crafts
Do you love our Vinyl? Sign up for Vinyl Club today to get FREE vinyl and save big! …Mar 28th 2024 -

Fixing Wrinkles and Bubbles in Vinyl
How do you get air bubbles out of vinyl? There are a few different ways to ensure a flawless …Mar 26th 2024