Candy Jar with Vinyl
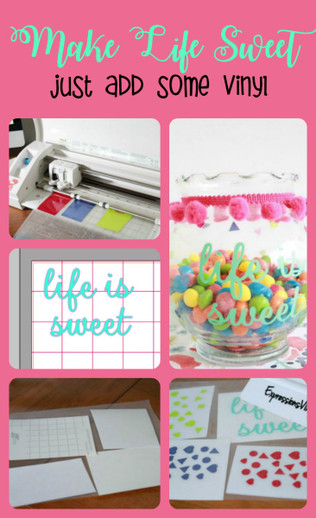
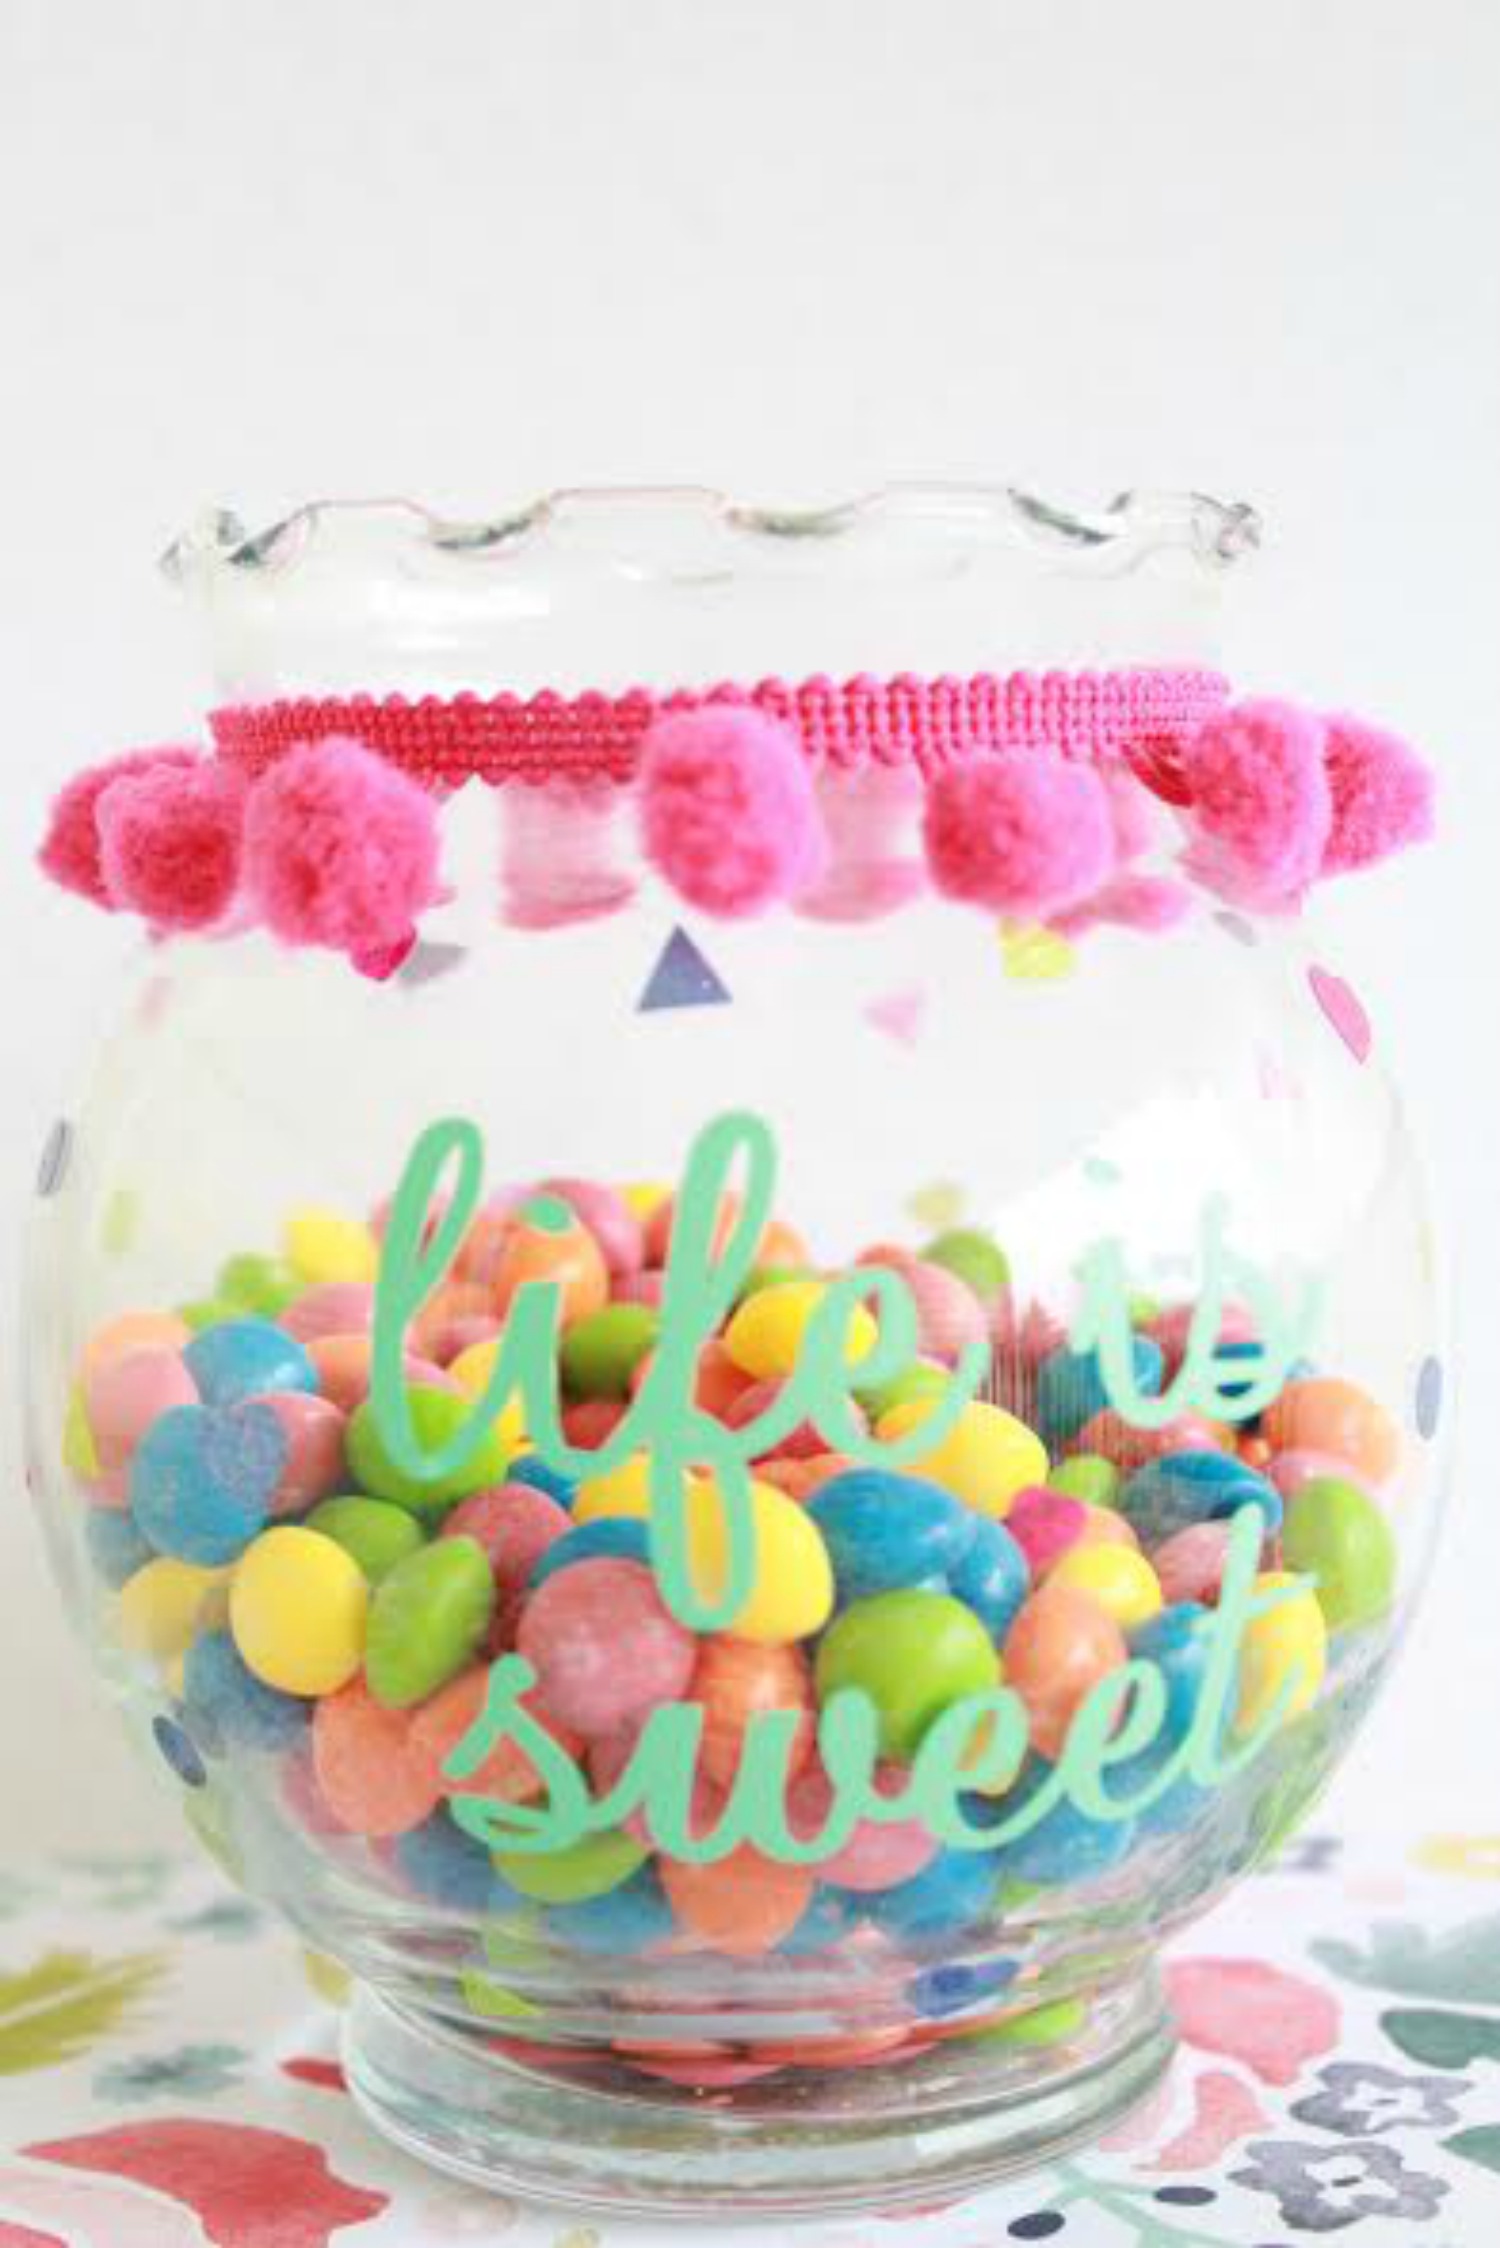
Hi crafty friends! Connie here from Kutie Kaira Designs showing you how to create an adorable candy jar covered in glitter vinyl confetti's and finished off with pink pom-poms. This candy jar just makes me so happy. It's super easy to make and is the perfect project to use up those vinyl scraps that you have laying around. I have more scraps than I care to admit...but I can't ever throw away precious vinyl scraps. Who's with me?! Let's get started!
Things you will need:
-Cutting machine (I am using a CAMEO)
-Glass jar
-Hot glue gun
-Oracal 631Vinyl in Mint
-Pom-poms or ribbon of your choice
-Clear transfer tape
-Glitter vinyl sheet (light blue)
-Transparent glitter sheets (lemon lime & magenta)
-Heart confetti file (mine is from the Silhouette Design Store by Sarah Hurley)
-Font is LD Elegrance Upright Bold (Silhouette Font)
Step 1: Design Files in Software
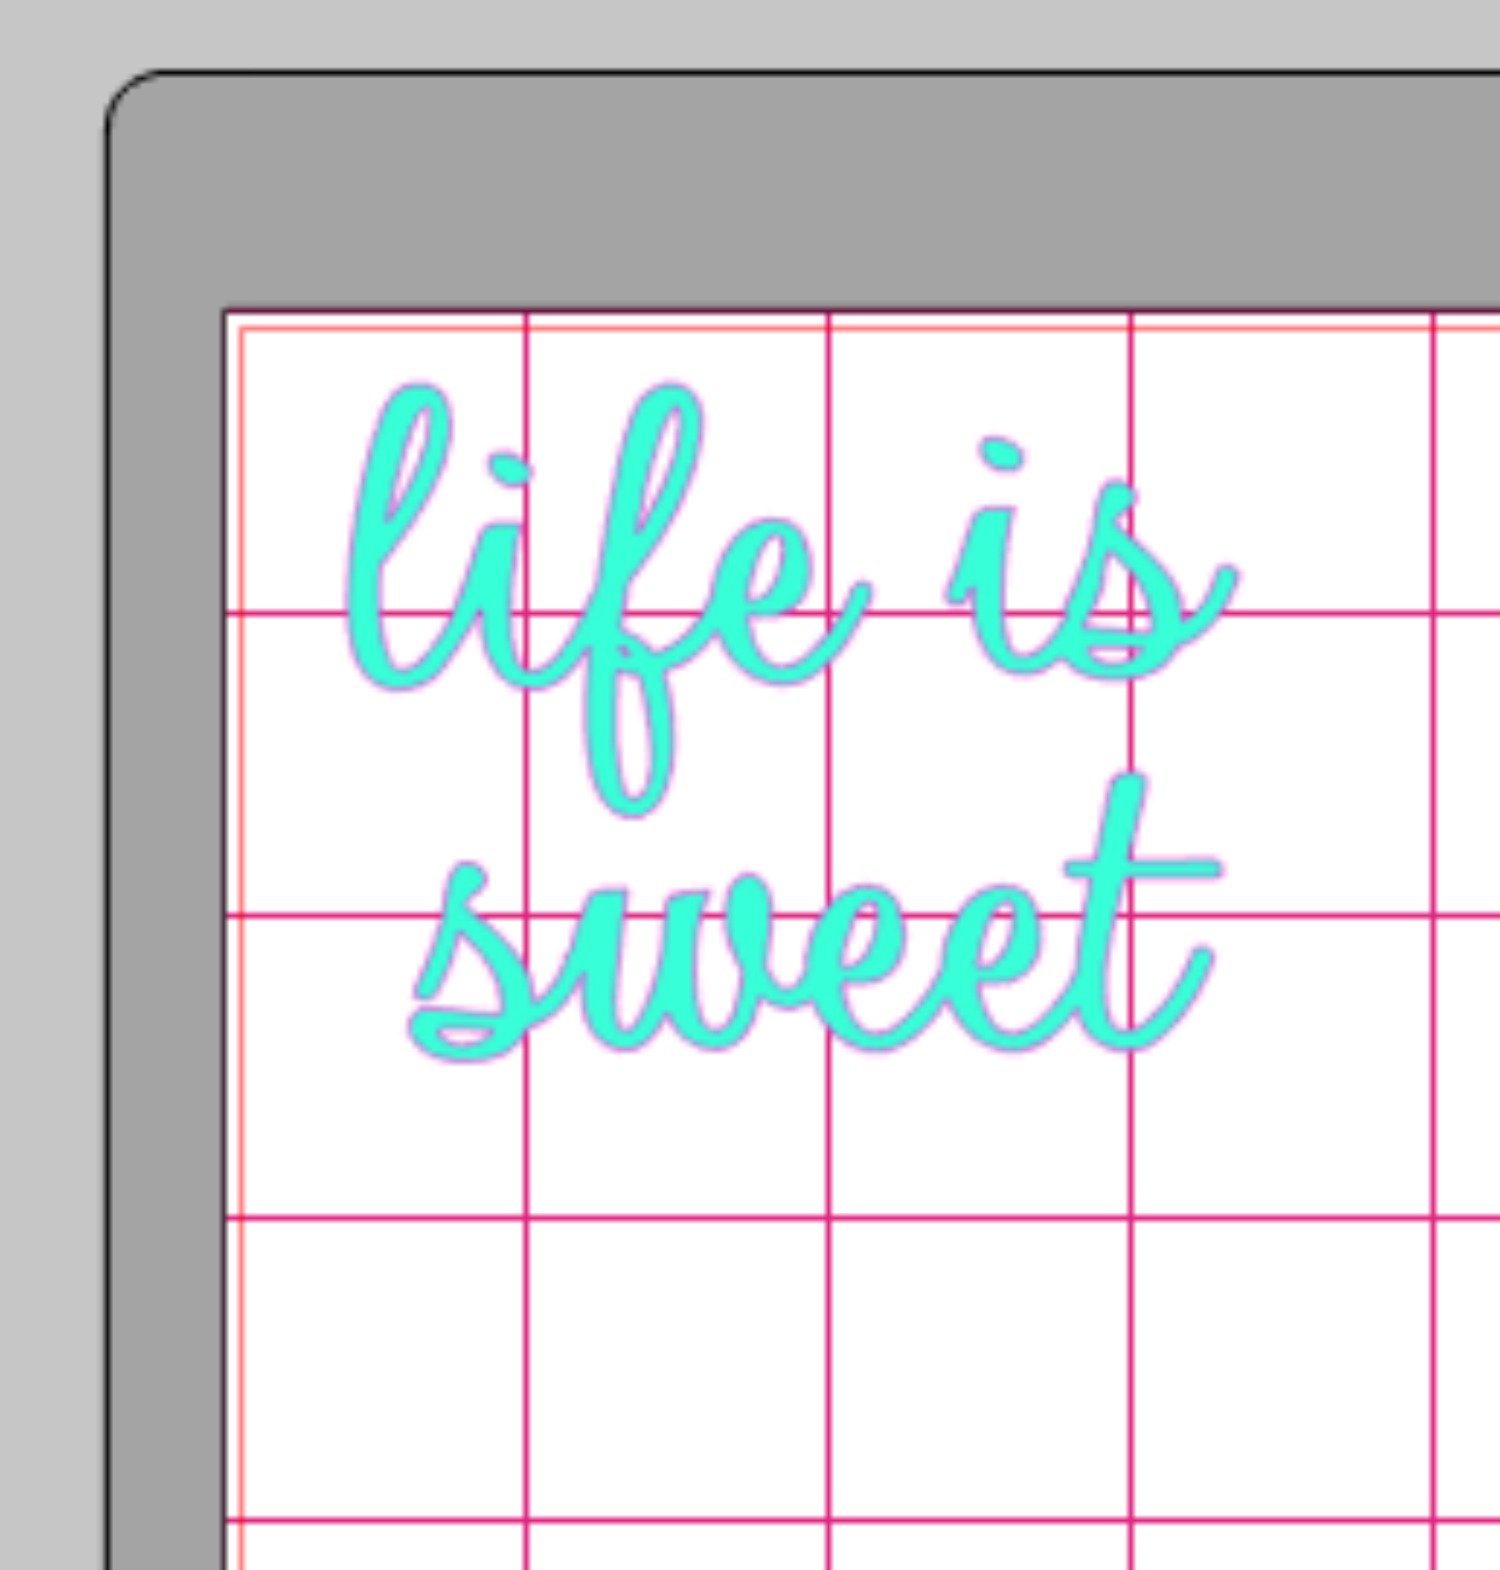
decided to use a font to create my own saying since I couldn't find a file I liked. I love that you can make your own font files in a breeze! I typed "life is sweet" and welded it together so that the cursive words intersect. Size your file according to the jar you are using. My phrase is about 3 inches wide.
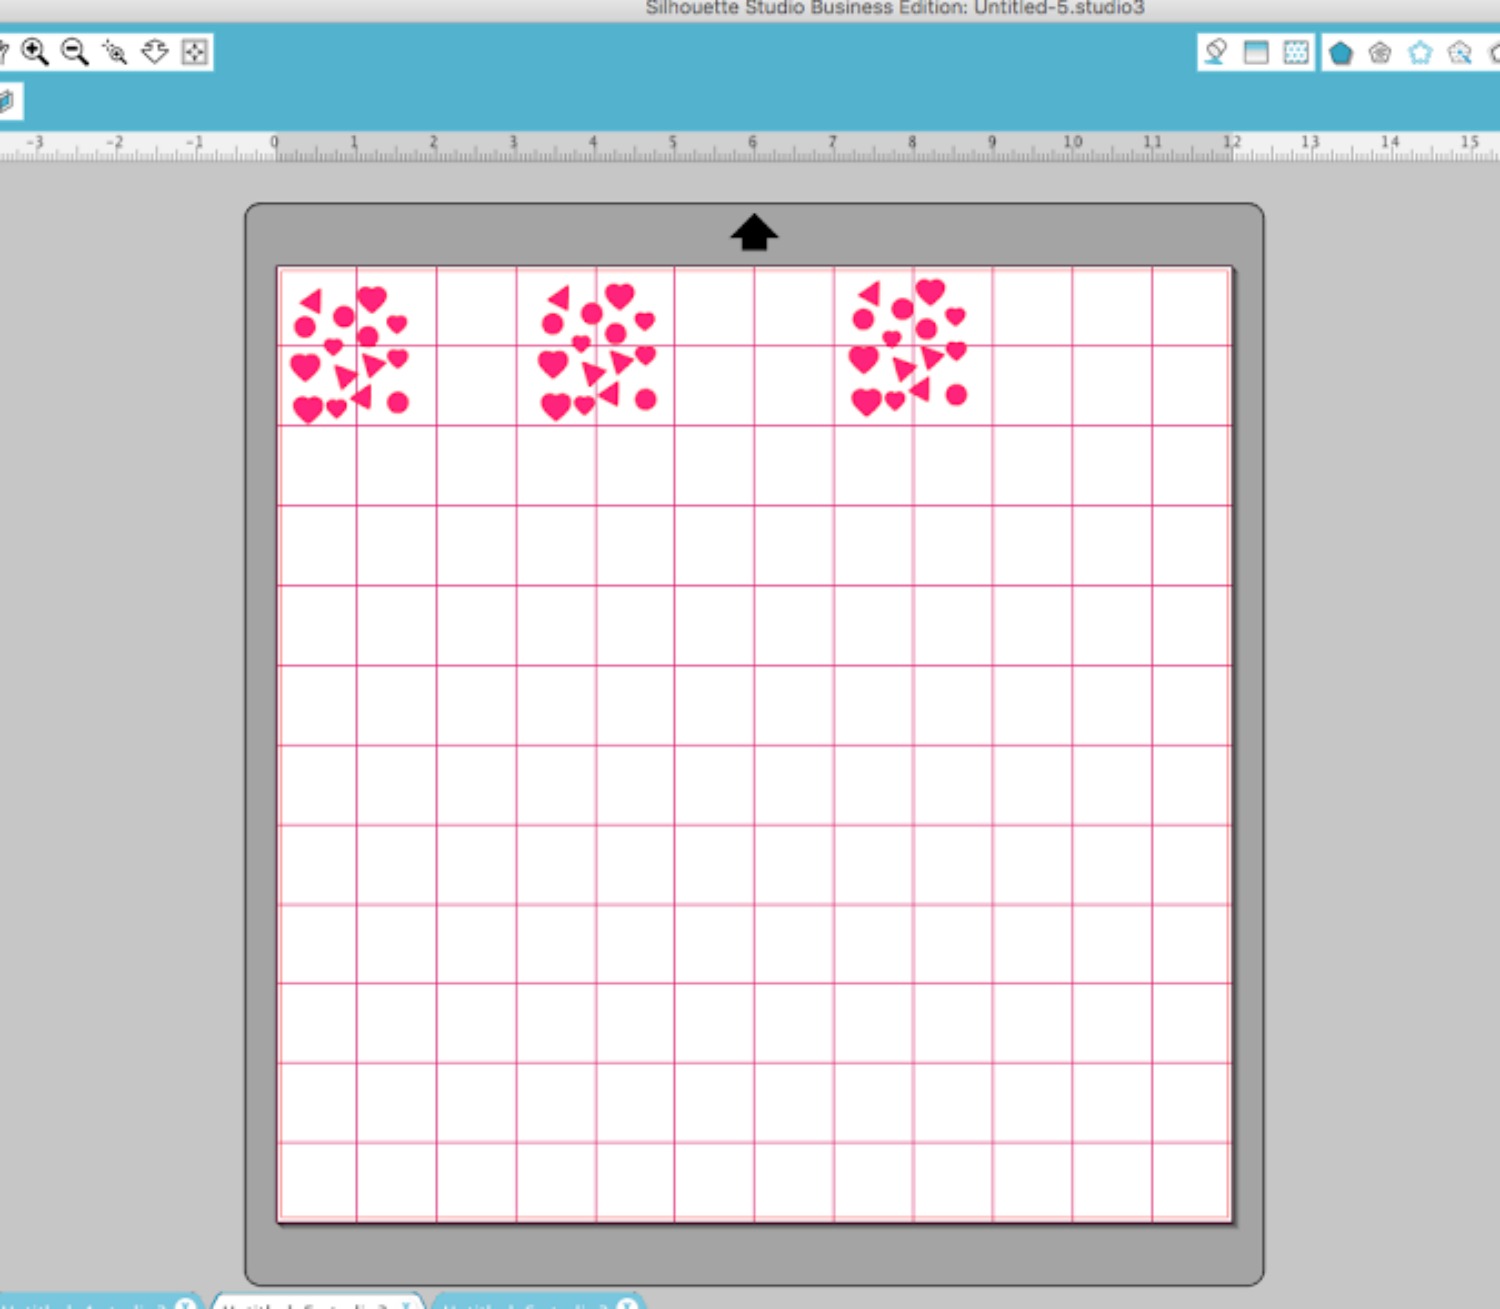
Next, I added my heart confetti file and spaced it on the mat so that I can cut multiple colors at a time!
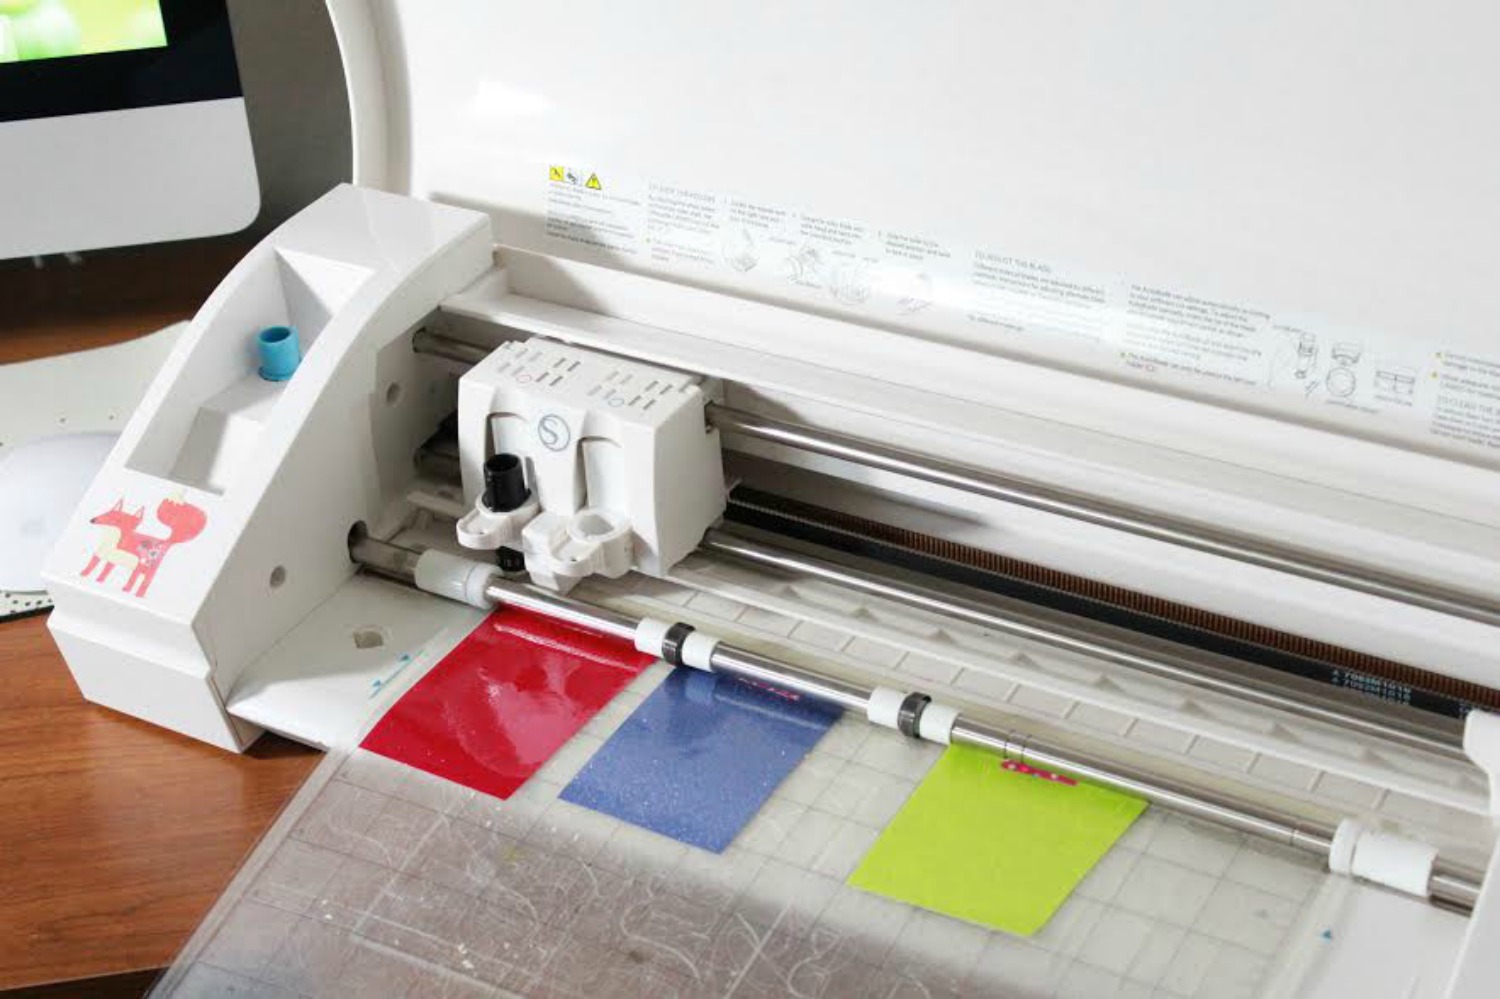
Let those scraps out and place the vinyl on the mat in the respective spots so they match up when you cut. *Pro Tip: Use washi tape or painters tape to secure vinyl to your mat once your mat starts to lose tackiness. I get months and months of use from my mats because of this trick! Since the adhesive is so light, it won't ruin your material. You can even use it on cardstock paper.
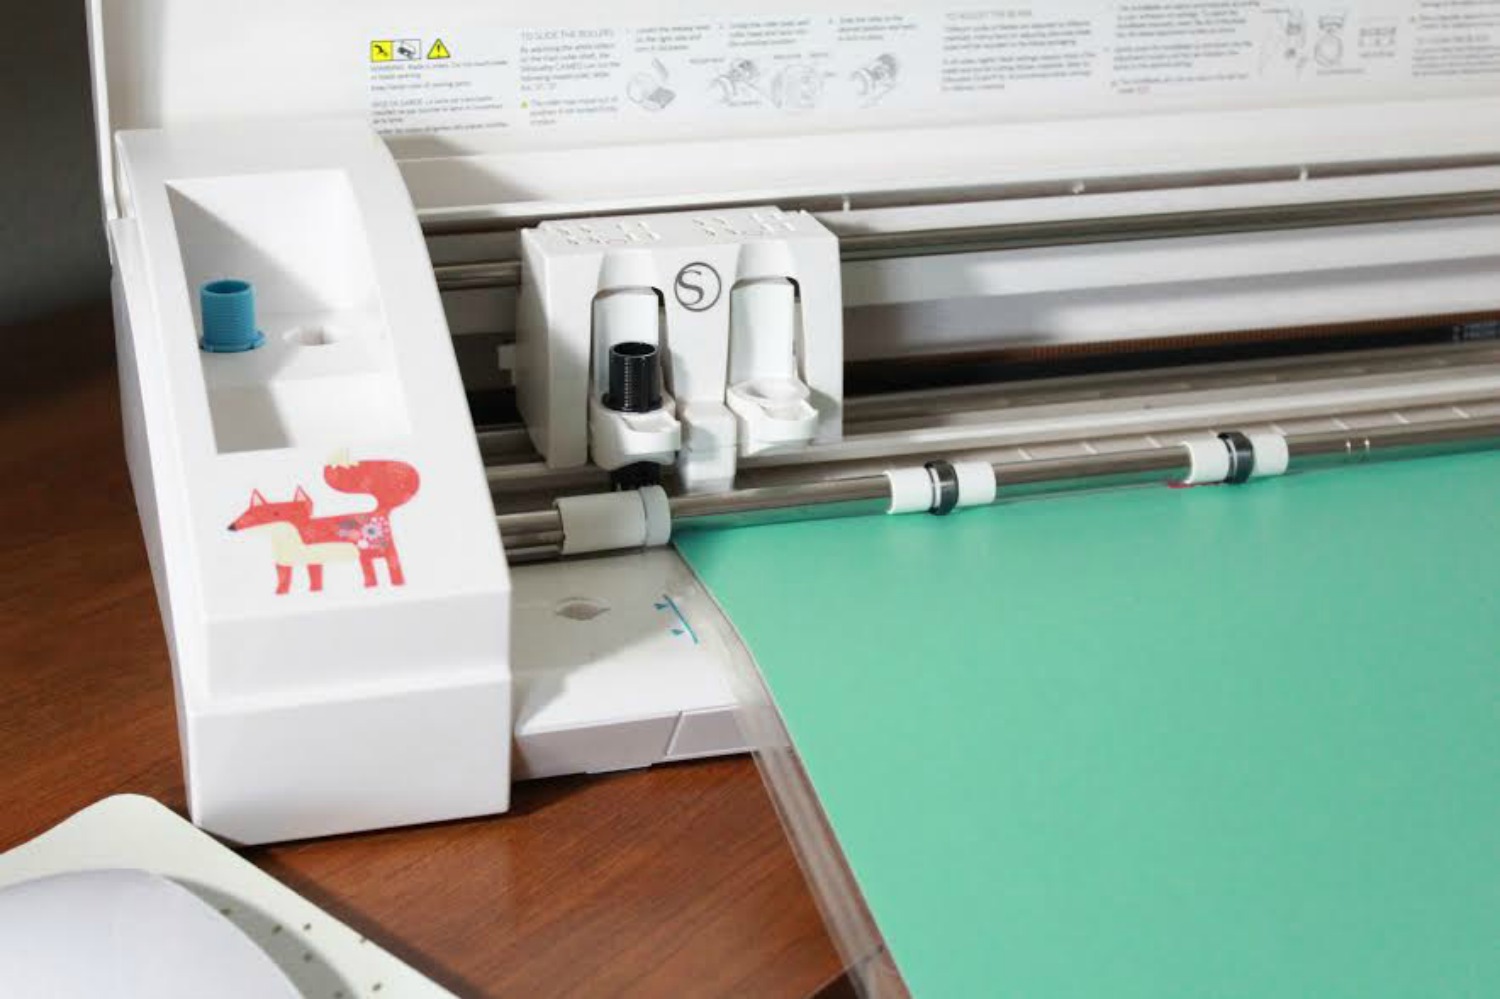
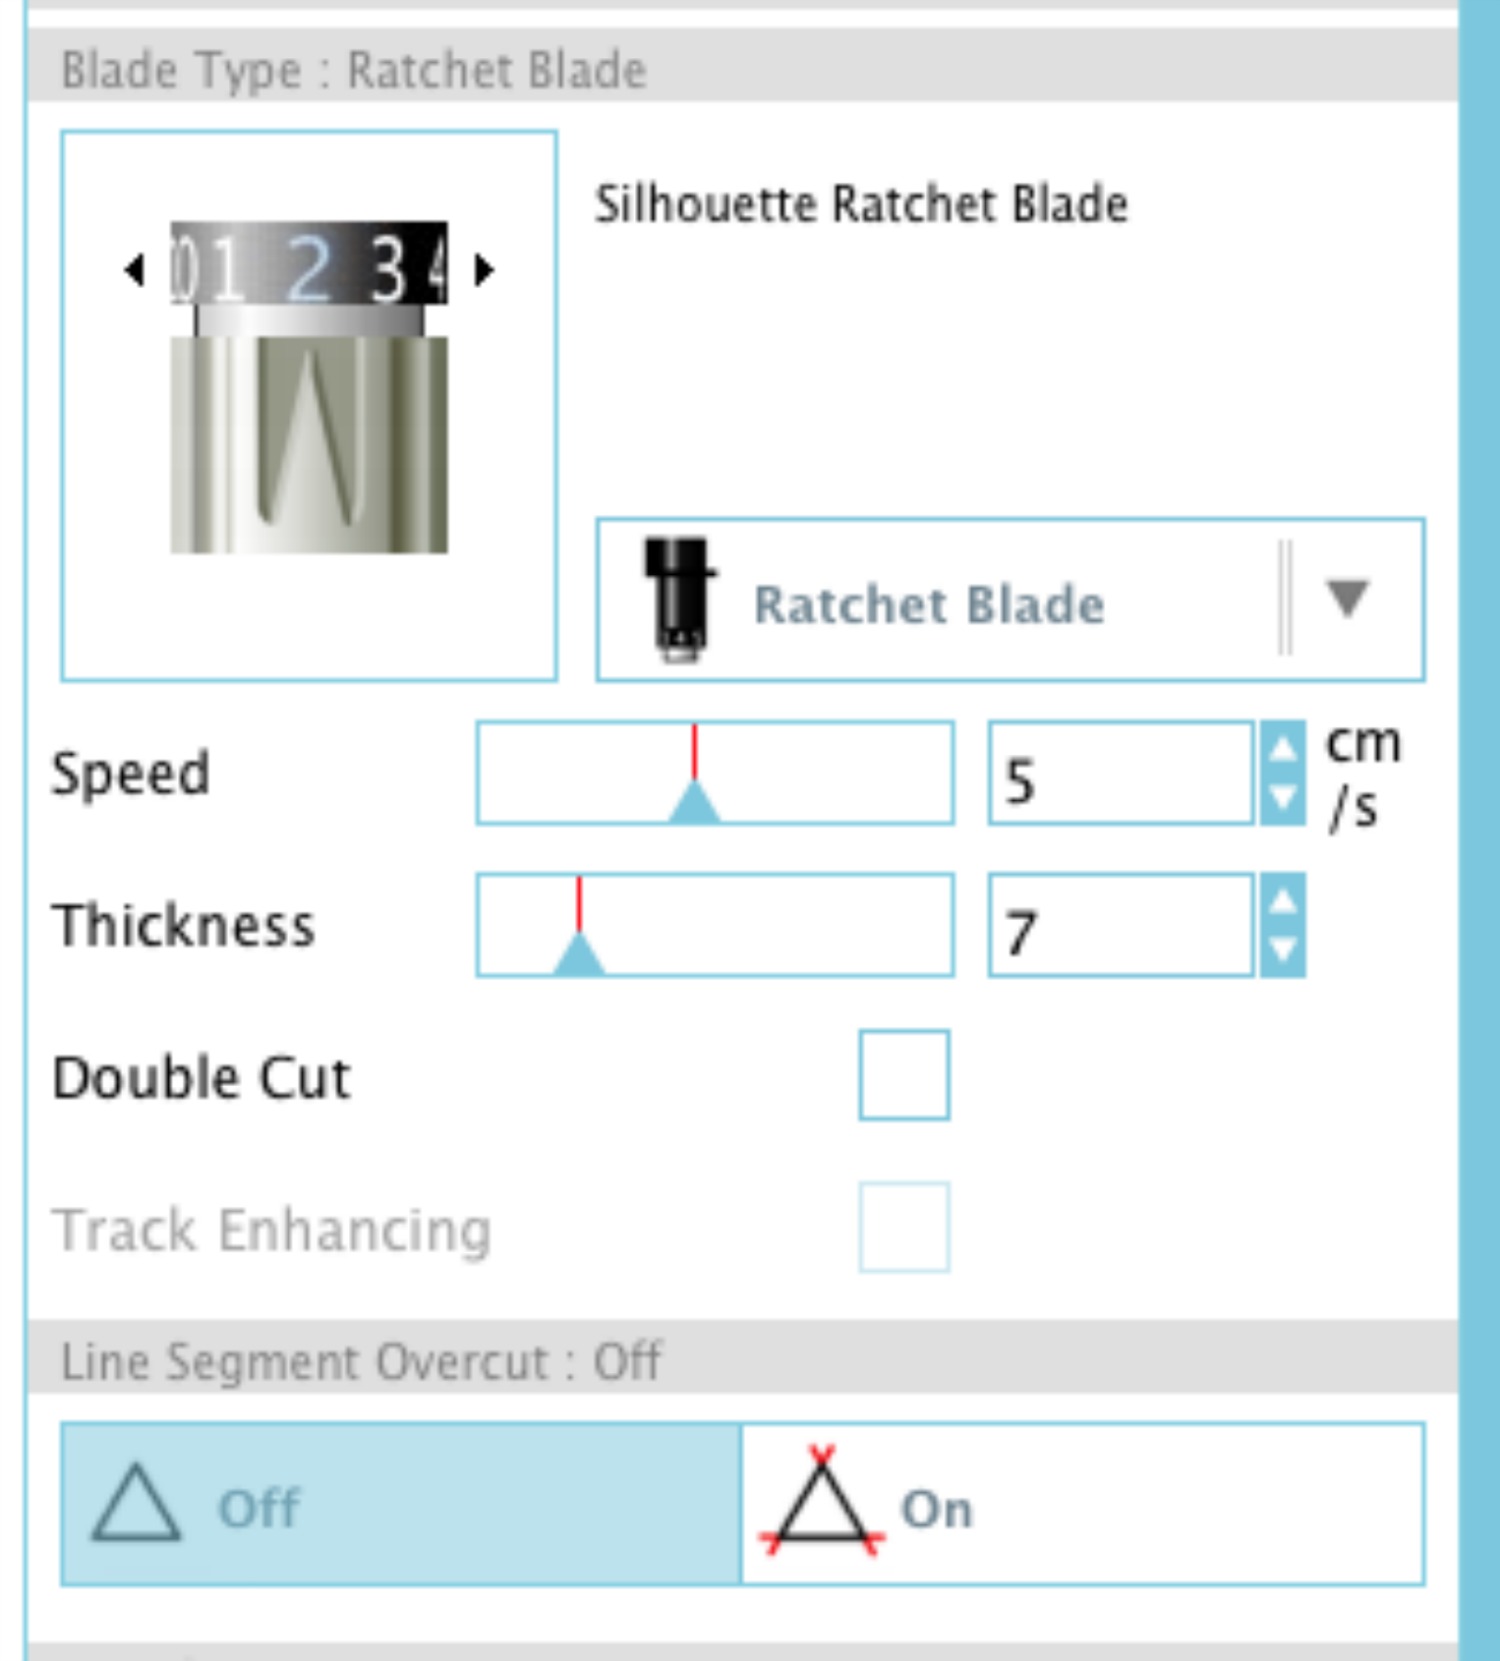
Once you cut your confetti, cut your phrase out. The settings for both of these materials are the same! But as always, be sure to test cut if you aren't sure of the right settings. The test cut is my best friend. It has saved me so many times.
Step 2: Weed And Apply Your Vinyl
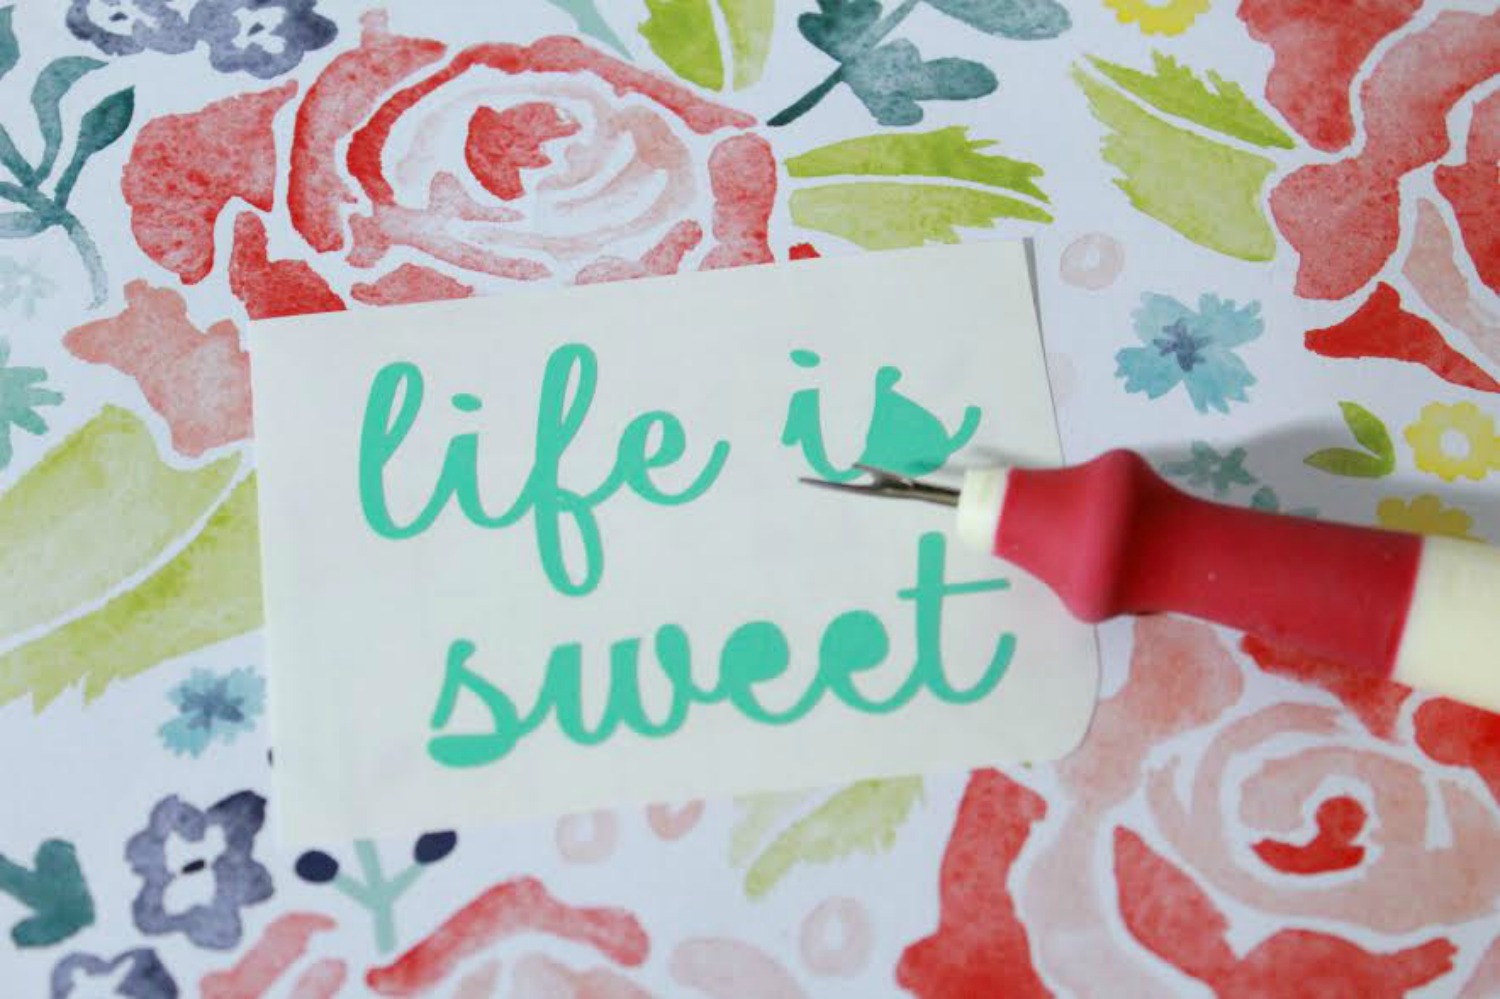 Once your files are done cutting, weed them so that you remove all of the "negative" pieces that you don't want on your final project.
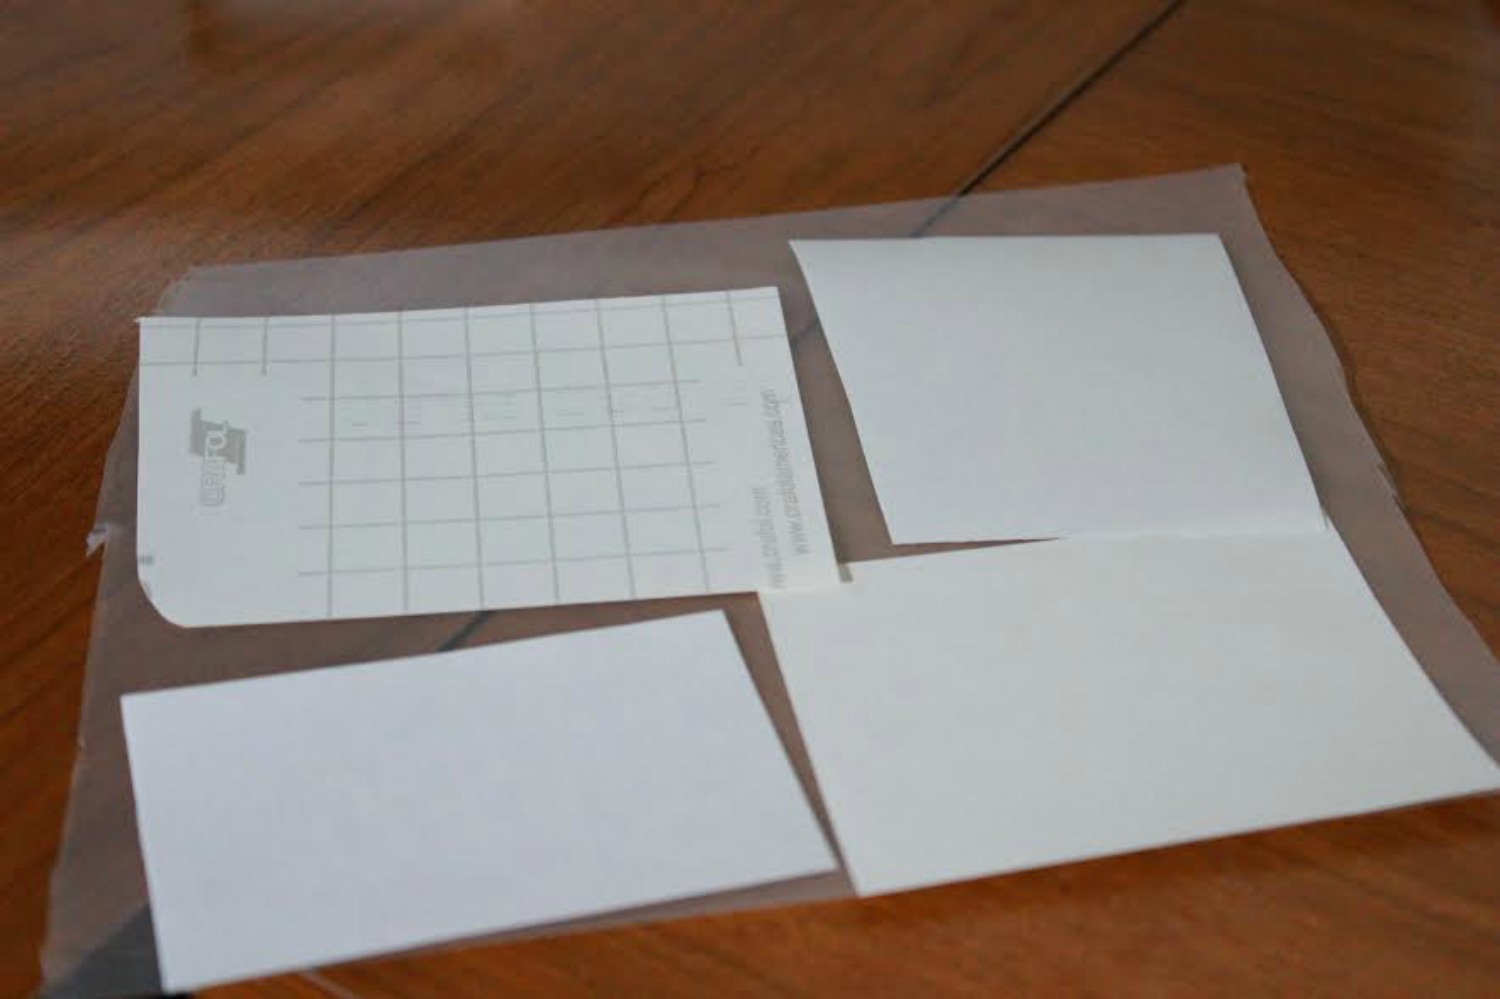
Add each of your pieces to your transfer tape. I like to turn the tape upside down so that the adhesive in on top and apply the vinyl to it. This ensures that you don't get any bubbles and it maximizes your transfer tape space.
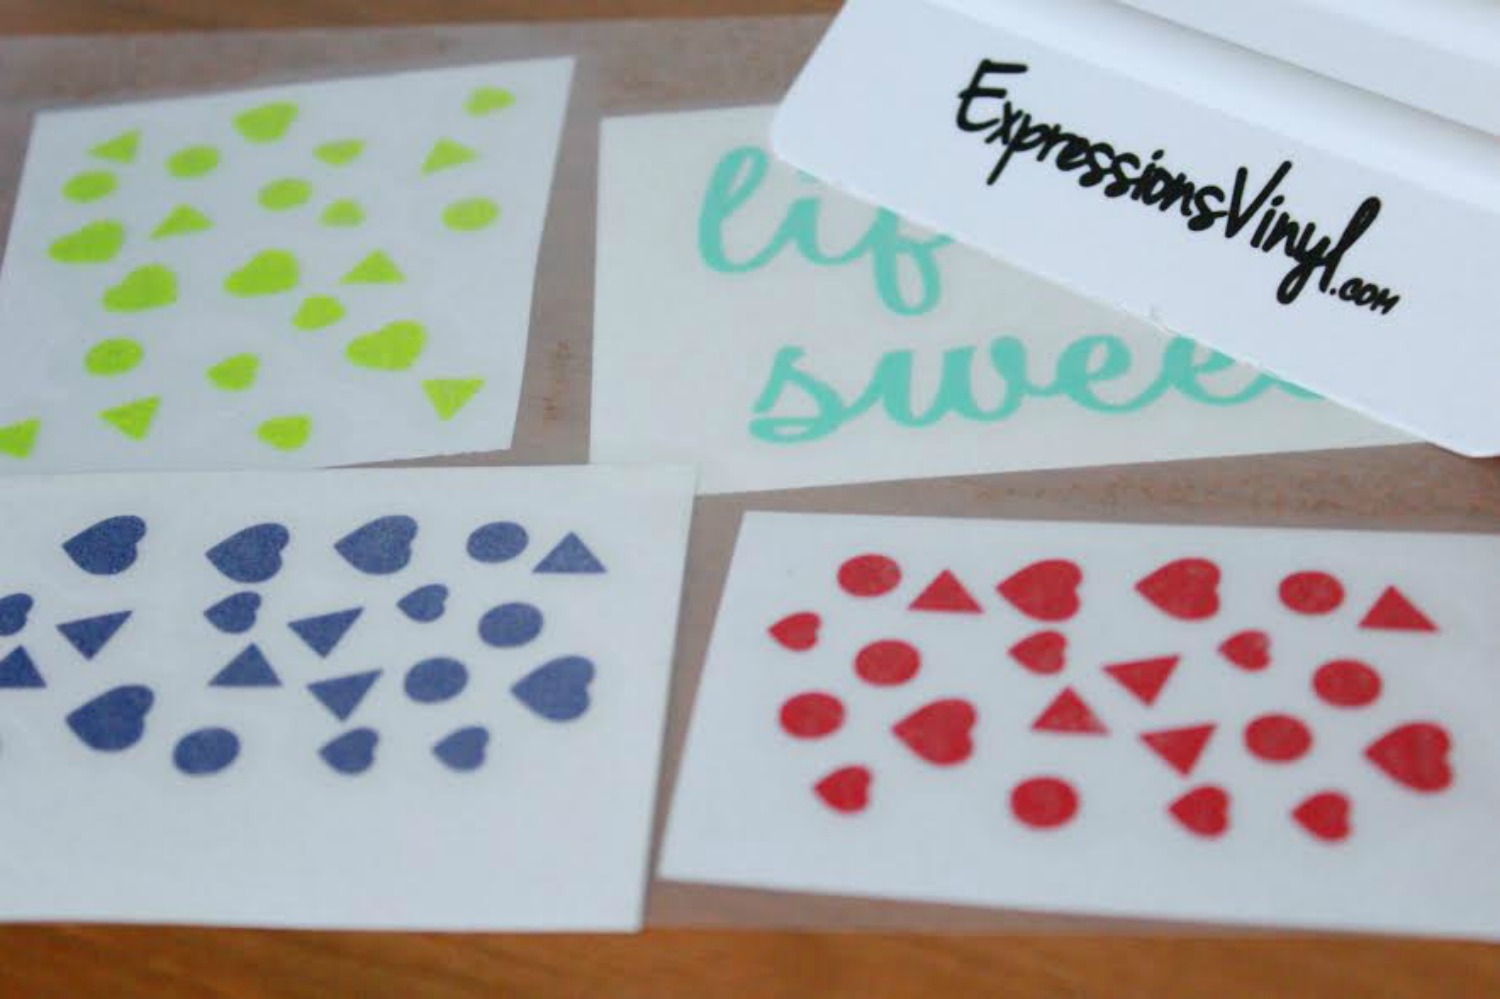 Turn it over and use a scraper tool to ensue that your vinyl will transfer to the tape easily.
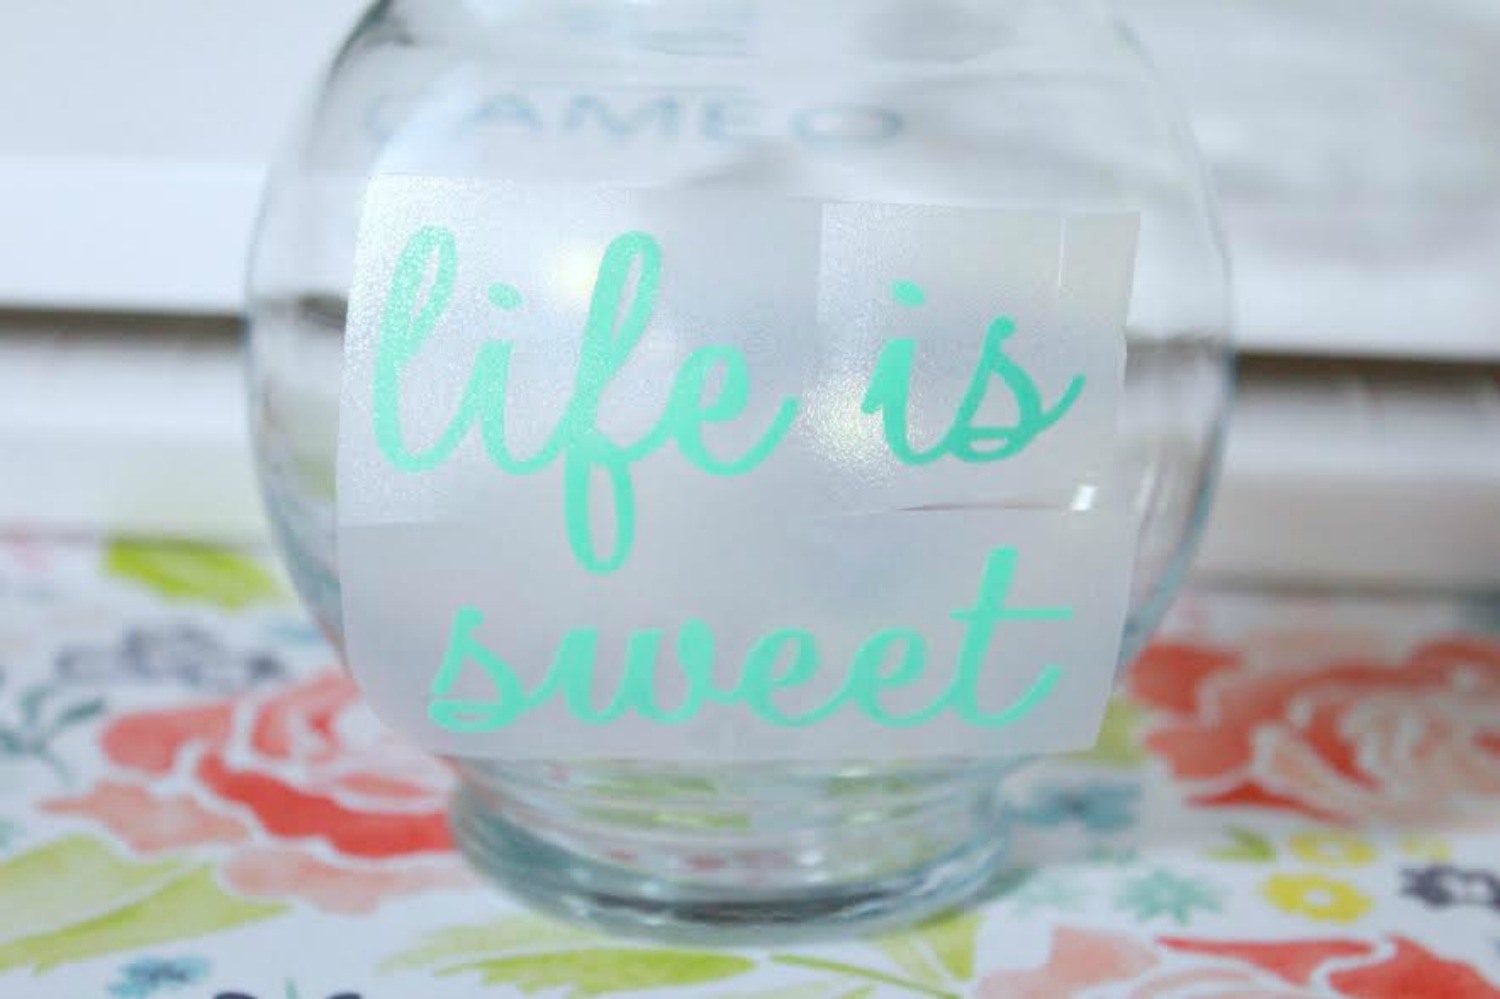
Now it is time to apply your vinyl. Since we are placing vinyl on a super round surface, you will want to cut tiny slits on your transfer tape around the file to help you when applying it on your jar. Start in the middle of the design and with your finger, slowly smooth out each section one at a time.
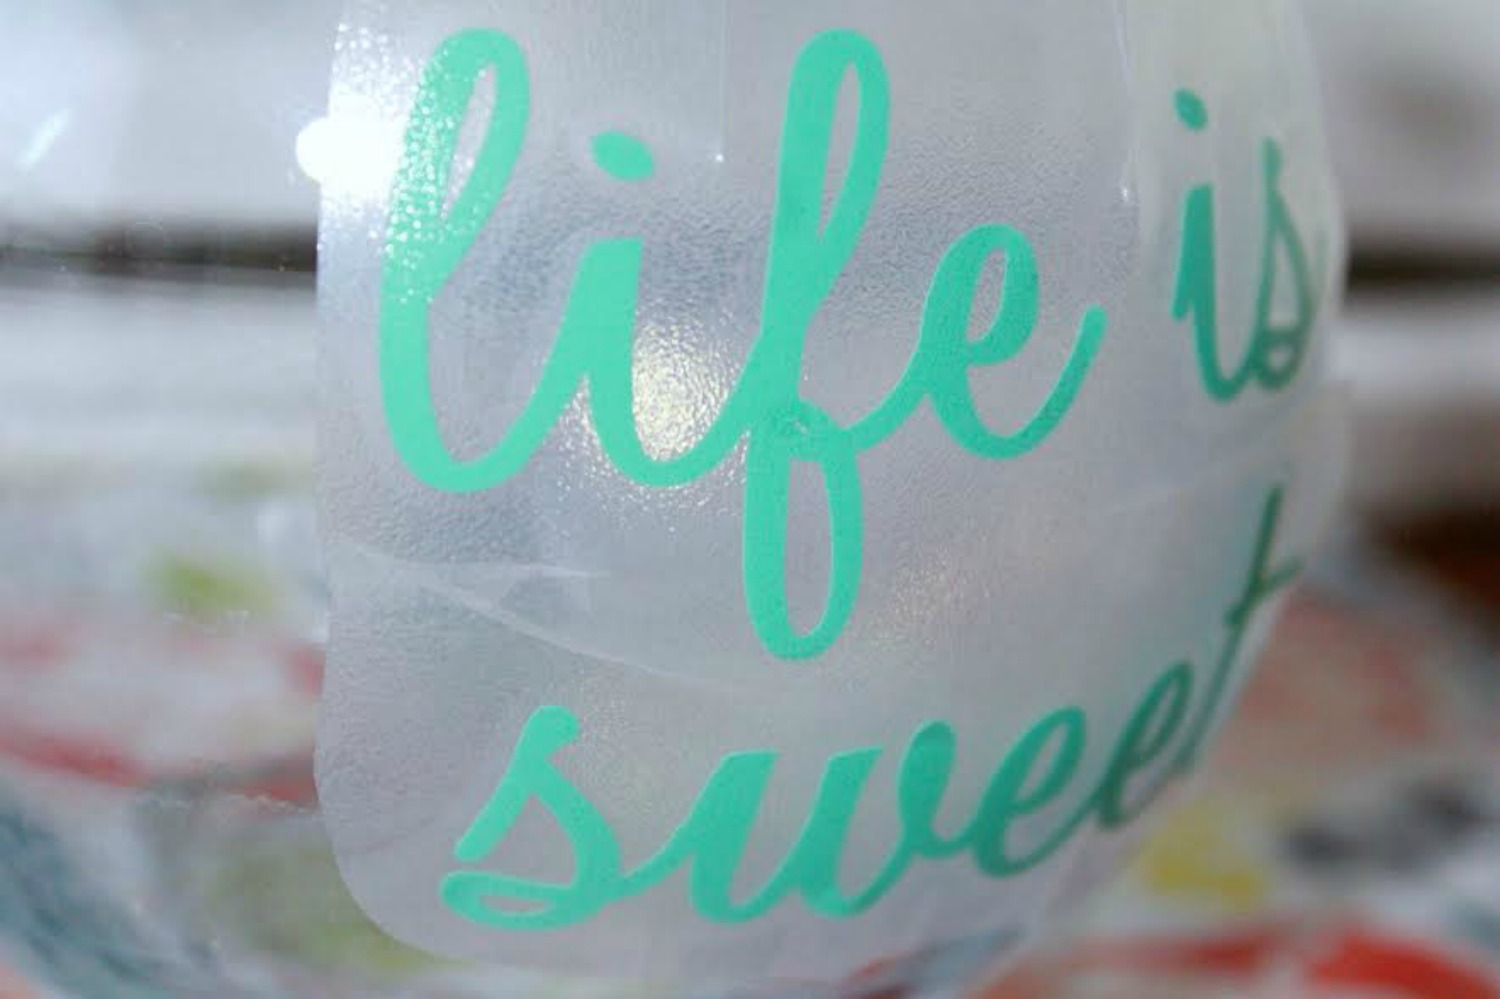
You might notice bubbles in your tape. Don't worry! It is totally possible to have bubbles and creases in your transfer tape but not in your design. That is the key to applying vinyl on round surfaces. Just keep practicing. It gets easier :) Carefully remove the transfer tape and add the glitter vinyl confetti all around your jar!
Step 3: Add Finishing Touches
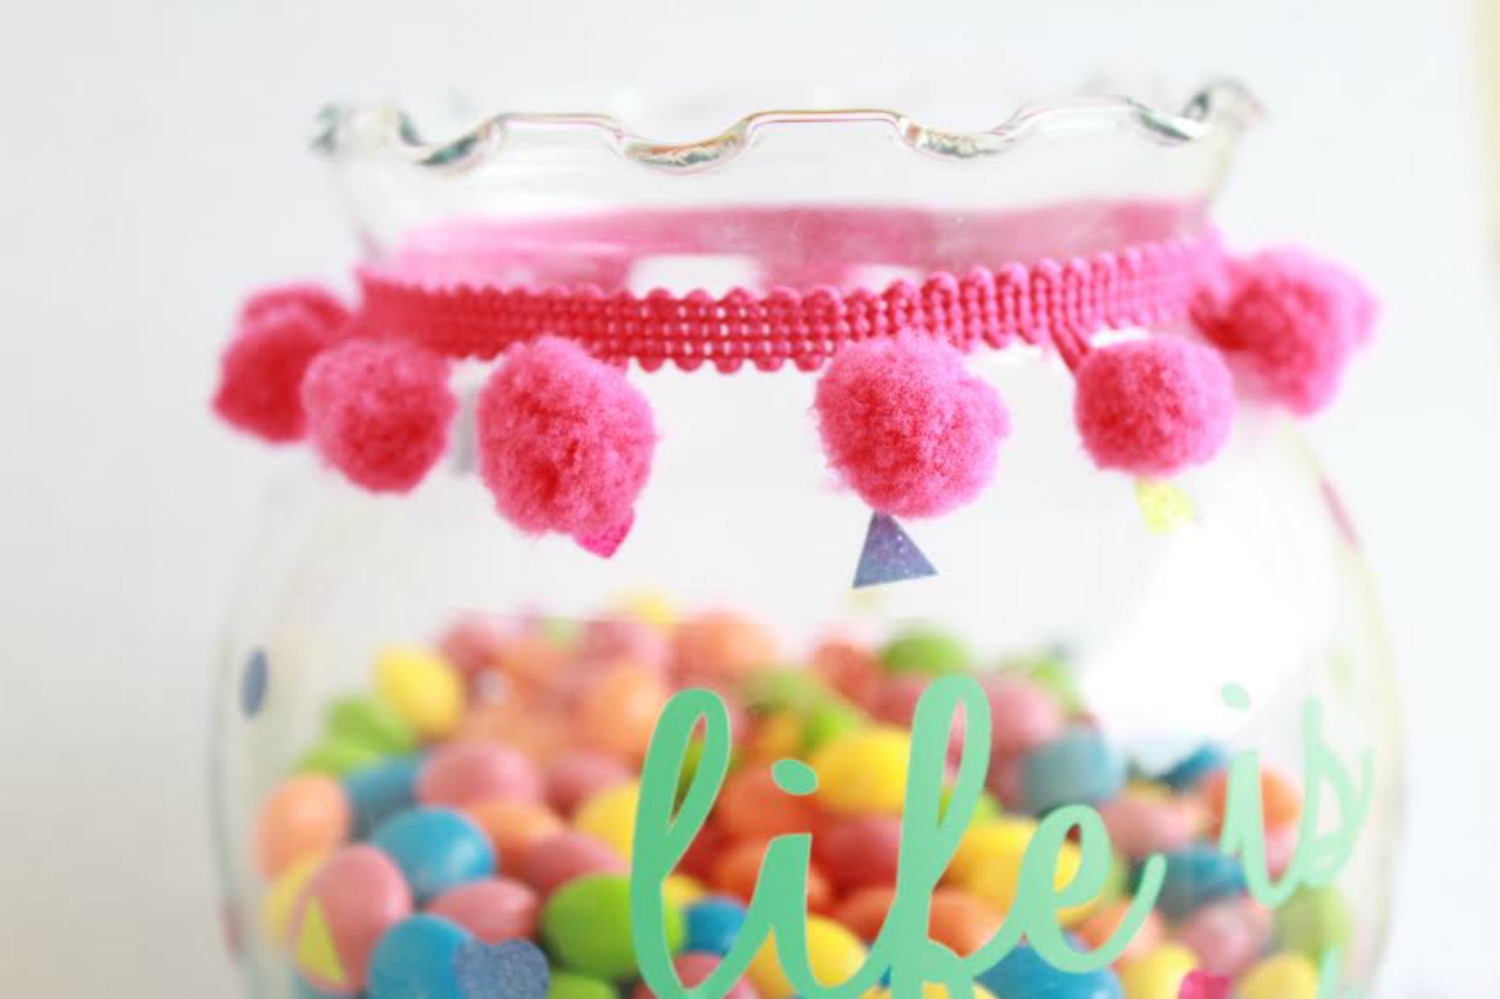
I used a hot glue gun to adhere the pom-pom ribbon around the top of the jar. You can also use ribbon or a fringe rope--get creative! Add your favorite candy treats you are done!
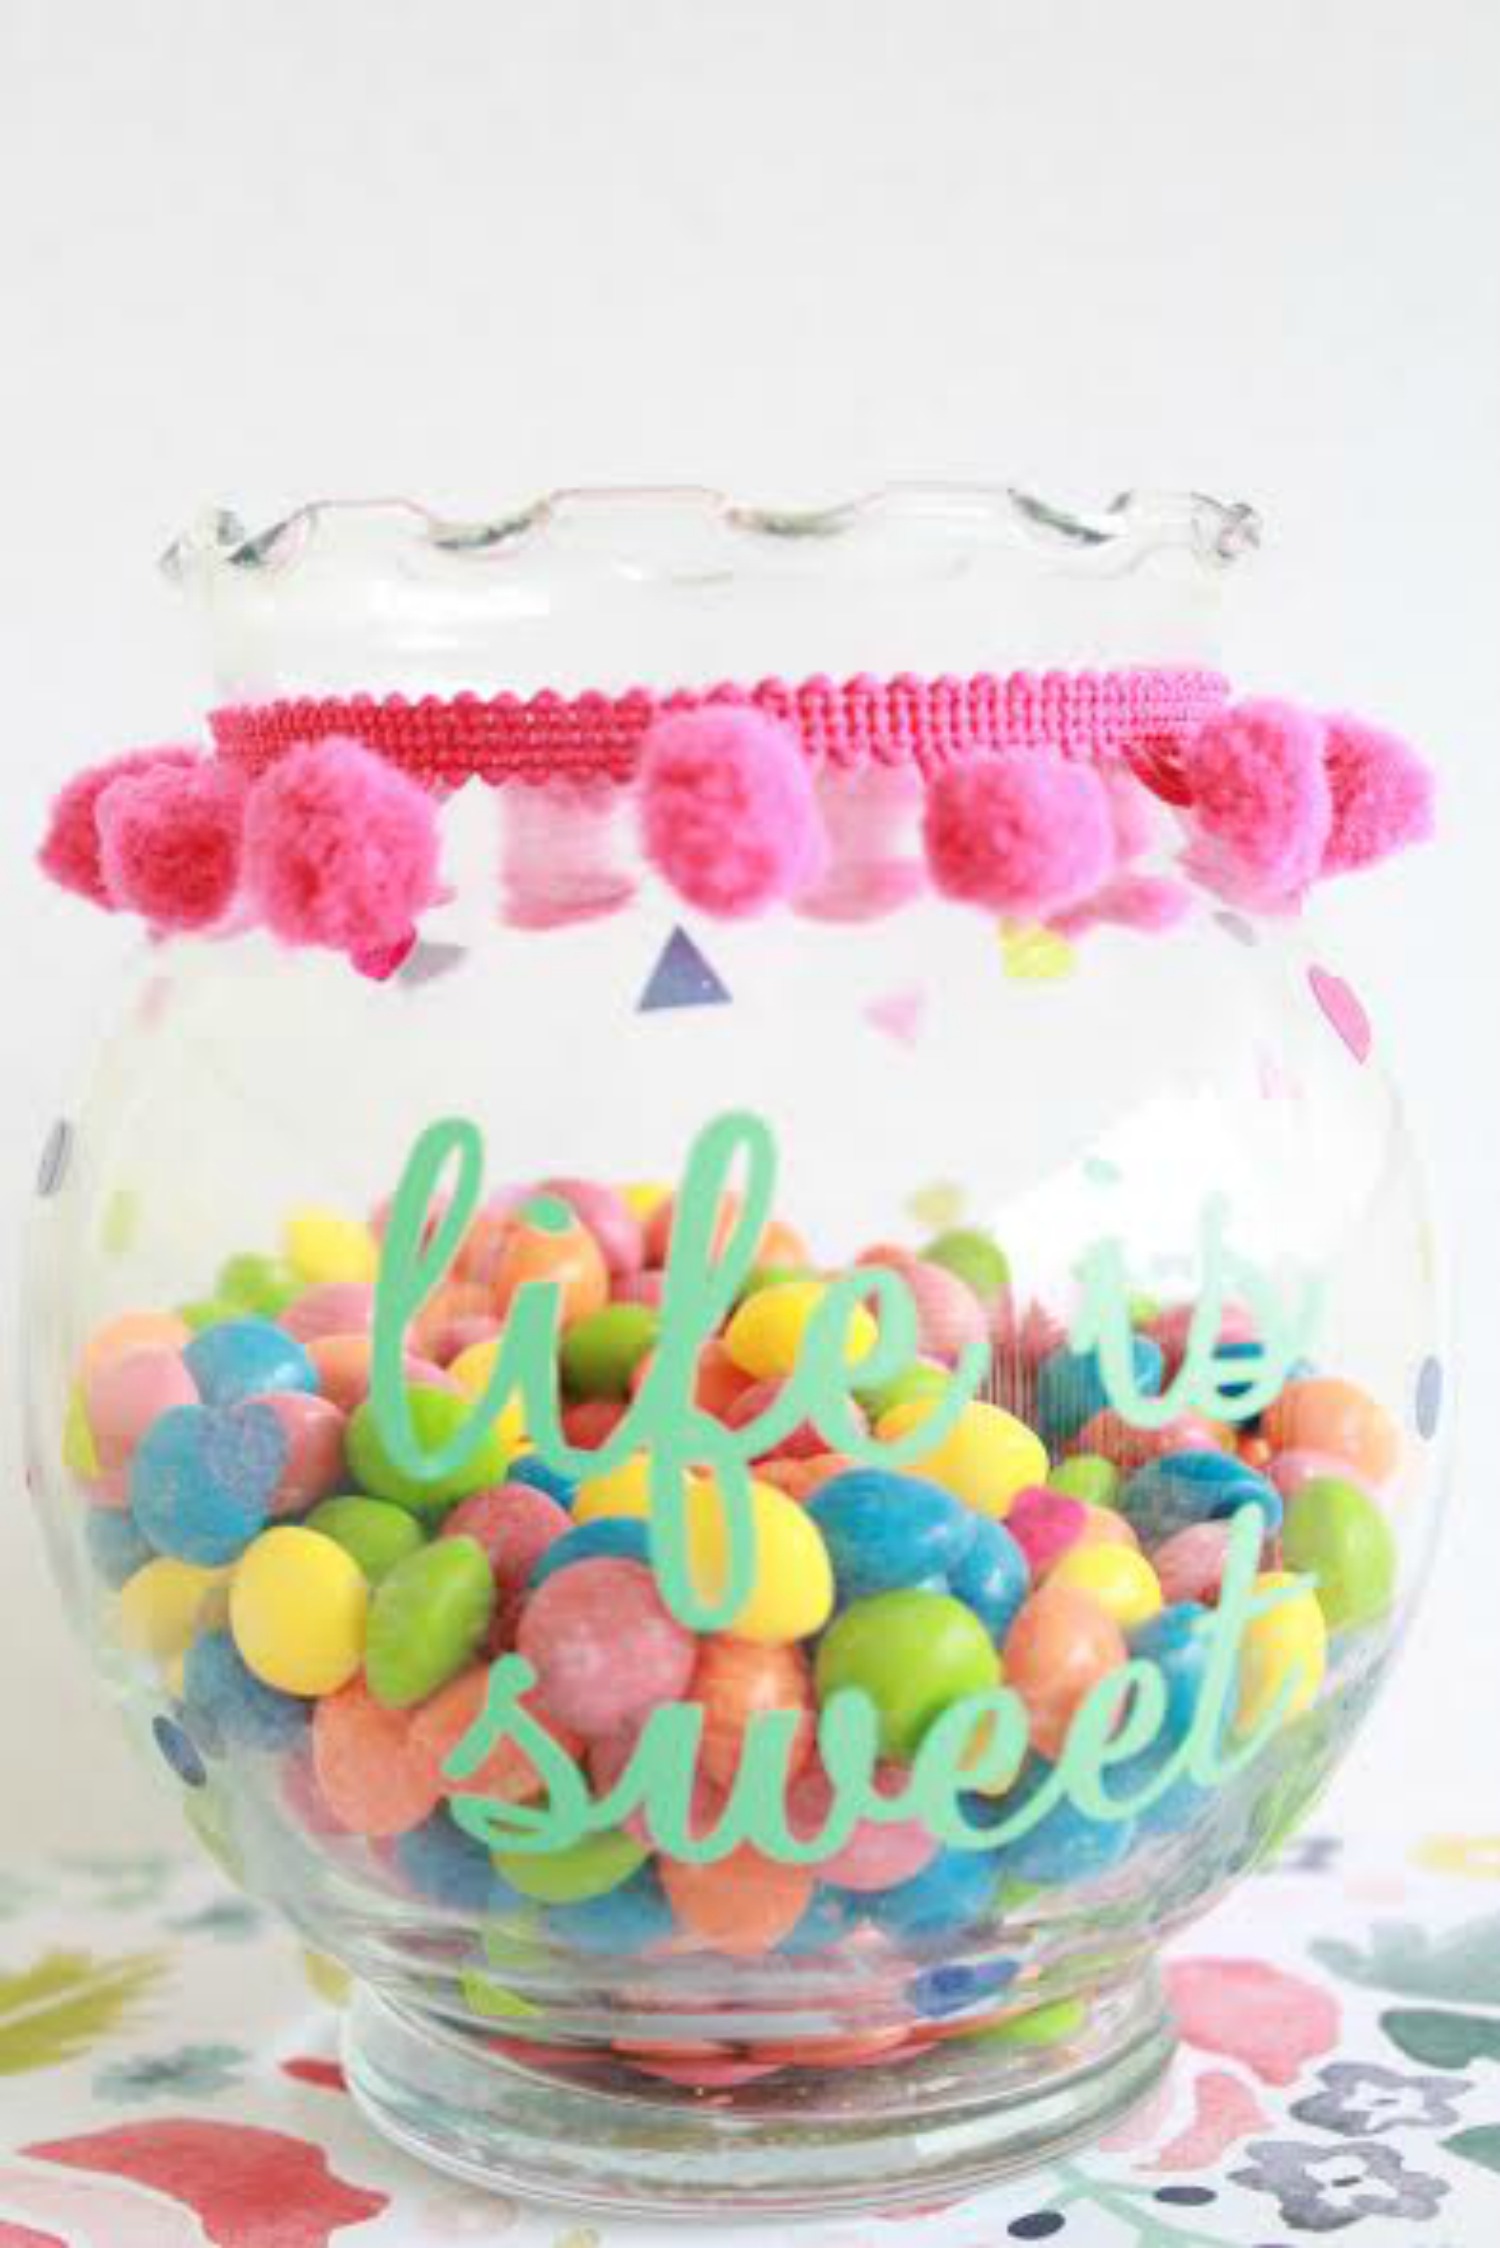
I hope that you try this project out! Be sure to share pictures and tag me if you do so I can see them! Happy summer friends, and see you next time.
Recent Posts
-
NEW Holographic Eclipse Heat Transfer Vinyl
April 15th, 2024 3 Ways to Use the New Holographic Eclipse Heat Transfer Vinyl from Siser …Apr 29th 2024 -
Hop into Spring with Cute Easter Vinyl Crafts
Do you love our Vinyl? Sign up for Vinyl Club today to get FREE vinyl and save big! …Mar 28th 2024 -
Fixing Wrinkles and Bubbles in Vinyl
How do you get air bubbles out of vinyl? There are a few different ways to ensure a flawless …Mar 26th 2024

