
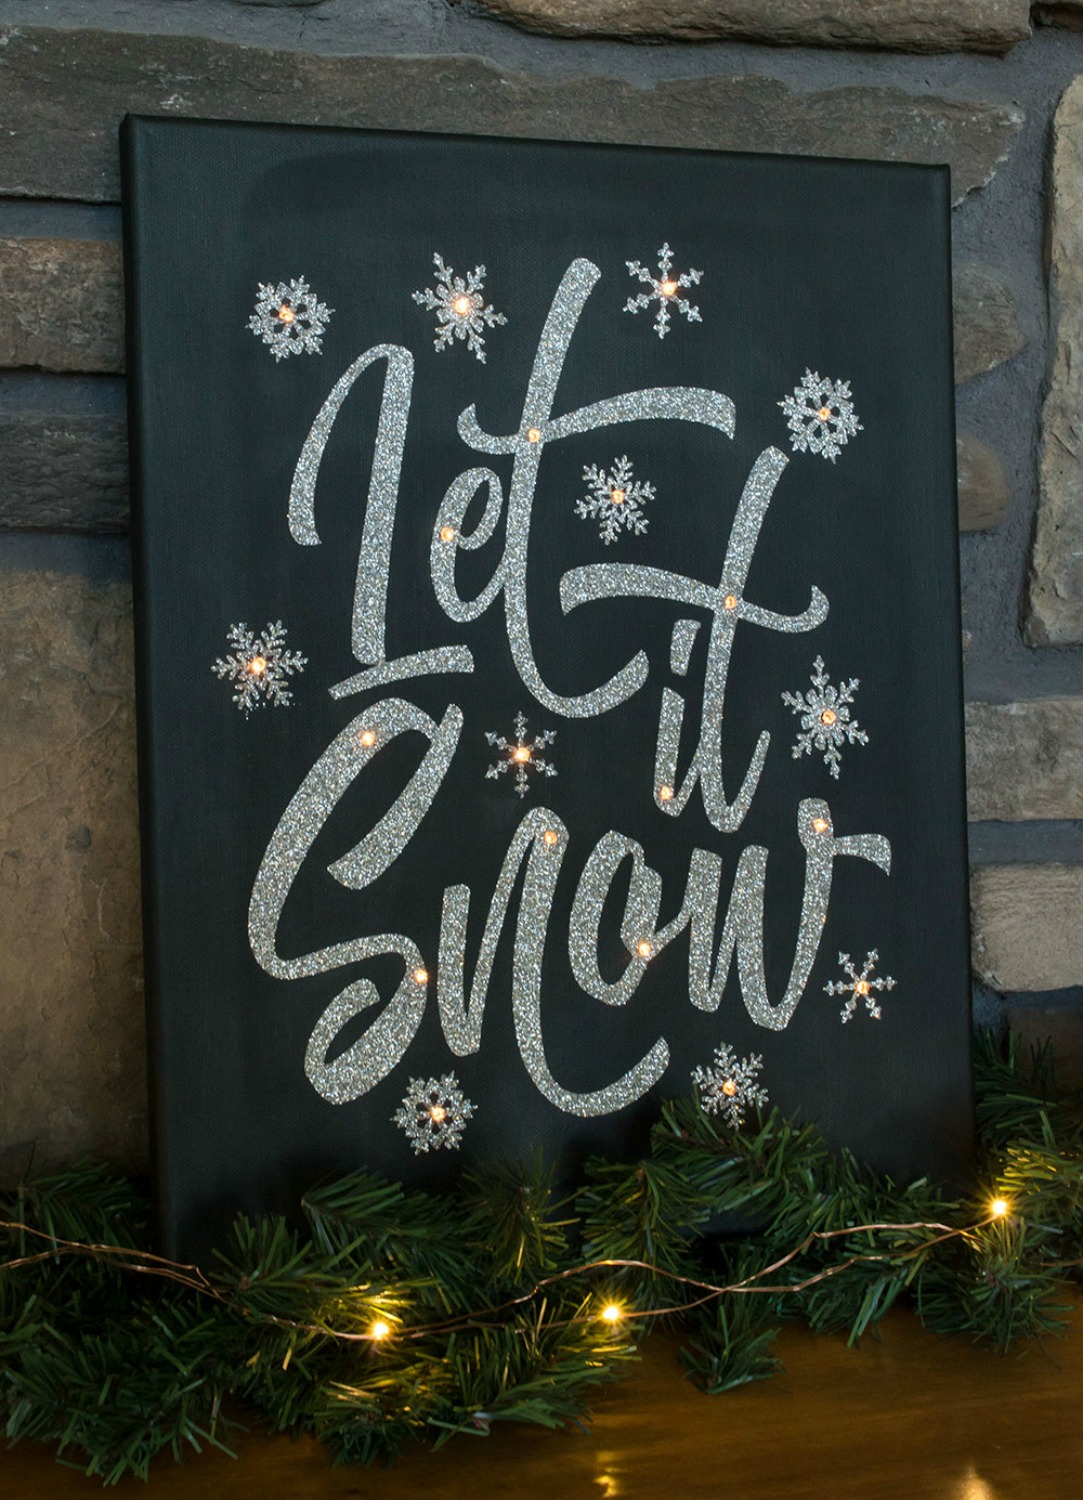
Christmas Canvas with Lights
Have you wanted to make one of those fun canvas wall hangings with lights? They are so easy to do. We have all the instructions for you here!
Items Needed:
Artist Canvas - Available at your local craft store
Acrylic Craft Paint
Sponge Brush
Glitter Heat Transfer Vinyl (We used silver on this one.)
Iron
Hot Glue Gun
Pointed Scissors or Weeding Tool
Set of mini battery operated lights (10-20 strand. Can be found at your local craft store or with Christmas Lights at other stores.)
Images We Used - Design Bundle II from Designbundles.net
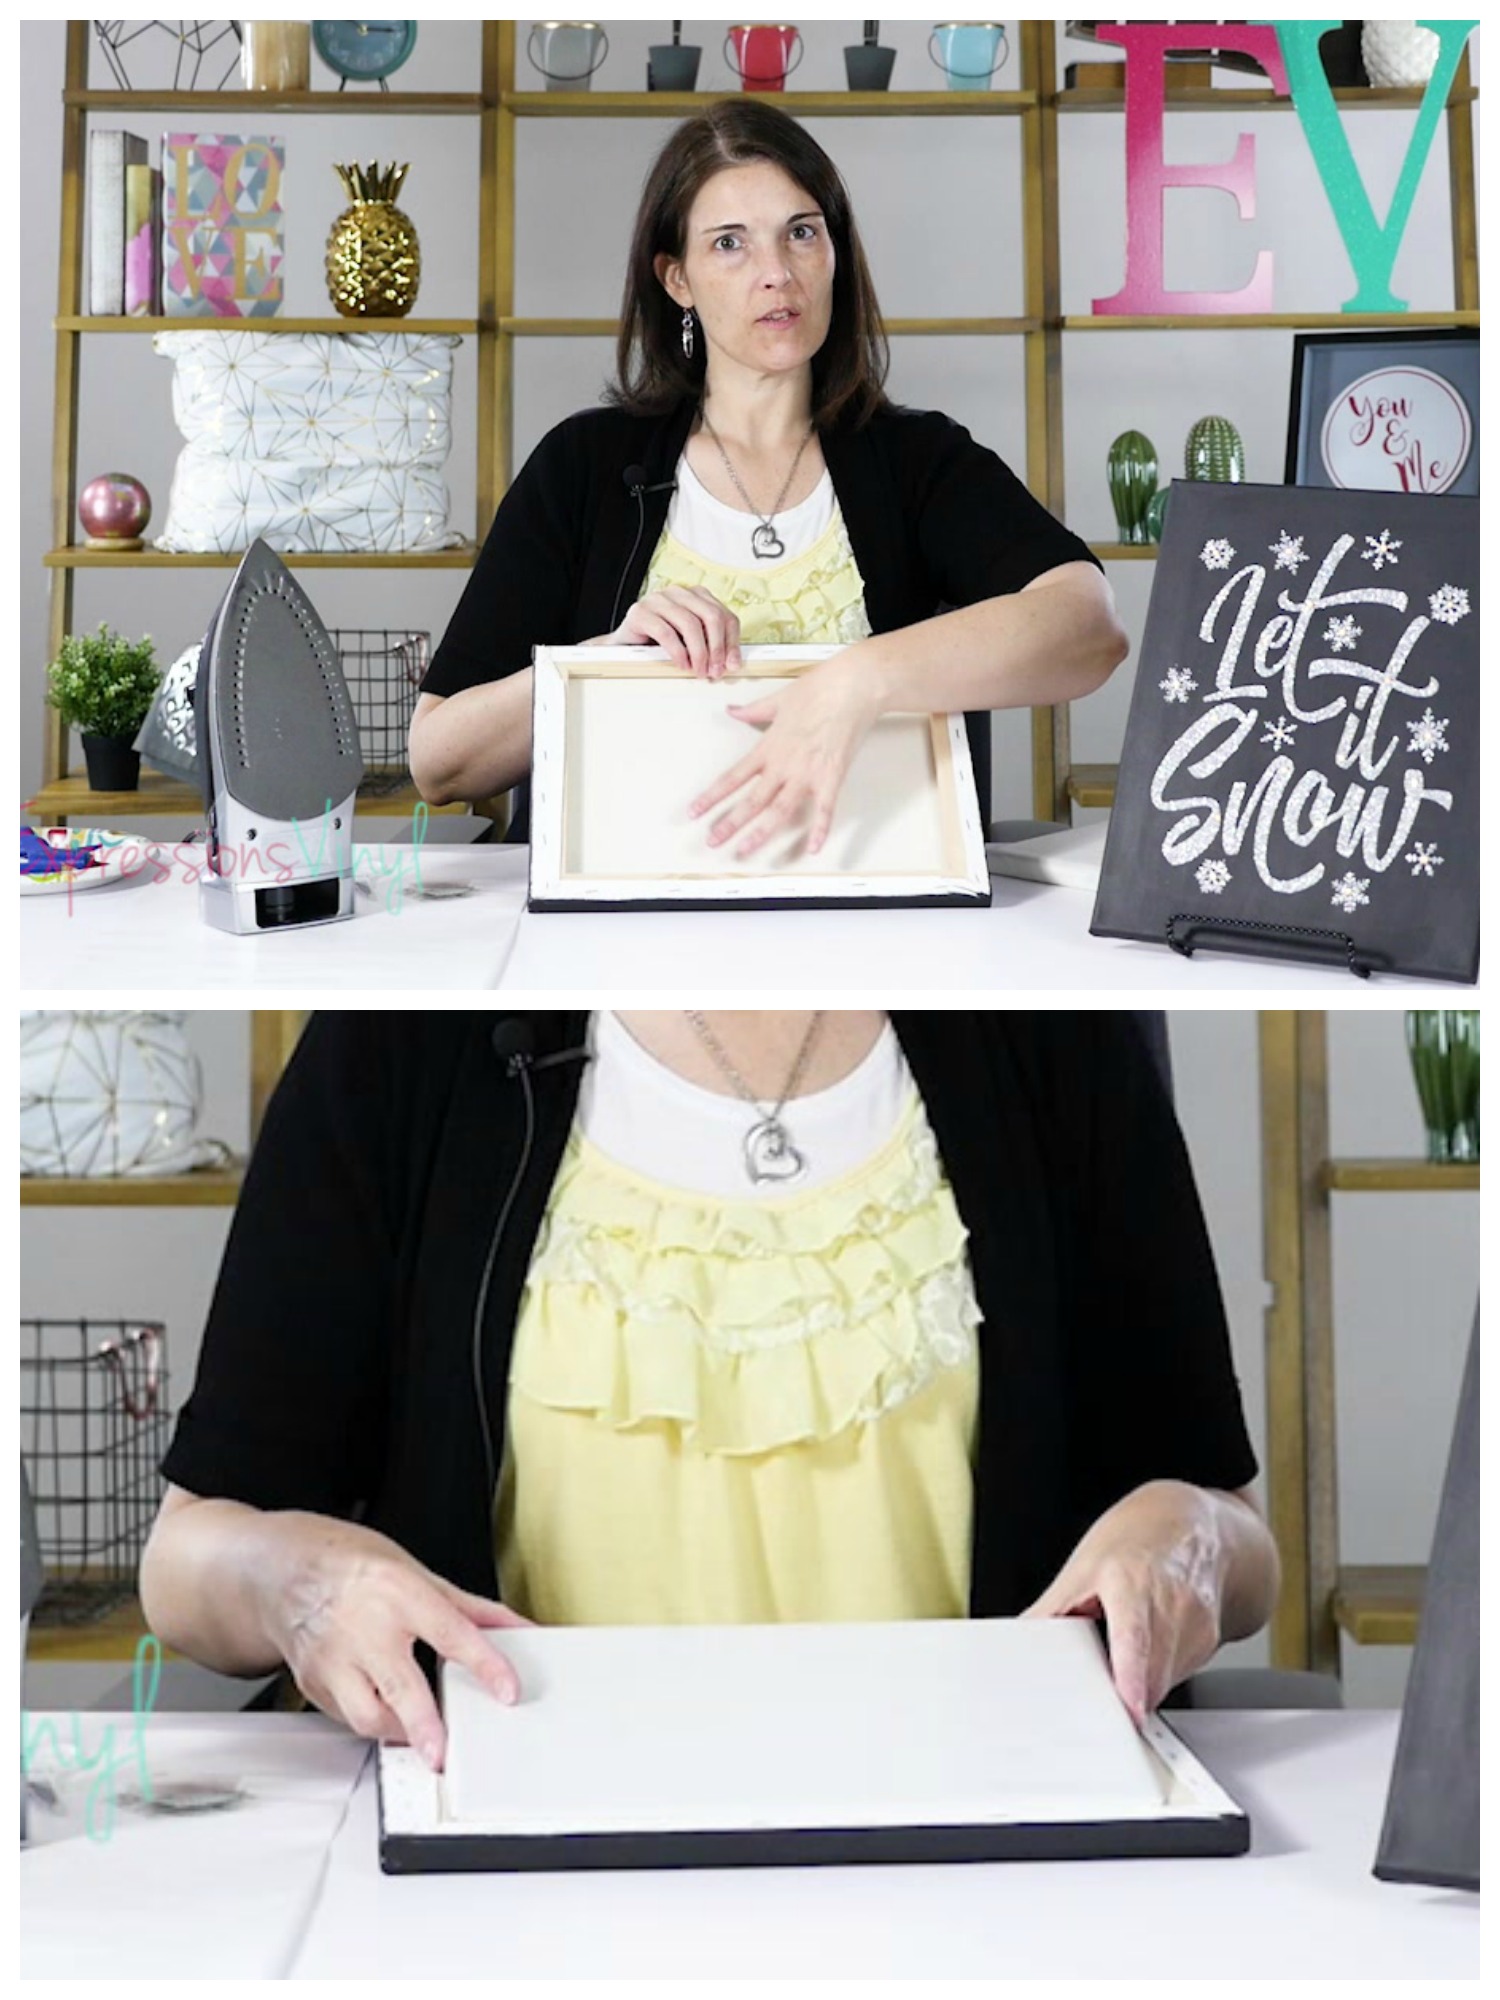
The first thing you need is a canvas. You can buy those at your local craft store or online. We purchased ours at Michael's. They are typically white but you can find them in other colors sometimes. For this one we purchased white and painted it black. It took about 3 coats of acrylic craft paint. You will see streaks in it otherwise. Once it was completely dry we sprayed it with Clear Acrylic Matte Coating. It was just a quick thin layer to protect the black. We noticed on the ones that we didn't do this on we could see our fingerprints ever time we went to pick it up.
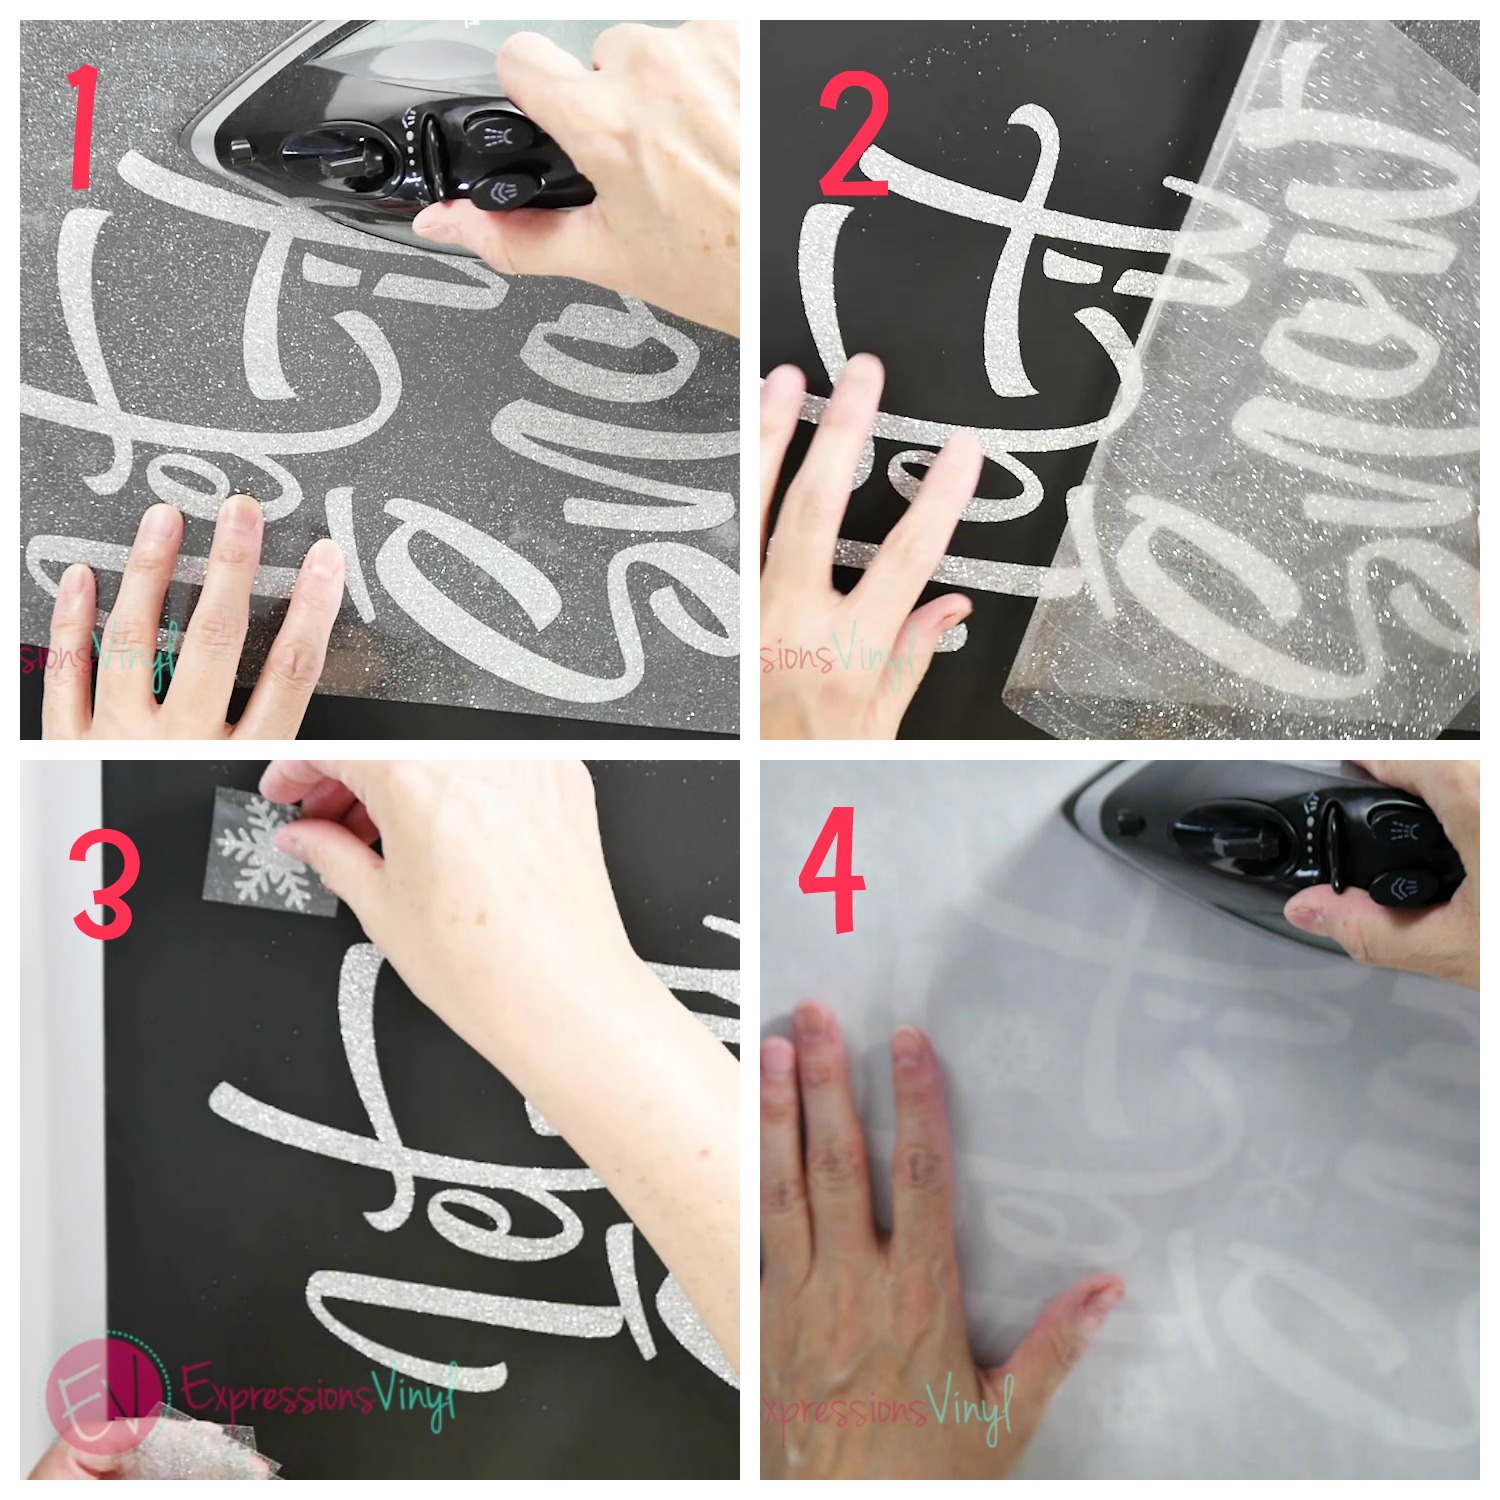
After the acrylic coating dries completely you are ready to add your vinyl. It is fun and a little easier to add heat transfer vinyl to it. For these we wanted the glitter for sparkle. You will want to make sure you have something underneath the board as you see below. Since it is heat transfer vinyl you will need the pressure to adhere it down. Set your iron to just under the cotton setting or use your EasyPress or Heat Press at 305 degrees and press your image.
You only need to press for a few seconds as you will not have to worry about washing. Once it is adhered then peel the cover sheet back. You are now ready to add any additional snowflakes, stars, etc that you would like. We added enough to separate the lights out and give it an even look. When pressing the snowflakes you will want to make sure you have a cover sheet on it to protect the other layer of vinyl that you already adhered.
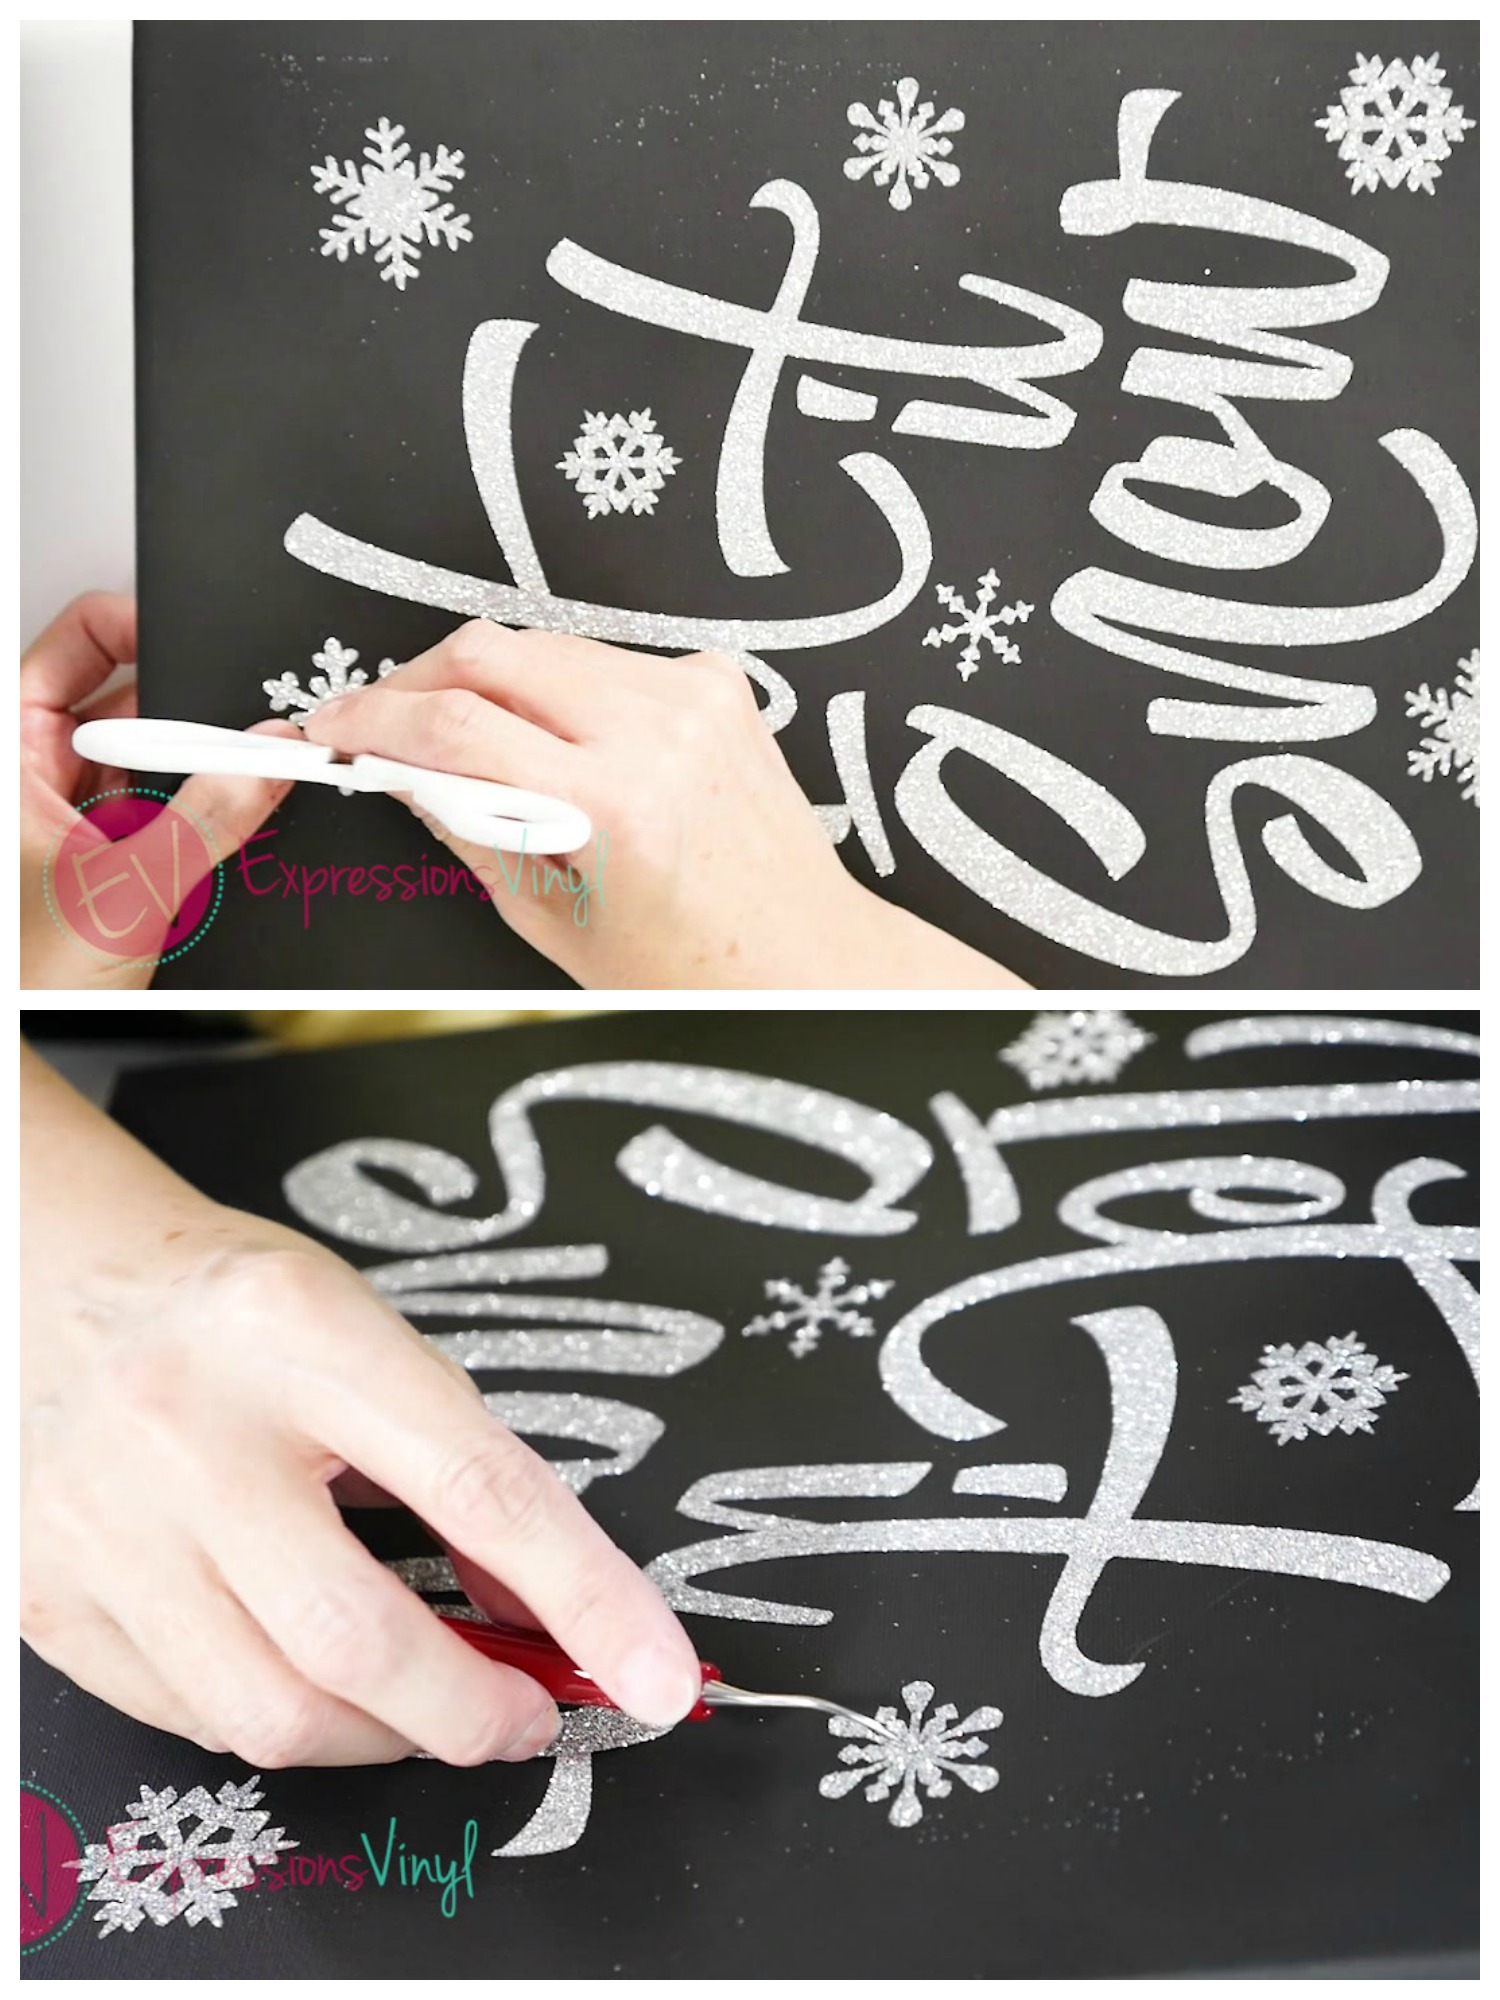
After you get all the snowflakes added you are ready to poke the holes for the lights. The light sets are available at your local craft store as well. Take note on how many you have in your set so that you can plan out how many holes to make. Also, find a place in the back where the battery pack will go as there is not a way to place the lights behind it.
Once you have determined where you want the lights, poke a small hole though the layer of heat transfer to the back of the canvas. The weeding tool or a small sharp pair of scissors work the best. We found it best to only do the lights where you have vinyl behind them. It makes it easier to control the hole for the lights.
You are now ready to add the lights. Determine on the back where you want the battery pack to go. You can add a touch of glue to the bottom to hold it in place or add a wide ribbon in the corner as a pocket for the pack to go into. Start poking each light through the back of your canvas. You only need to small bulb to poke through to the other side.
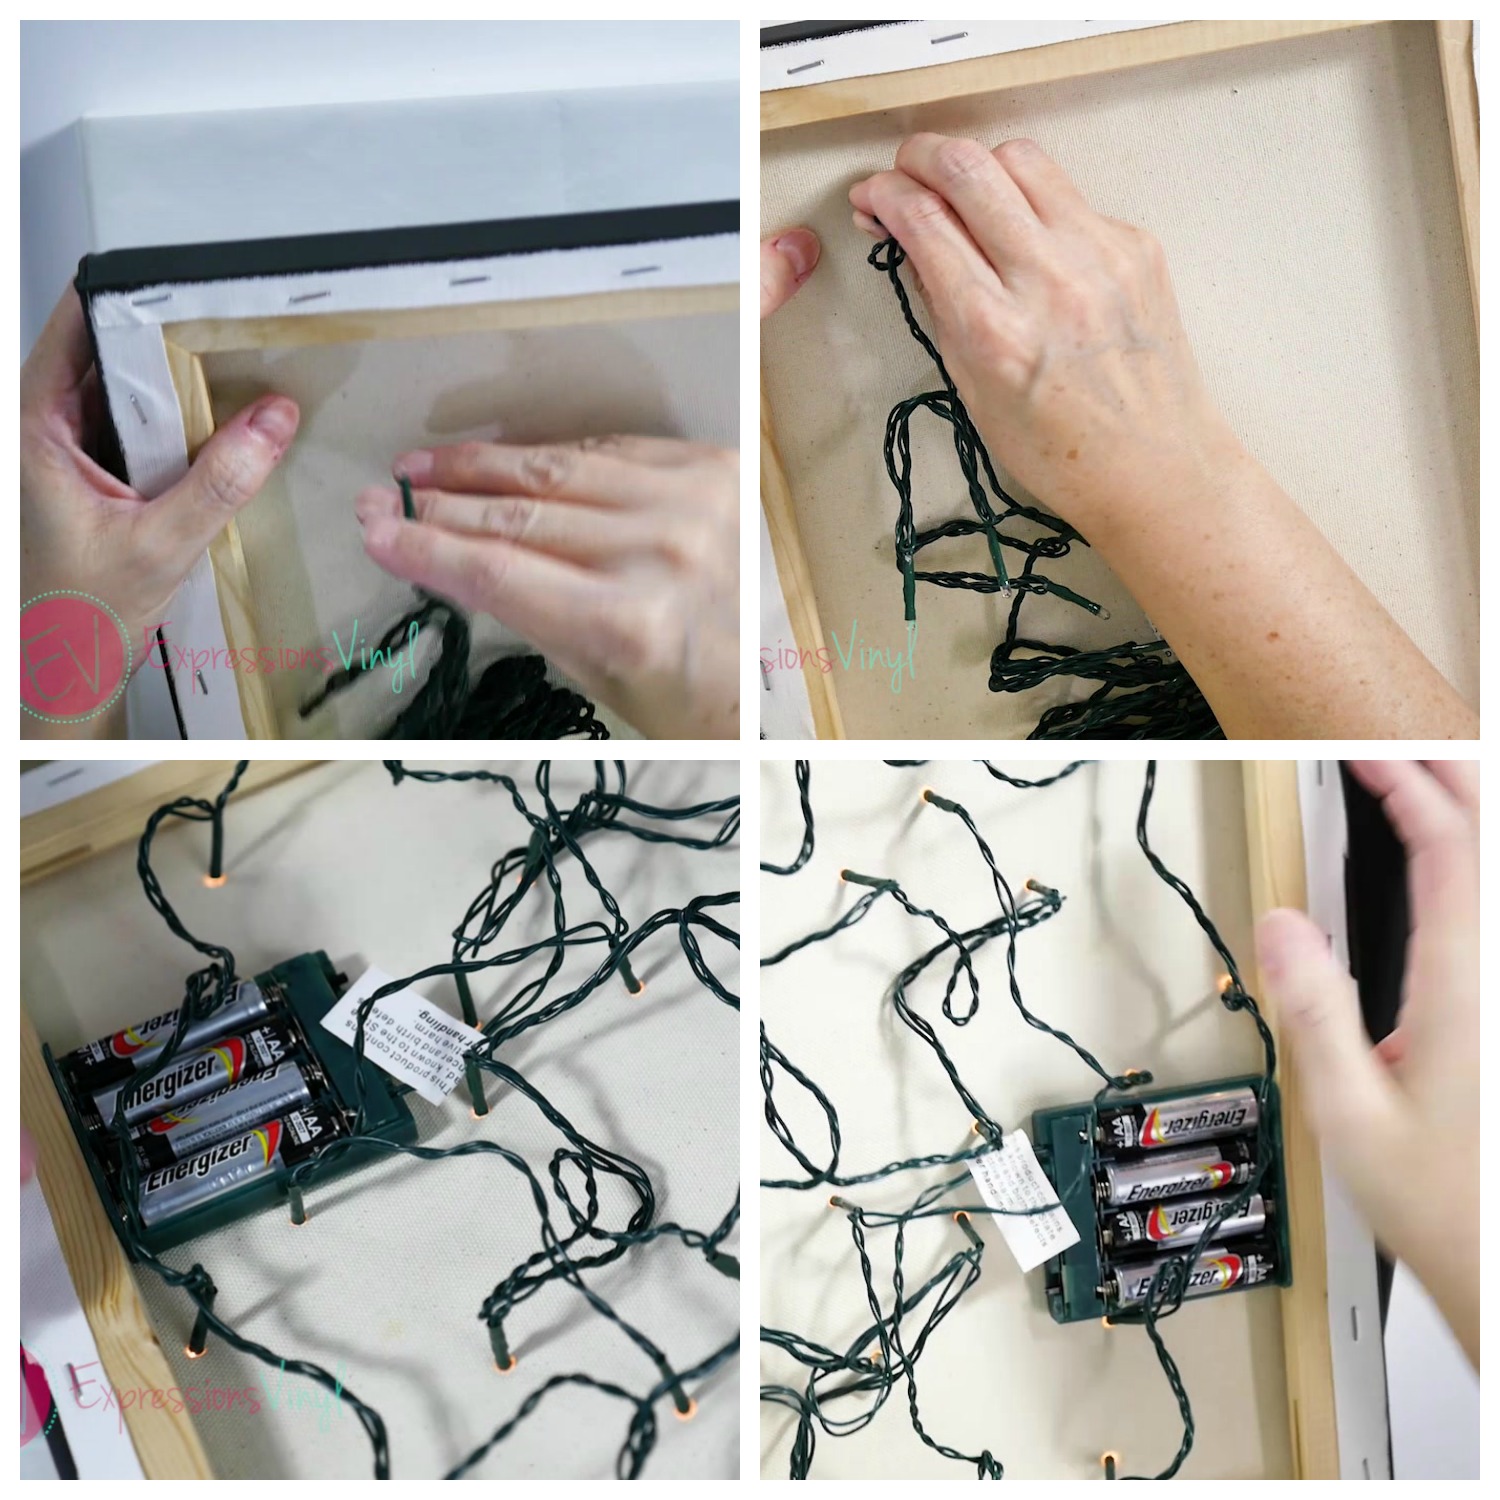
Once completed you are ready to go. If you have a few lights that are loose, add a touch of glue.
Now you have a wonderful and fun Christmas Canvas for your wall. It will add a lot of fun to your Holiday Decor.
Please let us know if you have any questions and we'd love to see your projects completed. Tag us on Facebook or Instagram with your fun new wall hanging!

Recent Posts
-
NEW Holographic Eclipse Heat Transfer Vinyl
April 15th, 2024 3 Ways to Use the New Holographic Eclipse Heat Transfer Vinyl from Siser …Apr 29th 2024 -
Hop into Spring with Cute Easter Vinyl Crafts
Do you love our Vinyl? Sign up for Vinyl Club today to get FREE vinyl and save big! …Mar 28th 2024 -

Fixing Wrinkles and Bubbles in Vinyl
How do you get air bubbles out of vinyl? There are a few different ways to ensure a flawless …Mar 26th 2024