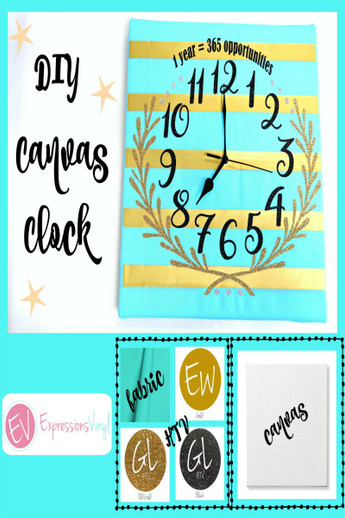
DIY Canvas Clock
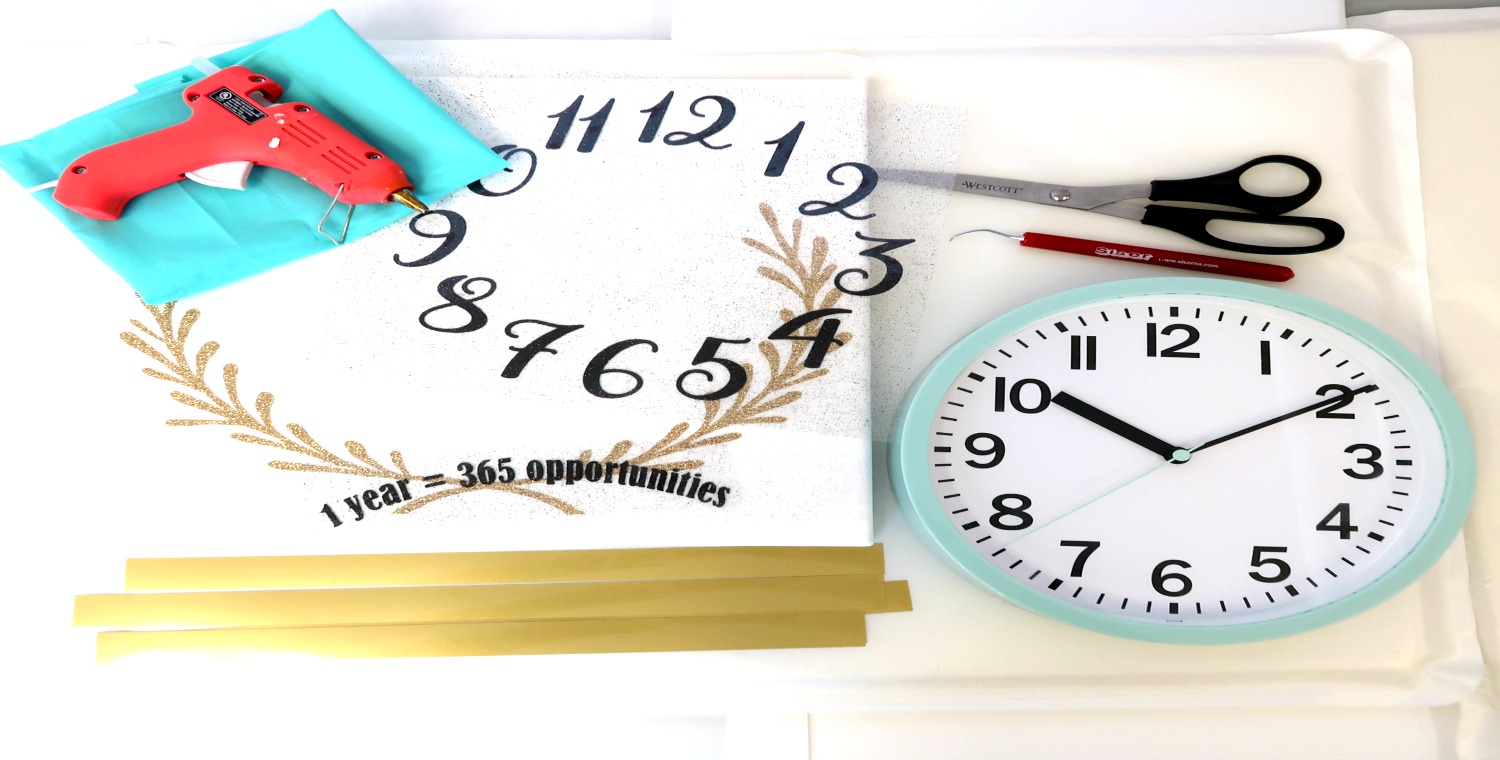
Supplies
- Siser EasyWeed Gold
- Glitter HTV Old Gold
- Glitter HTV Black
- Machine used- Silhouette Cameo
- Fabric piece (any craft store)
- Heat press
Images and Fonts
- 1 year = 365 opportunities in Bernarnd MT font from Dafont
- Leaf Garland Wreath Frame by Kolette Hall #74053 (Silhouette
Store)
Hello!
It’s Amy with expressionsvinyl.com and I am so excited to share my latest project! With new years just around the corner, I wanted to make a new years related project. Can you guess what it is? A canvas clock. Take a look!
 Steps
Steps
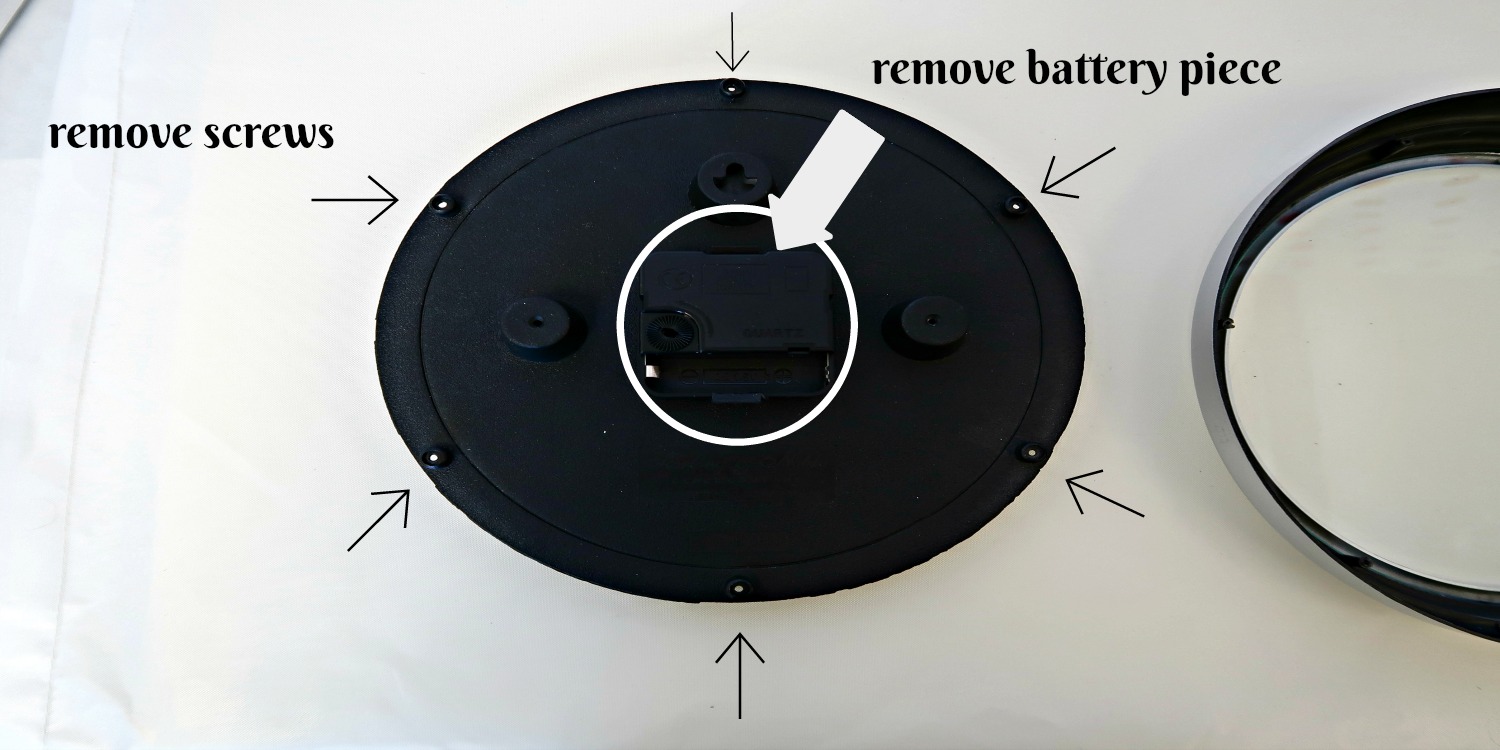
The first thing I did was disassemble a battery operated clock. Start with removing the clock hands on the front side. They easily pull off but be careful as they may cut your fingers (like a paper cut) so wear gloves as needed. Once the clock hands are removed, turn to the back side of the clock and pop out the battery piece. There are two clips on the sides and if you start from one end to the other, you should have no problem removing it from the rest of the clock. After all of this is done, you should be left with four pieces- the hour hand, minute hand, second hand, and the battery piece.

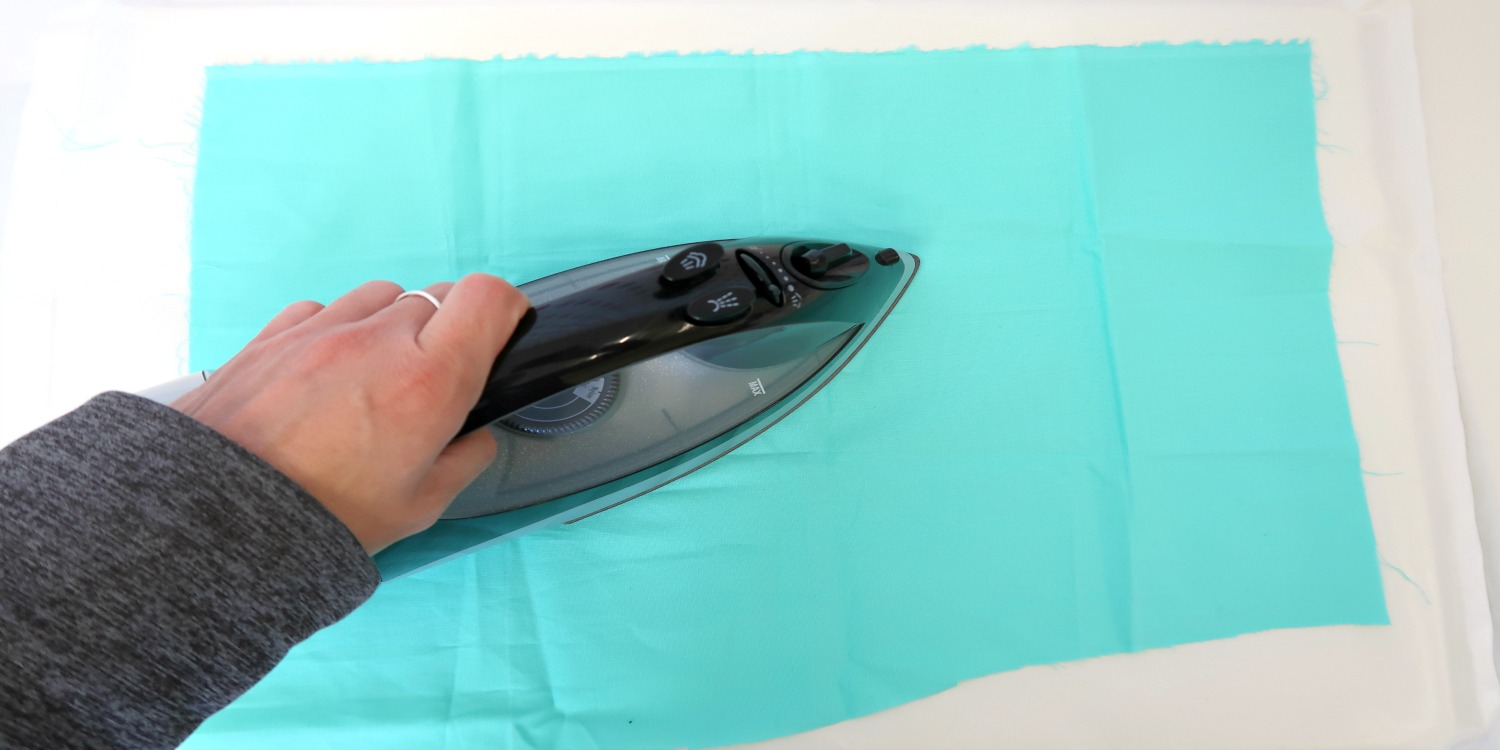
After you decide what fabric piece you want to use, iron out the wrinkles. This gives it a nice smooth press to help prep for the HTV vinyl. The neat thing about using fabric is that it’s a great alternative to add color to your canvas if you don’t have time to coat your canvas with paint or if you just don’t want to use paint at all. There are also many cute patterns and colors of fabric to choose from!

Once that is complete, start sizing the fabric to the canvas and center it. Place your pieces of vinyl on the fabric but don’t heat press it on just yet. This step helps determine where the center is and I just placed a small piece of tape at the center so I can cut a small hole for the clock hands battery piece.
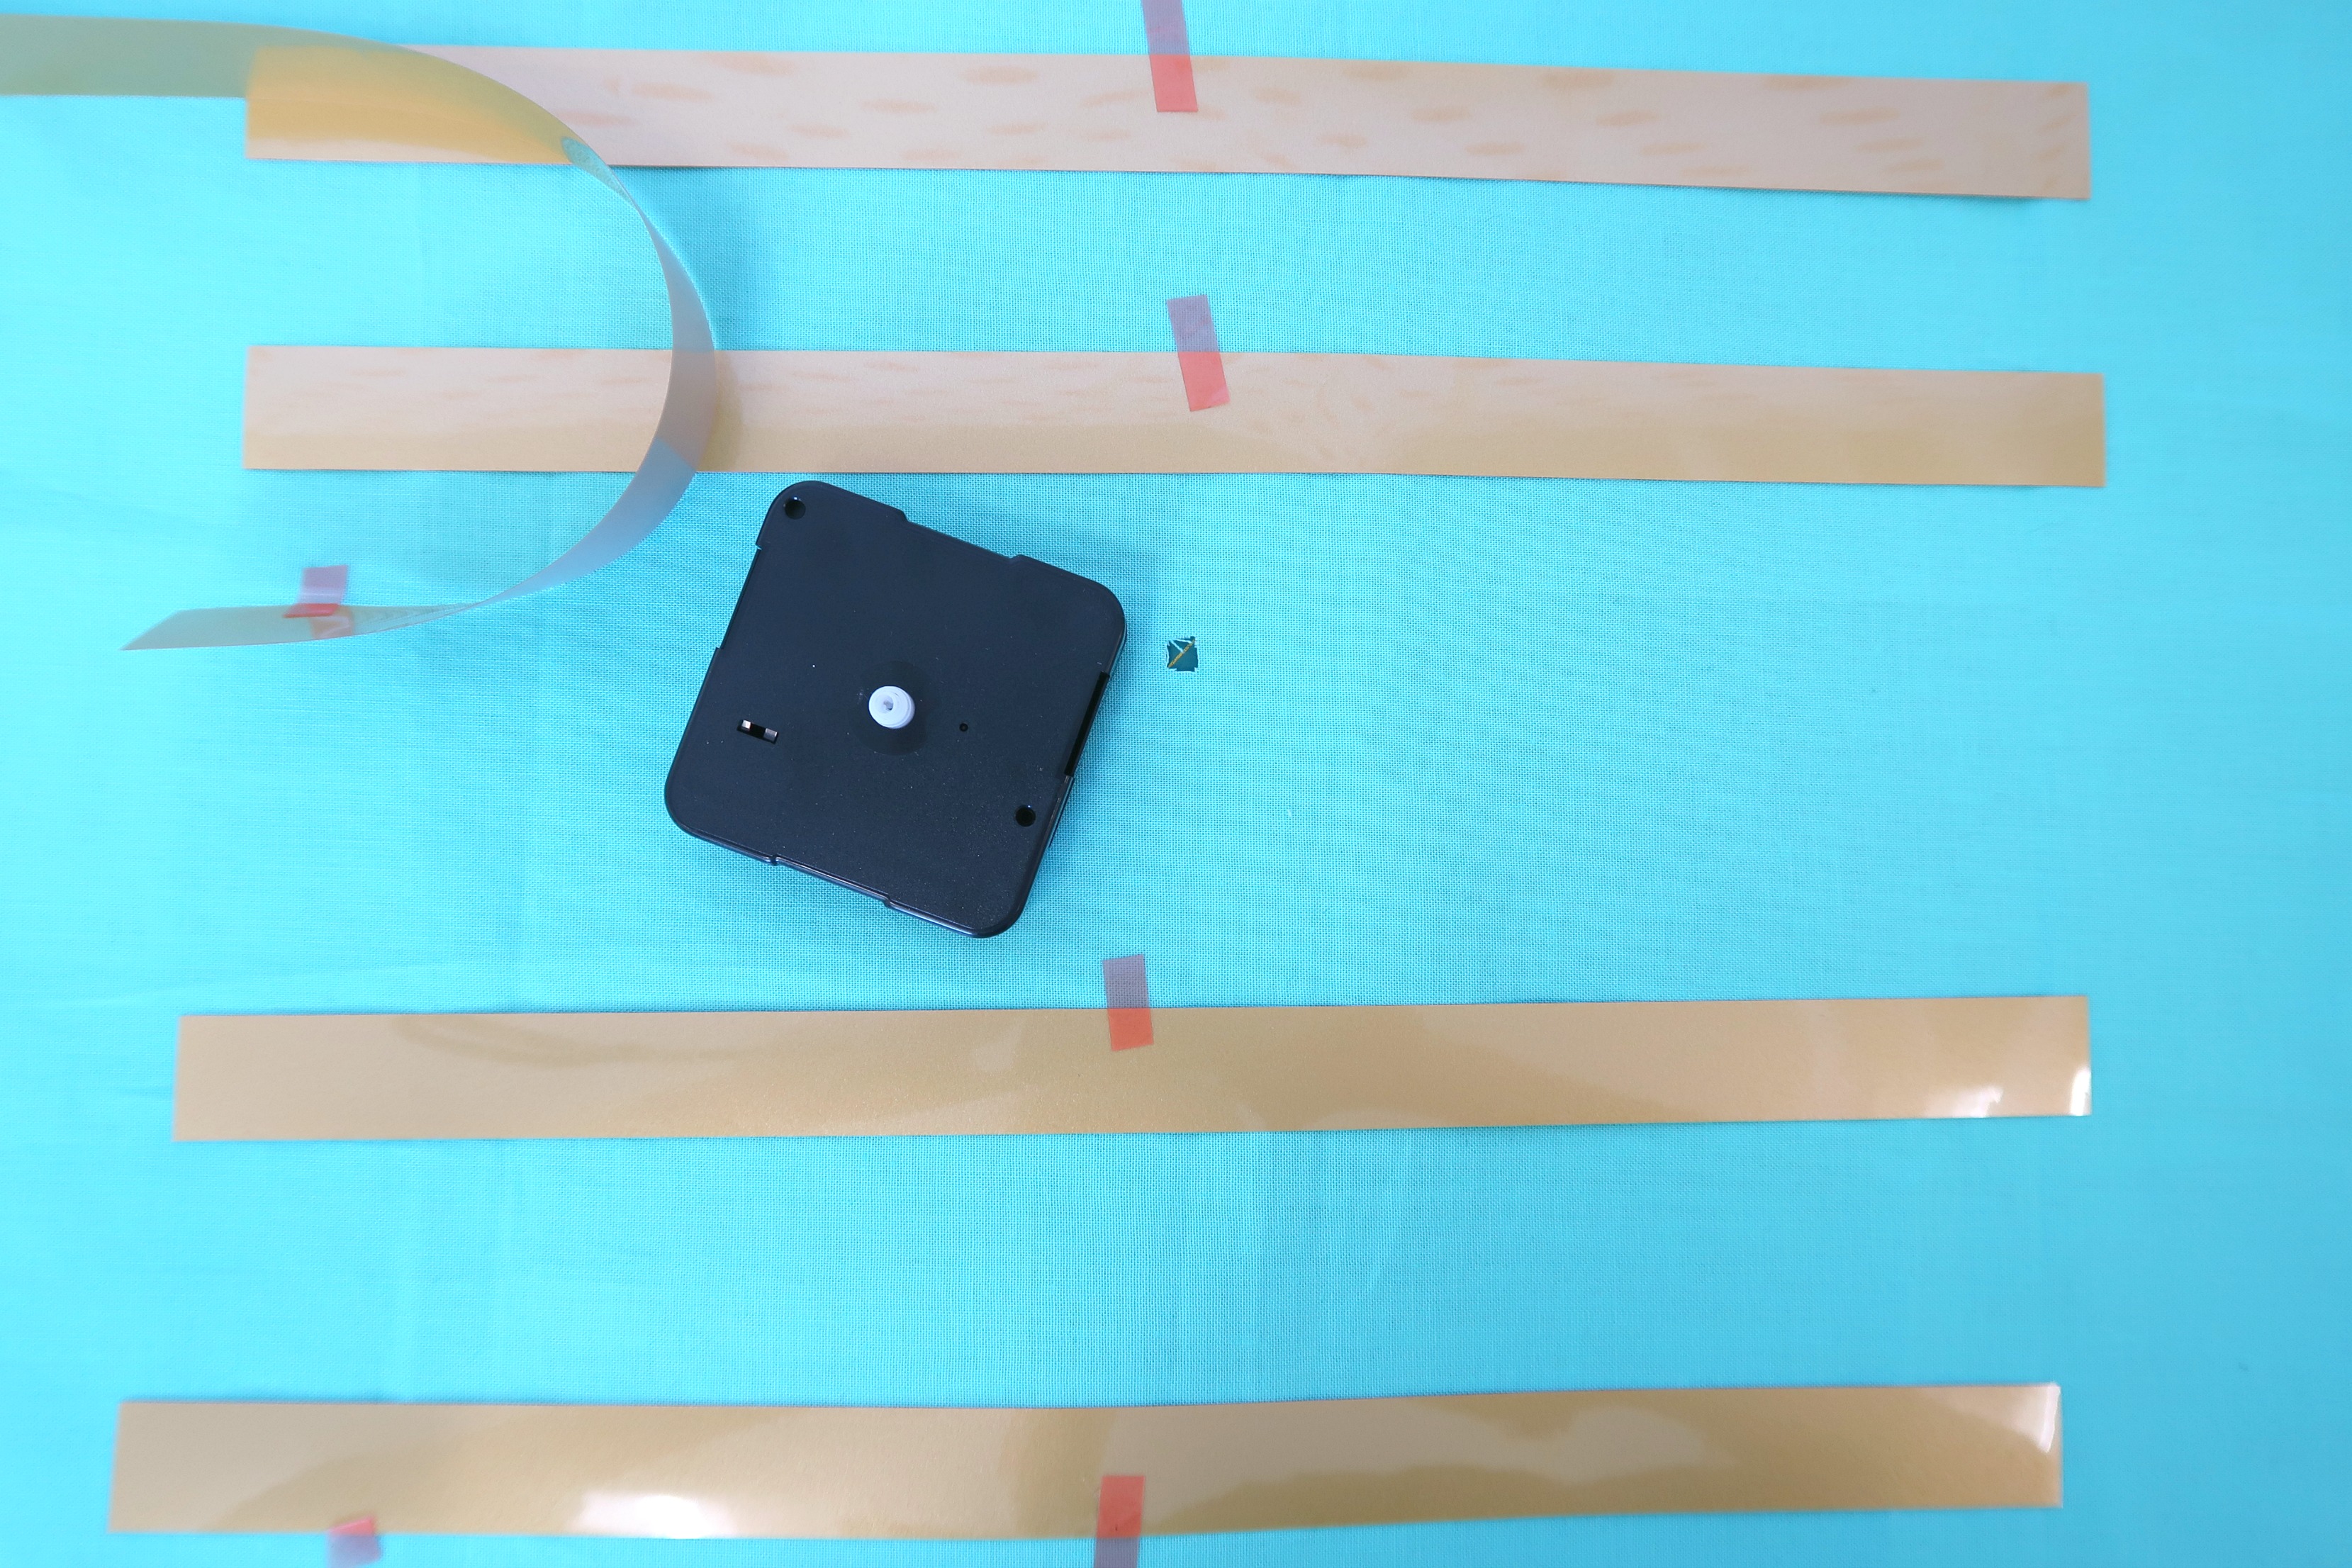

Still leaving the vinyl placed on the fabric and canvas, separate the canvas from the fabric with vinyl. Then you can start heat pressing the vinyl to the fabric.
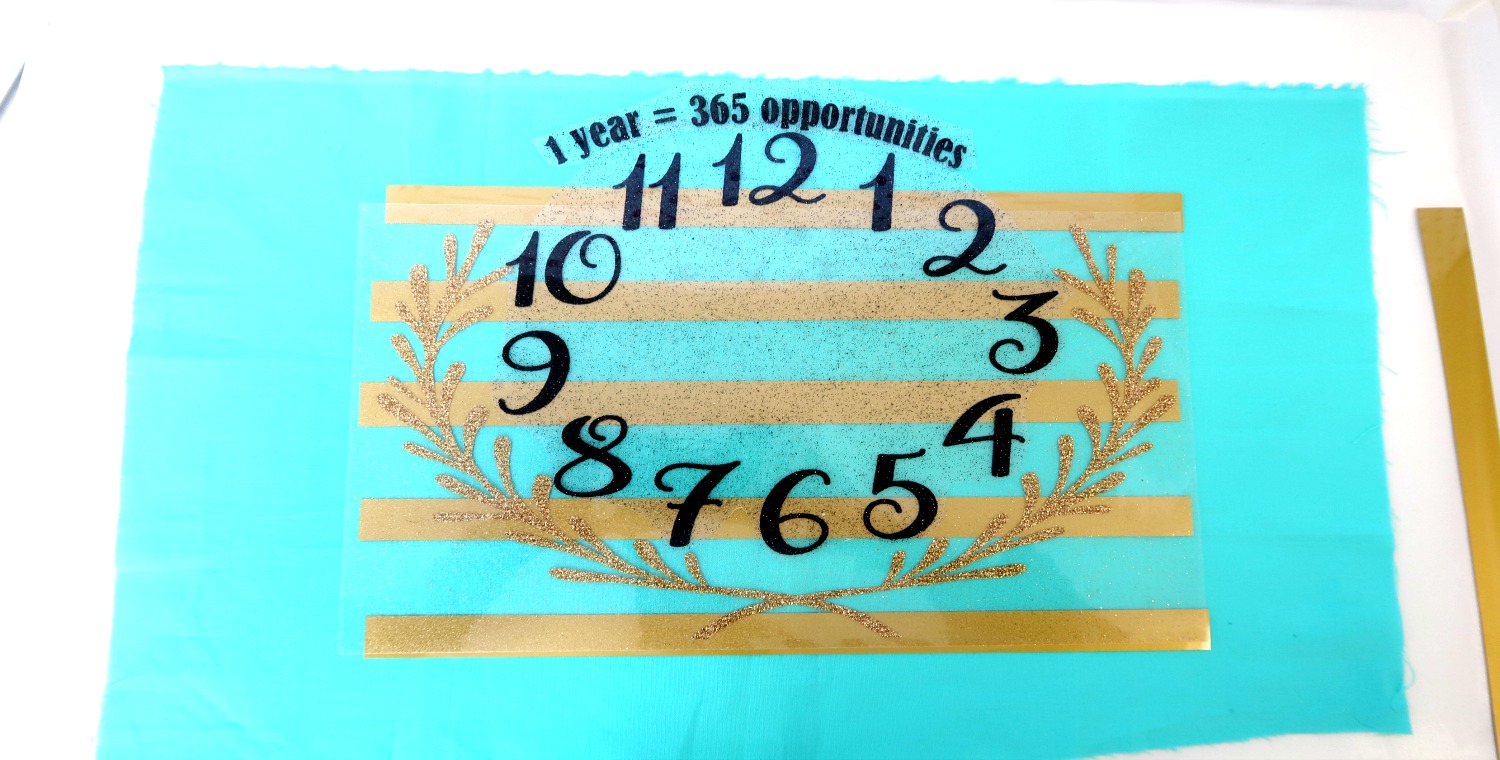

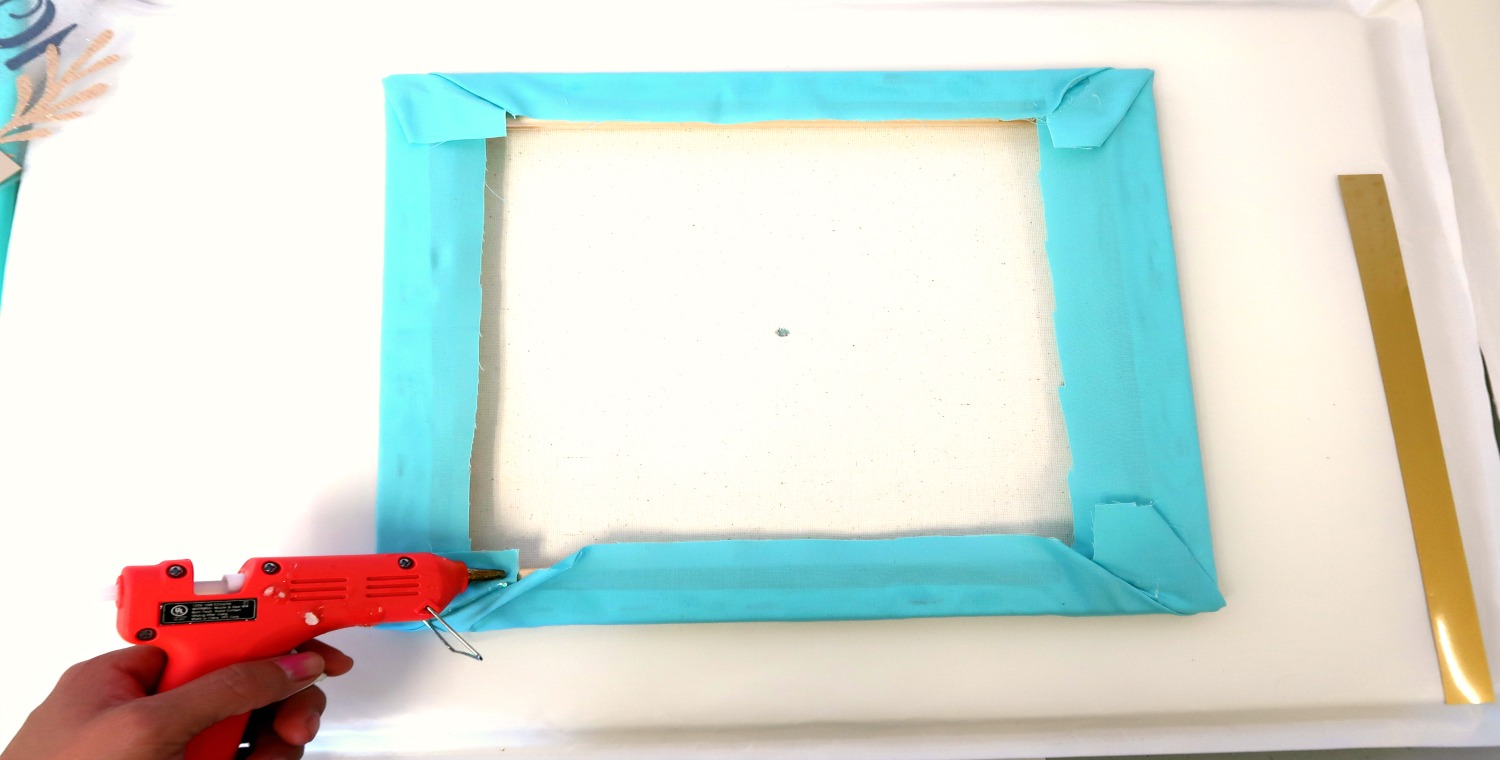
The next step would be to place the fabric back on the canvas, re-center it, then turn it on it’s back and begin hot gluing the fabric to the canvas. You don’t have to use a glue gun, a staple gun is another option. There is no right or wrong way of doing so!

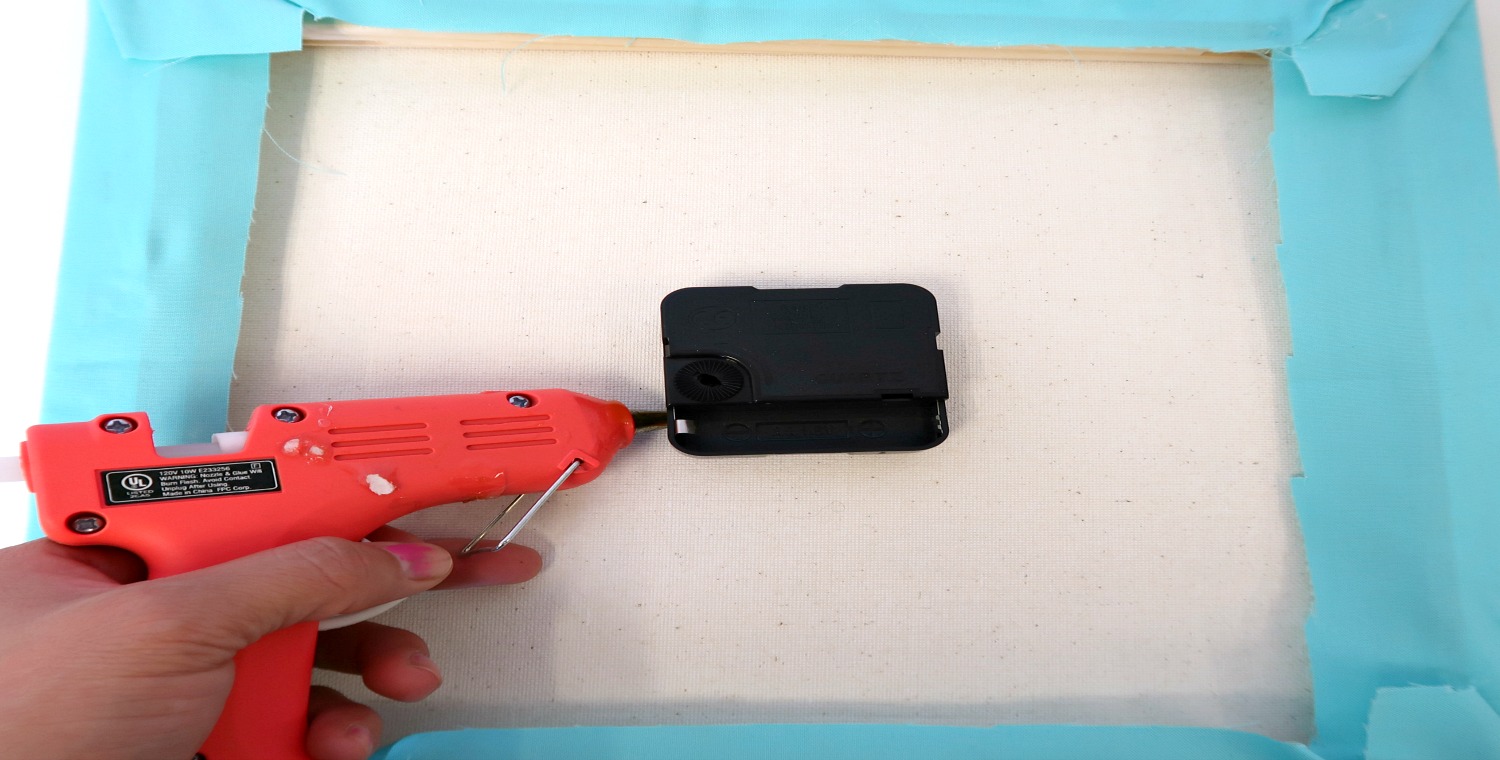
While it’s still on it’s back side, I used my weeding tool to poke a hole through the canvas (the center piece hole I previously cut) then placed the battery backing piece through the fabric and canvas. Then I hot glued the battery backing to the canvas. It doesn’t need a whole lot of glue, just enough to prevent it from falling.

Flip it over to the other side and reassemble the clock hands. At first it might seem confusing as to which piece goes first and last. The way I remembered was that the hole inserts went from biggest to smallest. And the pieces won’t assemble well if they are in the wrong spot.
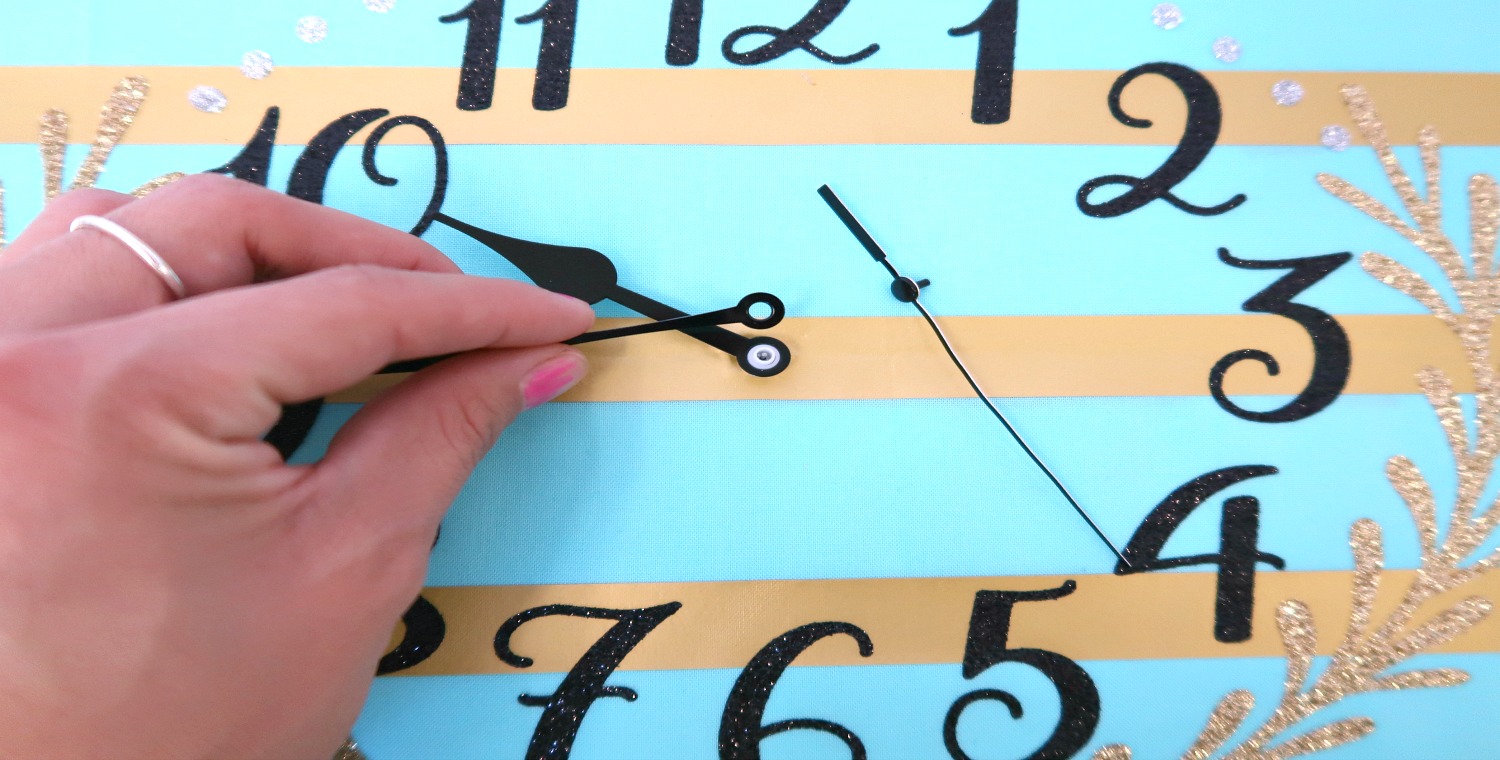

Once the clock hands are assembled it is complete! Just add a battery and move the hands to the correct time.
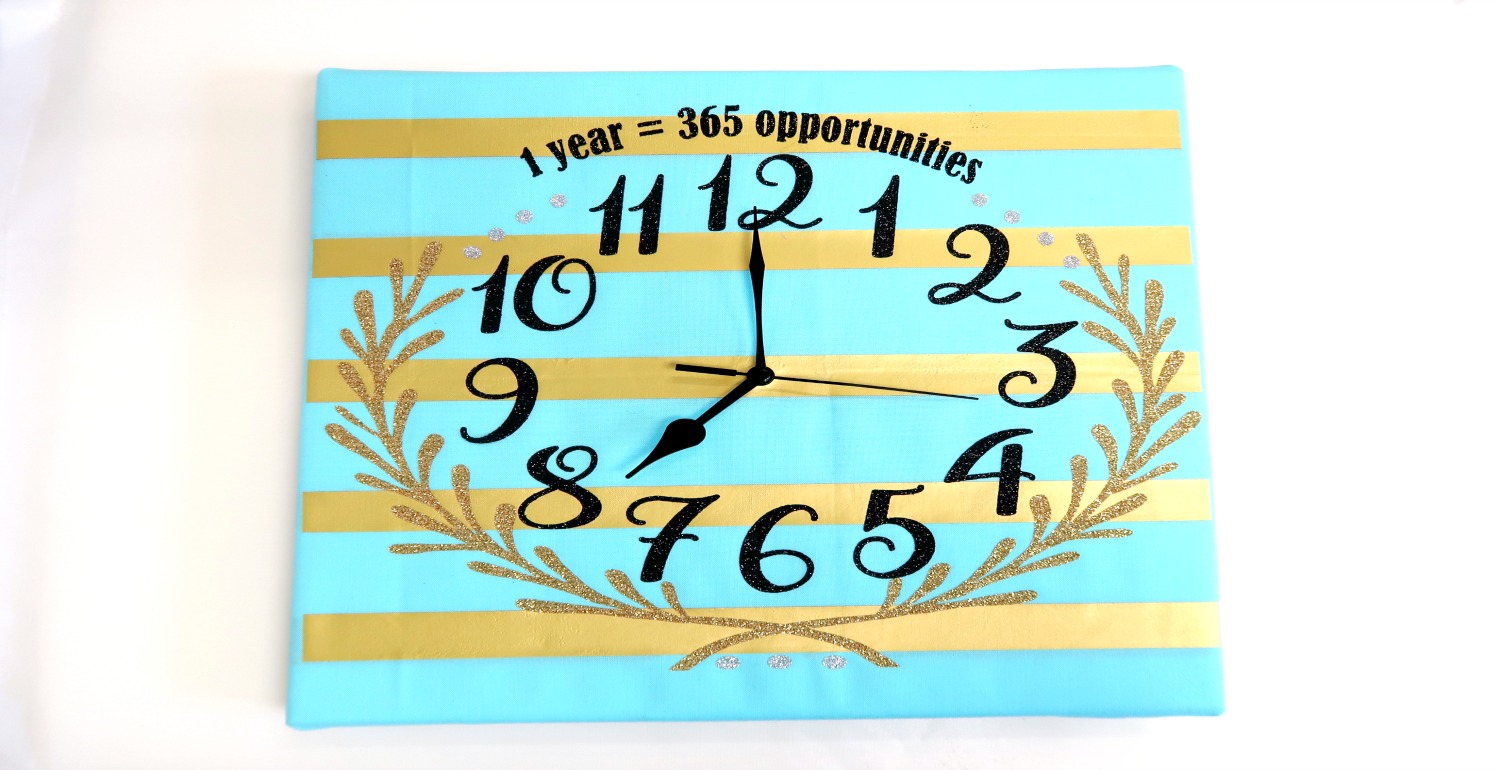
Celebrate the new year with a fabulous DIY clock!

Recent Posts
-
NEW Holographic Eclipse Heat Transfer Vinyl
April 15th, 2024 3 Ways to Use the New Holographic Eclipse Heat Transfer Vinyl from Siser …Apr 29th 2024 -
Hop into Spring with Cute Easter Vinyl Crafts
Do you love our Vinyl? Sign up for Vinyl Club today to get FREE vinyl and save big! …Mar 28th 2024 -
Fixing Wrinkles and Bubbles in Vinyl
How do you get air bubbles out of vinyl? There are a few different ways to ensure a flawless …Mar 26th 2024

