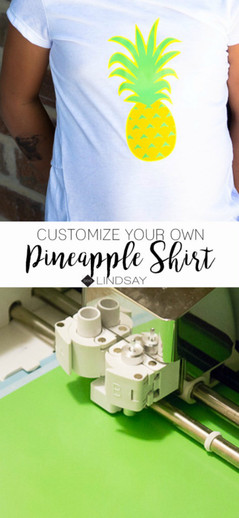
DIY Pineapple Shirt
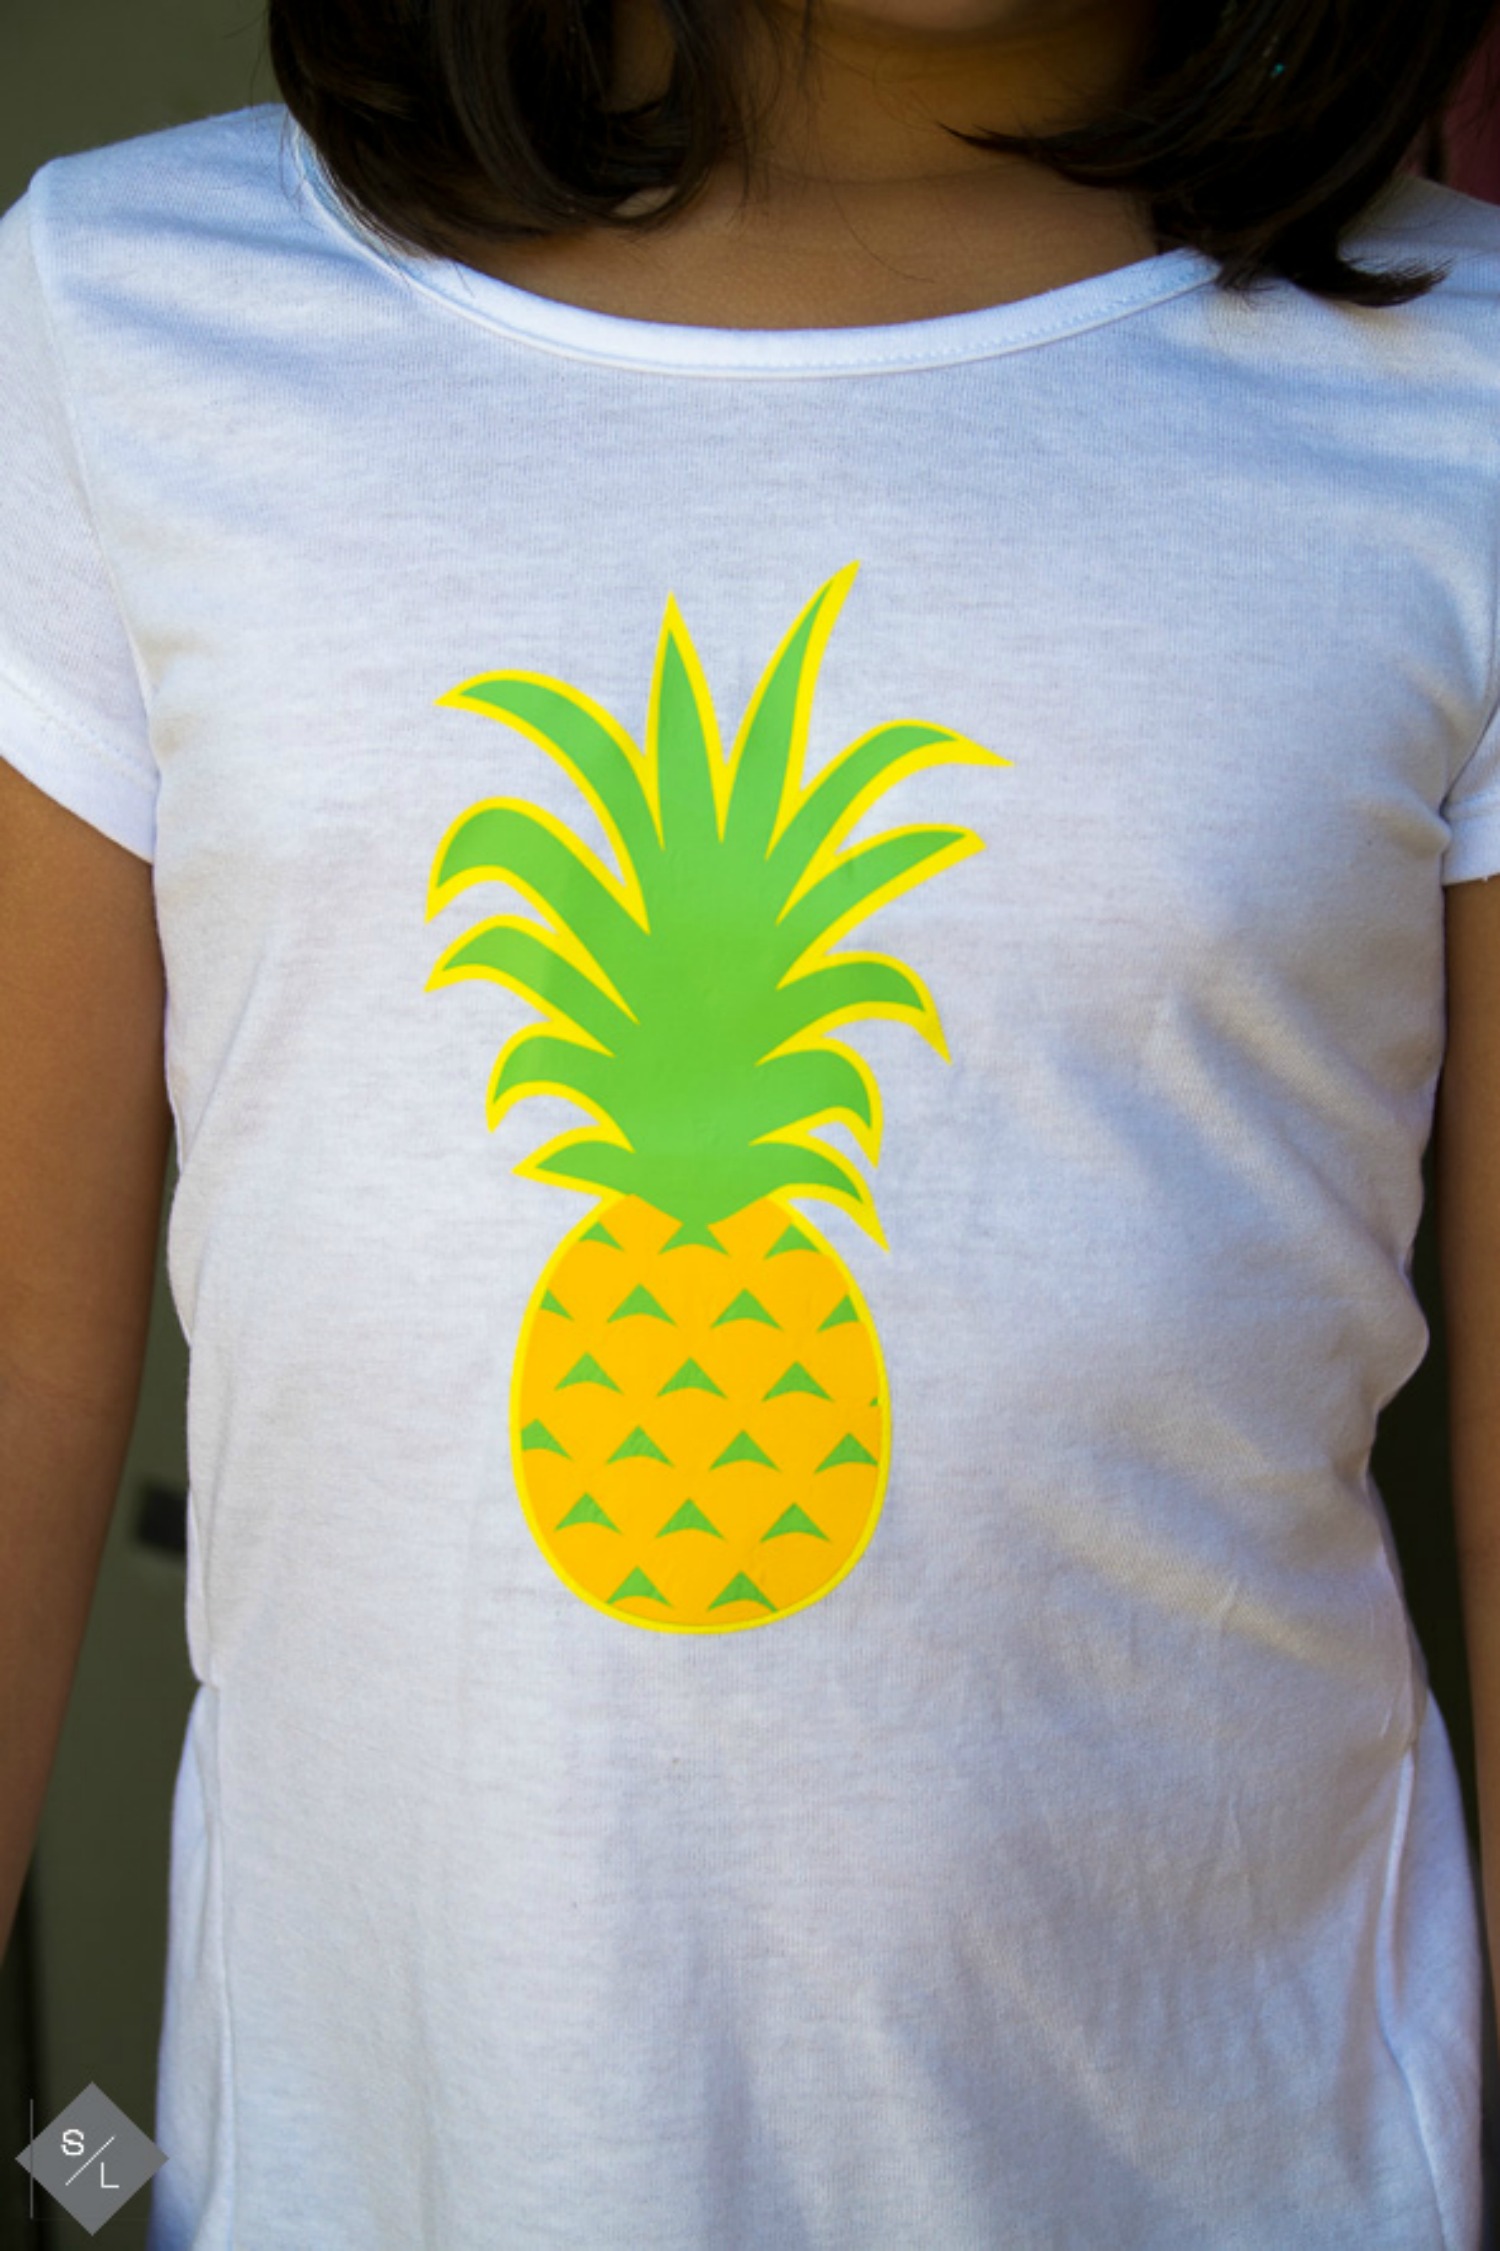
My daughter Leila turned 7 years-old this past month. It seems like so long ago she was the 2.4lb baby I struggled to bring into this world. You can read more about my pregnancy struggles here if you're interested but for this I decided to keep it light. She wanted a Moana party and I wanted to incorporate more of the Island theme so I made her this DIY Pineapple Birthday Shirt.
She wanted a Moana party and I wanted it to be more mom level Moana so we compromised and created an awesome Luau party together. Supplies:
- Electronic Cutting Machine
- Pineapple Design File (Cricut Design Space)
- Yellow HTV
- Sun Yellow HTV
- Green HTV
- Weeding Tool
- Iron
- White T-Shirt
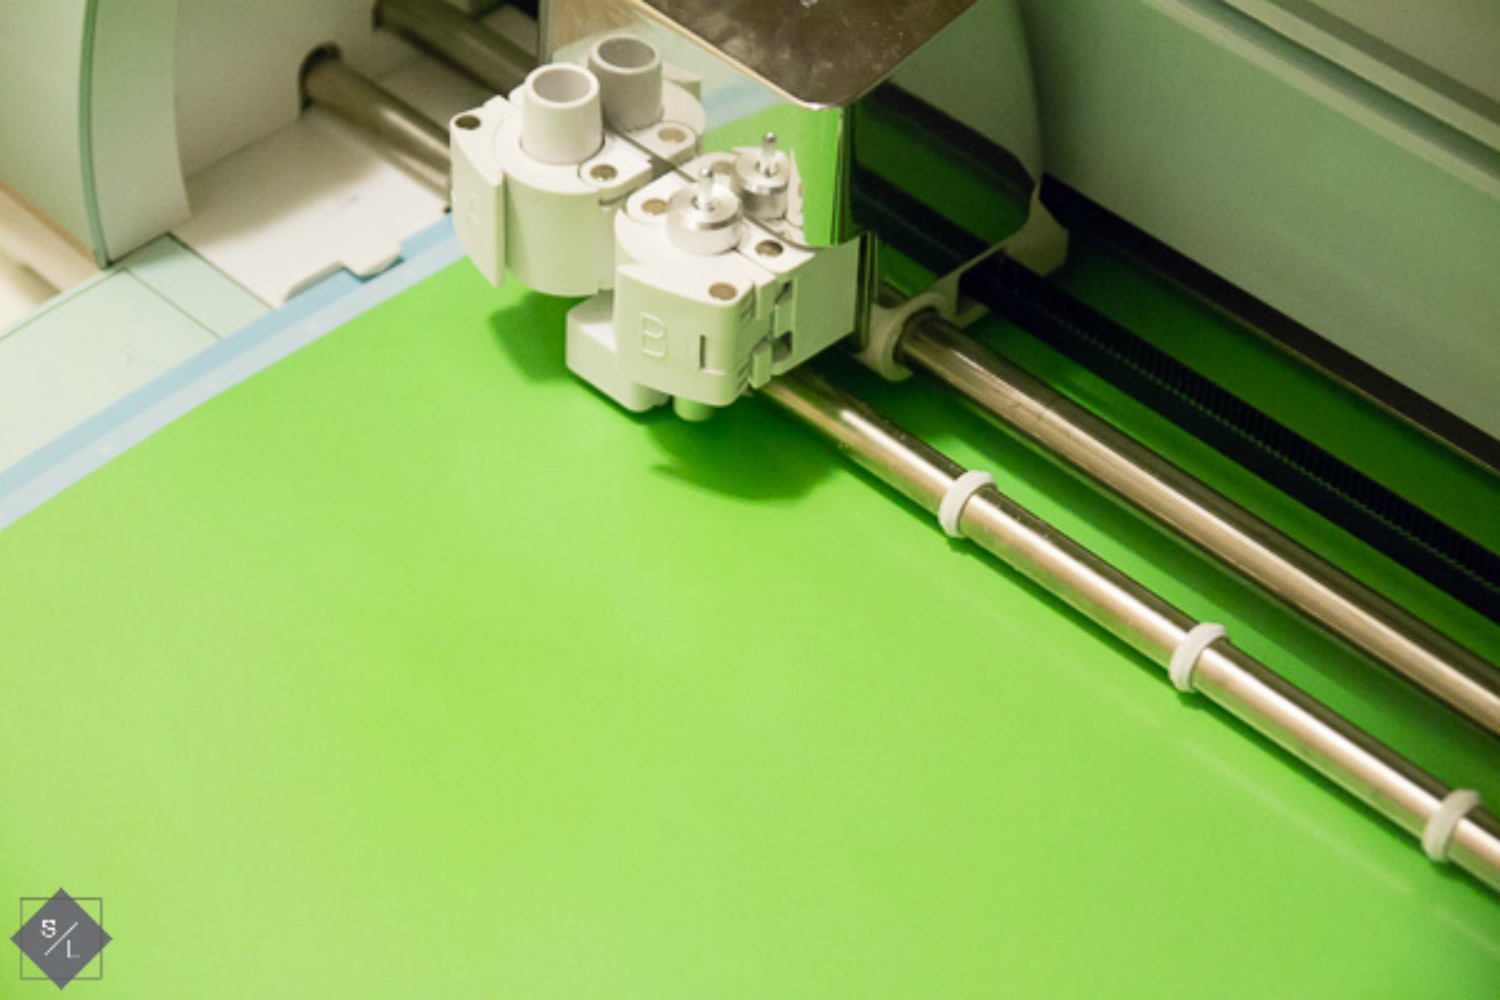
Begin with the cut file and cut the different layers out with your cutting machine using the mirror-image option. I prefer my Cricut Explore because I can get a really clean cut when I couldn't with the Silhouette. That is just my opinion but I've been able to create awesome things with both machines.
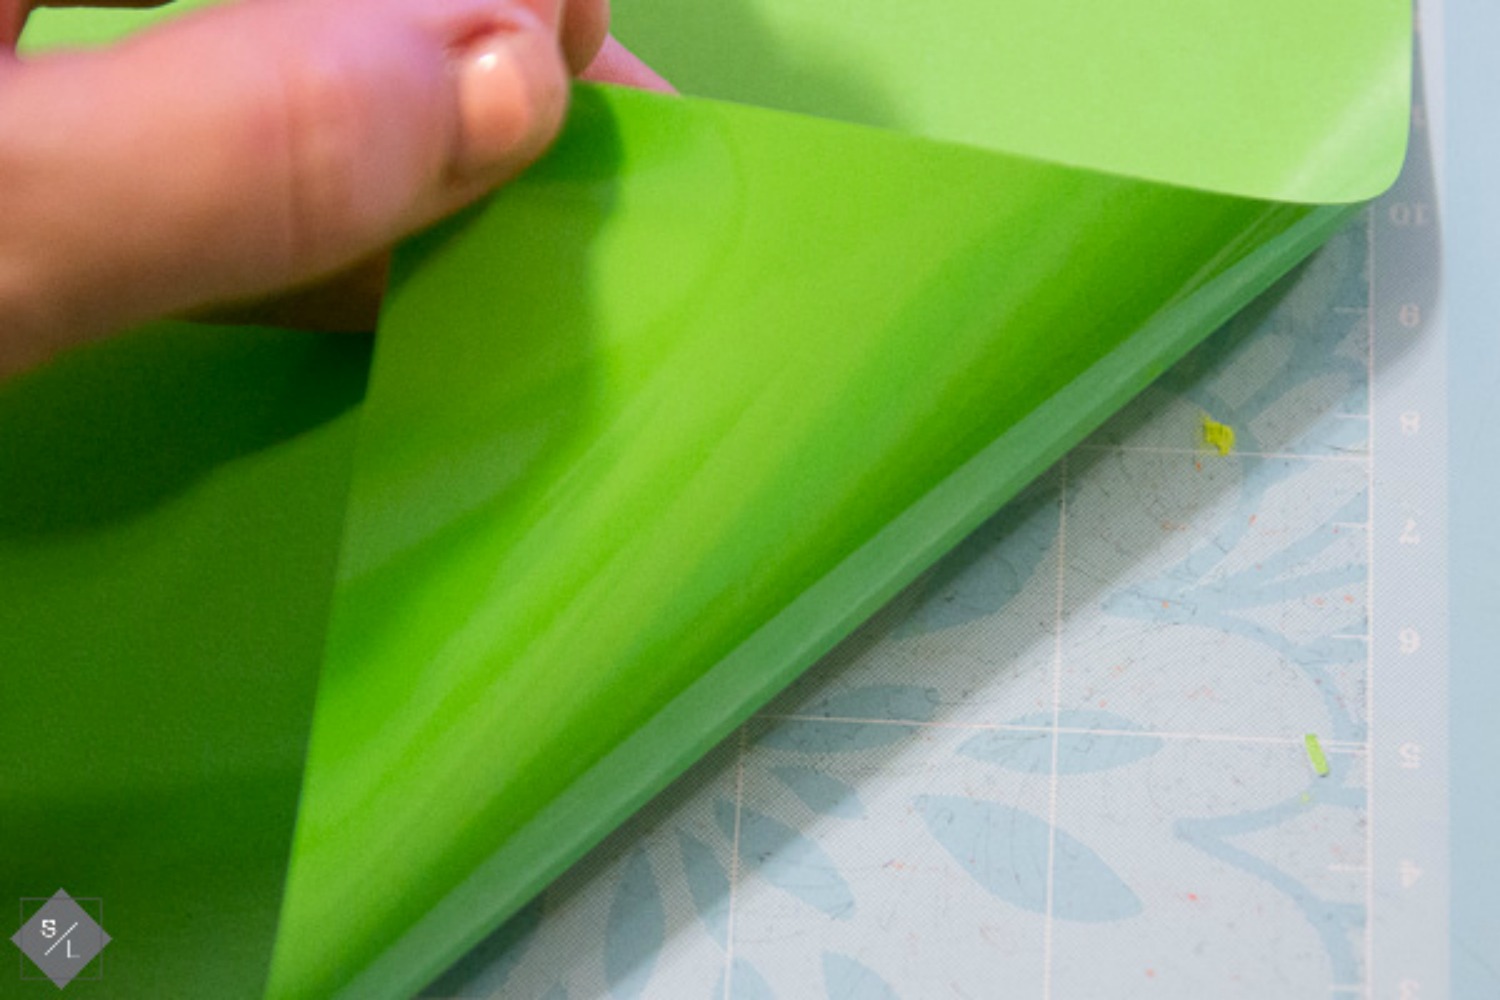
You'll want to do what is called a kiss-cut on your HTV. It will not cut through the plastic, just the actual vinyl. You will then peel away the part of the image that you do not want. Use a weeding tool, it makes life a whole lot easier but you can definitely use a safety pin. Again, be sure to mirror your image and keep whatever design you want to go on your shirt stays on the plastic. I like to use my iron on a medium setting with no steam. If your plastic is curling then your iron is too hot. I don't use a cloth in-between my HTV and iron but that is only because I am comfortable doing this and I've done this often. If this is your first attempt, use a cloth of some kind so that you don't burn the HTV. Here is my best tutorial to walk you thru using your Heat Transfer Vinyl.
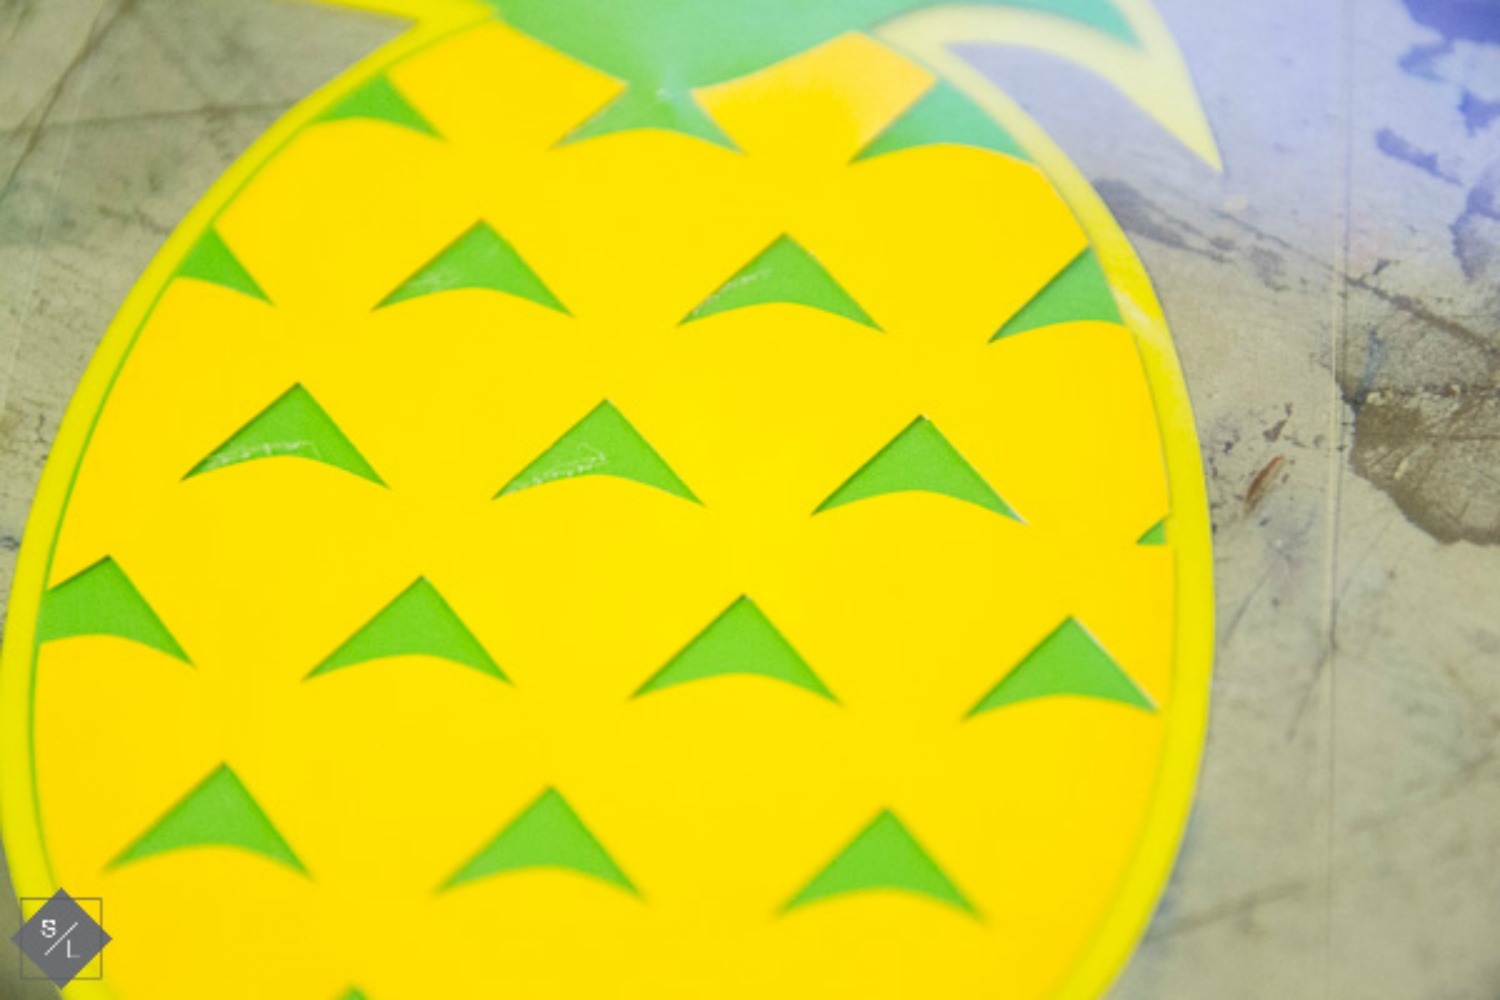
Place your bottom image (light yellow) onto a warm shirt and press firmly for about 10 seconds. Adhere just temporarily. It does not need to be completely on there at this point because you're putting on the other layers. Peel the plastic off and adhere the second image (green) and line it up to match. Press it with your iron again and repeat the same thing with your third image (sun yellow).
Now that all the plastic is peeled off, turn your shirt over or inside-out and press again using a longer amount so that it'll all be adhered. I like this method because my HTV used to peel like crazy after I washed it and it does not anymore once I adhered my HTV like this. You will still need to turn it inside-out to wash it and wash it on a gentle cycle.
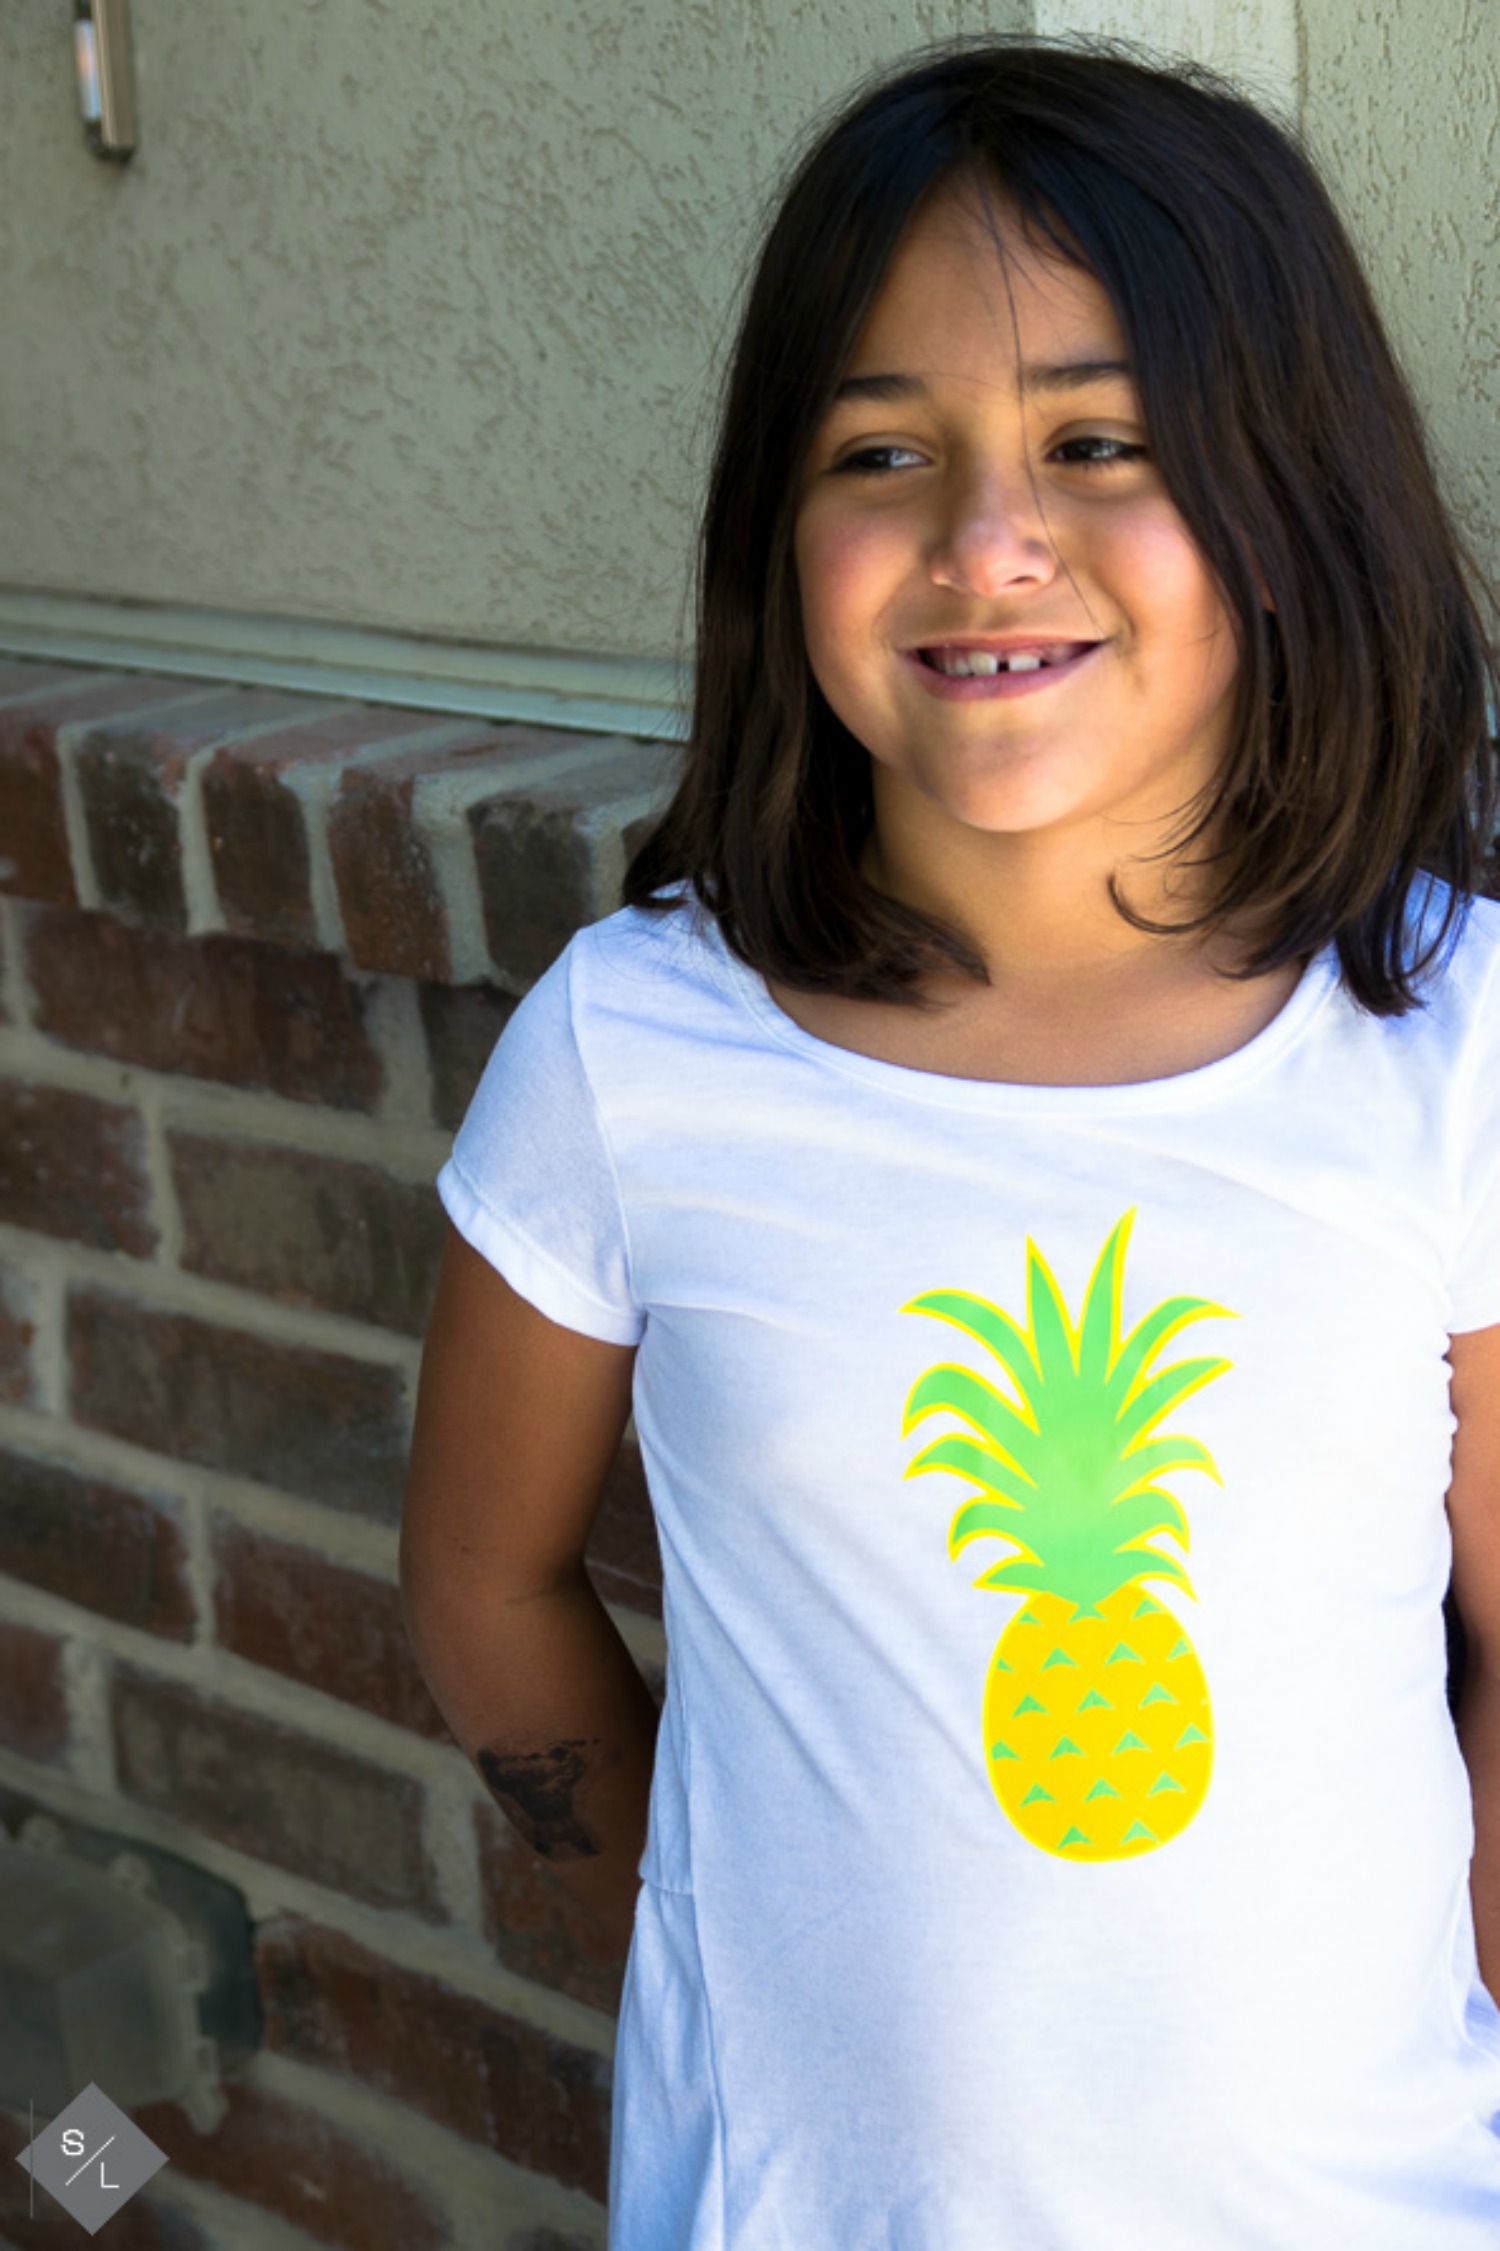
That's it! I'd love for your to stop by my site. We'll see when that Moana party gets shown on the blog but for now, see my other parties! See you next month!
Recent Posts
-
NEW Holographic Eclipse Heat Transfer Vinyl
April 15th, 2024 3 Ways to Use the New Holographic Eclipse Heat Transfer Vinyl from Siser …Apr 29th 2024 -
Hop into Spring with Cute Easter Vinyl Crafts
Do you love our Vinyl? Sign up for Vinyl Club today to get FREE vinyl and save big! …Mar 28th 2024 -
Fixing Wrinkles and Bubbles in Vinyl
How do you get air bubbles out of vinyl? There are a few different ways to ensure a flawless …Mar 26th 2024

