
Farmhouse style pillow with heat transfer vinyl
Are you ready to unleash your inner Joanna Gaines and bring some farmhouse decor into your home? The best places to make your house on trend and on budget is through decorative pillows and art! They are quick and easy to change out, no long-term commitments attached.
I'm going to show you how simple it is to make your own feminine farmhouse style pillows using some blank pillows covers, heat transfer, and your electronic cutting machine.
The Supply List:
- Blank Pillow Cover
- Pillow Form
- 12" x 24" Heat Transfer Material
- Iron/Heat Press
- Silhouette CAMEO or similar machine
- Hook Tool
- Cut File (this is similar to the one I used)
I'm going to be super honest with you and say it took me over a week to decide on my pillow design!! I went through about 4 or 5 designs before figuring this one out. Sometimes you just have to play for it to come to you. Lucky you though, I already worked out this design for you and it's super easy to replicate.
Open your cut file in Silhouette Studio. I don't know if the image I used came with the machine or not, I couldn't find it in the design store when I searched to link it for you, but I linked one that's almost identical.
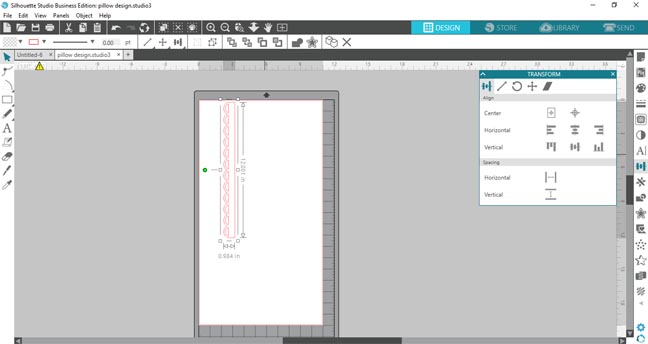
The pillow cover I'm using is 20" square so you'll need to double the length by copying it and lining it up perfectly with the last scallop.

Right-click and pull up the shortcut menu and click weld to make the two shapes one long piece, make sure both items are selected when you do that.
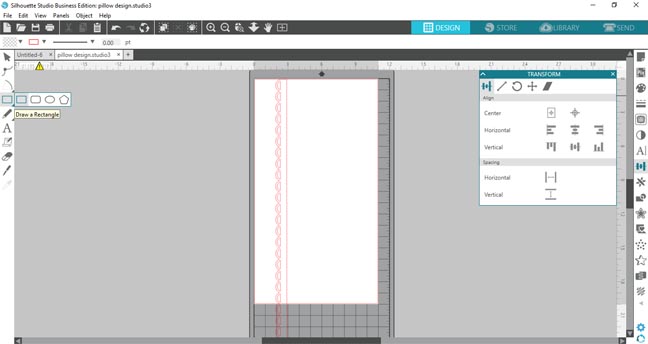
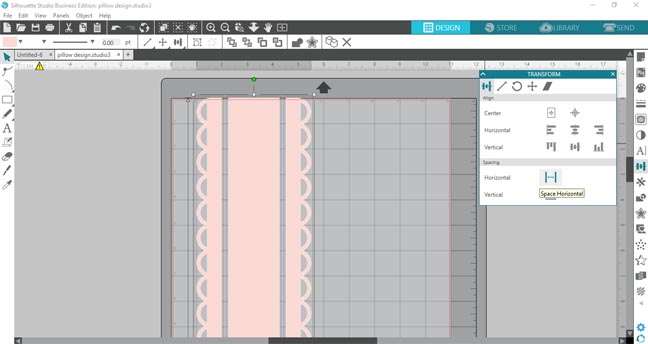
Now use the drawing tools on the left-hand side to draw a rectangle. The transform panel has the scale tool where you can make the size the exact dimensions you want.

I filled the shapes with color to help visualize the design. Mirror the scalloped shape to the other side of your rectangle.
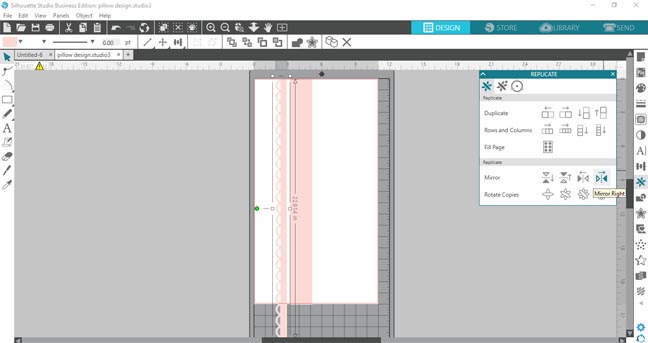
I found that changing the reveal on the cutting mat helps line up the shapes better. You can also look at the top edge ruler and the shape selected shows up darkened. I tried to get them very close to evenly distributed.
If you want them perfectly evenly spaced apart, there's an easy tool for that! Head back to the transform panel and tell it to space horizontally.
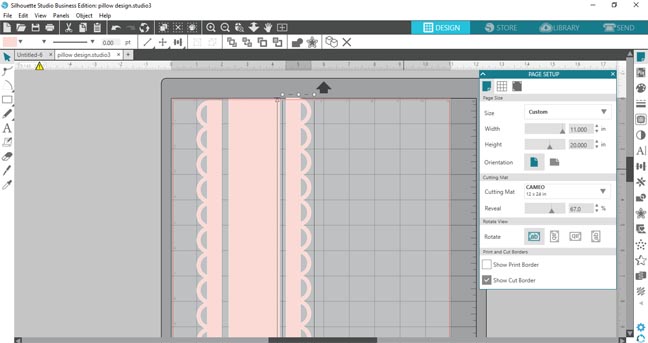
I'm making 3 pillows for my sofa so I replicated the design 2 more times and sent the file to be cut. Normally you need to mirror your design for cutting heat transfer but this is a symmetrical design so it doesn't matter. Load the heat transfer shiny side down on the cutting mat.

If you have a CAMEO 3, did you know that there are extension bars in that drawer below the machine? Fold them out to help support cutting the longer 24" mat.
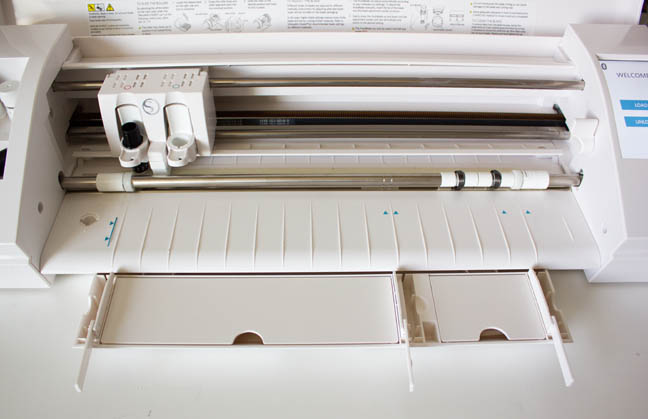
I had to pull my machine to the edge of the table so the mat had room to freely move back and forth without smashing into my wall.
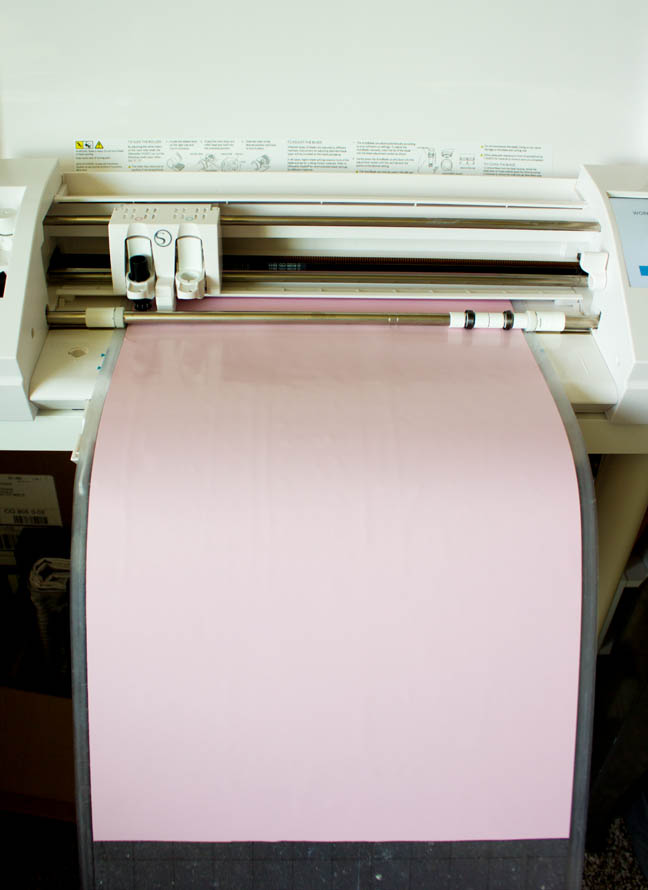
After it's done cutting, weed out the excess material and cut the individual pillow portions out.
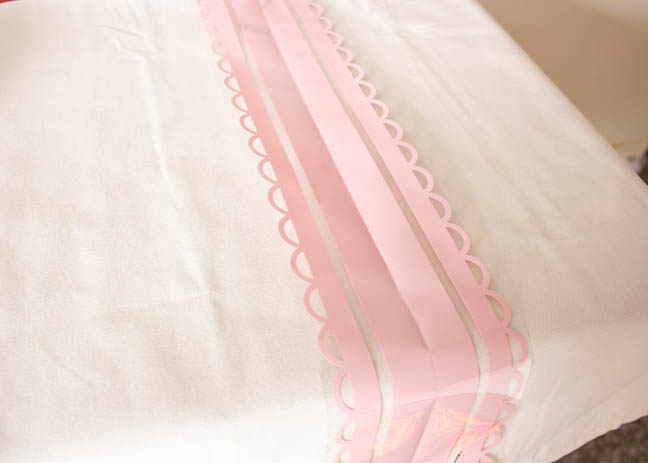
First, iron out as many wrinkles from the pillowcase as you can. Then fold the HTV design and the pillow in half so it's easy to align them correctly before pressing.
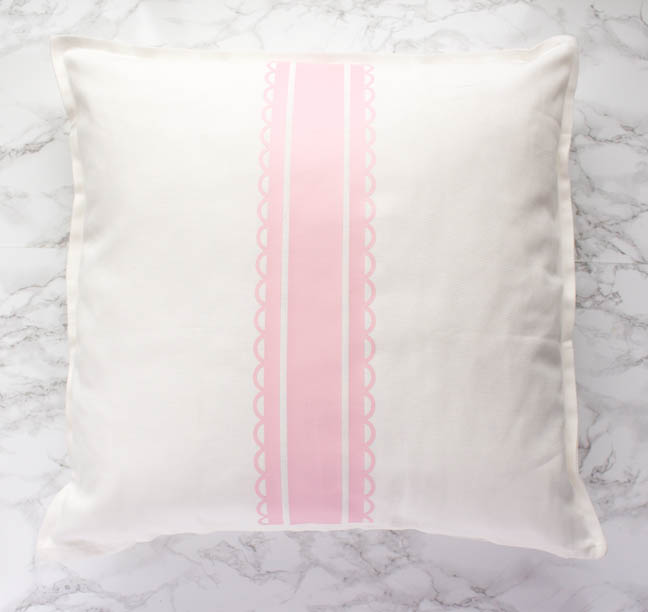
Finally, press the HTV onto the pillowcase and pull off the carrier sheet. Your pillow is done!
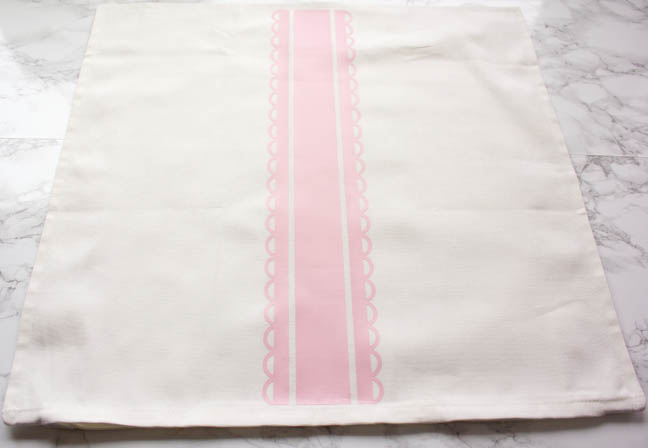
Add the pillow form inside, and repeat the process for the other pillows.
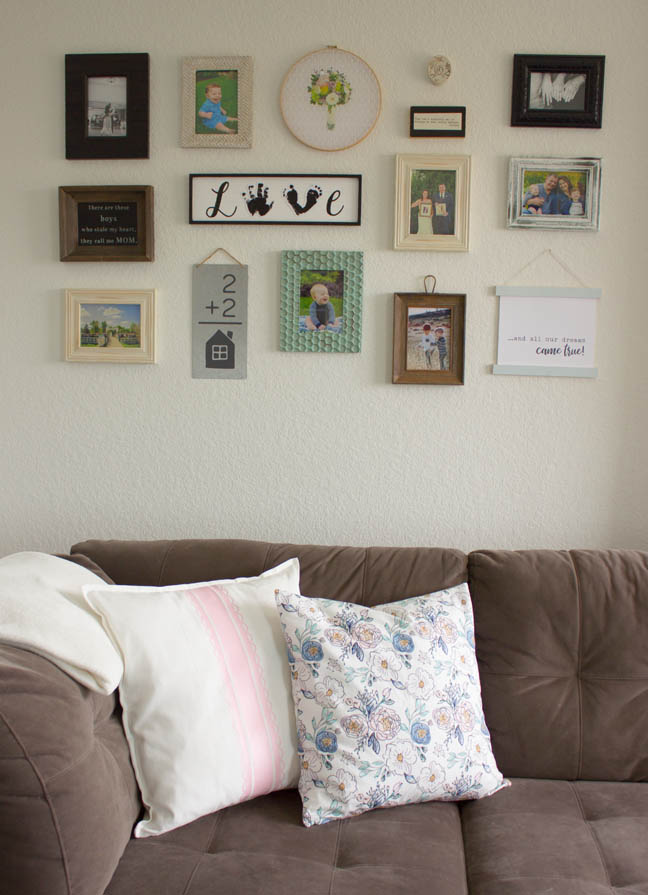
I made some other pillows for our sofa upstairs to add a little feminine touch to this boy-filled home and lighten the look of our dark sofa. These go perfectly with the collage wall I made featuring farmhouse style artwork and family photos.

So there you have it!! Adorable pillows that are very affordable, on trend, and easy to make. If you make yourself one make sure to tag me on Instagram @designedtobecrafty.

Recent Posts
-
NEW Holographic Eclipse Heat Transfer Vinyl
April 15th, 2024 3 Ways to Use the New Holographic Eclipse Heat Transfer Vinyl from Siser …Apr 29th 2024 -
Hop into Spring with Cute Easter Vinyl Crafts
Do you love our Vinyl? Sign up for Vinyl Club today to get FREE vinyl and save big! …Mar 28th 2024 -

Fixing Wrinkles and Bubbles in Vinyl
How do you get air bubbles out of vinyl? There are a few different ways to ensure a flawless …Mar 26th 2024