
Flamingo sign with Oramask stencil film
Hey everyone! Aubrey here from @projectsilhouette and I'm excited to show you how to make a fun sign using Oramask Stencil material. I love the look of painted wood, and this stencil material will you give you nice, crisp lines. So here's how to do it!
Supplies needed:
-Oramask 813 Stencil Film -transfer tape -acrylic paint -wood block -cutting machine (I used a Silhouette Cameo) -weeding hook -scraper tool
STEP ONE: Create design
Open up your software (I used Silhouette Studio) and create your design. I used a fun flamingo shape from the Silhouette Online Design Store. Size it to fit on your wood block.
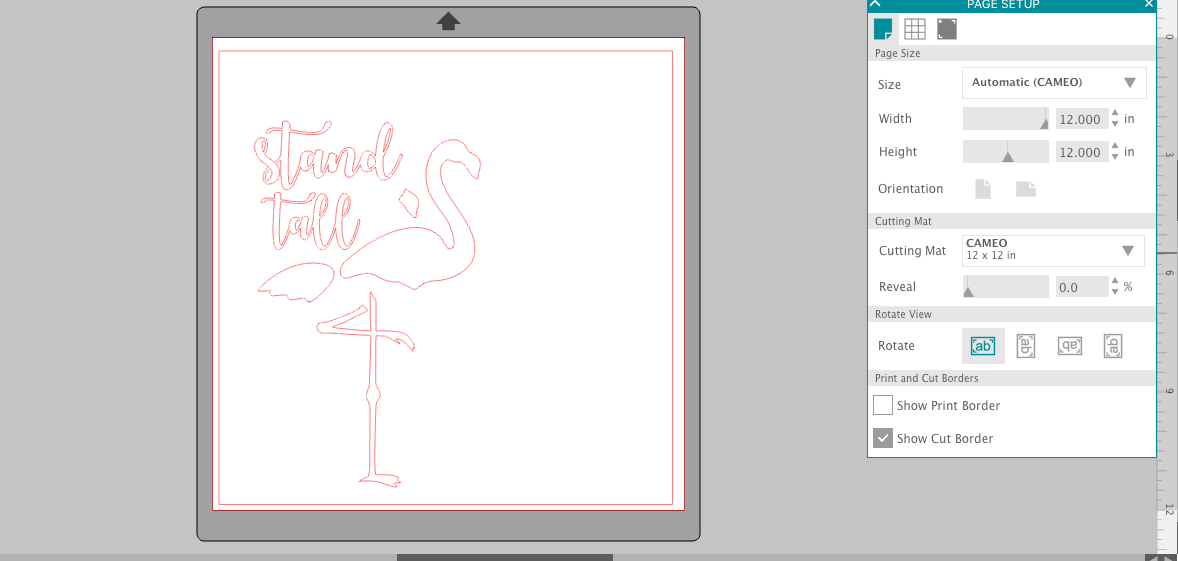
*One trick I like to do is fill my designs with the color I'll be painting it. That way it's easy to visualize how my final project will look.*
Now since there are several parts to the flamingo that I want in different colors, right click and ungroup. Now I can move each piece and cut out a stencil for each part.

STEP TWO: Cut out design
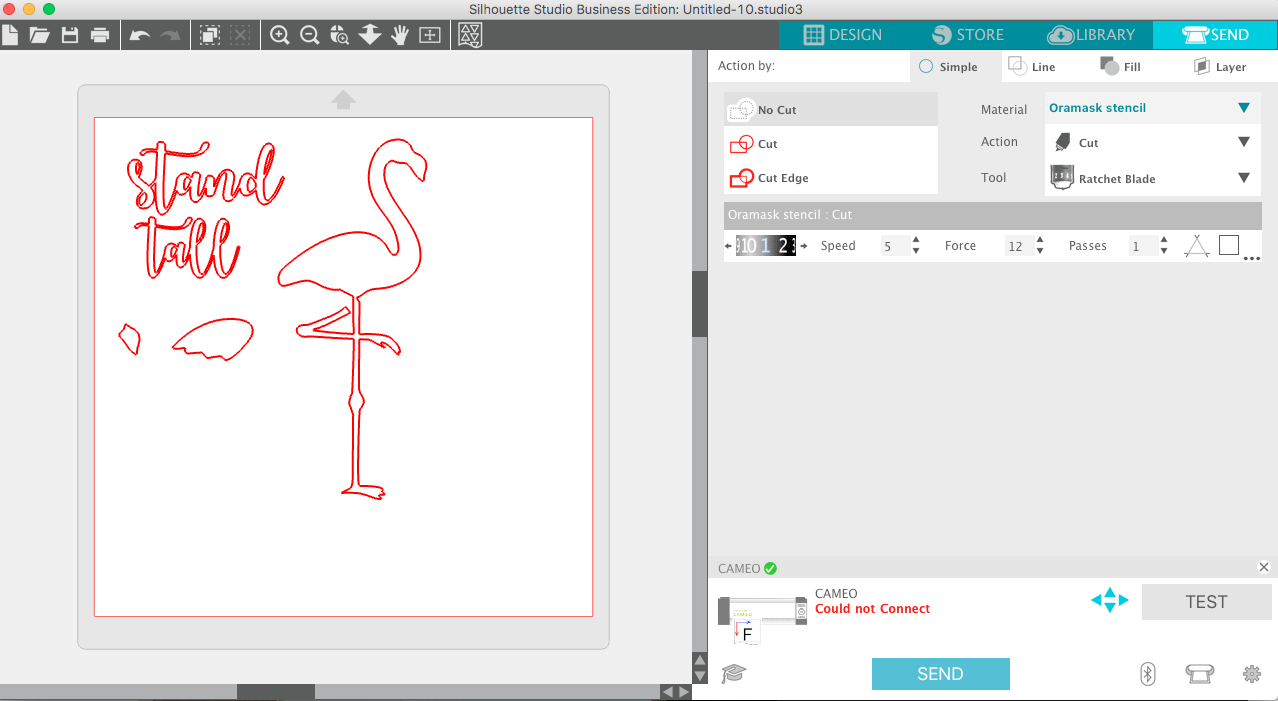
Load your Oramask Stencil material into your machine, blue side up. Go to your cut settings window, and I've found that the preset for vinyl work great, just turn the force up a little. Now watch your machine work its magic!
 STEP THREE: Weed design
Now take your weeding hook or a pair of craft tweezers and peel off your design. This is different from normal vinyl; you WANT to take out your design, since that's what we will be painting.
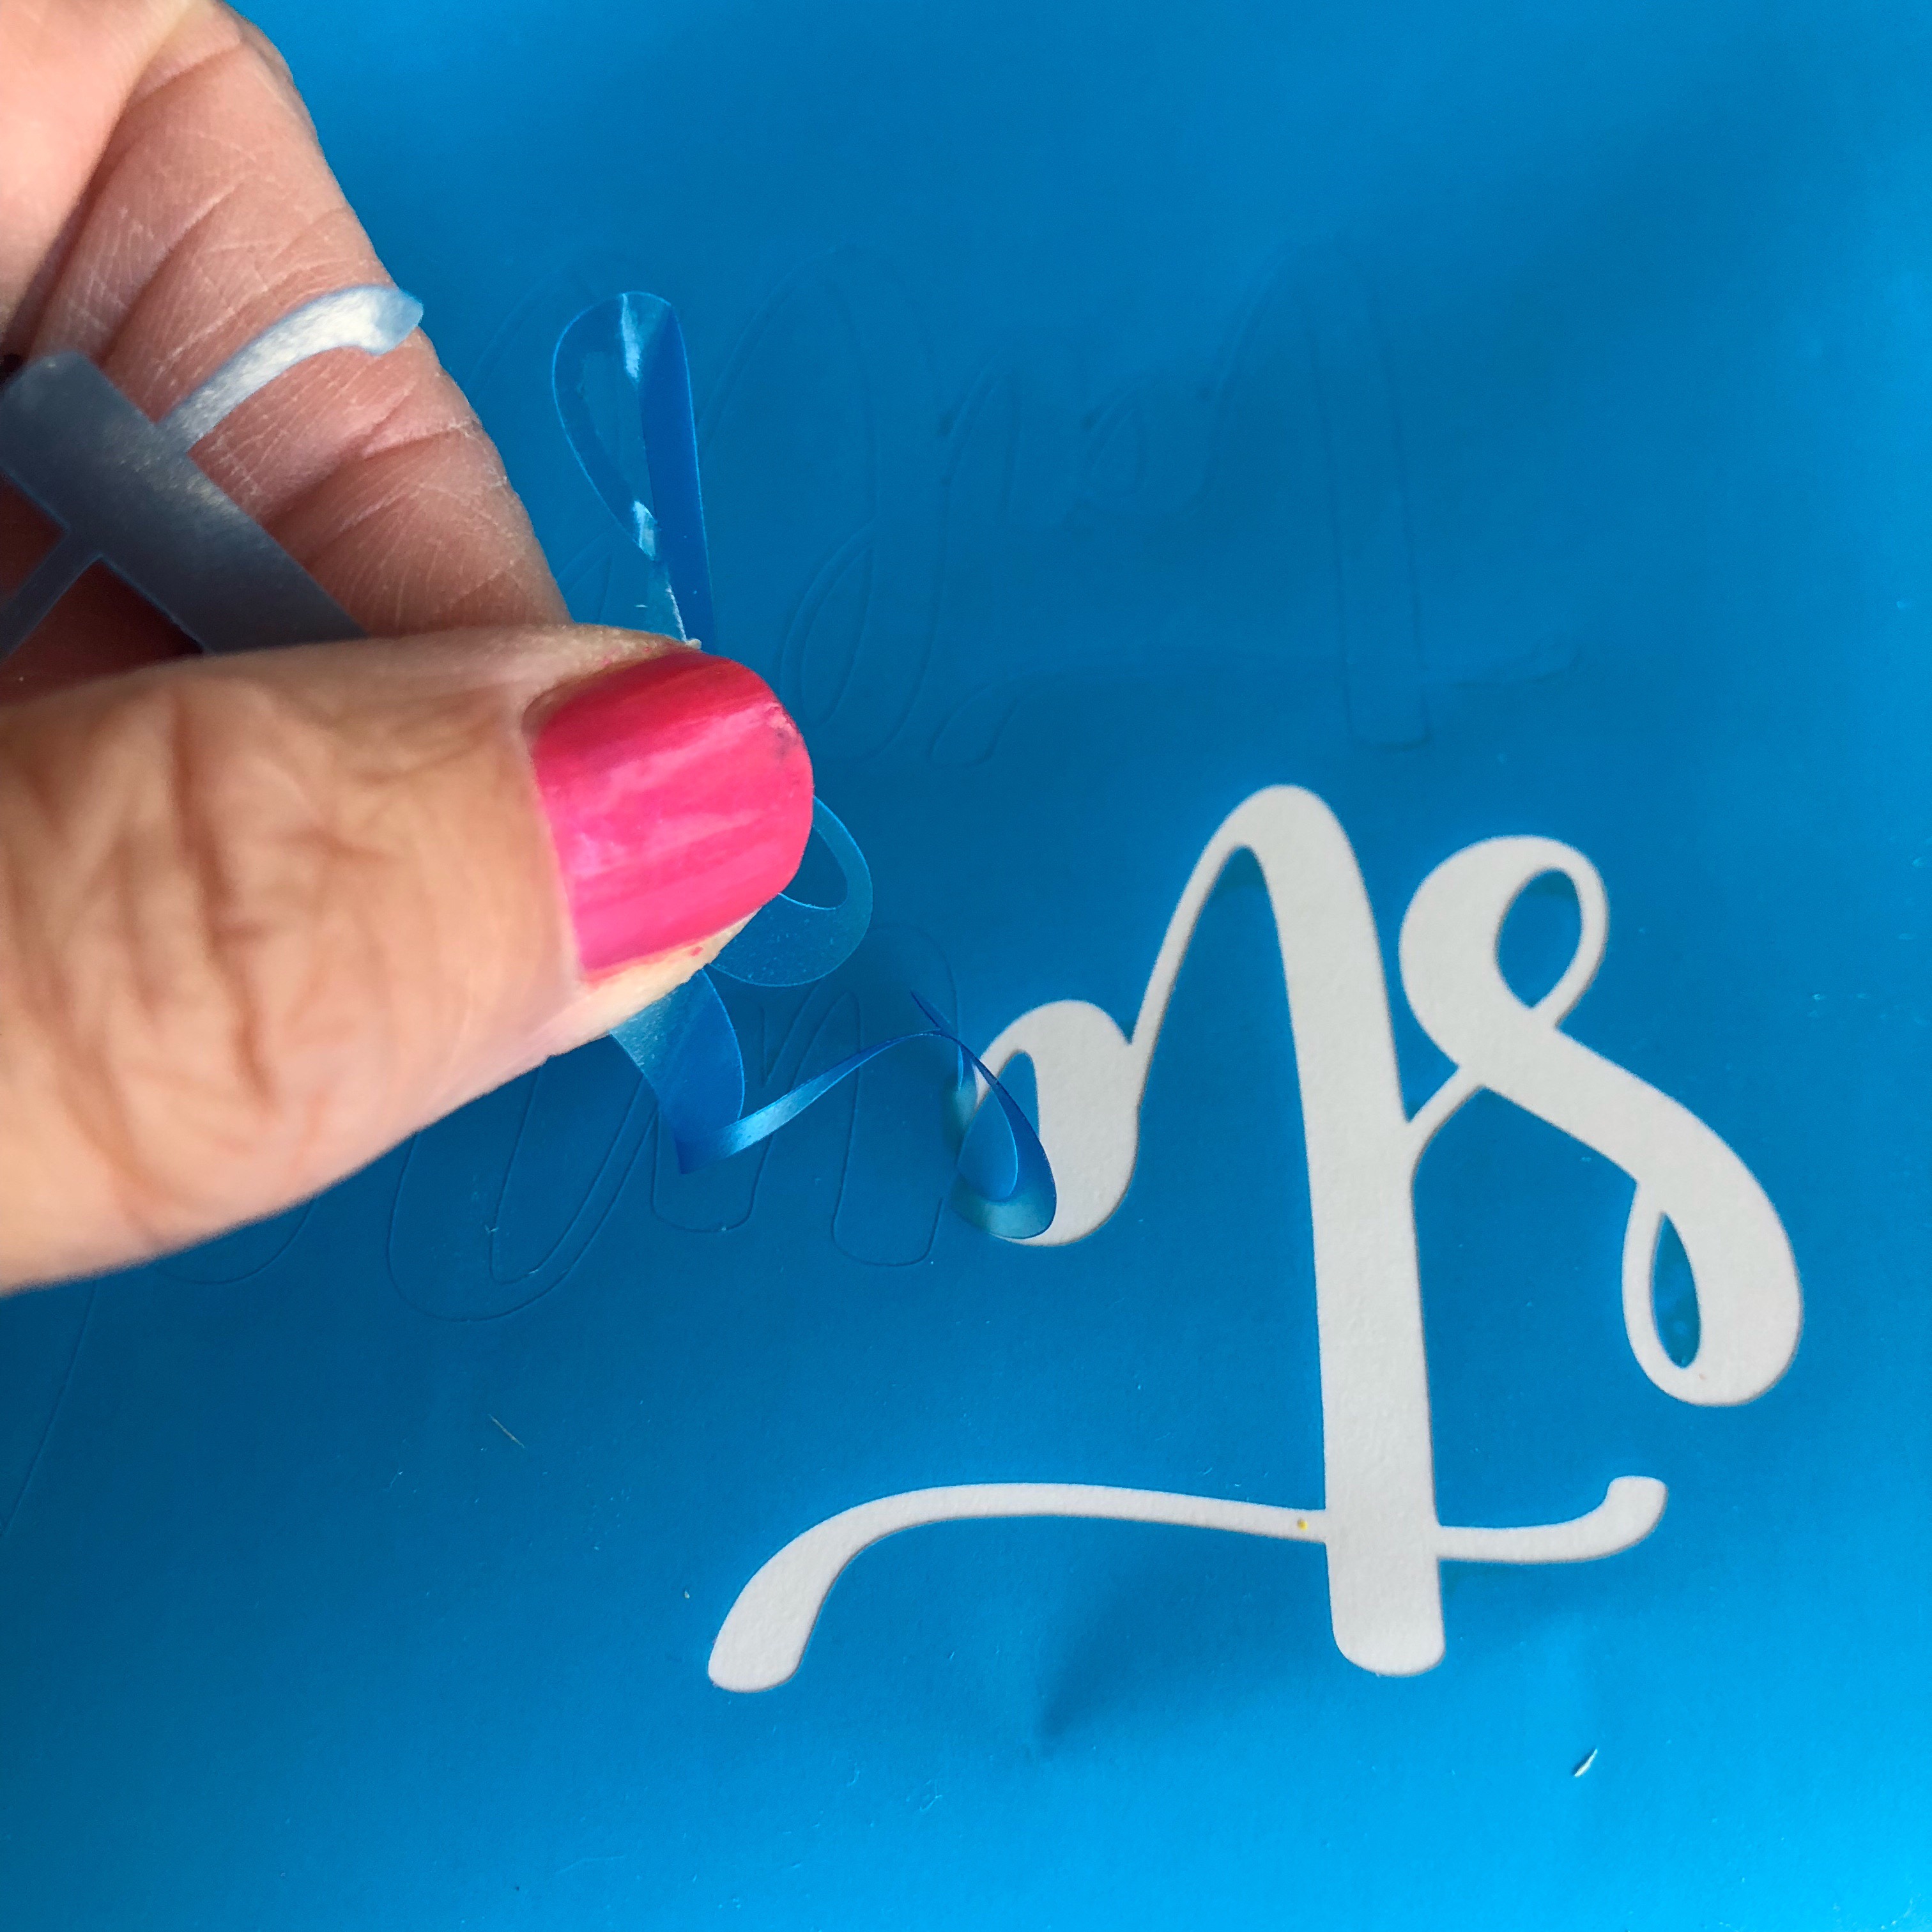
Now I have all my stencil peices ready to go.

STEP FOUR: Prepare material for stenciling
Once your design has been weeded, take some transfer tape and place it over the design. Use your scraper tool to smooth out any bubbles.
![]()
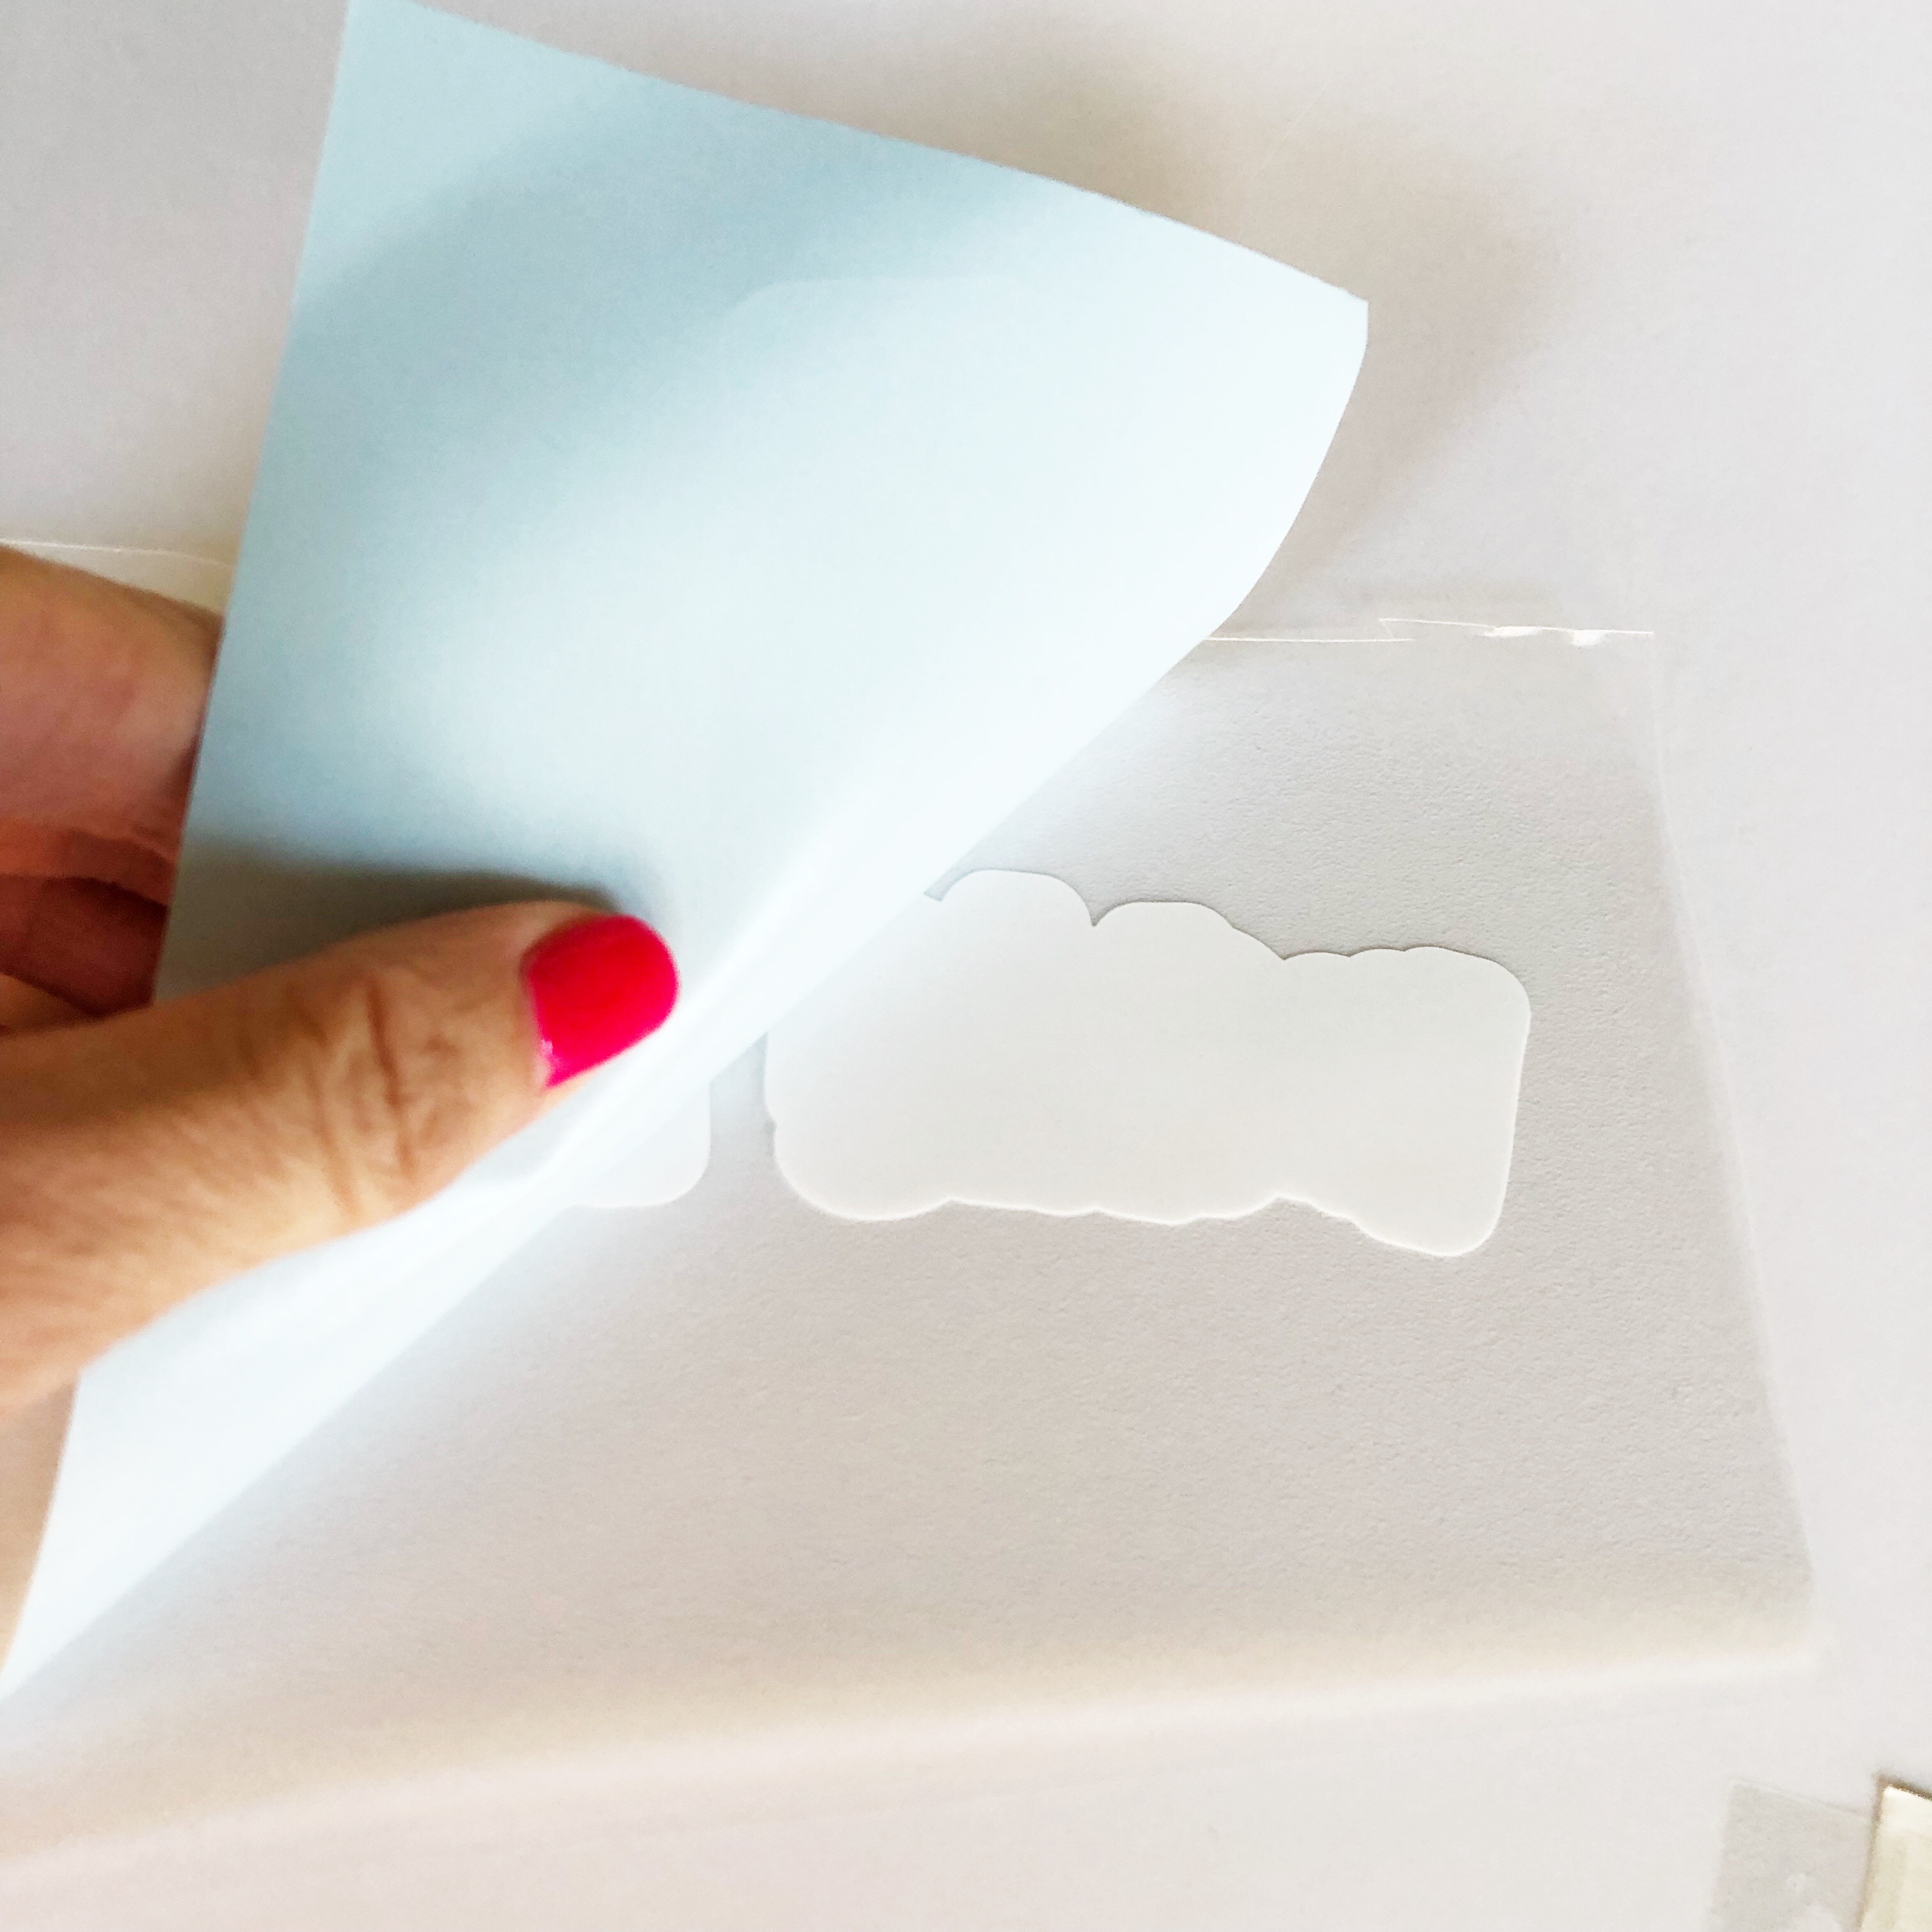
Now turn the stencil over and peel off the paper backing, which then leaves the sticky side of the stencil.
Take your repainted/pre-sanded piece of wood and carefully place your stencil onto to it. Use your scraper tool again to smooth the vinyl all over the wood. You don't want any bubbles because that's where the paint can bleed through.
*Note: the smoother your wood, the better your paint lines will be. Make sure you prep your wood beforehand. Sand it well and avoid heavy brush strokes when painting a background color.
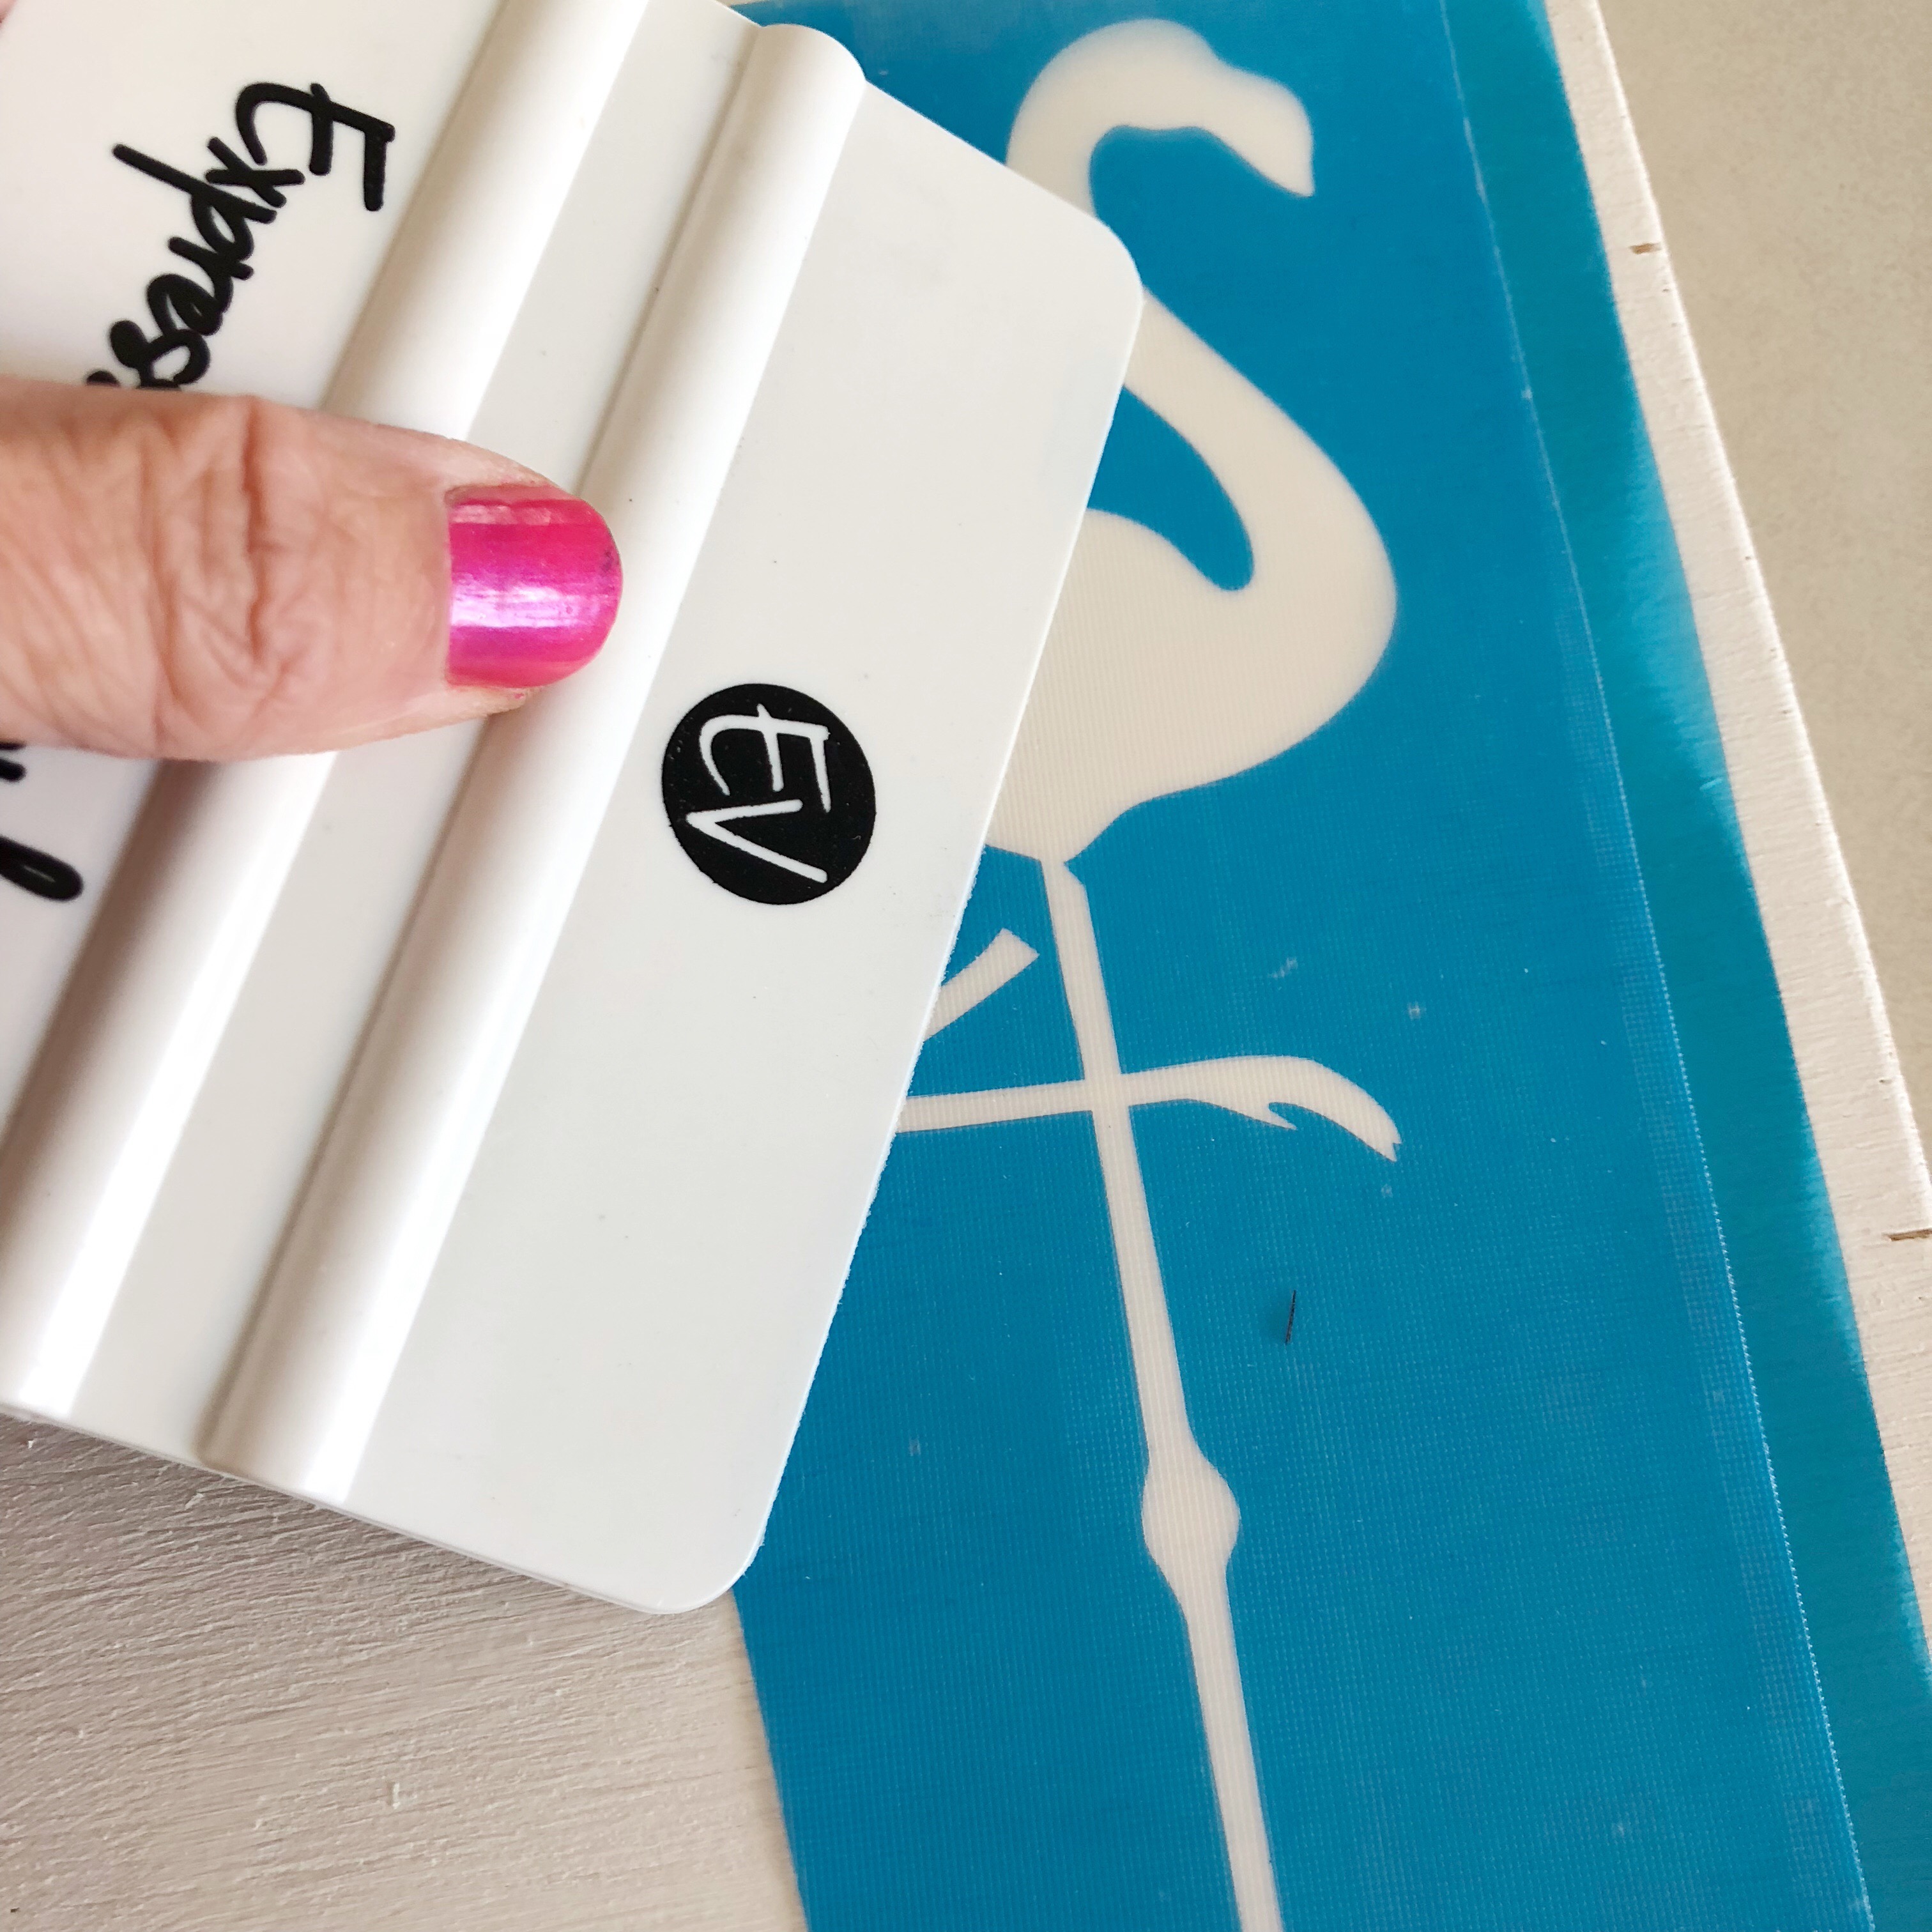
Now peel off your transfer tape and we are ready to paint!
![]()
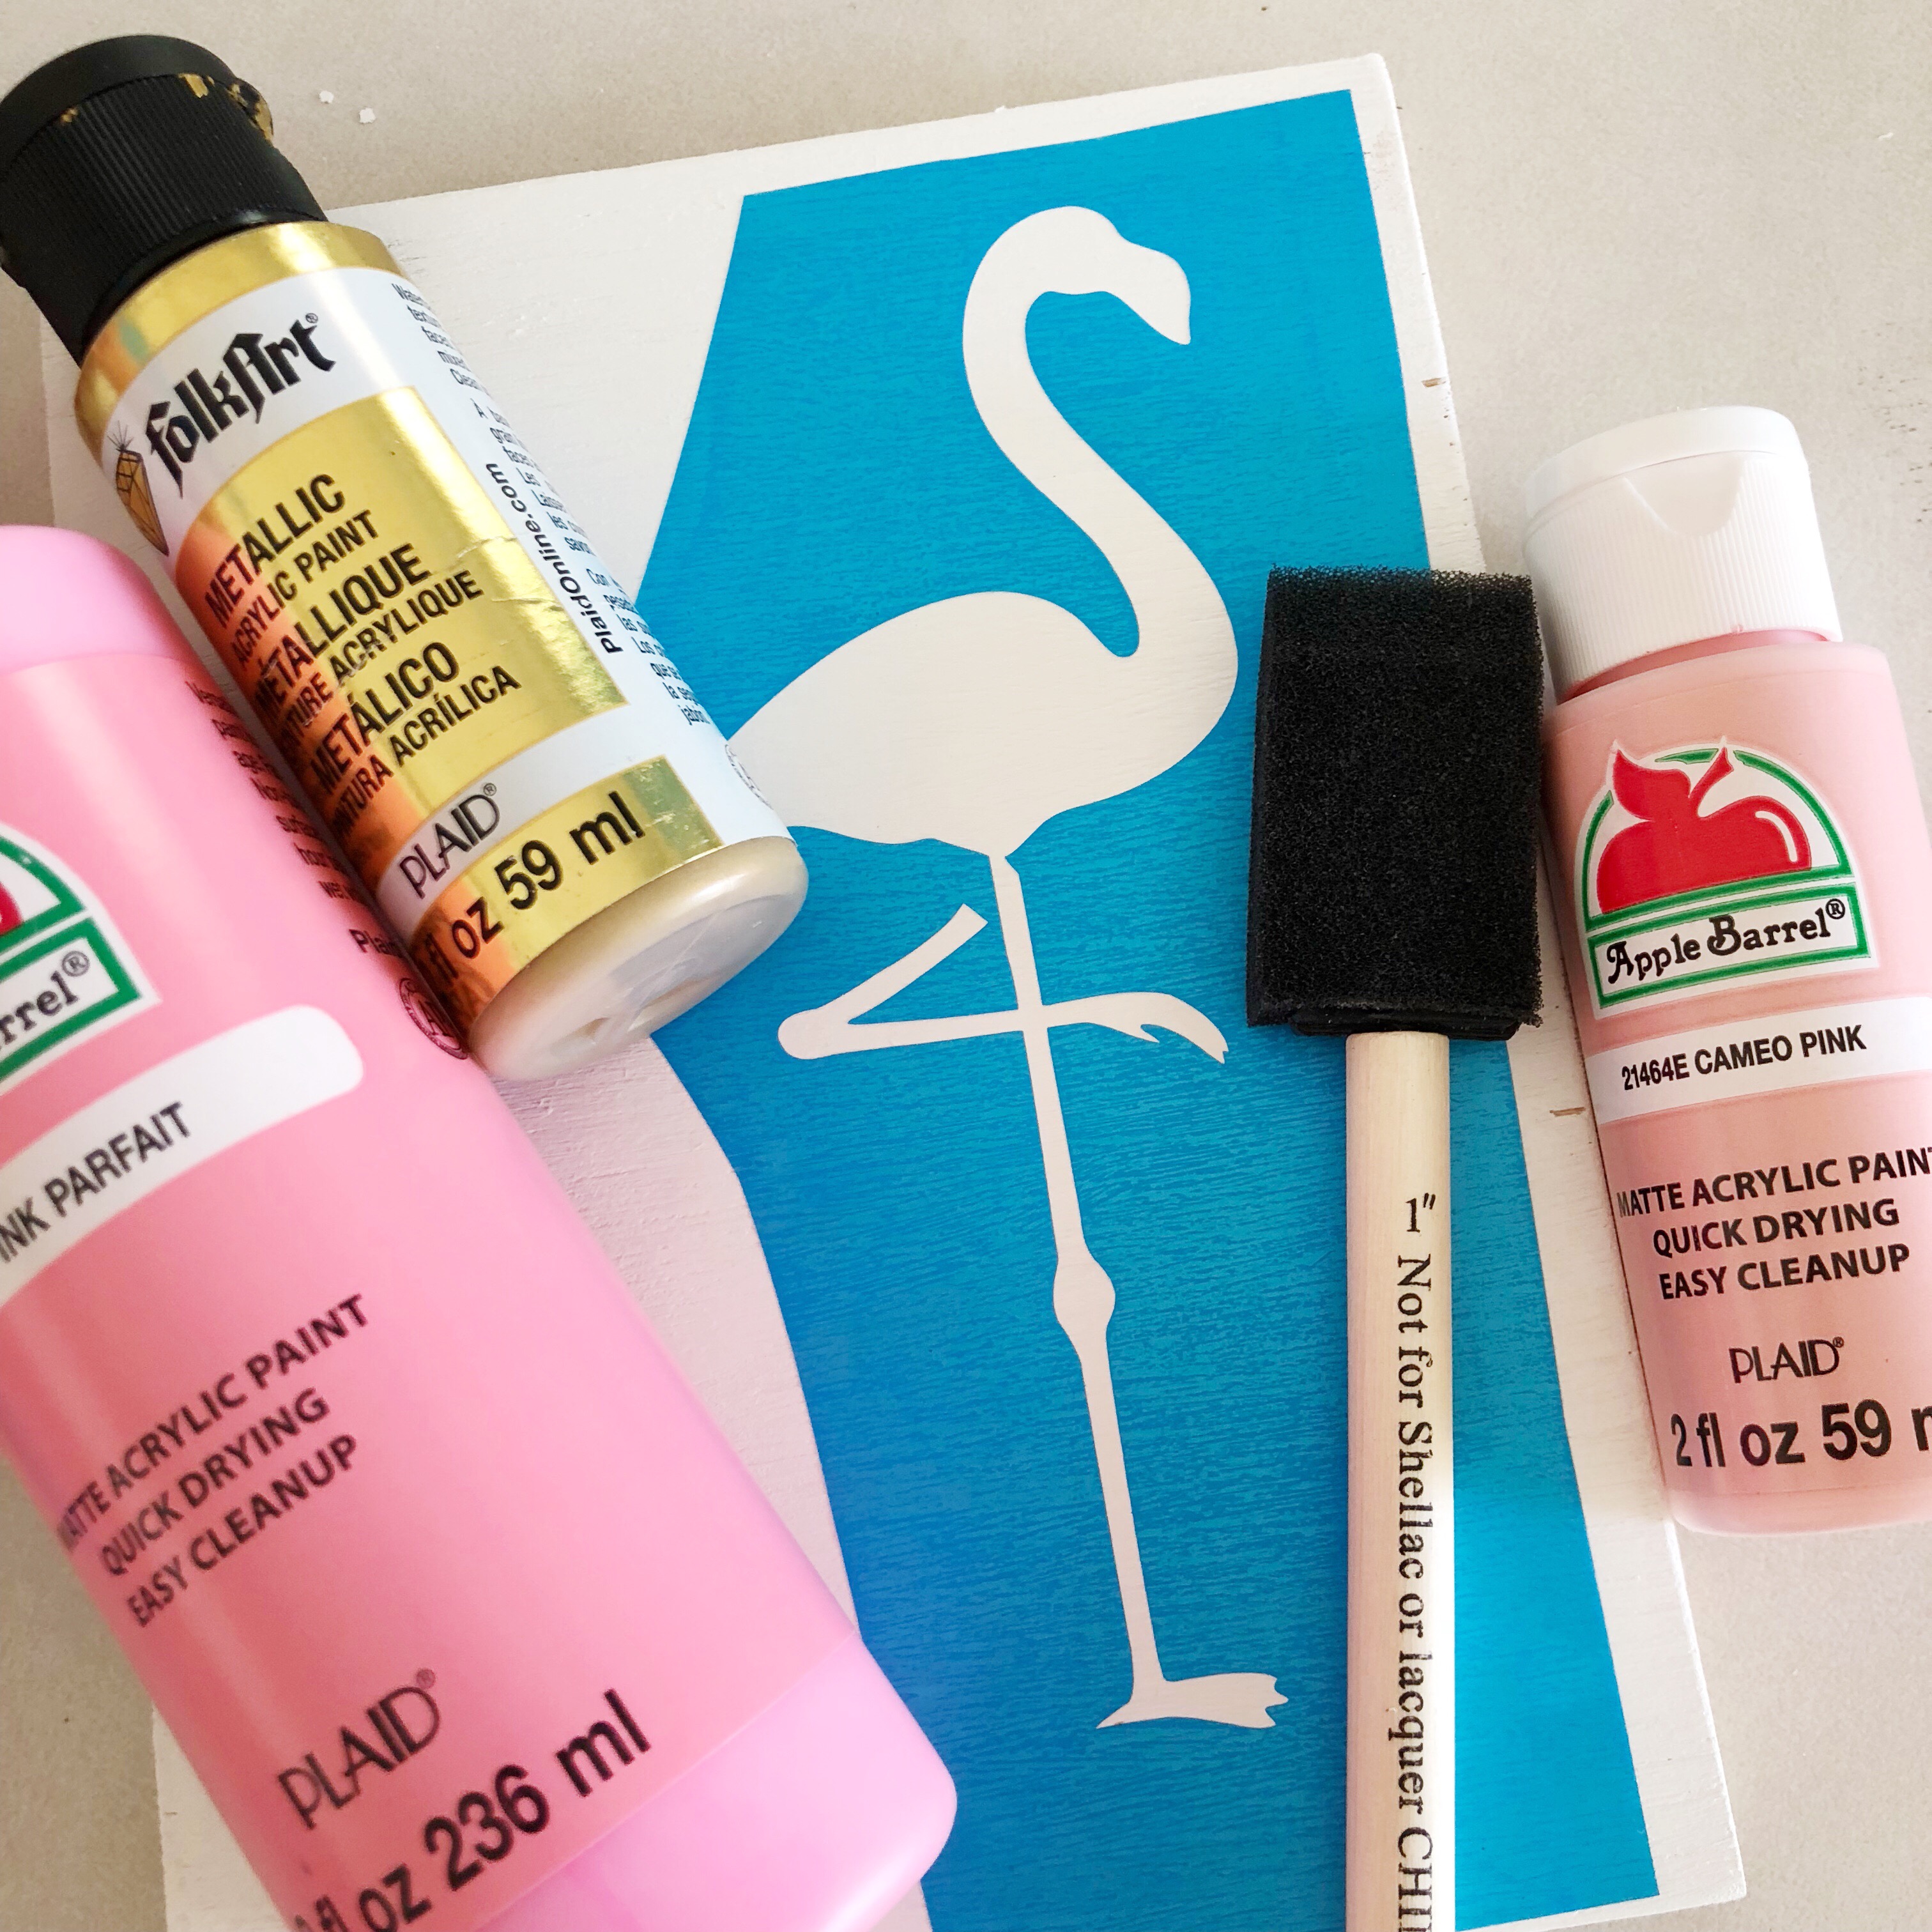
STEP FIVE: Paint design
Grab your acrylic paints and a foam brush. I buy these foam brushes in bulk because I don't have to wash them when I'm done. In the garbage they go!
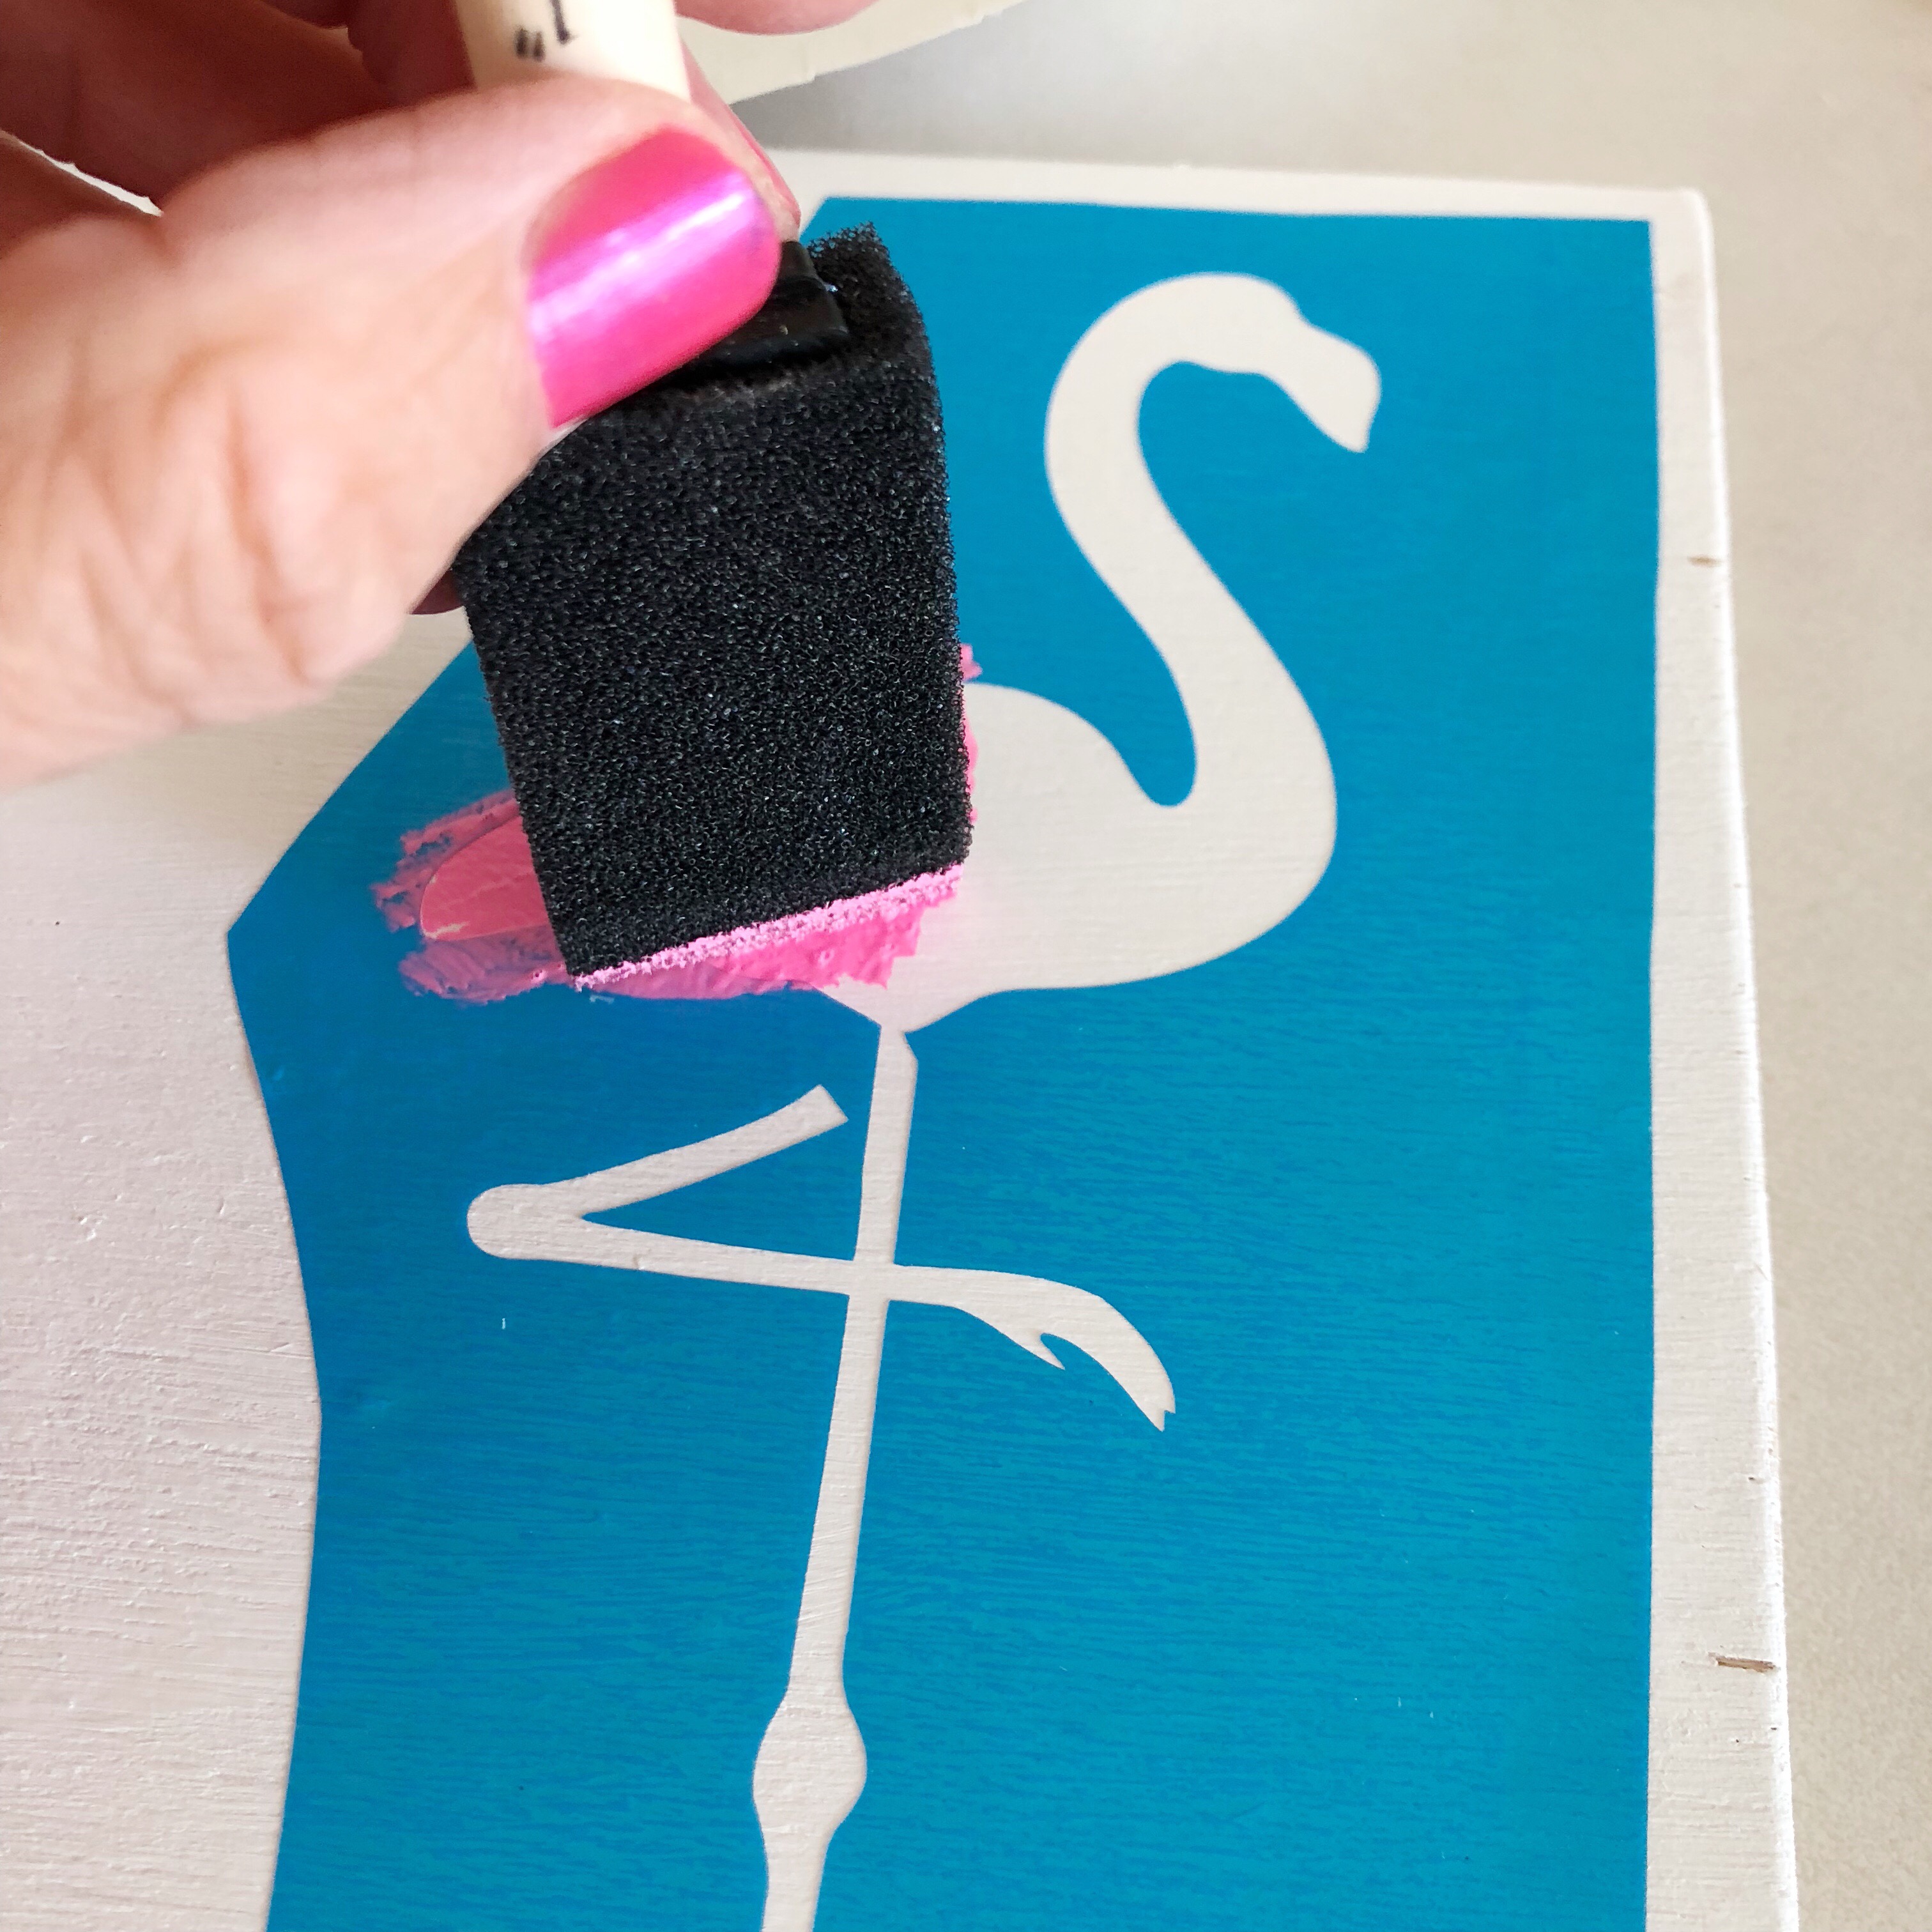
When we paint onto the stencil, you want to use gentle up and down motions, instead of your typical side to side motion like normal painting. Going up and down lowers the chance of the paint bleeding through the bottom. We want crisp lines! Start with your main color first. Most of my flamingo was the brighter pink, so I started with that.
After that first color, let the paint dry and peel off the stencil. Yay for crisp lines!
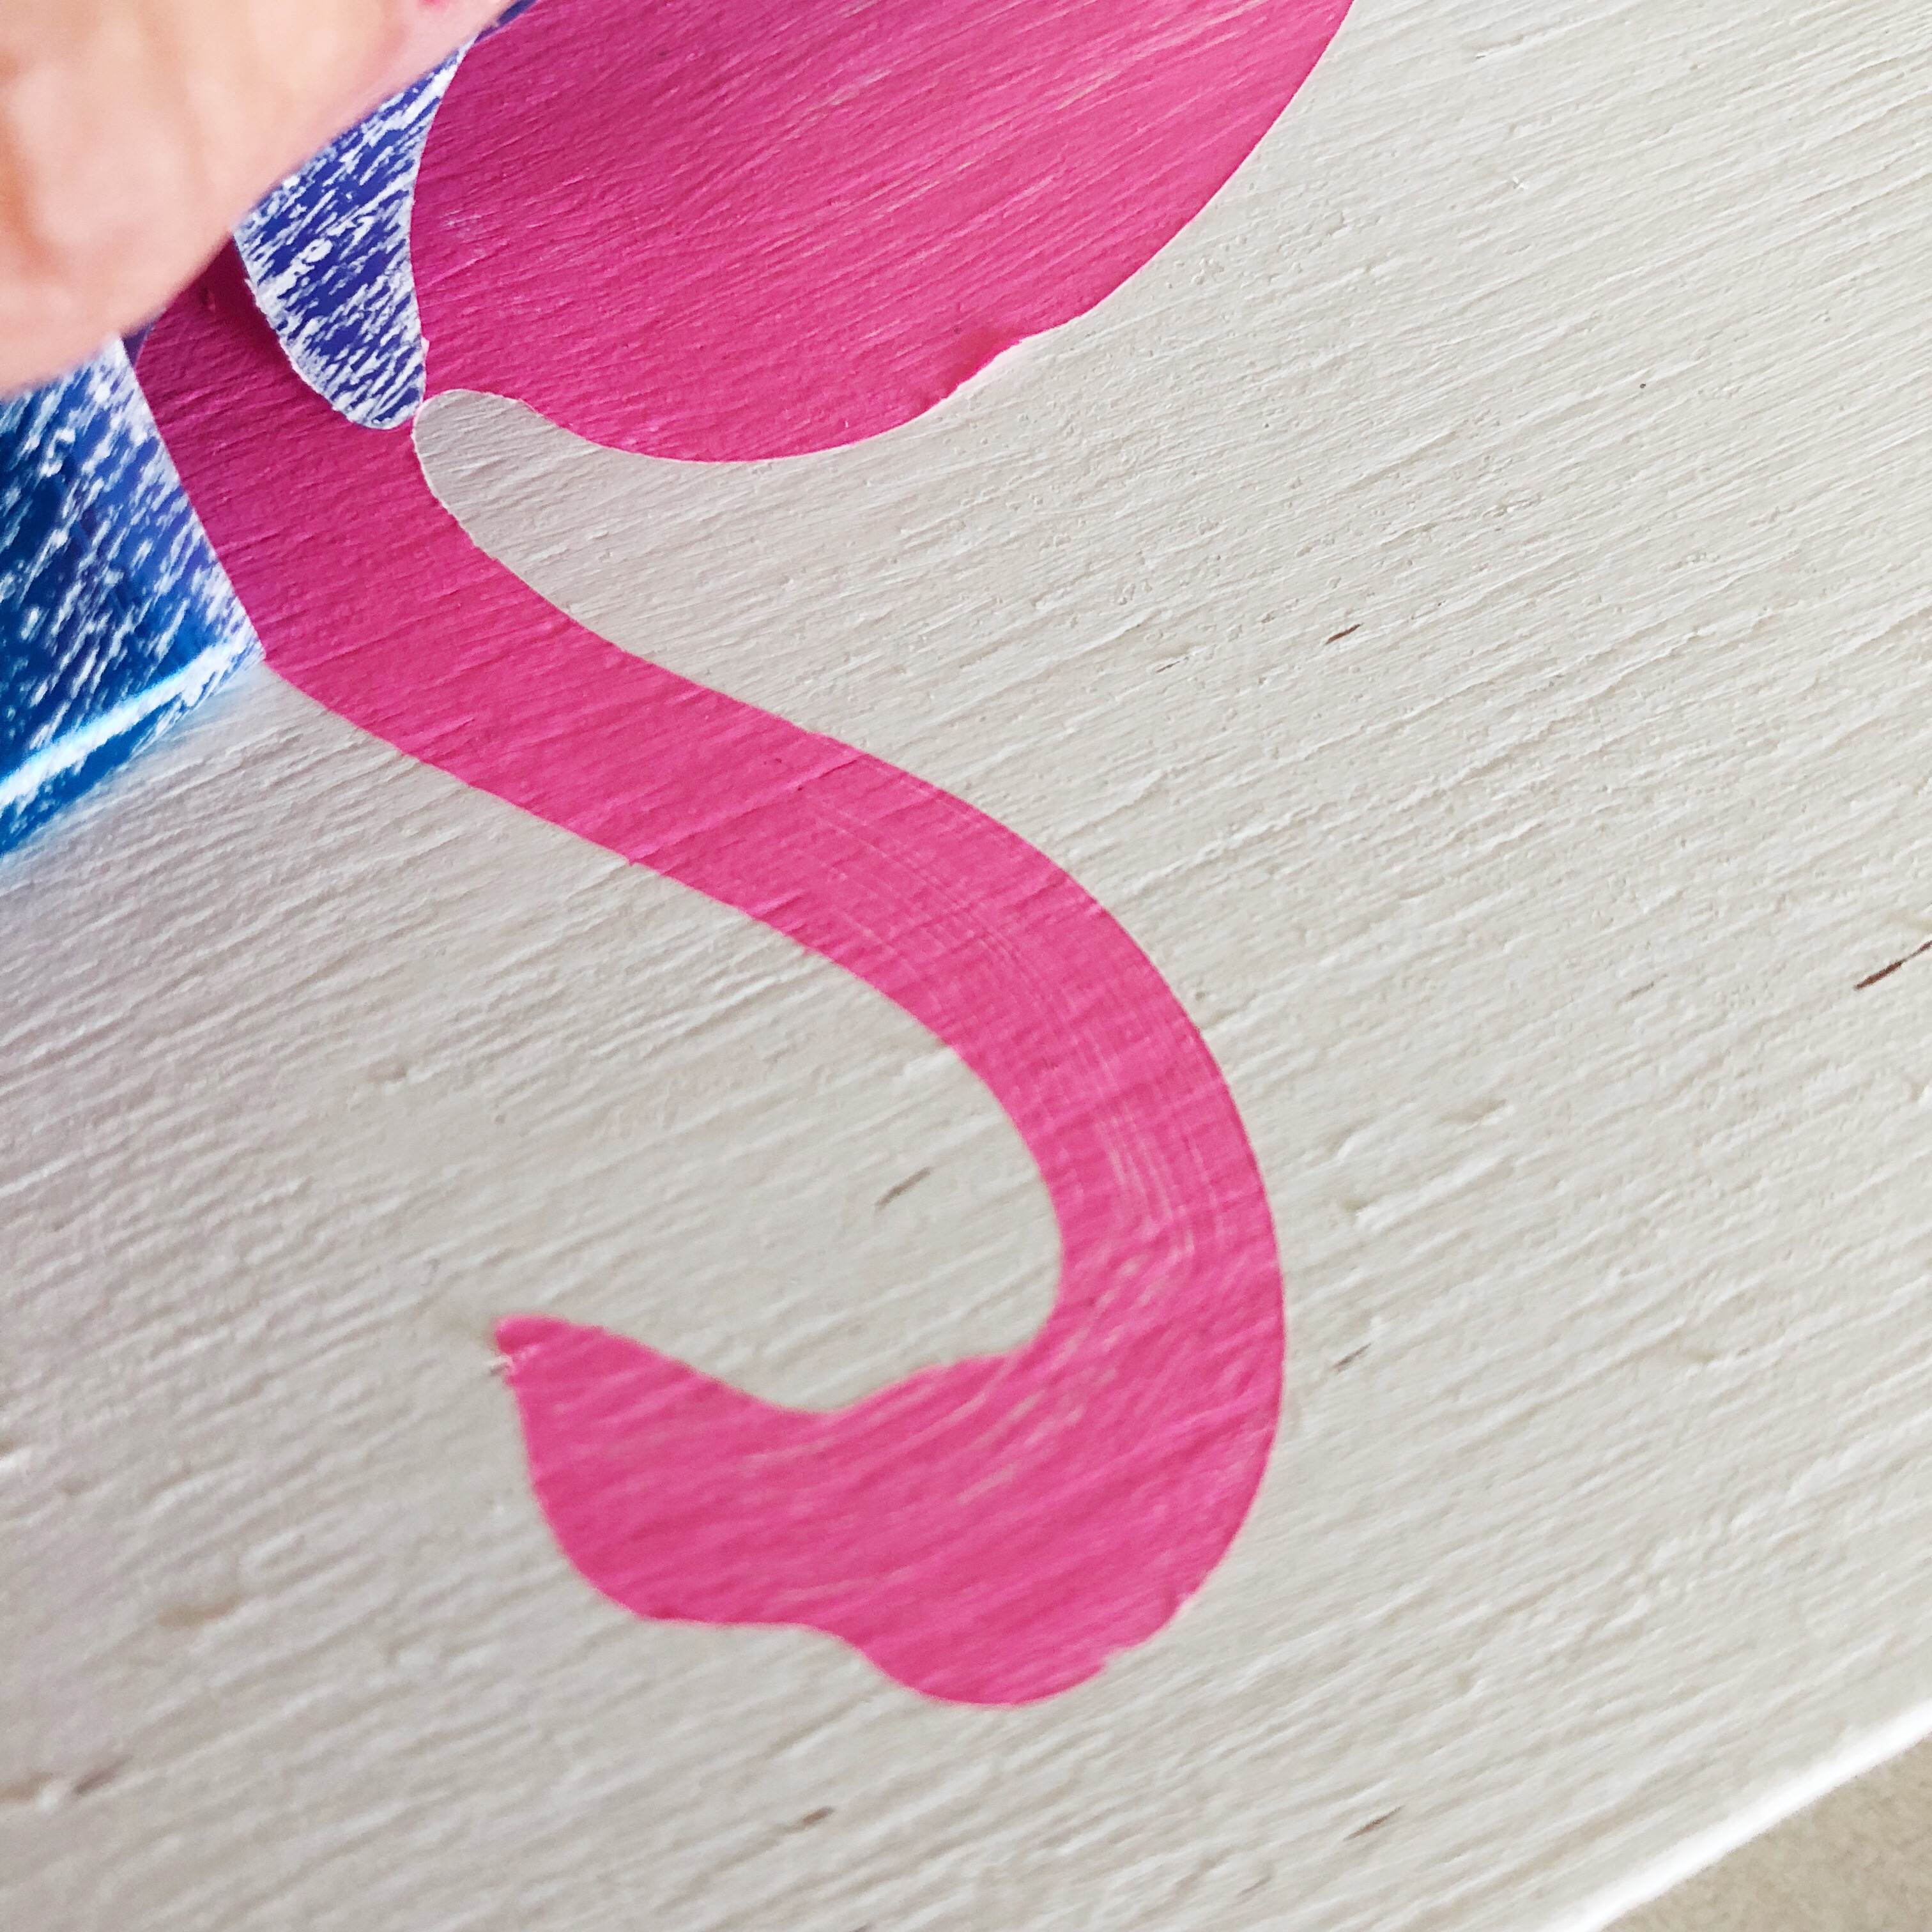
Make sure your first color is bone dry before doing the smaller pieces. Place them where you want and paint with the lighter color.
Again, wait until it dries before peeling off the stencil. Now you have your fun design! I placed this on a handmade wood shelf in the bathroom where my kids can see it everytime they look in the mirror. Self-confidence is a must, amiright?

Now what are you going to stencil with this amazing material??
Recent Posts
-
NEW Holographic Eclipse Heat Transfer Vinyl
April 15th, 2024 3 Ways to Use the New Holographic Eclipse Heat Transfer Vinyl from Siser …Apr 29th 2024 -
Hop into Spring with Cute Easter Vinyl Crafts
Do you love our Vinyl? Sign up for Vinyl Club today to get FREE vinyl and save big! …Mar 28th 2024 -

Fixing Wrinkles and Bubbles in Vinyl
How do you get air bubbles out of vinyl? There are a few different ways to ensure a flawless …Mar 26th 2024