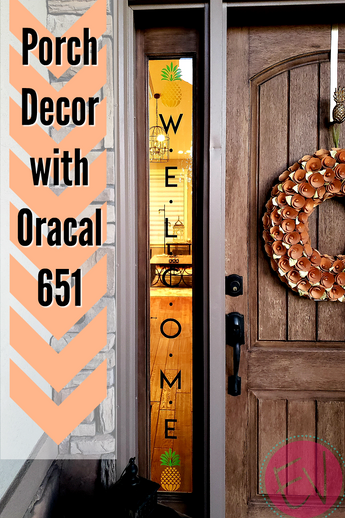
Front Porch Welcome Decor
Hey everyone, its Jessica from ExpressionsVinyl.com.
Summer is winding down, so with that come the visitors to your home for upcoming Holidays, so of course you need a porch sign for a warm welcome.
With that, you also need a little bit of sunshine still, so here come the pineapples. You can't go wrong with Pineapples.
For my porch sign project, I thought I would be fun to decorate my side windows of my front door, creates a little more privacy and a fun look to any porch.
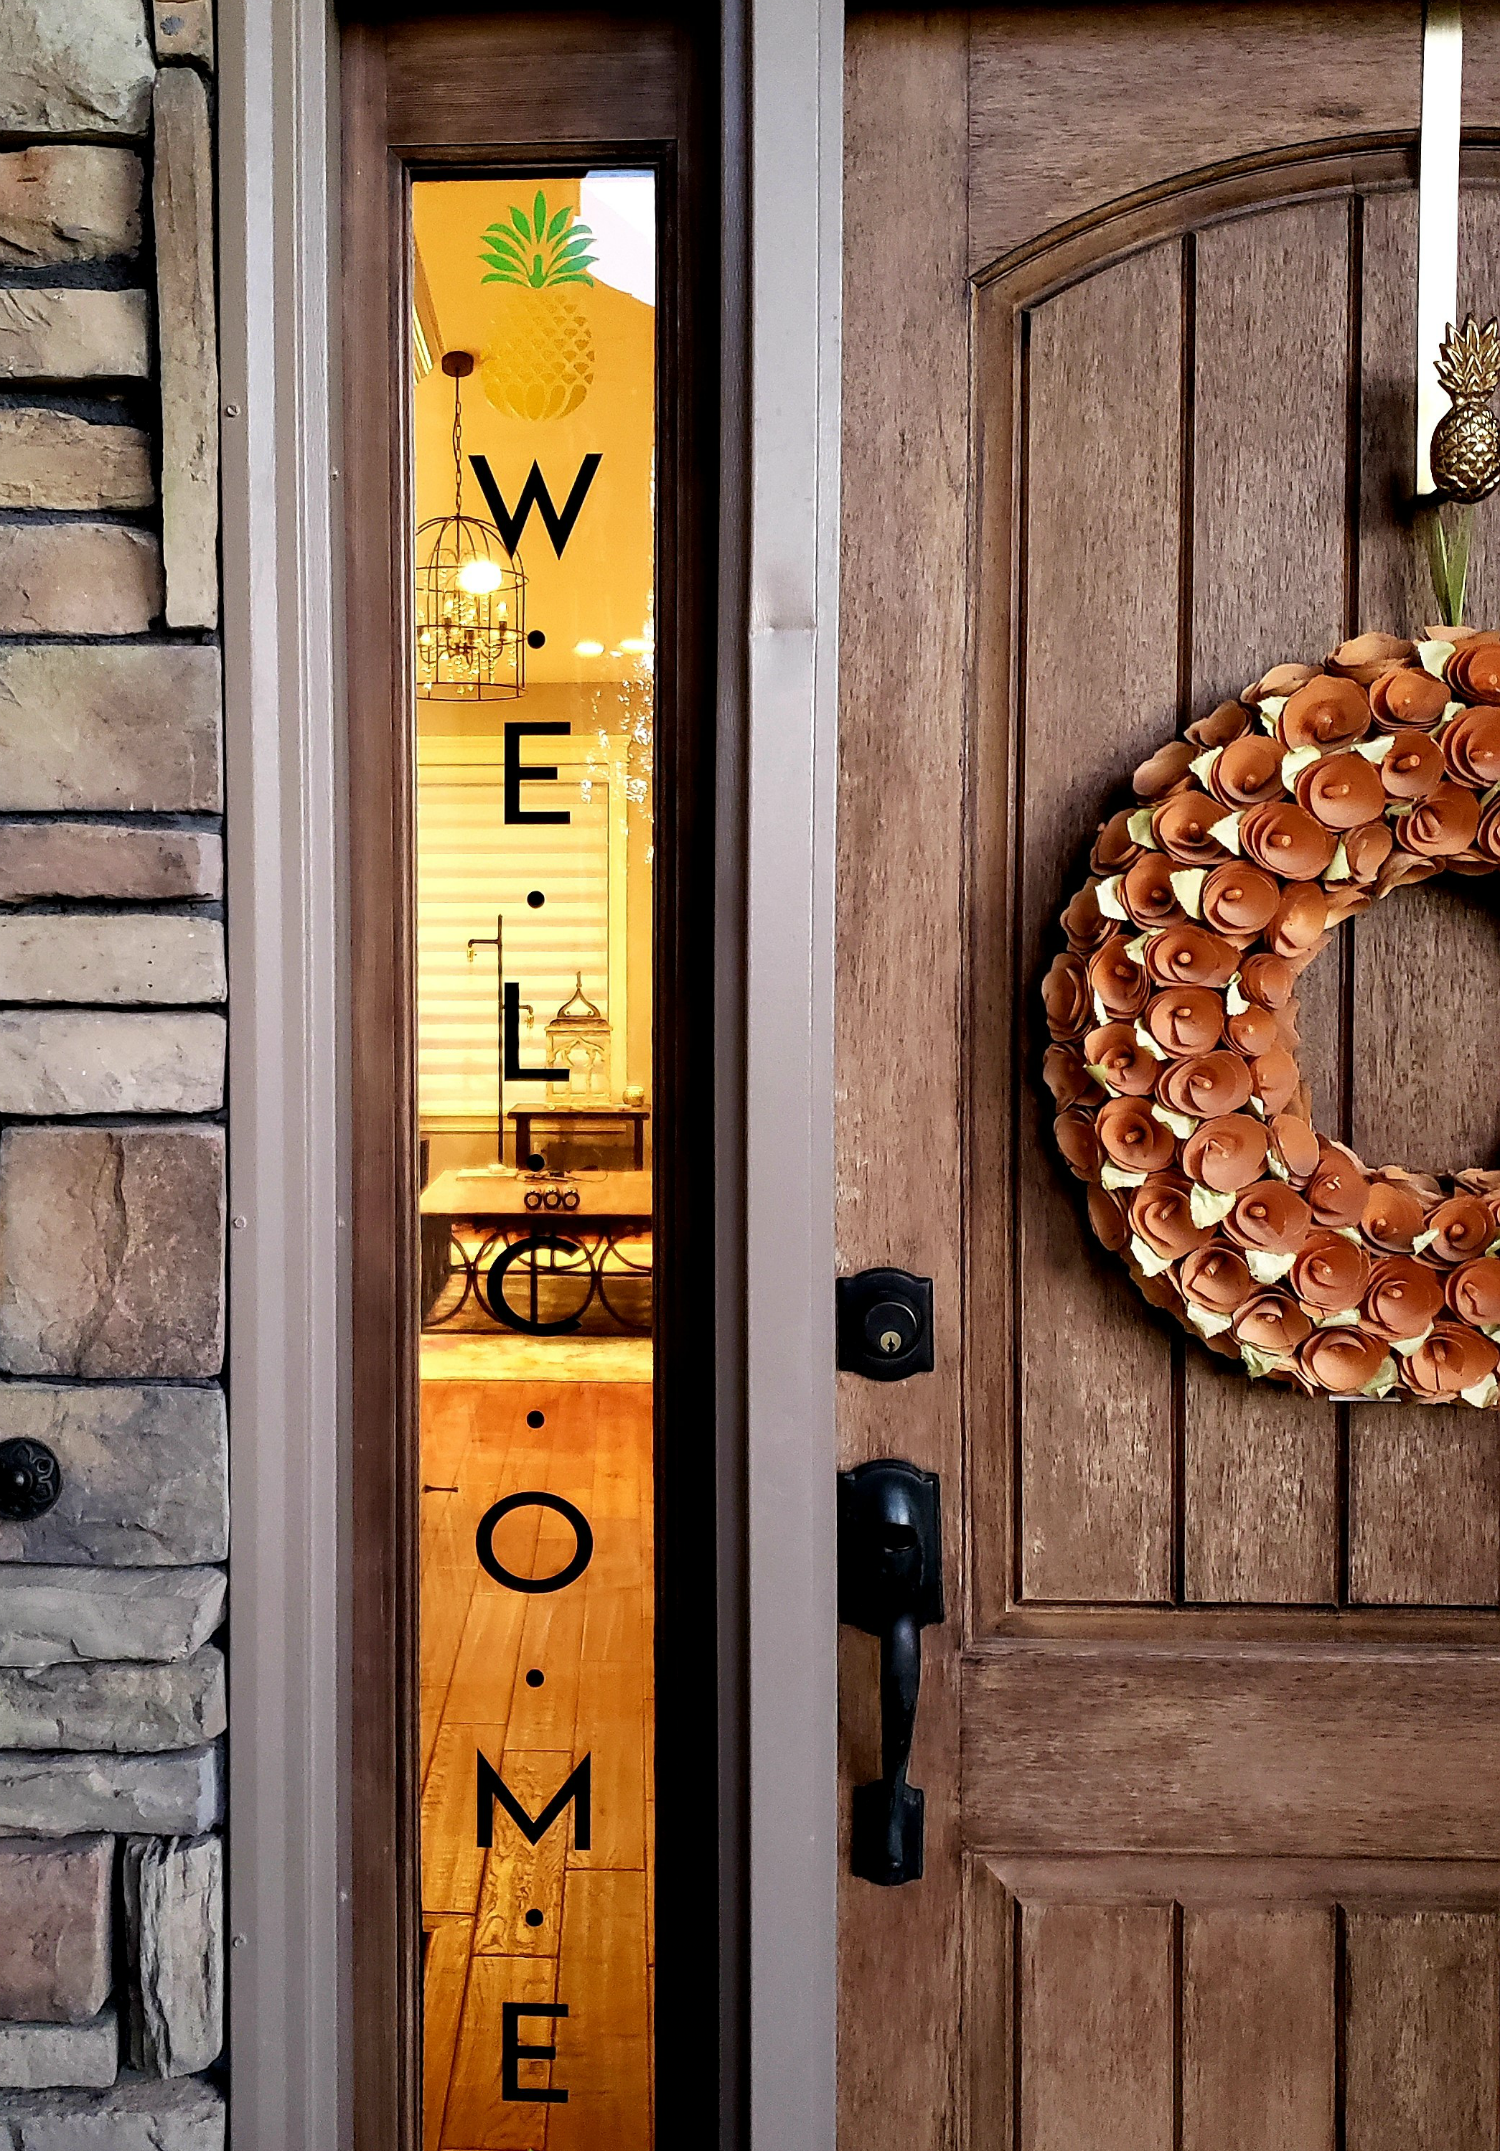
First, here is what you will need:
Vinyl:
Font:
Cut Files:
Tools:
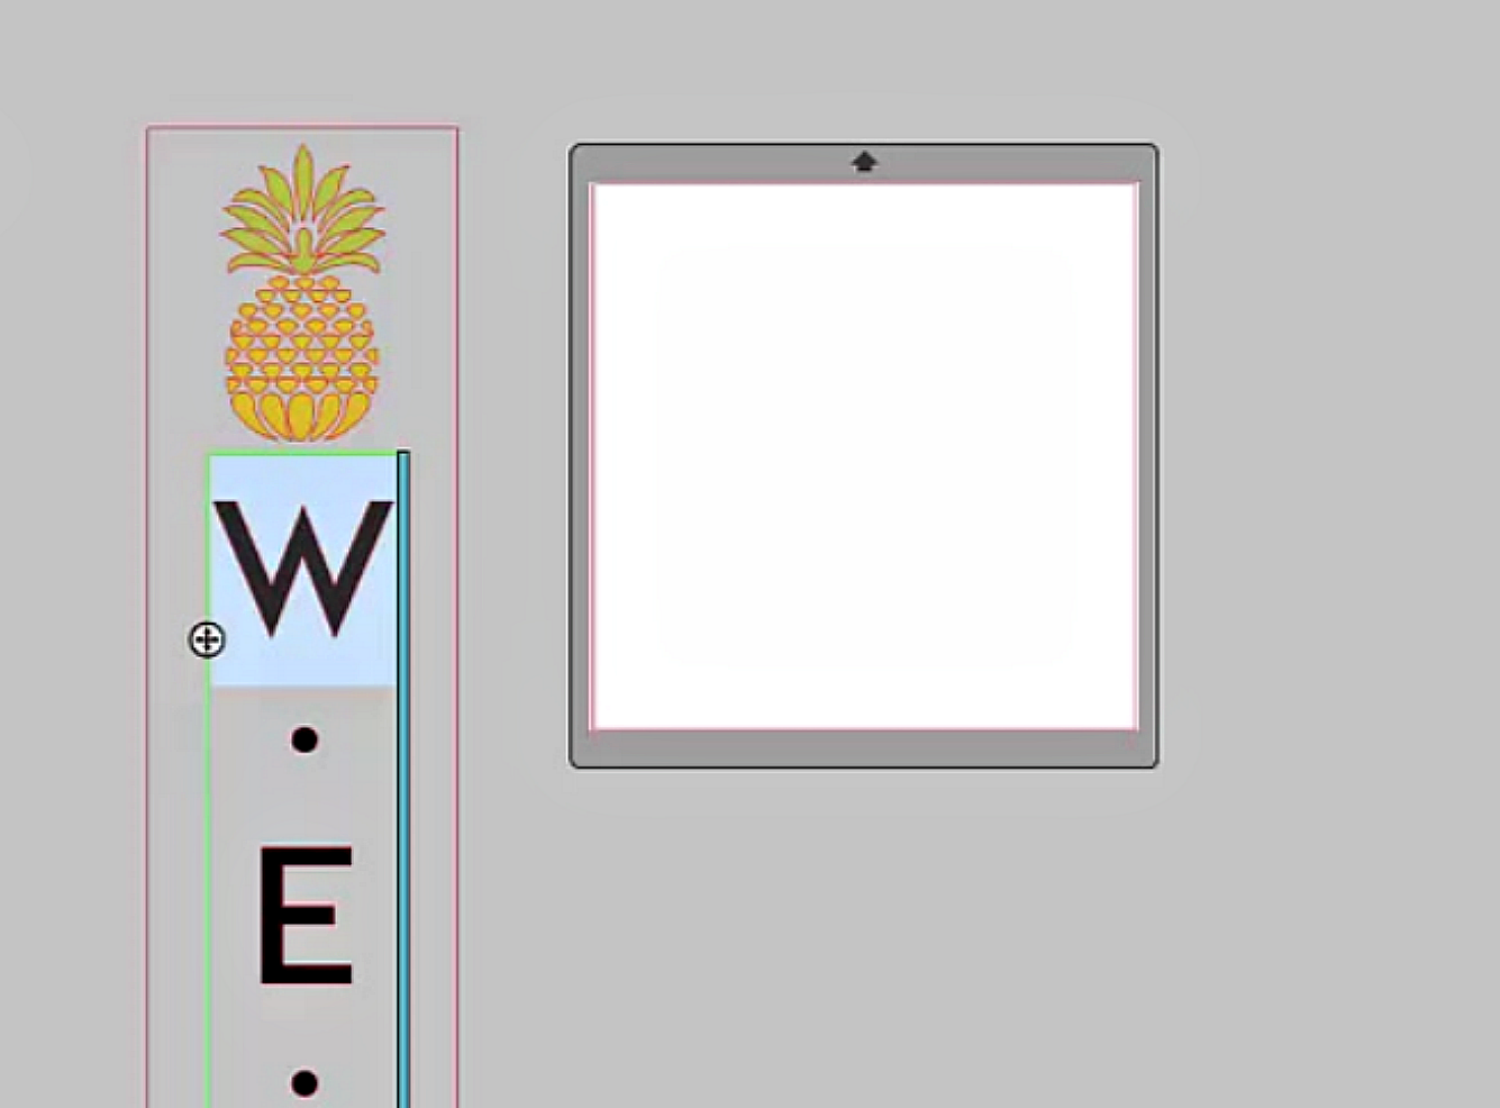
With all your supplies and vinyl ready to go, first measure your vinyl surface, this "box" will not only become your work area, but in your silhouette program this will become also your "Weeding Box".
Type our your porch phase in your favorite font, typing the W, then enter, then a period, enter, E, and so on and so on, you get the drift. space them out between your Pineapples until it is how you like it.
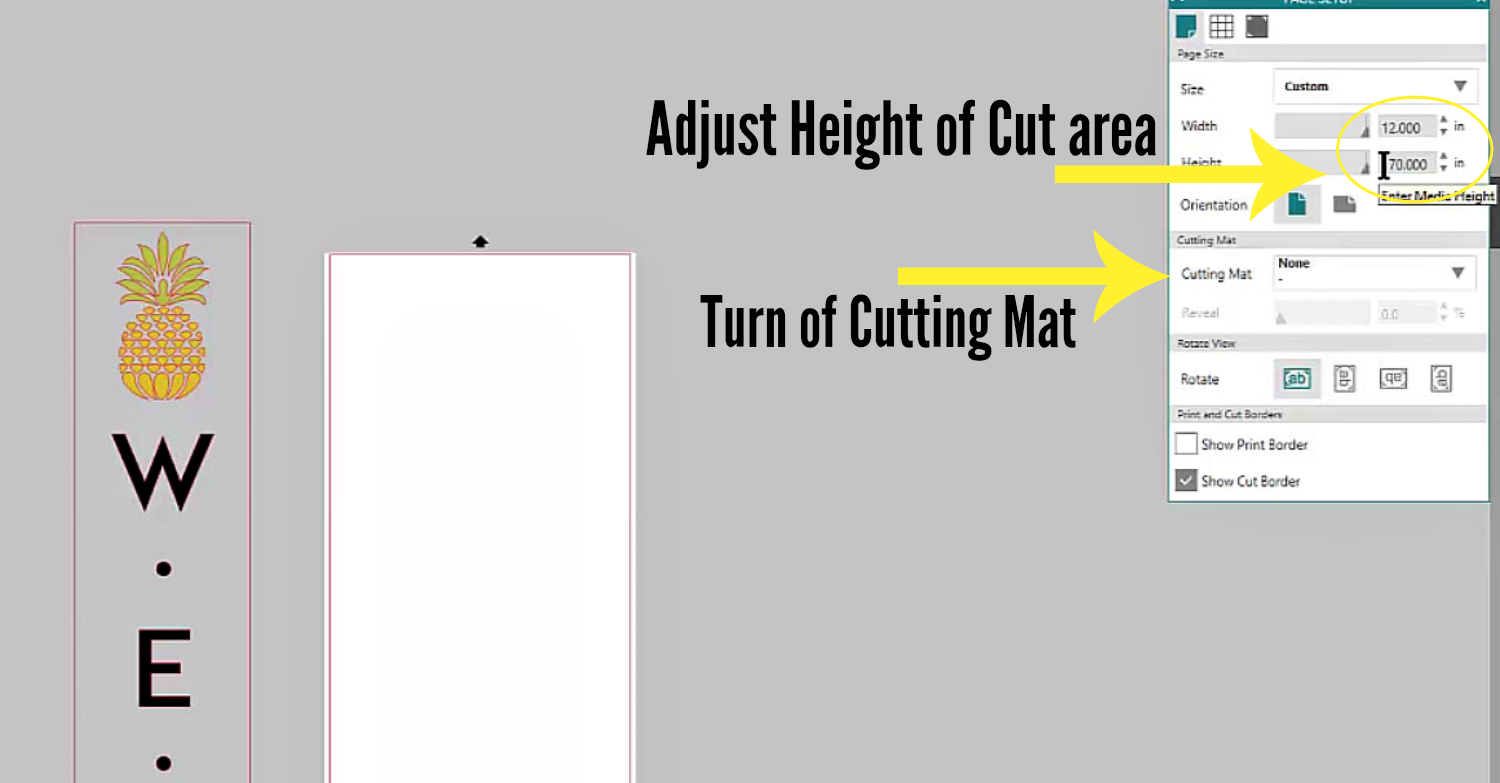
Once it is how you like it, adjust your cut area to the correct size to fit your entire cut file. In this case, in my Page Set up, I adjusted my Height to 12"x70 inches, you simple have to turn off our cutting mat and stay within the red border.
Then duplicate the images (CTRL-D), or right click and select Duplicate. Keeping an Original to the side.
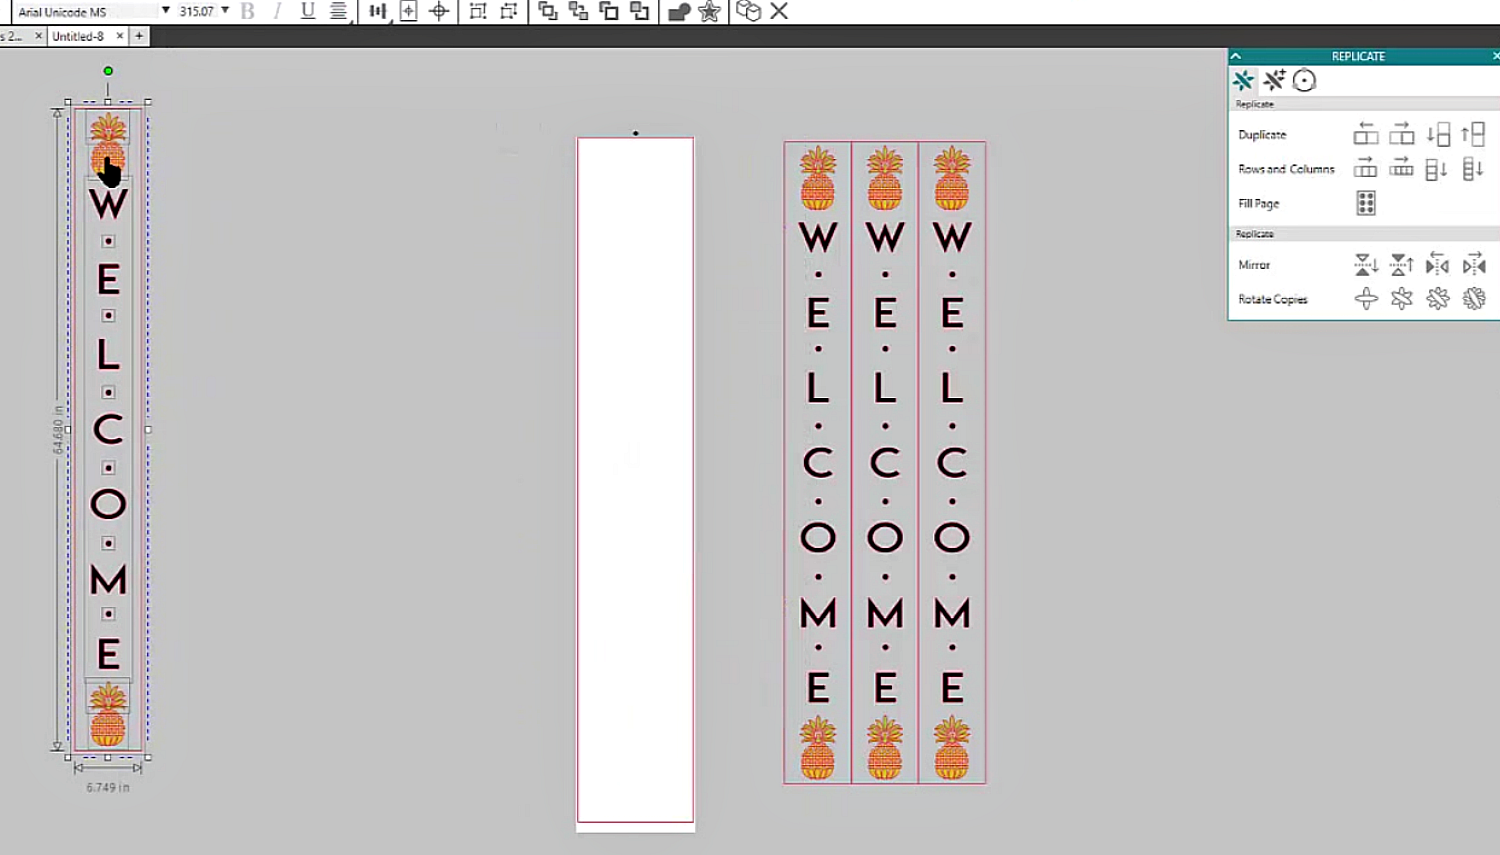
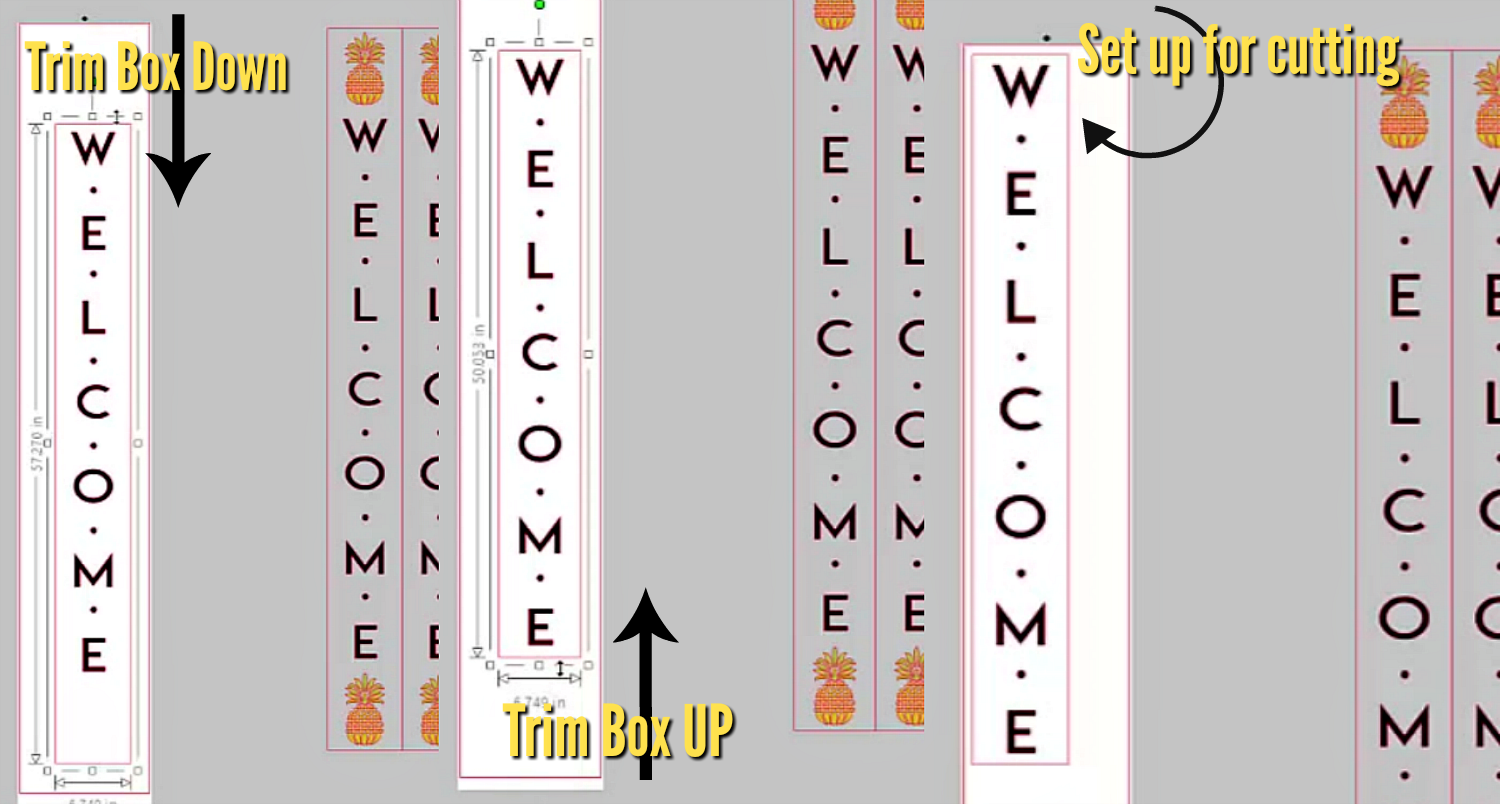
Adjusting your boxes accordingly will make for less wasted Vinyl.
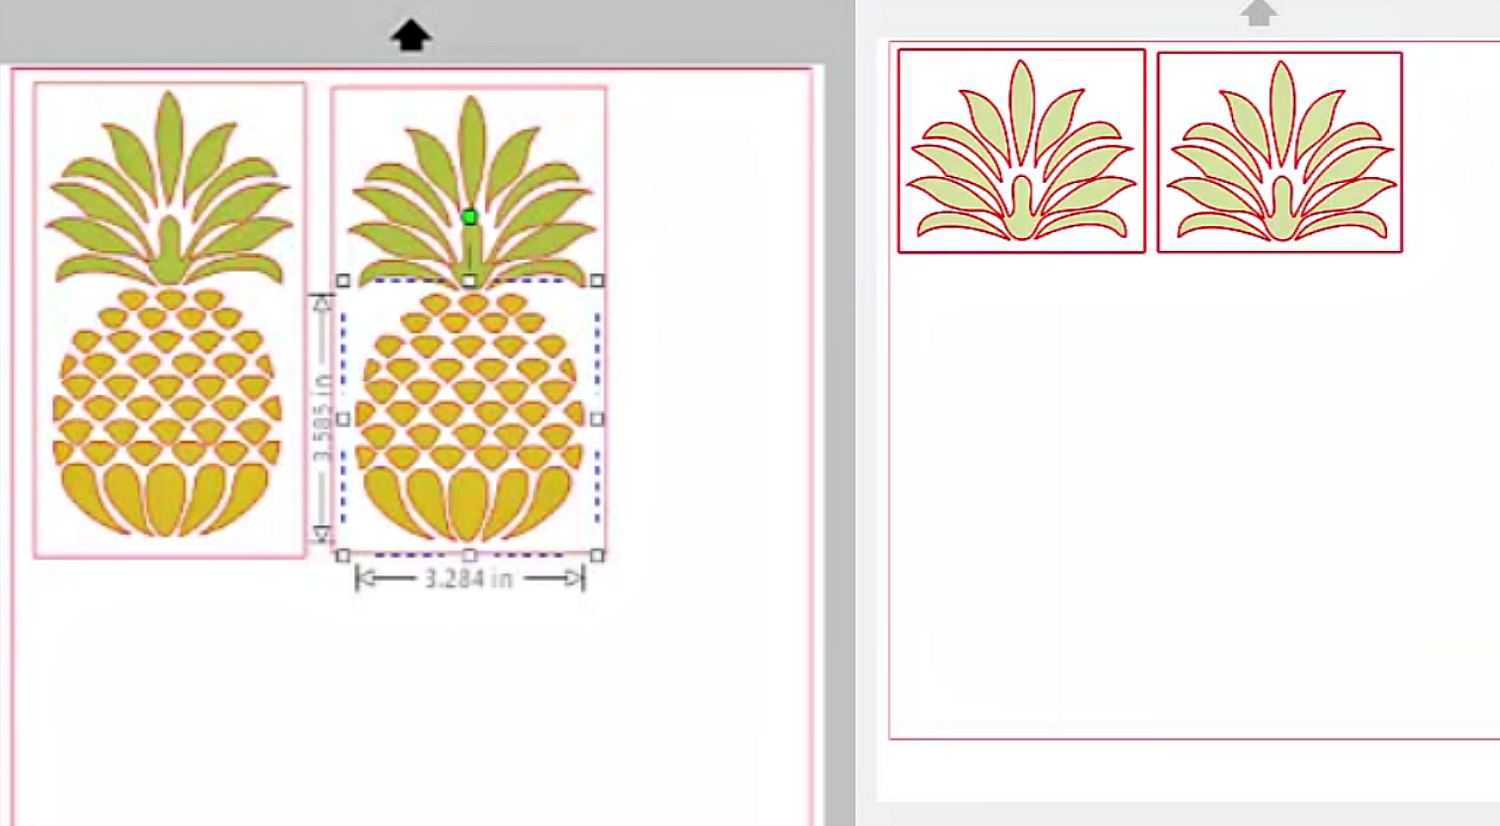
Repeat same technique with the Lime Tree Green and Golden Yellow for your Pineapple pieces.
Once all your vinyl is cut, weed it out and apply your transfer Tape, my favorite is the Paper Transfer Tape, if you prefer to see the vinyl through the tape, check out any of our Clear Tapes.

Just a quick tip: You can apply Transfer tape one the top of the pineapple to line it up with the base then, apply tape over the bottom, to cover the yellow. This also gives a nice break when removeing your Transfer Tape.
Once your tape is one and trimmed up, you are ready to apply your vinyl to your porch, this is the fun part.
Pop on your Pineapples, top and bottom of your window first.
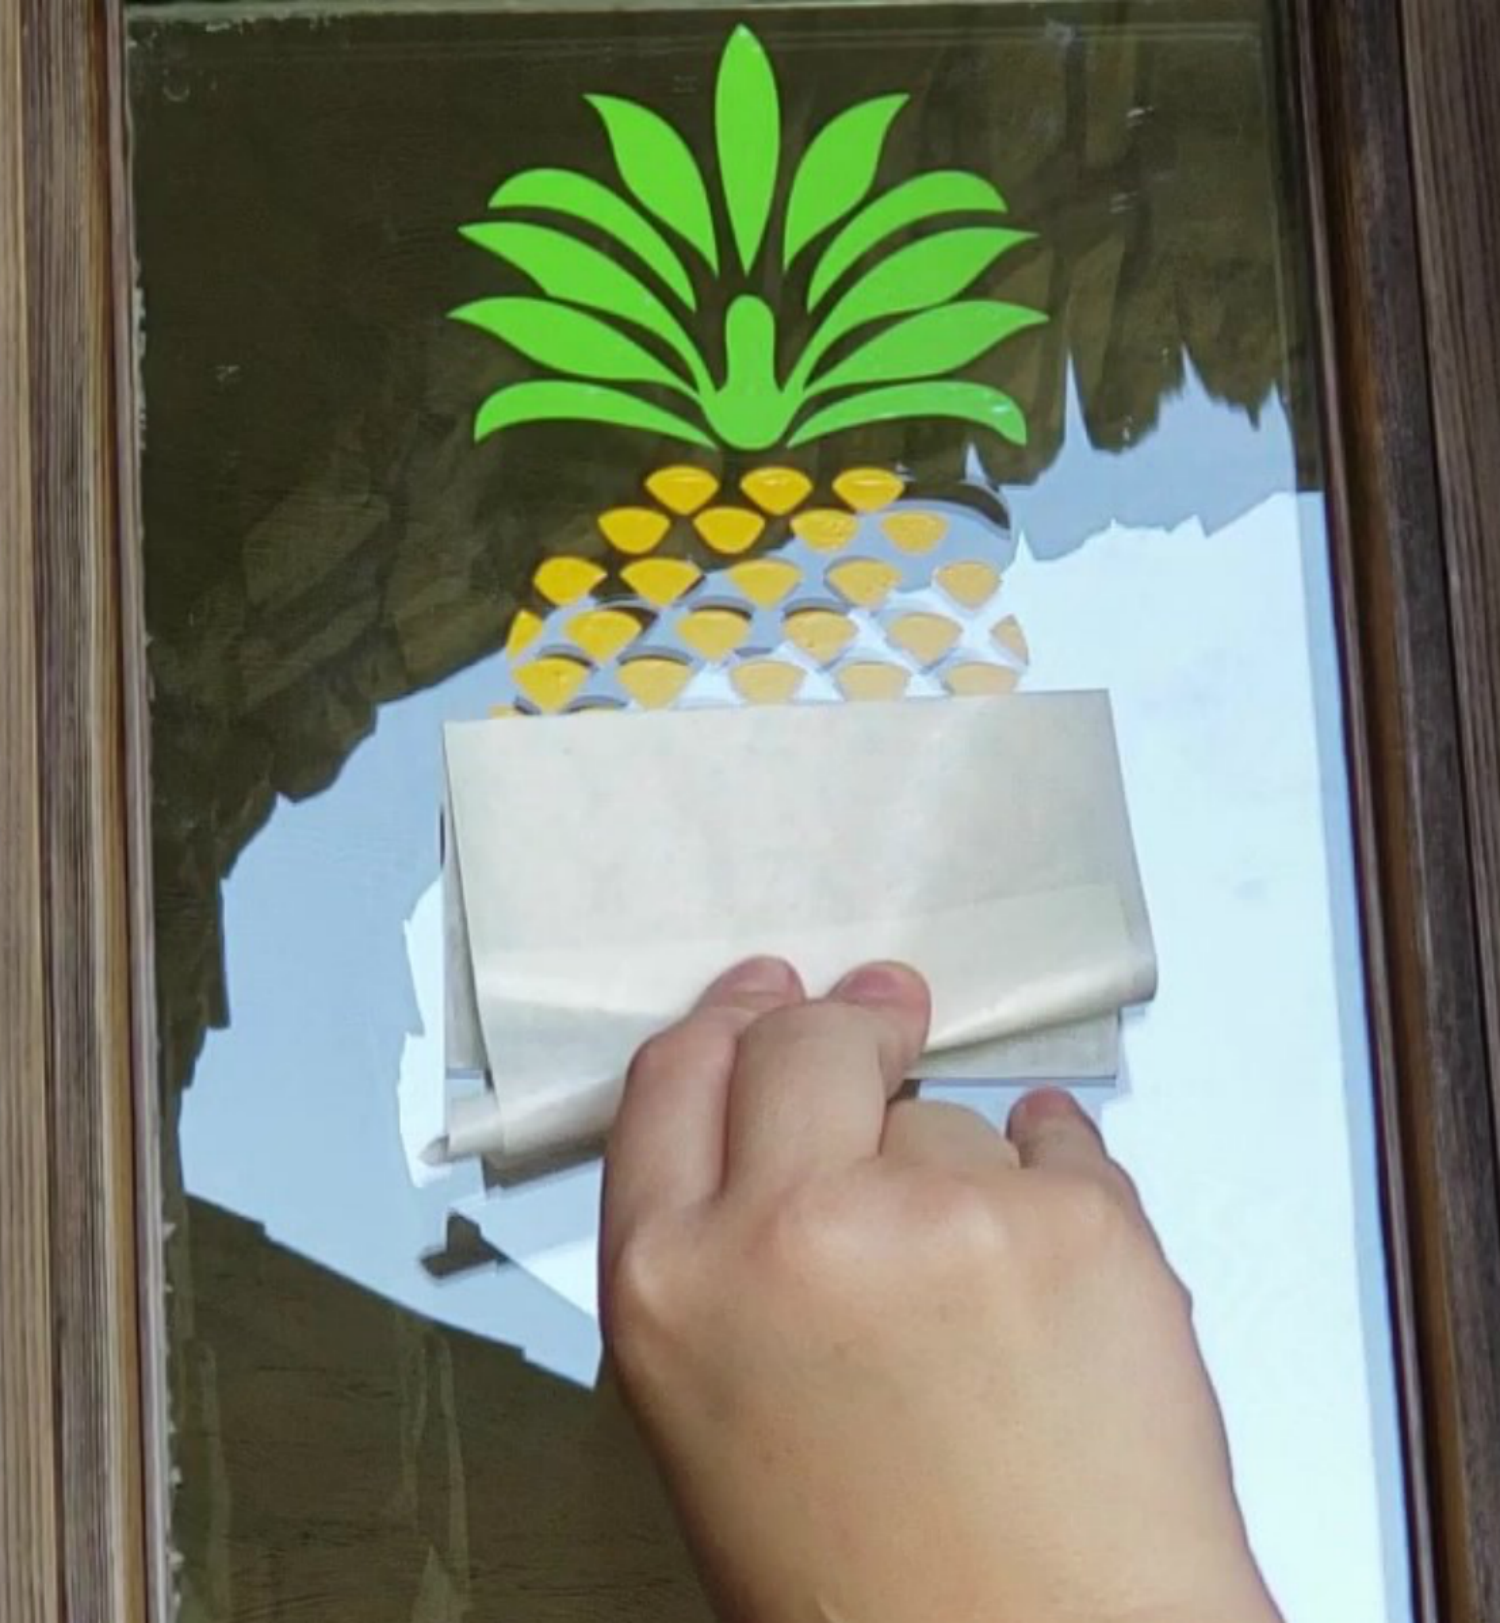
Then continue on with your 'WELCOME'. Start top to bottom and slowly work your way down pulling the paper carrier sheet away while burnishing the vinyl down with your ExpressionsVinyl Application Tool.
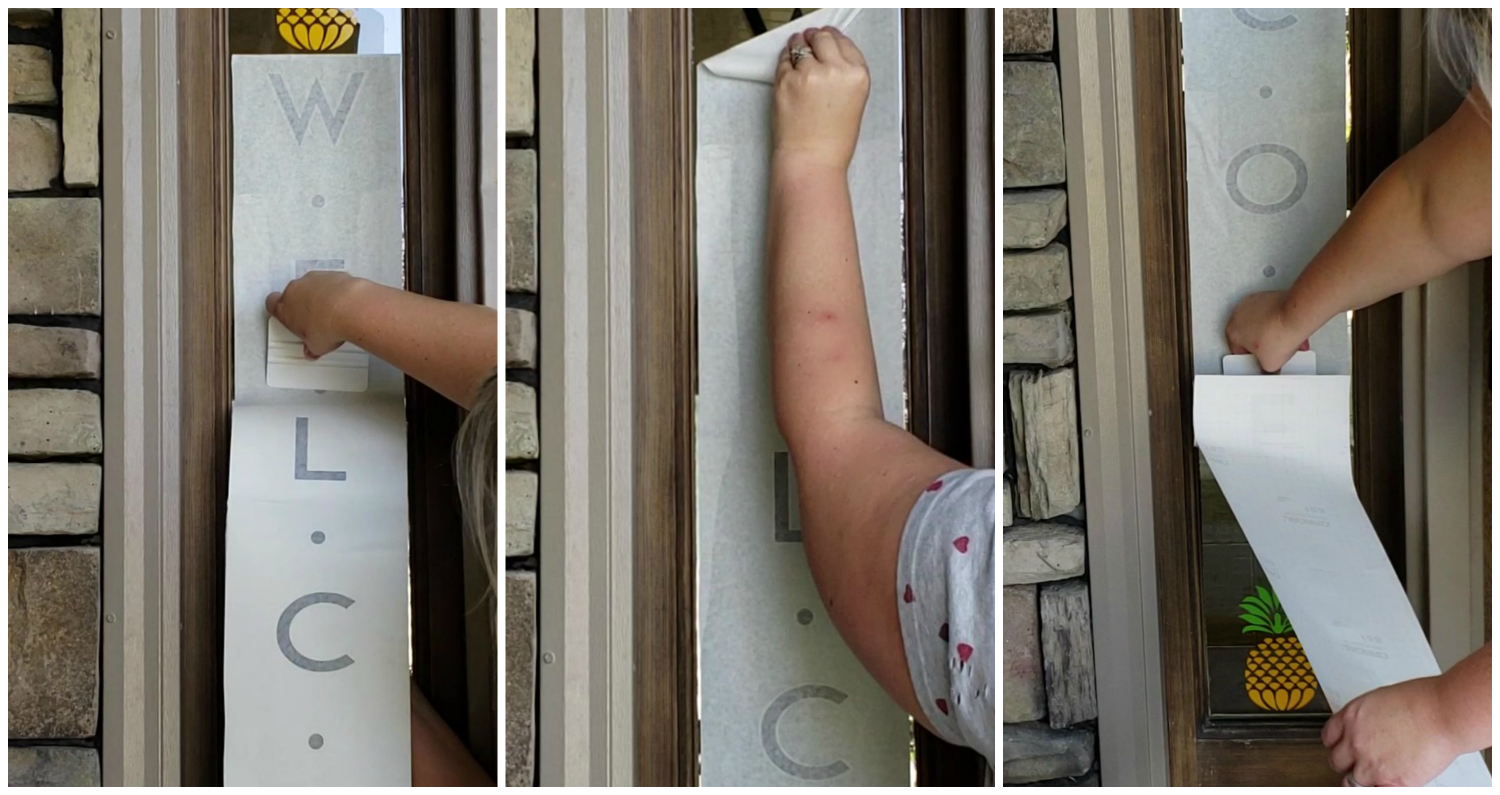
And there ya go, a fun and simply Welcome Sign for your guest to enjoy!

Also, check out these other fun ideas for porch sign that JoAnn and Starla put together.
JoAnn made a personalized Monogram, that would look so cute up in a front door, on the porch, any anywhere in your house. Simply use your favorite paint, some stain and Oramask Stencil Vinyl.
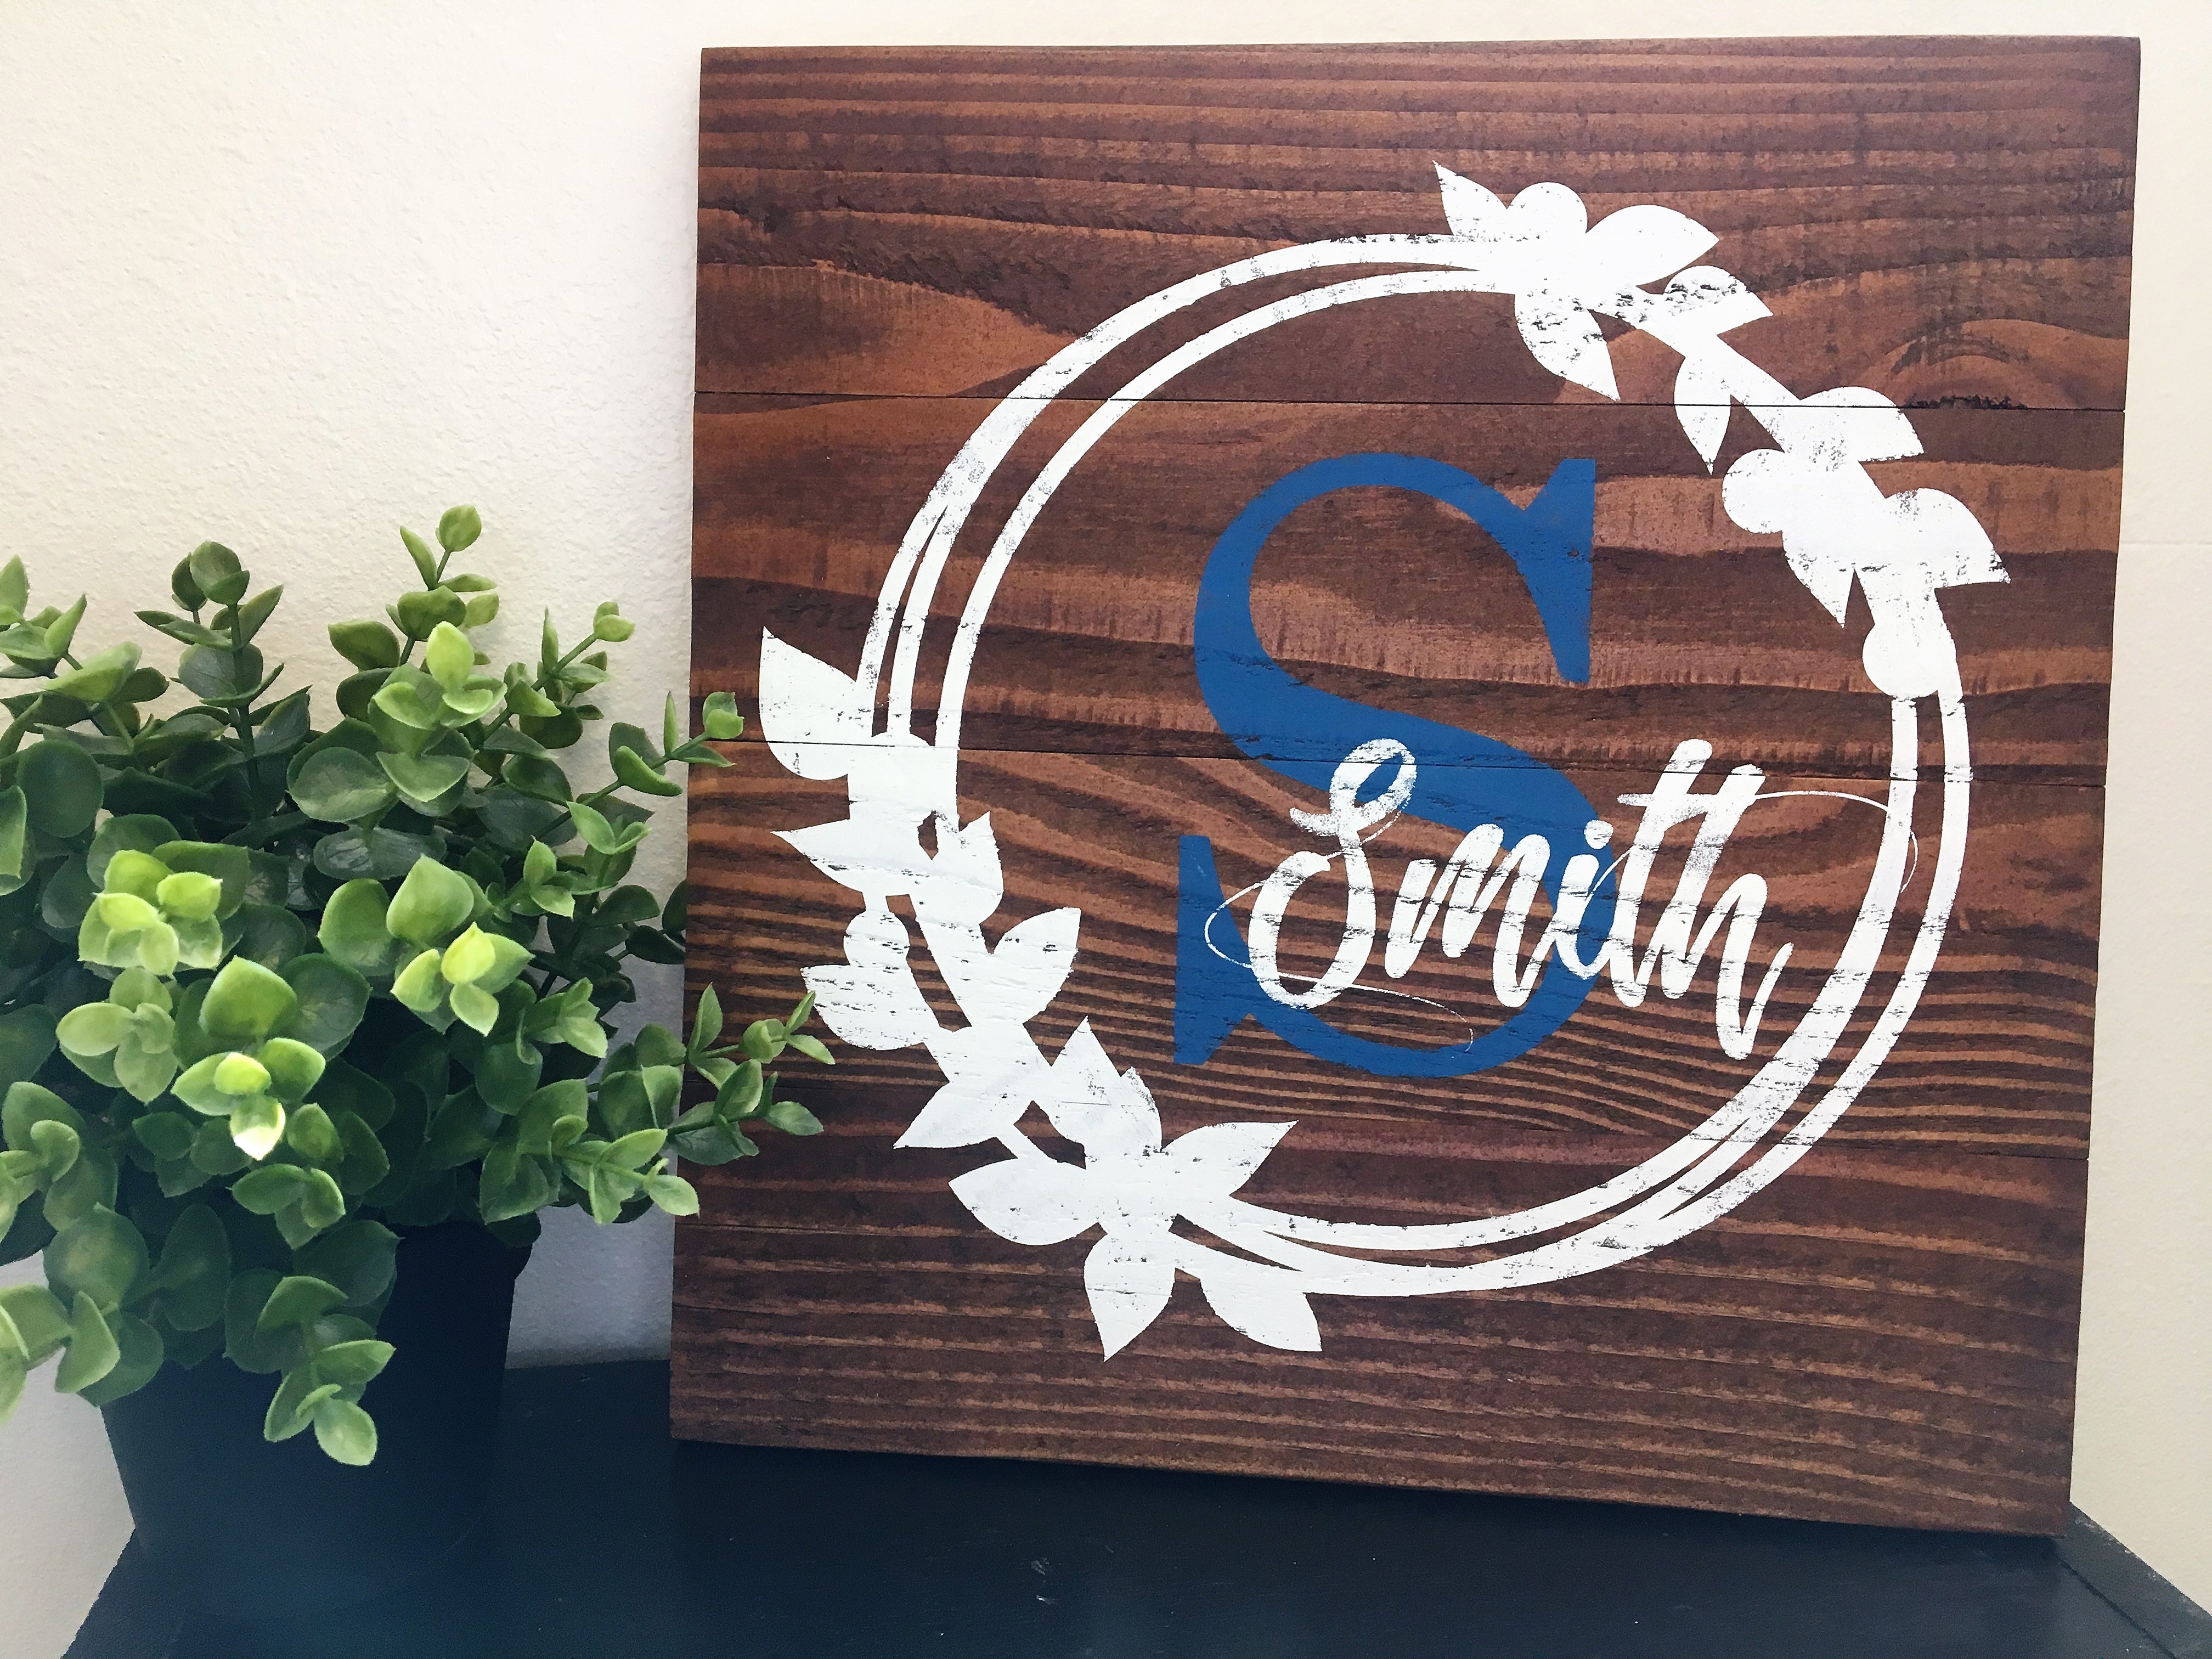
You can find the wreath image here - Stencil Wreath
The Font used for the S is Century and the Font used for Smith is Moving Skate. But this would look great with all sorts of different fonts and images.
Here is a link to the Oramask Vinyl that was used - Oramask
Starla made a fun "Glitzed" up grill sign, for her porch using Glitter HTV, because I mean lets get real here, girls are the true Grillers right?
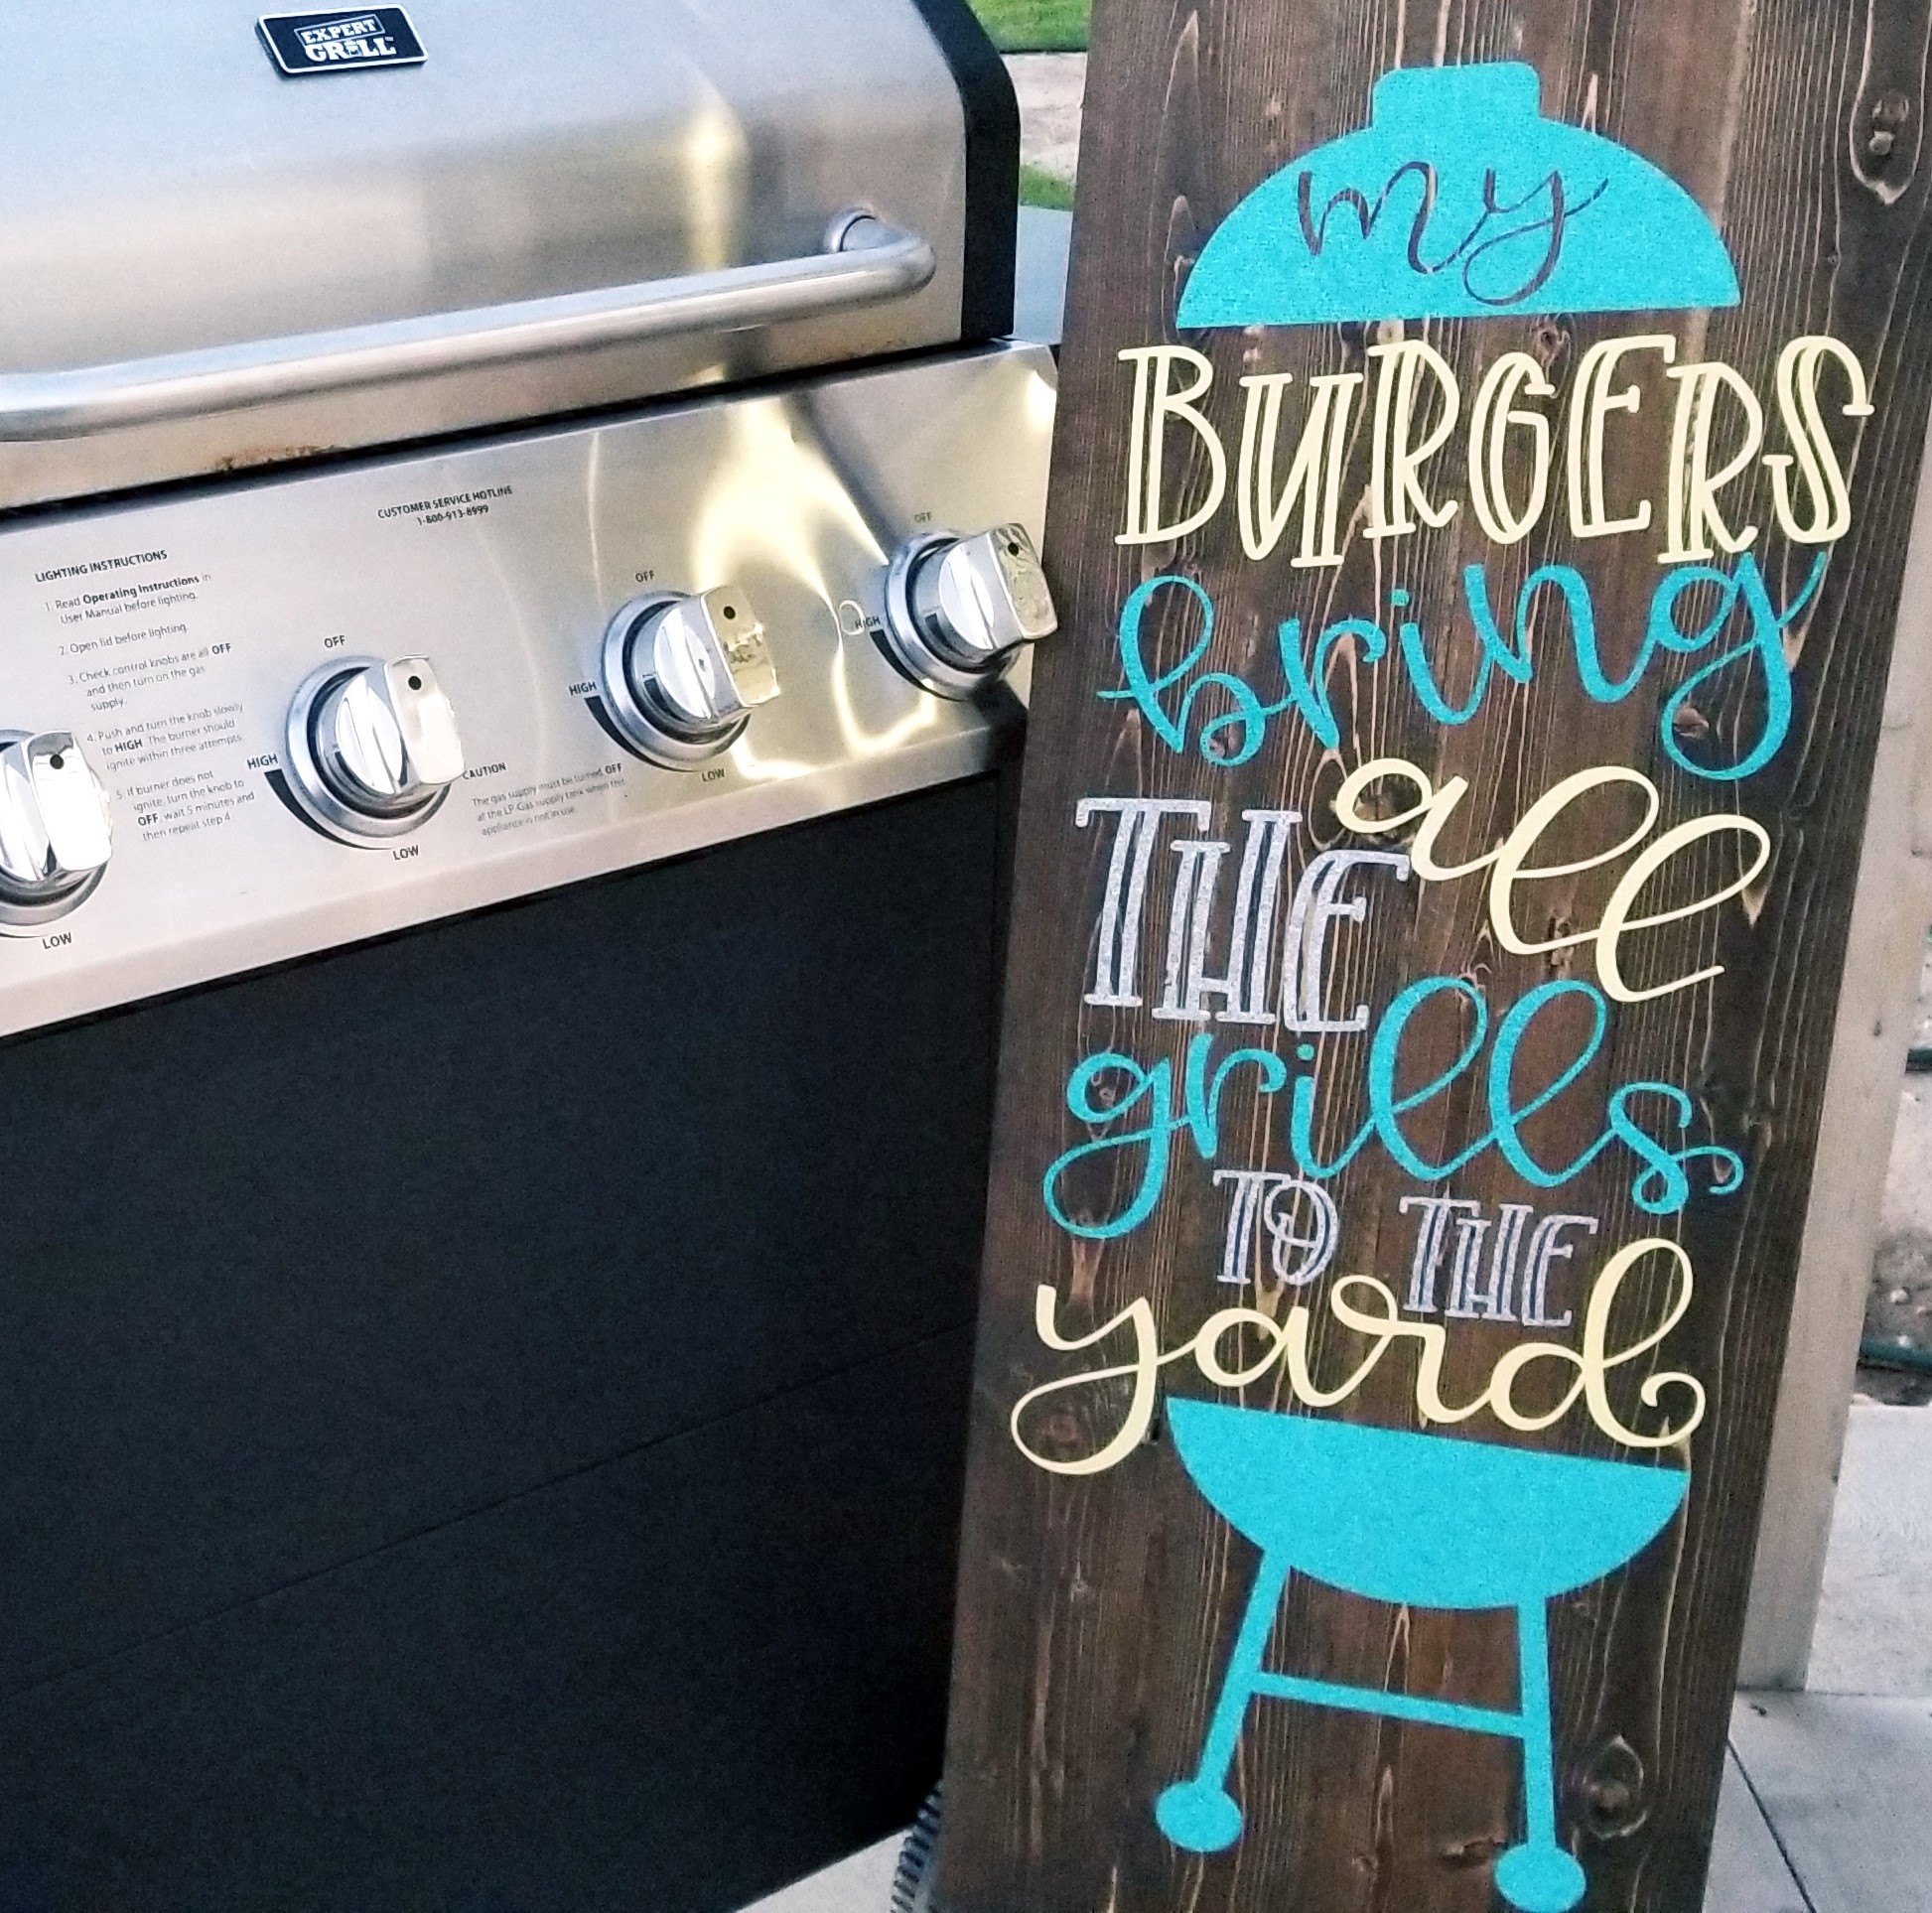
All you need is some:
Vinyl:
Cut File:
Thanks for stopping by and don't forget to share with us what fun porch projects you are creating.


Recent Posts
-
NEW Holographic Eclipse Heat Transfer Vinyl
April 15th, 2024 3 Ways to Use the New Holographic Eclipse Heat Transfer Vinyl from Siser …Apr 29th 2024 -
Hop into Spring with Cute Easter Vinyl Crafts
Do you love our Vinyl? Sign up for Vinyl Club today to get FREE vinyl and save big! …Mar 28th 2024 -
Fixing Wrinkles and Bubbles in Vinyl
How do you get air bubbles out of vinyl? There are a few different ways to ensure a flawless …Mar 26th 2024

