
Fun umbrella with Expressions Vinyl
April showers bring May flowers right?!? You're going to need a fun umbrella to keep you dry from all the rain (or snow for some unlucky people).
Did you know you could take a plain clear plastic umbrella and add some vinyl to make your own unique creation? It's true!! This is also an amazing scrap vinyl project. You know we all have a bucket of scraps laying around, let's put them to good use.
The Supply List:
- Clear Umbrella
- Permanent Vinyl (I used Royal Blue and Sky Blue Luster and White for the words)
- Scrap Vinyl pieces
- Transfer Tape
- Electronic Cutting Machine (I use a CAMEO 3)
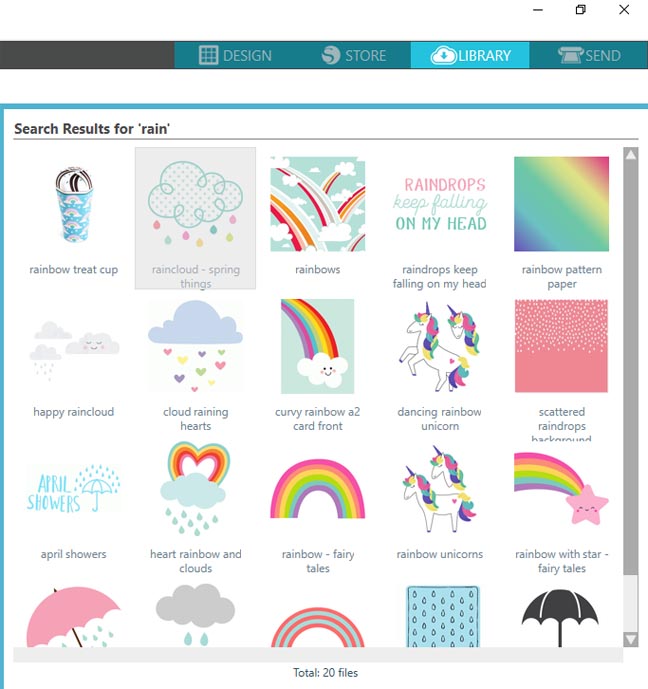
- Raindrops Quote Cut File
- Rain Cut File
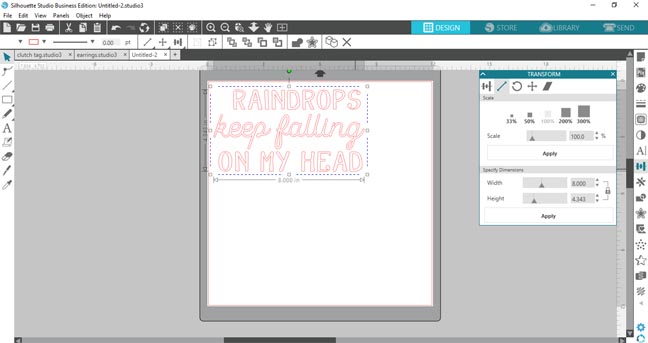
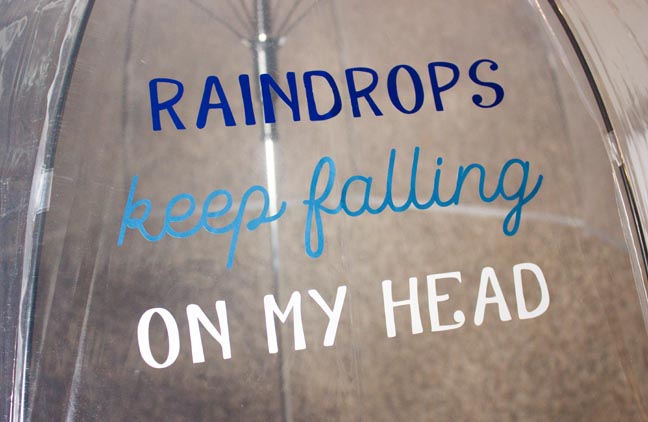
Start by opening the raindrops quote in Silhouette Studio. All you need to do is double-click on the design in your library.

Next, scale the design to the size you want. I always use the scale tool in the transform panel so I can easily specify the exact dimensions.
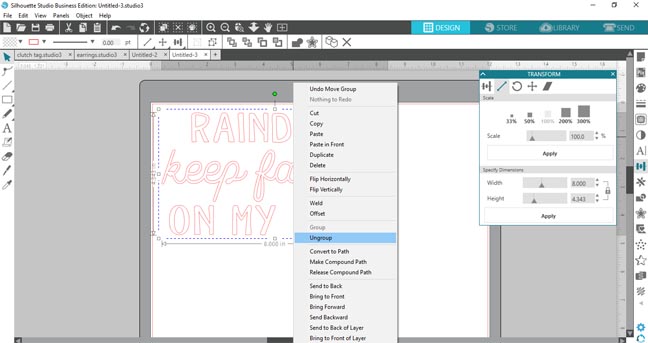
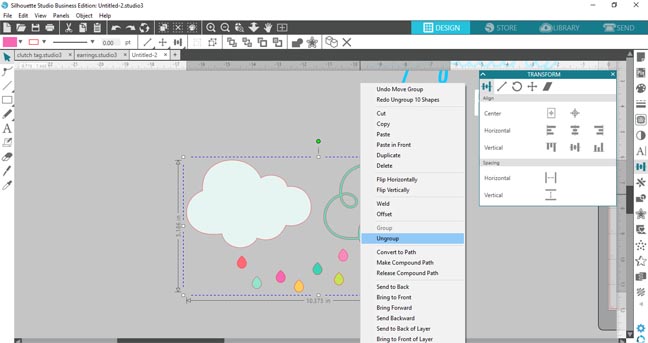
Right-click to pull up the shortcut menu and select ungroup. I want each word to be a different color, if you want the same color vinyl you can cut without doing this step.
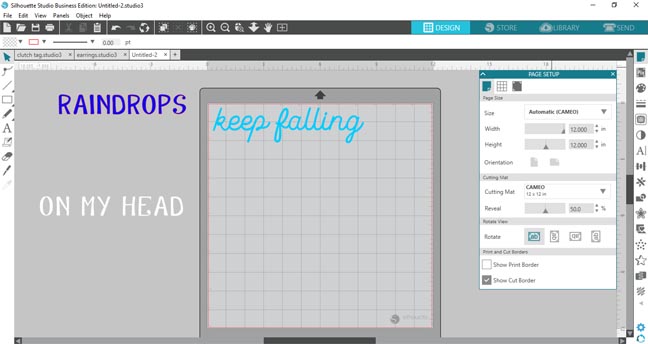
I filled the words with the colors like the vinyl to visualize it before cutting the materials. Then I separated each word onto the mat to cut them individually.
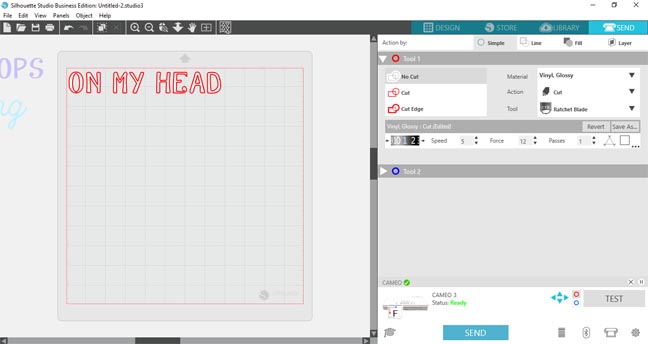
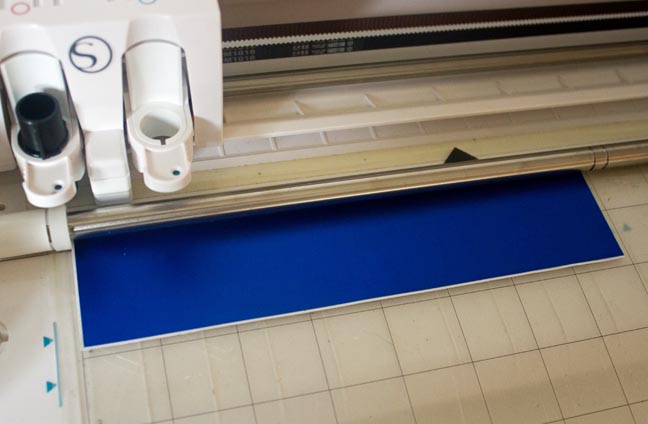
Make sure to adjust the cut settings for the right material, the settings below are what work great for me everytime.
Now let's prep the raindrops, open the design file up.
Go ahead and ungroup it, we only need the raindrop portion of this cut file.
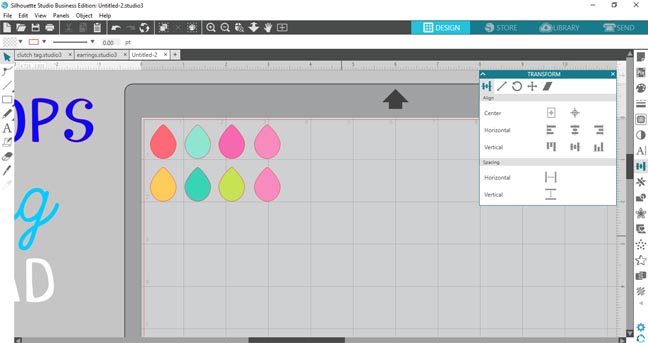
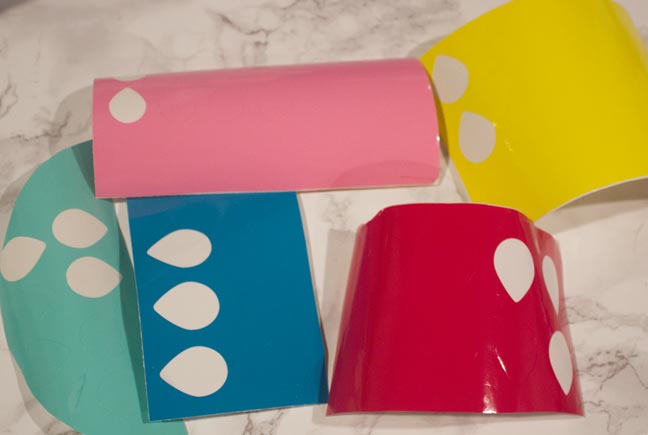
Next, resize them and line them up so they will fit on your scrap vinyl pieces. You might need to rearrange for each scrap depending on what you have. That's why I have the grid marks showing on the mat, makes it easy to line up the real vinyl on the actual mat.
You're good to start cutting all of the shapes out. Such a beautiful sight to see that machine working its wonders.
Weed away the excess vinyl. I love the luster vinyl, even the scraps are beautiful with the silver backing.

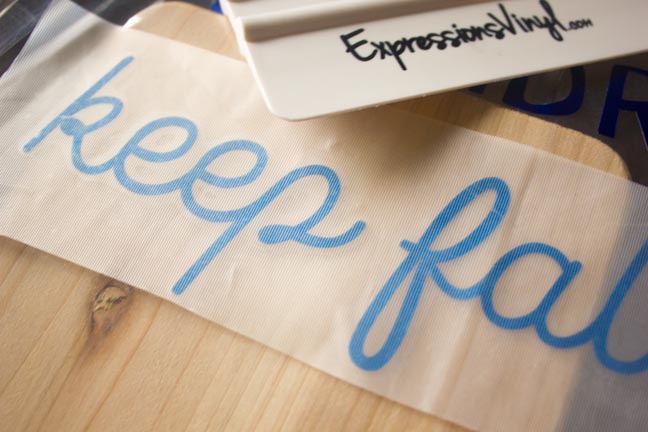
Next, cut a piece of transfer tape to fit and attach it on top using the application tool. You can reuse the same piece of tape for all 3 words.

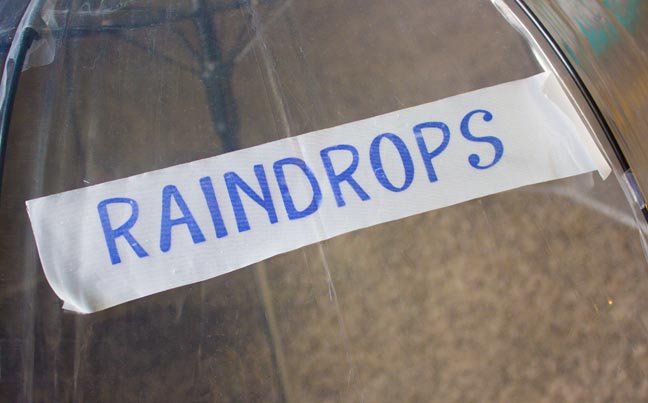
Carefully peel off the transfer tape and attach the vinyl to the umbrella
I originally just used my hands on each side of the vinyl to attach it to the umbrella and slowly peeled away the transfer tape. It worked but I had to keep pushing the vinyl back down as I peeled up the tape.
To center the vinyl perfectly I folded the transfer tape in half and then lined that up with the crease mark on the umbrella.
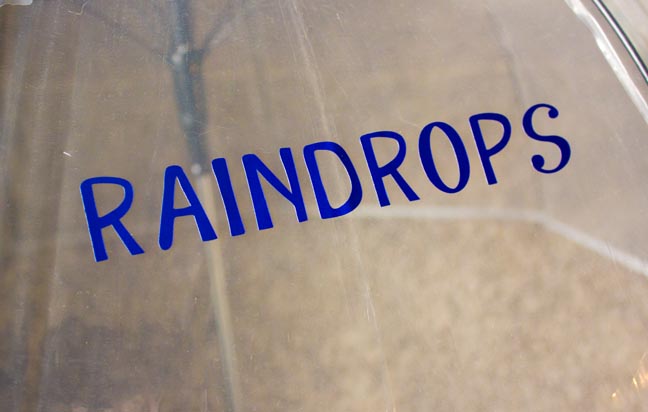
This time I used a hard surface that I held behind the umbrella as I attached the vinyl and it worked much better. The vinyl stuck perfectly as I peeled off the transfer tape.
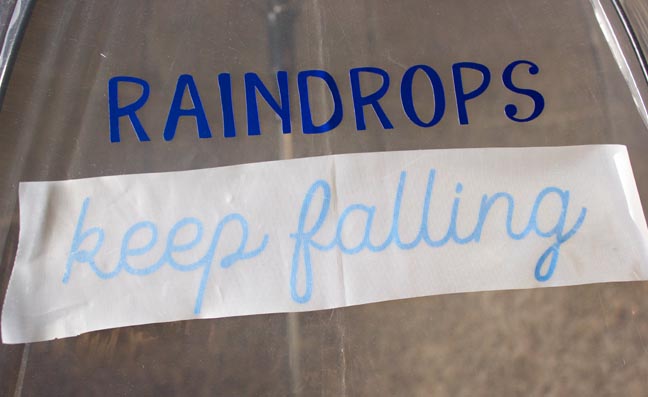
Repeat the process to attach the last phrase too.
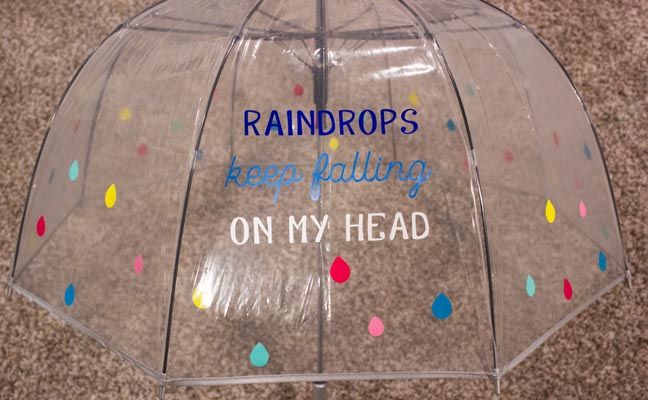
For the raindrops, I just treated them like stickers and attached them to the umbrella in random patterns.
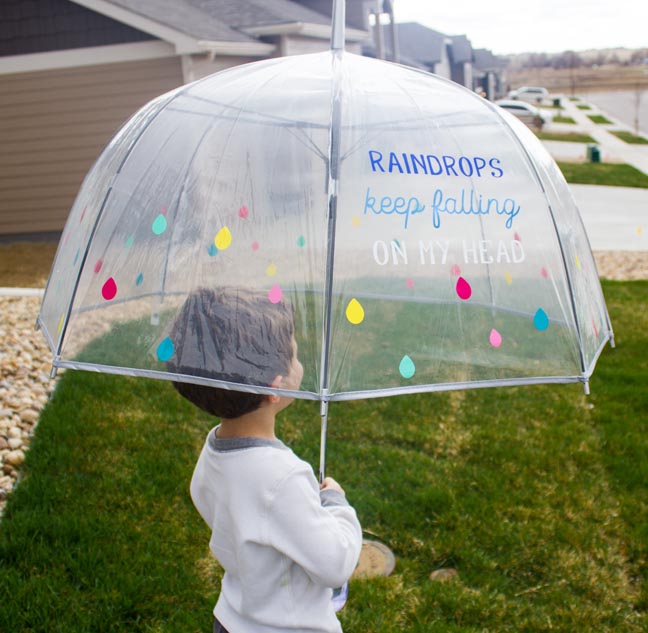
Look at that fun umbrella!! I found myself wishing for rain so I could use it.
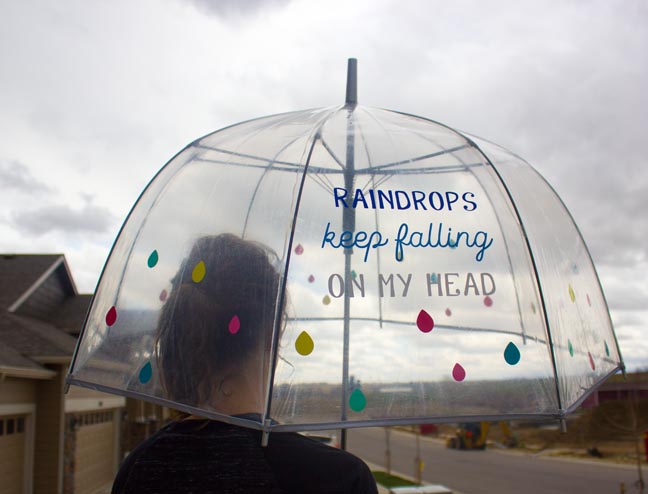
I actually had my wish come true! It was an overcast dreary day. My sweet neighbor came over to help model for me since I can't take photos of myself holding the umbrella.
My son couldn't resist modeling it for me as well. :)
I'm not even joking that the skies opened up 5 minutes later, those are real raindrops on the umbrella! How lucky was that?!? There was no rain in the forecast either. I'm going to start wishing for winning the lottery next! haha.


This spring is going to be much more colorful with this umbrella. Are you going to make yourself one now too?

Recent Posts
-
NEW Holographic Eclipse Heat Transfer Vinyl
April 15th, 2024 3 Ways to Use the New Holographic Eclipse Heat Transfer Vinyl from Siser …Apr 29th 2024 -
Hop into Spring with Cute Easter Vinyl Crafts
Do you love our Vinyl? Sign up for Vinyl Club today to get FREE vinyl and save big! …Mar 28th 2024 -

Fixing Wrinkles and Bubbles in Vinyl
How do you get air bubbles out of vinyl? There are a few different ways to ensure a flawless …Mar 26th 2024