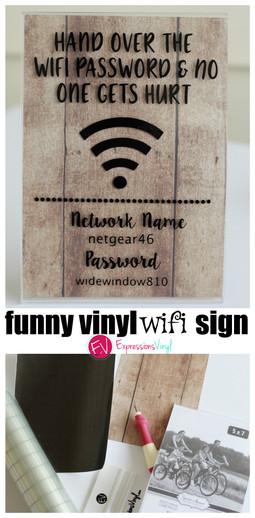
Funny Wifi sign with Vinyl
Hey there! Connie here from Kutie Kaira Designs with a fun little tutorial on how to create your own wifi sign with all your information to share when guests visit! I don't know about you, but I always ask my friends and family for their wifi password and people do the same with us. Instead of repeating myself a million times, and because I want to #makeallthethings, I decided to make a cute vinyl sign. It's super easy and inexpensive to make, too!
Things you will need:
-5x7 acrylic sign holder (I got mine from Dollar Tree)
-Black Oracal 651 Adhesive Vinyl
-Gridlined transfer paper
-Cardstock paper
-Silhouette CAMEO or Cricut
-Scraper
-Weeding tool
Step One: Design, Cut & Reverse Weed
I created this design by taking some fun fonts and adding a wifi symbol I traced. Get creative with your design! Be sure to size it to fit the correct frame (mine is 5 in. x 7 in).
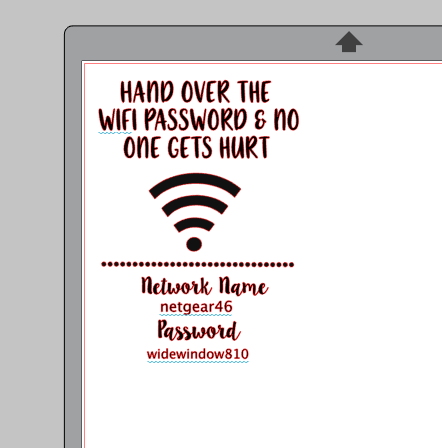
Once the designing is complete it is time to cute the vinyl. The Expressions Vinyl cut setting is the best and I even use it over the programmed setting in Silhouette Studio (seriously it never fails me) at blade 2, speed 5, force 7. 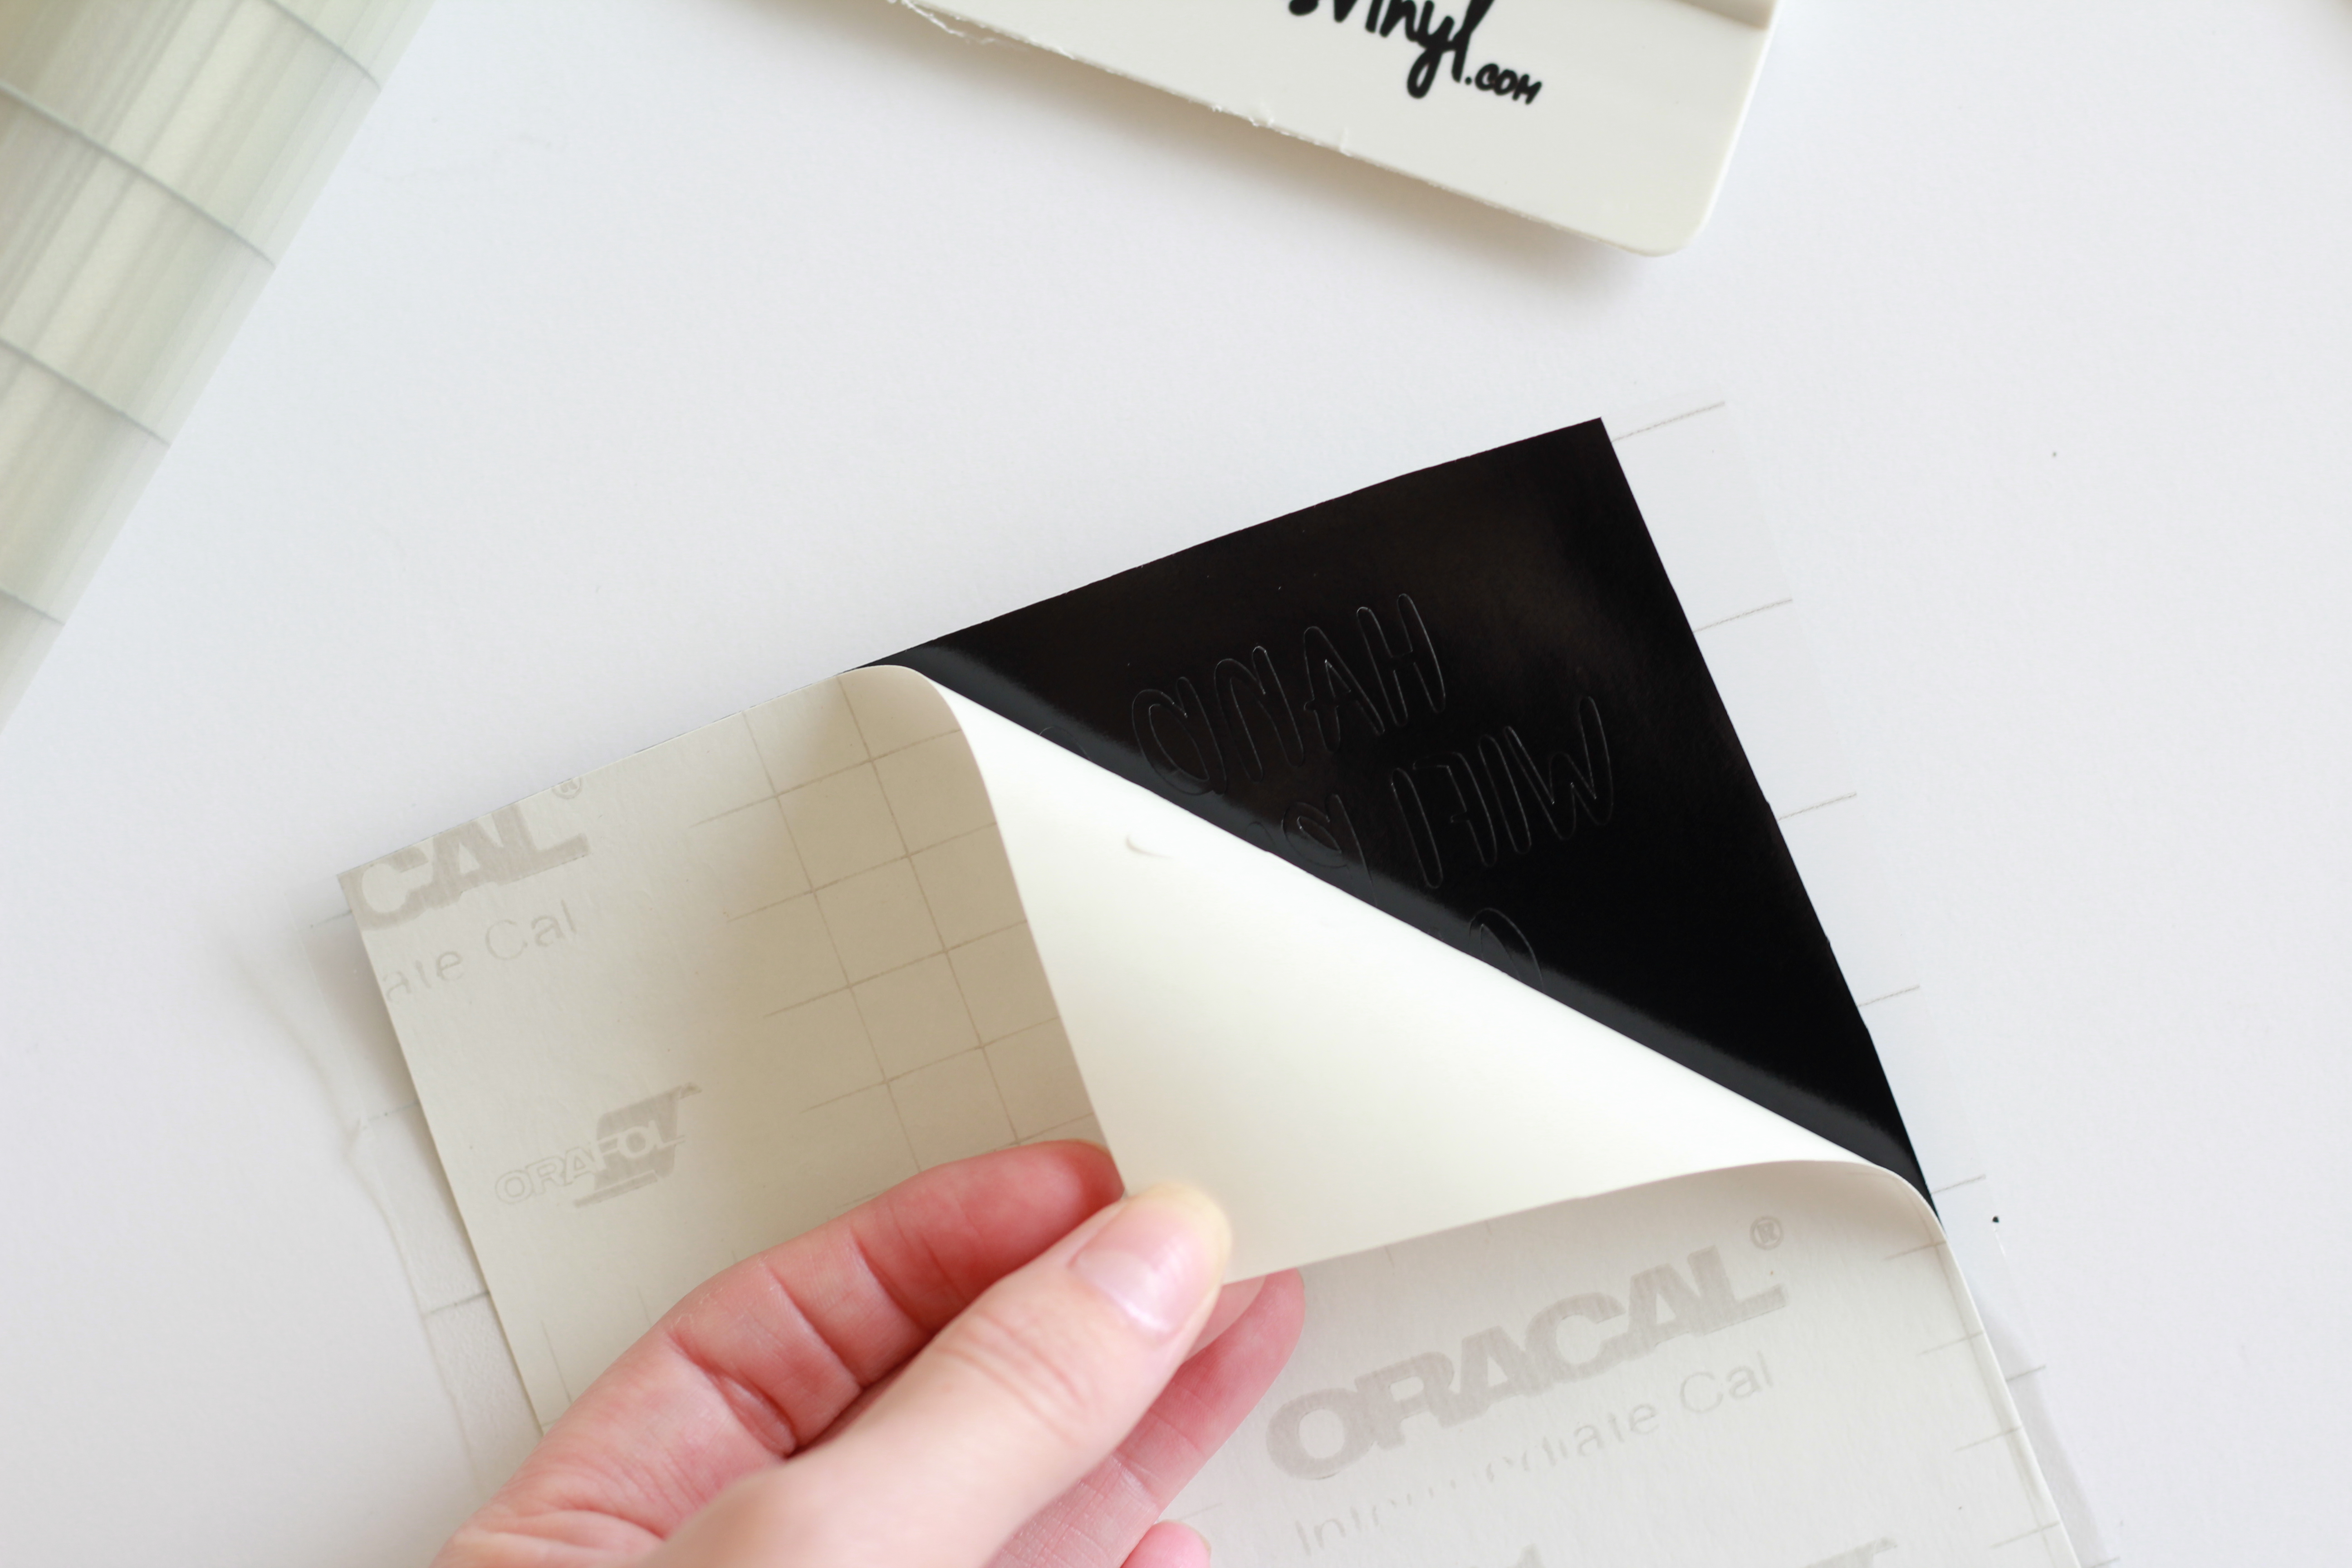
Normally I like to weed my designs the "regular" way, but since this image as a lot of tiny letters, I went with the reverse weeding method. This method is perfect for ensuring that you won't lose any tiny pieces when weeding. Simply adhere the entire image to your transfer tape and slowly remove the paper backing. The tacky adhesive back should now be exposed.
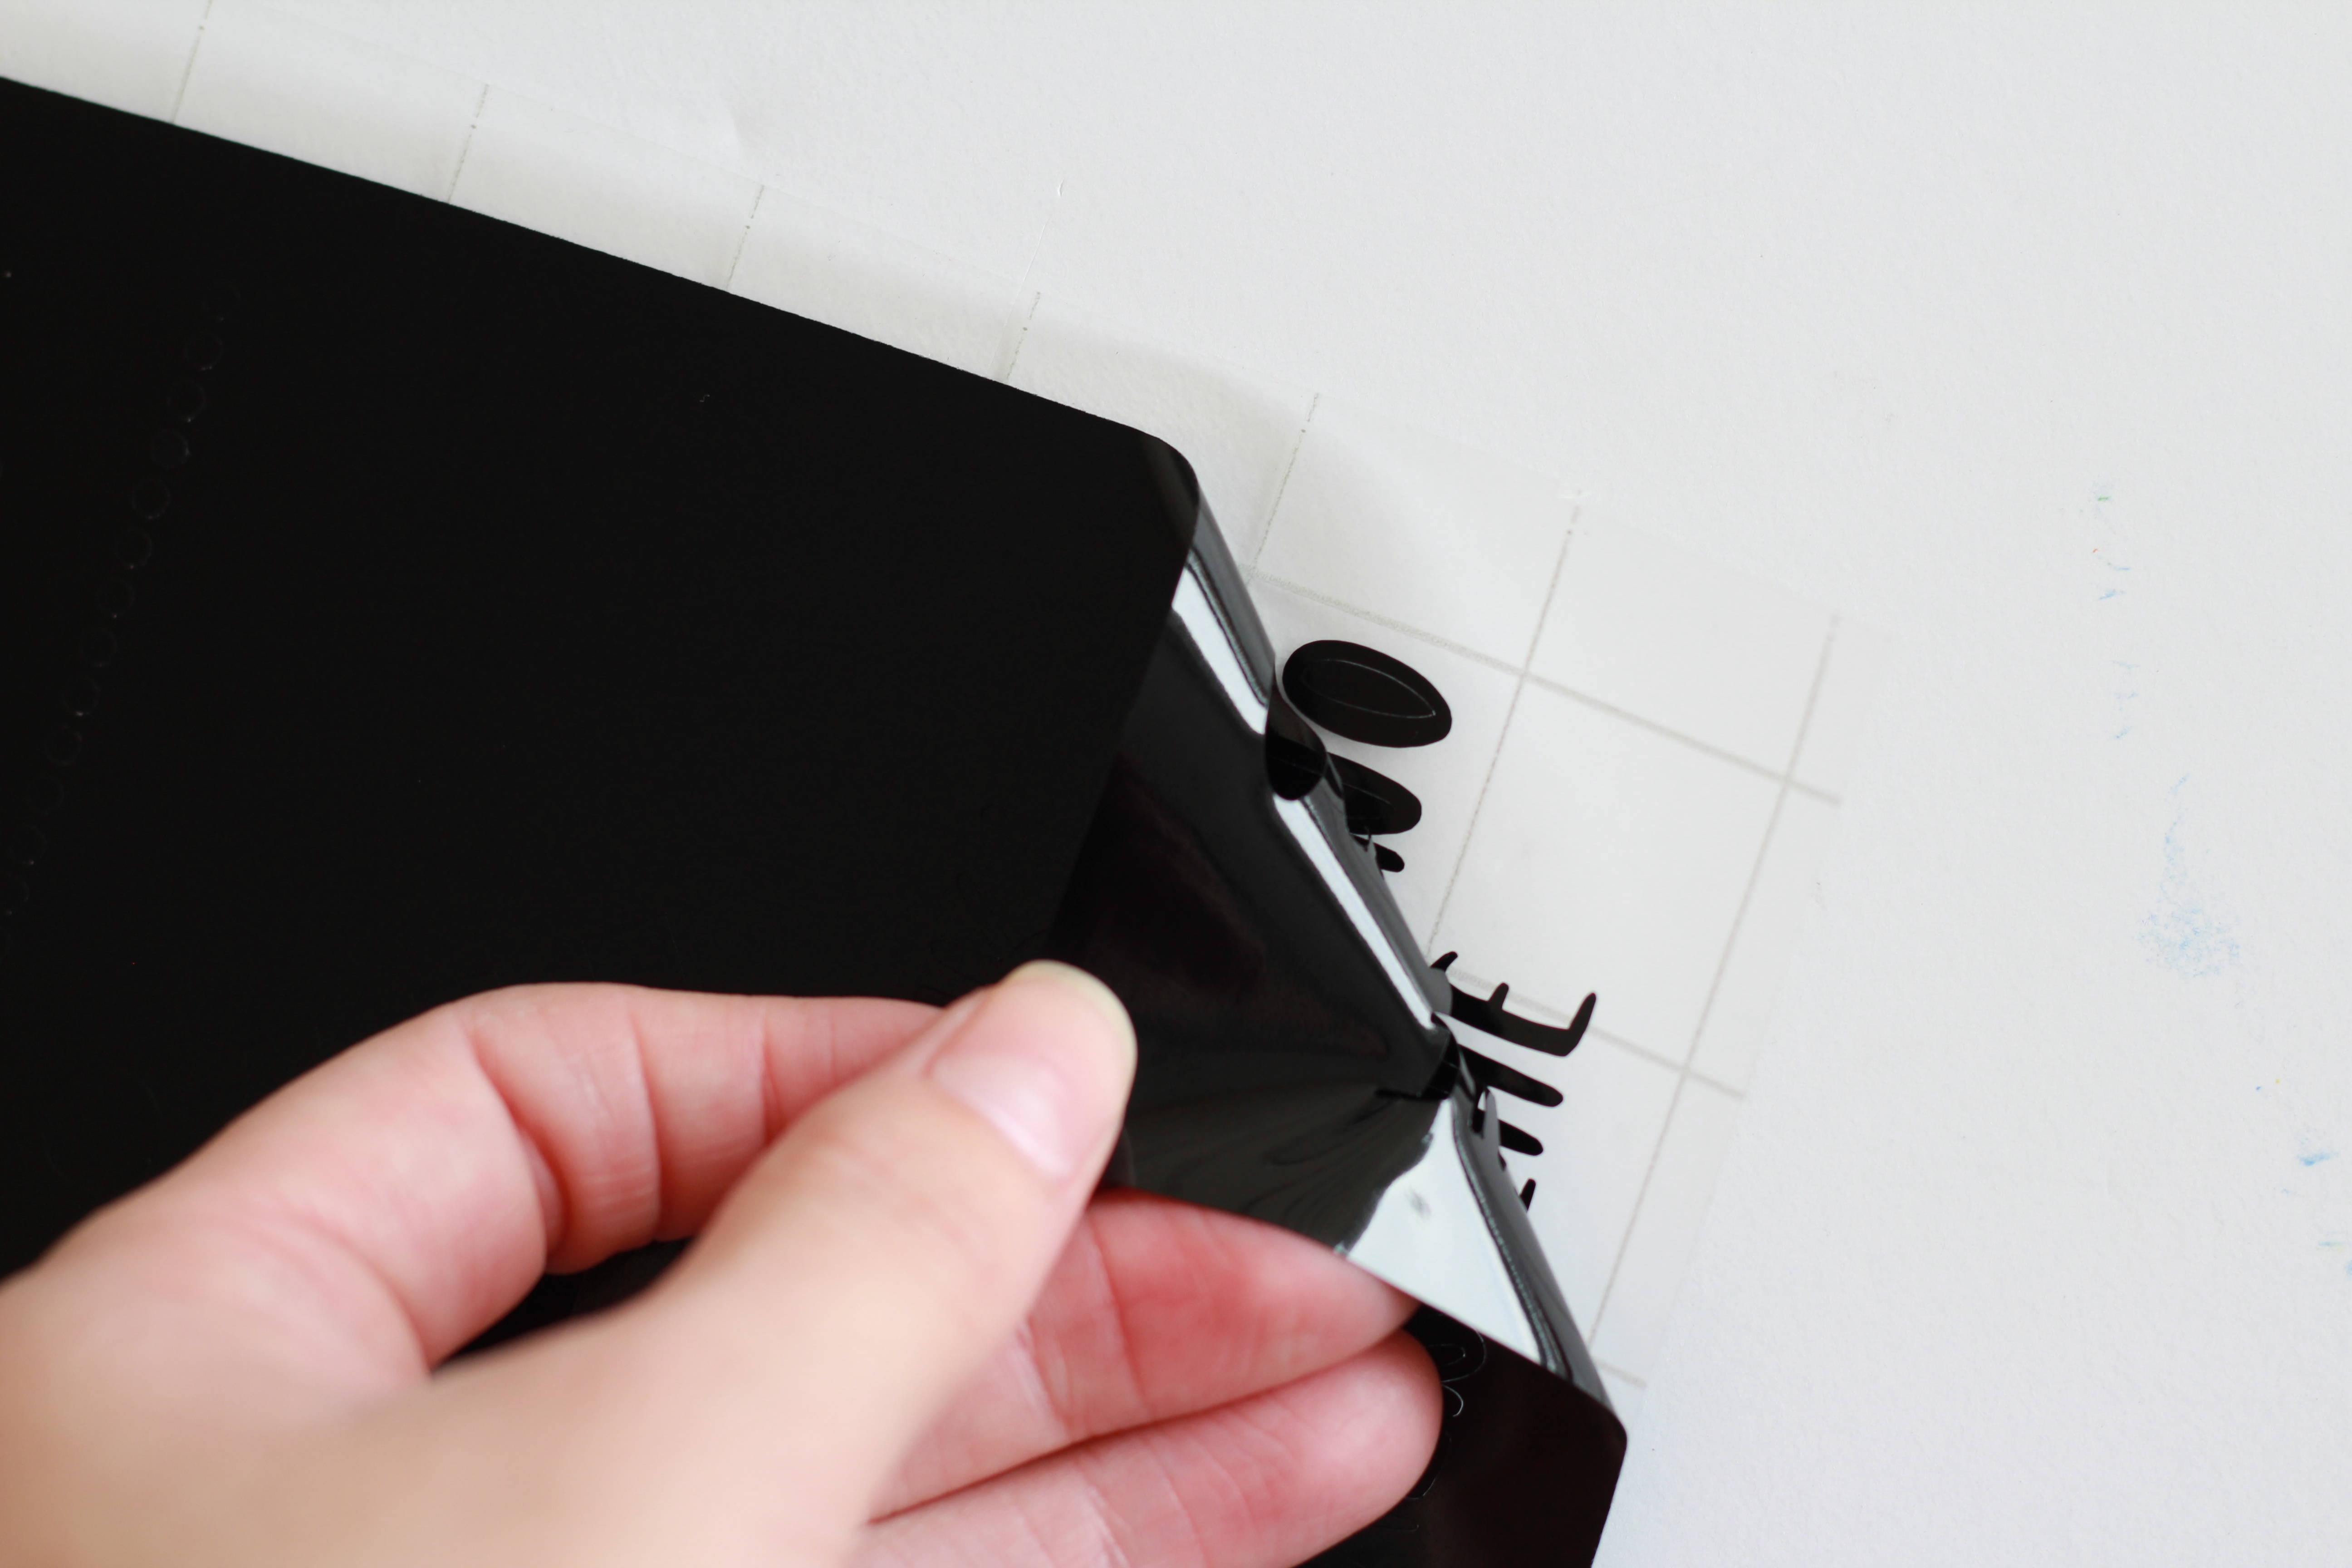
Peel off the "negative" parts of the design slowly away from the transfer tape. Once you have done that, go back in with a pointy weeding tool and remove the insides of letters such as the o's, a's etc.
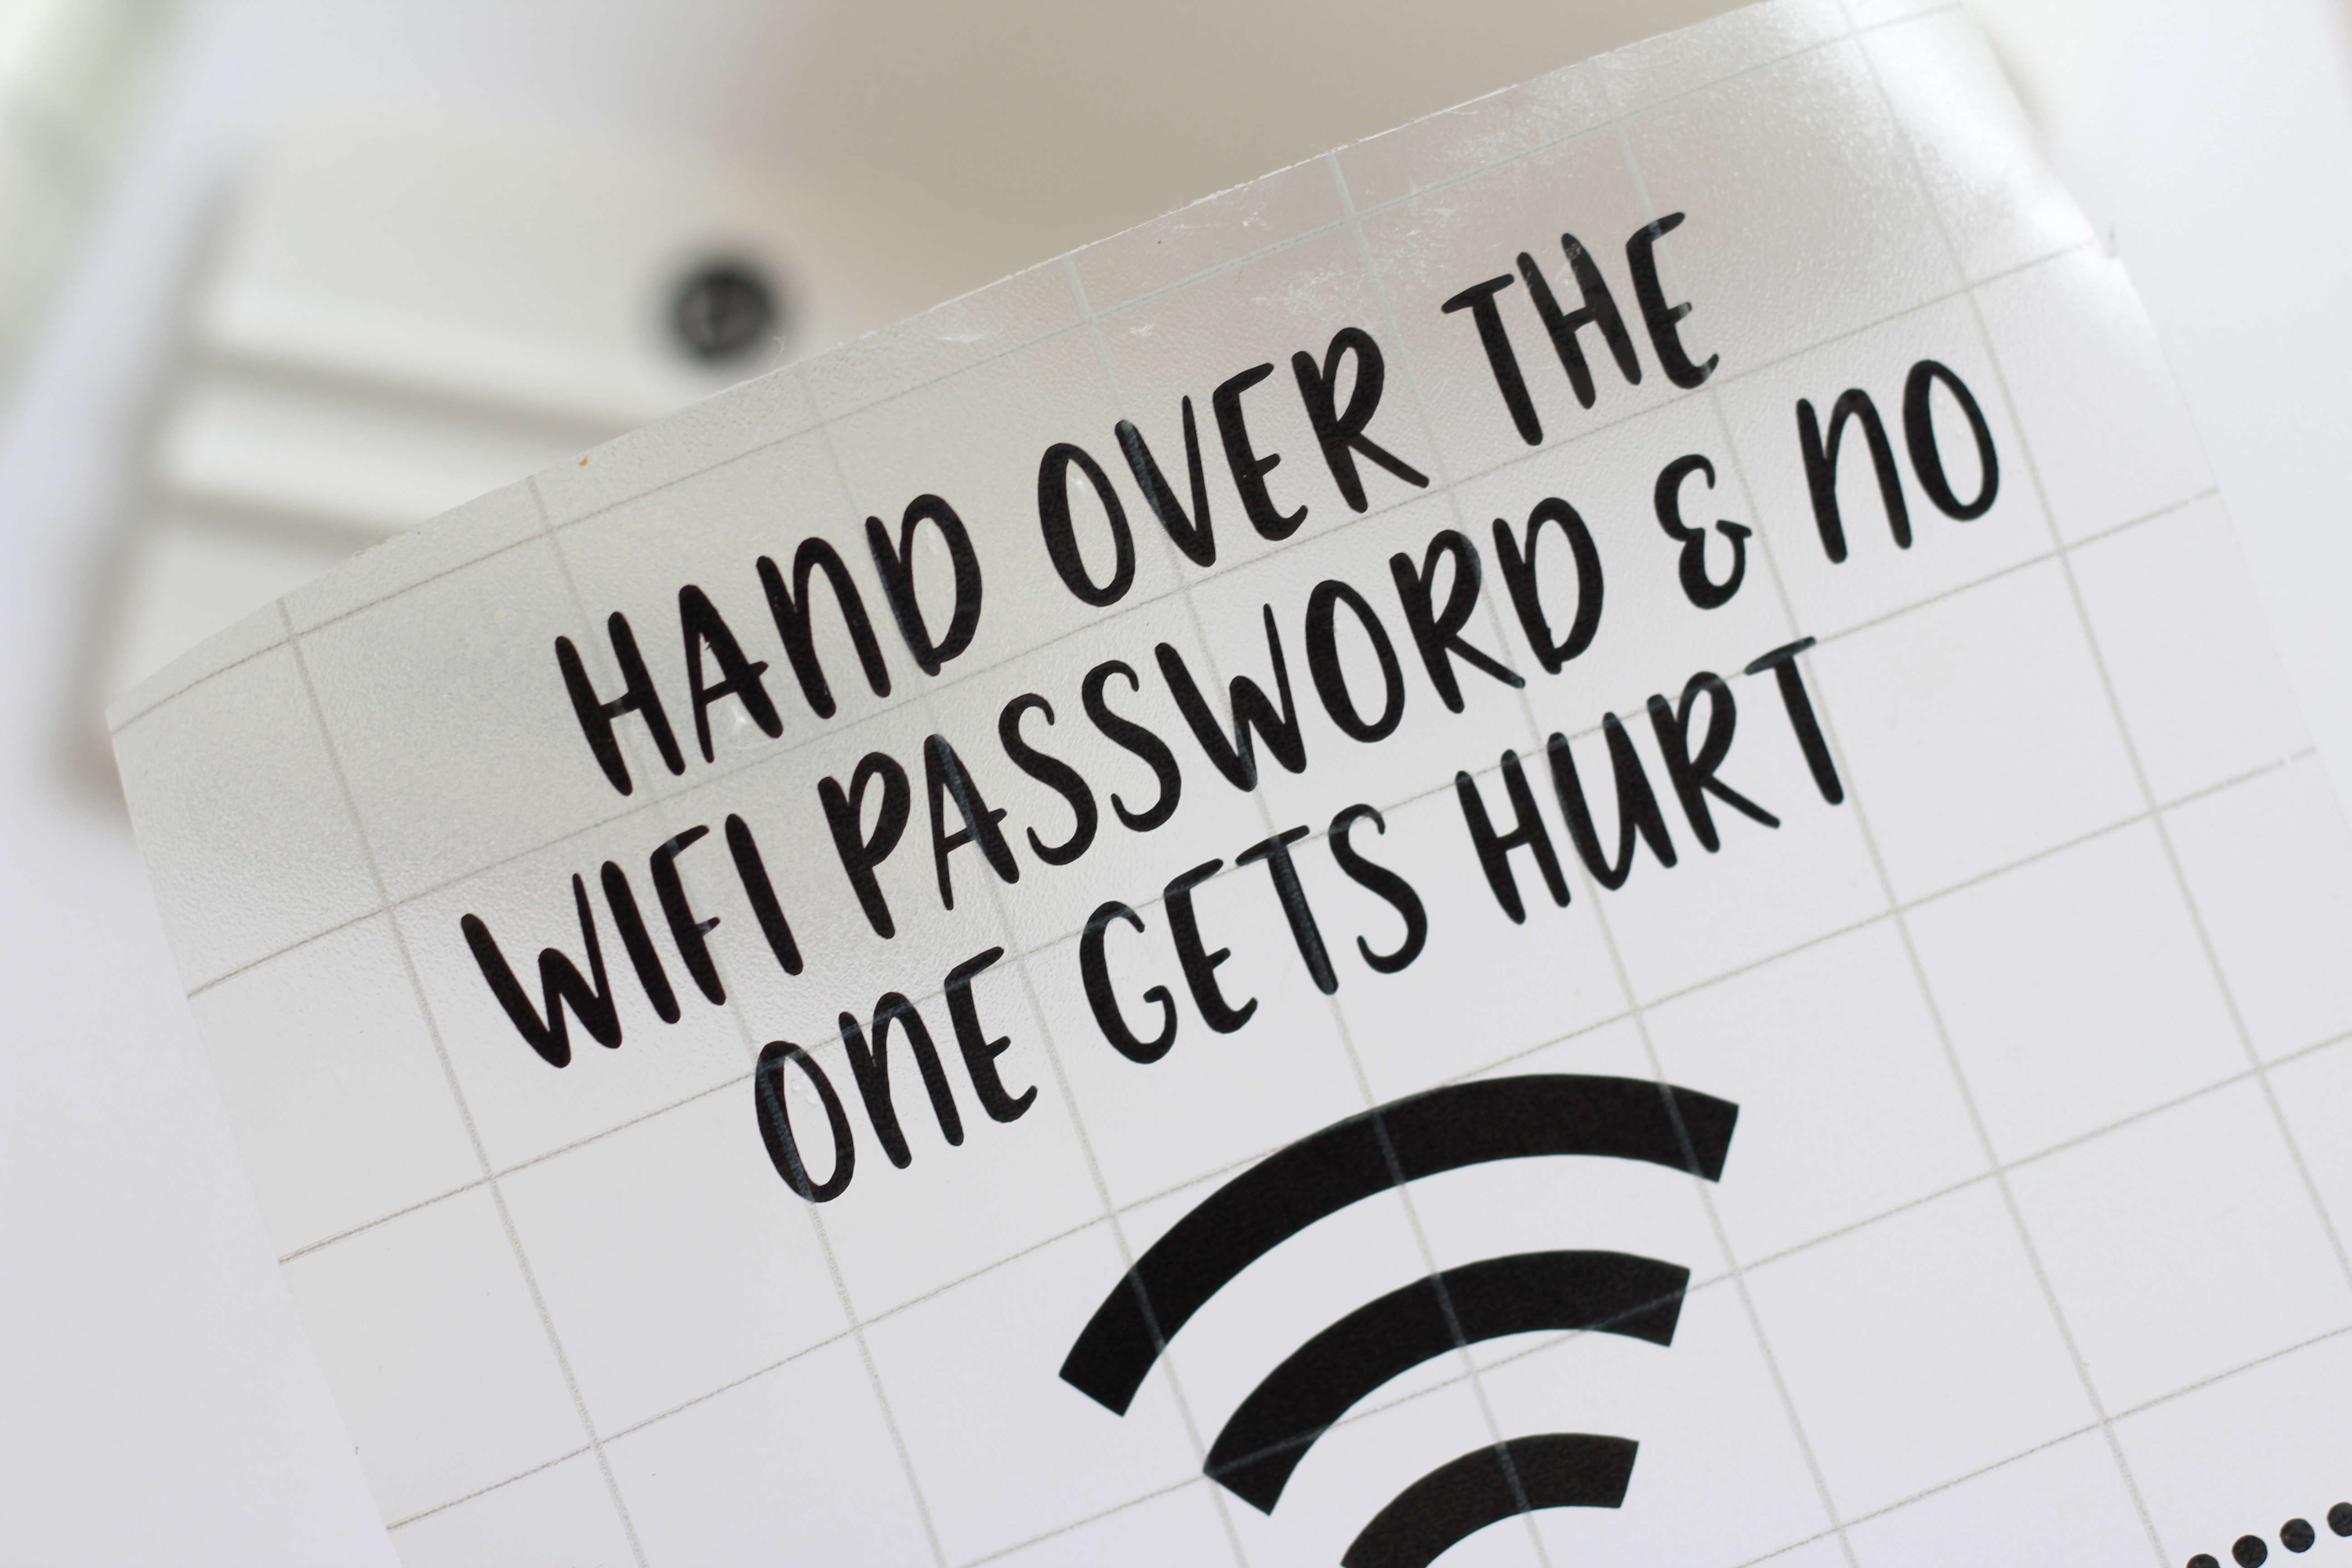 Now you are ready to apply!
Step Two: Apply Vinyl To Plastic Frame
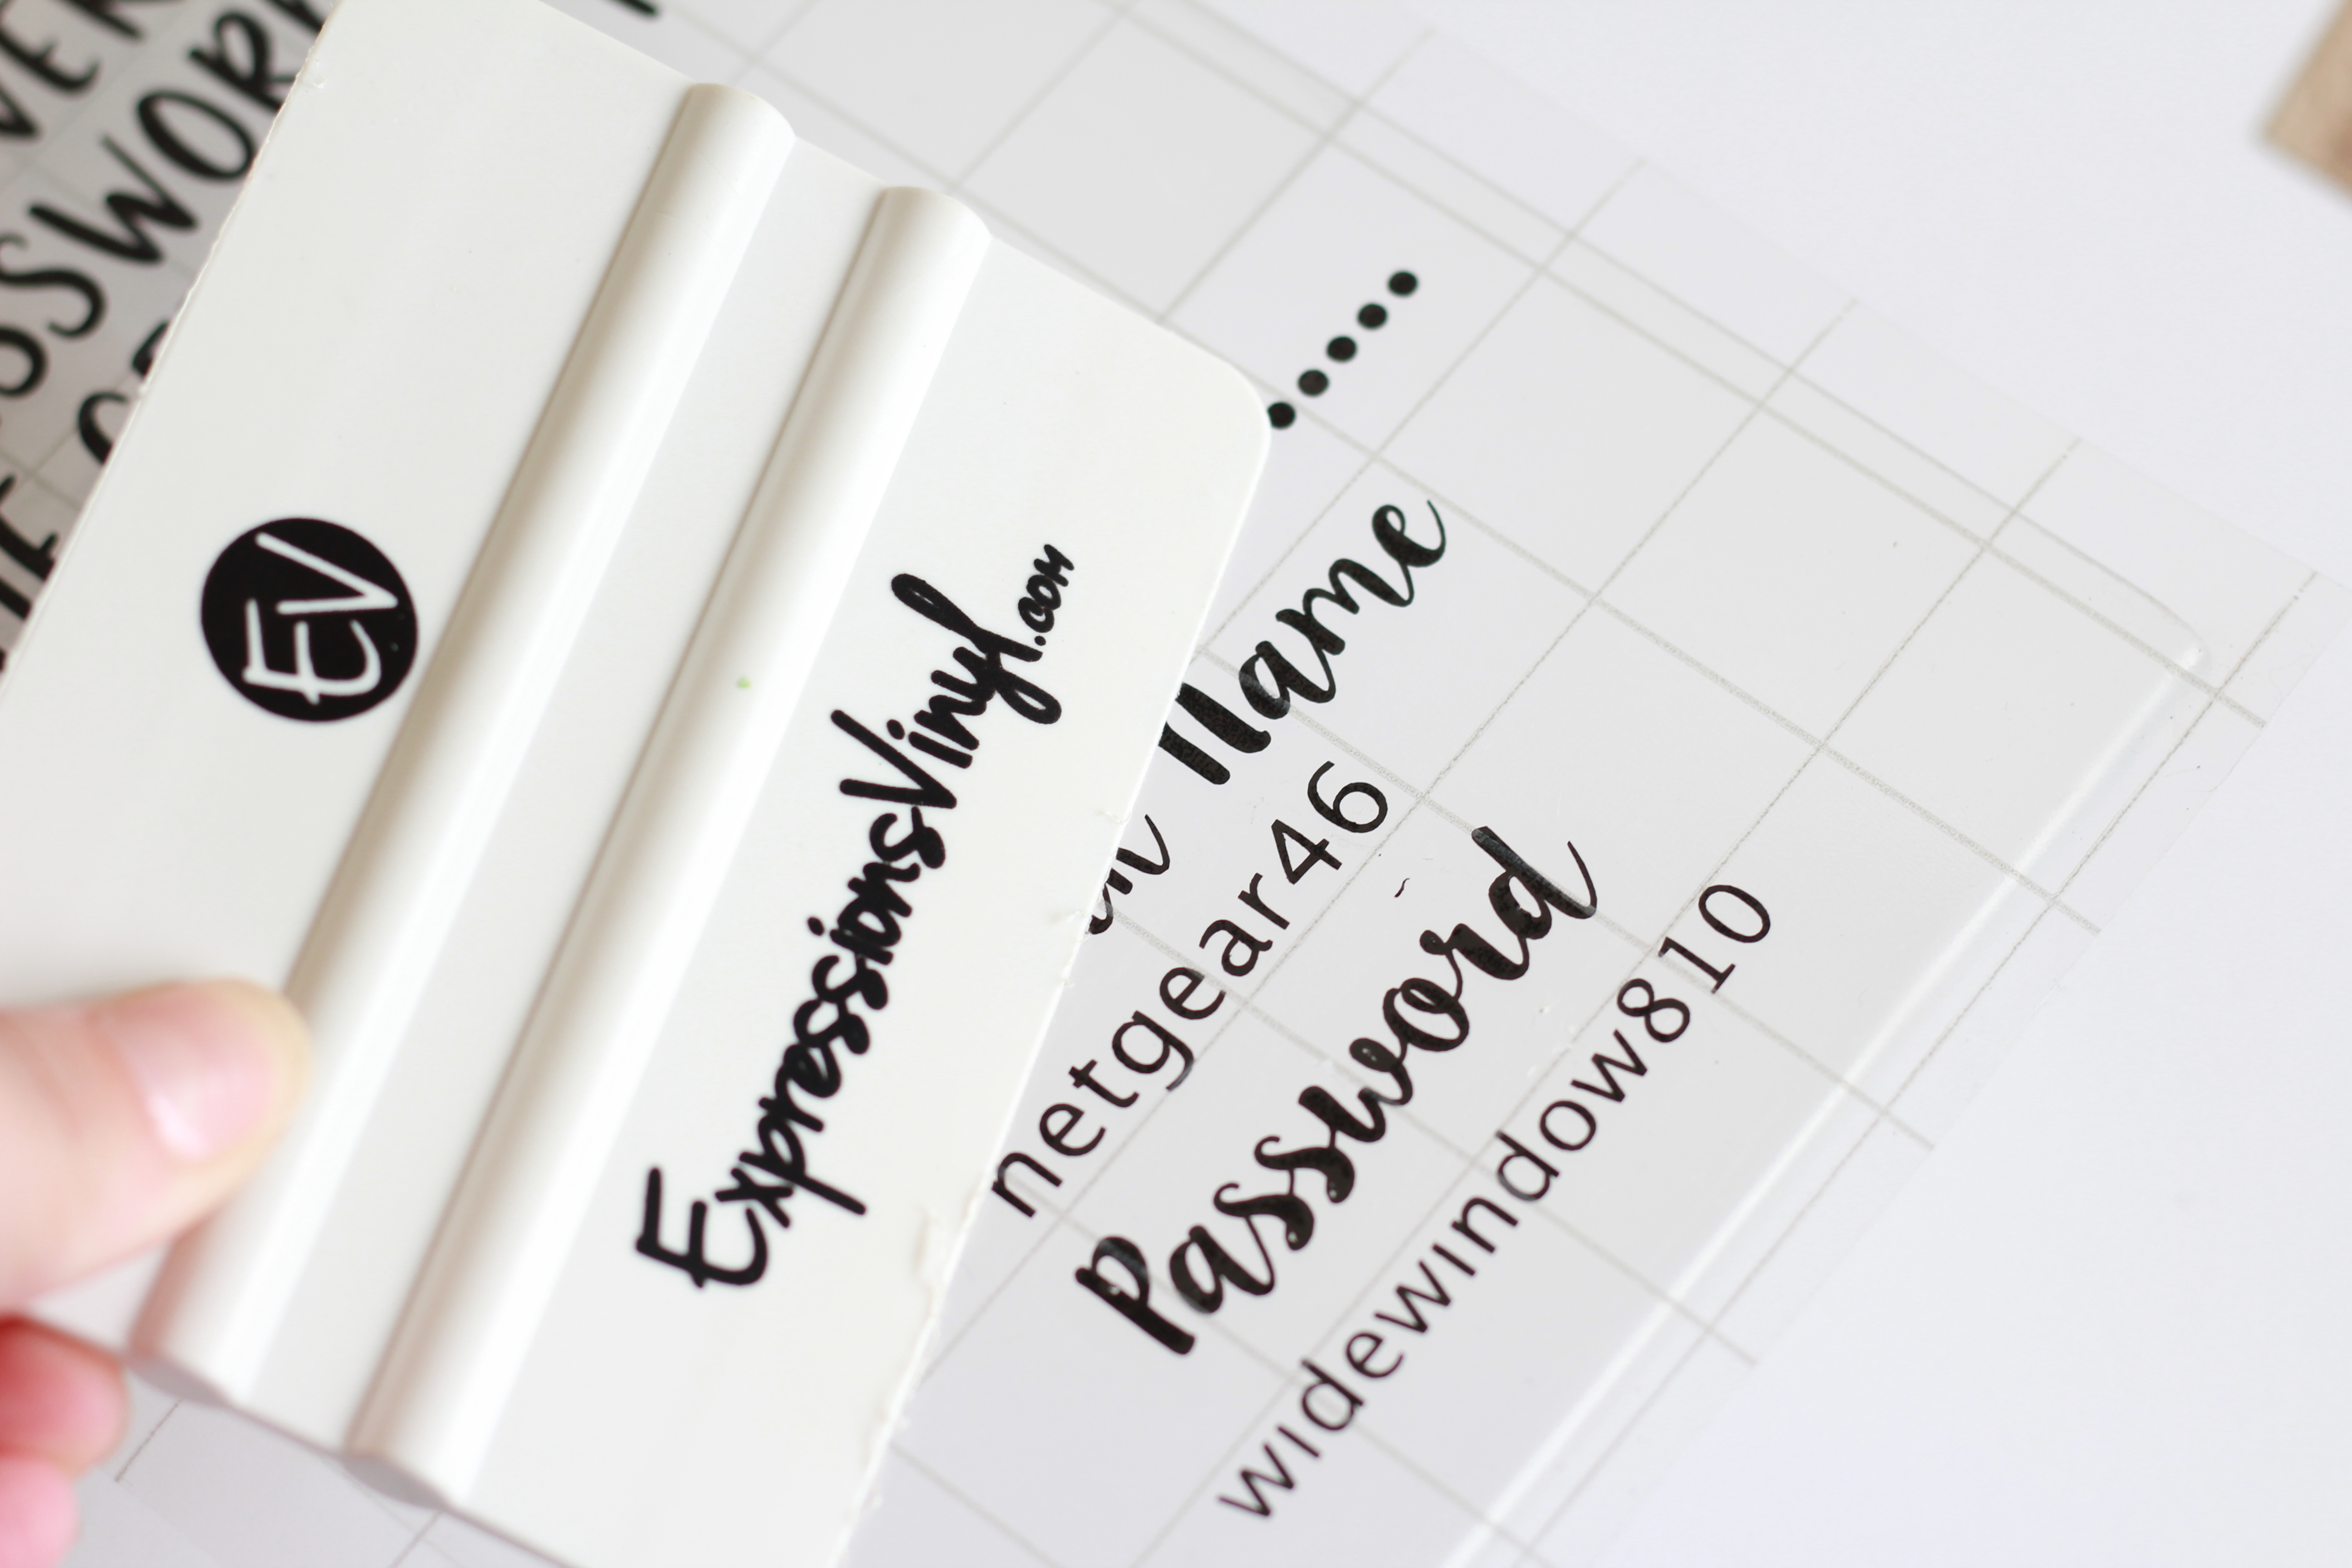
Center your design on your plastic frame and use a scraper tool to firmly press the vinyl down. Some surfaces, like extra glossy plastic, and be tricky sometimes. If you find that you are having trouble getting your letters to stick on your surface, don't fret! Simply use a hair dryer or other heating device to apply heat onto the vinyl. Apply heat and use the scraper tool as needed to ensure the vinyl fully adheres. Cut a rectangle shape out of card-stock paper and insert it into the frame for a fun decorative touch. I love that the paper is easily interchangeable.
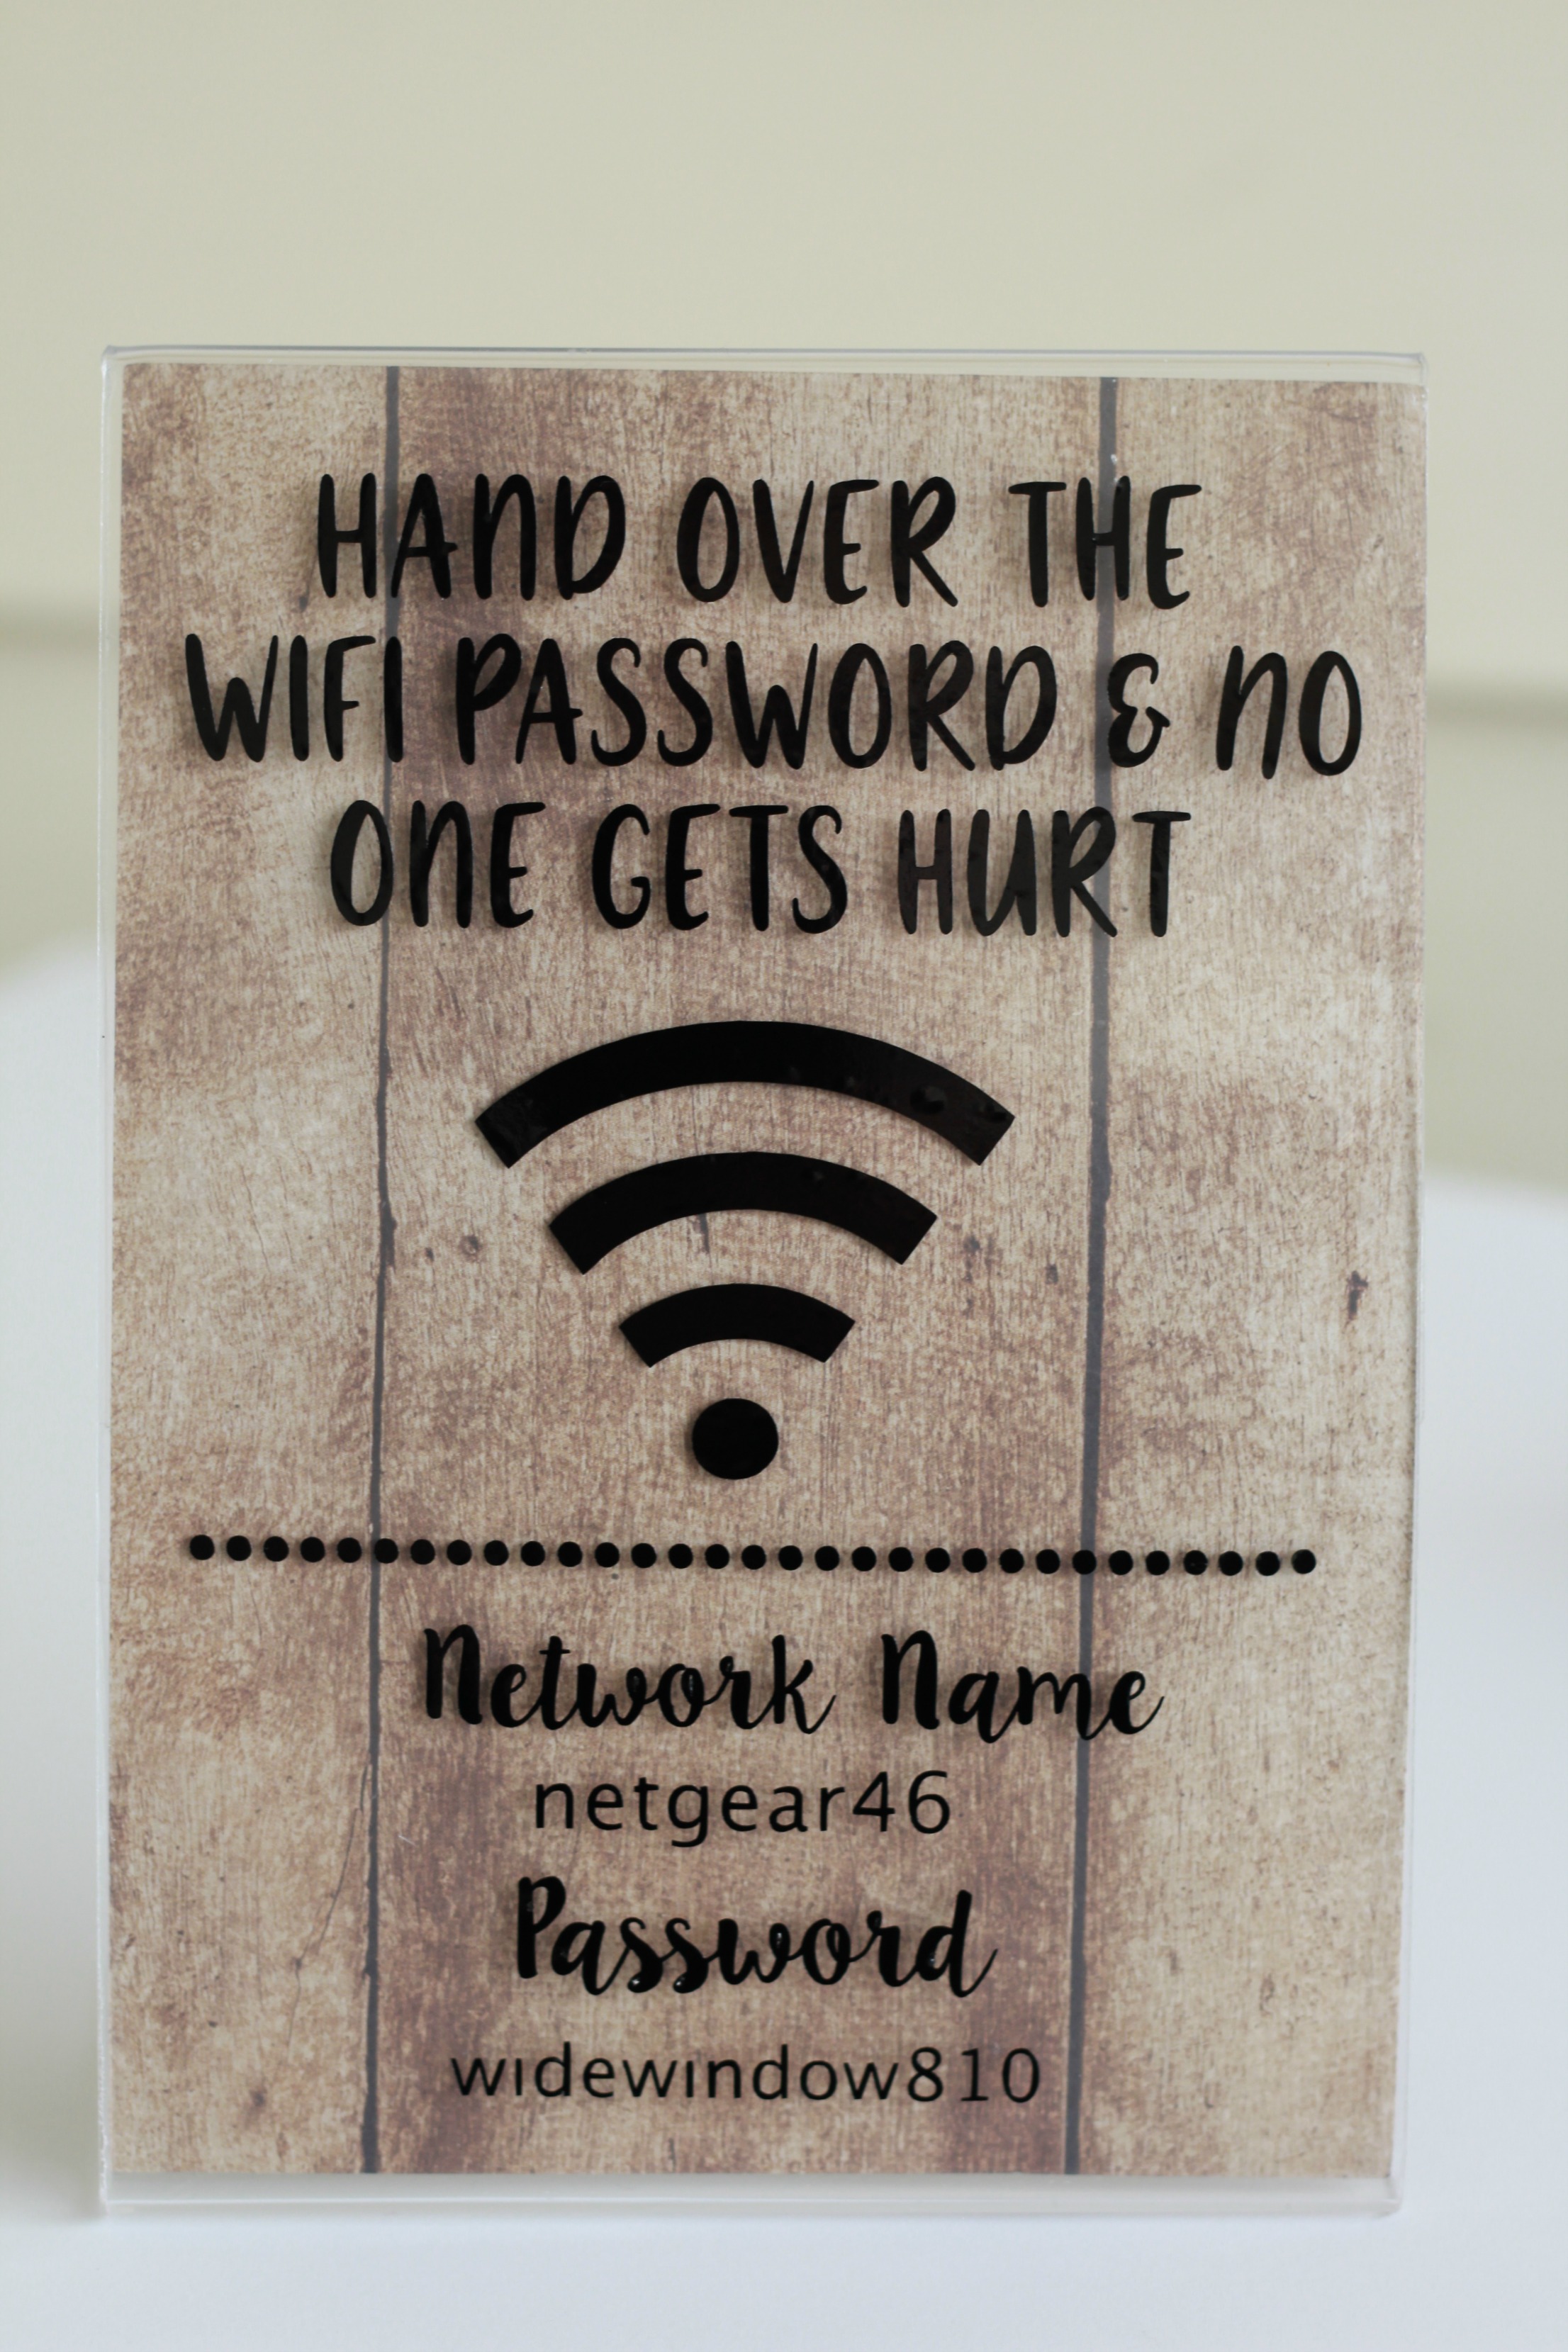
Can't wait to see your creations! Be sure to tag me on Instagram @kutiekairadesigns if you do so that I can see it and gush over your amazing creations!
Recent Posts
-
NEW Holographic Eclipse Heat Transfer Vinyl
April 15th, 2024 3 Ways to Use the New Holographic Eclipse Heat Transfer Vinyl from Siser …Apr 29th 2024 -
Hop into Spring with Cute Easter Vinyl Crafts
Do you love our Vinyl? Sign up for Vinyl Club today to get FREE vinyl and save big! …Mar 28th 2024 -
Fixing Wrinkles and Bubbles in Vinyl
How do you get air bubbles out of vinyl? There are a few different ways to ensure a flawless …Mar 26th 2024

