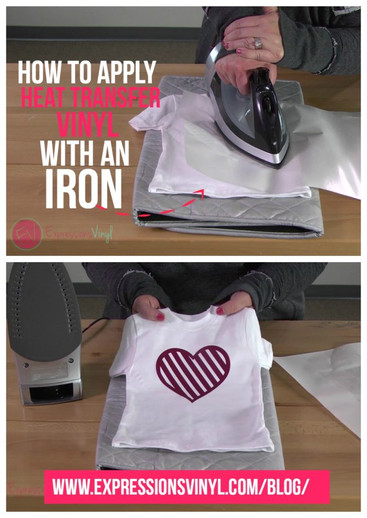
Heating Up: Using An Iron To Apply Heat Transfer Vinyl
It's a questions every crafter will likely ask at least once: How do I use a household steam iron to apply heat transfer vinyl (HTV)? Well, we've put together this step by step guide to answer that very question and give you some guidance to make your next project easy as can be.
A few things you need to get started is:
- A nice solid table
- An ironing mat, or some kind of towel or something to protect your table. We recommend using a heat transfer pillow. You can buy one at our website!
- Your project you're putting vinyl on (mine is a t-shirt)
- Heat transfer vinyl-- I've weeded mine out and am all ready to go
- A teflon sheet, a towel or our multi-use paper. Youi just need something to protect your iron. (I'm using the multi-use paper!)
Let's get started! A few things to look at on your iron is the steam holes. Some irons have them all over the middle, and you want yours to be on the outside or have no holes at all, but those are hard to find! The steam holes are going to give you an uneven surface and you want your heat coming from a nice flat, solid surface.
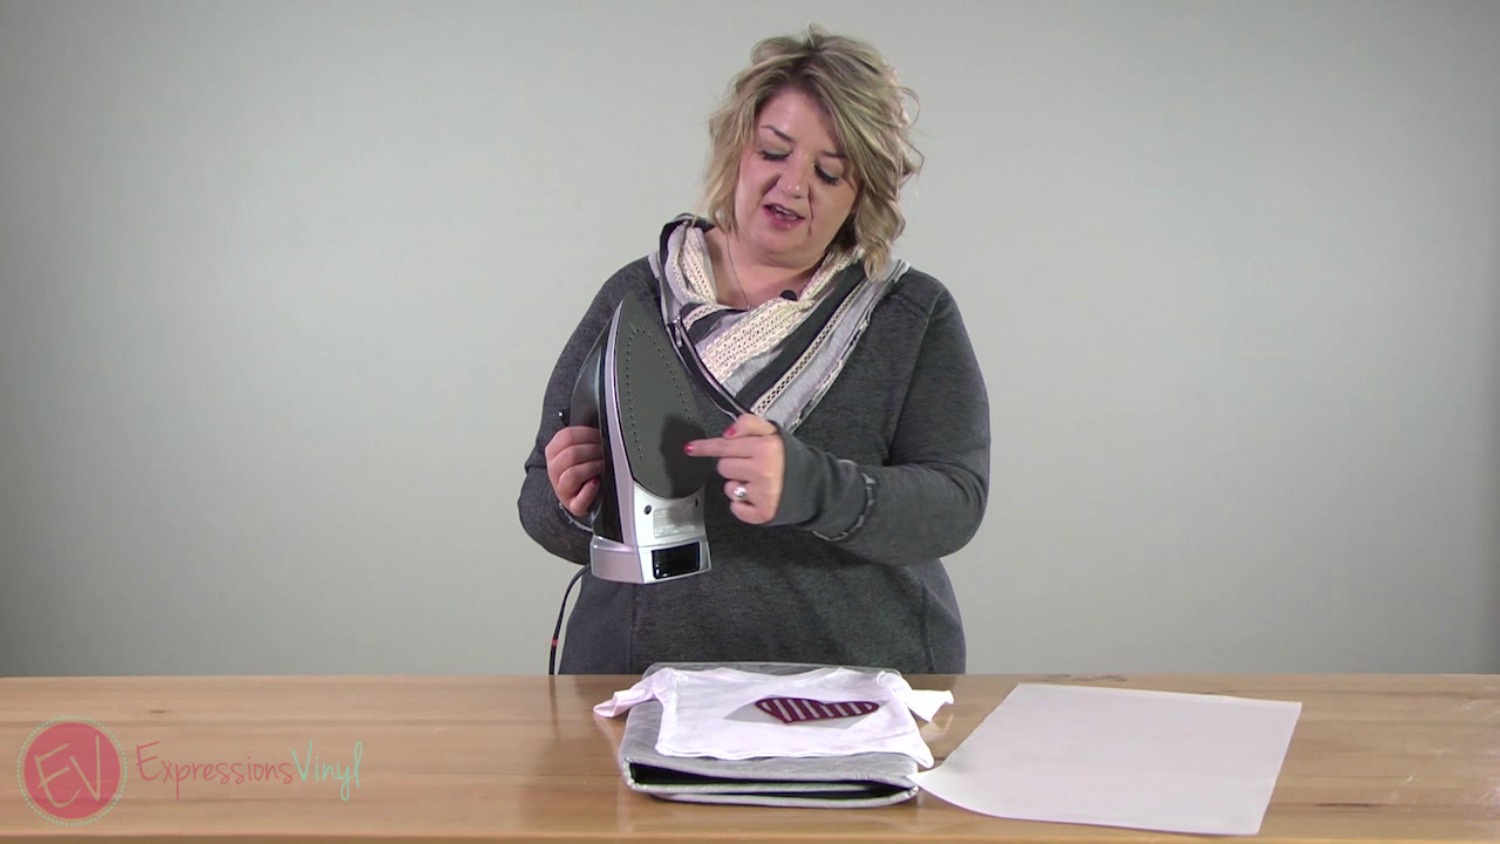
Something else to look at is your heat setting. A lot of people think that if you're going to useheat transfer vinyl you just need heat and the longer you apply it, the better it's going to be. In reality, that will actually ruin the adhesive on your heat transfer vinyl. The temperature needs to be about 300 degrees for EasyWeed, so I find a little bit below the cotton setting works well. You also want to make sure you have no water and no steam in your iron, that's really important. You want it to be completely dry.
A little trick I like to do, is to iron your project first. You want to make sure your shirt is nice and smooth and there are no wrinkles.
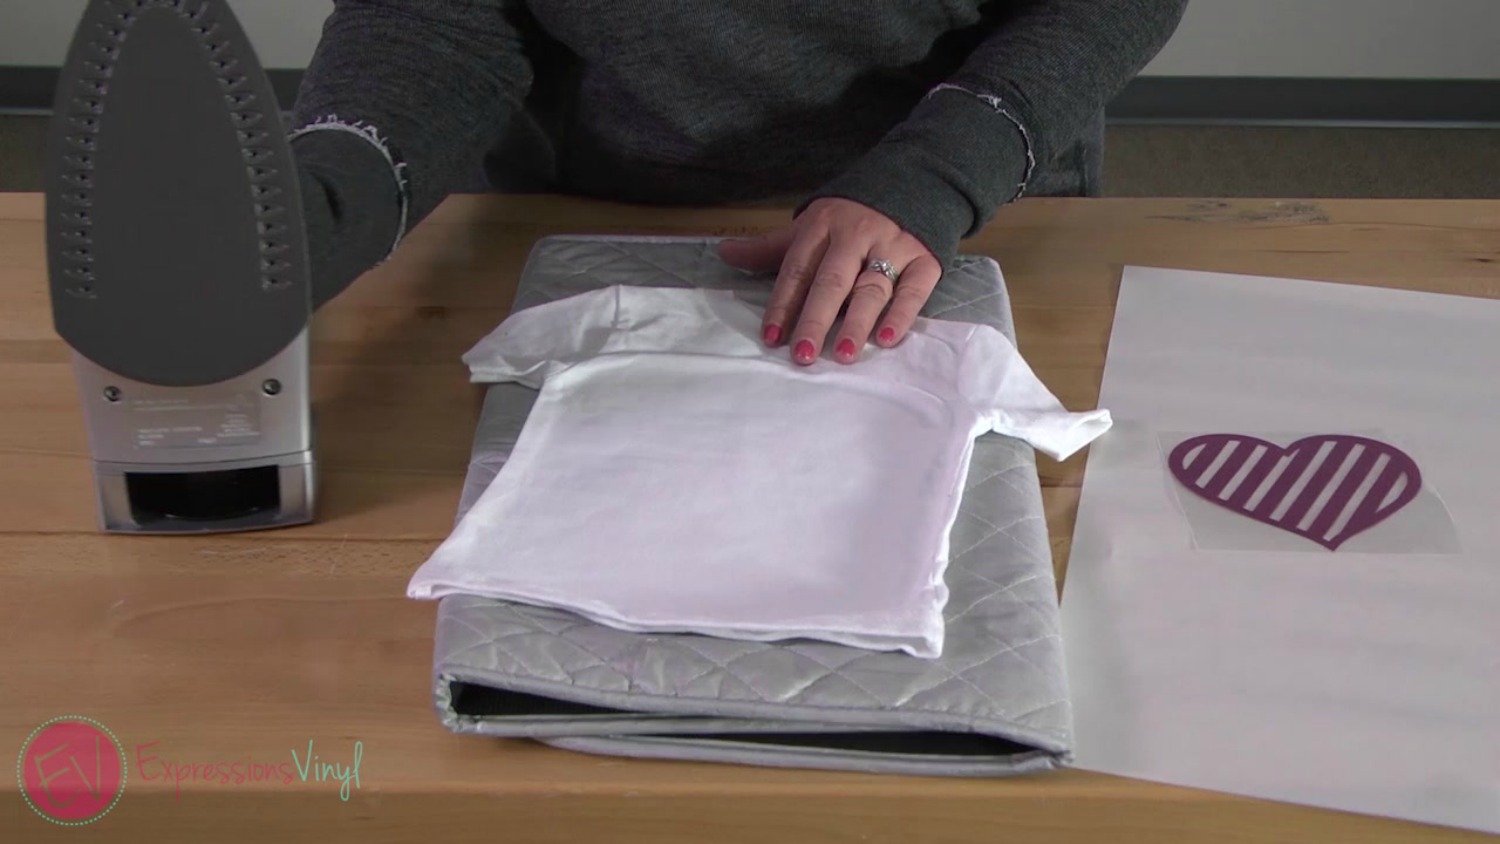
Then while it's still warm, take it and fold it in half, and press down so you have a little line to follow.
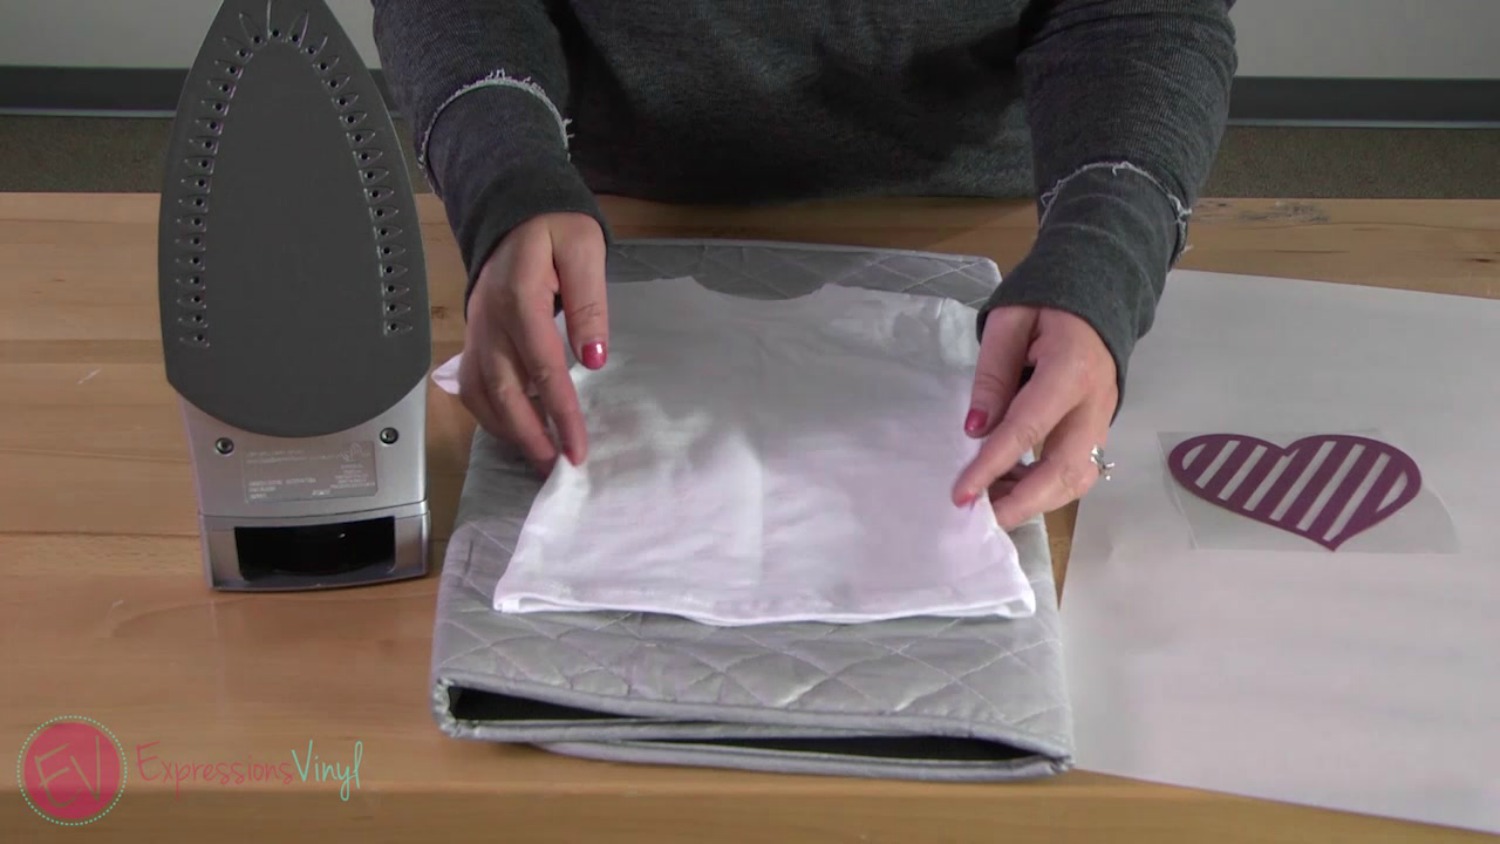
Take your heat transfer vinyl and with the sticky side facing out, fold it in half. This isn't going to ruin your vinyl, just lightly fold it in half so you get a line,
Line that up with the line on your shirt and make sure it's nice and straight!
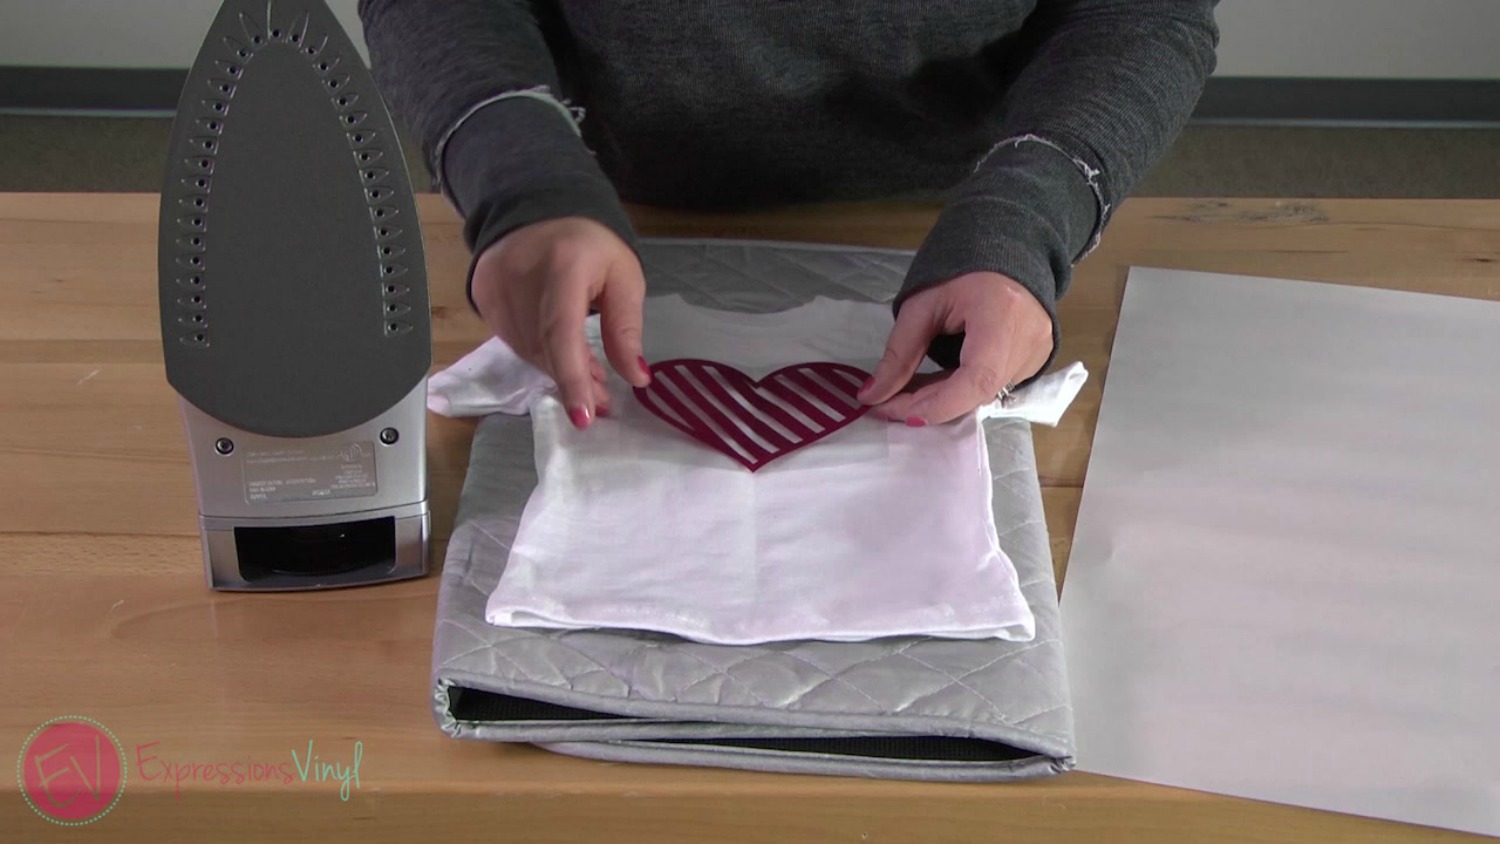
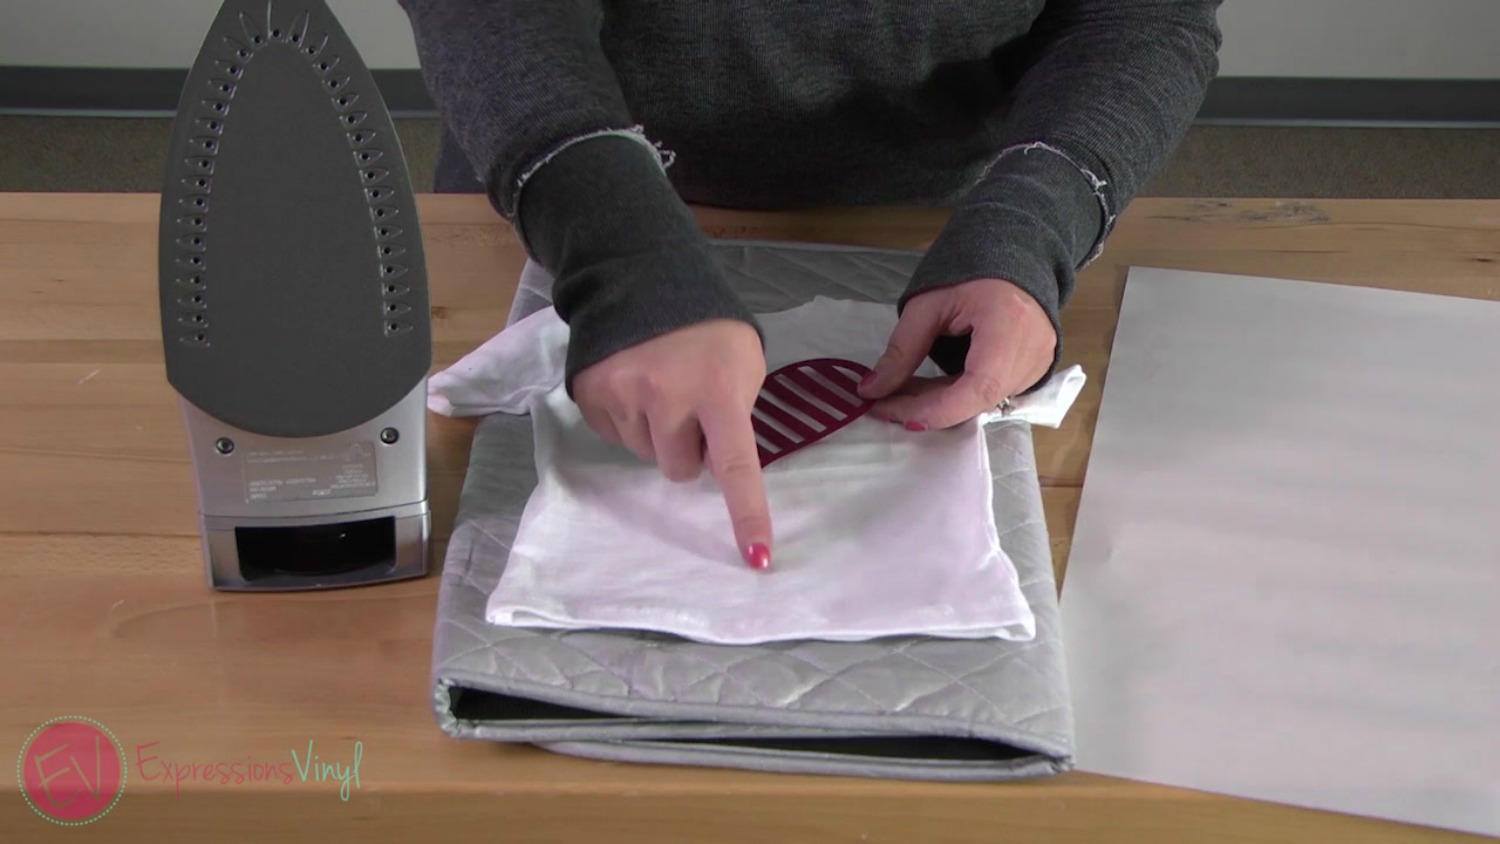
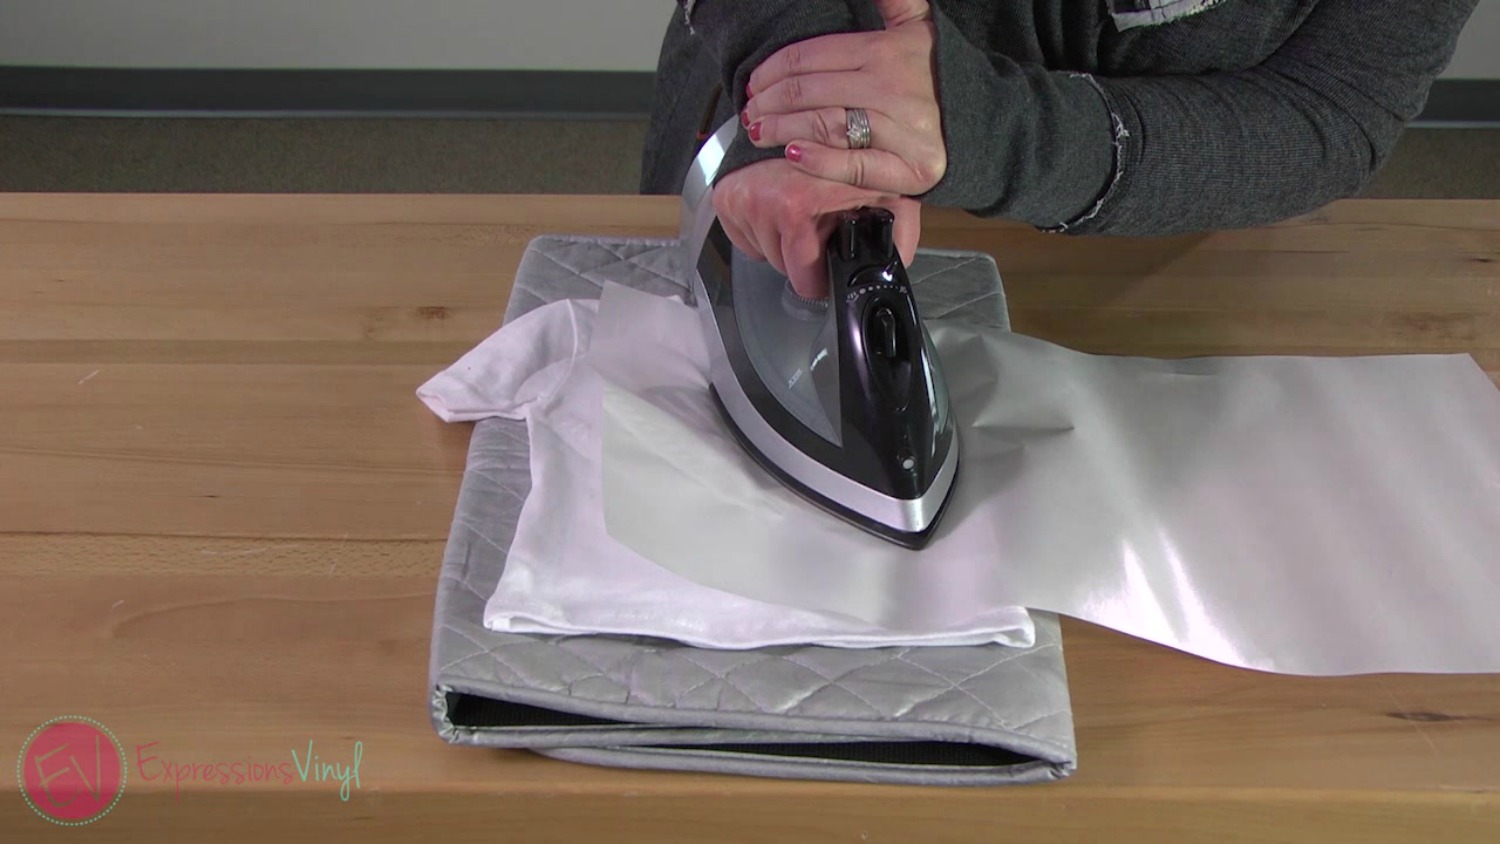
Grab your multi purpose sheet and put it over your heat transfer vinyl to protect your iron. You can use a towel, a Teflon sheet, or whatever you have. Press down for 10 to 15 seconds.
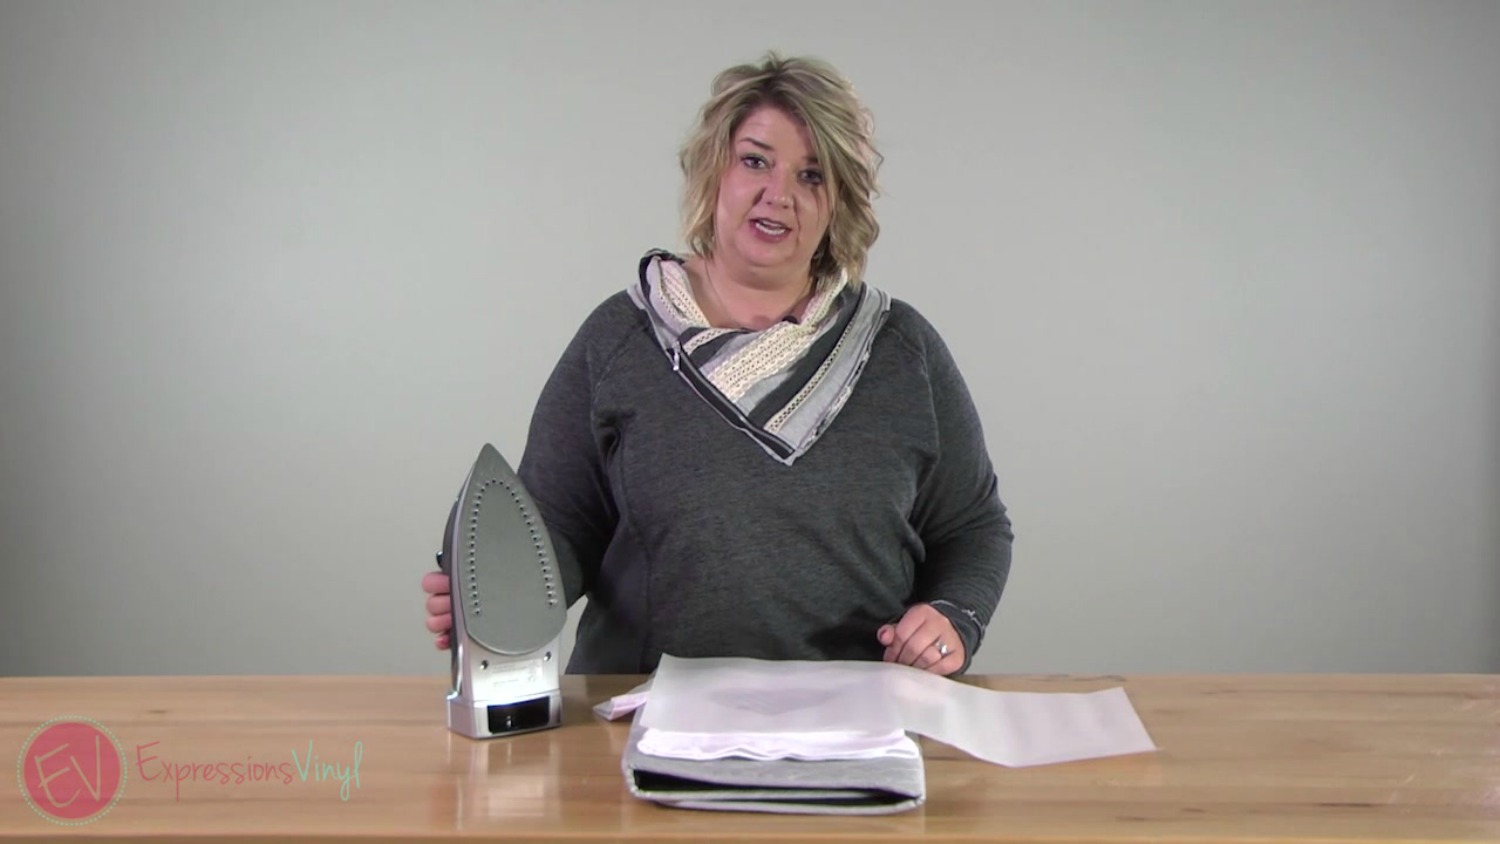
Then press it down the part of your project where your iron didn't touch. It's okay if it overlaps a little bit, but do the next part for 10 to 15 seconds pressing well.
Take off your carrier sheet. I'm using EasyWeed, so it's a hot or a cold peel. So just peel off that carrier sheet right away.
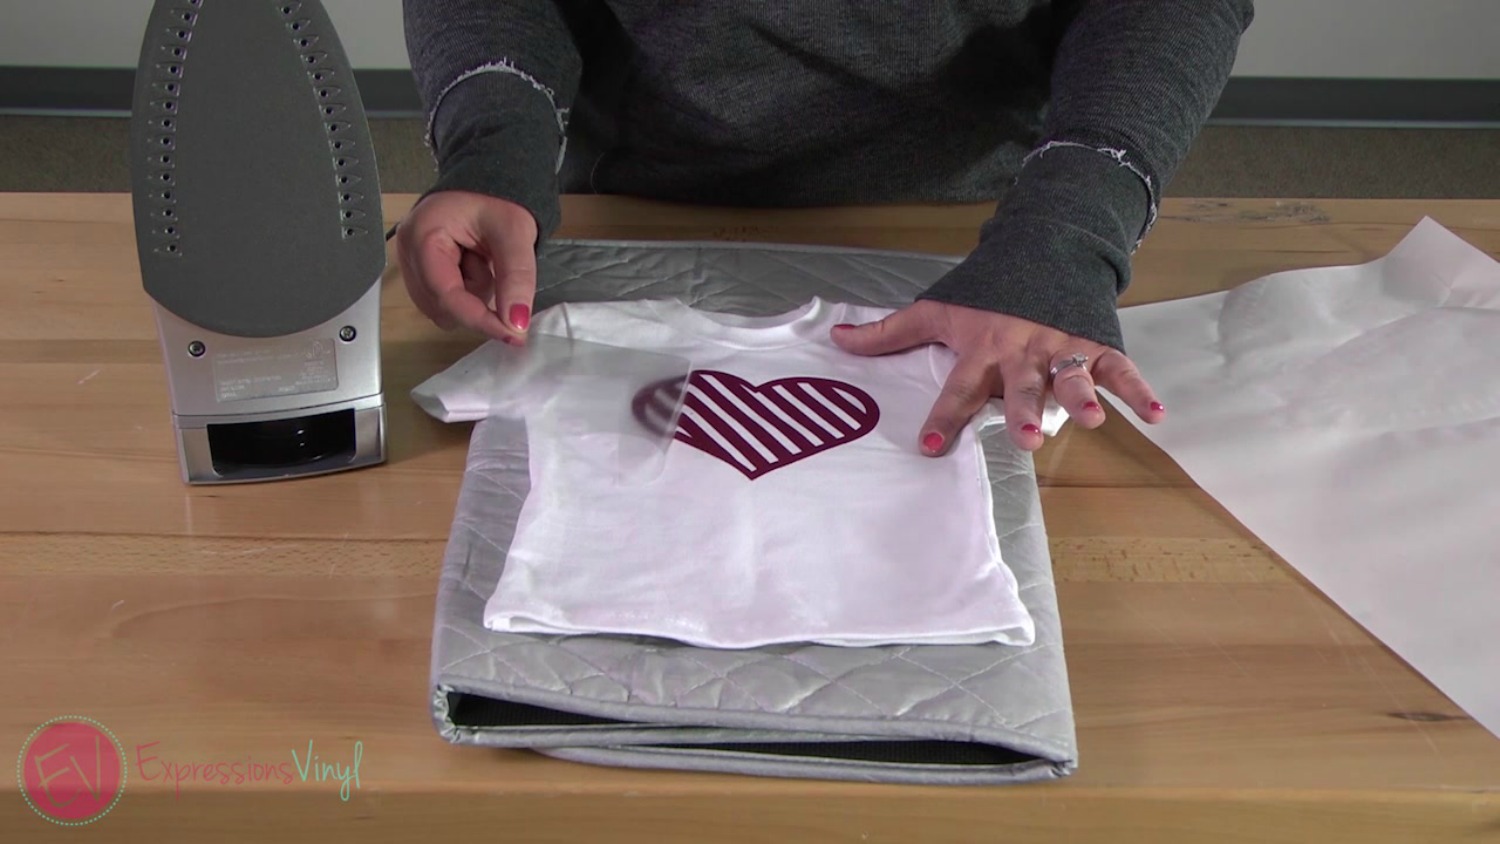
...and our project is all done!
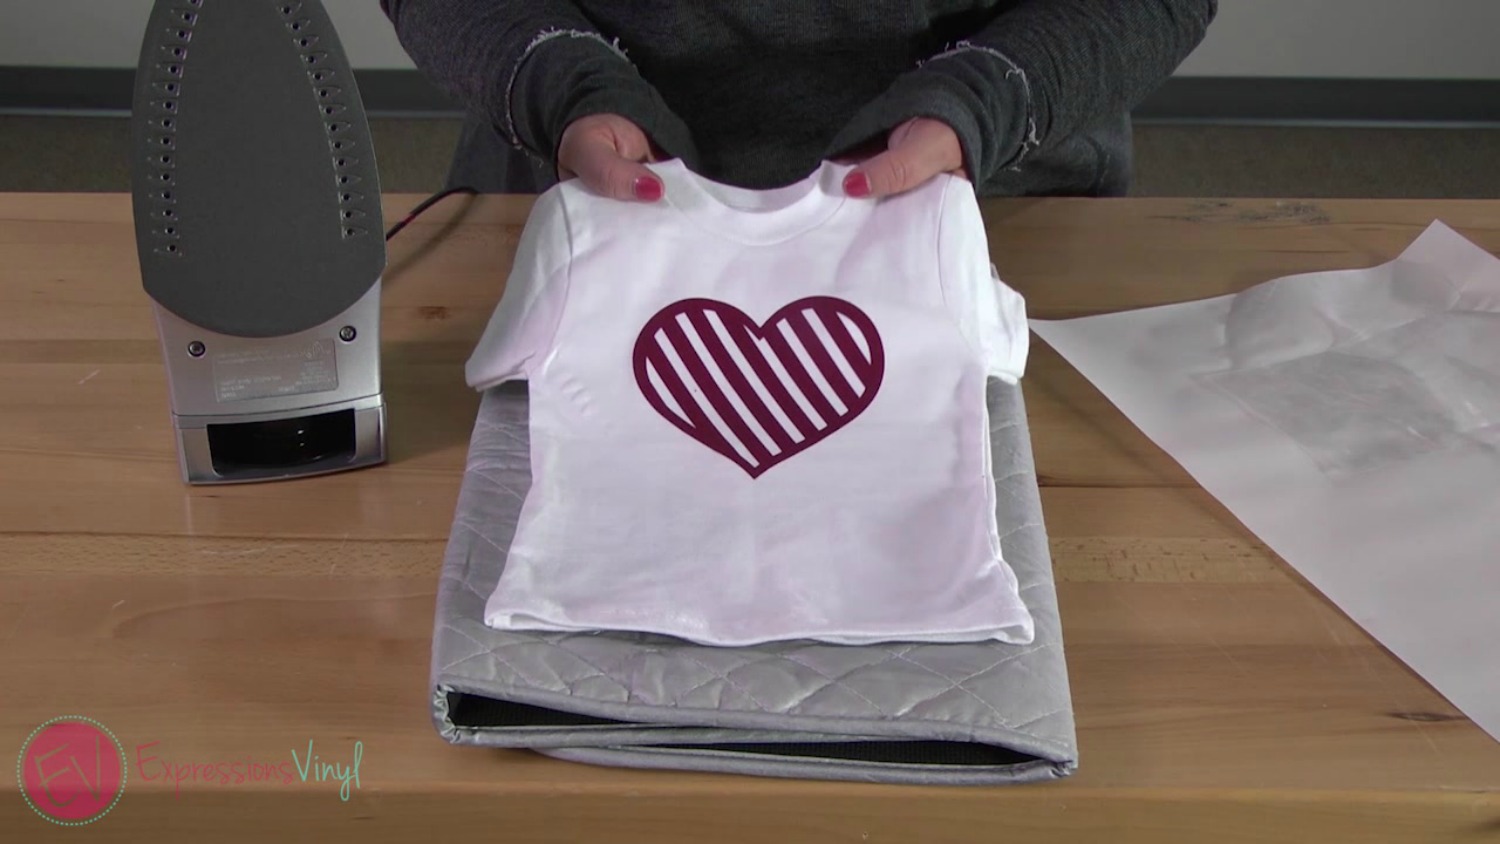
It's not scary to use an iron. If done properly it will stay on when you go to wash it. Just make sure you have the proper amount of heat and a good amount of pressure. (But not too much heat and not too much pressure!)
If you are looking for more tricks and tips click HERE to check out all our informational posts!

Recent Posts
-
NEW Holographic Eclipse Heat Transfer Vinyl
April 15th, 2024 3 Ways to Use the New Holographic Eclipse Heat Transfer Vinyl from Siser …Apr 29th 2024 -
Hop into Spring with Cute Easter Vinyl Crafts
Do you love our Vinyl? Sign up for Vinyl Club today to get FREE vinyl and save big! …Mar 28th 2024 -
Fixing Wrinkles and Bubbles in Vinyl
How do you get air bubbles out of vinyl? There are a few different ways to ensure a flawless …Mar 26th 2024

