
How To Build A Drawer Organizer
Hello, there! My name is Cher and I am behind Designs by Studio C a site where I feature DIY projects, how-to information, and furniture plans. Believe it or not, I use vinyl in a lot of my projects and am a HUGE stalker -er, "fan" - of Expressions Vinyl! (They have the most awesome customer service, don't they?)
Anyway, I have created a very easy project just for the EV blog readers! I will share how to make a drawer organizer then personalize it with a technique I refer to as "reverse stenciling".
This is what the drawers in my kitchen look like:
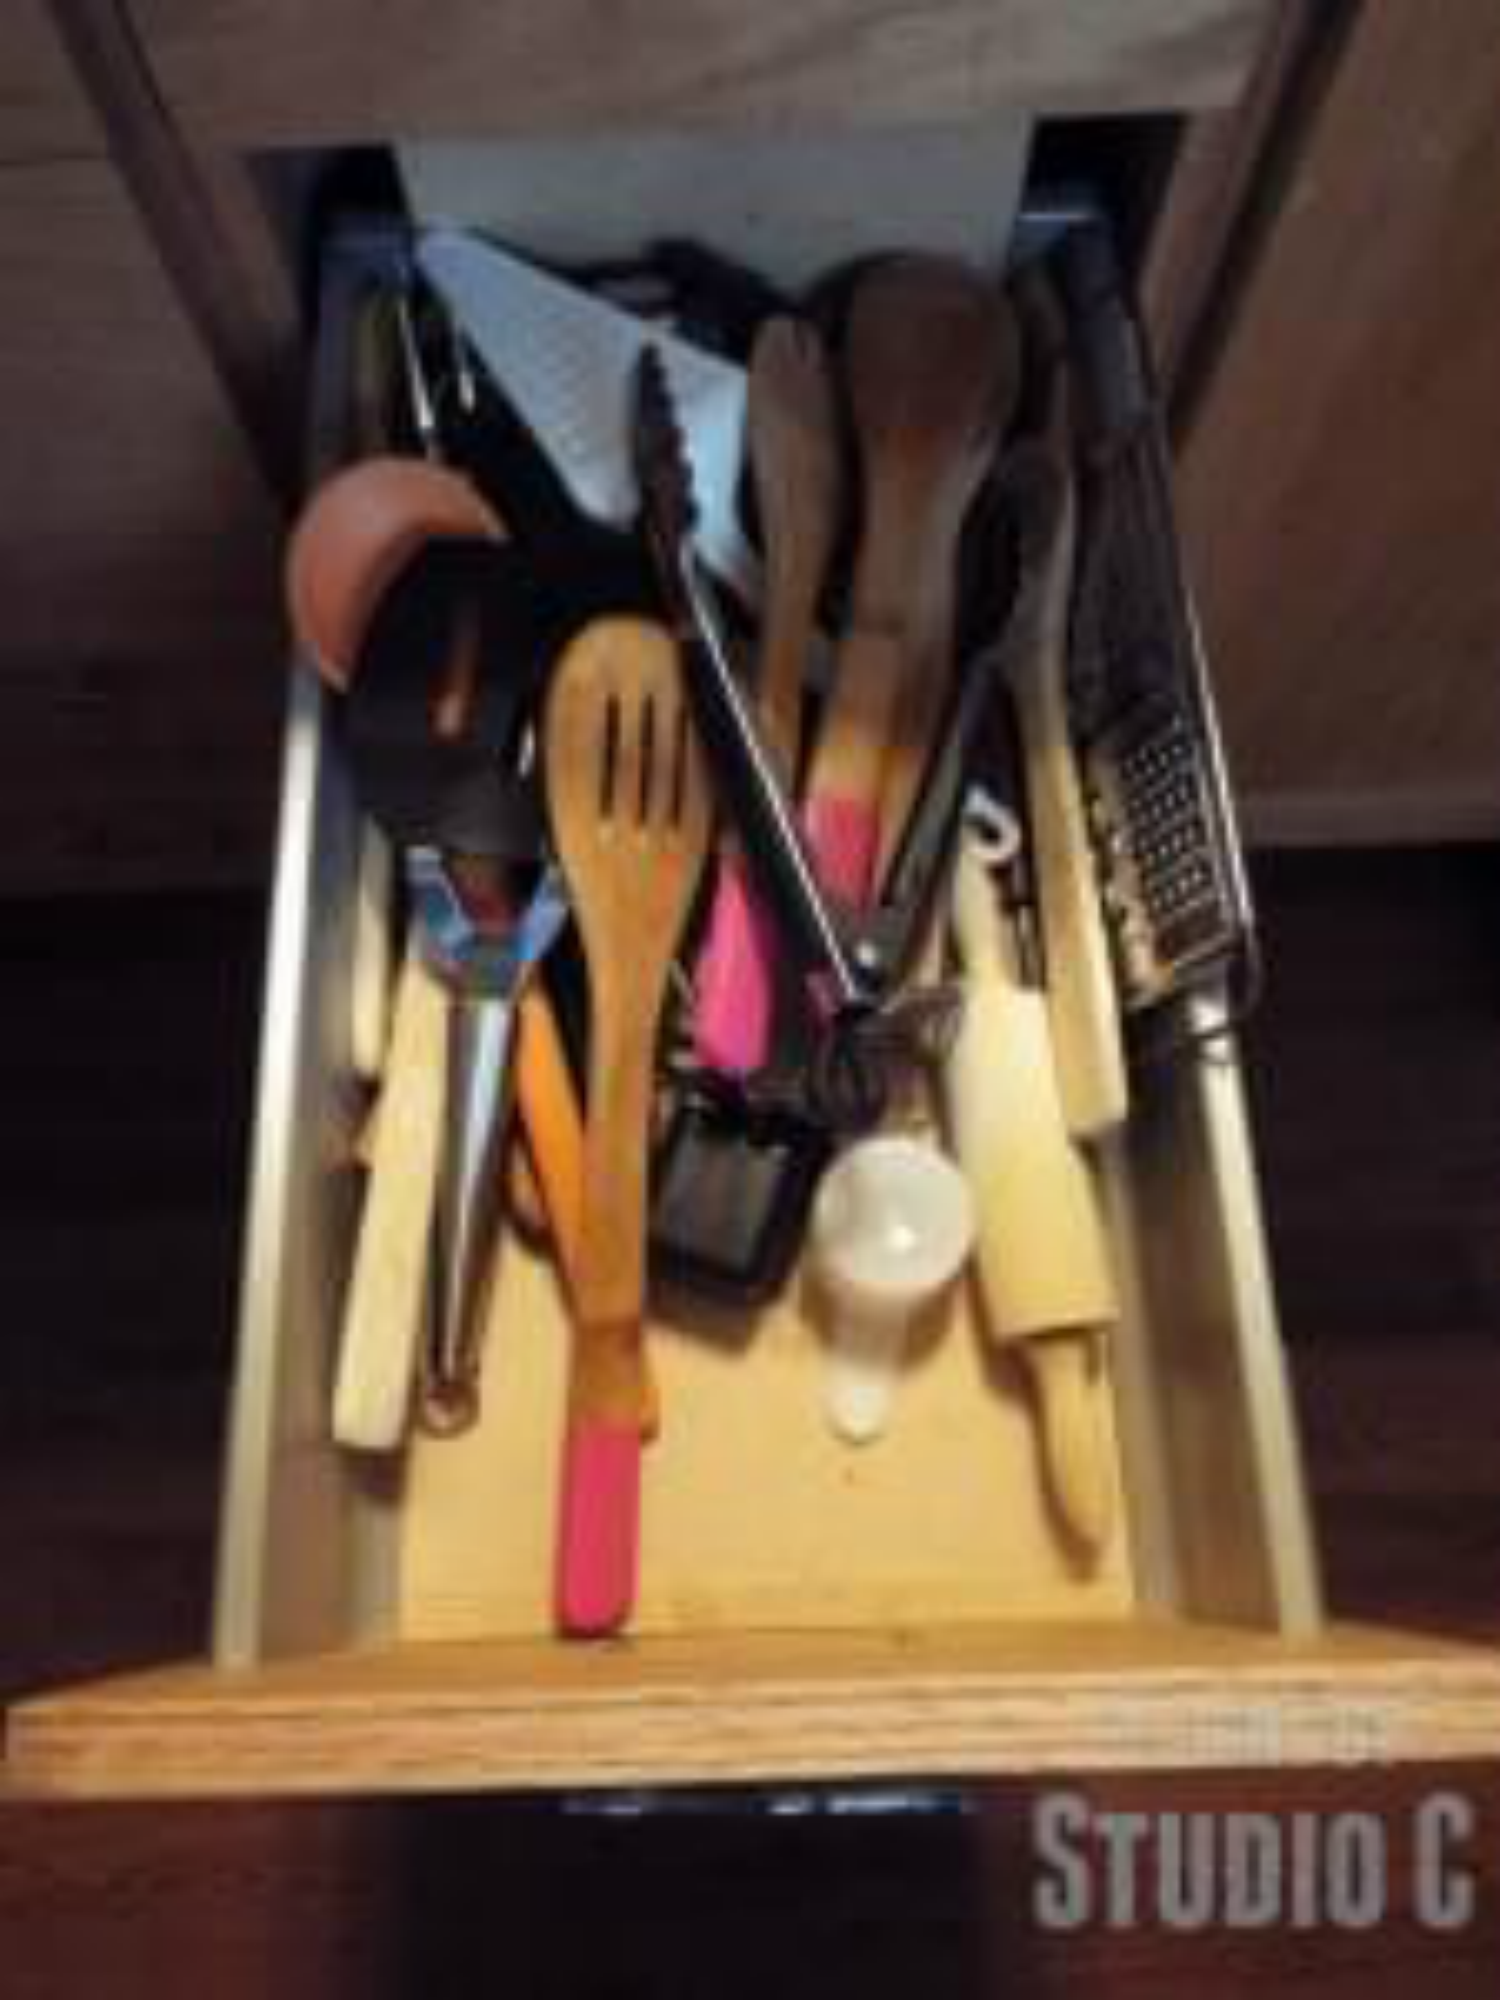
Yep, a huge mess! A drawer organizer would fit the bill perfectly so in order to build one, here is what you will need:
One piece of 1/2" plywood at 9" x 15" - Base
Two pieces of 1/2" plywood at 2-1/2" x 15" - Sides
Two pieces of 1/2" plywood at 3" x 9" - Ends
One piece of 1/2" plywood at 2-1/2" x 15" - Divider
Wood glue
1" brad nails
220 grit sandpaper
1 sheet of 12" x 12" indoor vinyl in the color of your choice
Clear Sealer
Paint of your choice (Paint samples are great for this type of project!)
If you aren't handy with building your own projects, a regular off-the-shelf wood drawer organizer will work equally well!
Cut all of the plywood pieces as indicated, and thoroughly sand, especially the edges. Sanding the pieces first makes it much easier to finish the project! Locate the center of the base plywood piece and draw a line 1/4" on each side of the center. This is for the placement of the divider. On the back side of the base, draw a single line down the center. This is for the placement of the nails. Secure the divider to the base using glue and 1" brad nails.
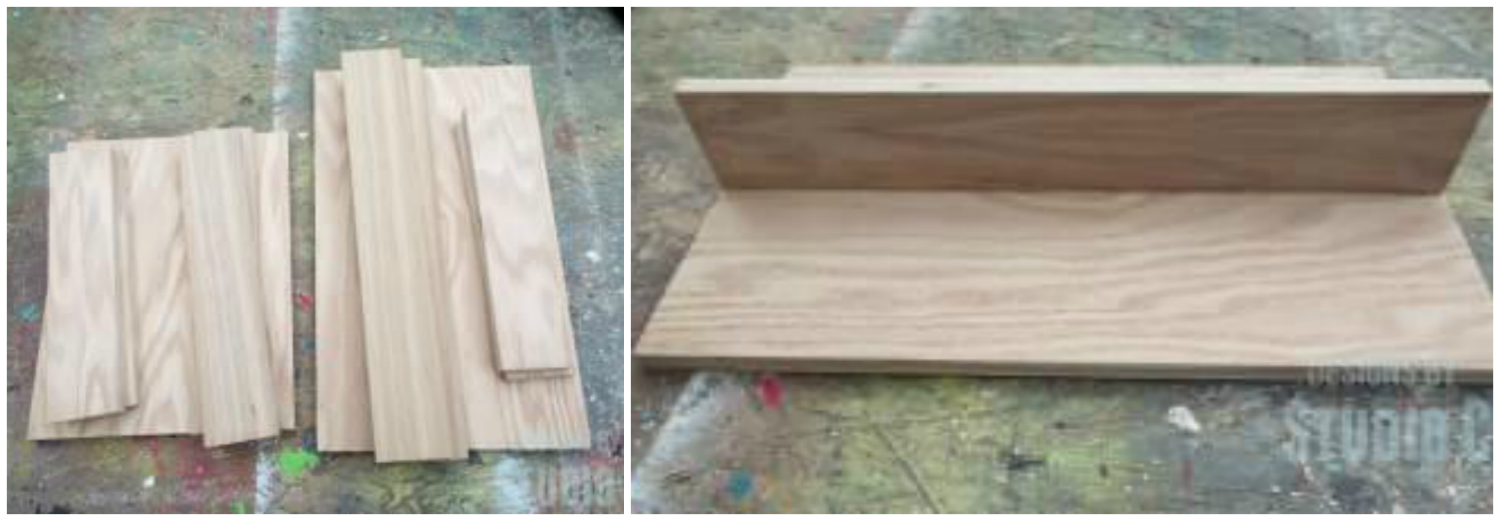
Next, add the sides by running a bead of glue along the edges of the base, parallel with the divider. Secure the sides using glue and 1" brad nails. (The photo shows glue on the edges – I got a little ahead of myself!)

Now, add the end pieces and secure using glue and 1" brad nails through the end pieces into the sides, bottom, and divider.

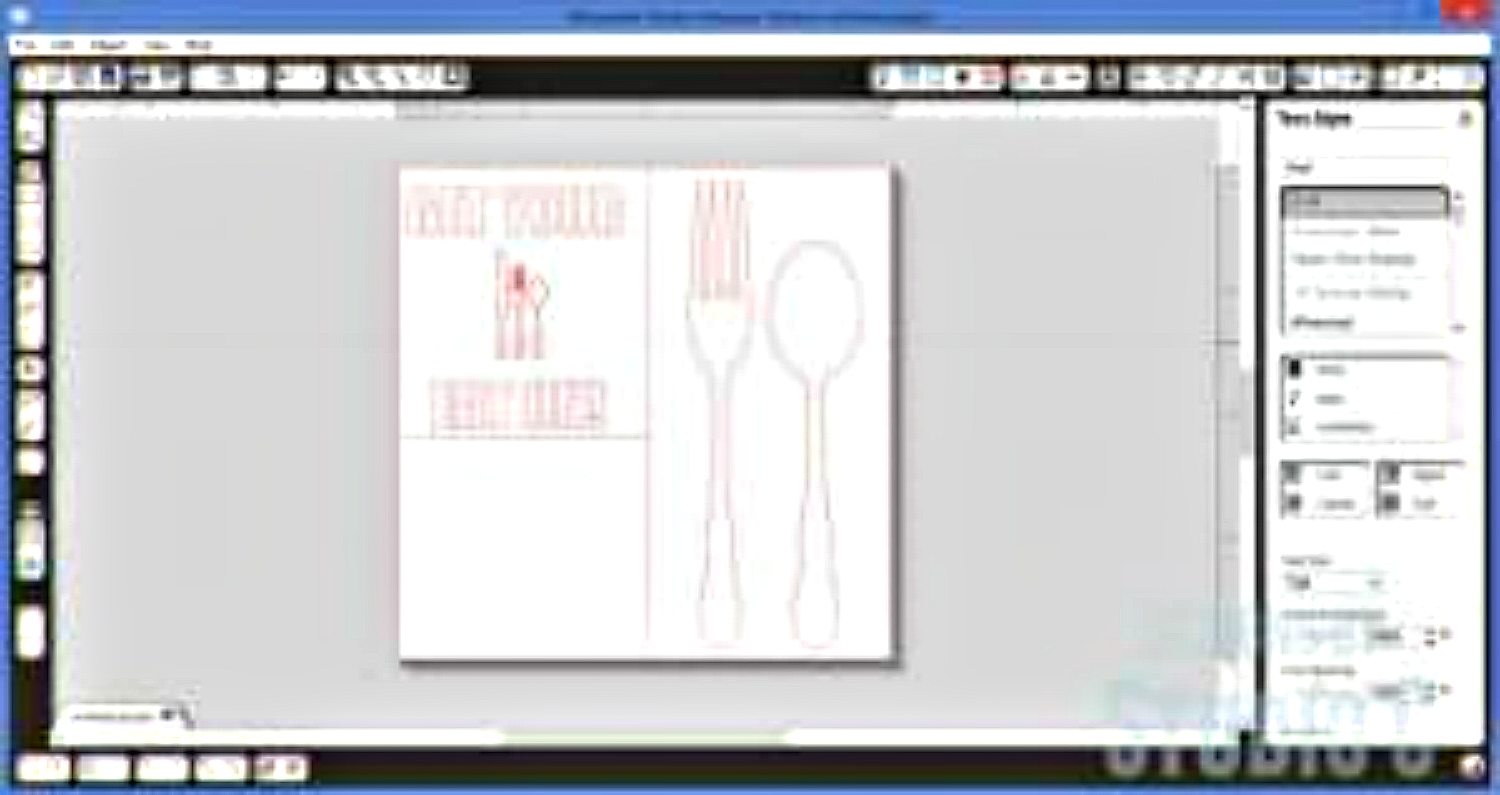
Cut the design of your choice out of the vinyl. I used a silverware set from Silhouette.
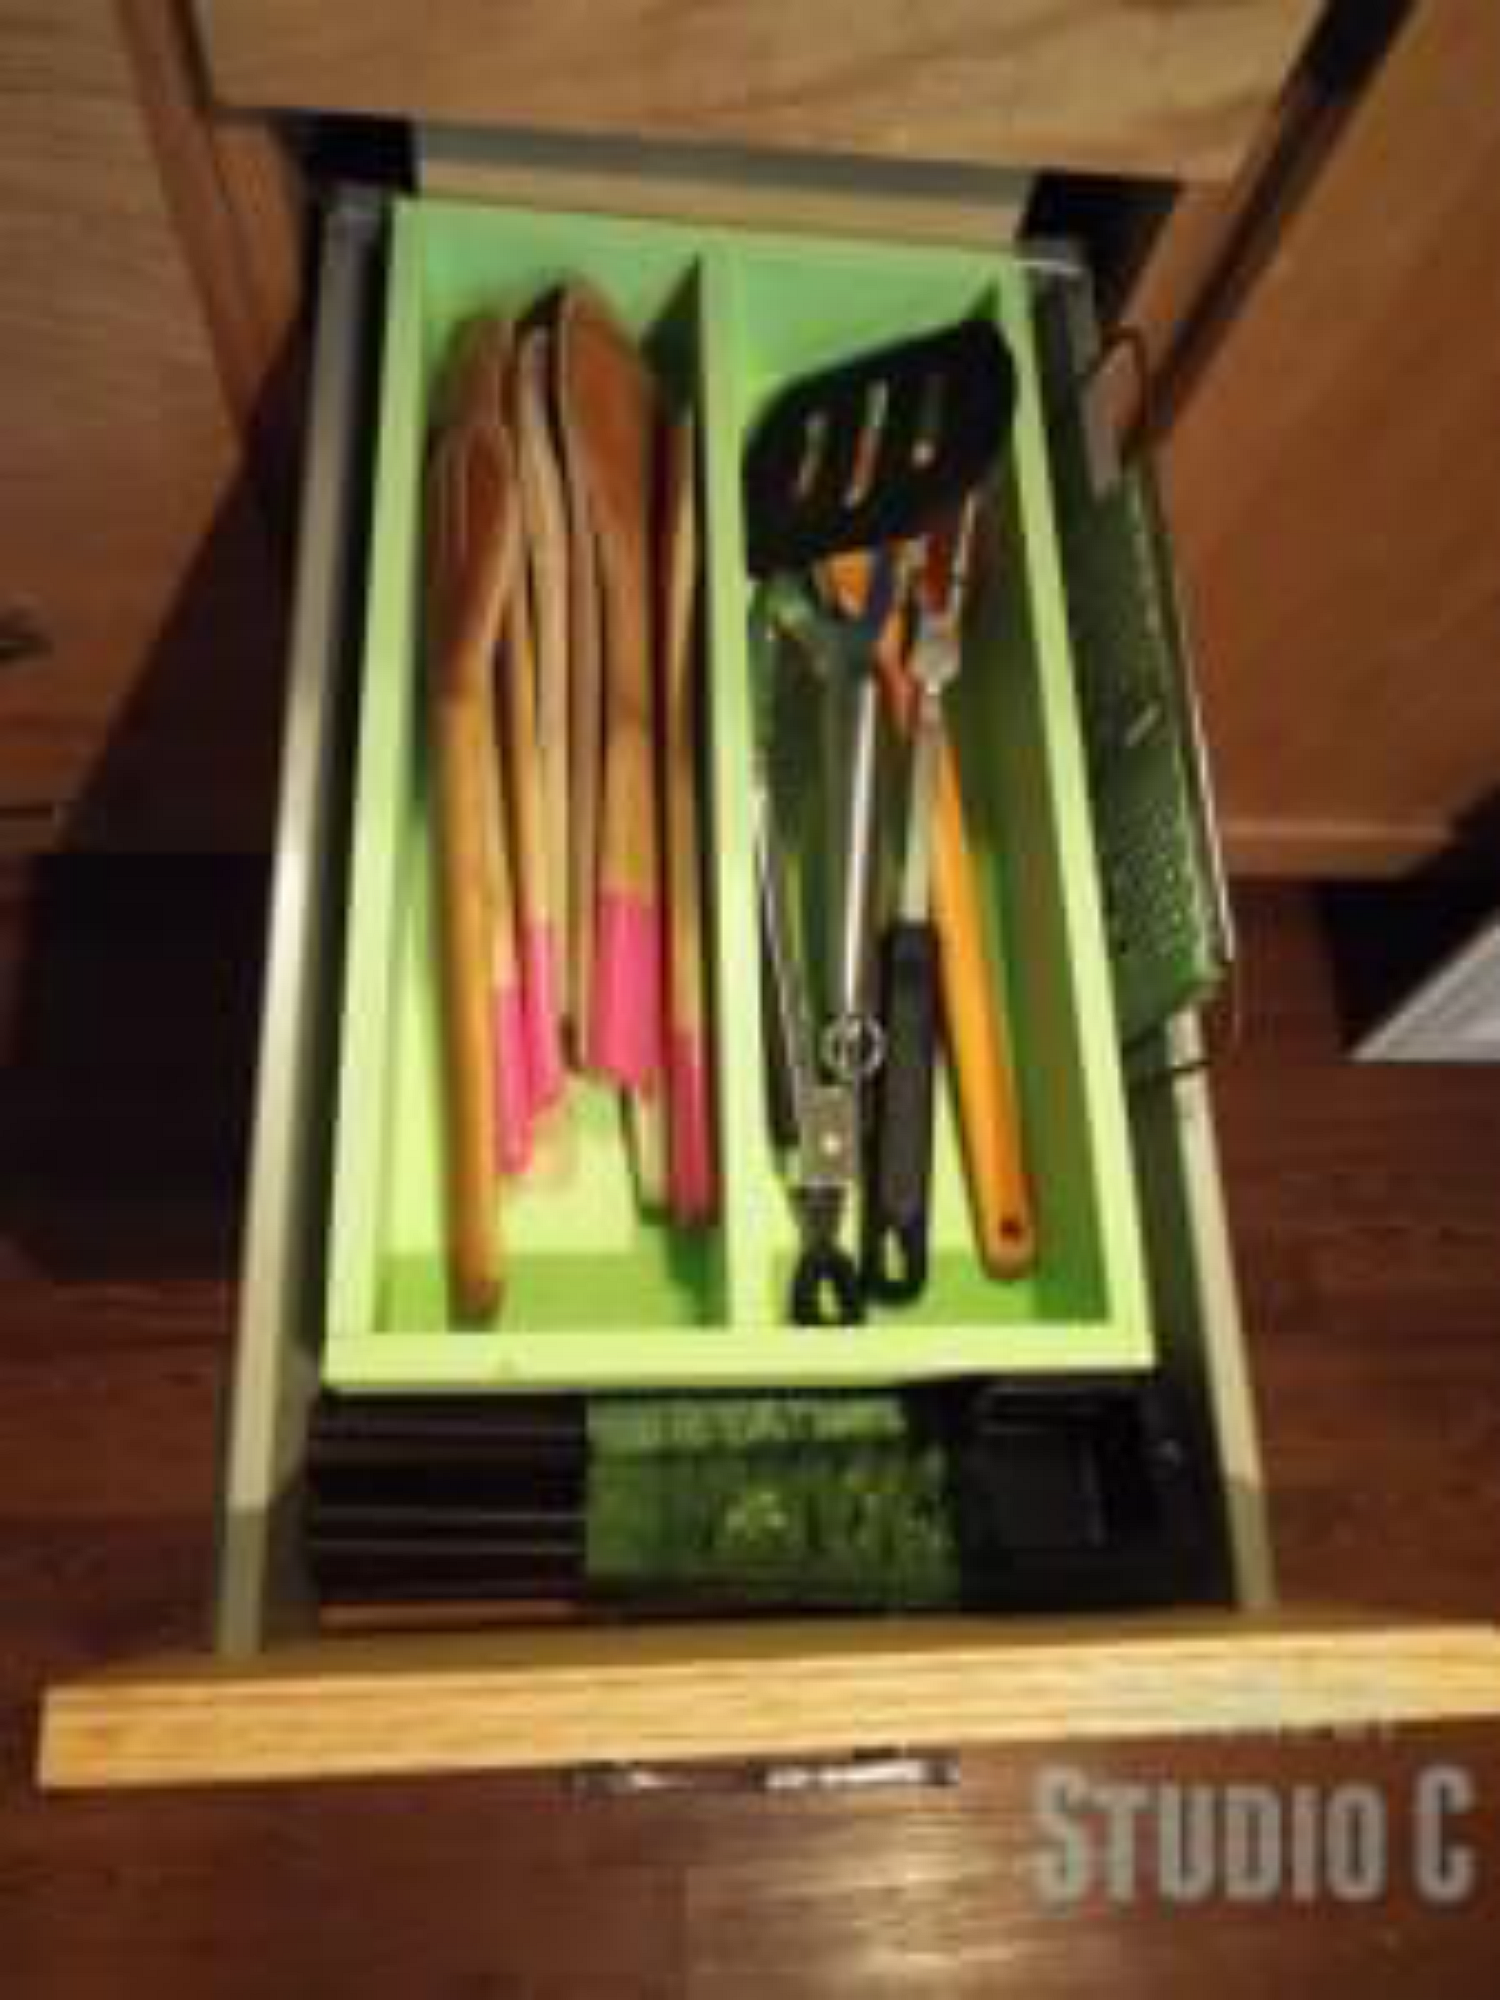
Since my kitchen cabinets are oak (I built them myself!) I wanted the grain of the oak to show through as the design. If you want the design to be a different color, paint the base the color desired before proceeding. I applied the vinyl to the inside of the organizer, then applied a coat of clear sealer over it to seal the vinyl and create clean edges! I applied two coats of paint (I used a Valspar paint sample in Pantone Parrot) and I let the paint dry overnight before removing the vinyl. A coat or two of clear sealer can be applied on the finished project.

How cool is this? Now my drawers look much nicer with that pop of color and are nicely organized!
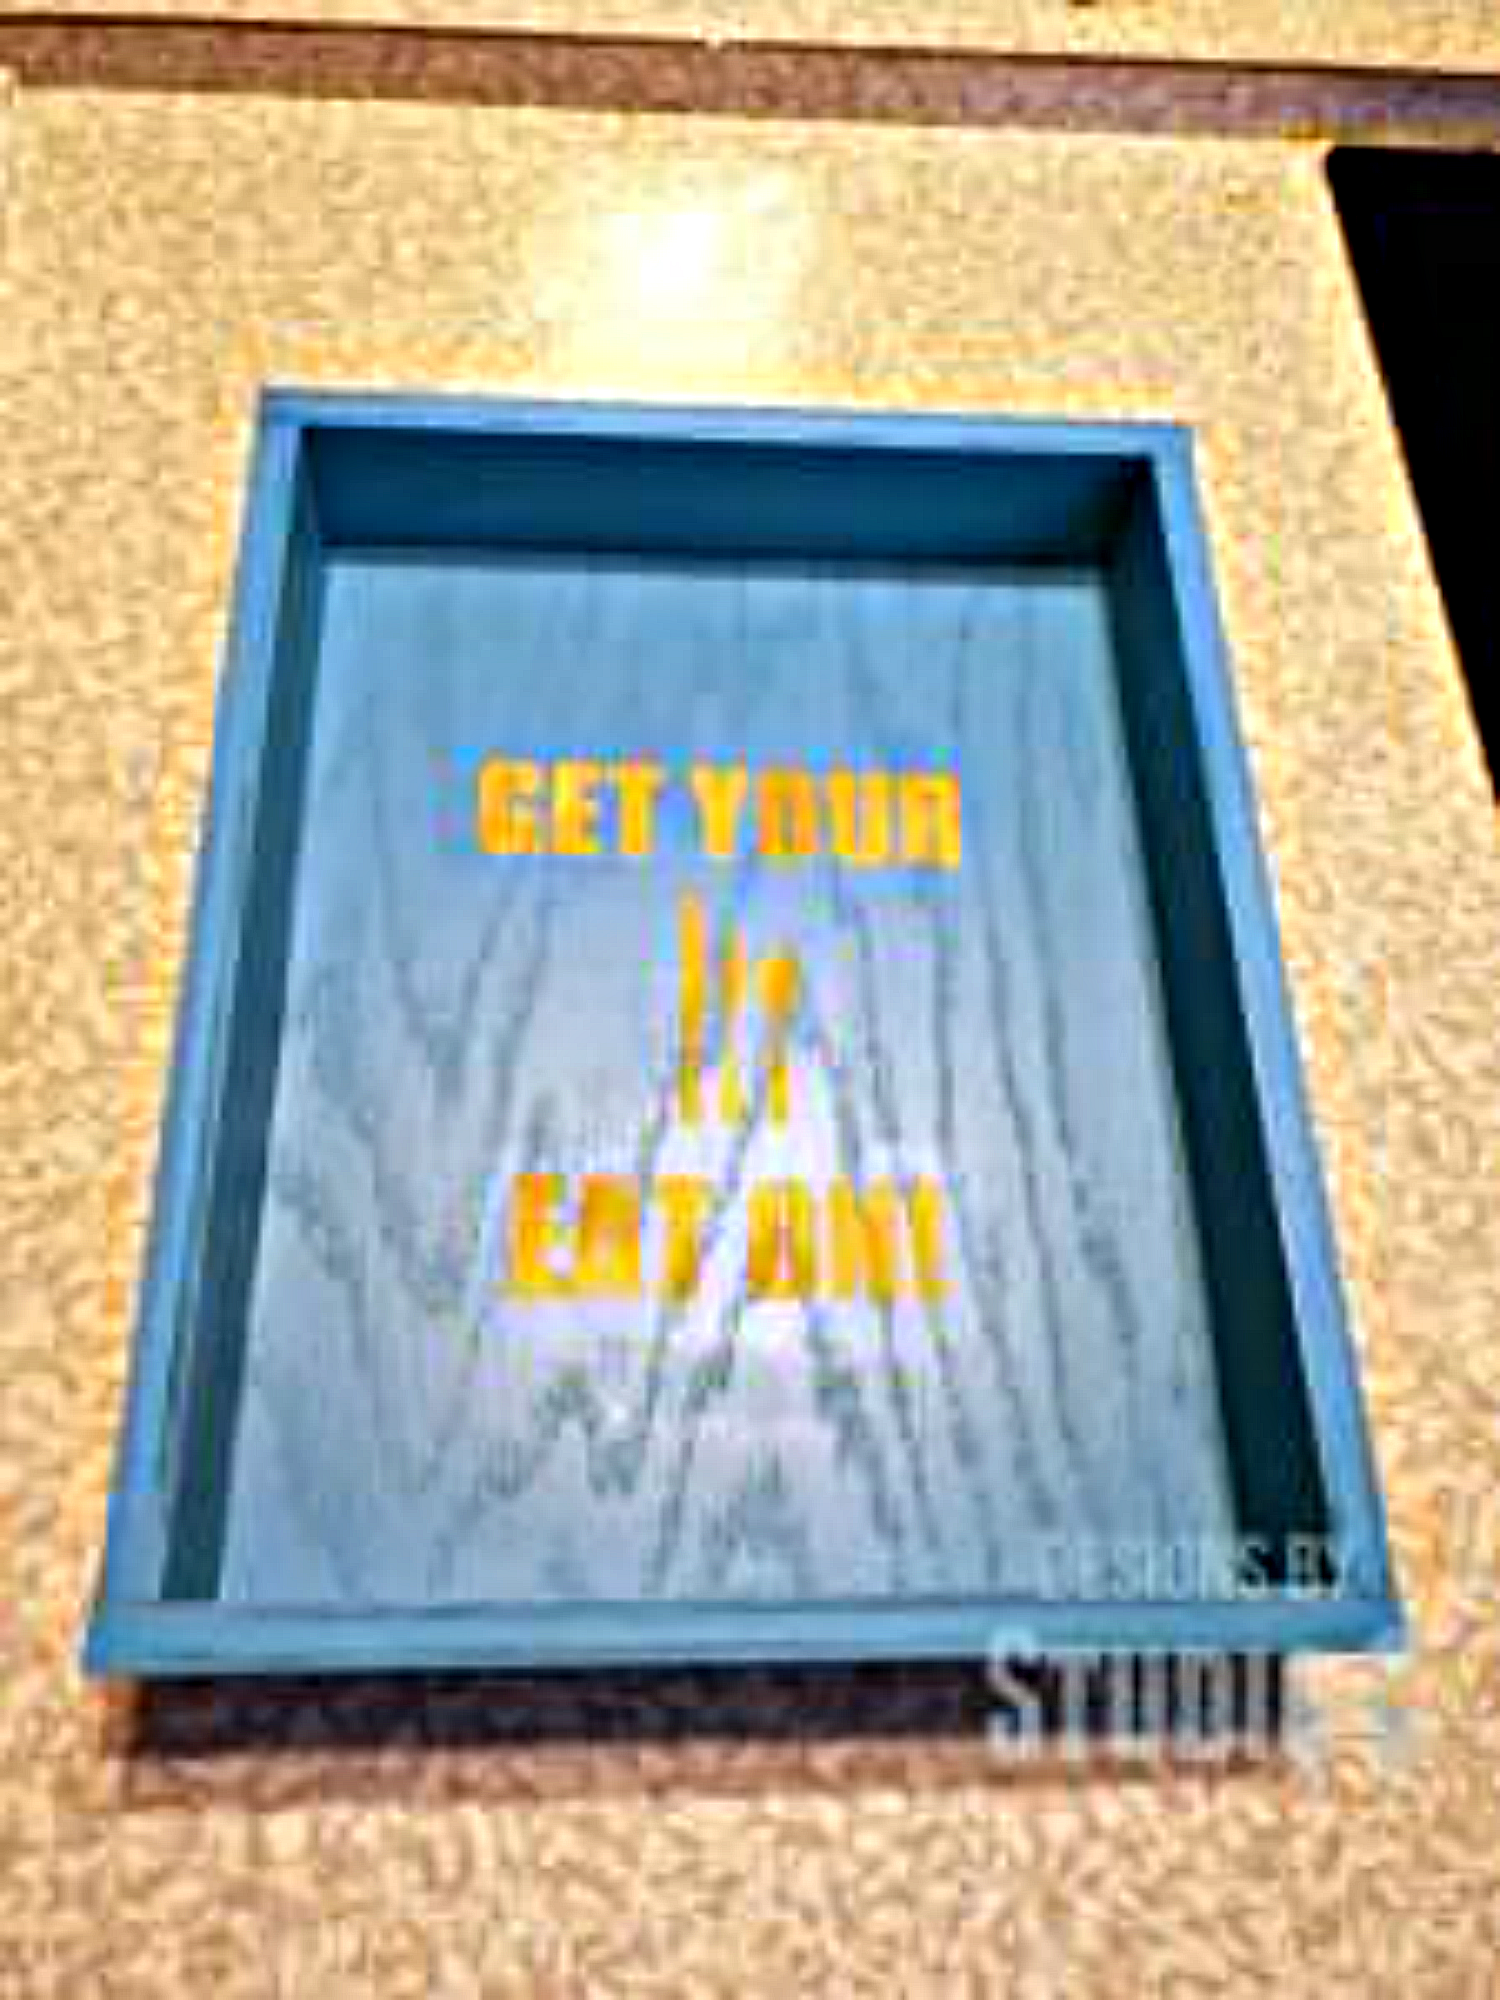
I had extra material so I created a smaller organizer and omitted the divider. This one is also painted with a Valspar Sample (Pantone Peacock Blue). For some reason, my camera decided that the oak showing through was orange which it is not but you get the idea!
Thanks so much for letting me share this with you... I hope that you'll give the project a try! If you have any questions, please contact me at cher@designsbystudioc.com!
Recent Posts
-
NEW Holographic Eclipse Heat Transfer Vinyl
April 15th, 2024 3 Ways to Use the New Holographic Eclipse Heat Transfer Vinyl from Siser …Apr 29th 2024 -
Hop into Spring with Cute Easter Vinyl Crafts
Do you love our Vinyl? Sign up for Vinyl Club today to get FREE vinyl and save big! …Mar 28th 2024 -

Fixing Wrinkles and Bubbles in Vinyl
How do you get air bubbles out of vinyl? There are a few different ways to ensure a flawless …Mar 26th 2024