
The Knockout Technique Explained!
Why Should You Use the Knockout Technique?
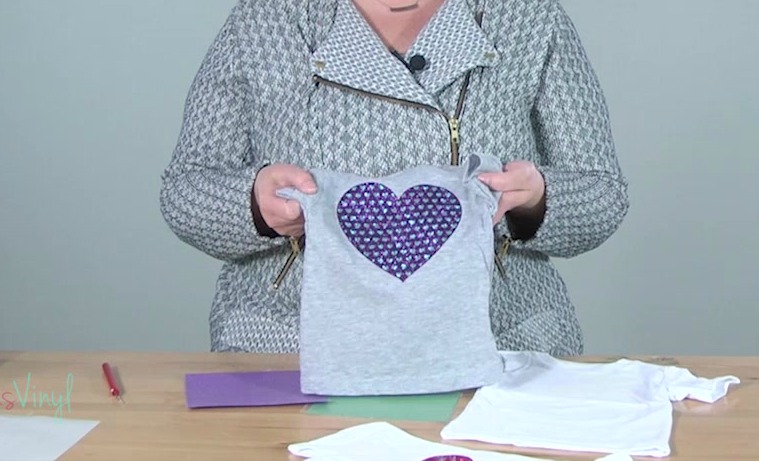
Hey everybody! It’s Jessica and today’s tutorial is going to go over the knockout technique. Sometimes referred to as the cookie cutter technique, the knockout method makes your project look layered when it’s actually not.
This technique comes in handy when using glitter, holographic, or metallic vinyl because they aren’t meant to be layered. When you layer heat transfer vinyl that’s not meant to be layered, it doesn't hold up as long in the wash. That’s why we recommend using this technique when using glitter. It will hold up, but still look layered. Keep reading for the full tutorial.
Weeding Glitter Heat Transfer Vinyl
In this example, I’ve cut two hearts with the Siser heat transfer glitter, just in a different color. Weed around the outside of each heart. To purchase the weeding tool used in this tutorial follow this link to our website!
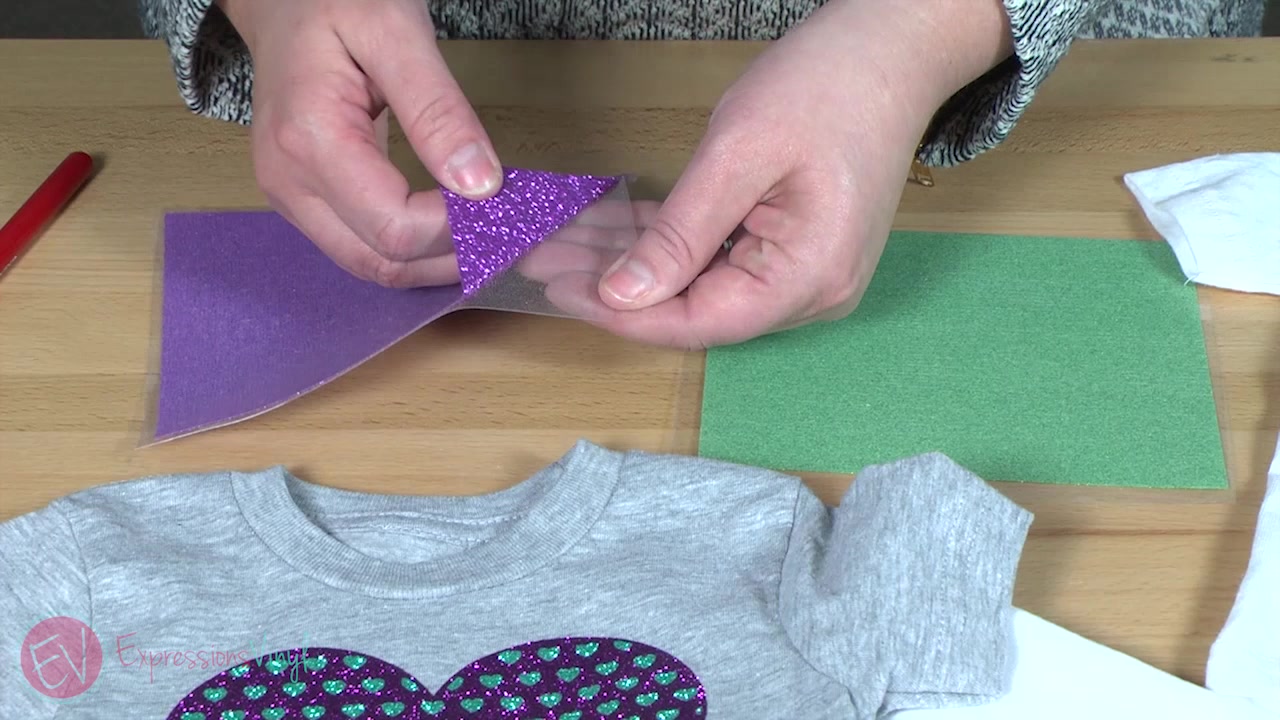
You would think my next step would be to weed out the small hearts on the inside the big heart, but I'm not! This is the trick! You want to weed out the big heart, leaving the smaller hearts on the carrier sheet.
When removing the large heart, you want to weed it slowly to make sure you're not pulling up any of the little hearts left down. One reason I love the knockout technique is because you don't waste any vinyl. Which is a great plus.
Application
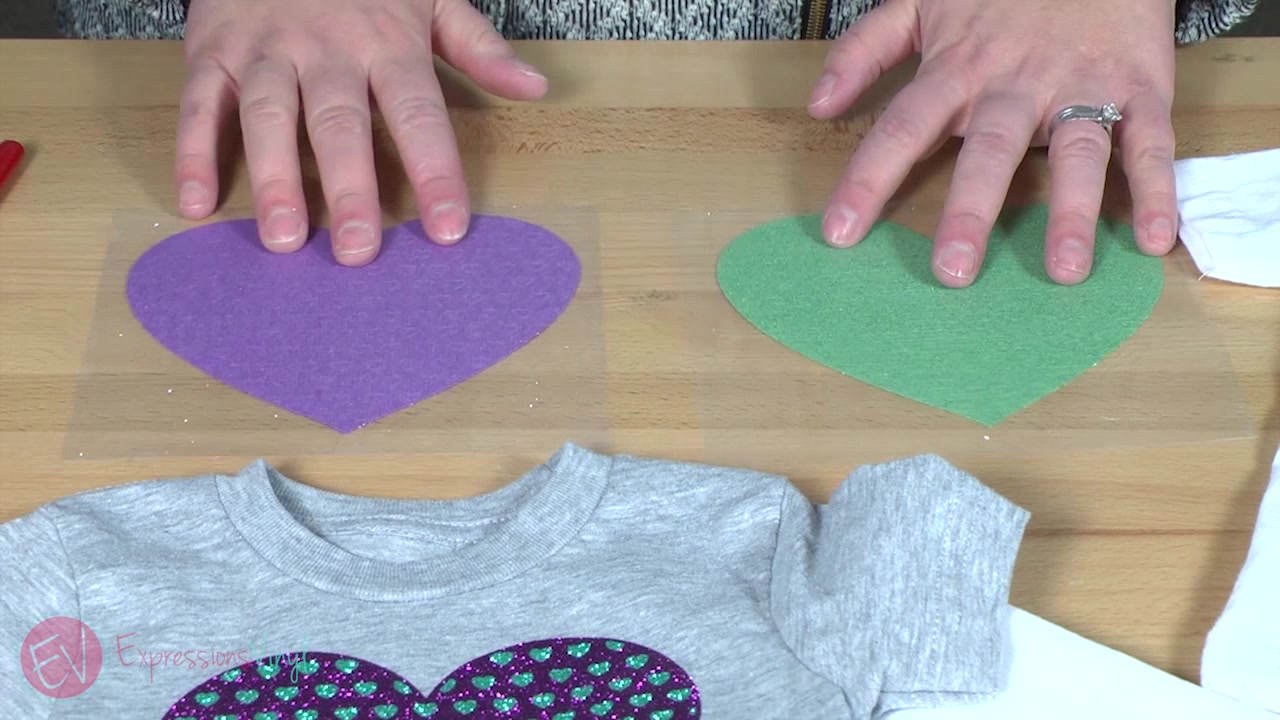
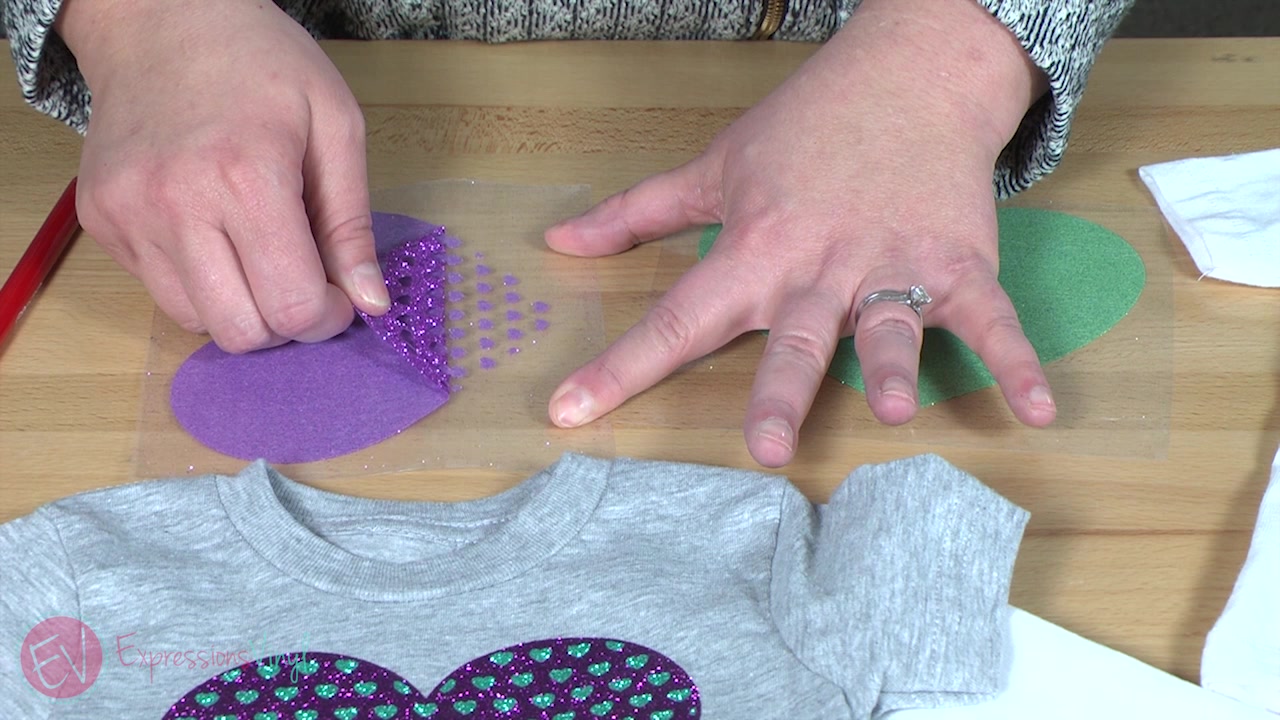
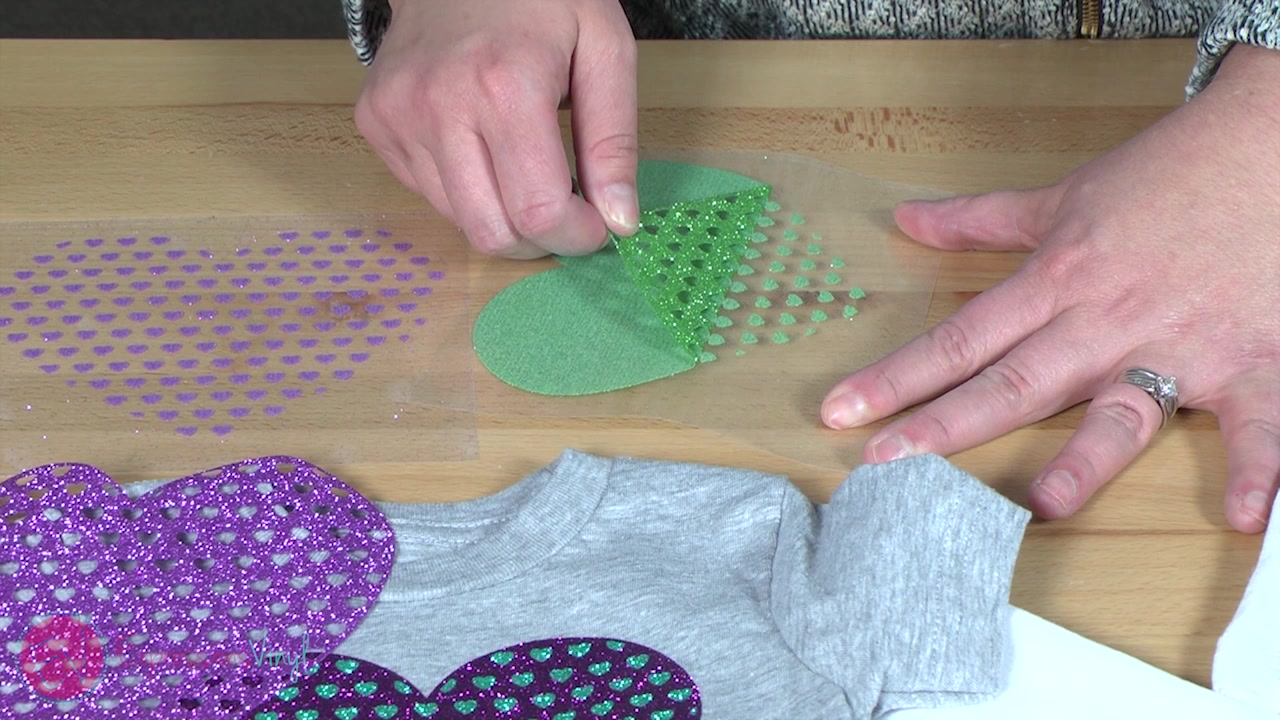
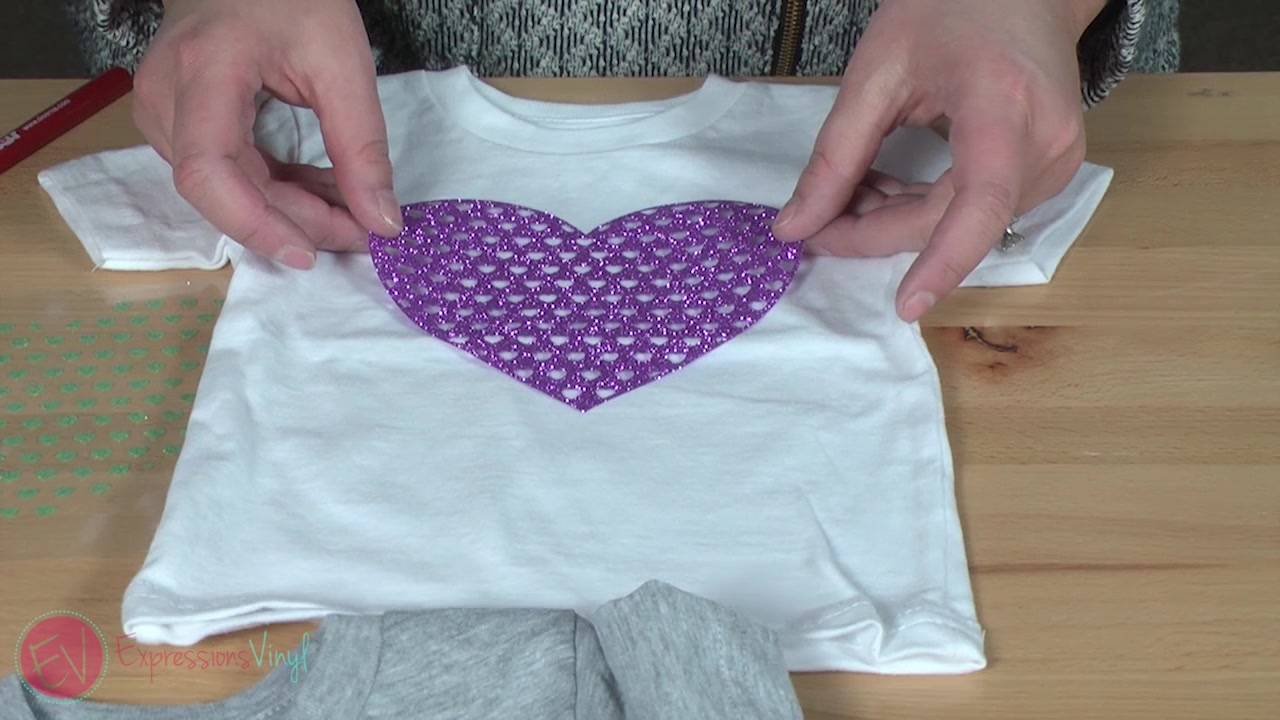
Okay, so now that we've got our two hearts and two heart shapes with the heart cut outs, we're going to swap them and make two shirts! First, we're going to lay down the big heart and apply it to our shirt.
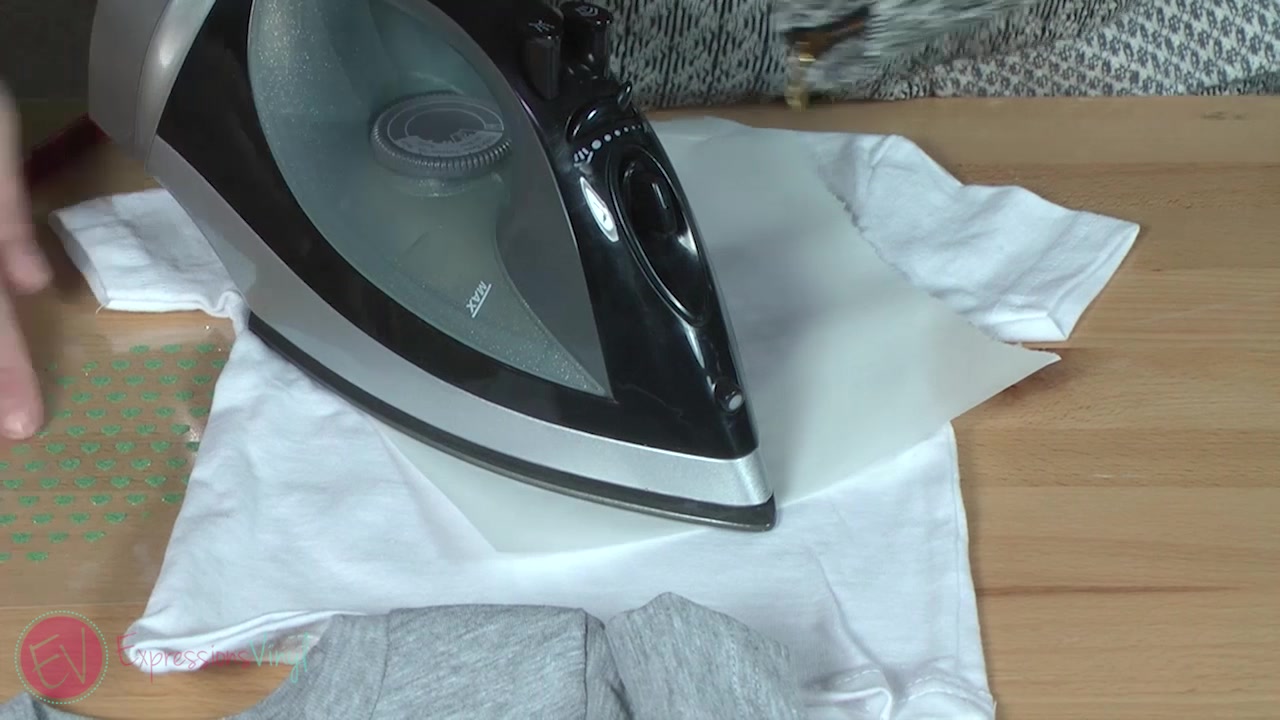
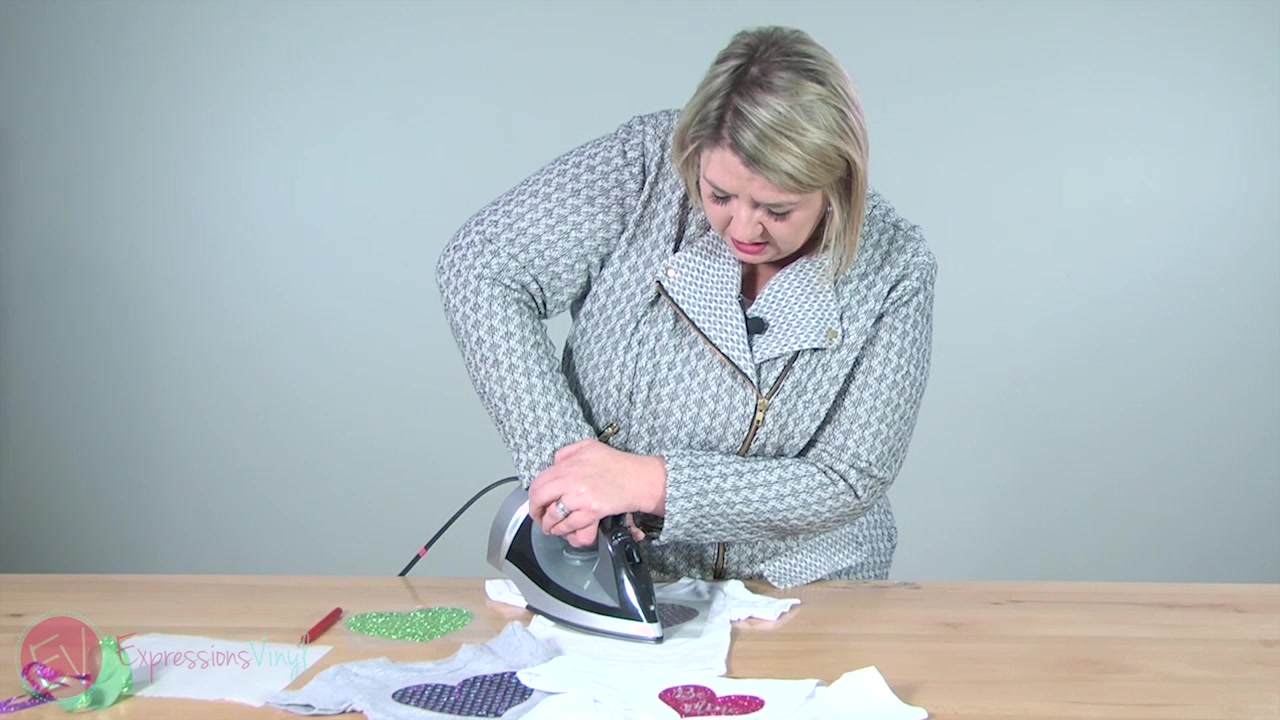
Make sure to get it centered. With layering, you just want to get this first layer tacked down. So, we are going to press it for about five seconds. (Use a multi purpose paper to protect the iron and vinyl.)
Glitter heat transfer vinyl normally takes about 15 to 20 seconds, but we just want to get it tacked down. When we put down the next layer, we'll do it for the full time. Make sure you get pressure behind your iron. Next, you want to carefully line up all the little hearts in the cutout of the big heart.
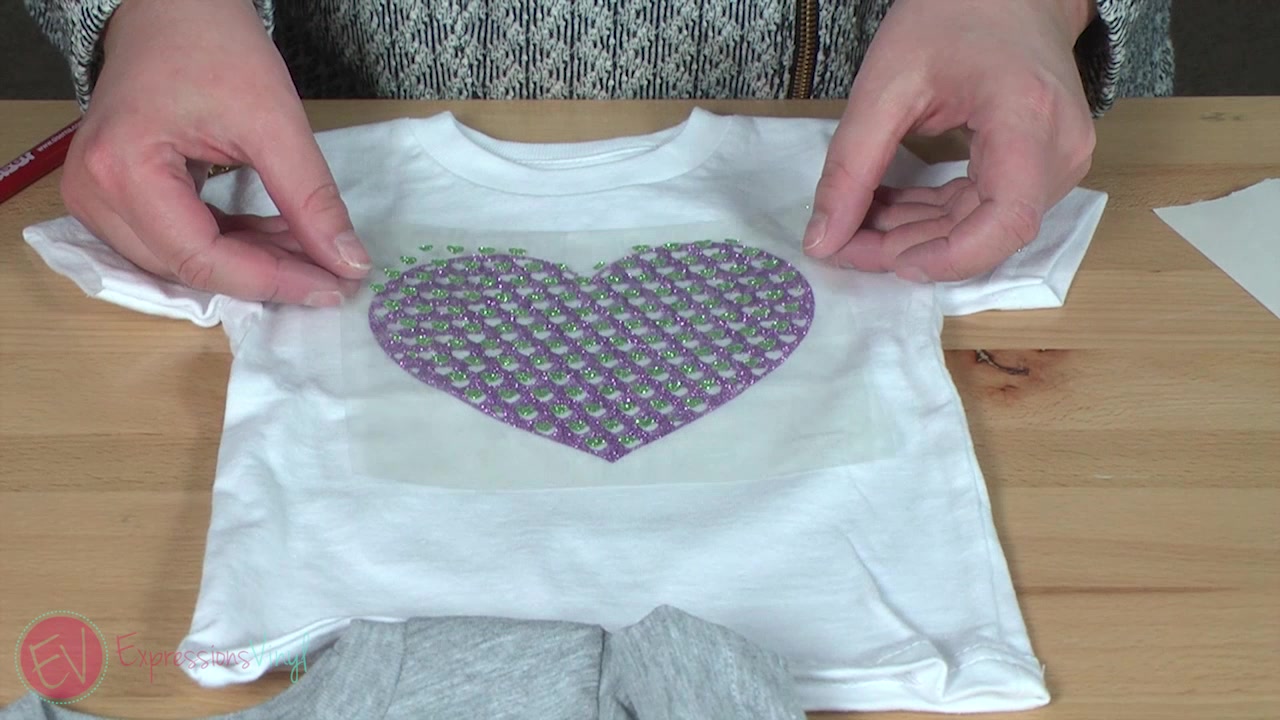
Once all the hearts are lined up, we're going to press down for the full 15 seconds. I've got my iron on the cotton setting and am putting a good amount of pressure behind my iron, acting like a heat press. If you're looking into getting a heat press, check out our website!
Then we'll peel off our carrier sheet.
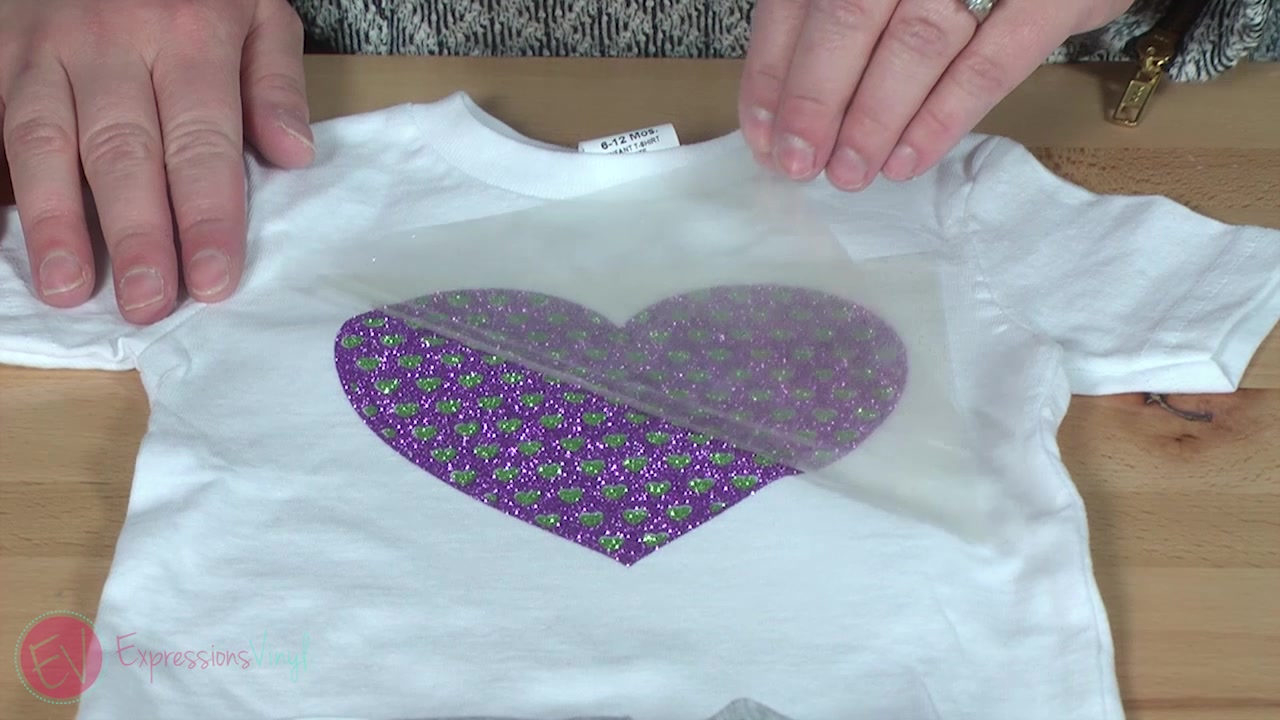
And we've got that layered look without the layers. You can do this technique using adhesive vinyl or heat transfer vinyl. 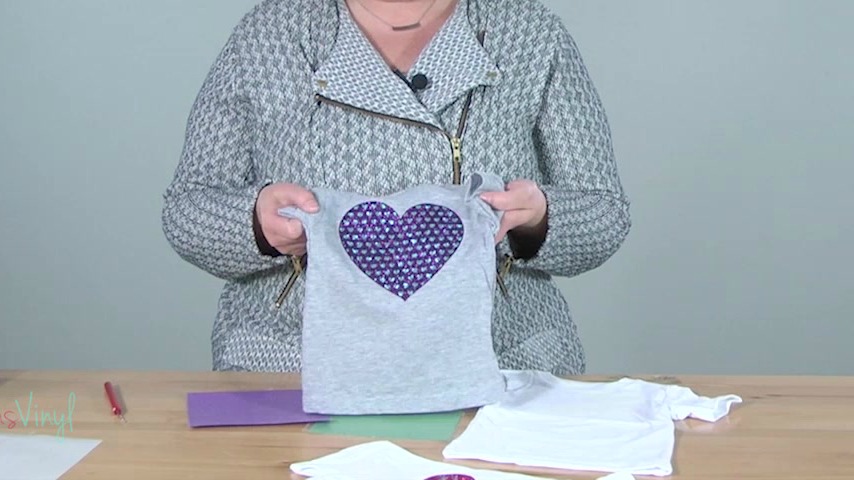
UPDATE: The file I used was purchased from the Silhouette Design Store, you can find it HERE.
Recent Posts
-
NEW Holographic Eclipse Heat Transfer Vinyl
April 15th, 2024 3 Ways to Use the New Holographic Eclipse Heat Transfer Vinyl from Siser …Apr 29th 2024 -
Hop into Spring with Cute Easter Vinyl Crafts
Do you love our Vinyl? Sign up for Vinyl Club today to get FREE vinyl and save big! …Mar 28th 2024 -

Fixing Wrinkles and Bubbles in Vinyl
How do you get air bubbles out of vinyl? There are a few different ways to ensure a flawless …Mar 26th 2024