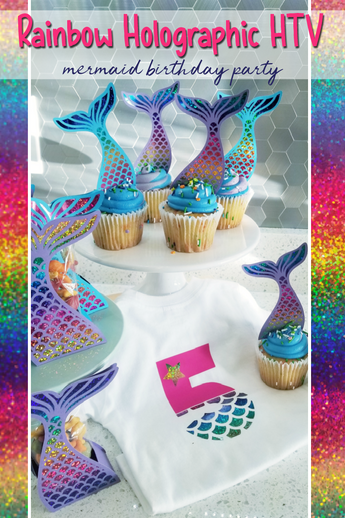
Mermaid Birthday Party with Rainbow Holographic HTV
Hey everyone, so we have a fun new product that just came out TODAY!!! (June 19th 2018). And it is so fun!!! And sparkly and pretty and who doesn't love....RAINBOW!!!
Look at that! It looks WAY better in person trust me.
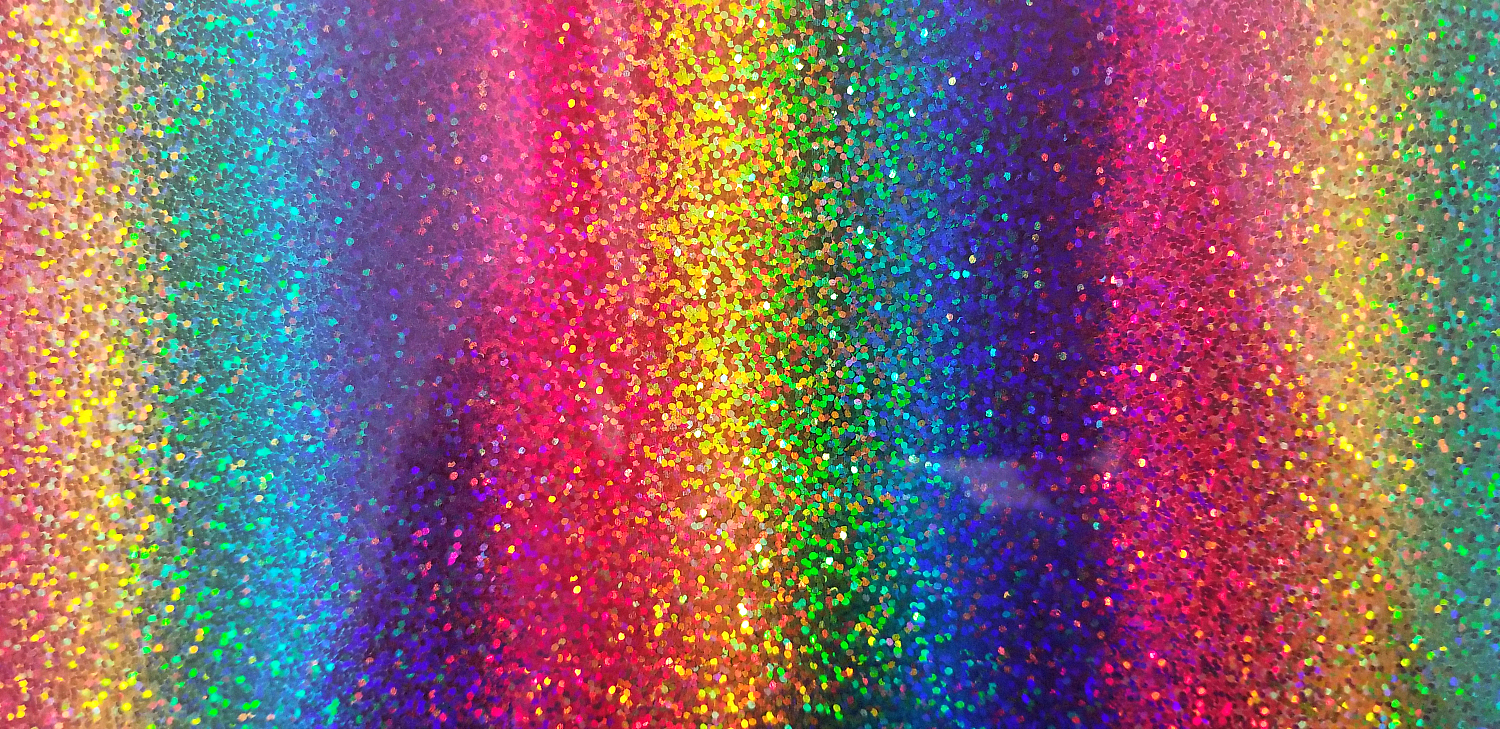
There are so many projects that come to mind to make with this fun stuff: Mermaid, St Patricks Day, Unicorn, oh just so many things.
Since Mermaids are so popular we wanted to show you a few ideas to make for a fun Mermaid Birthday party.
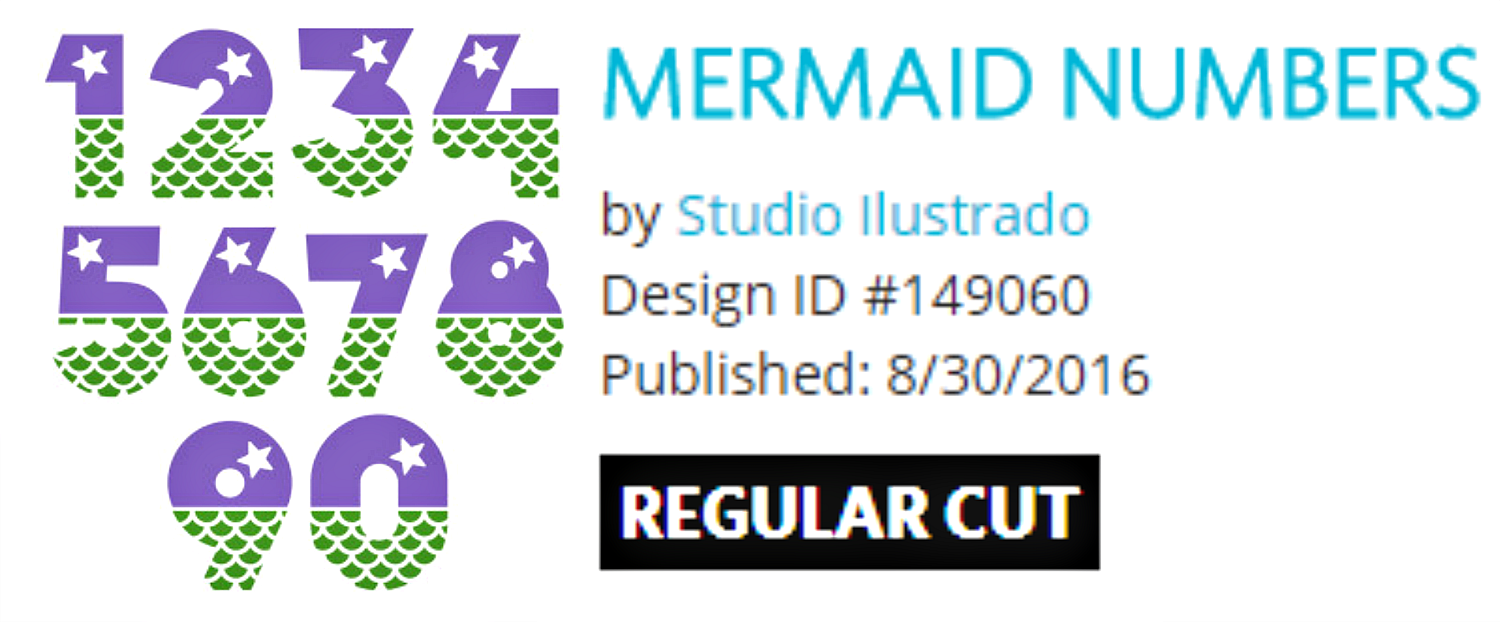
Of course you have to always do the Birthday Girls shirt, this one was made using:
You can find the File in the Silhouette Store:
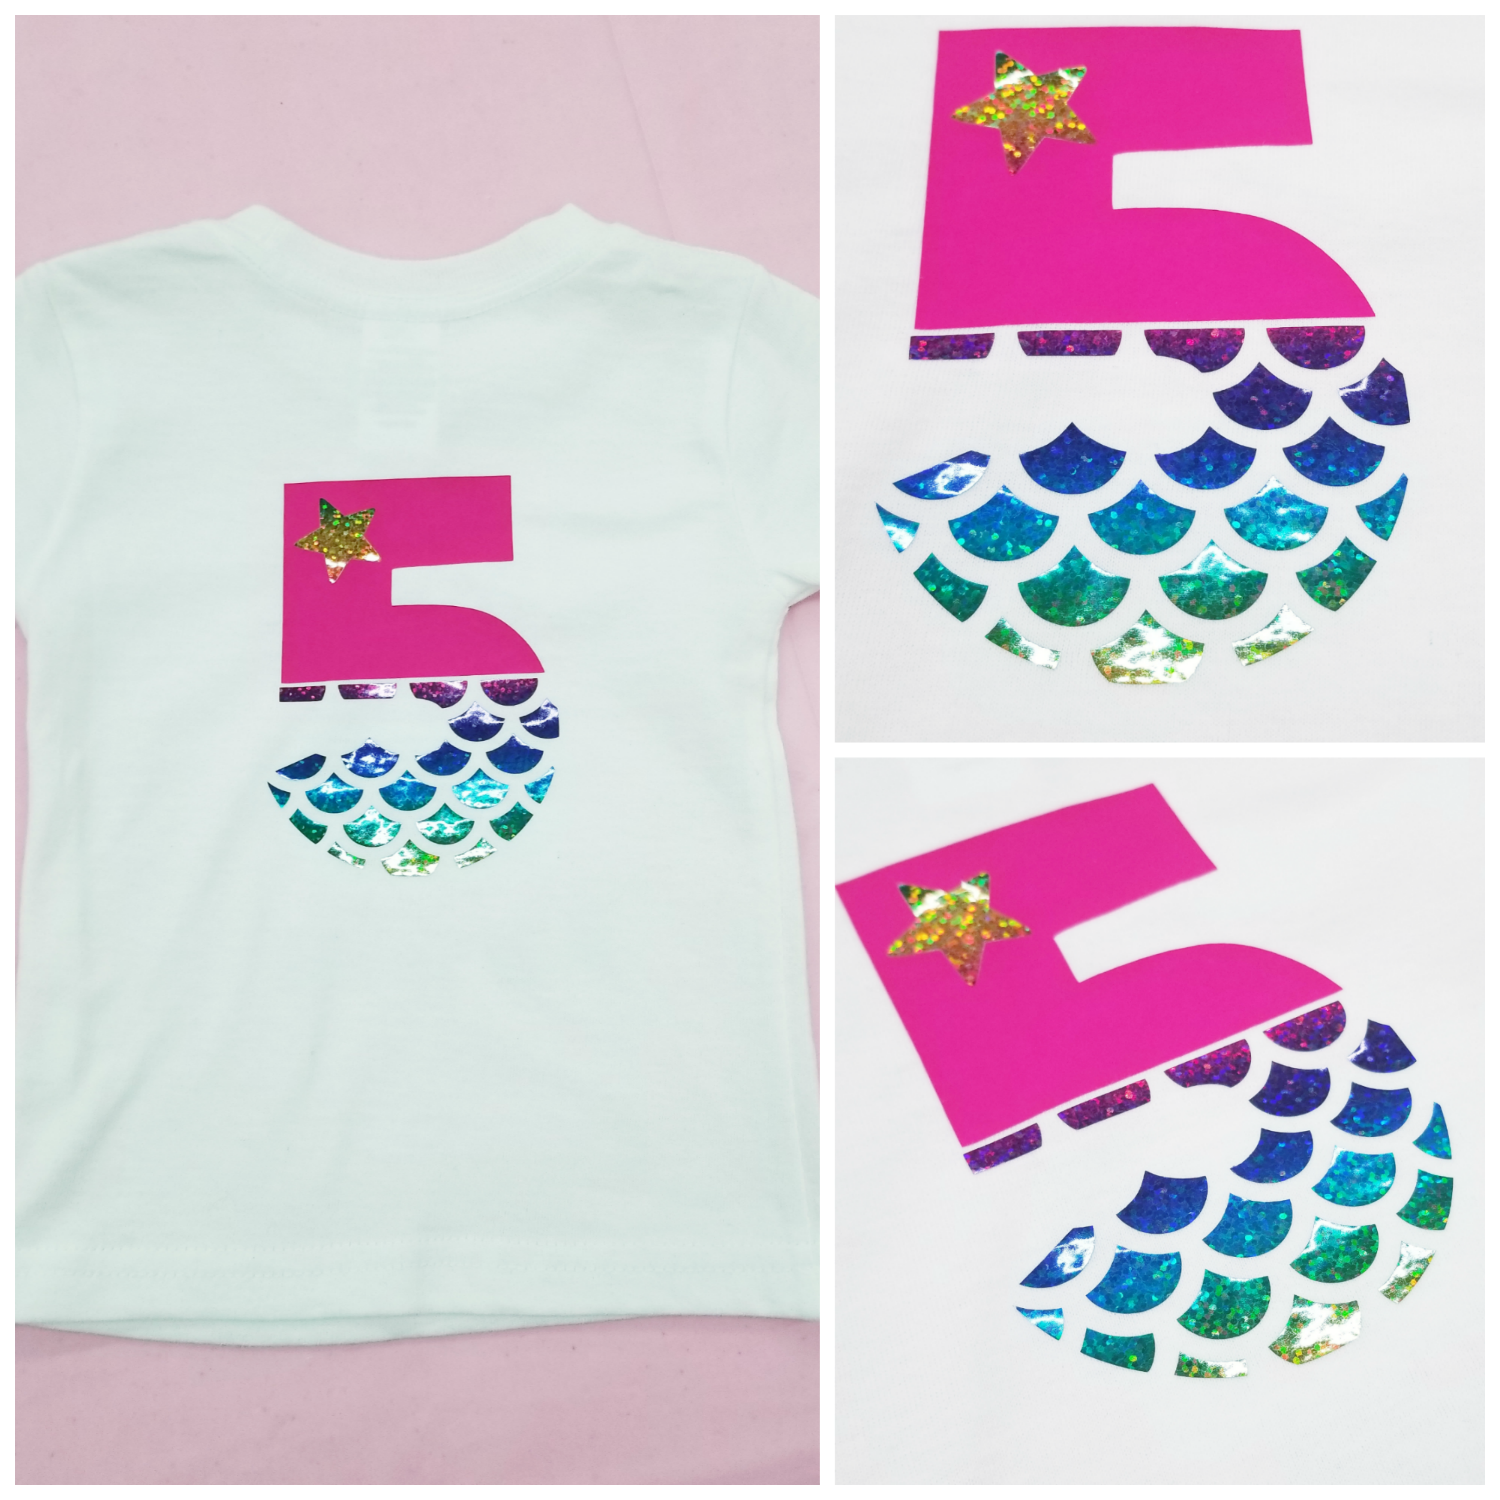
Super simple yet super fun.
If you have never cut Holographic HTV before we have cut settings here for Silhouettes and Cricuts: Machine Settings
Silhouette:
- Blade: 5
- Speed: 5
- Thickness(Force): 20
The Silhouette Settings might seem a little high but it is a great cut. The Holographic might seem thin, which it is, but compared to the Easyweeds, it is more dense. So if you cant get it cut, check those settings.
And if you have a Silhouette Premium Blade, I would definatly use it on this more dense material.
Time and Temp Settings can also be found in that link above.
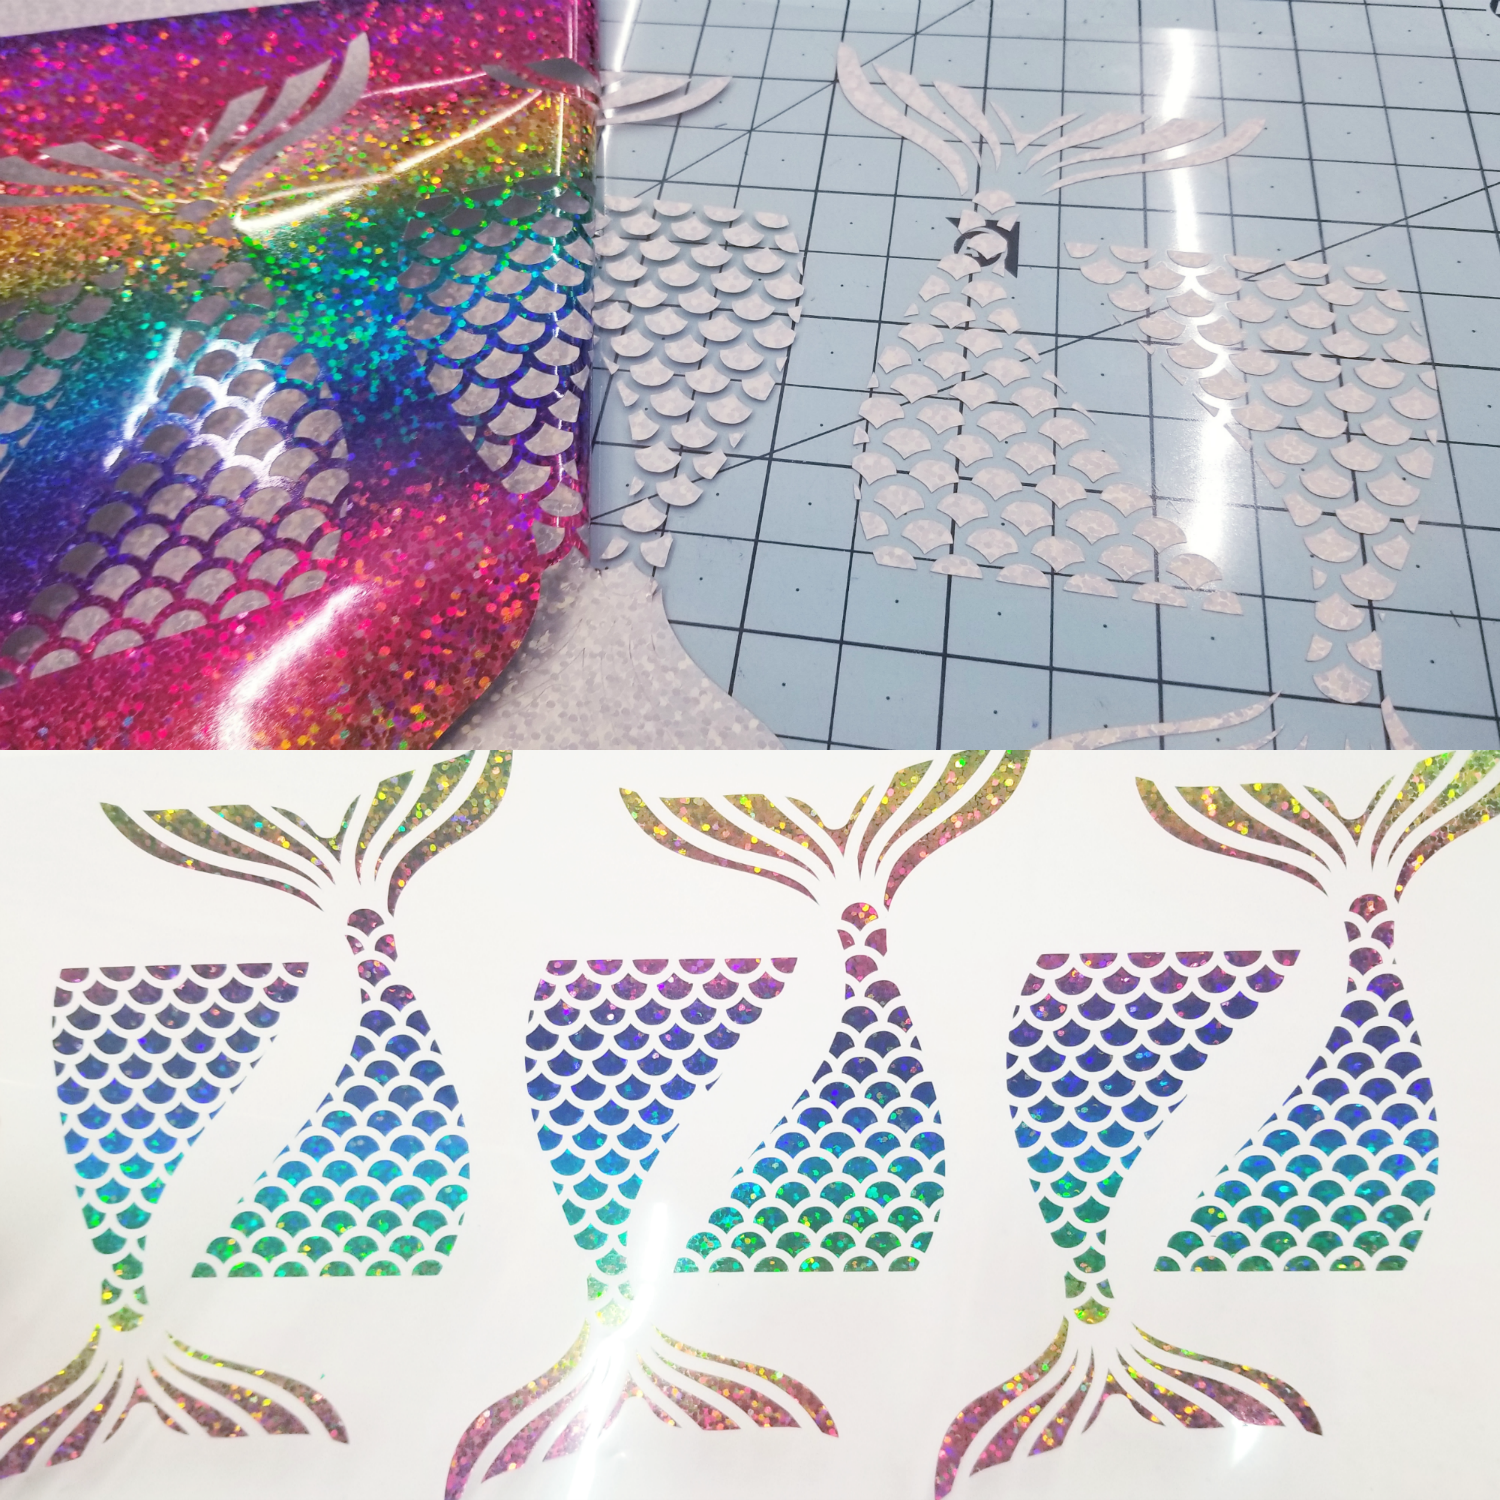
Since the Easyweed Stretch and the Holographic are completely different temps and times and peels you have to a do a little math.
I first pressed my Easyweed Stretch on the recommended 305 degrees for 1 second. This was because the Holographic is 320 for 15-20 seconds. Which is too hot for easyweed so 1 second will release it from its carrier sheet and it will gain the rest of its time from the Holographic time.
So to make up for the difference I lowered my temp just a bit to 315 and pressed the Holographic with the Stretch for 15 seconds. That is kind of a happy medium. You dont want to over heat your vinyl or else your little mermaid will be so sad.
Next just something a little different, HTV onto Cardstock.
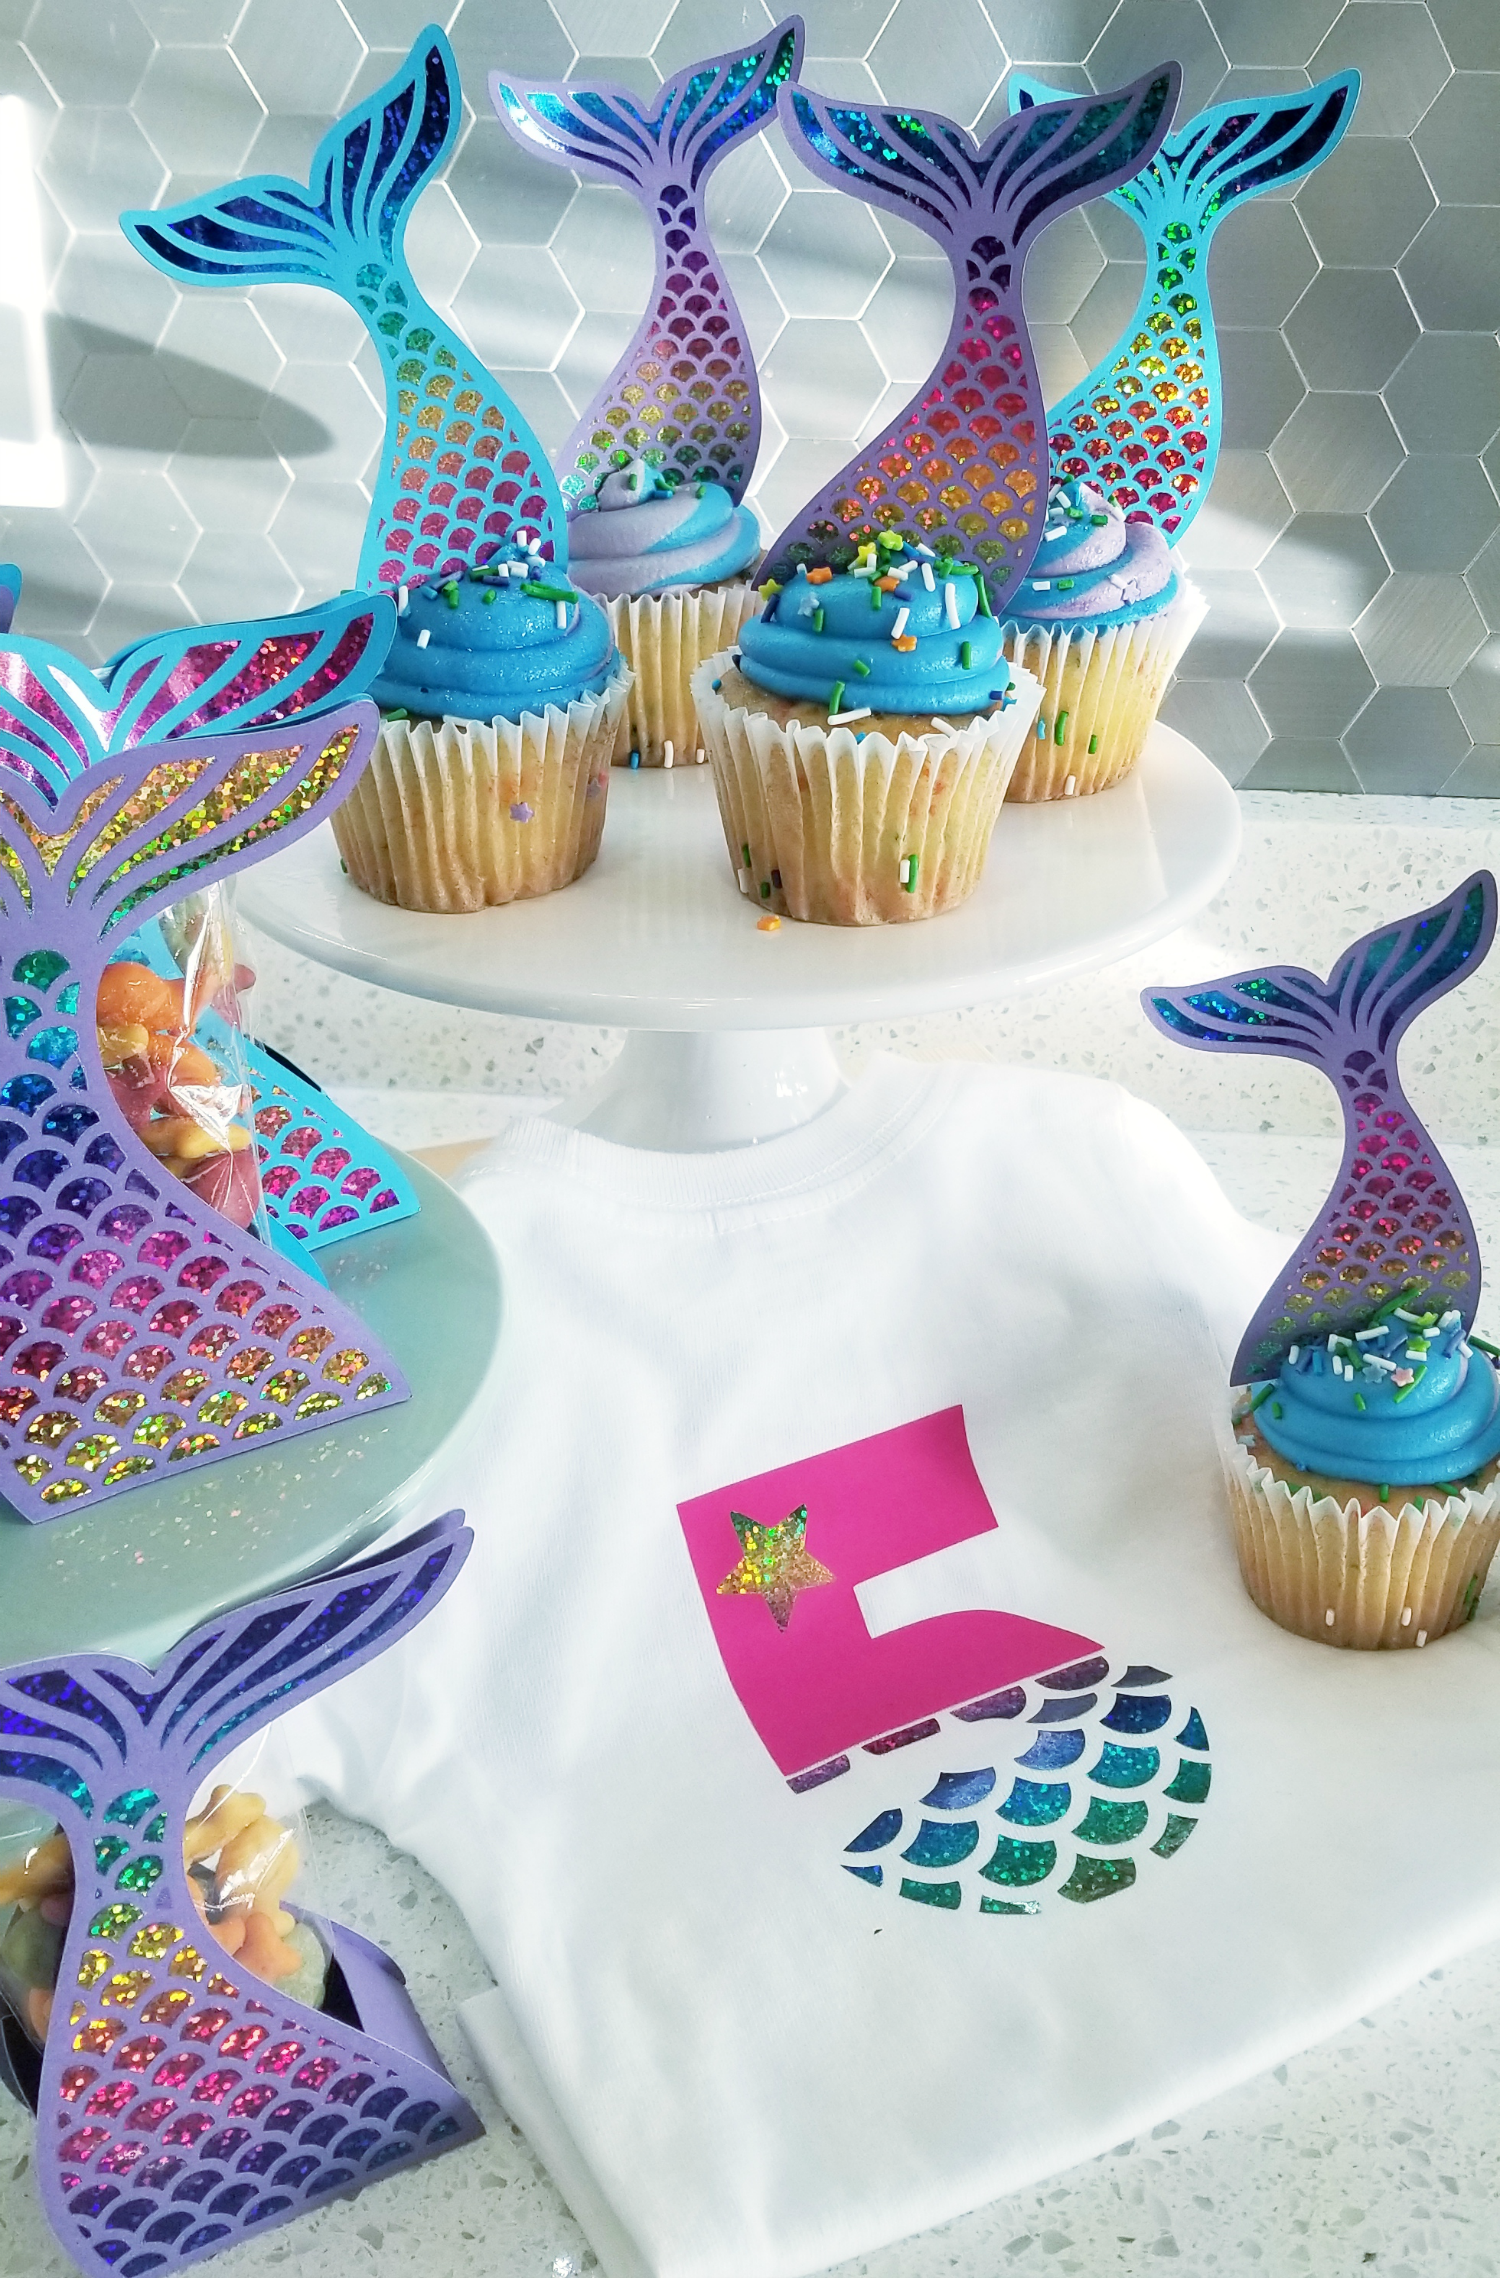
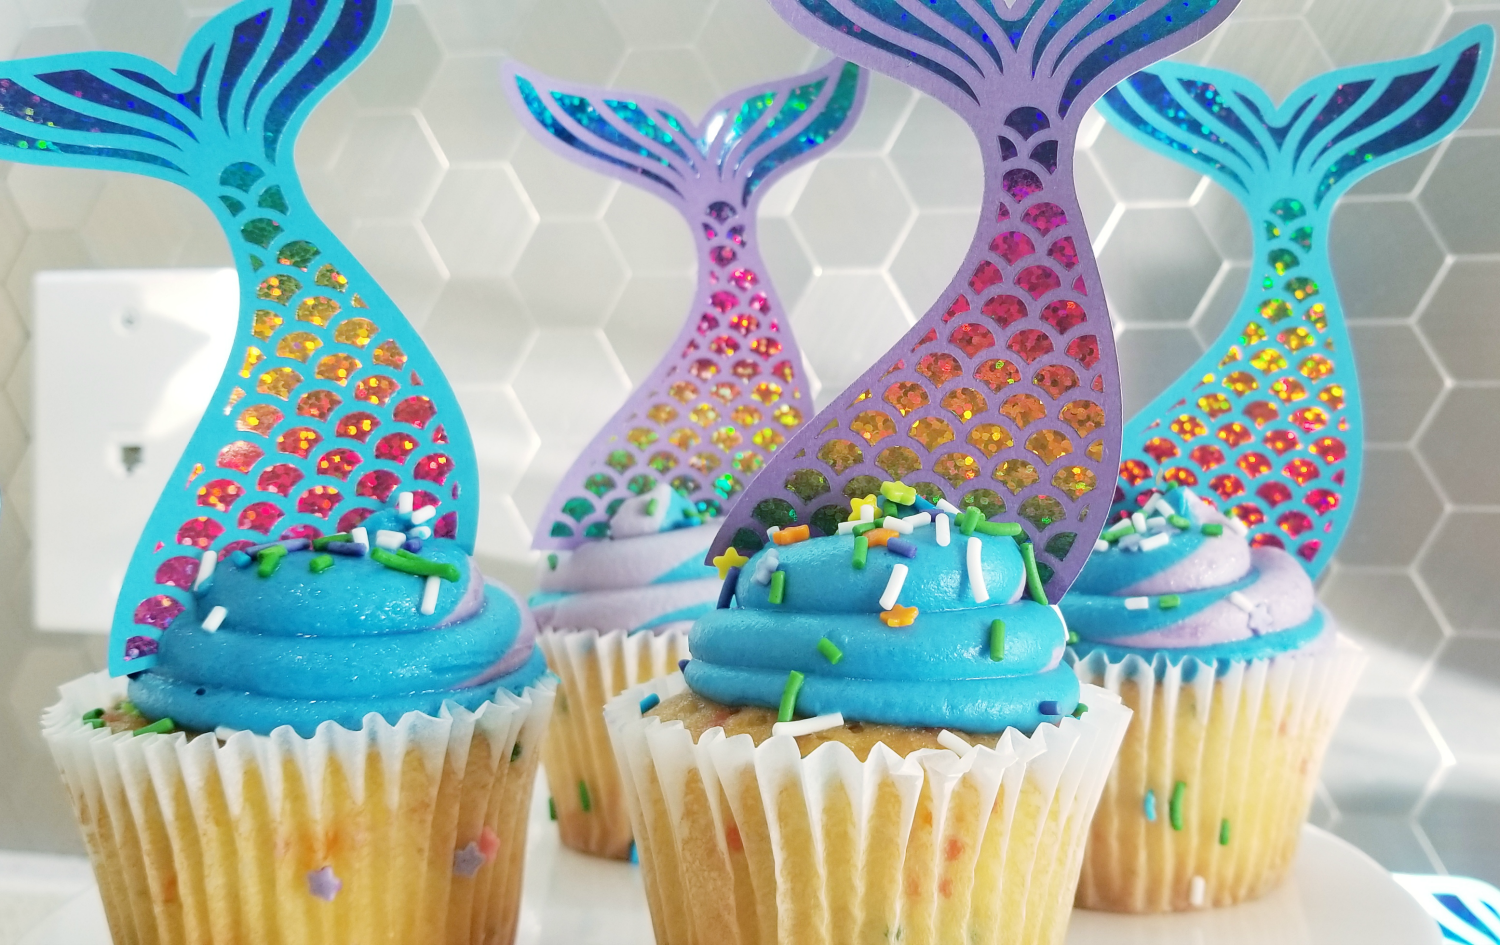
This will really make your party favors and cupcake toppers pop!!!
Silhouette has this fun little favor box File:
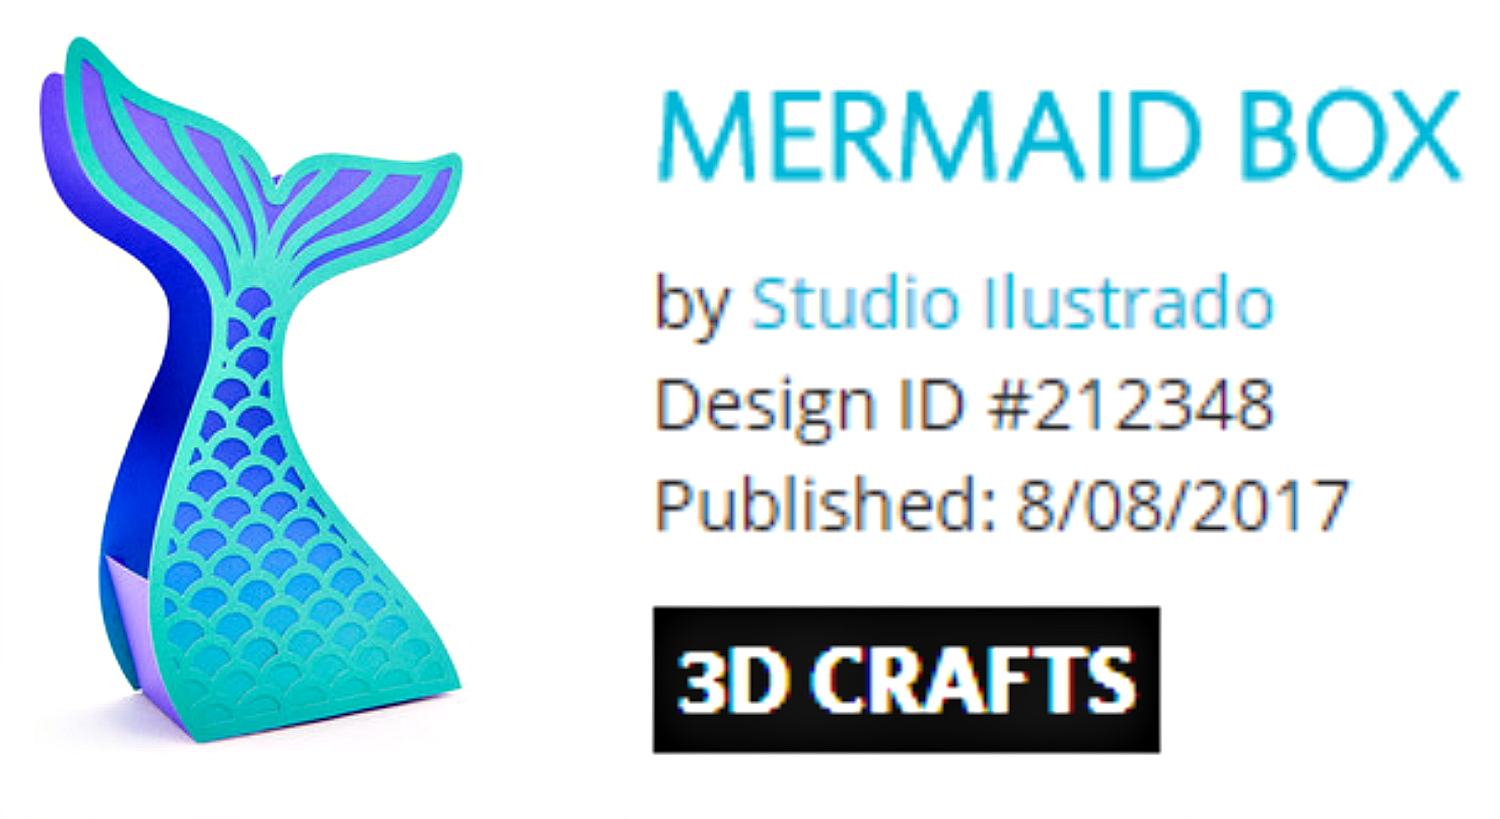
This file is also where I got the idea to just use the tail and scales part for some fun cupcake toppers.
So to apply the vinyl to cardstock, its just like applying it to a shirt, use a heat source like a heat press, firm to medium pressure at 320 degrees for 15-20 seconds and wait till it is cold to peel the carrier sheet.
I will also put something heavy on them after they are hot off the press to keep the cardstock from wanting to curl.
Heat Transfer can be WAY easier to apply to cardstock projects becase you cut out the transfering part, just put as many and you can fit in your press and go!
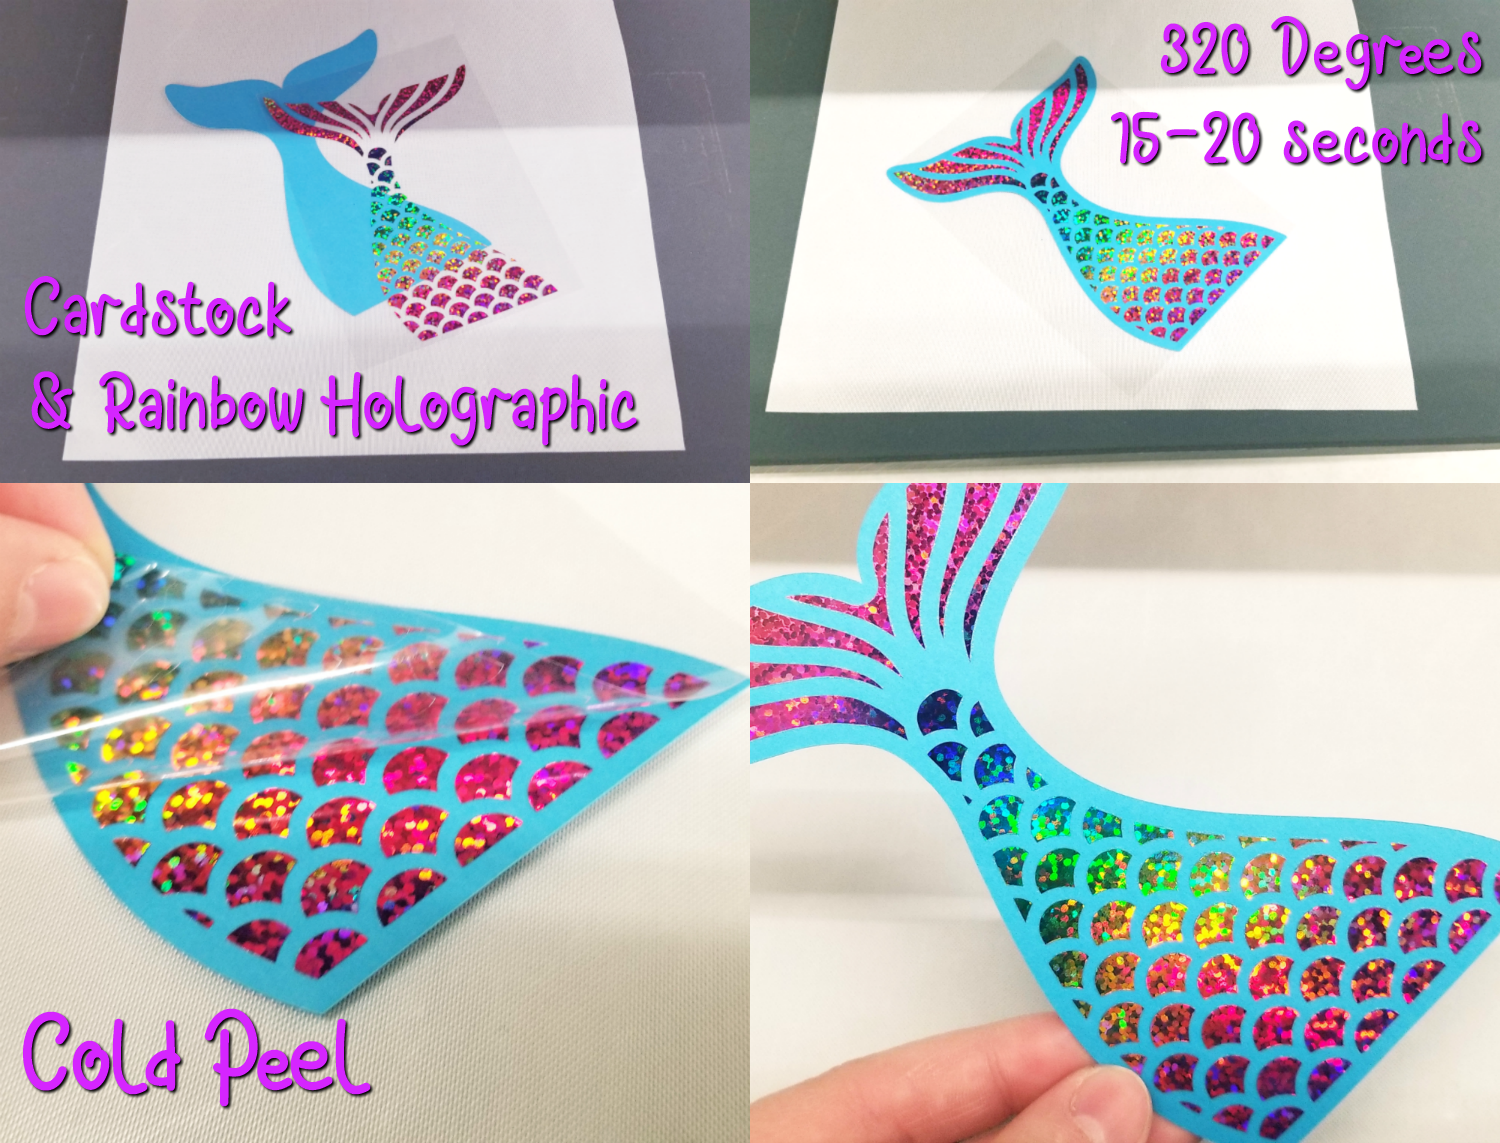
Now your cupcake toppers just need a toothpick and some tape and they are good to go!
To build the box, you will want to get all the Holographic pressed onto the cardstock BEFORE you assemble them cause they will need to be glued together.
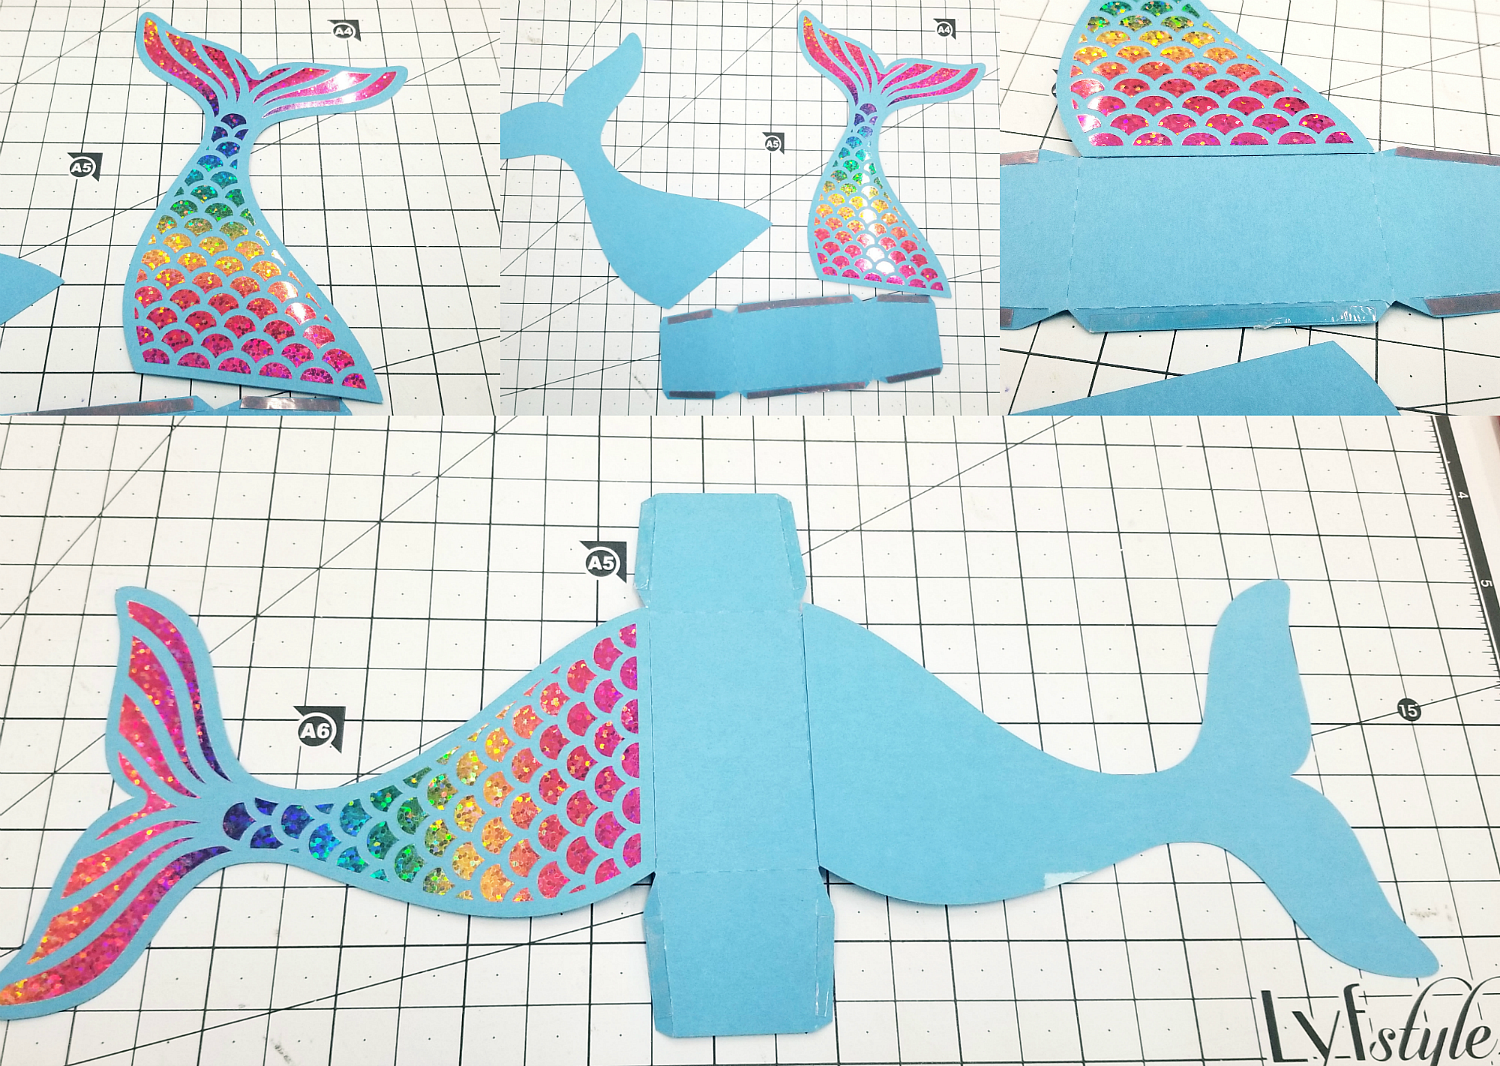
Apply your favorite tape to the folding tabs, I really like the Sticky Thumb Double Sided Tape you get it from both Hobby Lobby or Michaels. Just cut it to size and remove the carrier sheet and apply your tails so that it looks like the bottom picture.
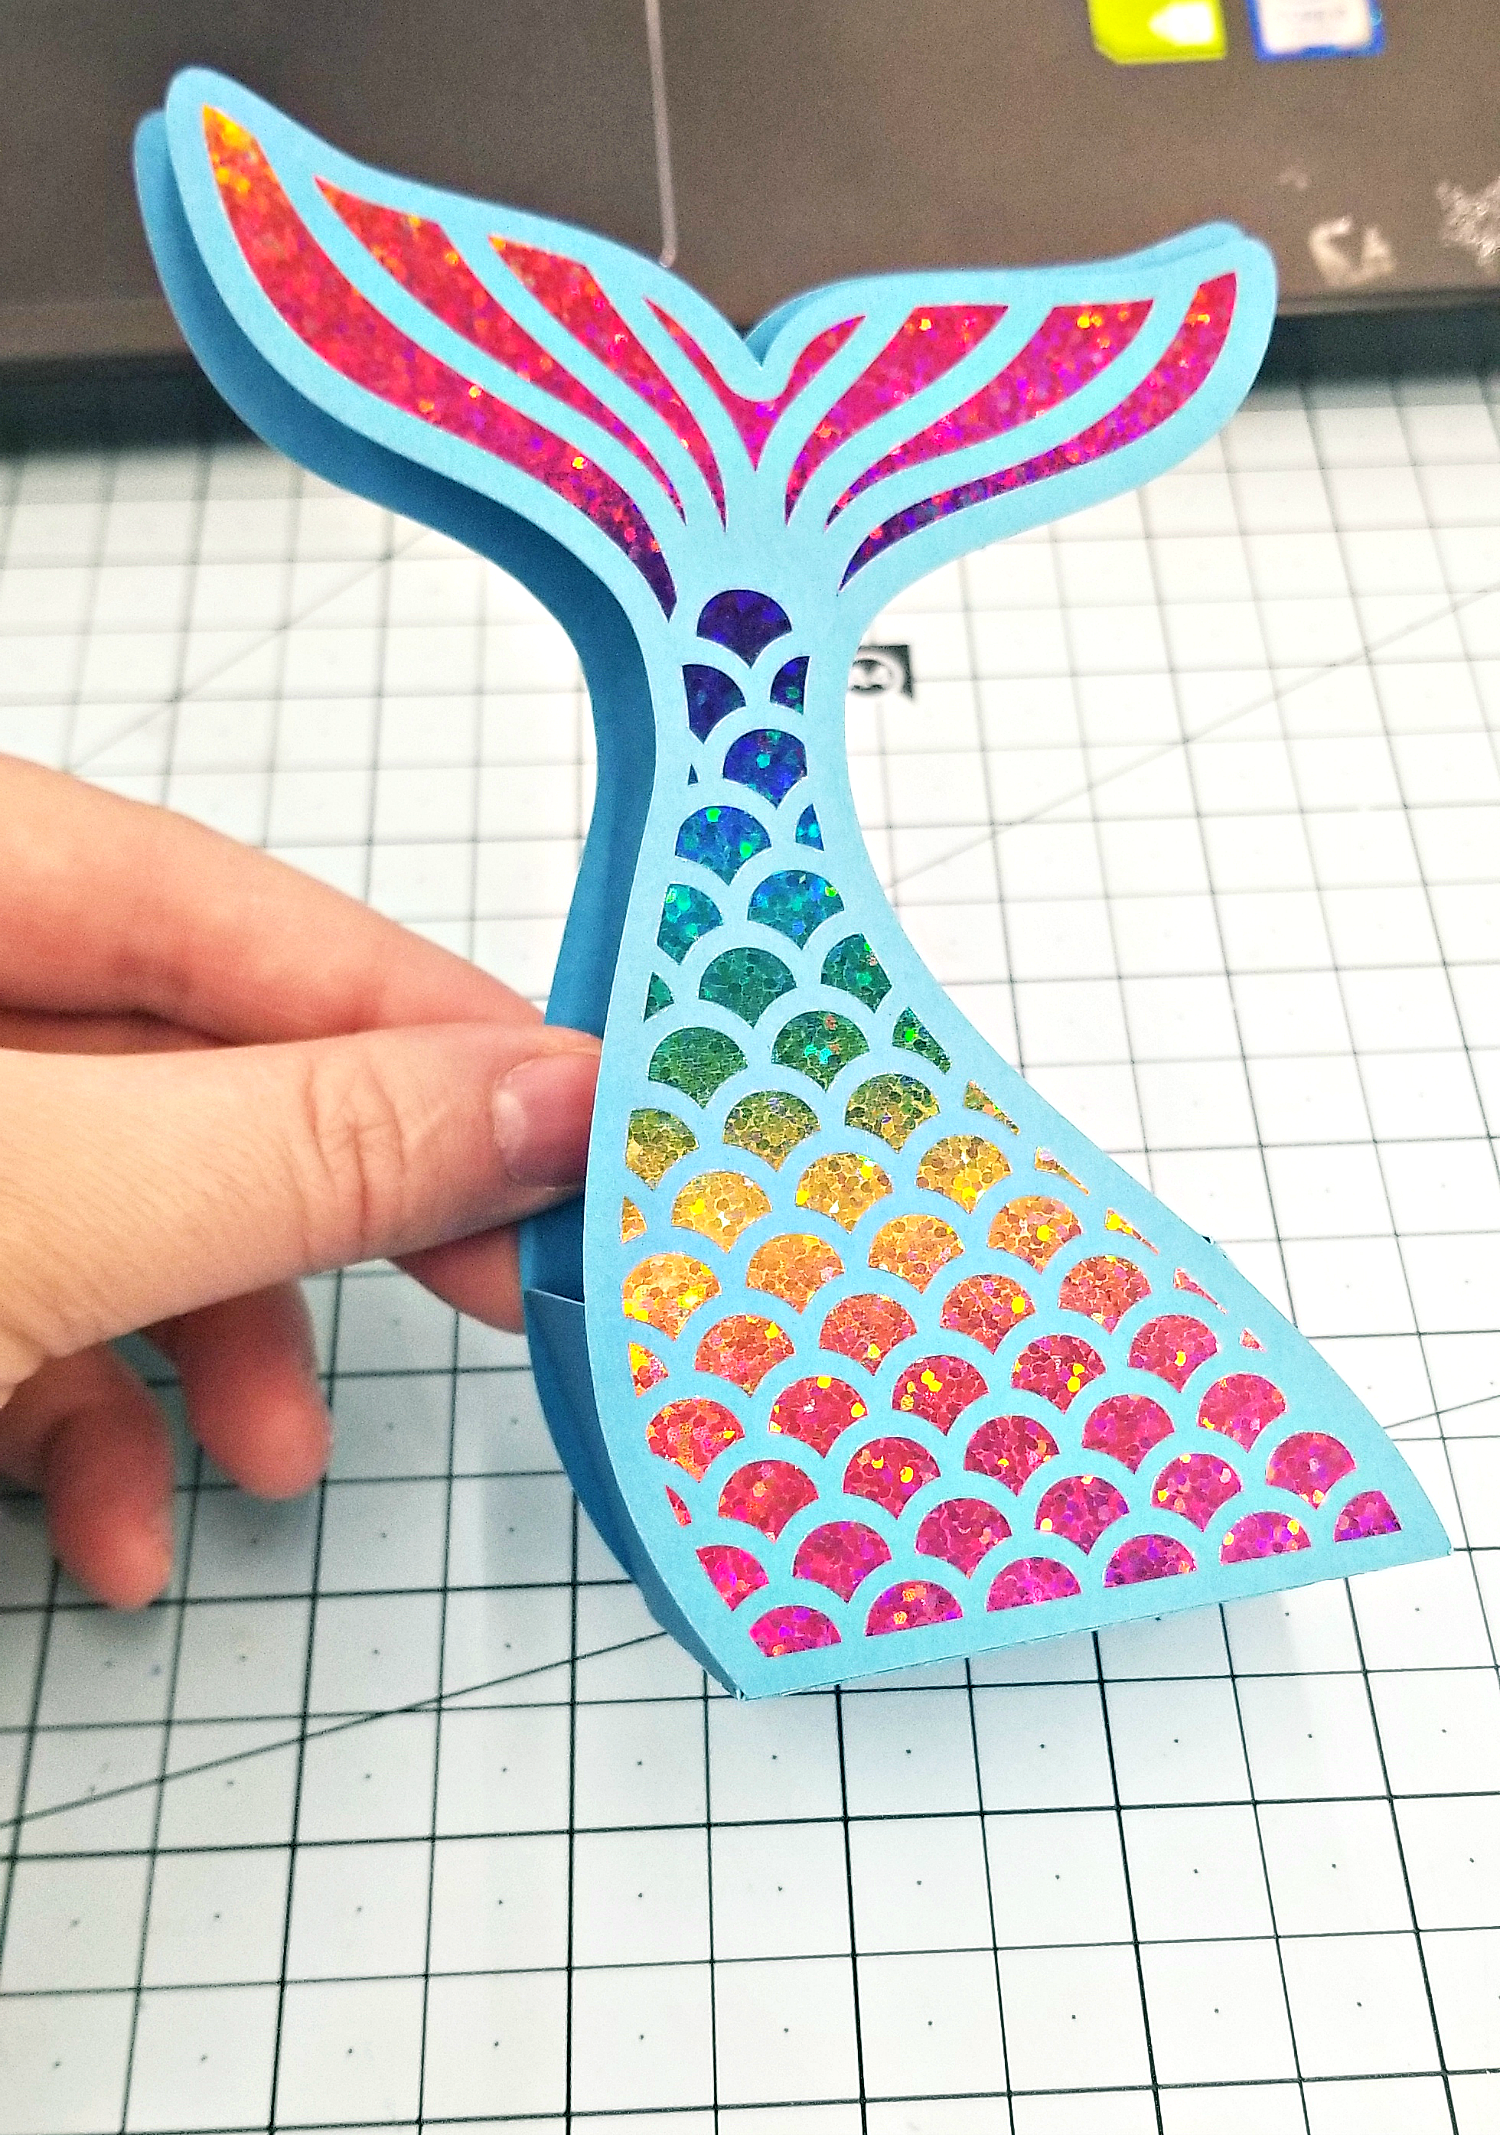
Then just fold up your box.
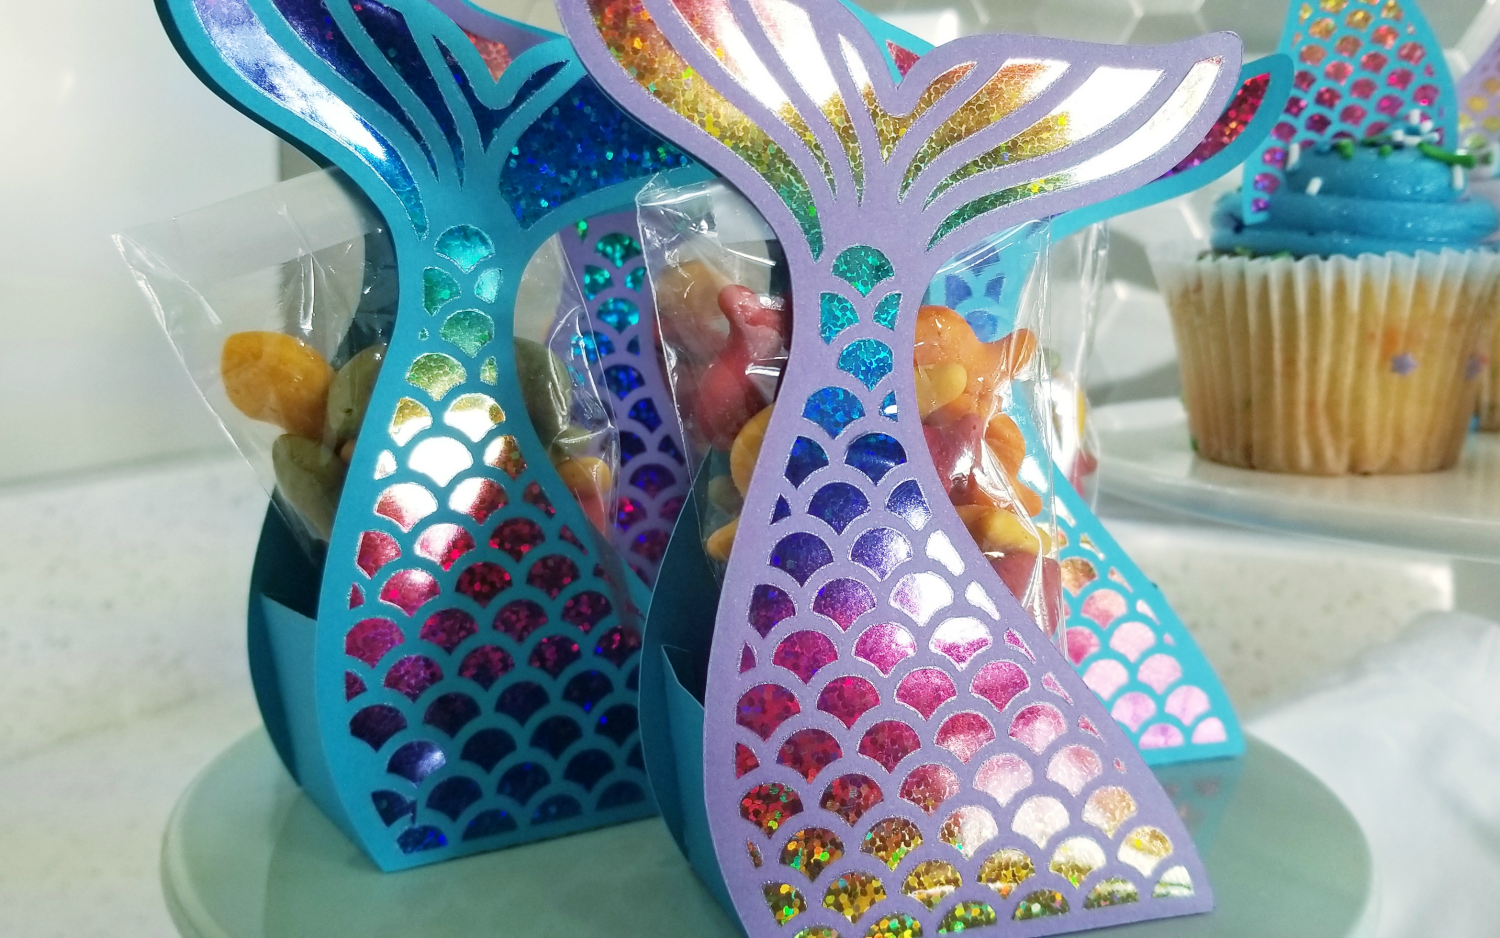
Thanks for stopping by and go grab the Rainbow Holographic HTV because look at how fun that was. Check out all the other fun colors in that line as well and grab ya a Holographic Sample Kit of them while you are at it.

Recent Posts
-
NEW Holographic Eclipse Heat Transfer Vinyl
April 15th, 2024 3 Ways to Use the New Holographic Eclipse Heat Transfer Vinyl from Siser …Apr 29th 2024 -
Hop into Spring with Cute Easter Vinyl Crafts
Do you love our Vinyl? Sign up for Vinyl Club today to get FREE vinyl and save big! …Mar 28th 2024 -
Fixing Wrinkles and Bubbles in Vinyl
How do you get air bubbles out of vinyl? There are a few different ways to ensure a flawless …Mar 26th 2024

