Moana inspired watercolor art
So I might be one of the last people on the planet to finally watch Moana. We are avid Netflix watchers and when I saw that as a new option I was super excited and the kids and I sat down to watch it. Cut to 20 viewings later and I'm still in love with the movie!! I also can't get the beautiful music out of my head, I'm constantly singing it around the house (annoying my husband!) haha. I thought it would be fun to make a piece of art for the house using my favorite quote from the film. "See the line where the sky meets the sea? It calls me" I also decided to finally experiment with trying my hand at water coloring on top of wood too. An idea that's been rolling around in my head for awhile now.
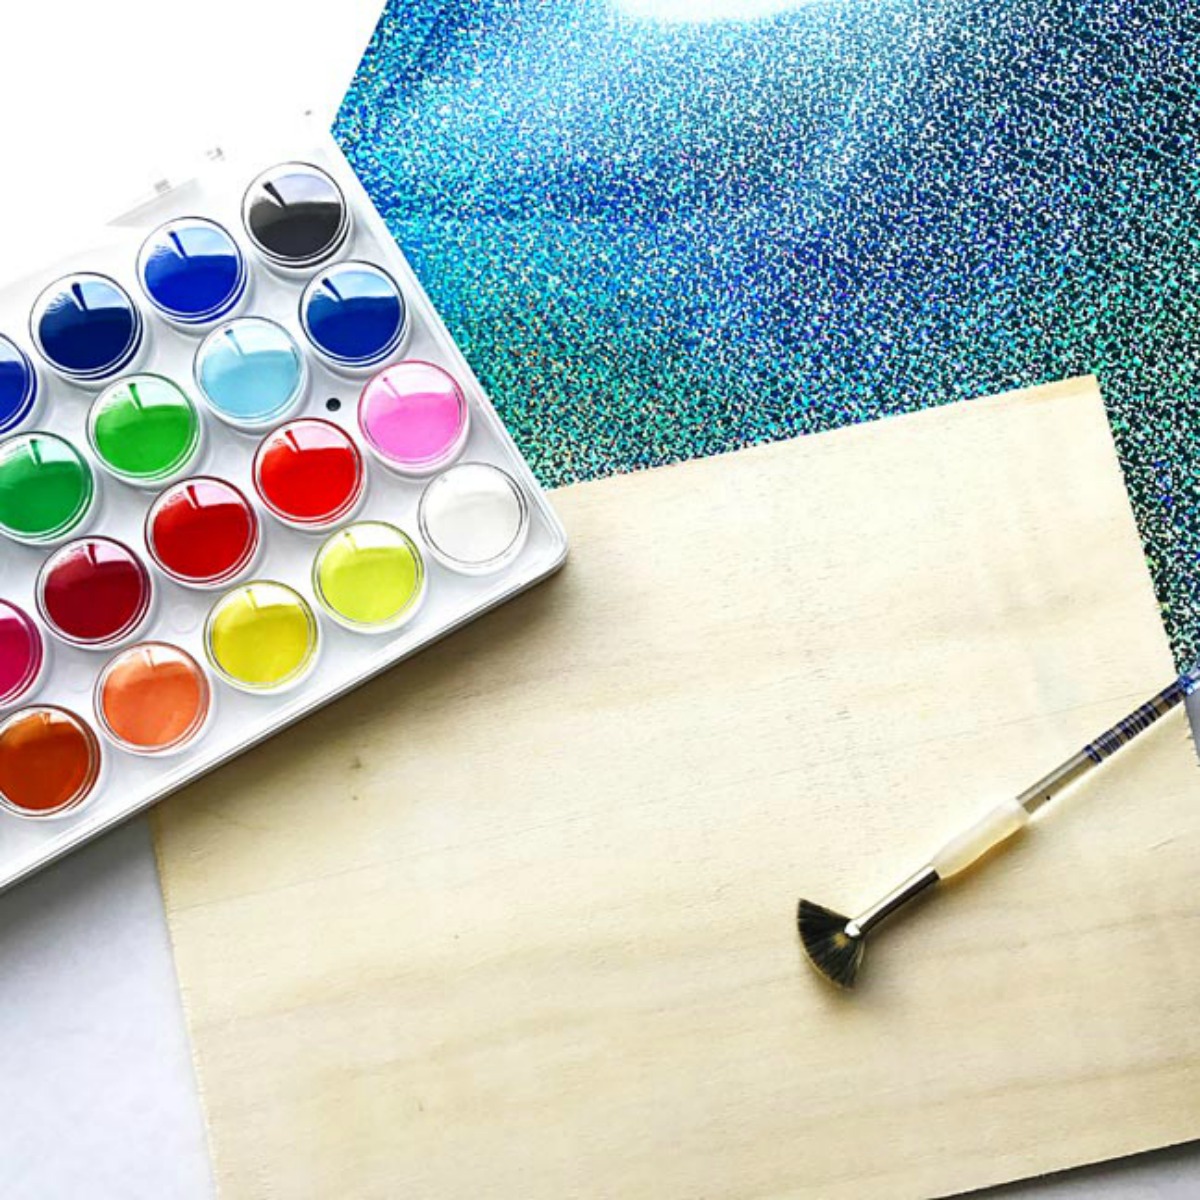
Materials Needed:
- wood panel (mine is 9" x 12")
- water color paint
- paint brush
- holographic heat transfer vinyl (I used Sky)
- iron or heat press
- electronic cutting machine (I used a CAMEO)
- frame for the wood panel
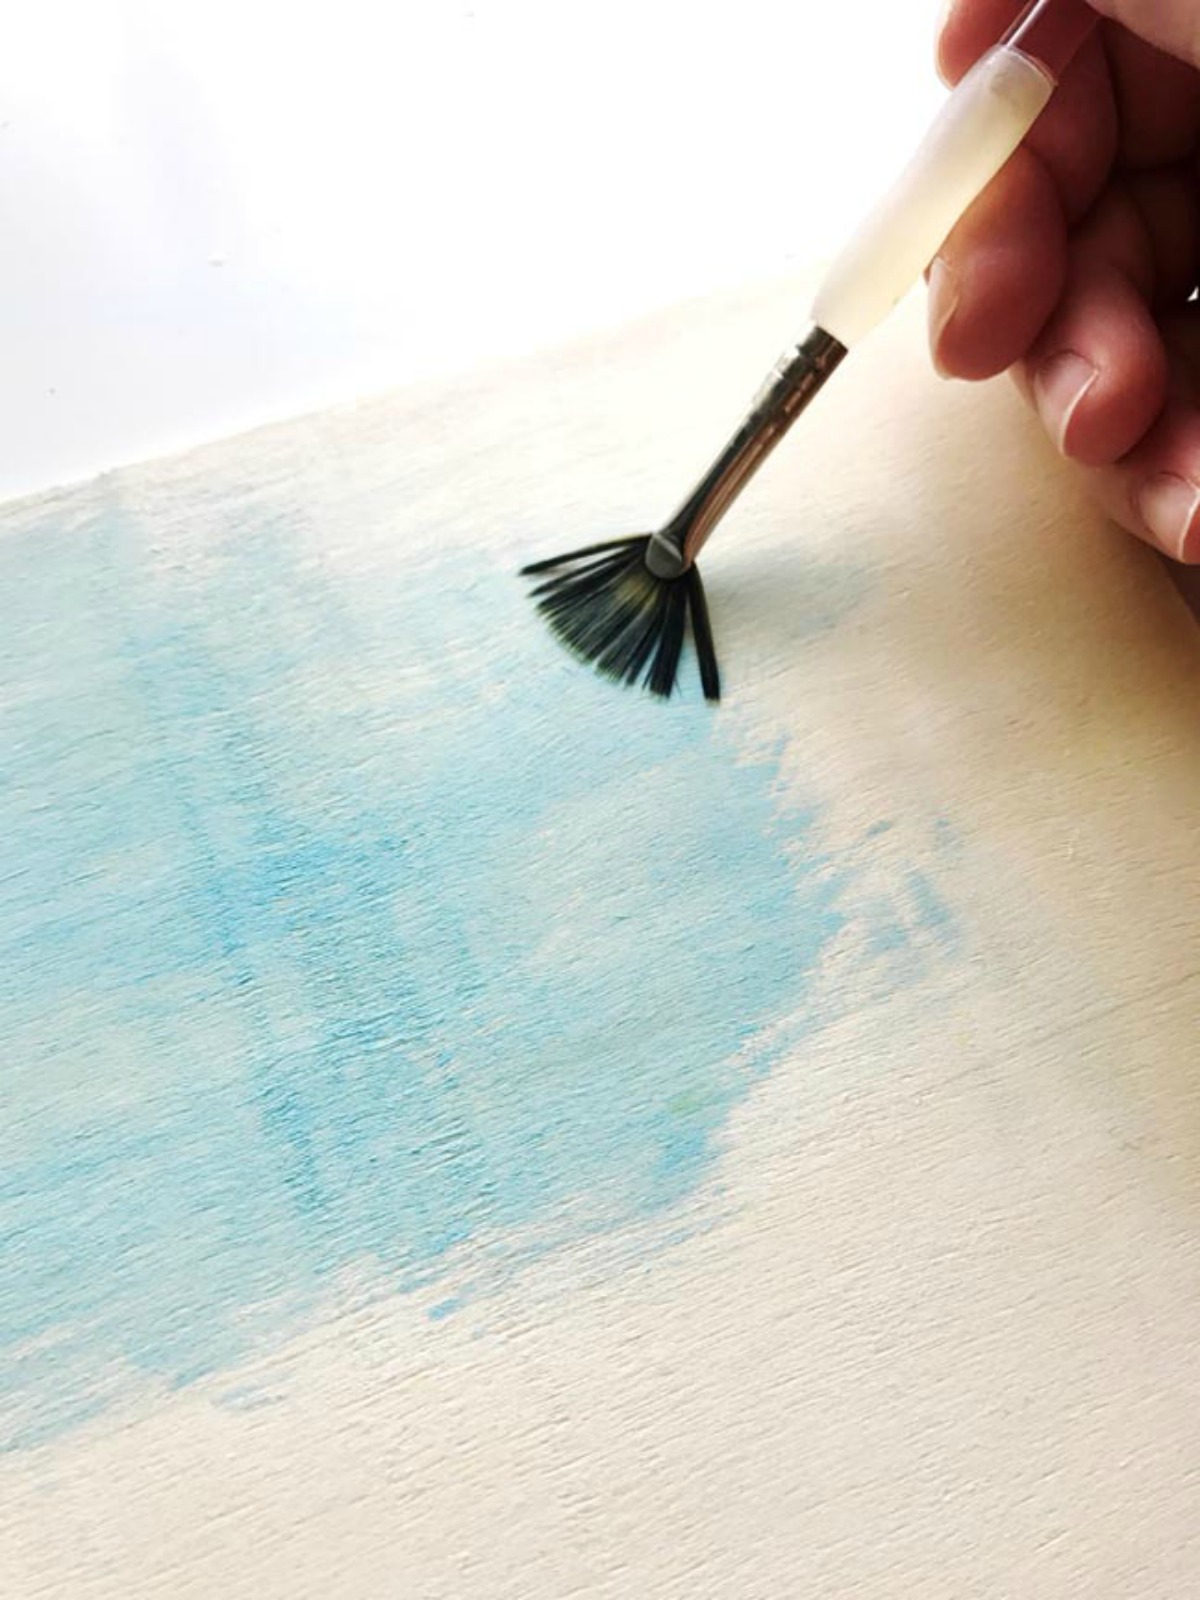
To start I drew a line about one-third down from the top of the wood so I had my horizon line. Next, I grabbed my watercolor paint and got the brush really wet and started applying a light blue to the wood to create my sky. I wasn't worried about filling in all the gaps so it looked a little bit like clouds.
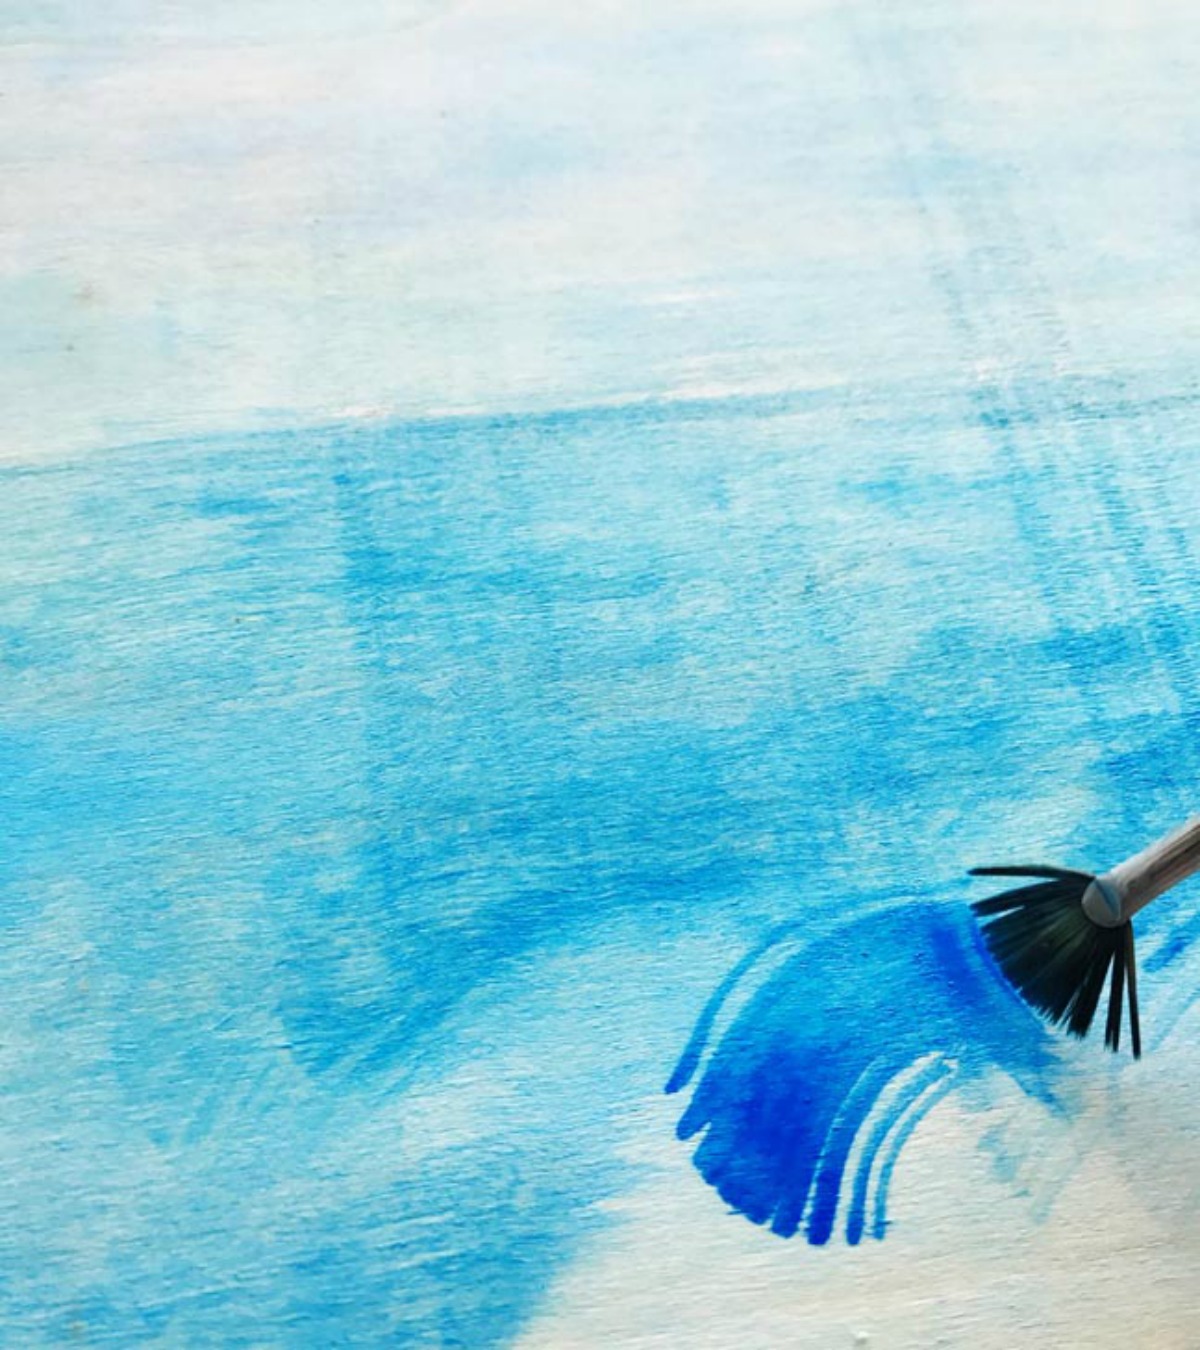
I just kept painting and added some darker blues and a touch of green to make the sea. I also painted using an arced stroke so it looked like waves.
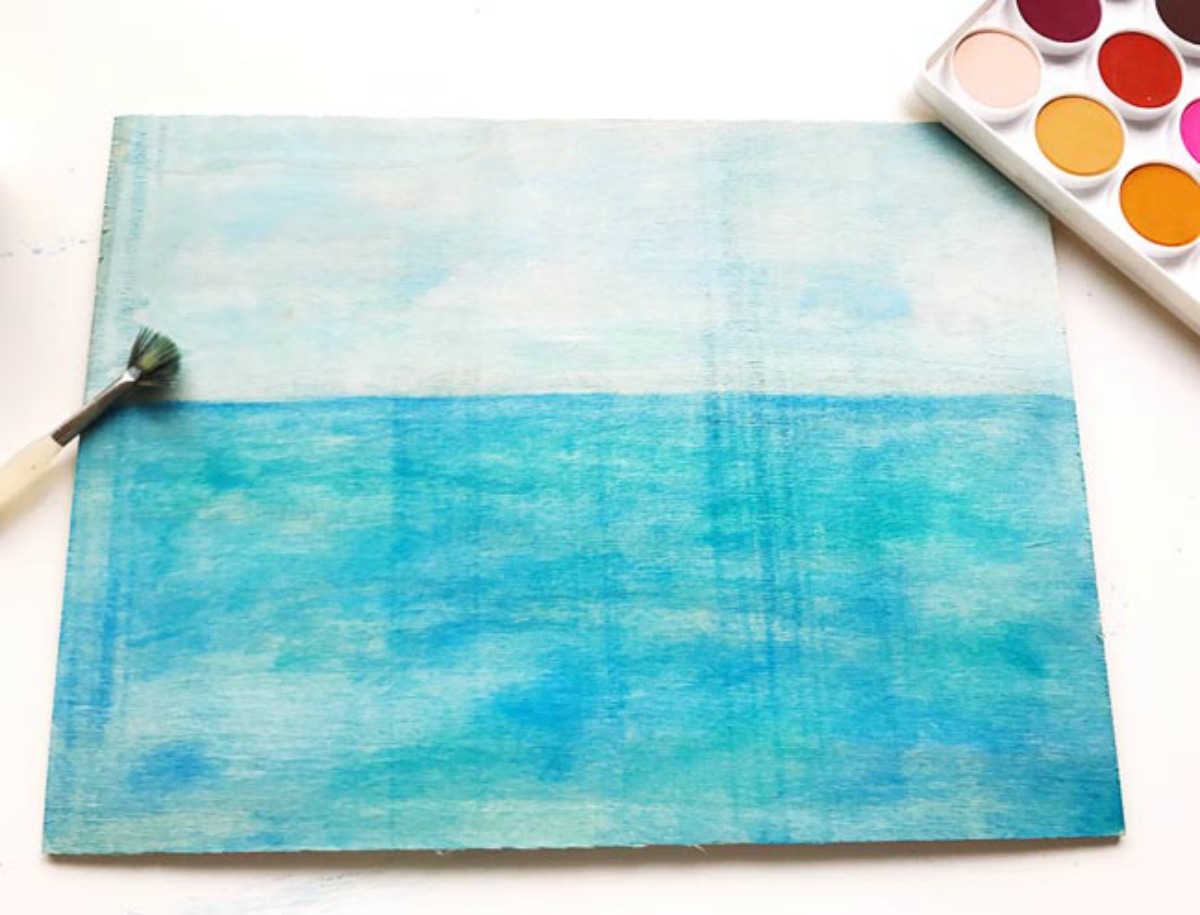
If you aren't happy the way the color is blending just add more water. My piece was pretty wet by the time I was done so I let it dry while I designed and cut the holographic heat transfer vinyl.
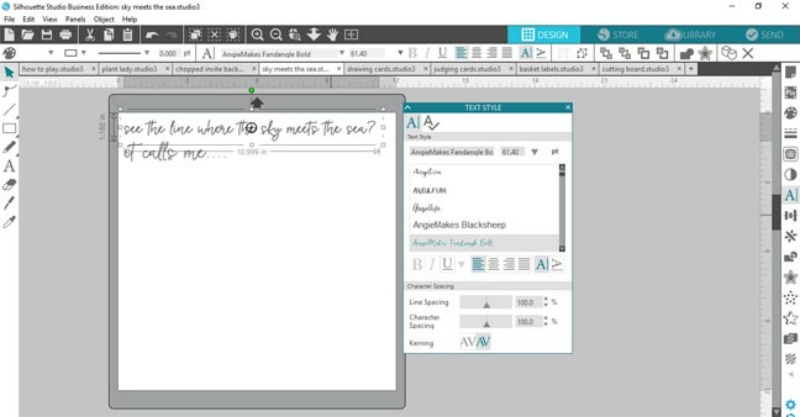
I simply wrote out the quote in a beautiful font by Angie Makes from the Silhouette design store.
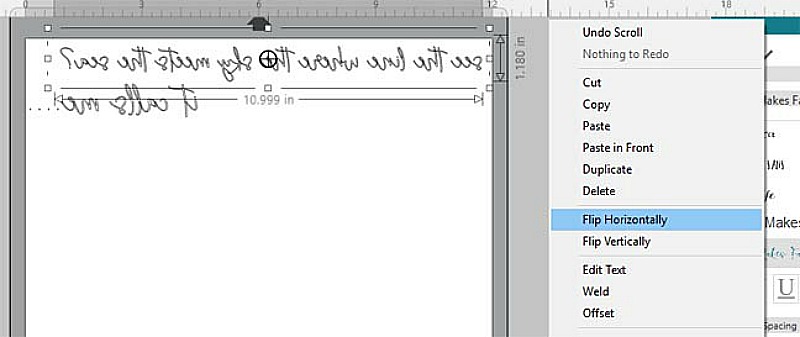
Anytime you use heat transfer vinyl you have to mirror your image.
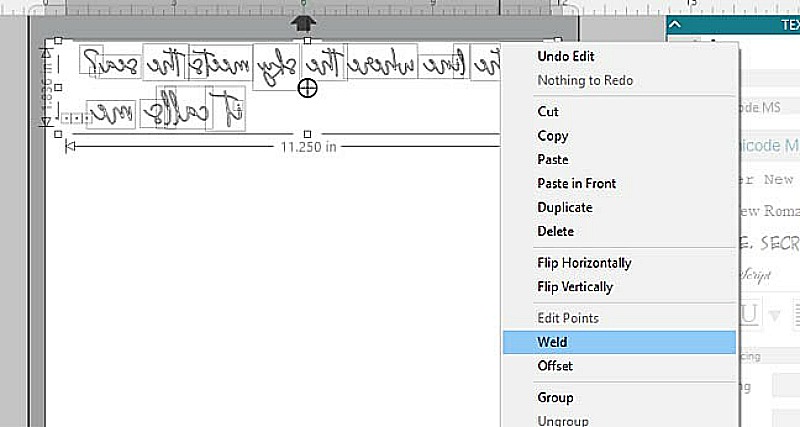
Next, you need to weld the design so it doesn't cut around each letter, only the outer portions.
After looking at this I decided the font was a bit too thin to cut as small as I needed to. I simply used the offset tool to make it thicker. Now release the compound path to edit the newly offset words and delete out the smaller words but leave the inner cuts in the "e" and "k". When you're all done just group it back all together.

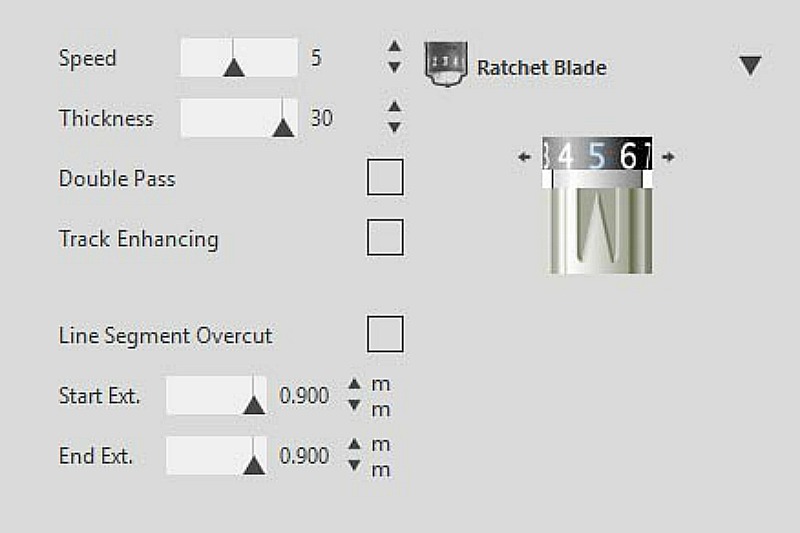
Now you're ready to cut it out. These were the settings that worked best for me but always do a test cut to make sure yours works before wasting the gorgeous vinyl.
After cutting and weeding your design, attach the vinyl to the wood. I have a heat press so I simply popped it in the press according to this handy guide.
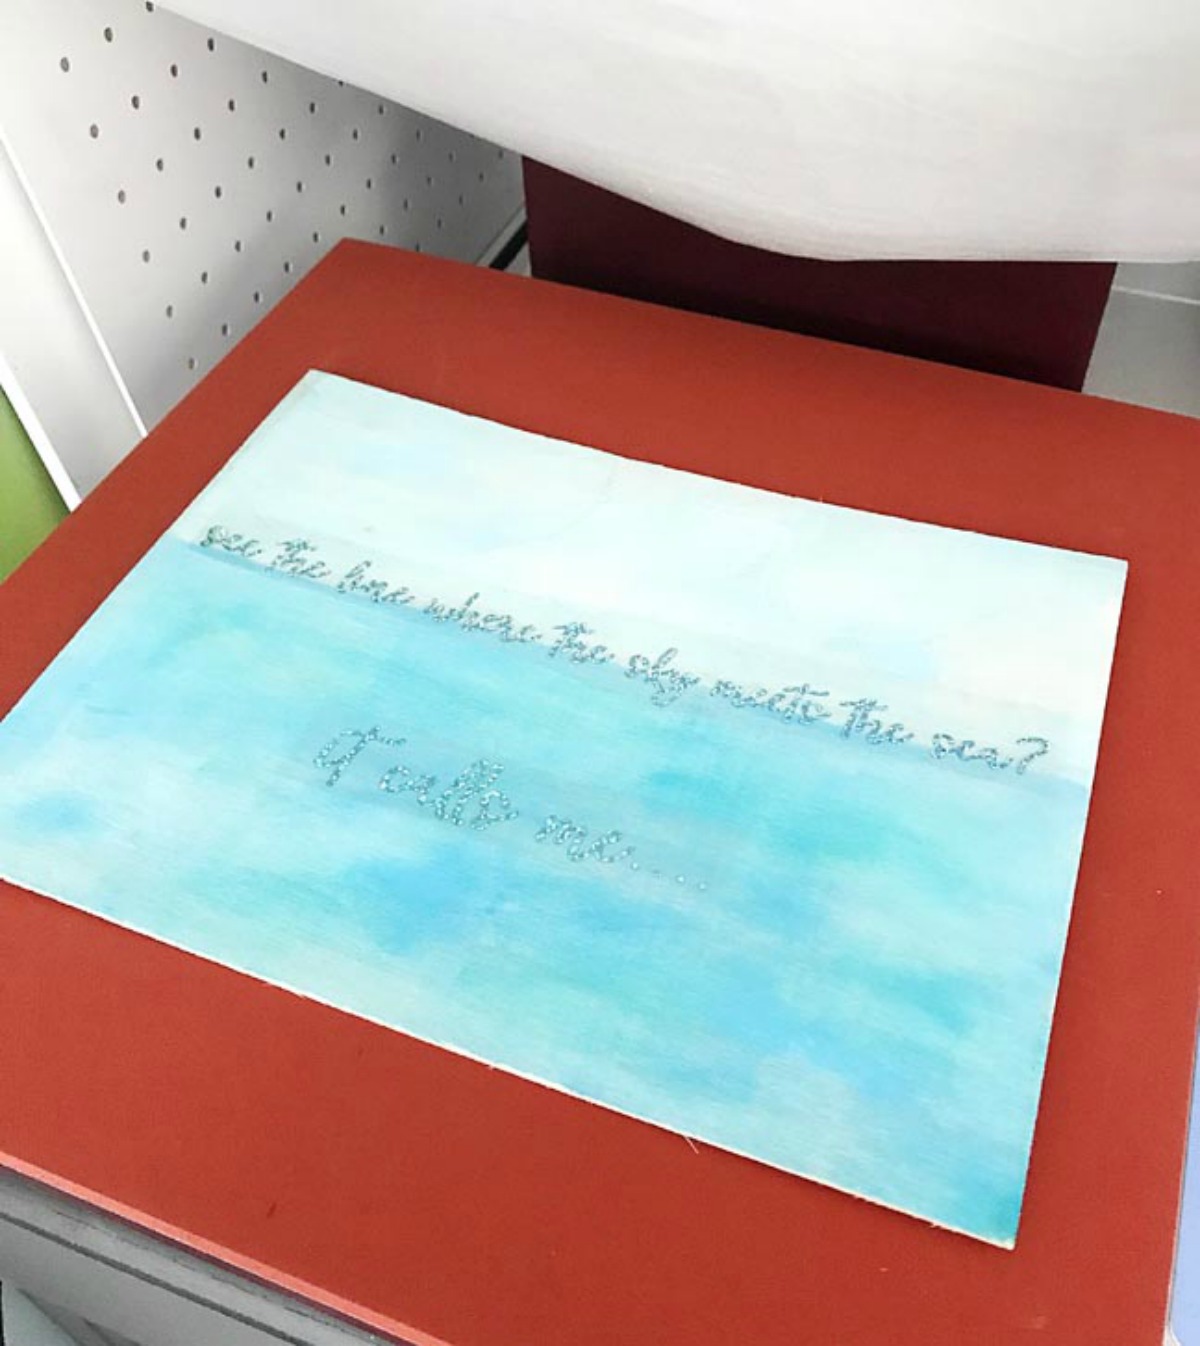
This is a cold peel so I let it cool completely and peeled off the carrier sheet. To finish it off I added a frame I found at my local hobby store.
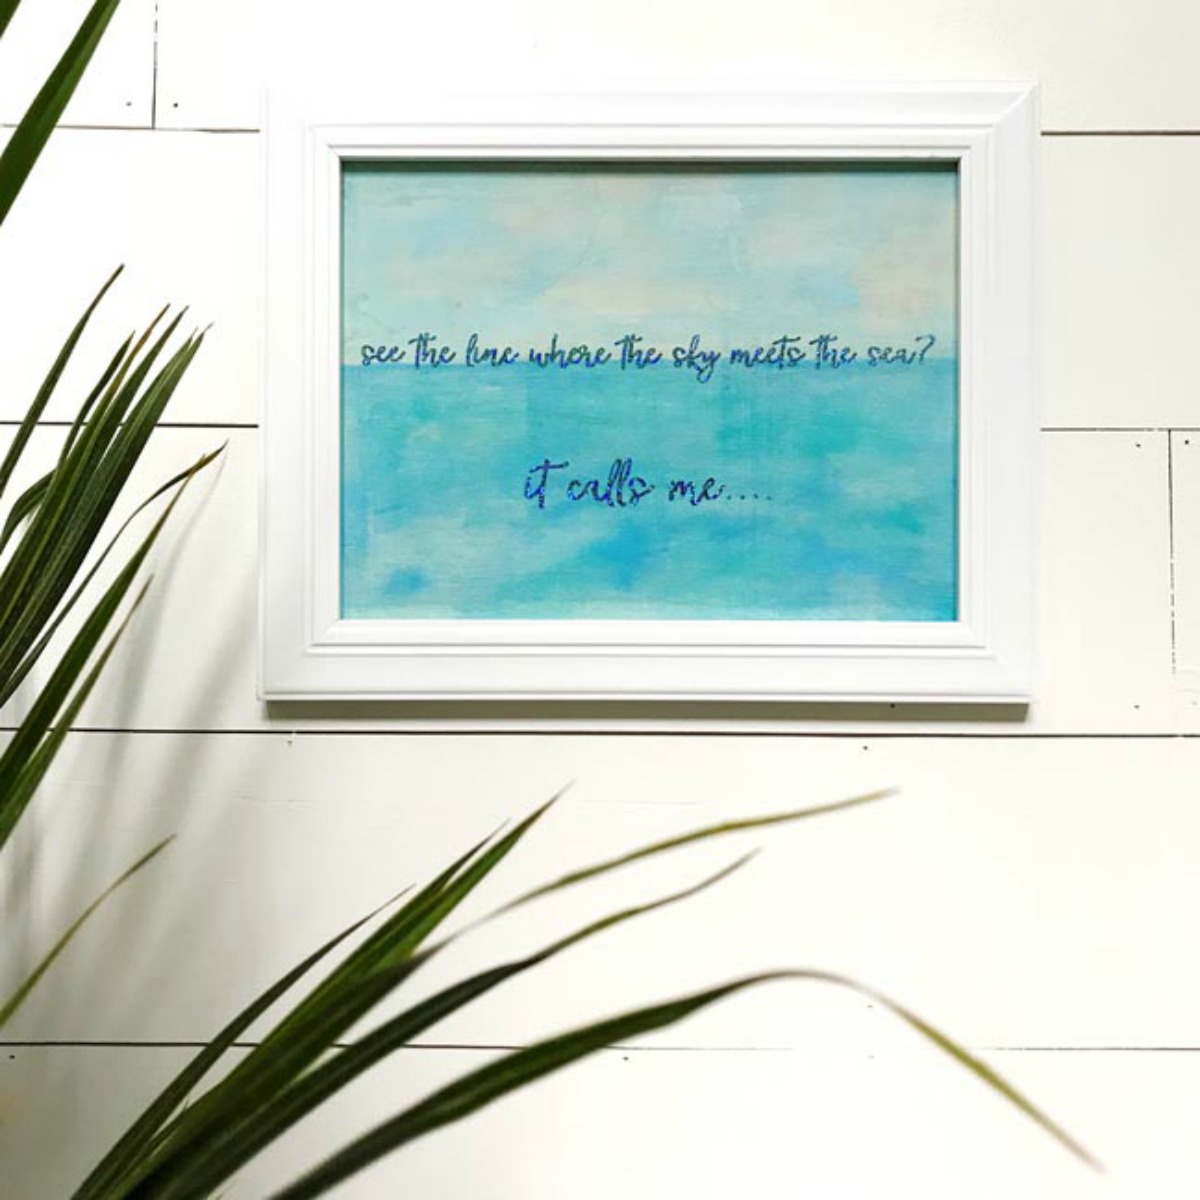
Are you going to try your hand at water coloring on wood? If so make sure to tag me on Instagram (@designedtobecrafty) showing me your creation.
Recent Posts
-
NEW Holographic Eclipse Heat Transfer Vinyl
April 15th, 2024 3 Ways to Use the New Holographic Eclipse Heat Transfer Vinyl from Siser …Apr 29th 2024 -
Hop into Spring with Cute Easter Vinyl Crafts
Do you love our Vinyl? Sign up for Vinyl Club today to get FREE vinyl and save big! …Mar 28th 2024 -
Fixing Wrinkles and Bubbles in Vinyl
How do you get air bubbles out of vinyl? There are a few different ways to ensure a flawless …Mar 26th 2024


