Oramask 813 Stencil Vinyl
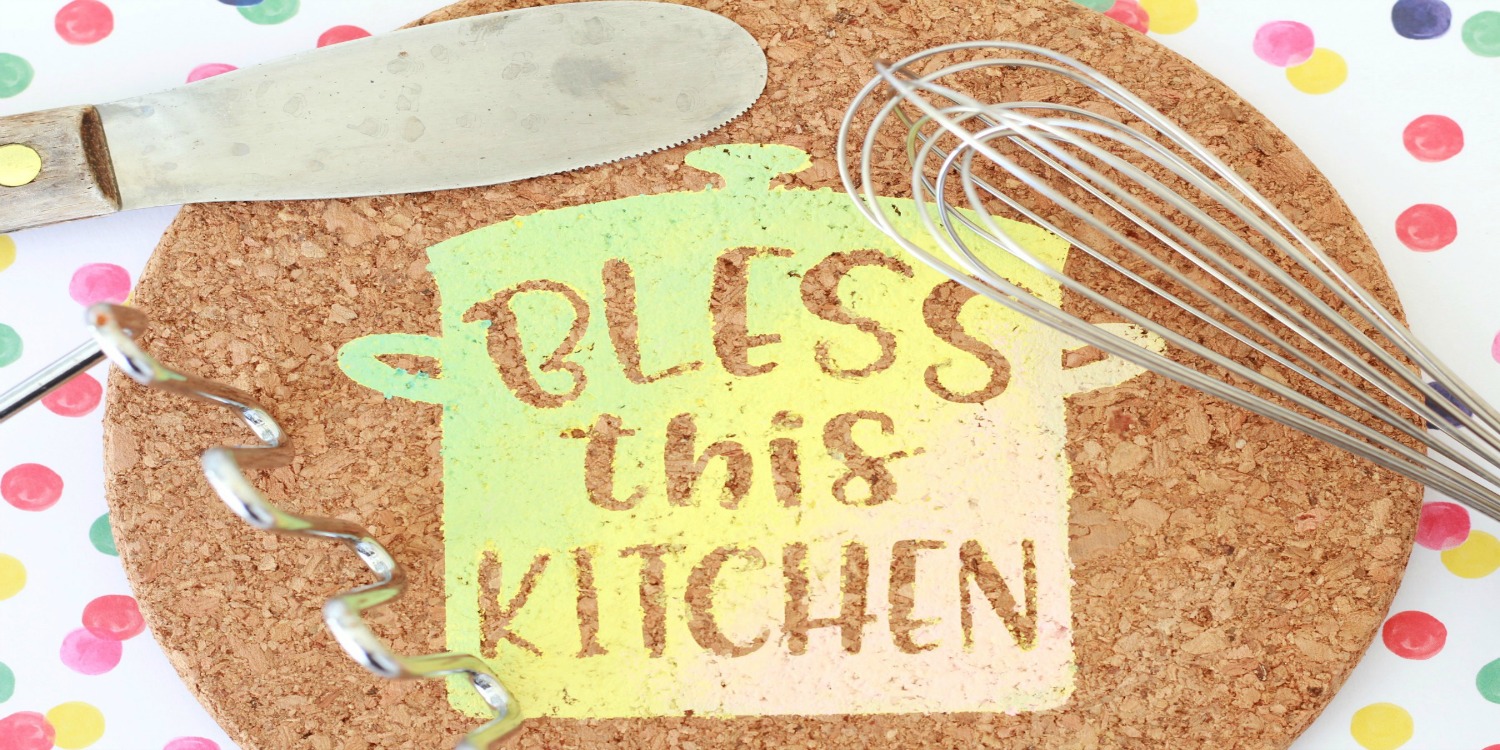
Hi friends! Connie here from Kutie Kaira Designs show you how to use Oramask 813 stencil vinyl to create your own painted trivets! You can get creative with paint color and any design you want. Let’s get started.

Things you will need:
- Trivets (I used IKEA cork trivets)
- Oramask 813 Stencil Vinyl
- Acrylic paint (I used light pink, blue and yellow)
- Foam paint brush
- Silhouette CAMEO or similar machine
- Transfer Tape
- Scraper tool/weeding tool
Step One: Choose and Cut Your File
I got this file from the Silhouette Design Store. I made circle that was the
same size as the trivet I was using to ensure that my design would fit properly
on my final project--no surprises here!
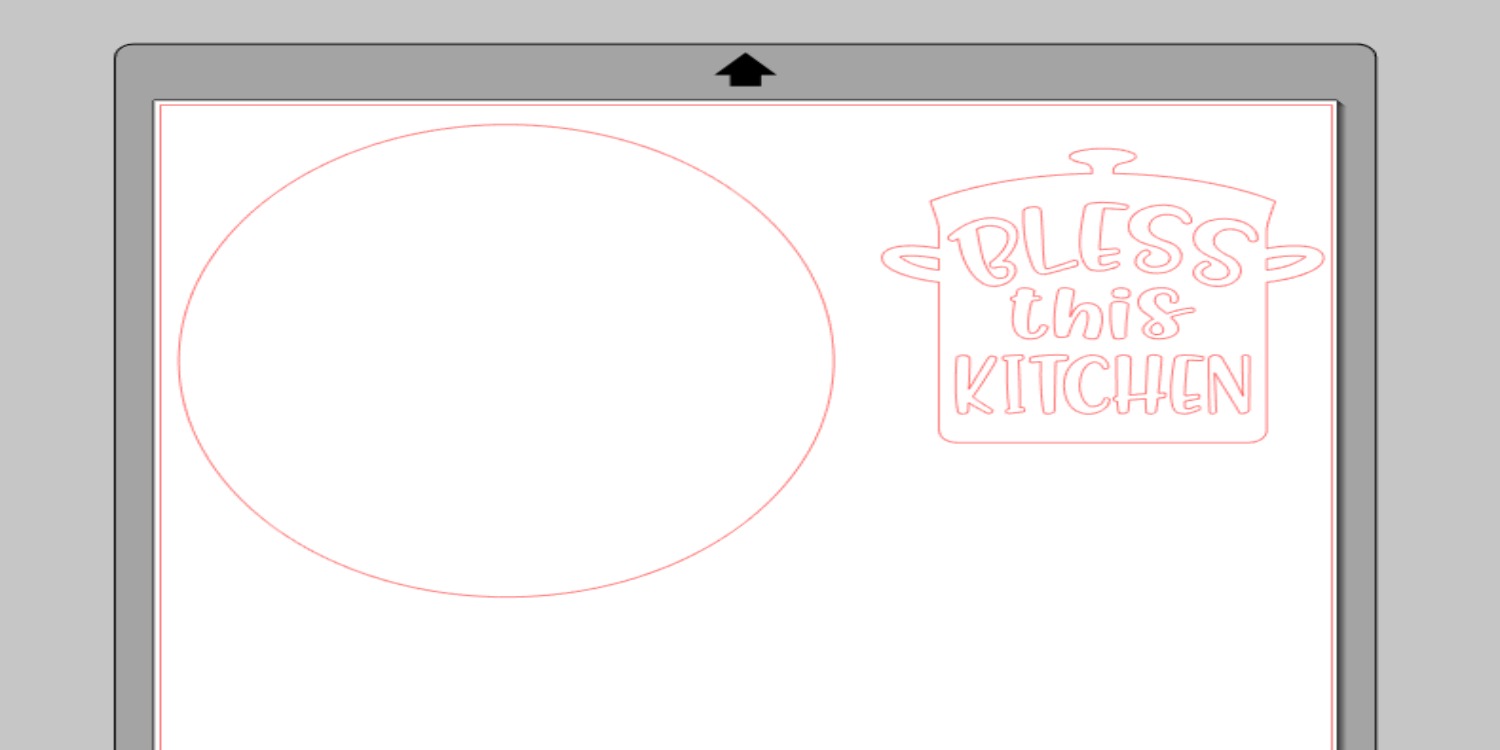

Place the image in the circle and right click > make compound path so that it become one file, instead of two. You don't *have* to create a compound path because it will still cut inside, but it's a good habit to have because if you ever have to move the design, it will move in one piece! Easy peasy.


Once you make it a compound path, you will be able to fill it with color to see what your image will look like when painted. In the picture above, the pink is the natural cork color in the trivet, and the white part will be the ombre painted area.
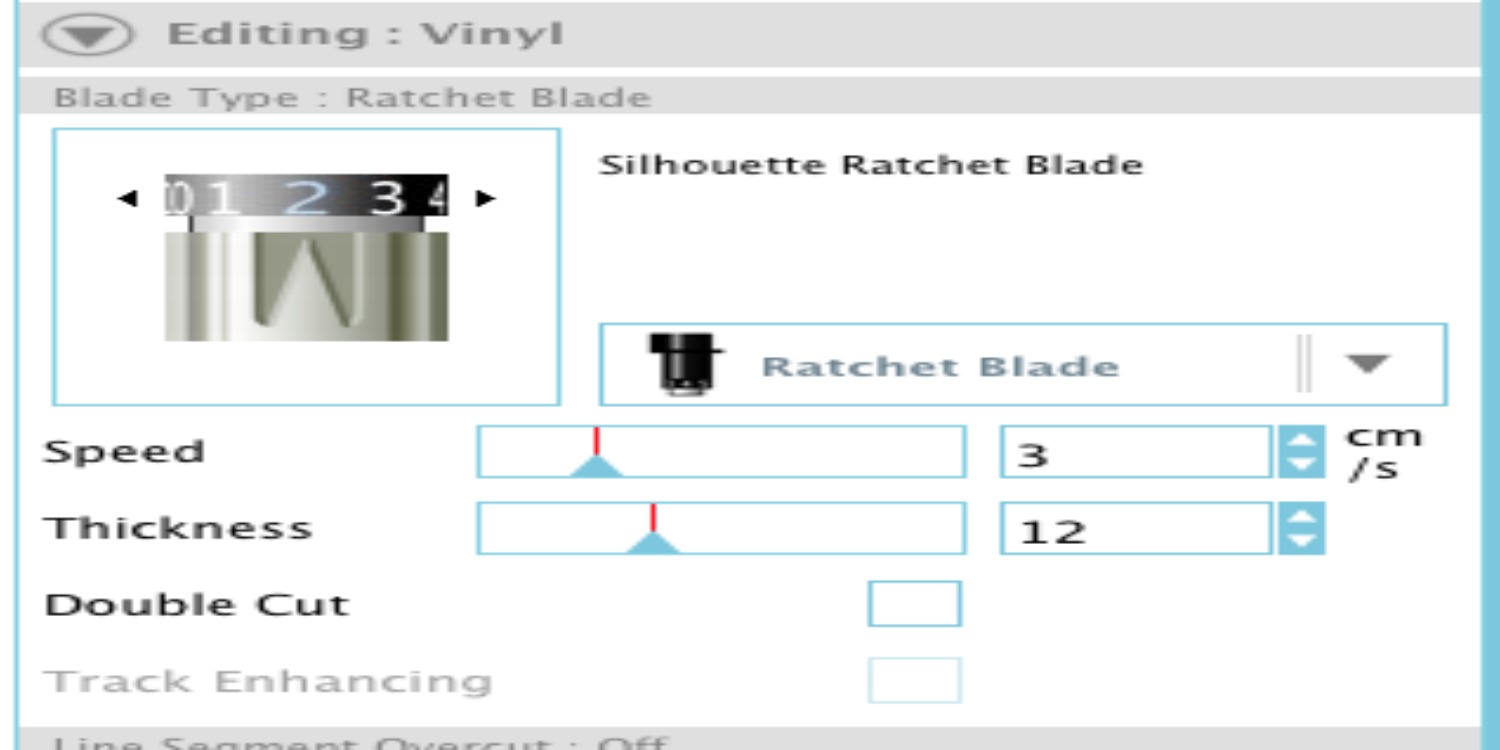

Here are the cut settings I used! They are very similar to the regular vinyl cut settings, but I upped the thickness a tad because it needed a little bit more thickness to cut some edges, in my experience.
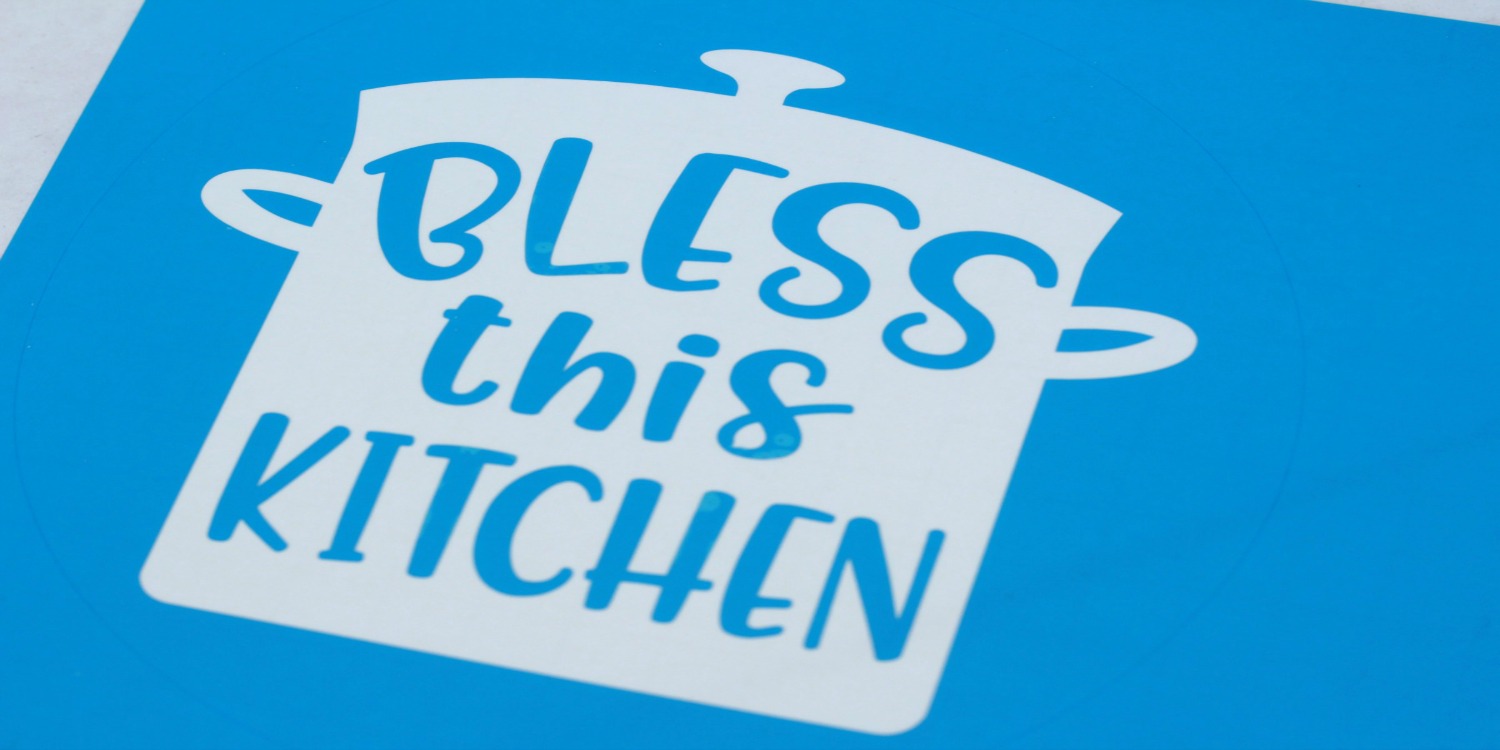

Here is what it will look like once it is cut and weeded.
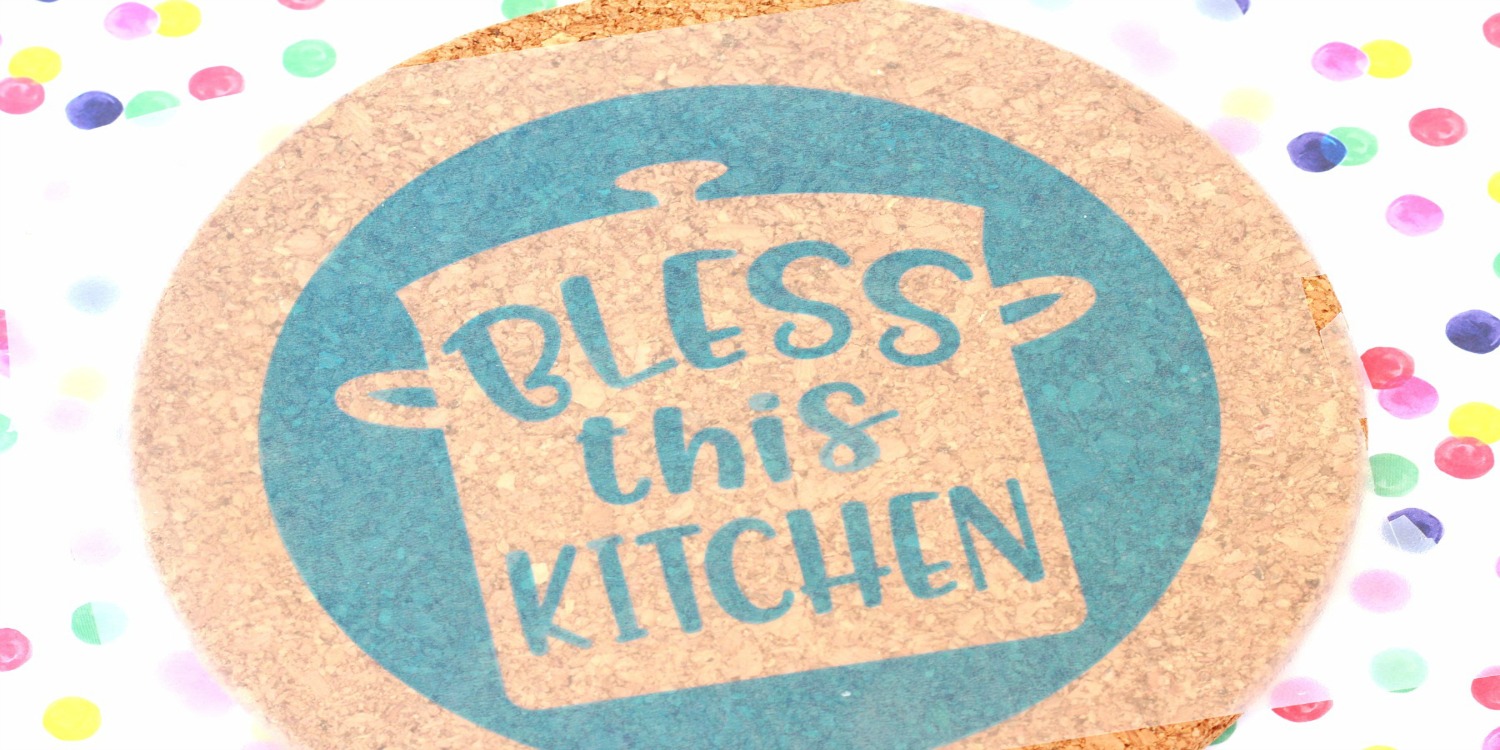

Use clear transfer tape to transfer the stencil image to your trivet. Place and center the image to your liking. Using your fingers to smooth the image on the surface.
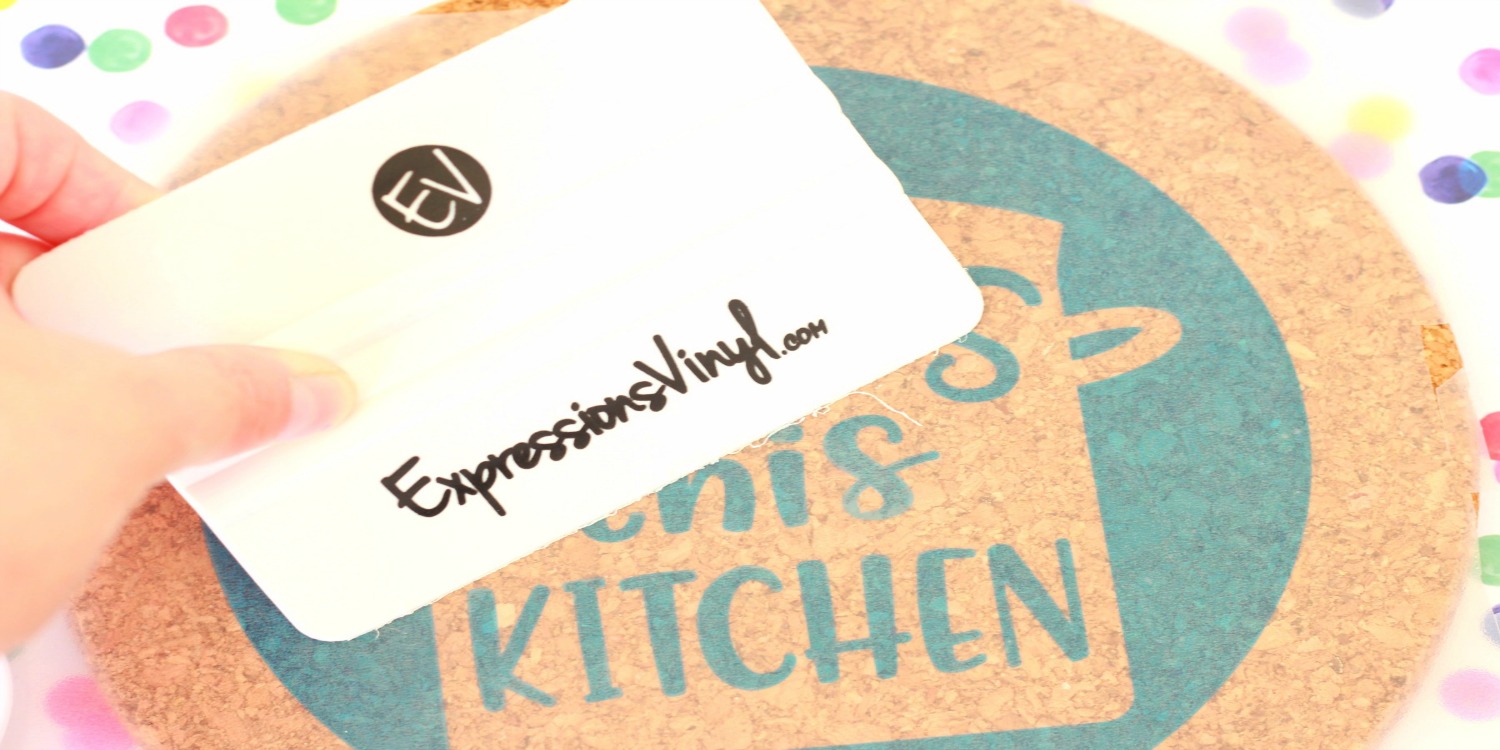

Use your scraper tool to press the stencil on the cork. Slowly peel back your transfer tape. Be extra cautious, since cork is not a very smooth surface the stencil tends to want to lift up. But with patience, you will be able to get it on :)
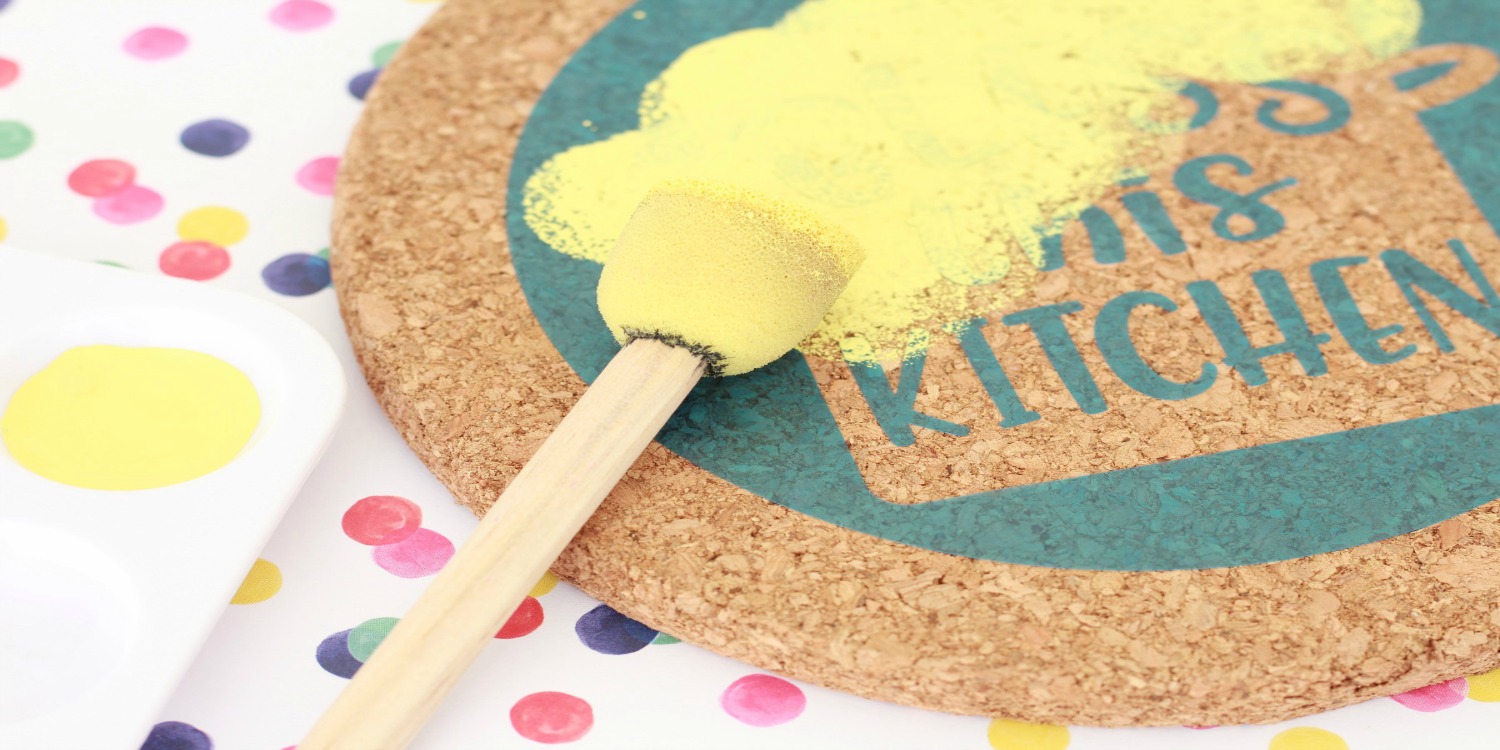

Use a foam brush to dab the paint on the trivet. I wanted to make a cute ombre effect for an extra touch. I started off by painting the entire thing yellow. Them I used blue and started on the edge and make my way inwards to create the ombre effect. Repeat with the pink. Use more yellow paint to blend your colors as needed.
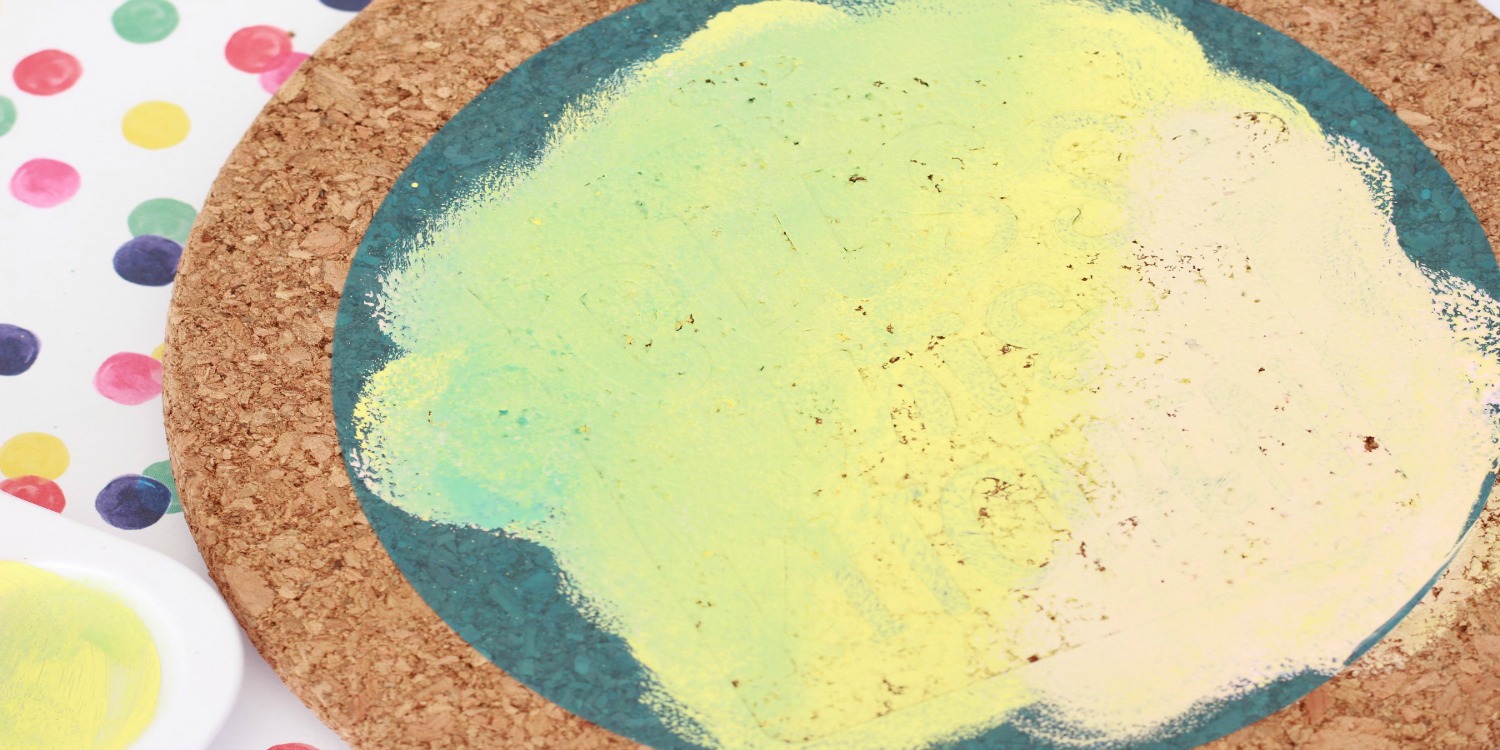

Here is what it will look like once it is painted. Let try completely and use a pointy object like a weeding tool or an Xacto knife to peel the stencil letters off of the cork trivet.
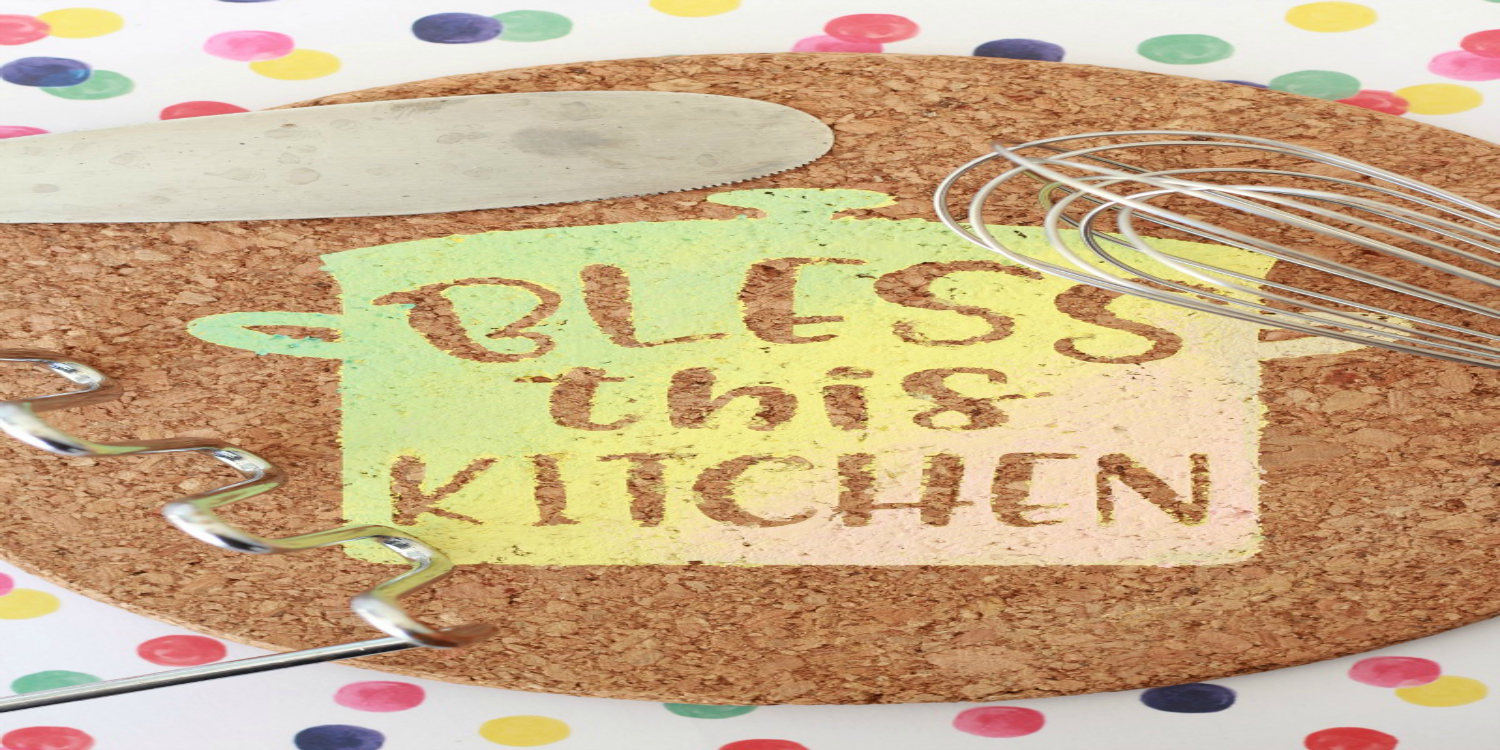

Here is the final look! I LOVE the way it turned out. Since cork is very porous and uneven, it did produce some unevenness, but it truly adds character. You can use your Xacto knife to scrape off and clean up some of the edges.
Get creative with your trivets! They would be the perfect gifts for Christmas and for wedding/engagement gifts. I can't wait to see what you create! :)
Happy crafting!
XO Connie
Recent Posts
-
NEW Holographic Eclipse Heat Transfer Vinyl
April 15th, 2024 3 Ways to Use the New Holographic Eclipse Heat Transfer Vinyl from Siser …Apr 29th 2024 -
Hop into Spring with Cute Easter Vinyl Crafts
Do you love our Vinyl? Sign up for Vinyl Club today to get FREE vinyl and save big! …Mar 28th 2024 -
Fixing Wrinkles and Bubbles in Vinyl
How do you get air bubbles out of vinyl? There are a few different ways to ensure a flawless …Mar 26th 2024


