
Oramask Stenciled Paisley Tray
Hows it going everyone! Its Jessica with ExpressionsVinyl.com and I had a fun idea to use our Oramask 813 Stencil Vinyl on this cute tray that I picked up at my local Michaels.
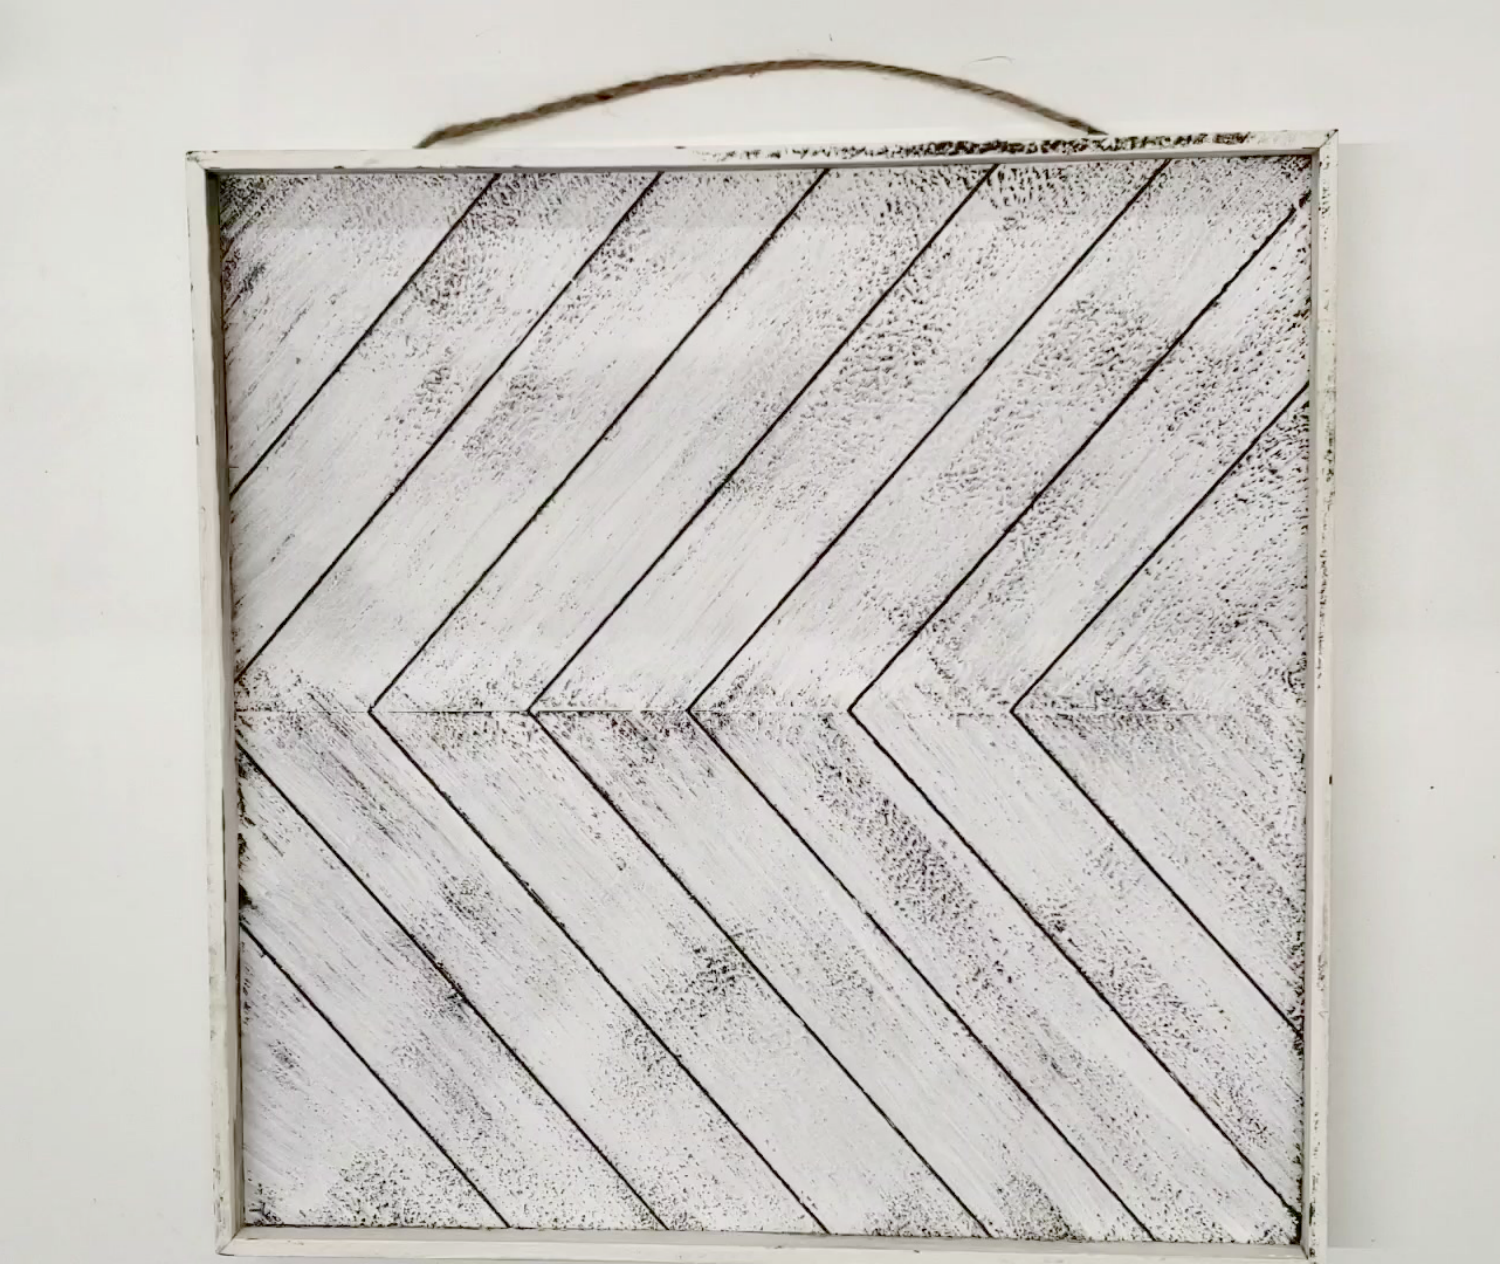
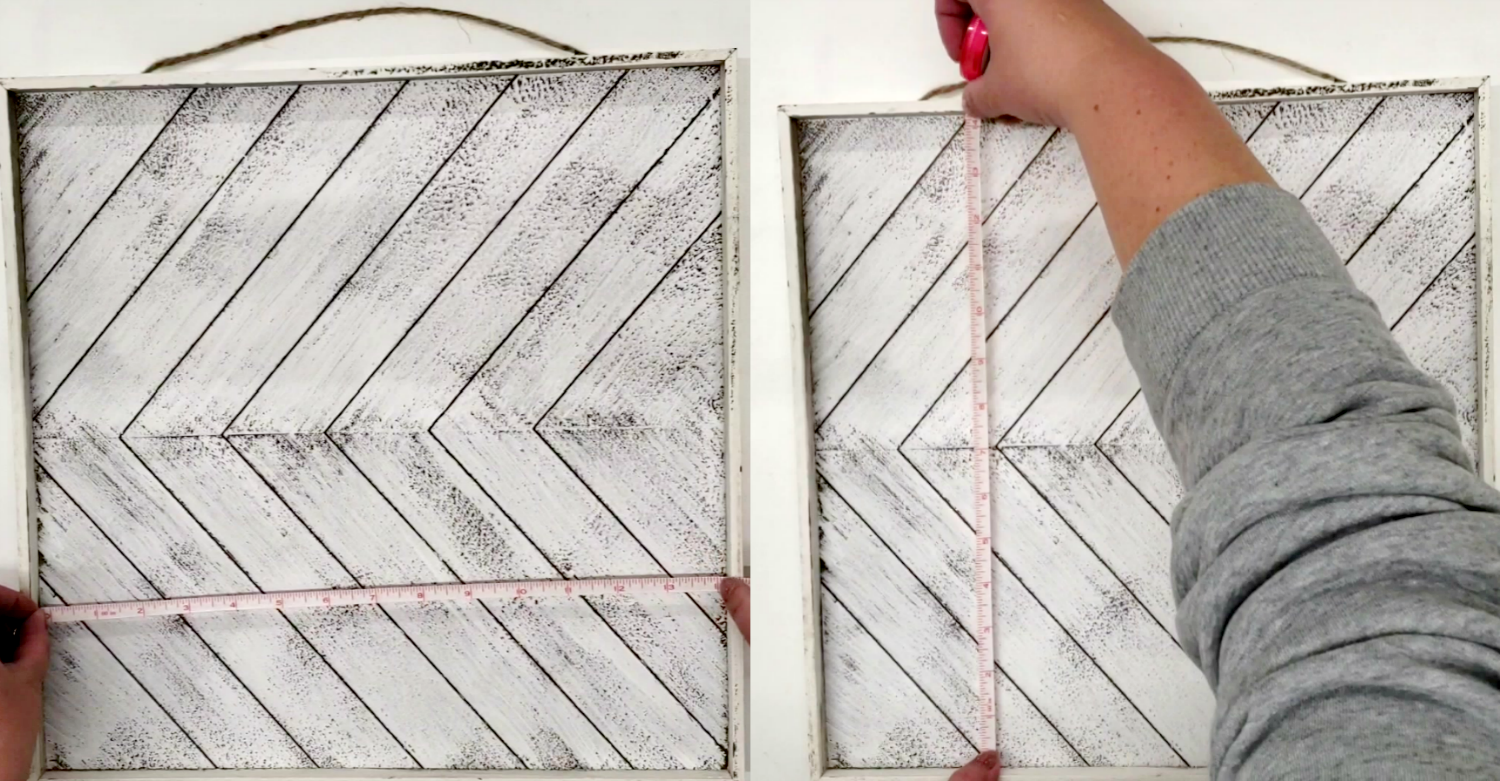
First you will want to start off by measuing your area you will be working with. The inside of the tray or plaque was about 14"x14". This is how large you will make your weeding box which also acts as a size guide for you stencil design.
Then of course you need your Oramask Vinyl, we offer this in 5yard rolls, 12x12 sheets and 12x24 sheets.
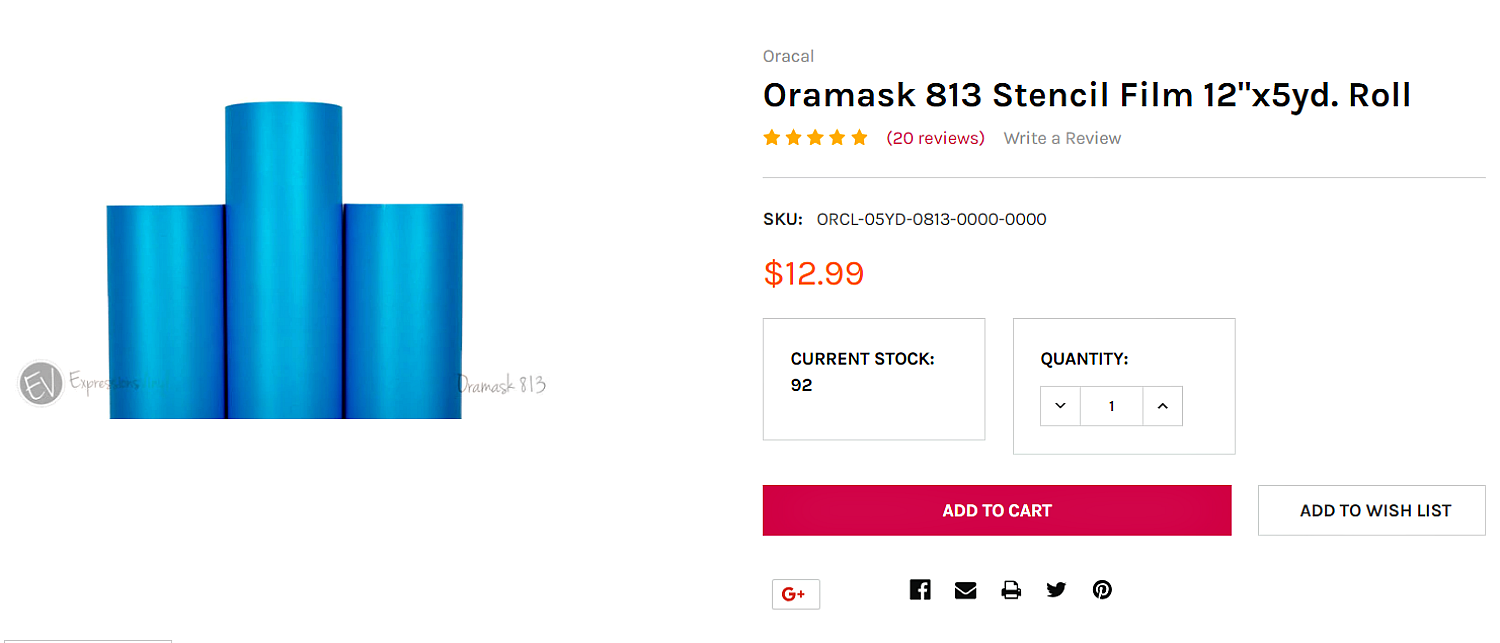
Oracal 813 Stencil Film is a rigid 3 mil translucent blue PVC stencil film has been formulated for stencil applications, especially spray and paint techniques. Can be used to mask surfaces to be painted and for die cut/hand cut spray mask stencils. It is excellent for car striping and aircraft marking. It has a low tack, water based adhesive. It is ideal for water-based paint applications; smooth, flat, rigid substrates and surfaces, large area capabilities; and applications requiring background visibility.
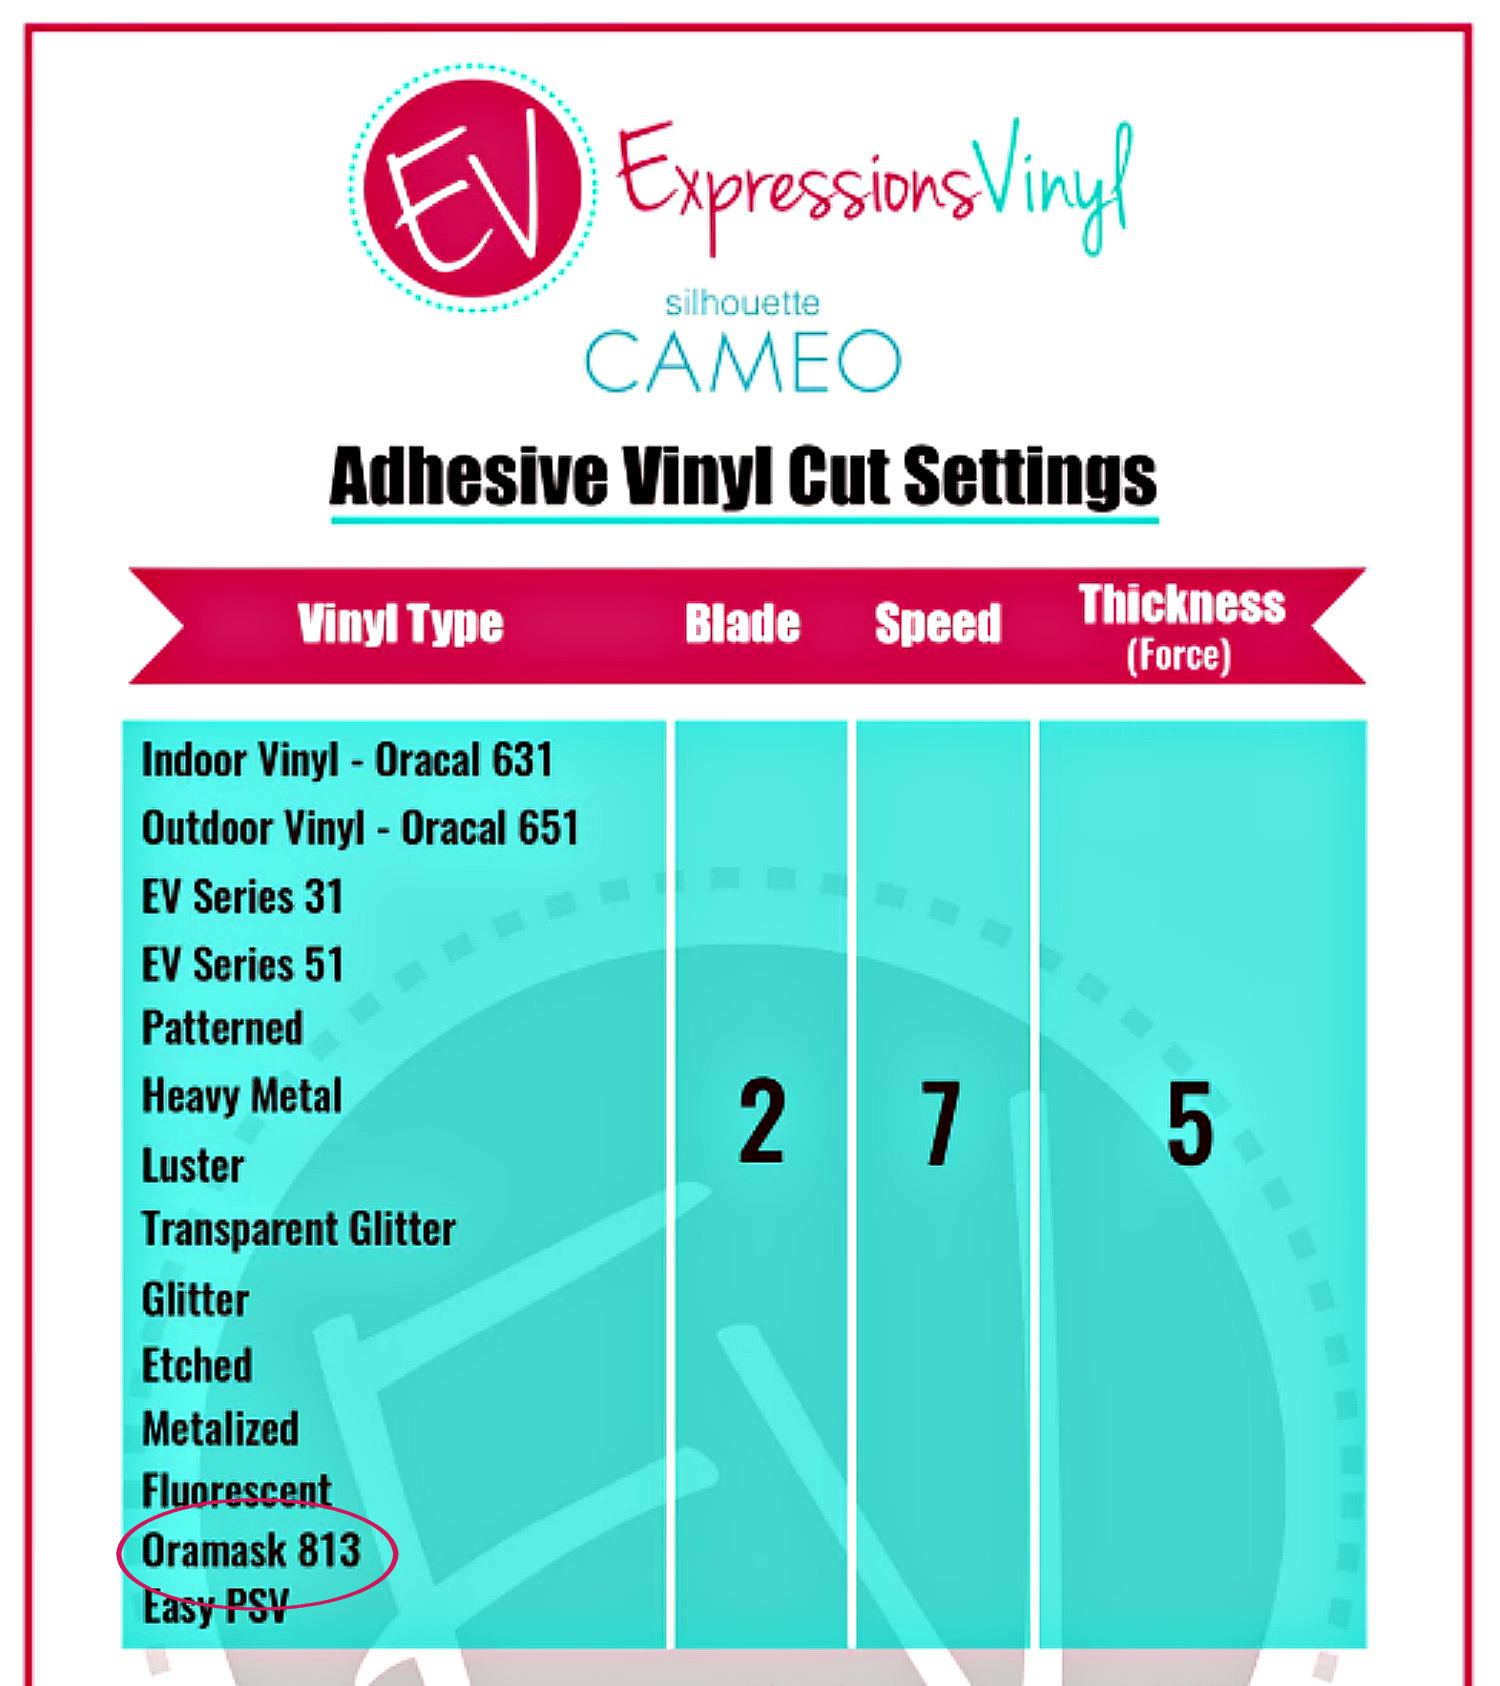
You will want to first make sure your settings are correct with your machine and the vinyl you are cutting. I am using the Silhouette Cameo 3 so I adjusted my Premium Blade to be set at a 2, Speed 7, and Force 5.
We also have the cut settings for the Cricut Explore and the Cricut Maker under the Machine Settings Category.
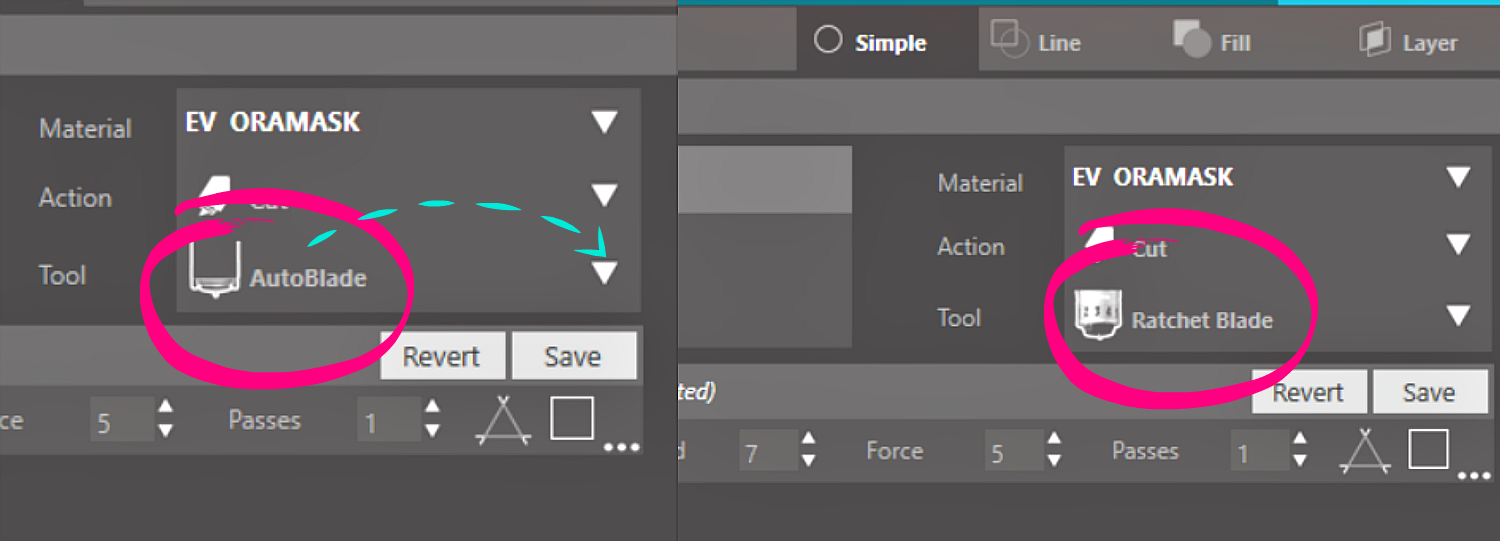
Today I am going to use the Premium Blade to cut out my Oramask Stencil. If you do not have one of these blades, you will love it when you get it, its a stronger blade than the Autoblade and regular black rachet blade and they last 3 times longer.
With the Silhouette Cameo 3 you can load any blade in either the Tool 1(Red) slot or Tool 2 (Blue), the AutoBlade is the only blade that HAS to be loaded into Tool 1.
If you do load your Premium into Tool 1, make sure to adjust the settings from Autoblade to Rachet blade.
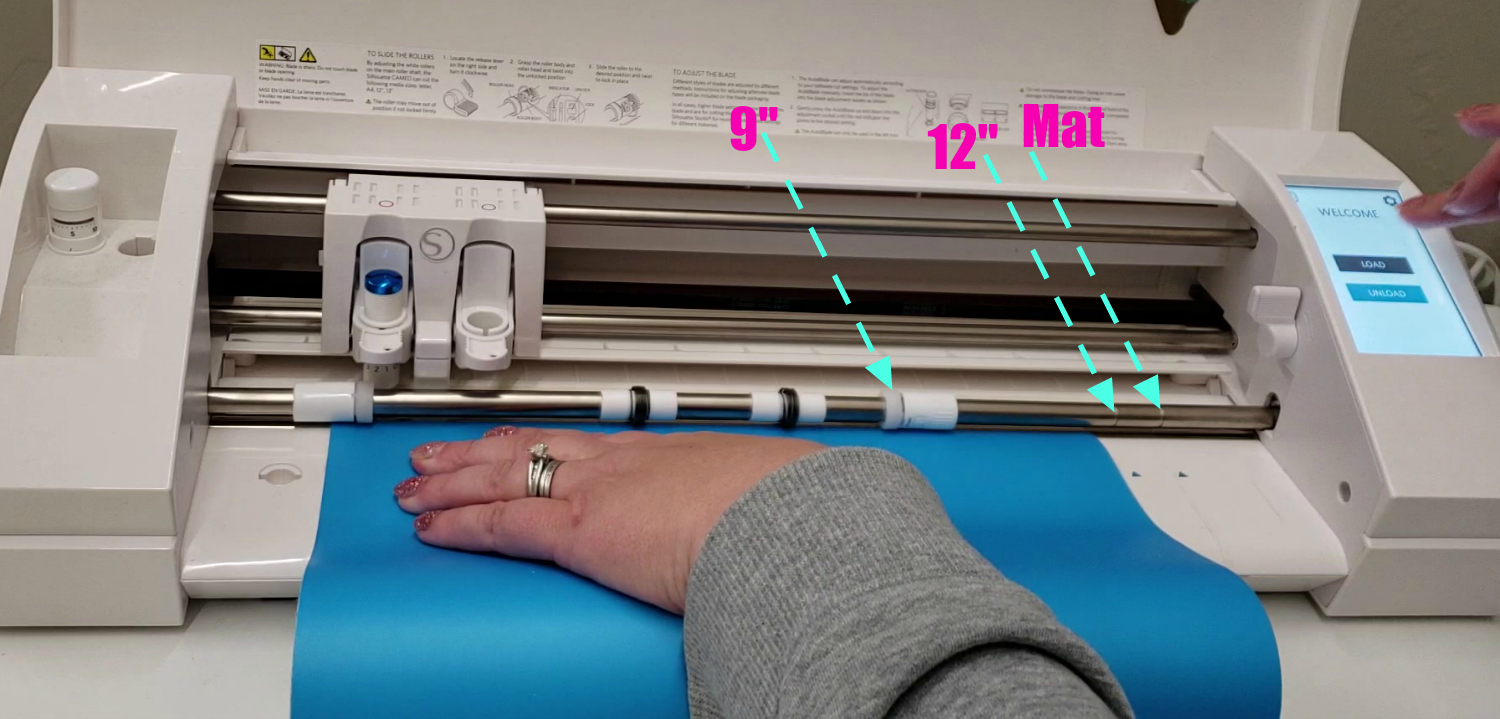
Then load your material in your machine making sure that both sets of rollers are gripping the vinyl. I moved mine to the 9" locking location for better gripping but you can load yours at the 12", both will work.
Then select send with your settings set correctly and get to cutting, but first alwasy do a test cut so you dont waste any vinyl since settings can vary from machine to machine.
I cut out and sized this cool Paisley pattern from Silhouette Store #26935

Start with a corner and work your way slowly weeding up all the negative, which with stenciling, is your word or image.
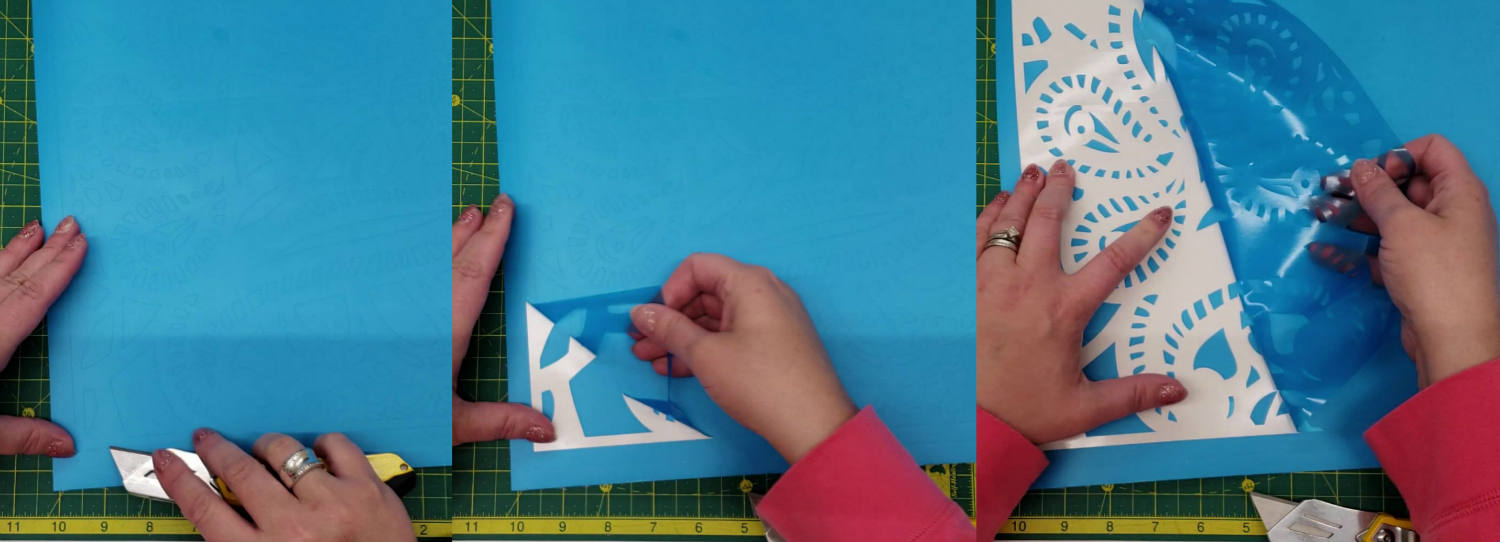
Since the Tray is larger than my 12" cutting allowance, you have to slice your image some so I have a little piece that I will have to piece on to my tray.
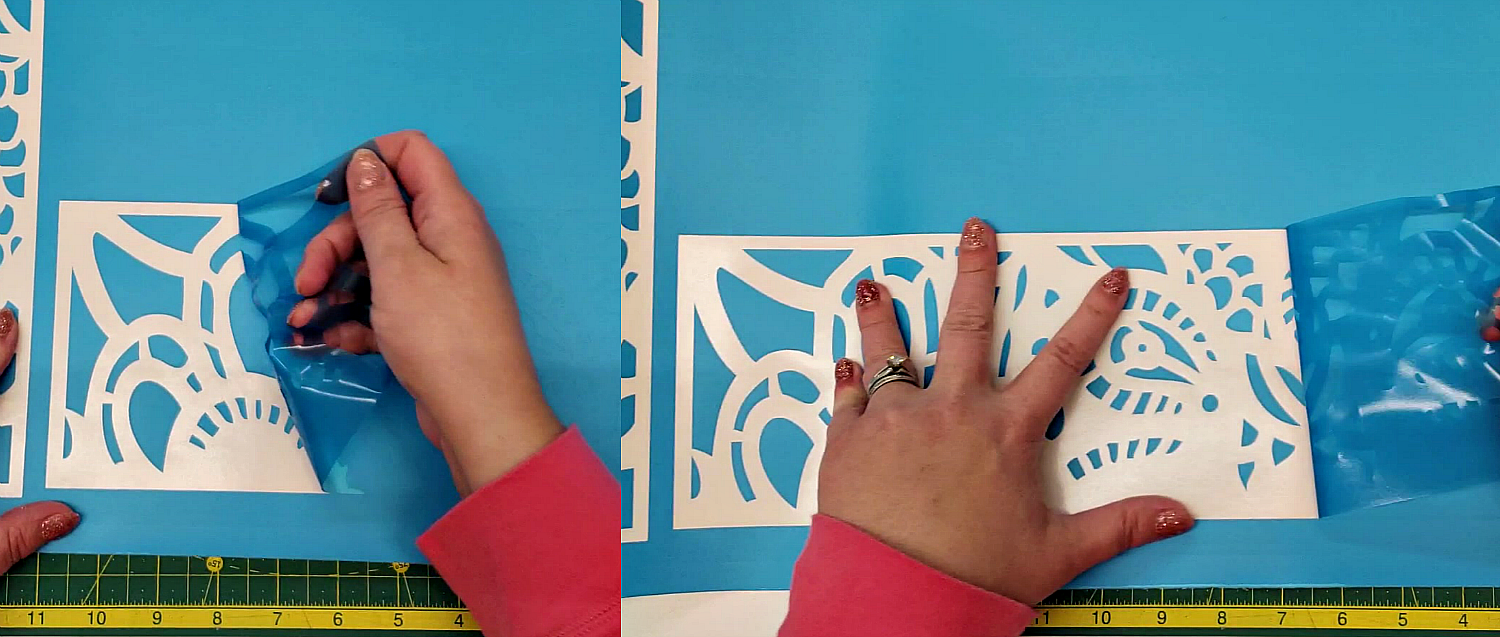
Once everything is weeded out. Apply your Transfer Tape and trim out your weeding boxes. I am using our Paper Transfer Tape today.
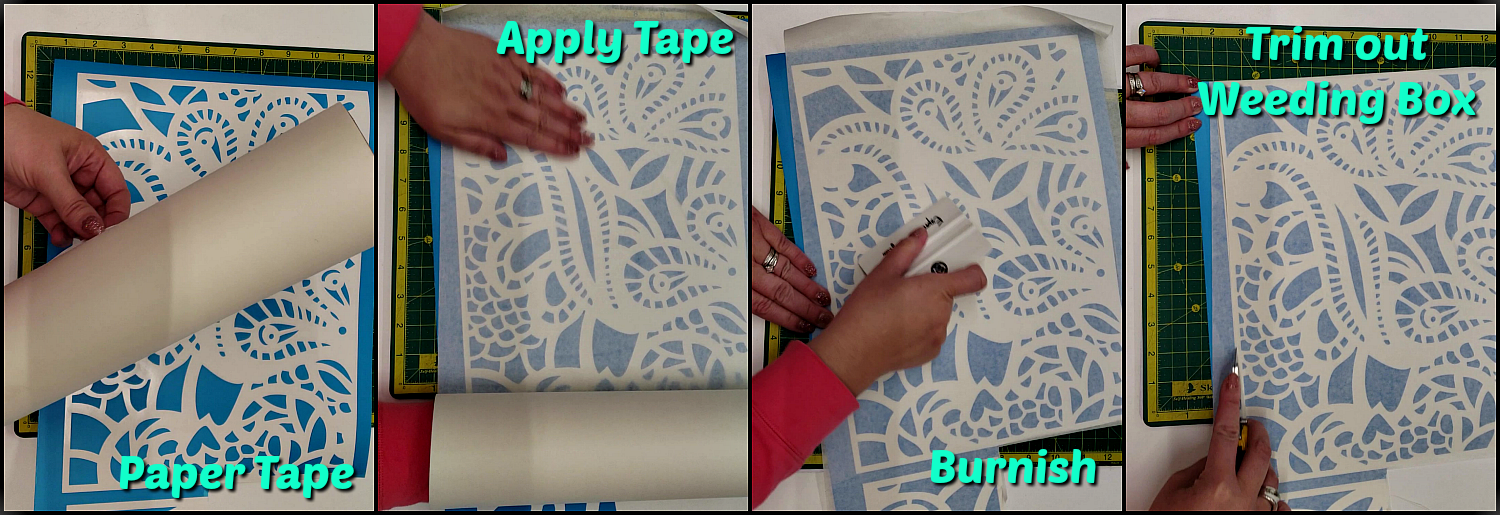
Once all trimmed up, I like to tear a piece of my Paper backer off so I can line up a section and apply it down in the correct spot.
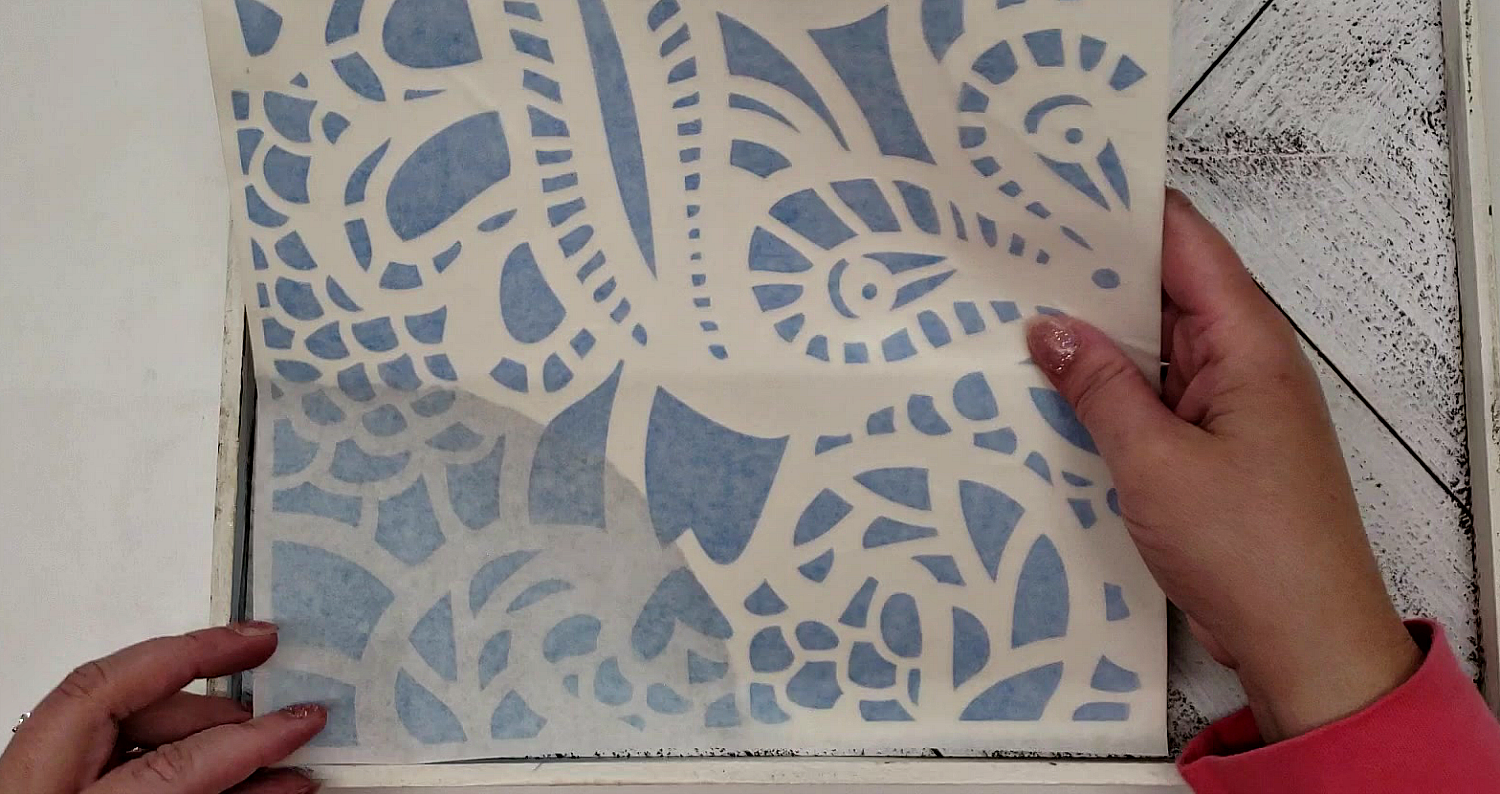
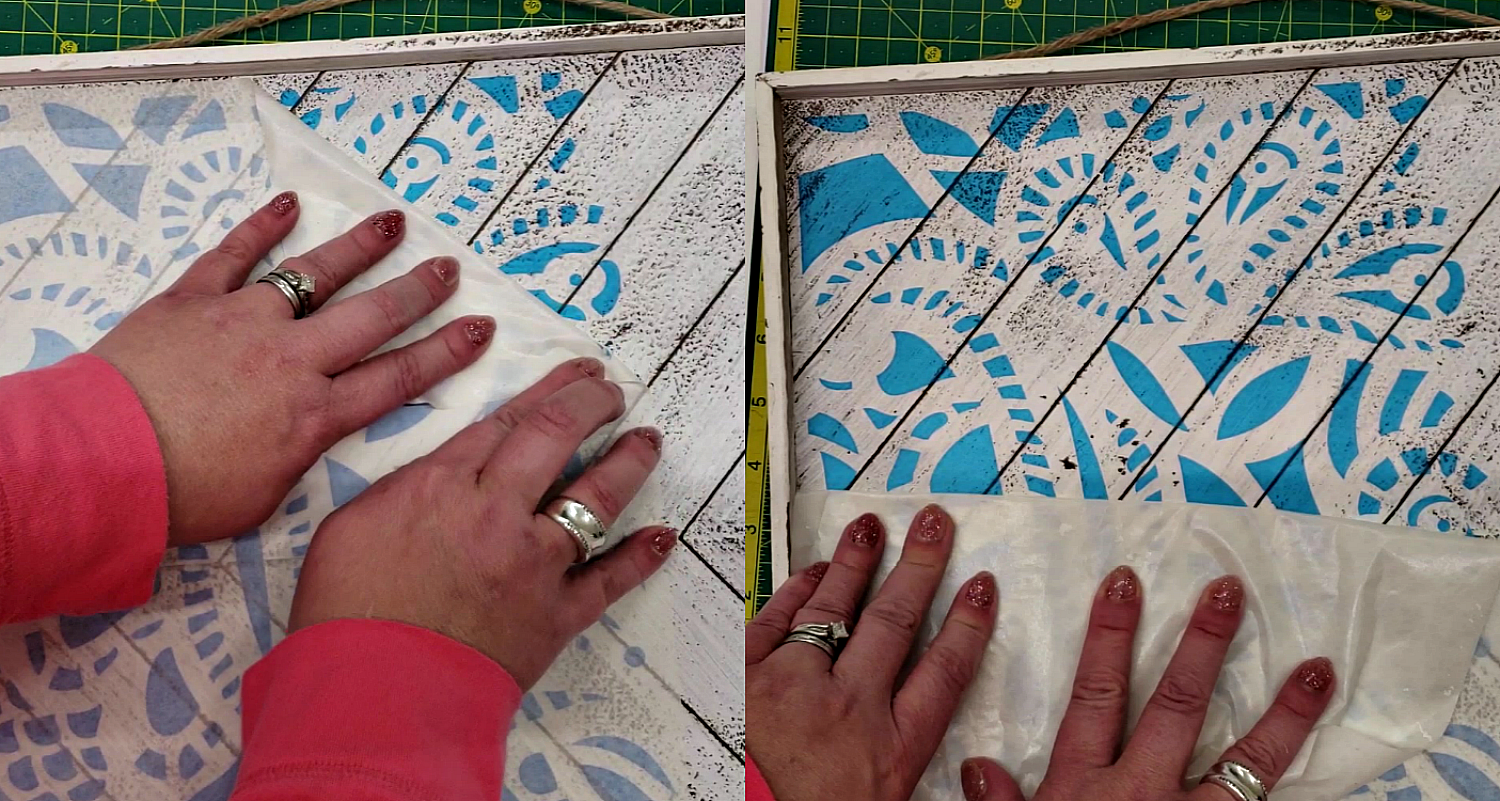
Then just Burnish really well and slowly remove the Paper Transfer Tape.
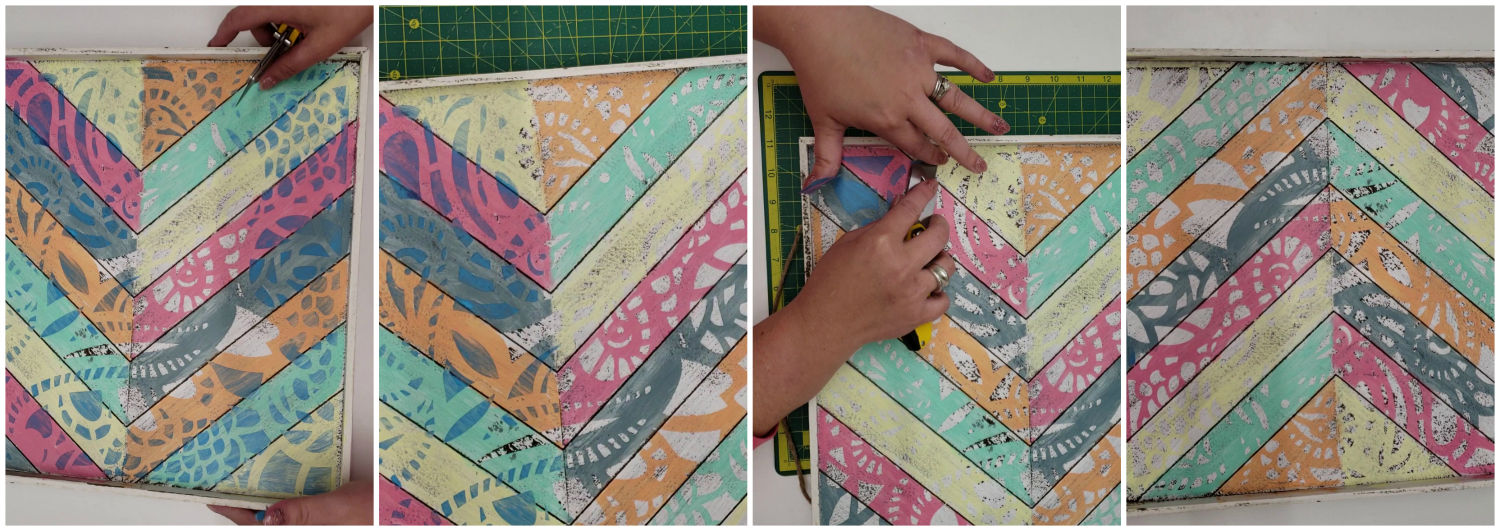
Now is the fun part, applying your favorite colors of acrylic paints. I lined mine up in the order I want them to look, then taking a scrap piece of my vinyls paper backer place drops of paint on it and sponge on with a foam brush all the fun colors you want in any pattern you wish.
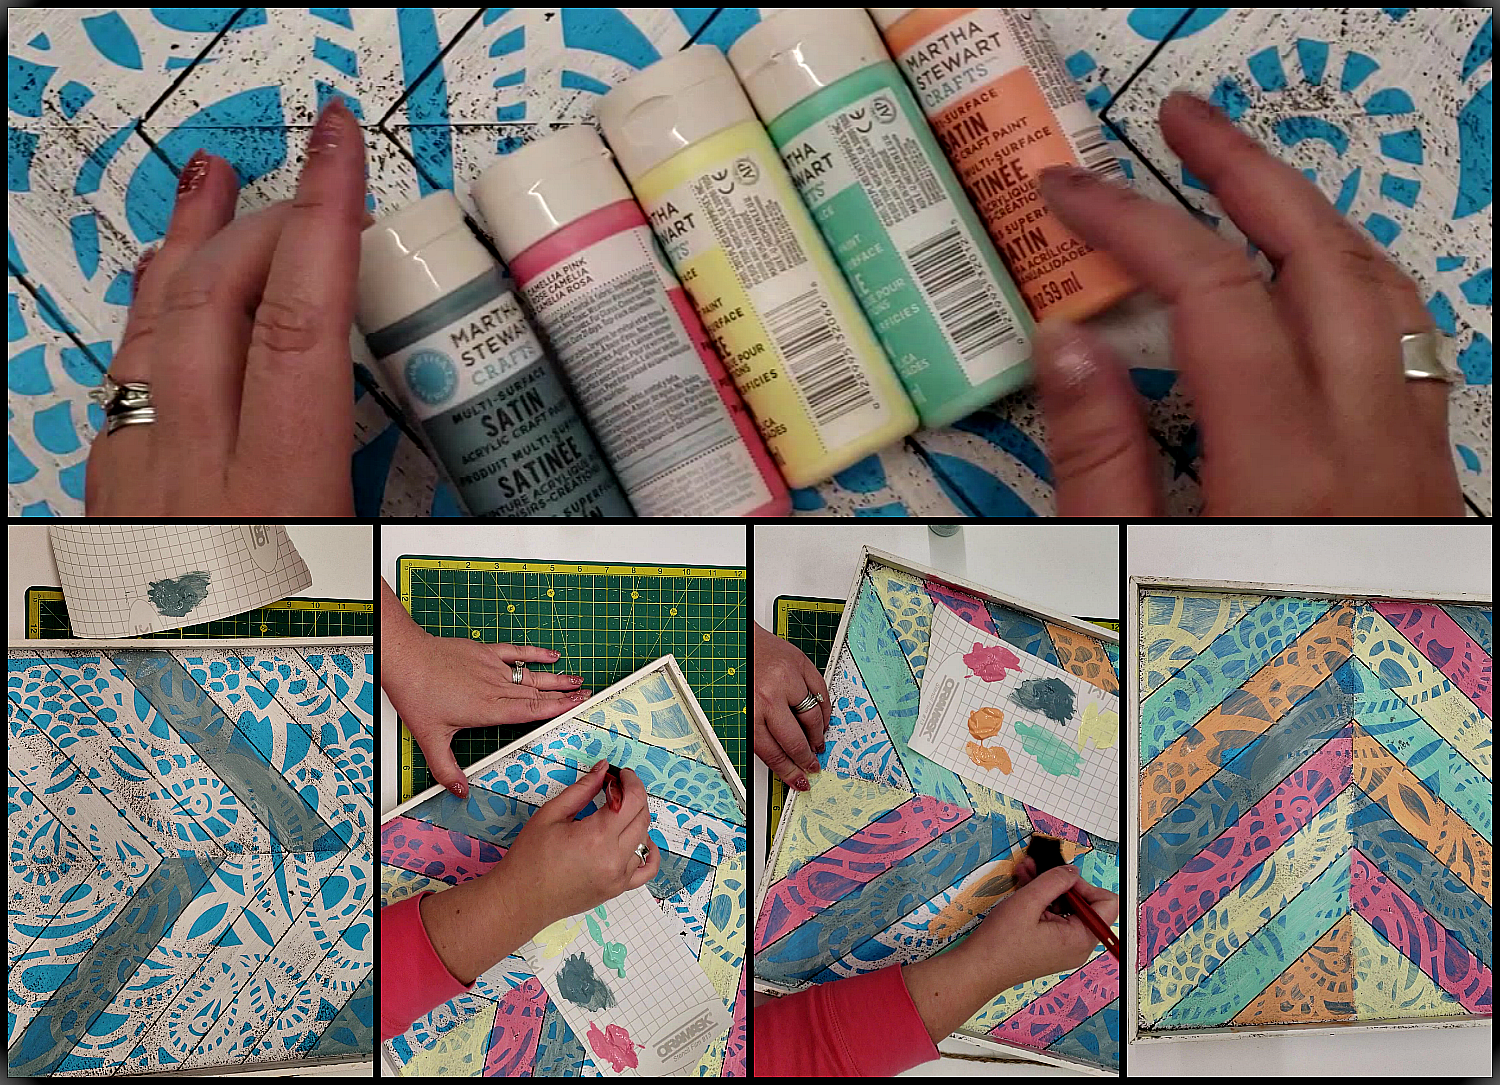
Then let it dry for a bit. Once it is dry you can now remove the Oramask Vinyl left behind and slowly watch your creation come to life.
There you go! You are ready for a fun party, a cool ceterpiece or just some relaxing by pool with your cool new one of a kind stenciled tray.
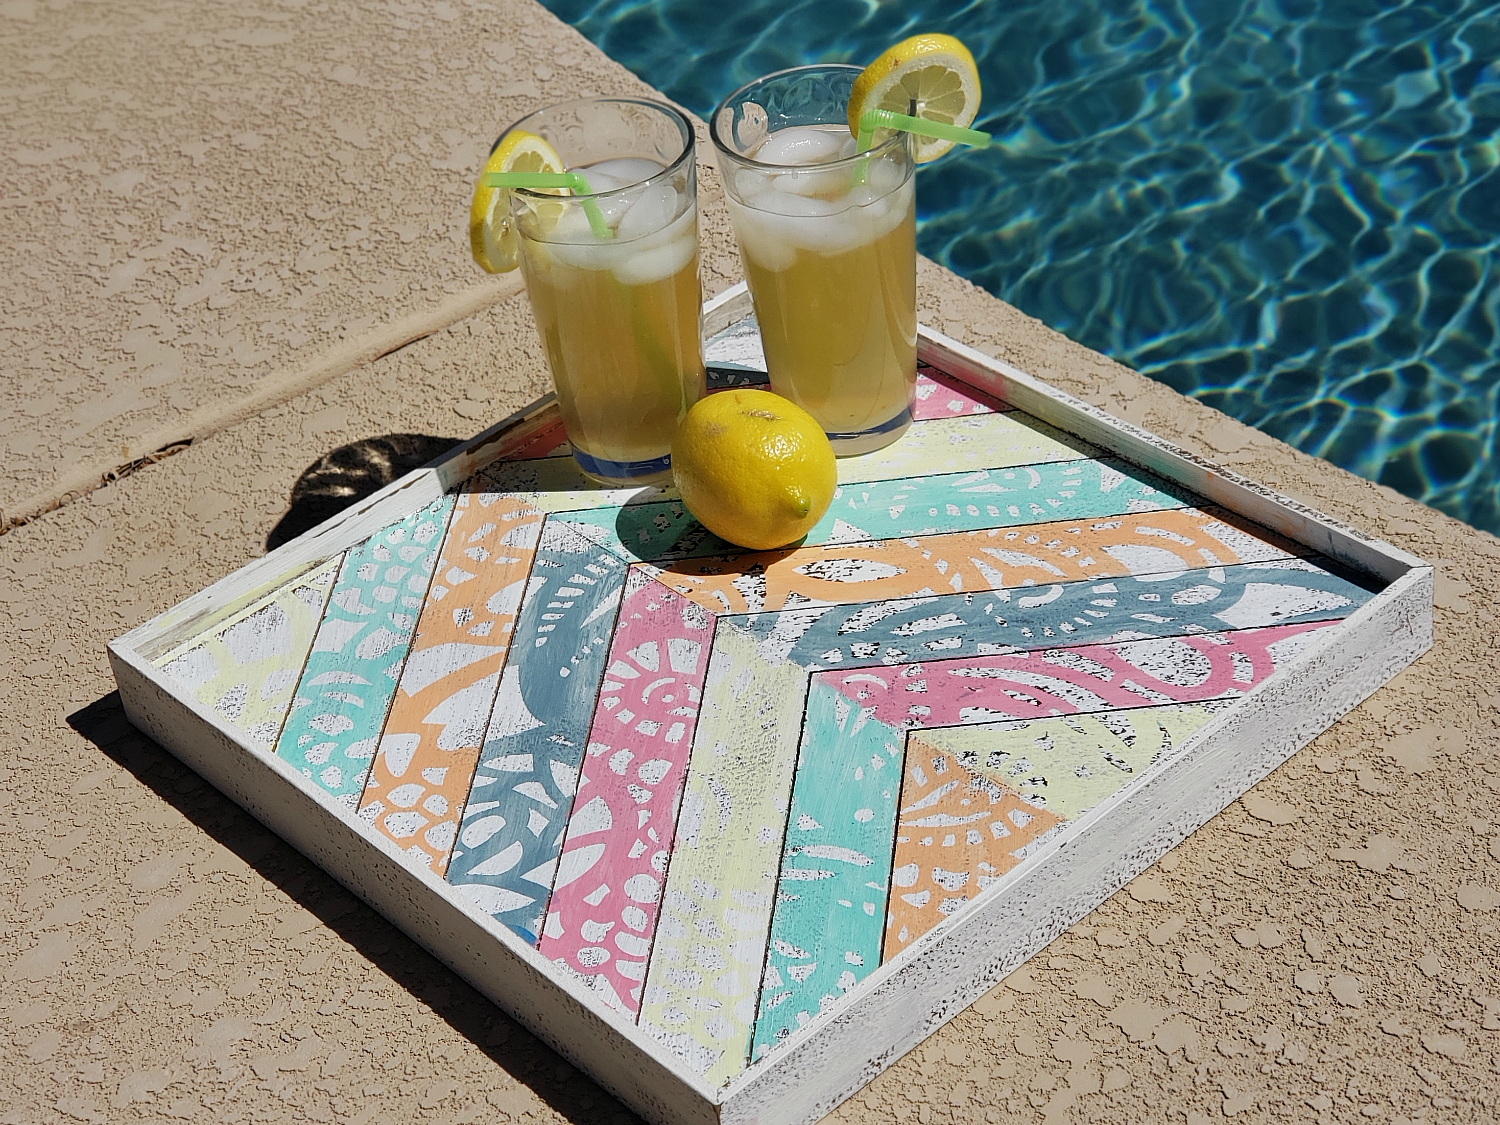
Thanks for stopping by ExpressionsVinyl.com and go try out our fun Oramask 813 Stencil Vinyl, the possibilities and creativity are endless.

Recent Posts
-
NEW Holographic Eclipse Heat Transfer Vinyl
April 15th, 2024 3 Ways to Use the New Holographic Eclipse Heat Transfer Vinyl from Siser …Apr 29th 2024 -
Hop into Spring with Cute Easter Vinyl Crafts
Do you love our Vinyl? Sign up for Vinyl Club today to get FREE vinyl and save big! …Mar 28th 2024 -

Fixing Wrinkles and Bubbles in Vinyl
How do you get air bubbles out of vinyl? There are a few different ways to ensure a flawless …Mar 26th 2024