
Pattern Mock up in Silhouette Studio
Hey and welcome back to ExpressionVinyl.com, if you are new, WELCOME! We are glad you stopped by.
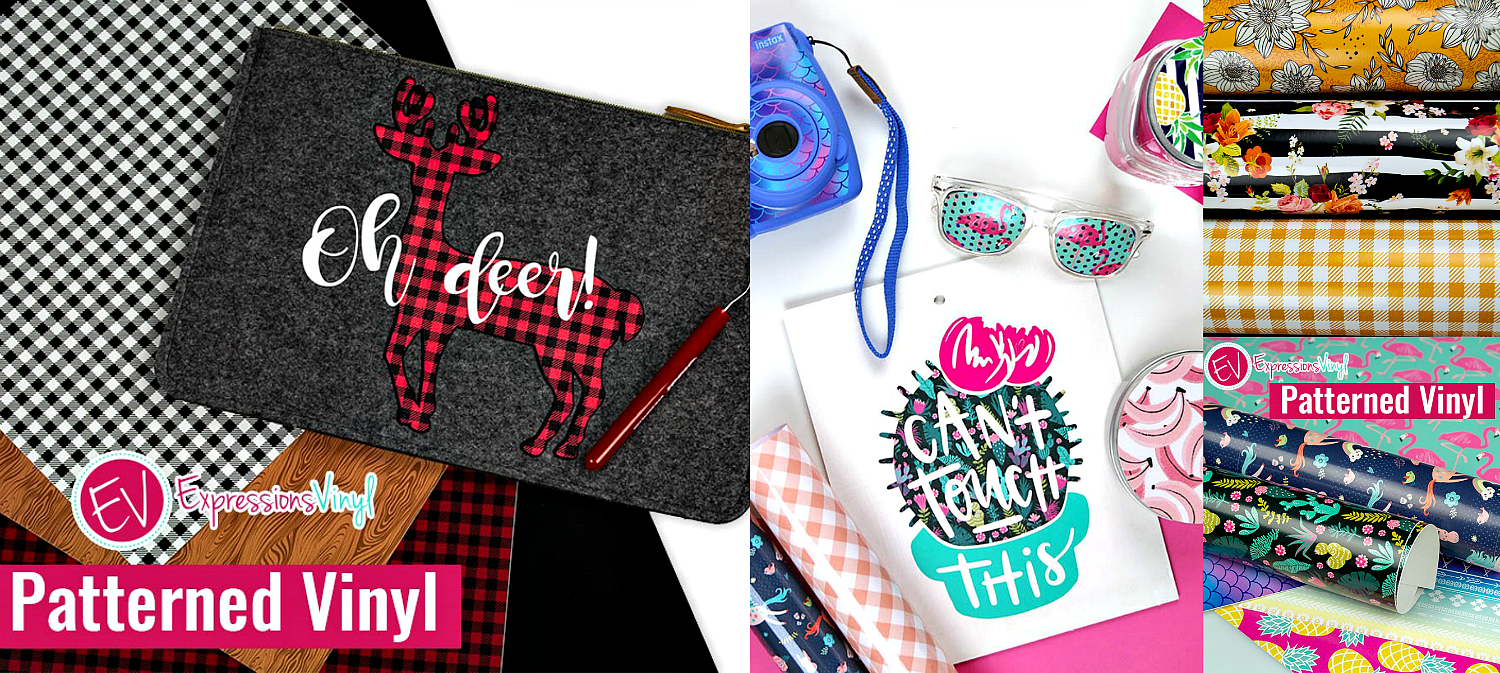
ExpressionsVinyl has been adding some fun Patterned Vinyl in both HTV (Heat Transfer Vinyl) and Adhesive Permanent to our inventory, always adding more fun patterns.
But sometimes it can be hard to know what to do with it and sometimes you want your cut image in a certain spot, I will show you how to do this, importing, scaling and adjusting your image so you know exactly where it is going to cut.
And I'm going to show you today how to import them into your Silhouette Studio program so you have a mockup.
Okay, so as you can see here, I've taken a picture of our unicorn pattern adhesive, just taken with my phone and made sure that I had plenty of white space,and on a flat, clean background to get a good even color distribution.
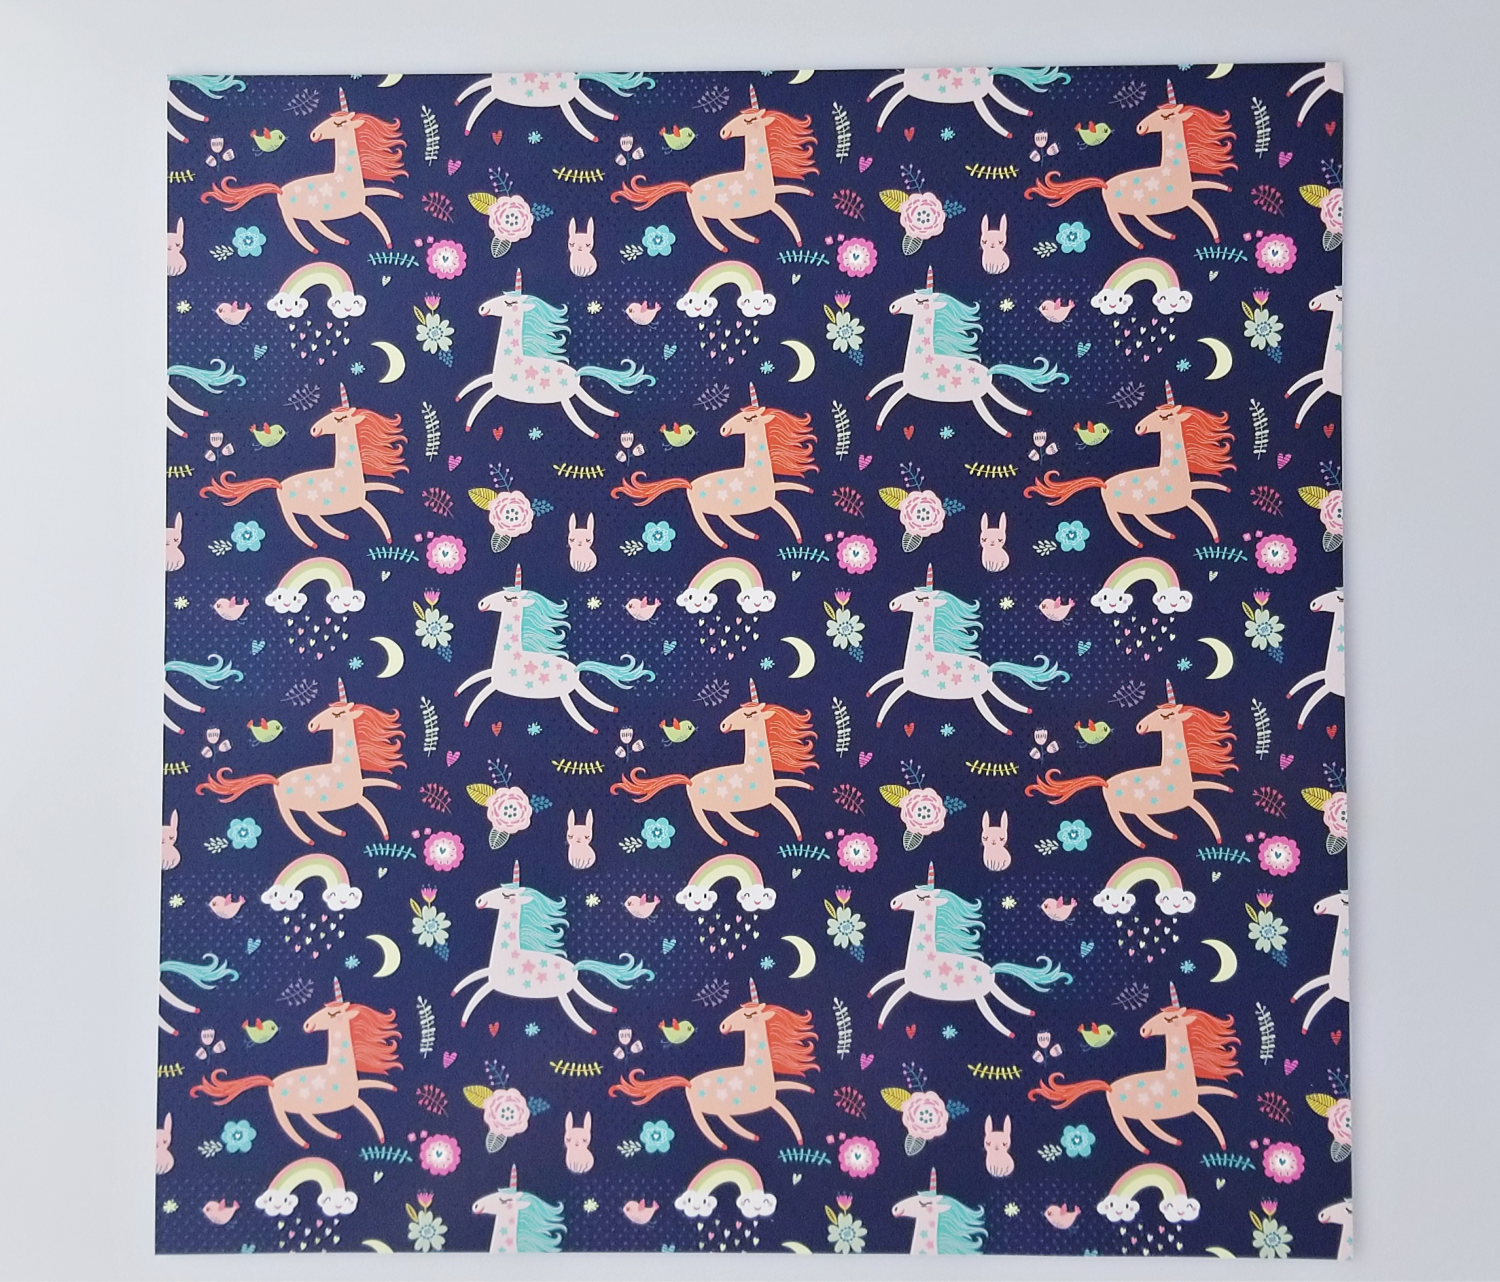
This is our Unicorn Dream Pattern in Adhesive, you can also get it in HTV.
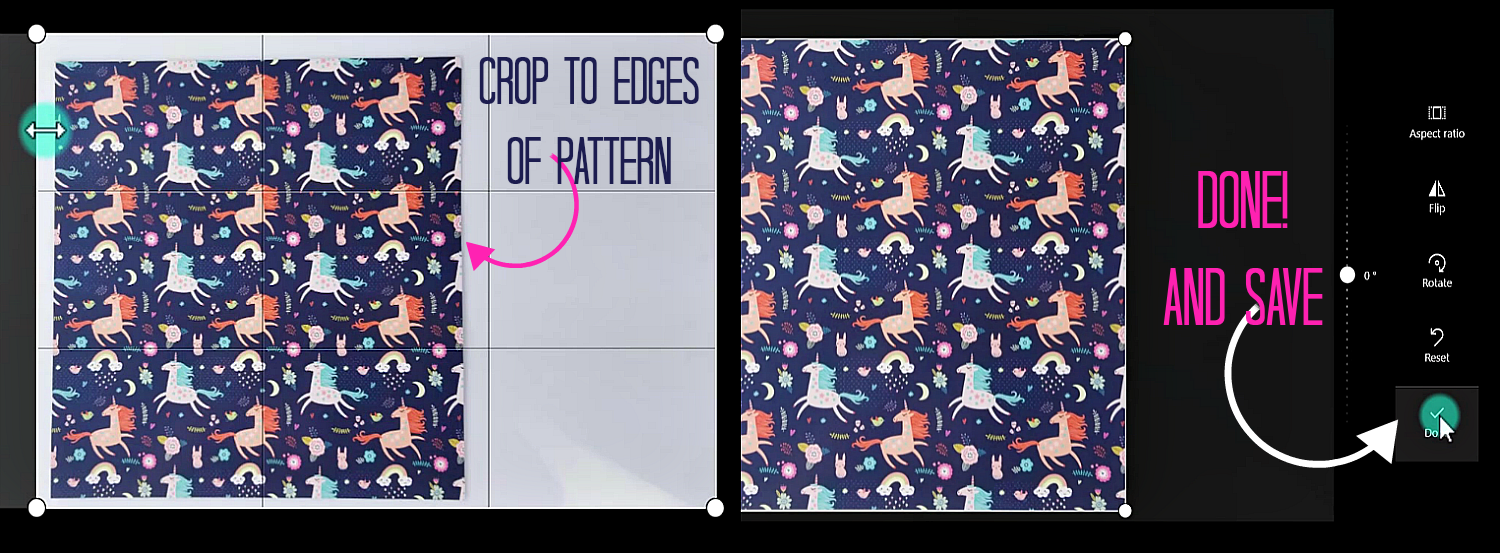
I am using a windows computer and you can actually double-click on the picture and it'll take into this crop space. Then just crop and edit it, and bring it as close to the edges as you possibly can. So that you get a better, accurate reading. And then, select done, and there you go.
We're ready to save a copy, and we will just save it to any folder onto your computer. I'm just gonna name it Unicorn 12x12 cropped. That's just so I know that that one's ready to go.
In your Silhouette program, you're going to actually just drag it in from your file, and drop it in the middle

Up at the top here is where you'll adjust your width and your height. Make sure that it's unlocked so you get even sides, and just adjust it to 12 by 12, and then re-lock it. This icon right here will center it to the page, so I give you a better visual. This may put it slightly off but it wont be much.
All right, so I wanted to use this pattern because it's not symmetrical, well, it is to a point, but I want to get my unicorns specifically on certain spots.
So I'm gonna use this cute unicorn cut file found in the Silhouette Store.

Silhouette Image Stacked Love-Unicorn Phrase #260513
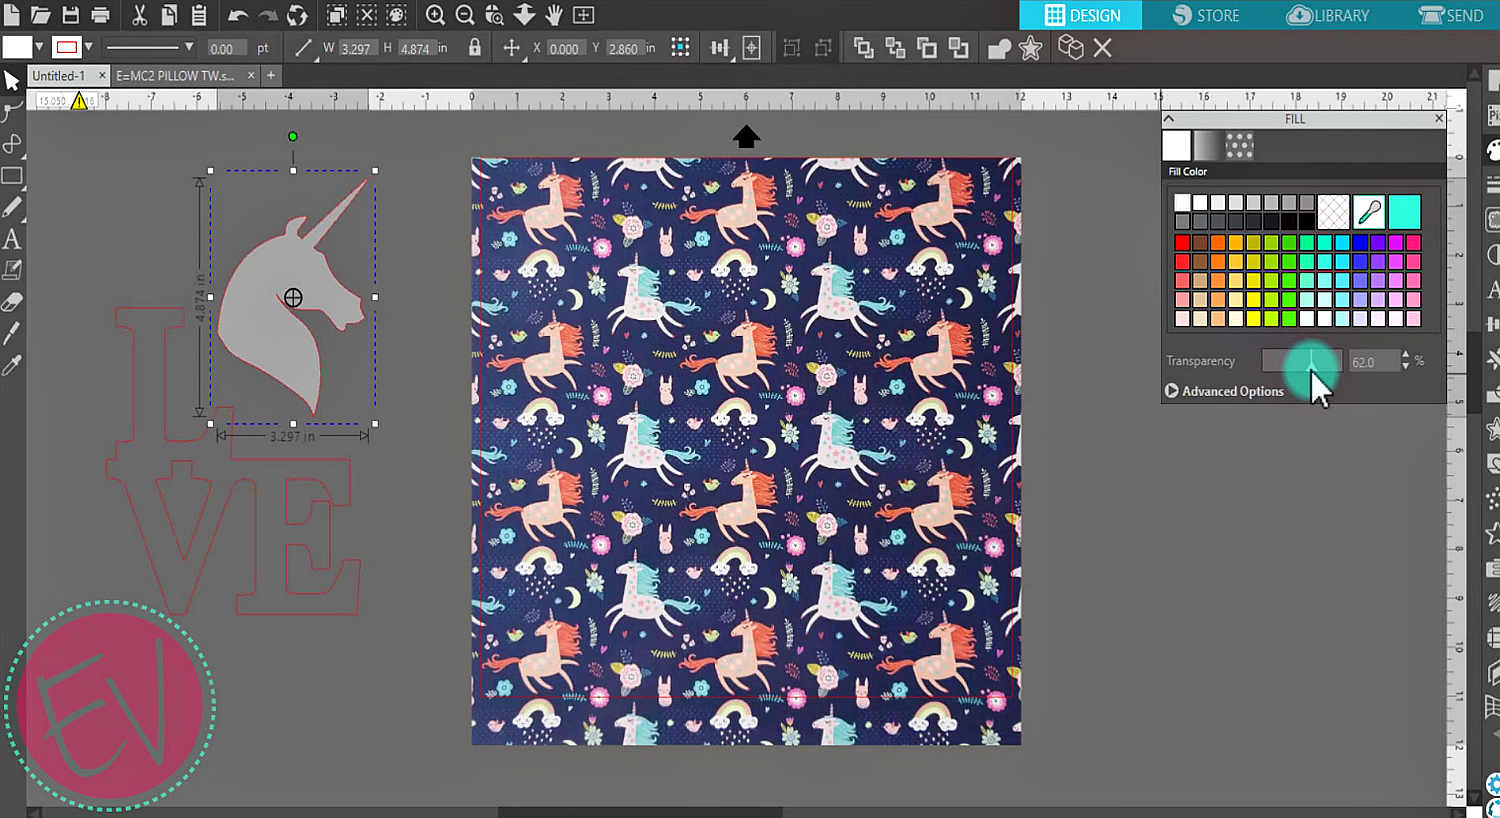
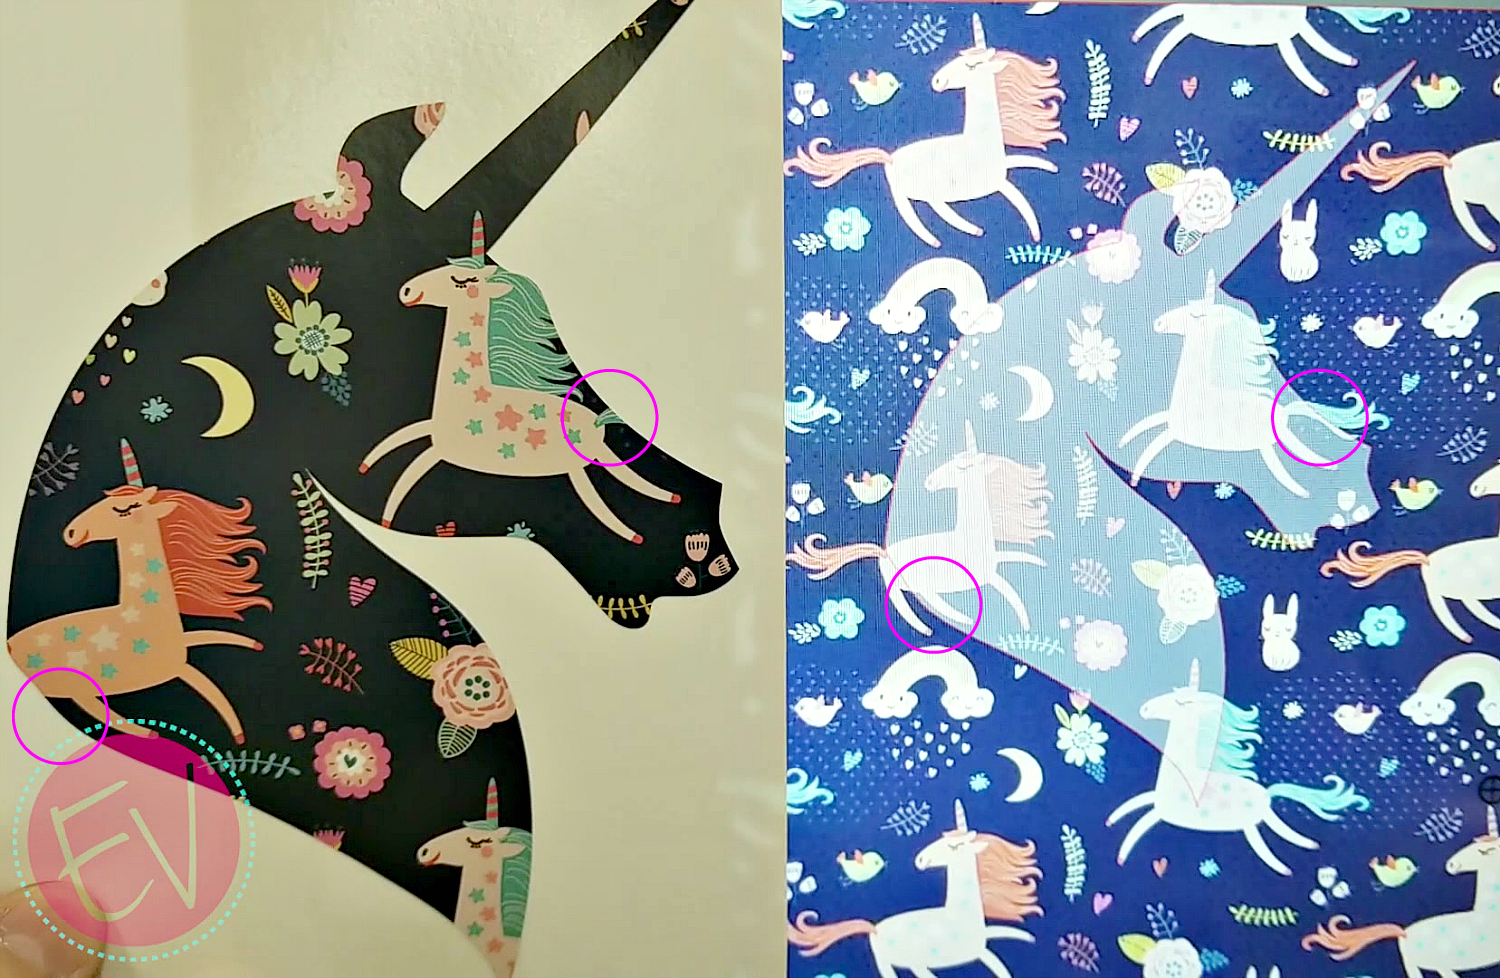
Images opended from your library will always pop into the middle of your page, so just slide it off to the side. And then, ungroup it. And I like to color them white and then, doesn't matter on the lines, and then add a little bit of a transparency so you can see your background behind your unicorn. This kinda helps so you can kind of see do I want it up there, or over here, what exactly do I want on my actual unicorn head?
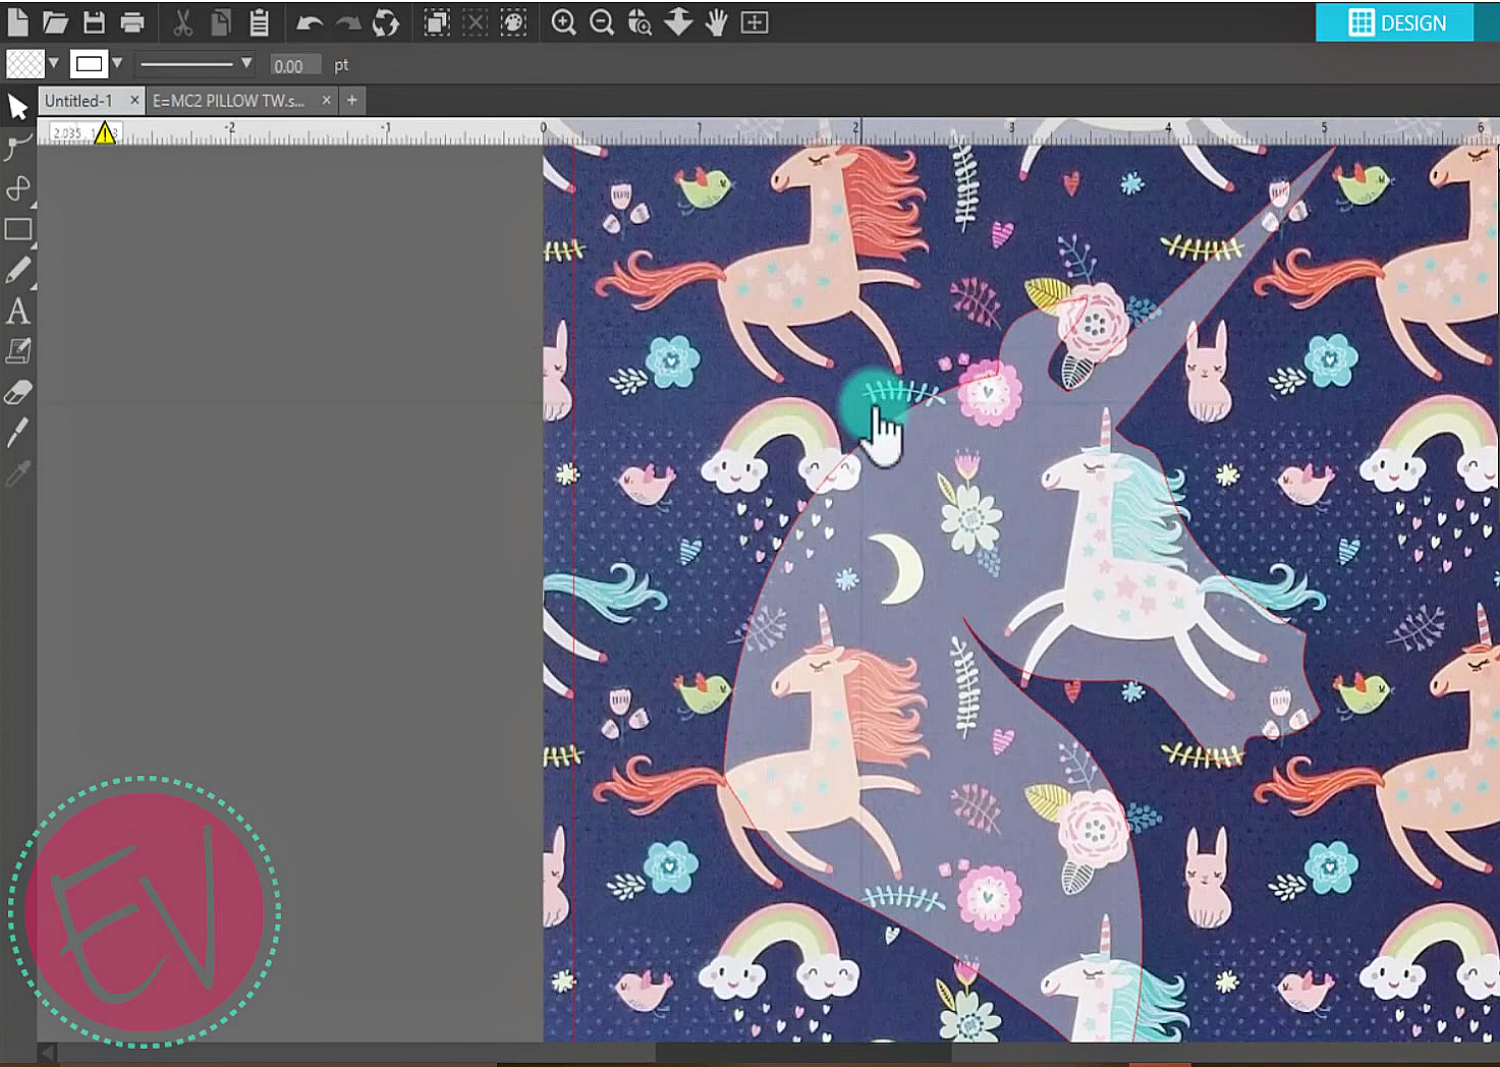
And you won't wanna adjust the background size at all, because this is actually how the vinyl looks in person and that's what you're trying to duplicate is what it will actually look like when it's cut. So I'm just gonna make it a little bit bigger because I kind of wanna get a couple more unicorns into my unicorn head. And about right there looks good. And this red line right there, that is your cut lines, you don't wanna go outside of that.
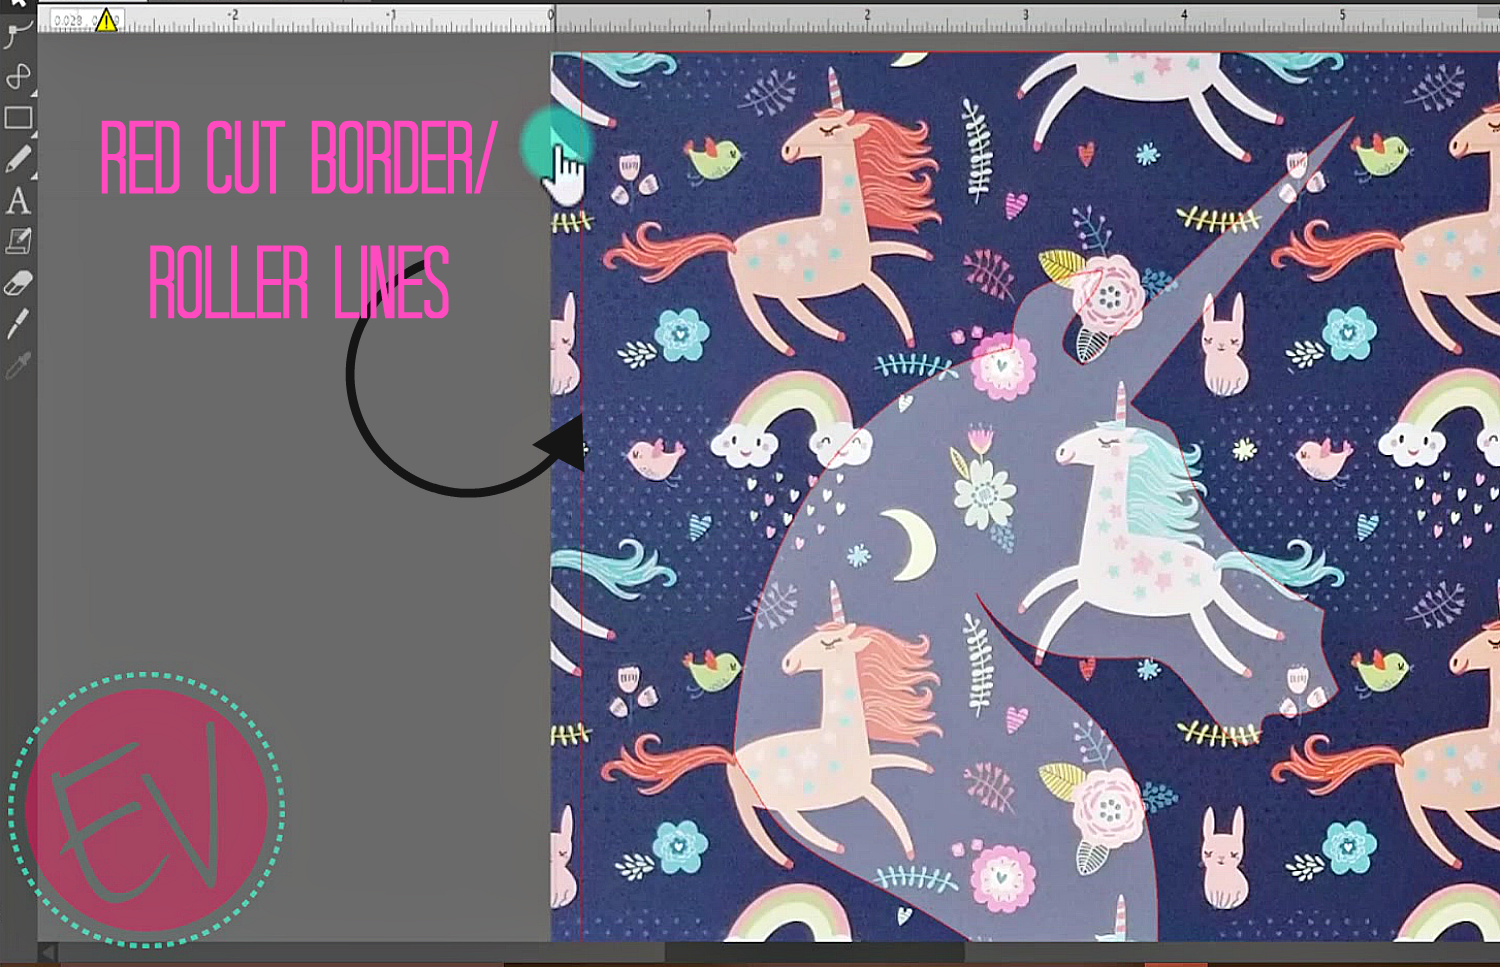
That is where your rollers run along the side and they need to stop with about an inch on the end. So if you wanna use all of it be sure to put it on a mat.
We have cut settings on our website, and if you don't have these in your program, you can go to add new material type, and rename it whatever you want, just do "rename new material". I'm actually going to name it EV Patterned ADH for adhesive. It would be about the same cut settings for the heat transfer as well. So we wanna do a blade of a two, a force of around a five or six, five. And then, I'm gonna do my speed a little bit faster because my unicorn is not very detailed, and you can go fairly fast with that.
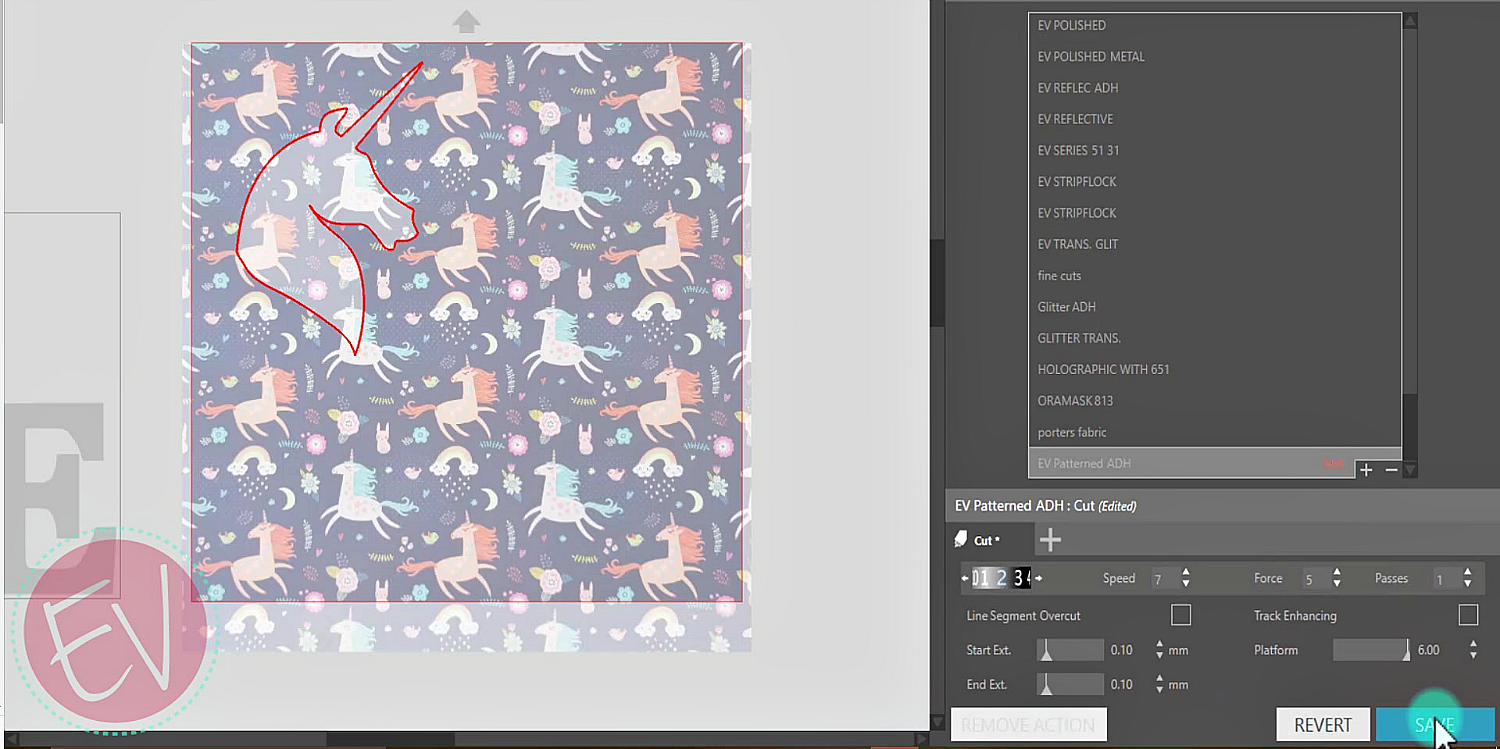
All right, and then once you have those settings set, you don't need to use a platform, that's for the Curio, and then just hit Save. That'll save it, you have to close out of it. And then, it should be the very last option in your cut settings.
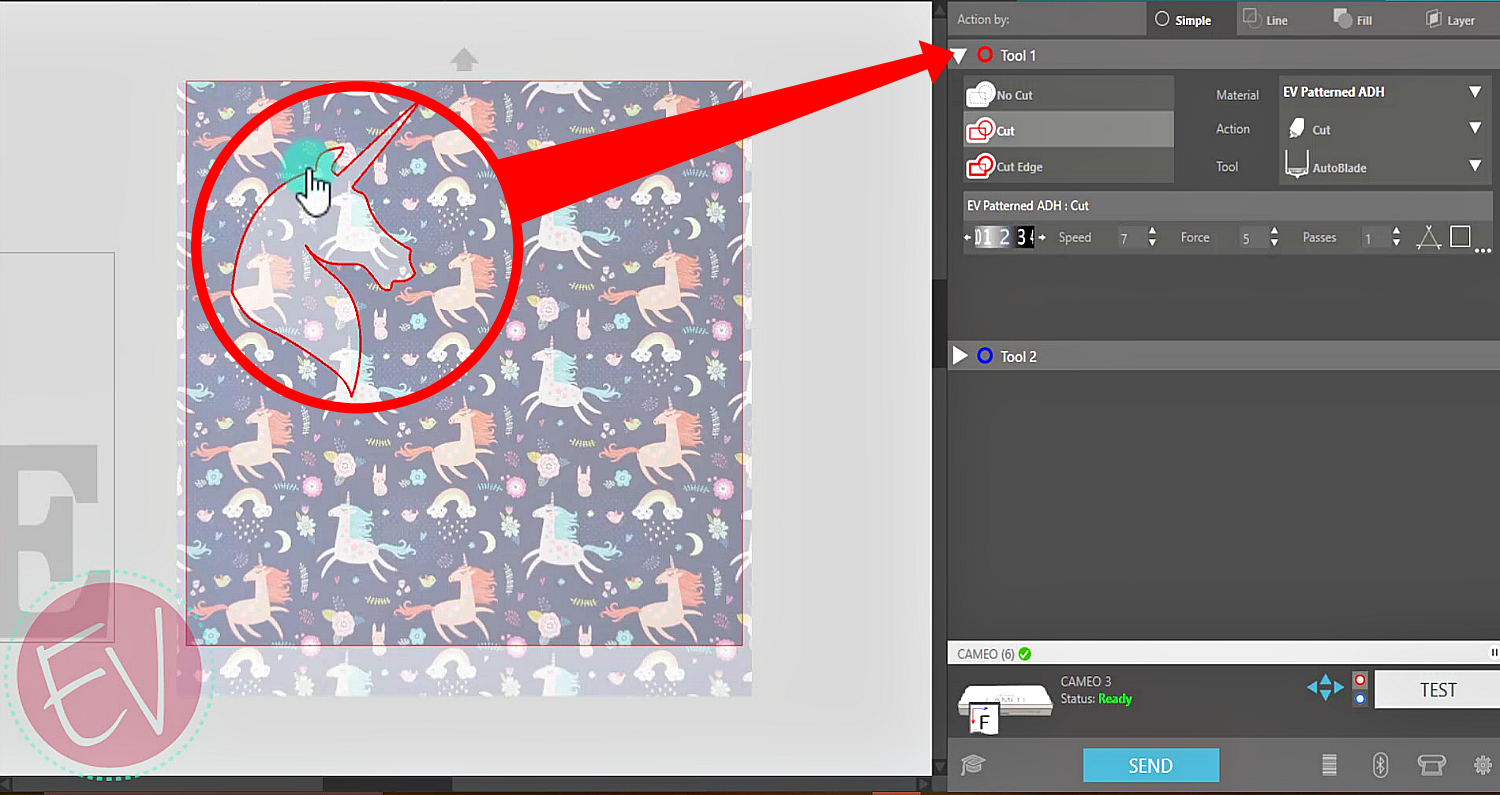
We've got our settings all set up. We're not gonna be using Tool 2, so we're just gonna shut that off. And we are using Tool 1, so we wanna make sure that our unicorn correlates with the red Tool 1. And you are ready to send.
TIP: If you want to always have this redily available simply drag and drop it into your Patterns folder of your library and you will always have that pattern in there.
You can use that for mockups, not for scale mockups, if I wanna cut in a specific location on the vinyl. This will be more for when I just wanna create a mockup for a visual reference.
You are now ready to cut your image...
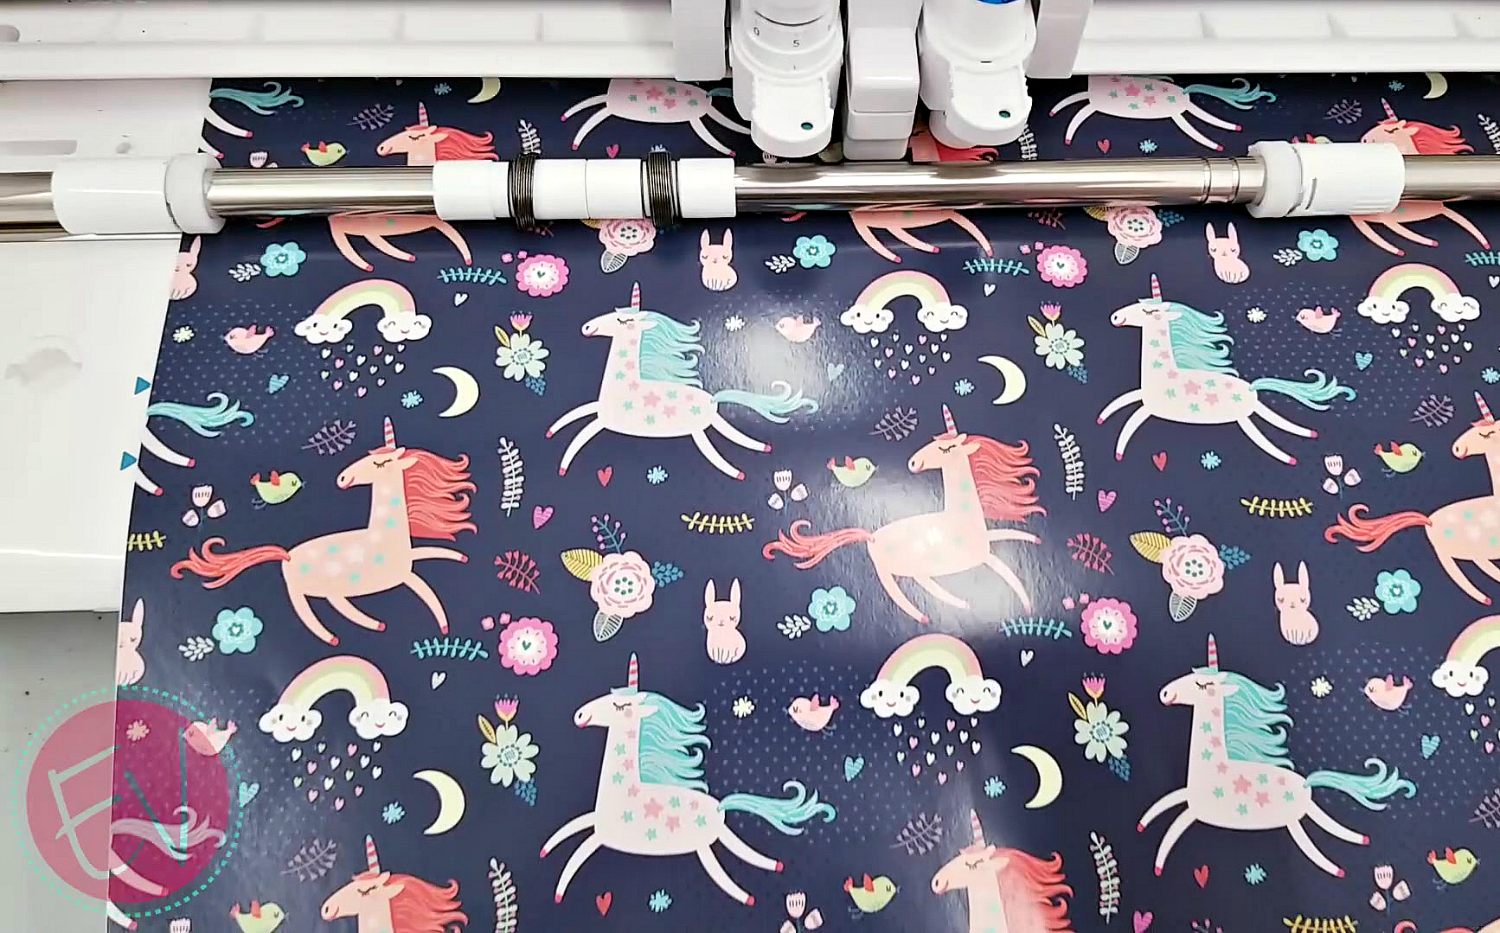
I would say that was a pretty close mock up...
Check out all these other fun ideas for use with Pattern Vinyl from ExpressionsVinyl.com and the cute "Cant Touch This" Cut file from one of our favorite bloggers PersiaLou.
I hope everybody found this helpful, let us know if you have any questions, or comments, or if you have any issues with anything. Just let us know and leave them in the comment section below. Thanks guys, bye.

Recent Posts
-
NEW Holographic Eclipse Heat Transfer Vinyl
April 15th, 2024 3 Ways to Use the New Holographic Eclipse Heat Transfer Vinyl from Siser …Apr 29th 2024 -
Hop into Spring with Cute Easter Vinyl Crafts
Do you love our Vinyl? Sign up for Vinyl Club today to get FREE vinyl and save big! …Mar 28th 2024 -

Fixing Wrinkles and Bubbles in Vinyl
How do you get air bubbles out of vinyl? There are a few different ways to ensure a flawless …Mar 26th 2024