
Printable HTV on canvas
Hey there crafty friends! Connie here from @kutiekairadesigns with a fun project for you today: printable HTV on canvas *gasp*! We recently moved into a new apartment and I have a small craft corner that I am still working on making pretty. I want make unique custom pieces to put up a collage wall of cuteness above my desk. I like incorporating different mediums and textures into my collage walls to make it pop. The possibilities are endless with adding printable HTV on canvas and I am going to share all my tips and tricks with you today!
Things you will need:
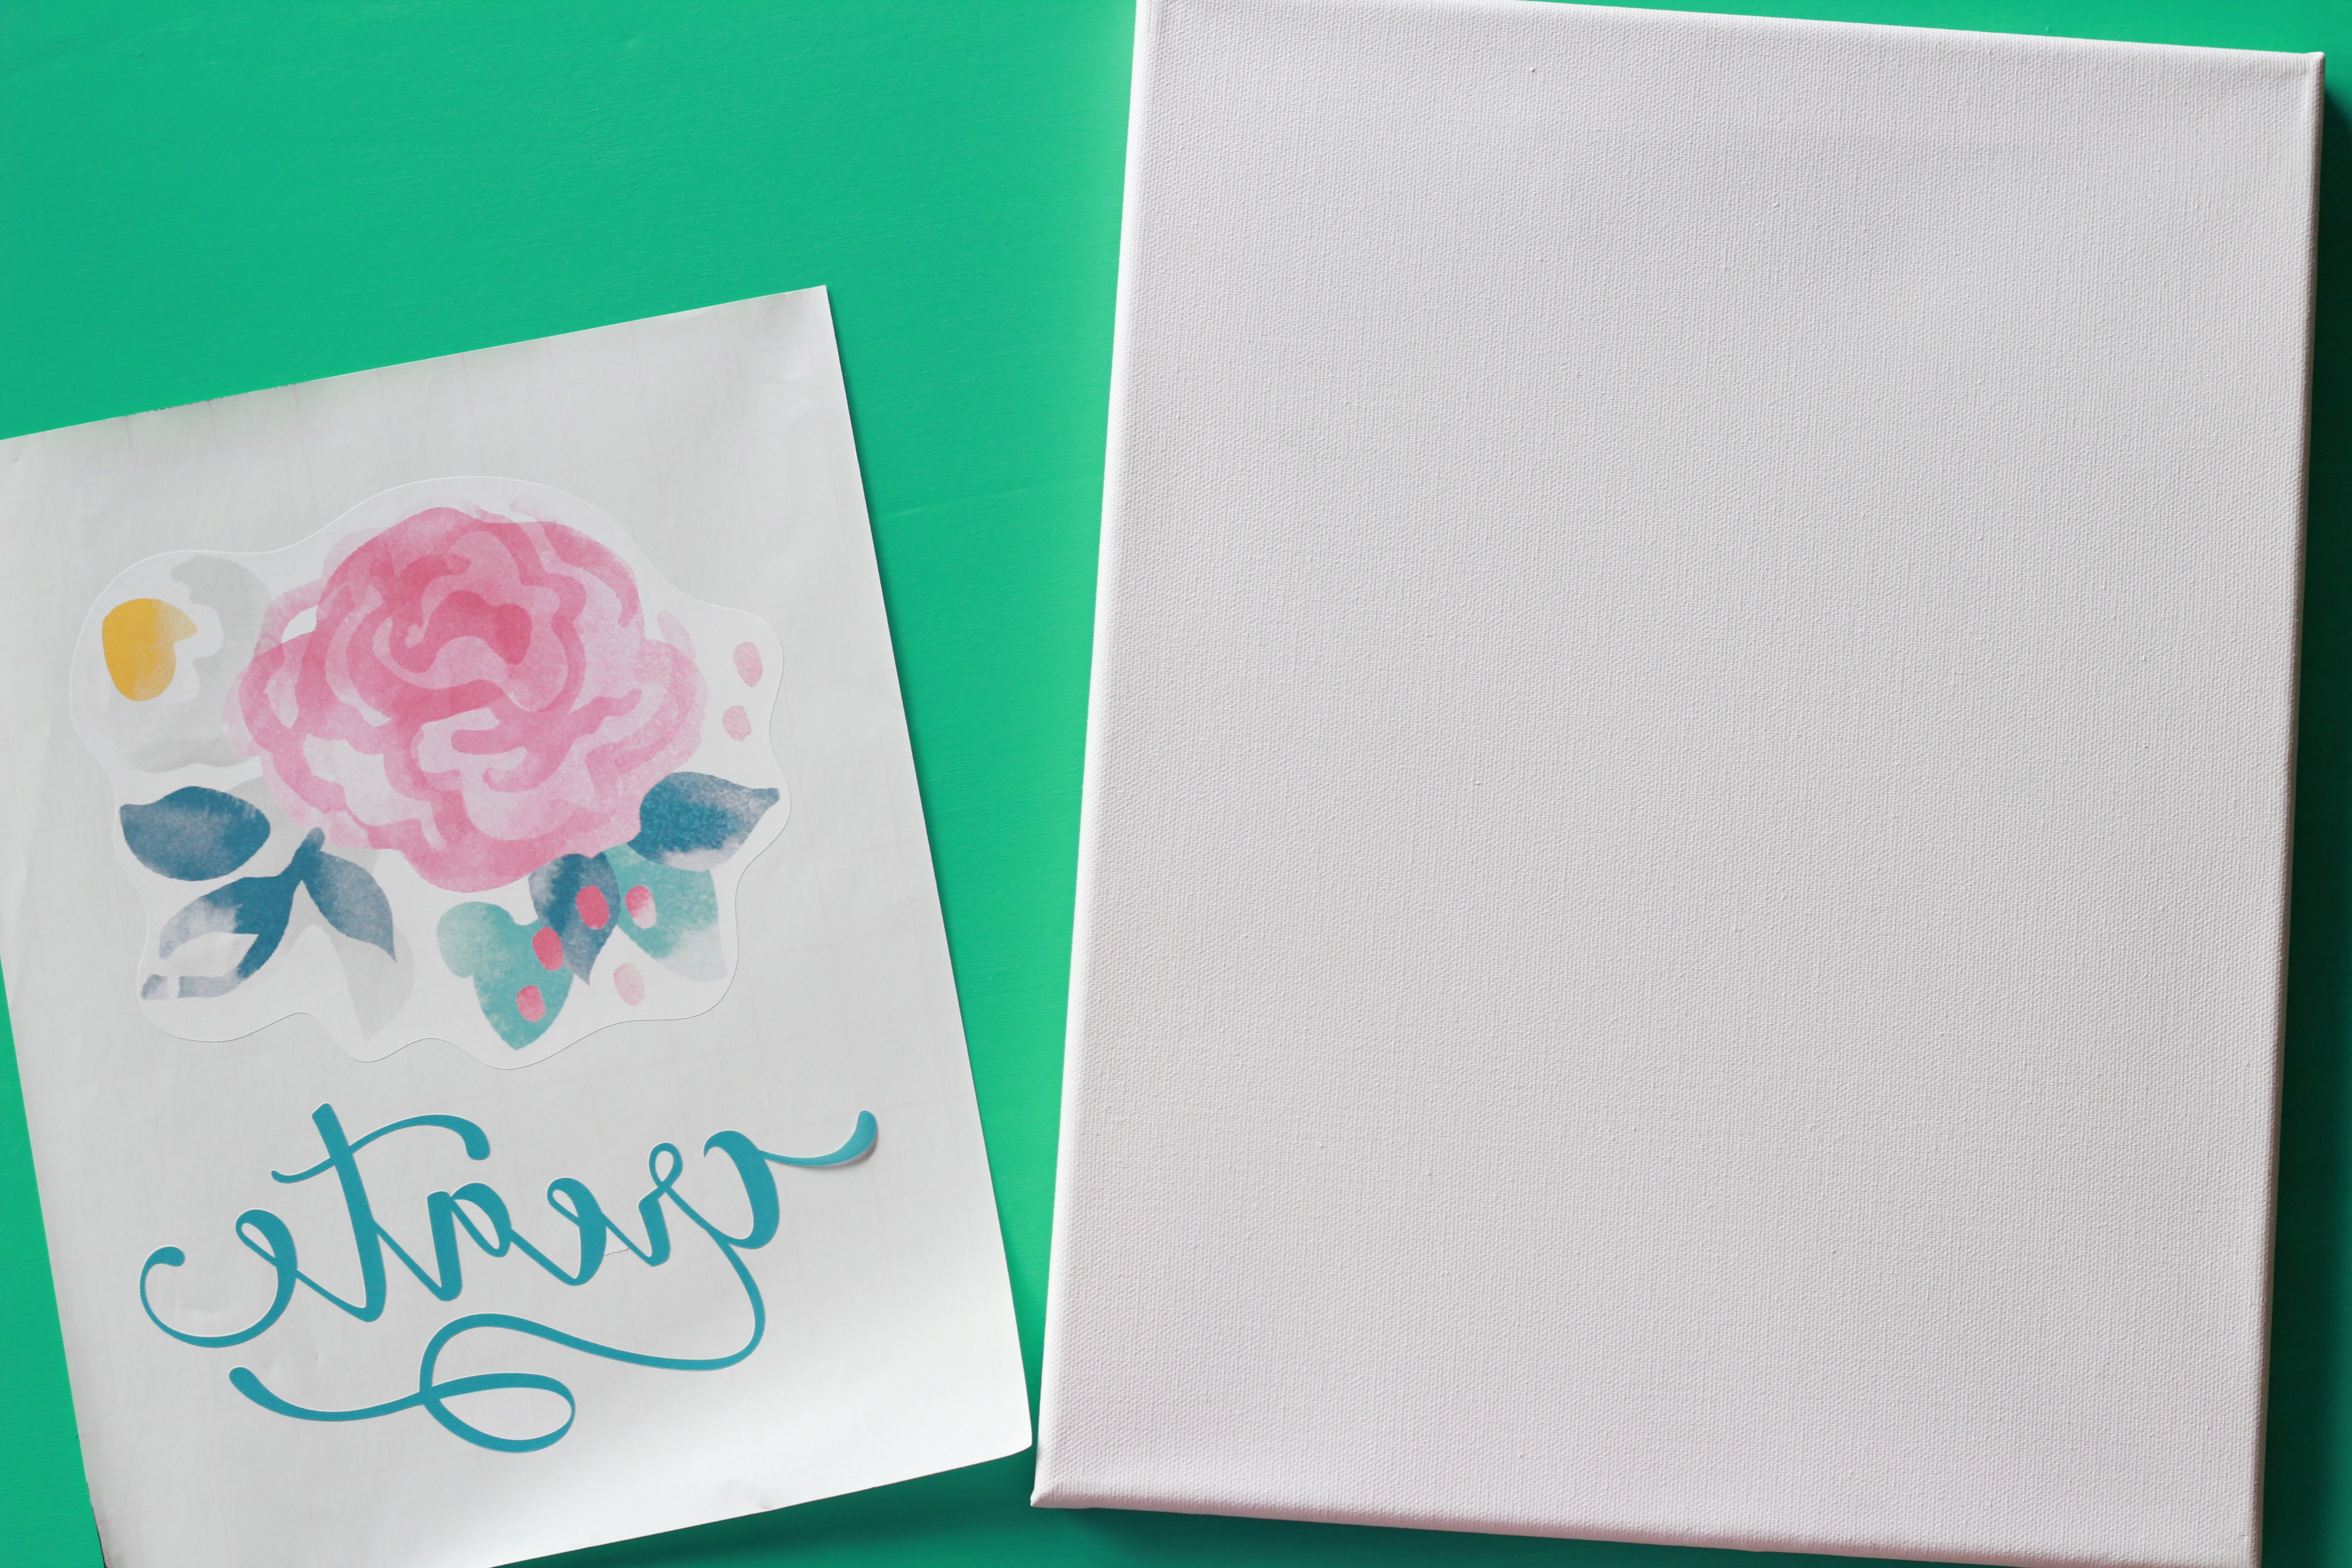
-Canvas (I used 11X15 inches but any size works)
-Silhouette brand printable heat transfer vinyl for light fabrics
-Cutting machine (I use a Silhouette CAMEO 3)
-Printer
-Heat press or iron
-Pressing pillows or books
Step 1: Design and Print/Cut Your Image
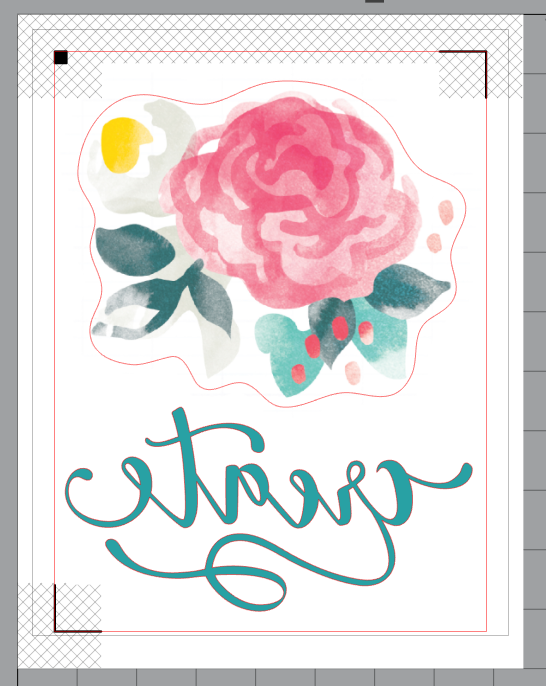
I used designs from the Silhouette Design Store. The floral design is by Crate Paper #246067 and the 'create' file is by Kolette Hall #158188. The size of my printable HTV is 8.5 x 11 so I used as much of the space as I could. For a successful print & cut, you *must* keep the design with the black registration marks and netting, within the red cut rectangle, and within the gray print rectangle. If any portion of your design is outside of those areas, sadly it won't work. But don't be scared! It is really easy to do and you will be hooked on print and cut in no time.
Once your design is ready, send it to print to your local printer. But as always with HTV, do not forget to mirror/flip horizontally.
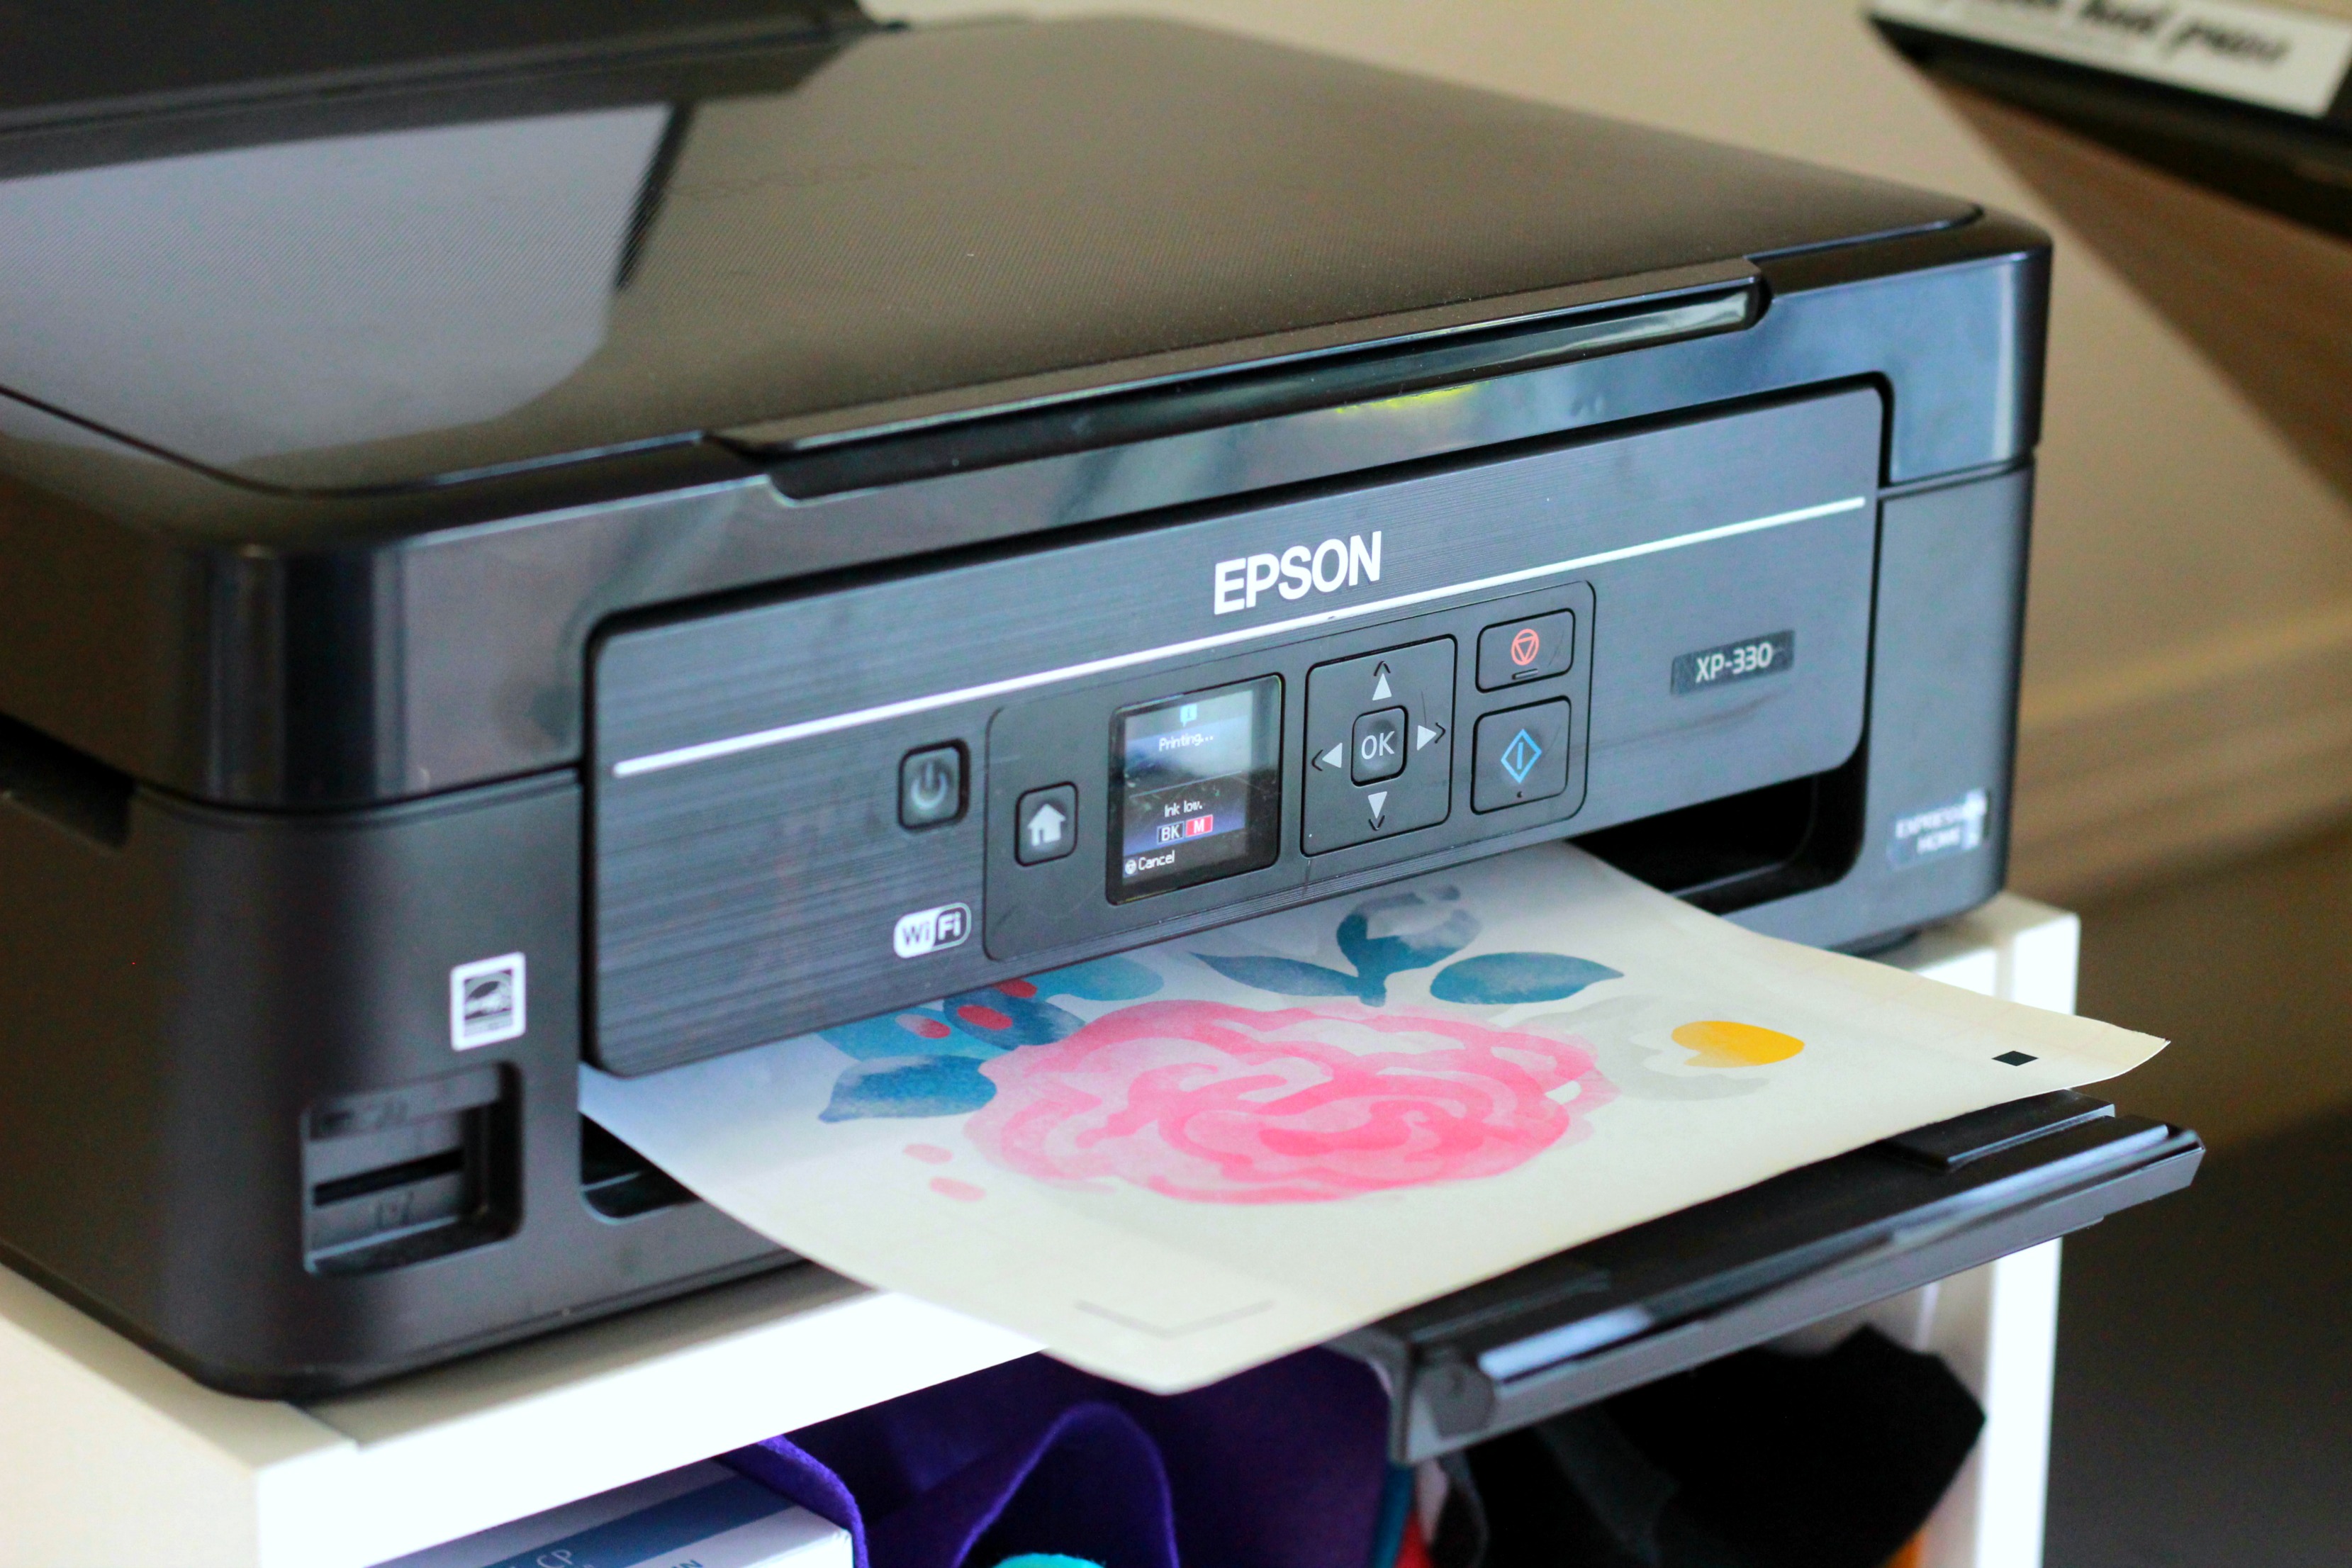
The printable HTV will work with any inkjet printer.
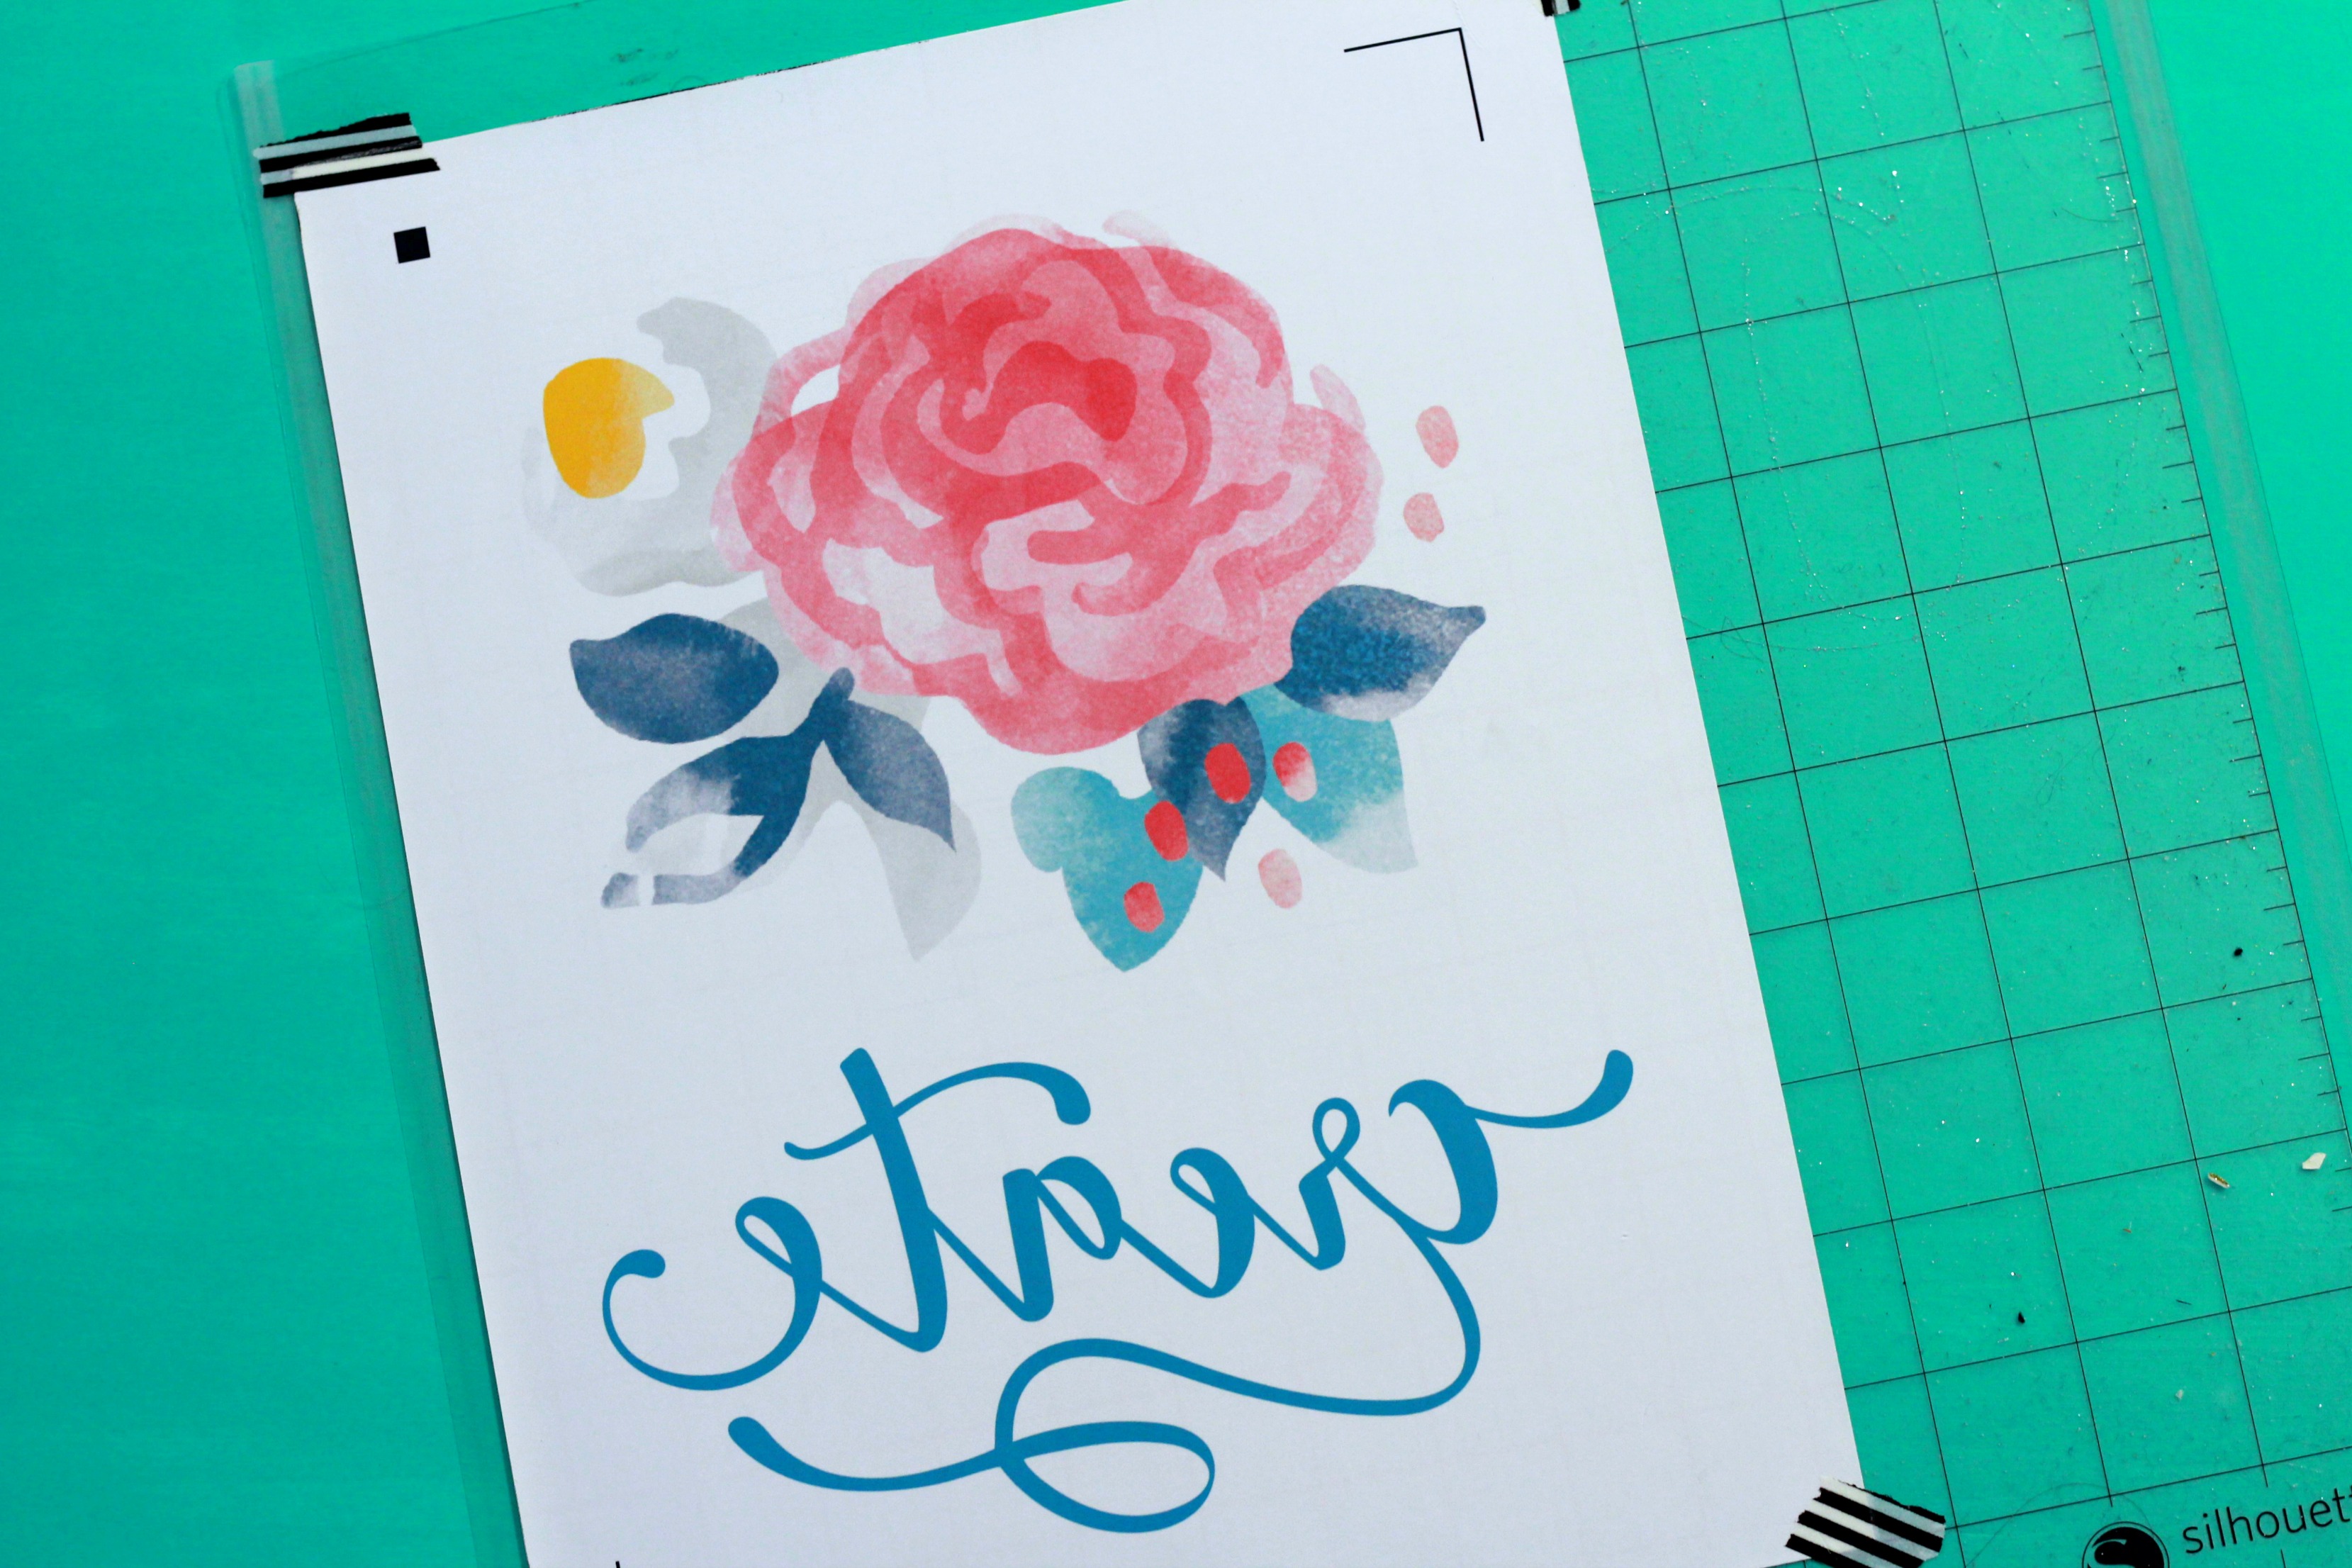
Once it prints, place your HTV on your mat. *Craft Hack* If your mat is losing stickiness, just use washi tape to secure your medium on the mat. I love that I can get extra life out of my mats by using this trick. The best part is that the washi tape is so light that it won't rip or ruin any of your materials! 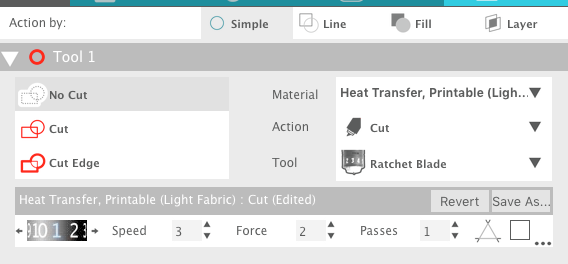
These are the settings that I used to cut. If you aren't sure, always do a test cut so that you don't ruin precious material.
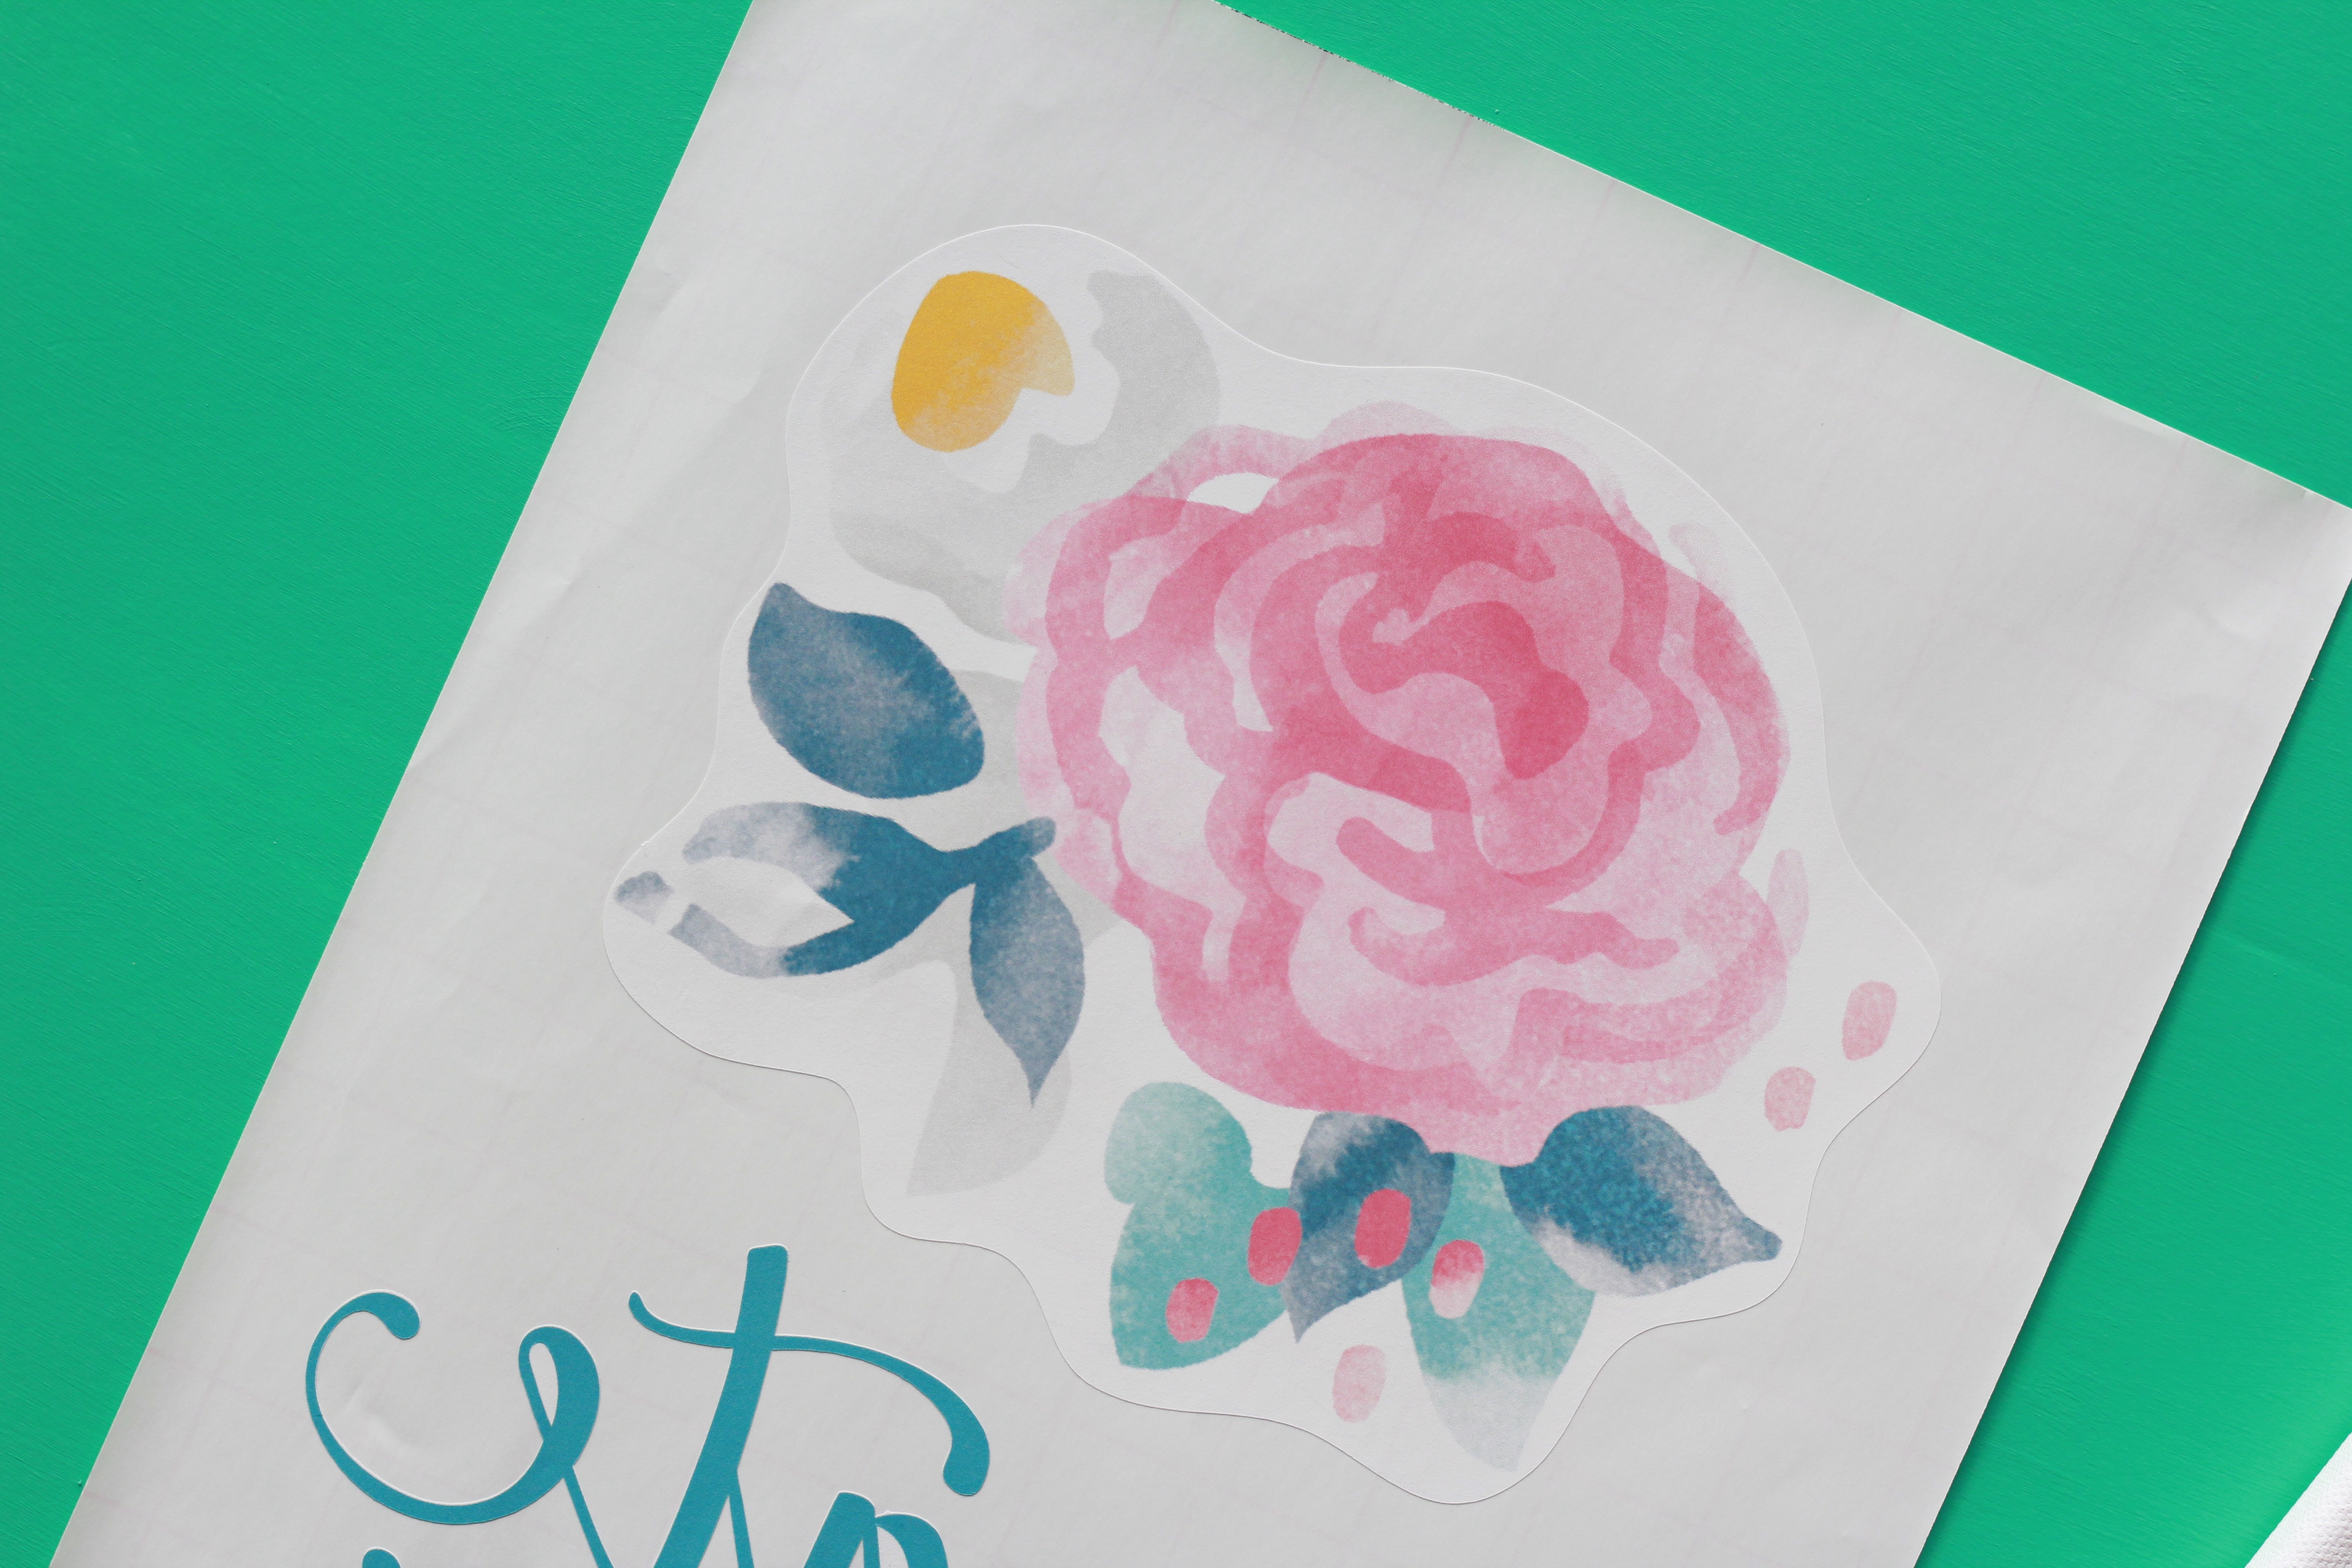
Once it cuts, use your fingers or a tool to weed (or remove) the excess material that you don't want on your final project.
Now you are ready to apply the vinyl on the canvas. Preheat your heat press to 360 degrees or your iron to the highest cotton setting!
Step 2: Transfer the Design to the Canvas
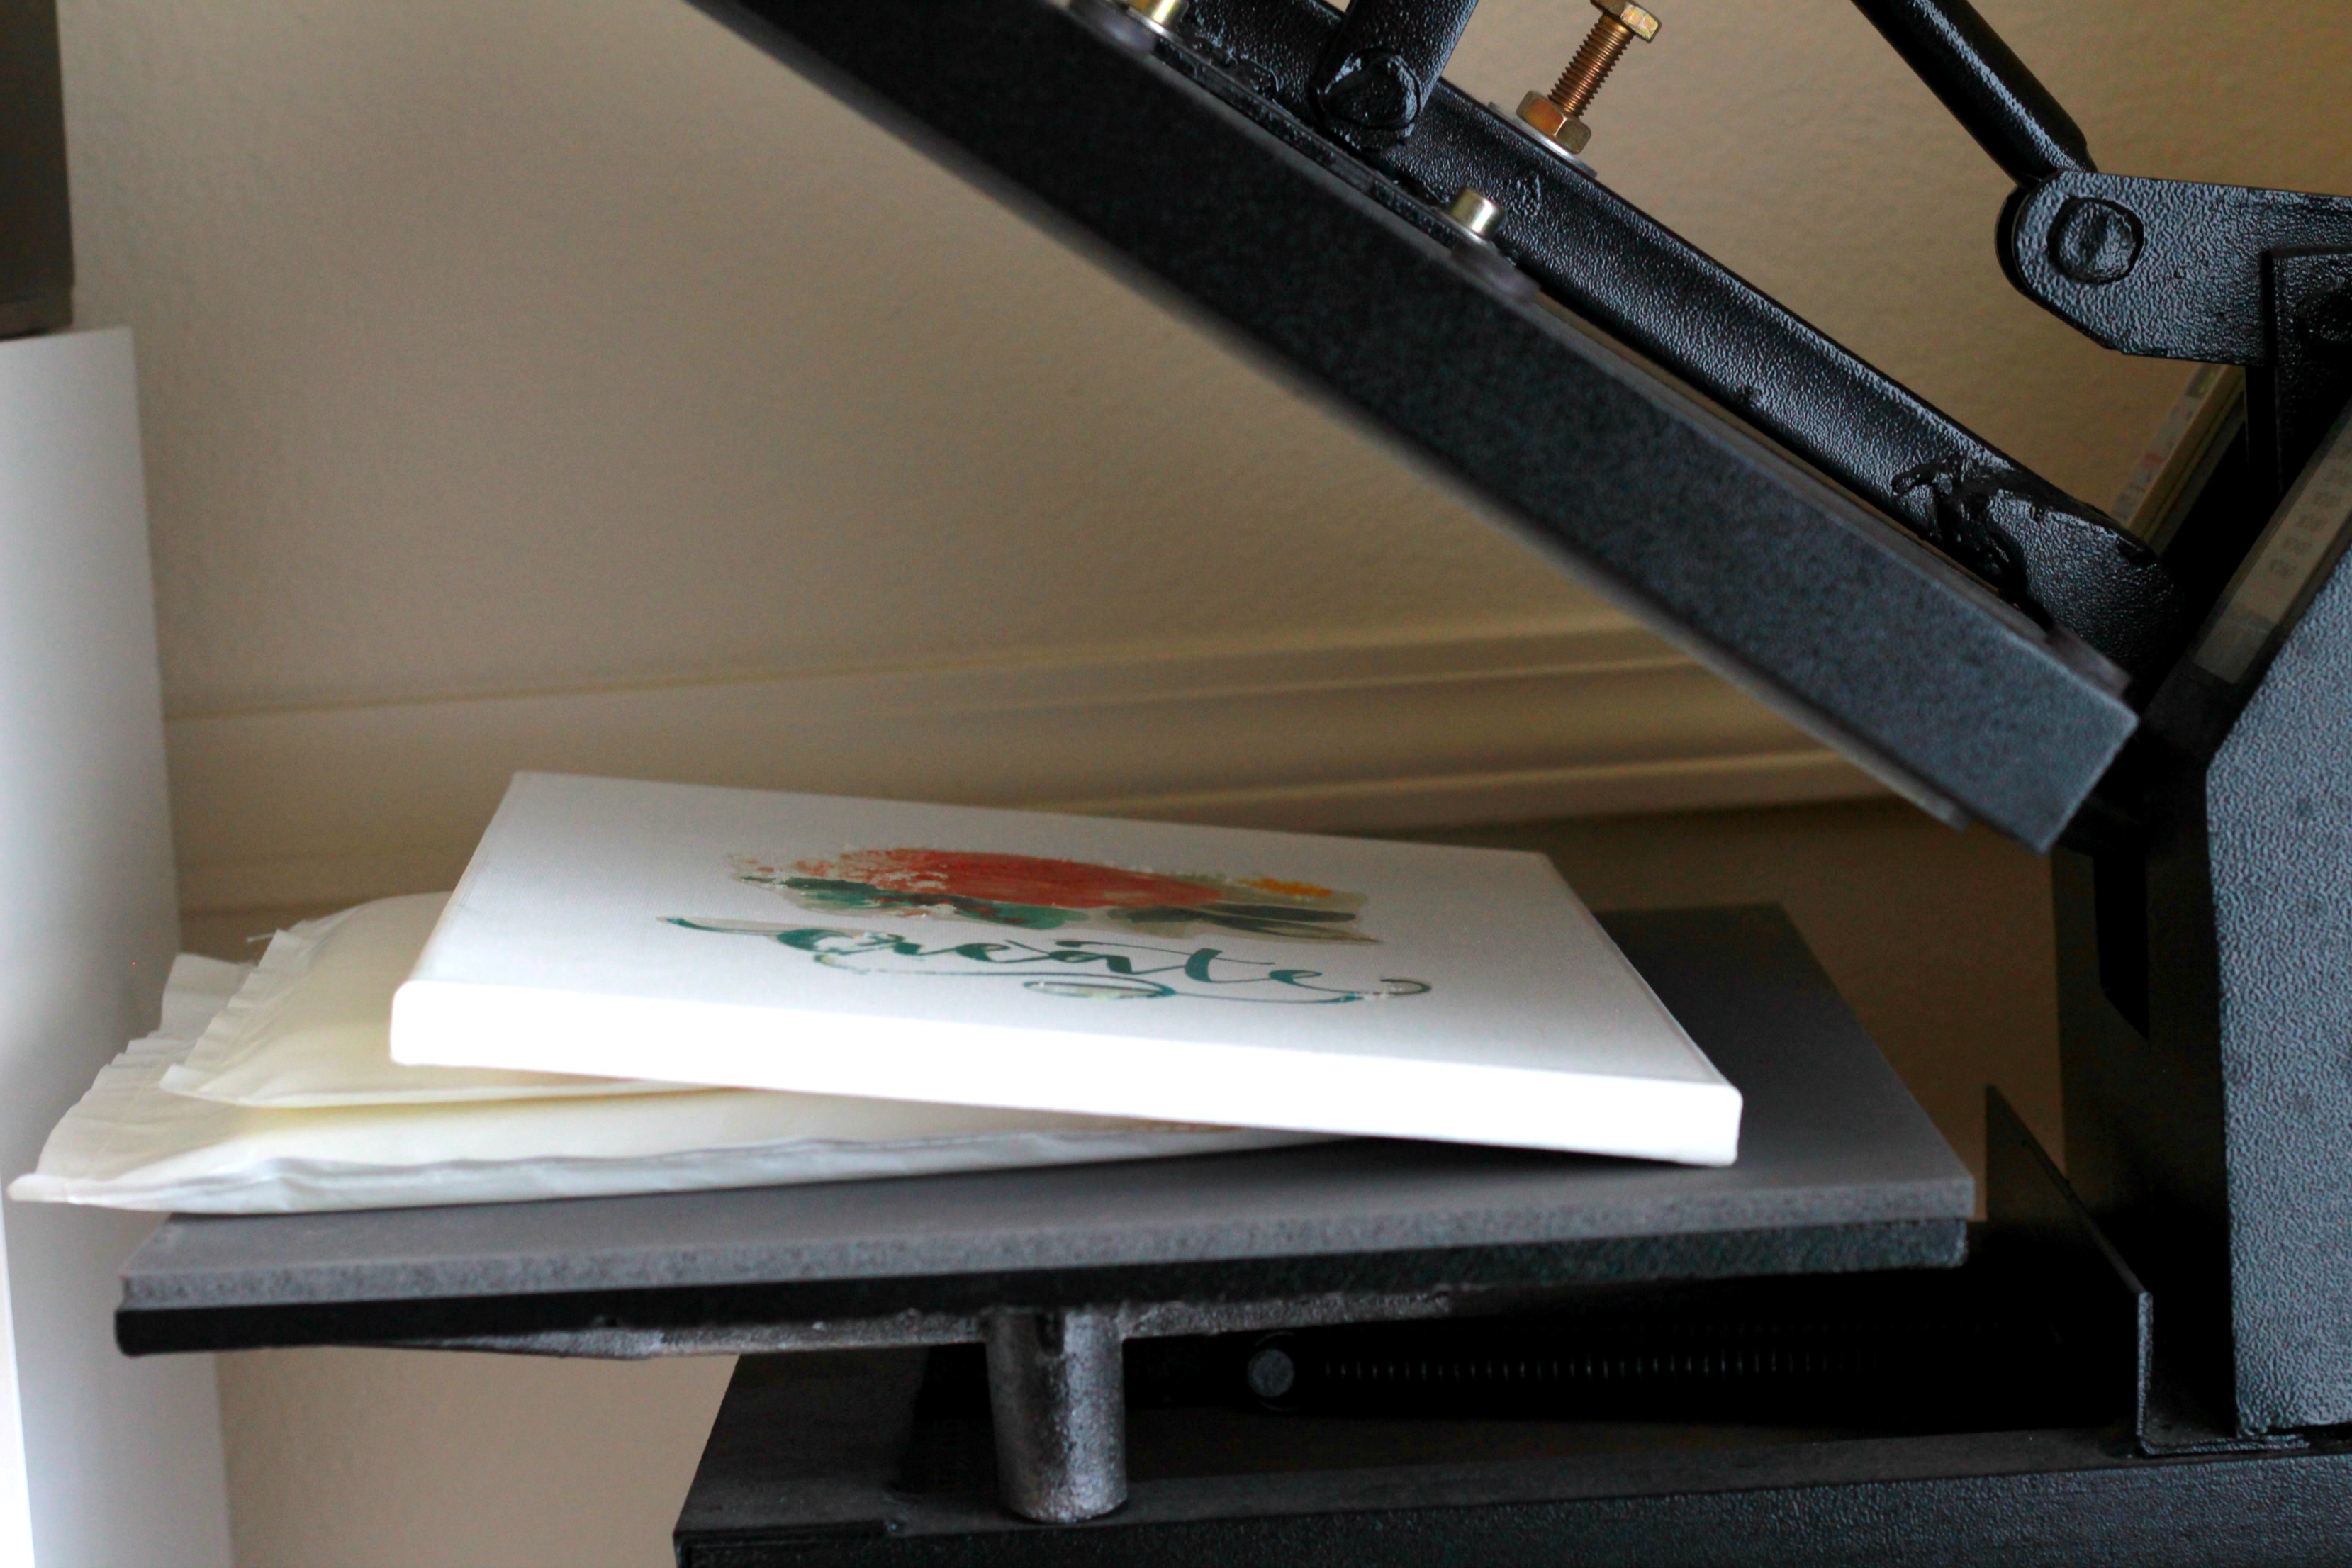
Honesty time! The first time I tried this project out, it was an epic fail. As you can see, the heat press has an angled plate and the raised canvas is flat. Basic geometry shows us that there is no way earth the flat canvas will be heated/pressed due to the angles. So when I lifted the design up, the left side of the image did not apply at all.
The second time I tried this project, I put my thinking cap on and realized I had to angle the canvas to match the angles on the heat press. I used my handy dandy best friends (aka pressing pillows) to lift it up. You can also use a book or other hard surface if you don't have pressing pillows (but really, you need to invest in them. They are worth every penny!)
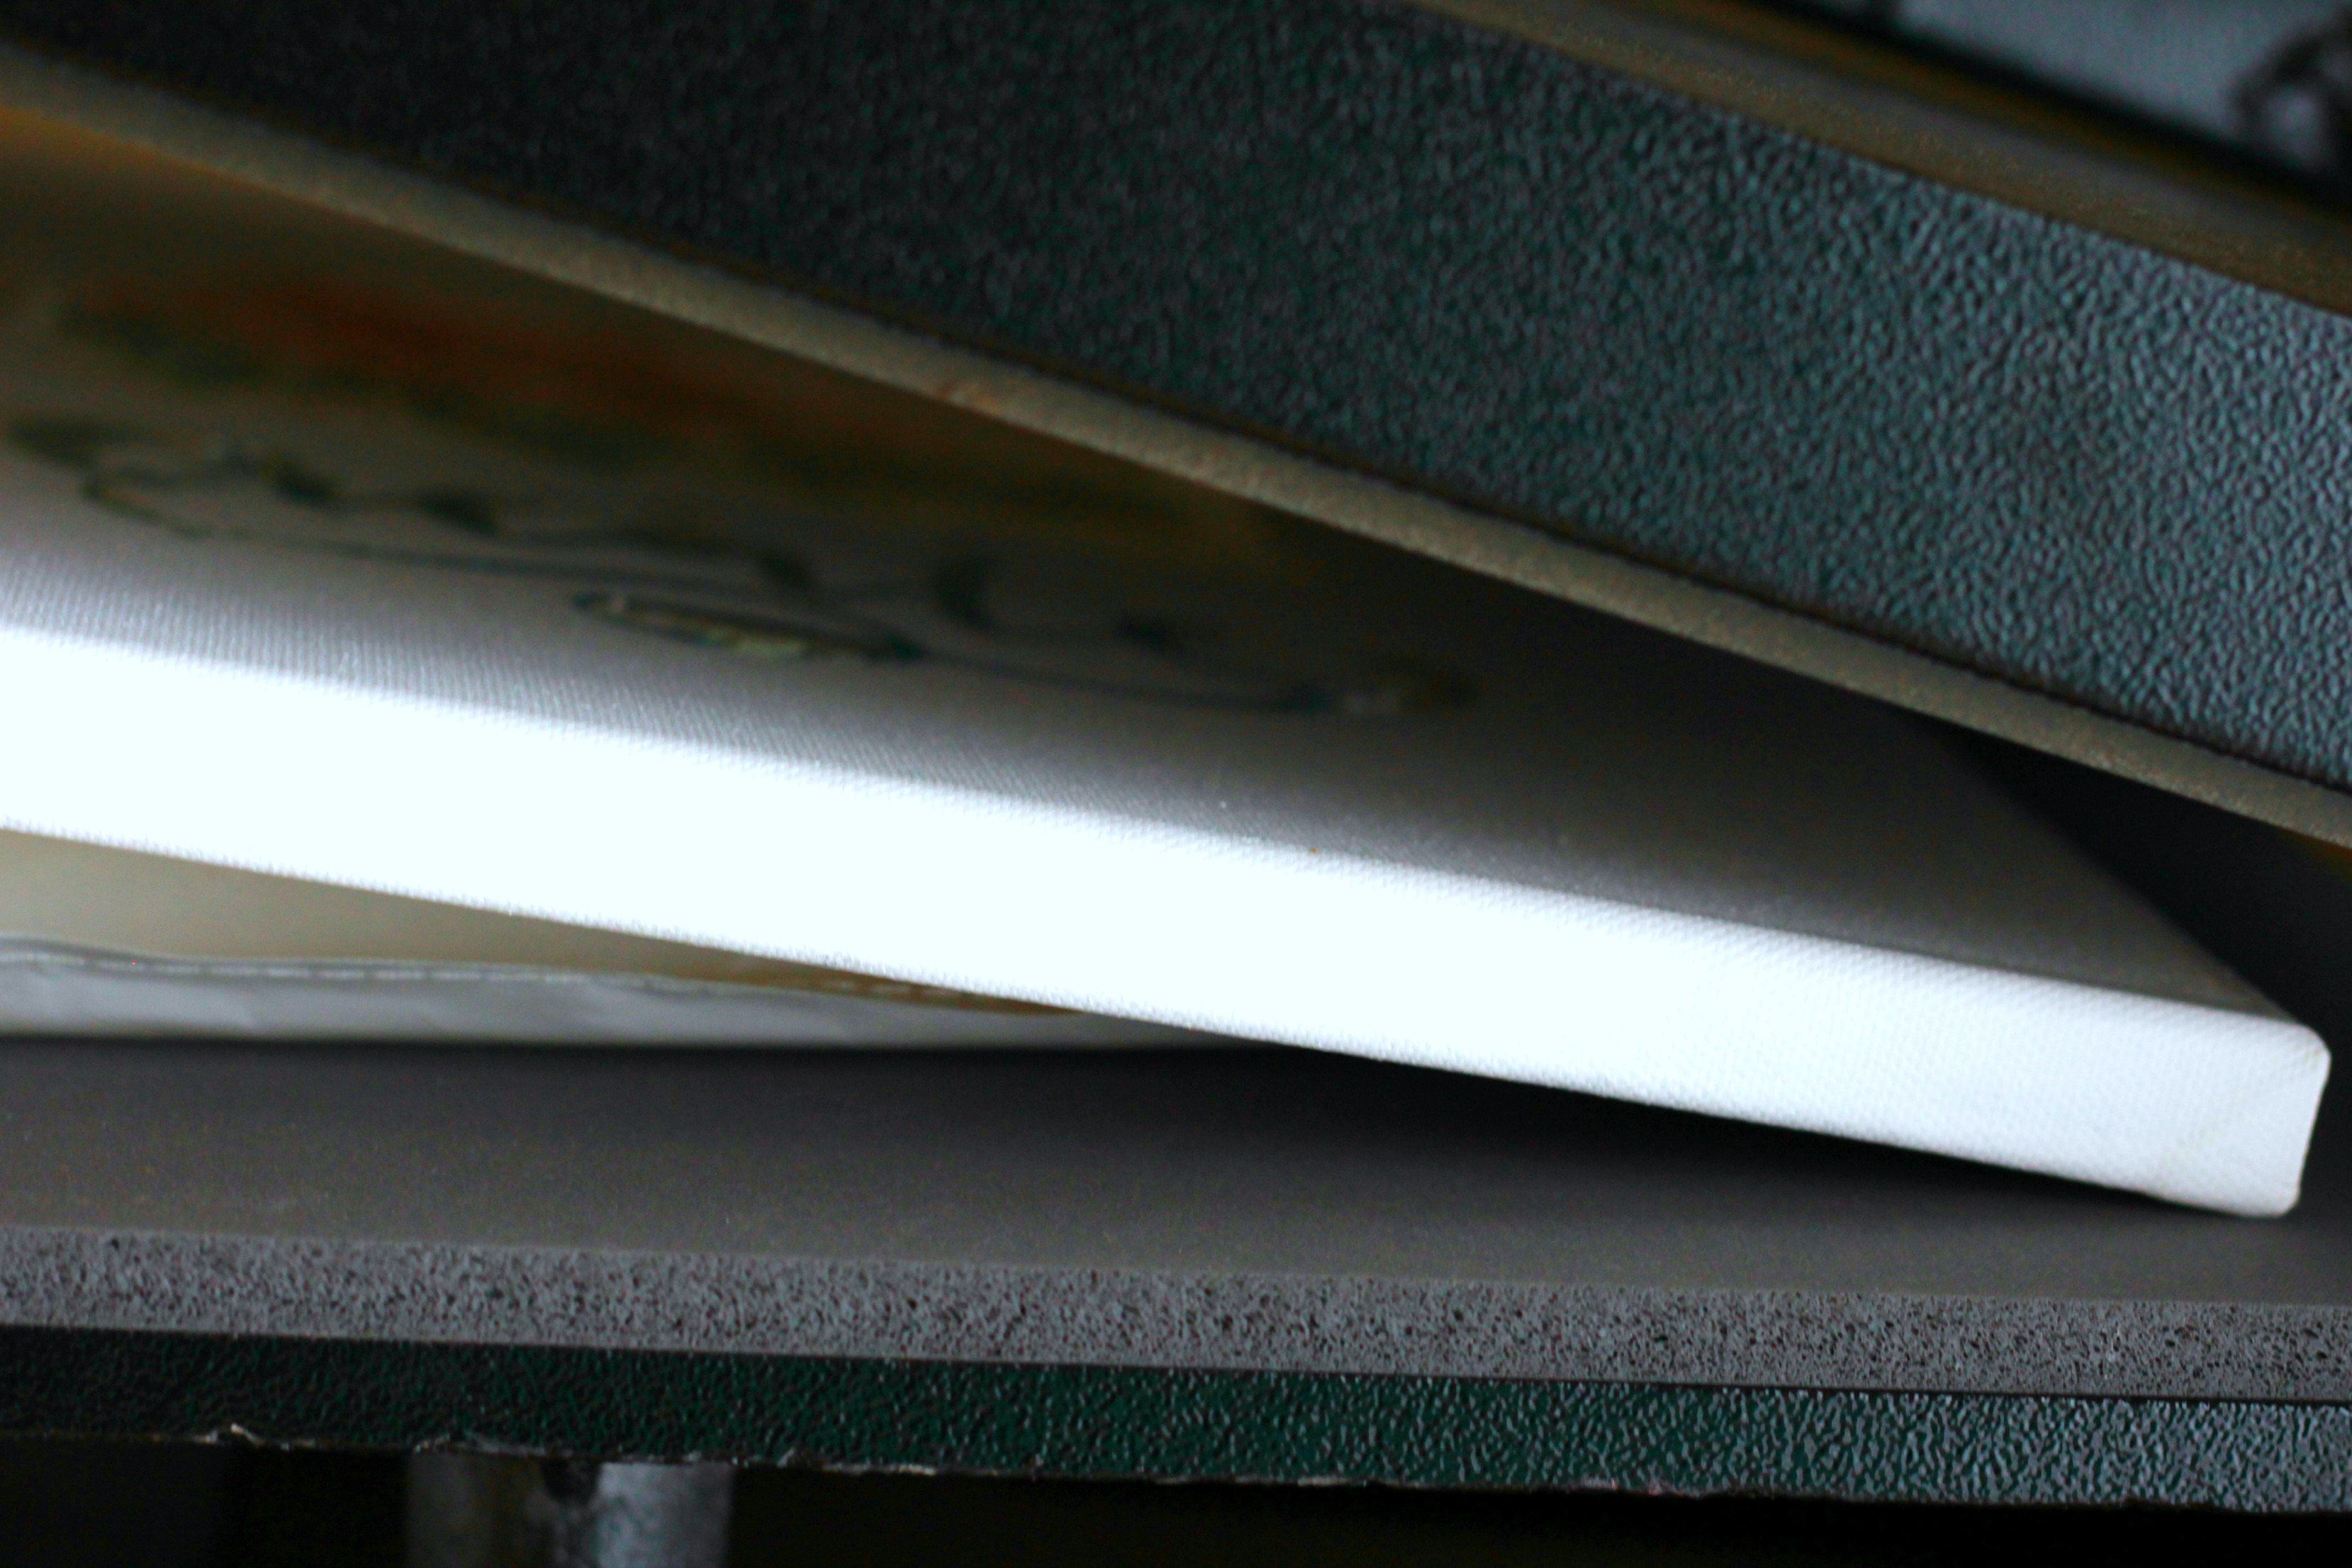
In this picture, you can see how adding the pressing pillows allowed me to get the perfect angle for even heat and pressure.
I think an iron would be the best way to apply the transfer on the vinyl. Since we just moved not long ago, I think my iron got stuffed into a storage box so I couldn't find mine to try! Boo! But either way works! 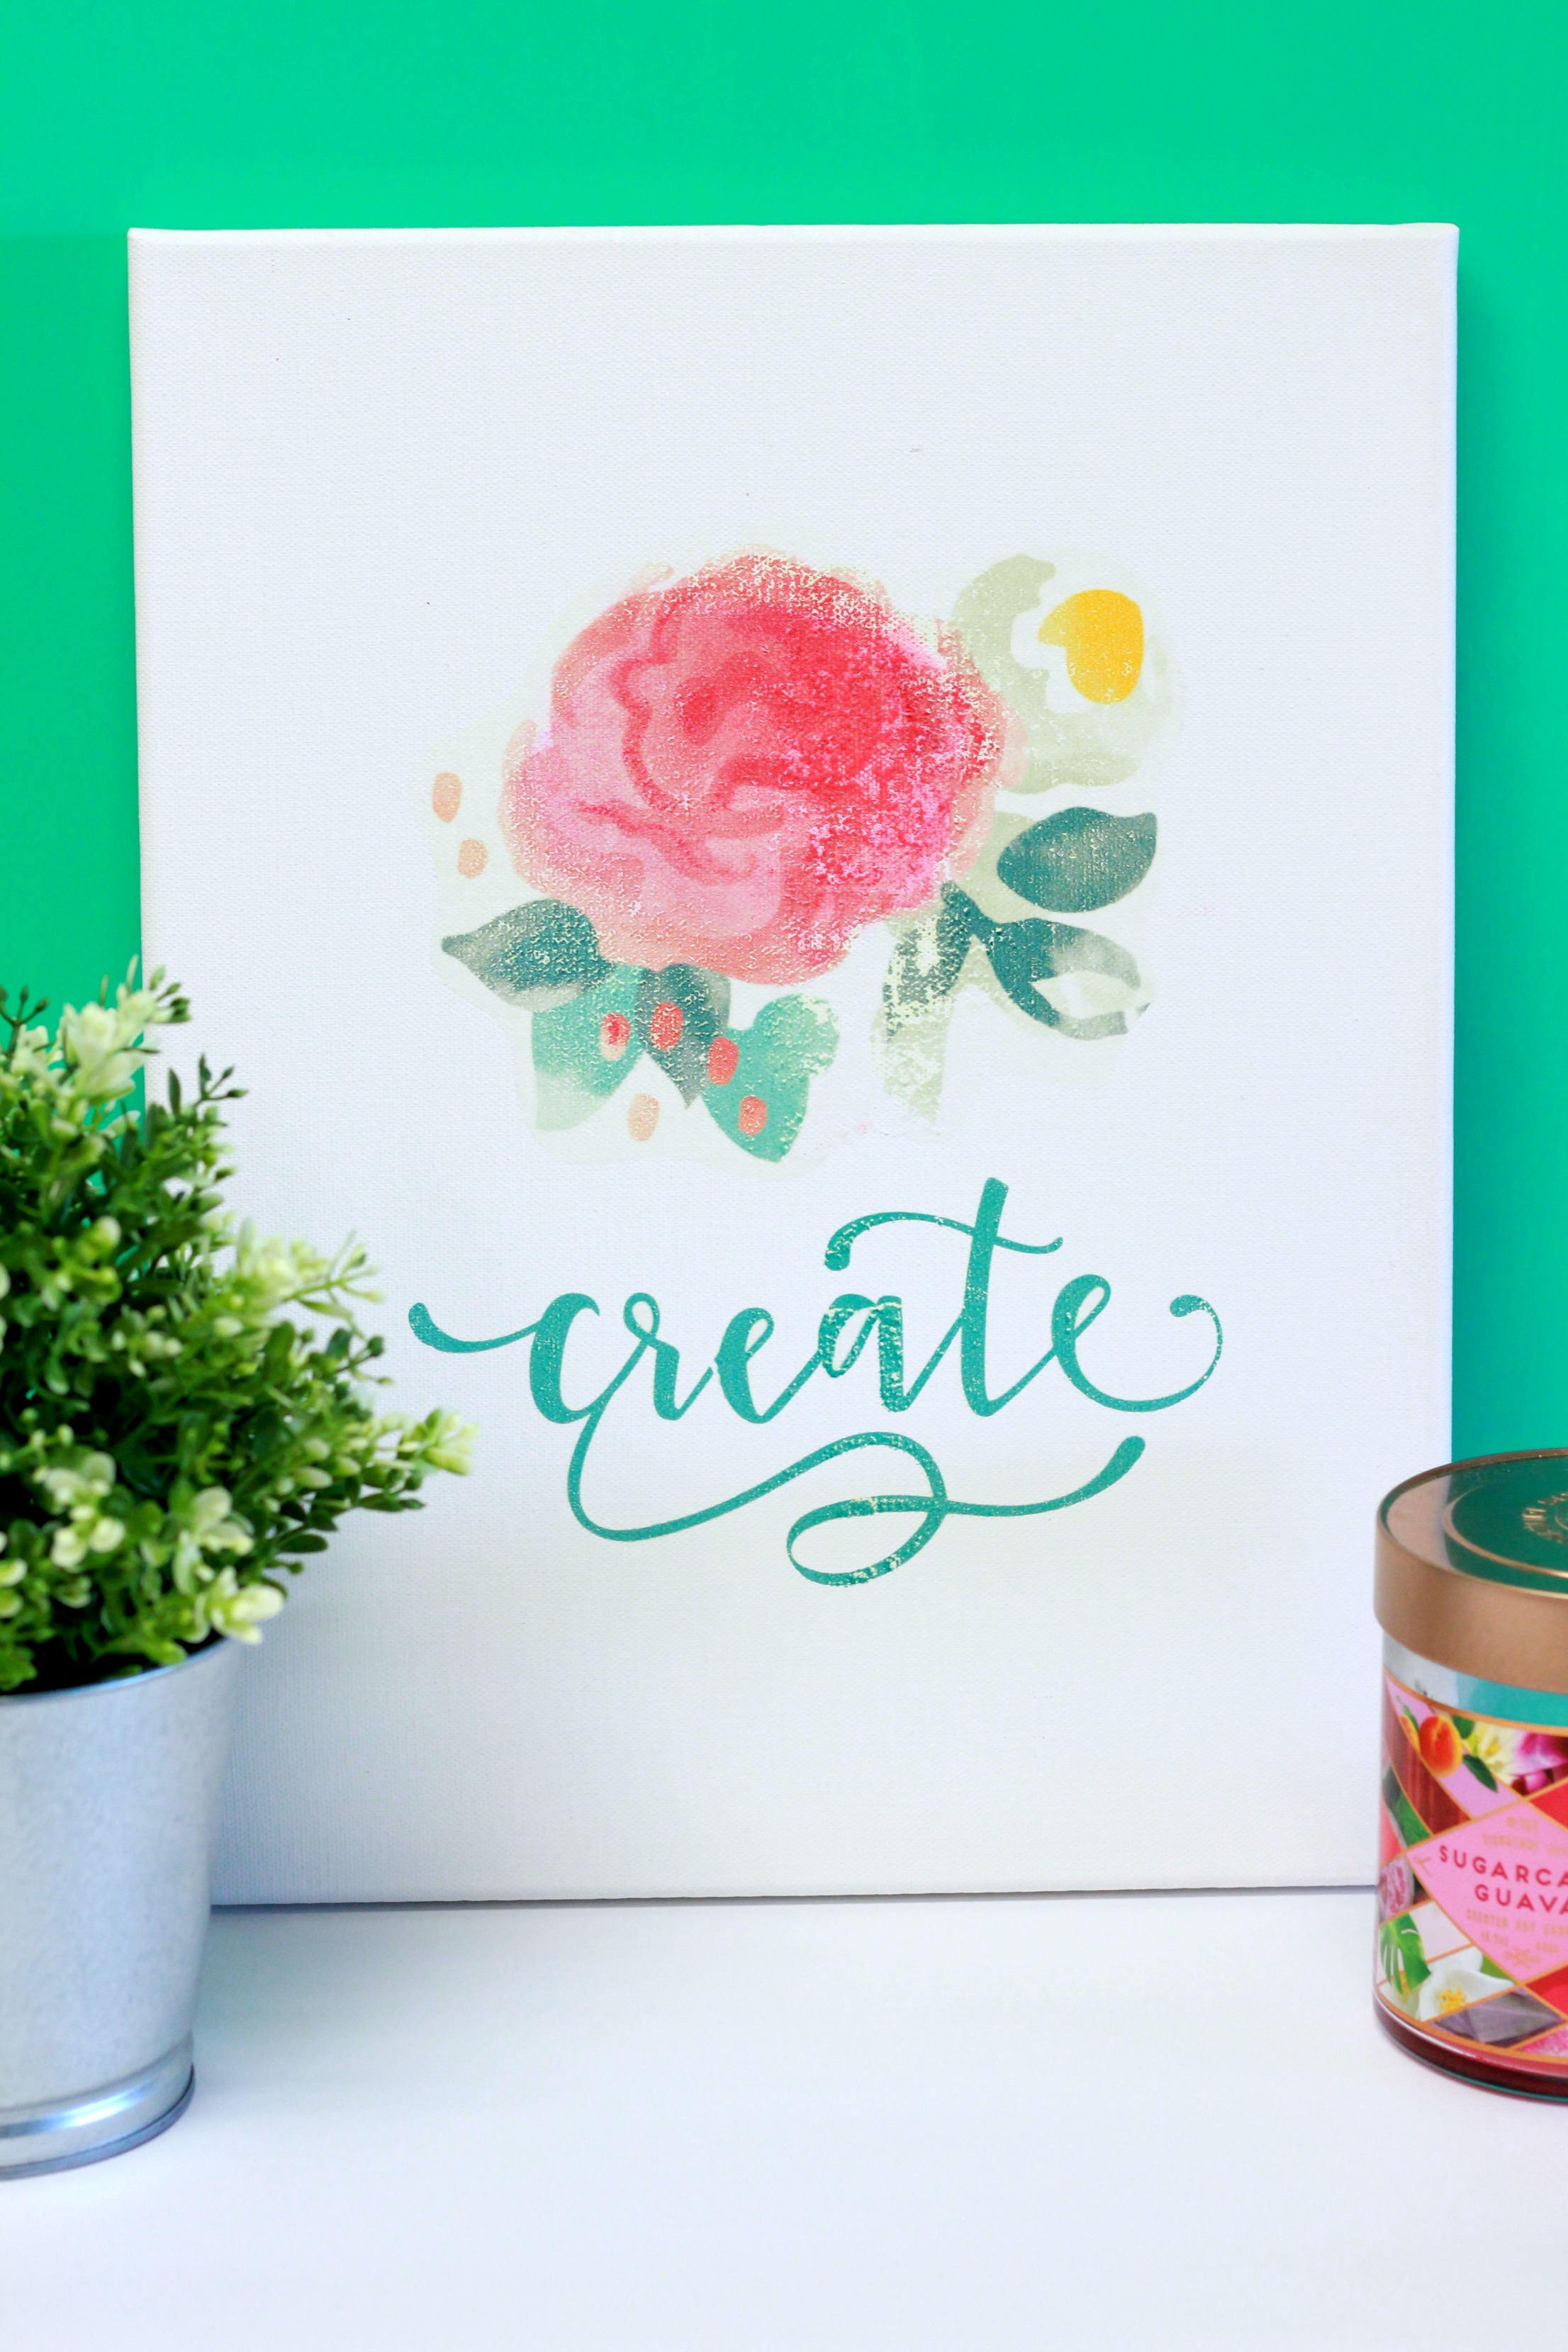
With the heat press pre-heated to 360 degrees, press for 30-35 seconds and slowly peel away the backing sheet when the design is warm. I wanted more of a distressed shabby chic look but you can also repeat the process and add a second identical layer on top for a more even, opaque look.
Can you imagine the possibilities? I was thinking of all the great things you can do! Decor for nursery's, wedding gifts, family portraits on canvas as a housewarming gift. If you try this out, please tag me on Instagram so I can see your lovely creations!
Recent Posts
-
NEW Holographic Eclipse Heat Transfer Vinyl
April 15th, 2024 3 Ways to Use the New Holographic Eclipse Heat Transfer Vinyl from Siser …Apr 29th 2024 -
Hop into Spring with Cute Easter Vinyl Crafts
Do you love our Vinyl? Sign up for Vinyl Club today to get FREE vinyl and save big! …Mar 28th 2024 -

Fixing Wrinkles and Bubbles in Vinyl
How do you get air bubbles out of vinyl? There are a few different ways to ensure a flawless …Mar 26th 2024