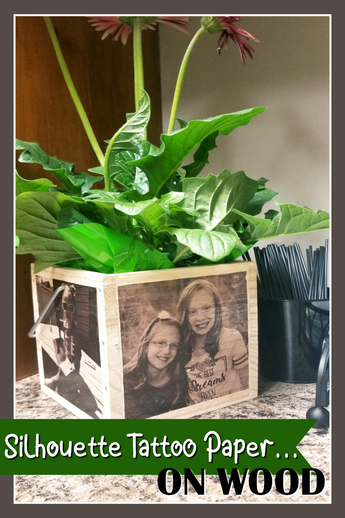
Silhouette Tattoo Paper on Wood
Hey, Thanks for stopping by. So today I want to talk about the Silhouette Clear Temporary Tattoo Paper (Whew! mouthful).
There are a few different types we carry but we are going to focus on the Clear Tattoo Paper.
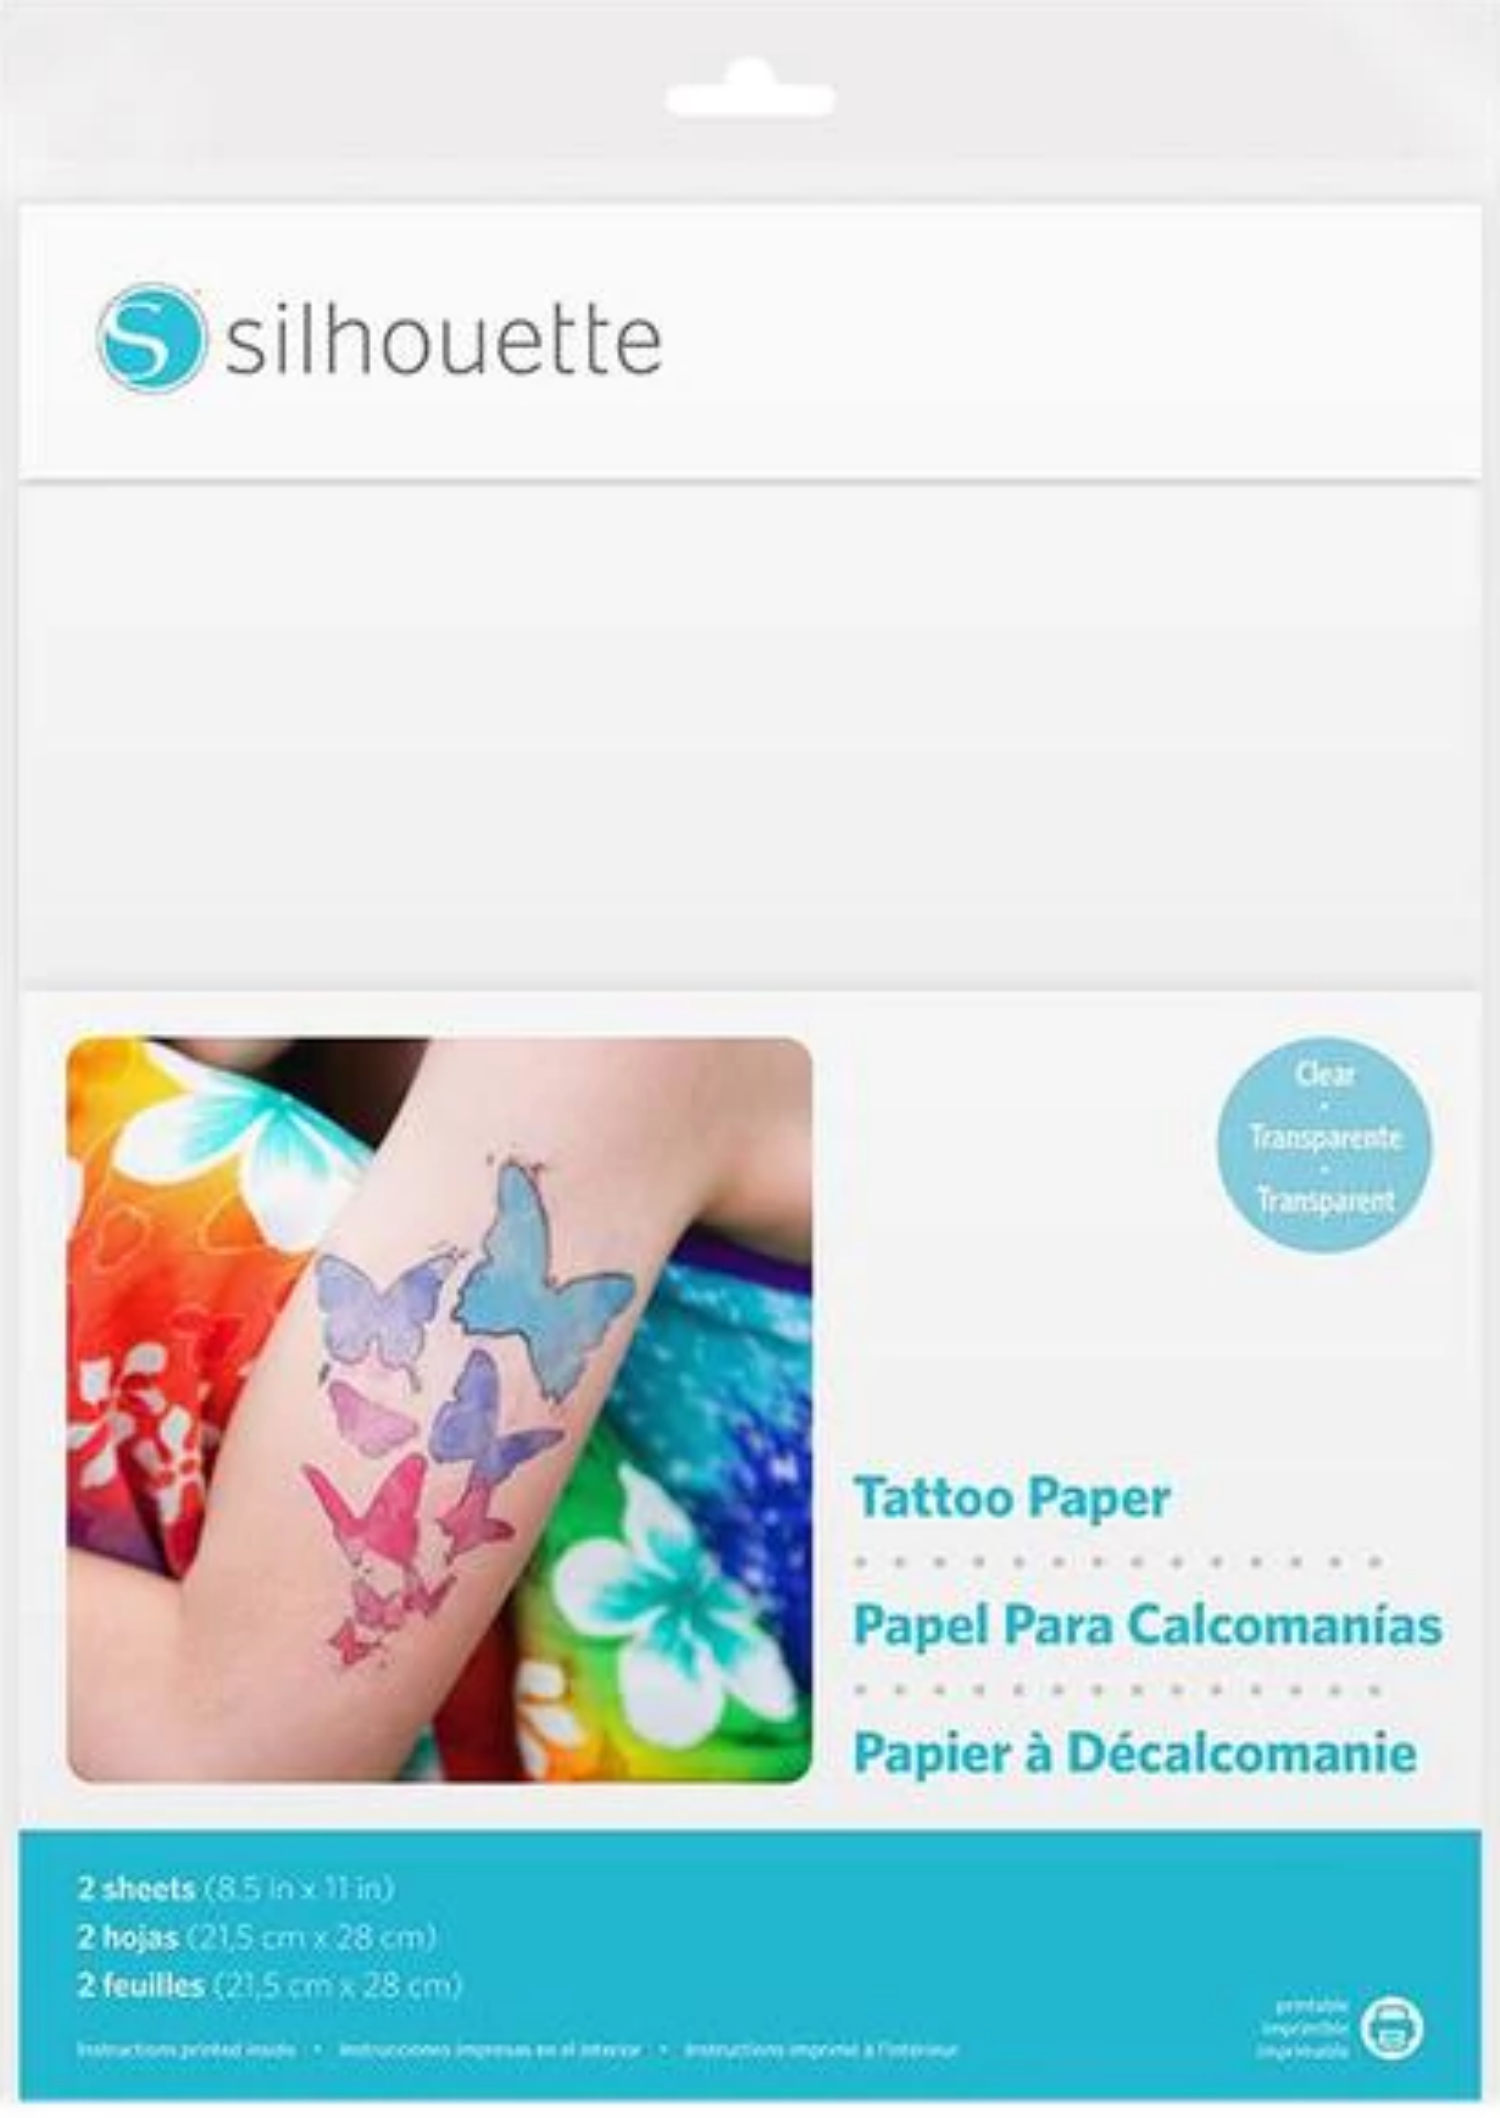
I have to say I was a little nervous to try it out, but it has been done before and trust me, its not scary.
You will need:
- Tattoo Paper
- Wood surface
- Water
- rag or cloth of some sort
- Inkjet Printer (Must be and Inkjet)
I thought it would be fun to make a cute little wooden planter box, so I found this cute little box from Hobby Lobby that was perfect for this project.
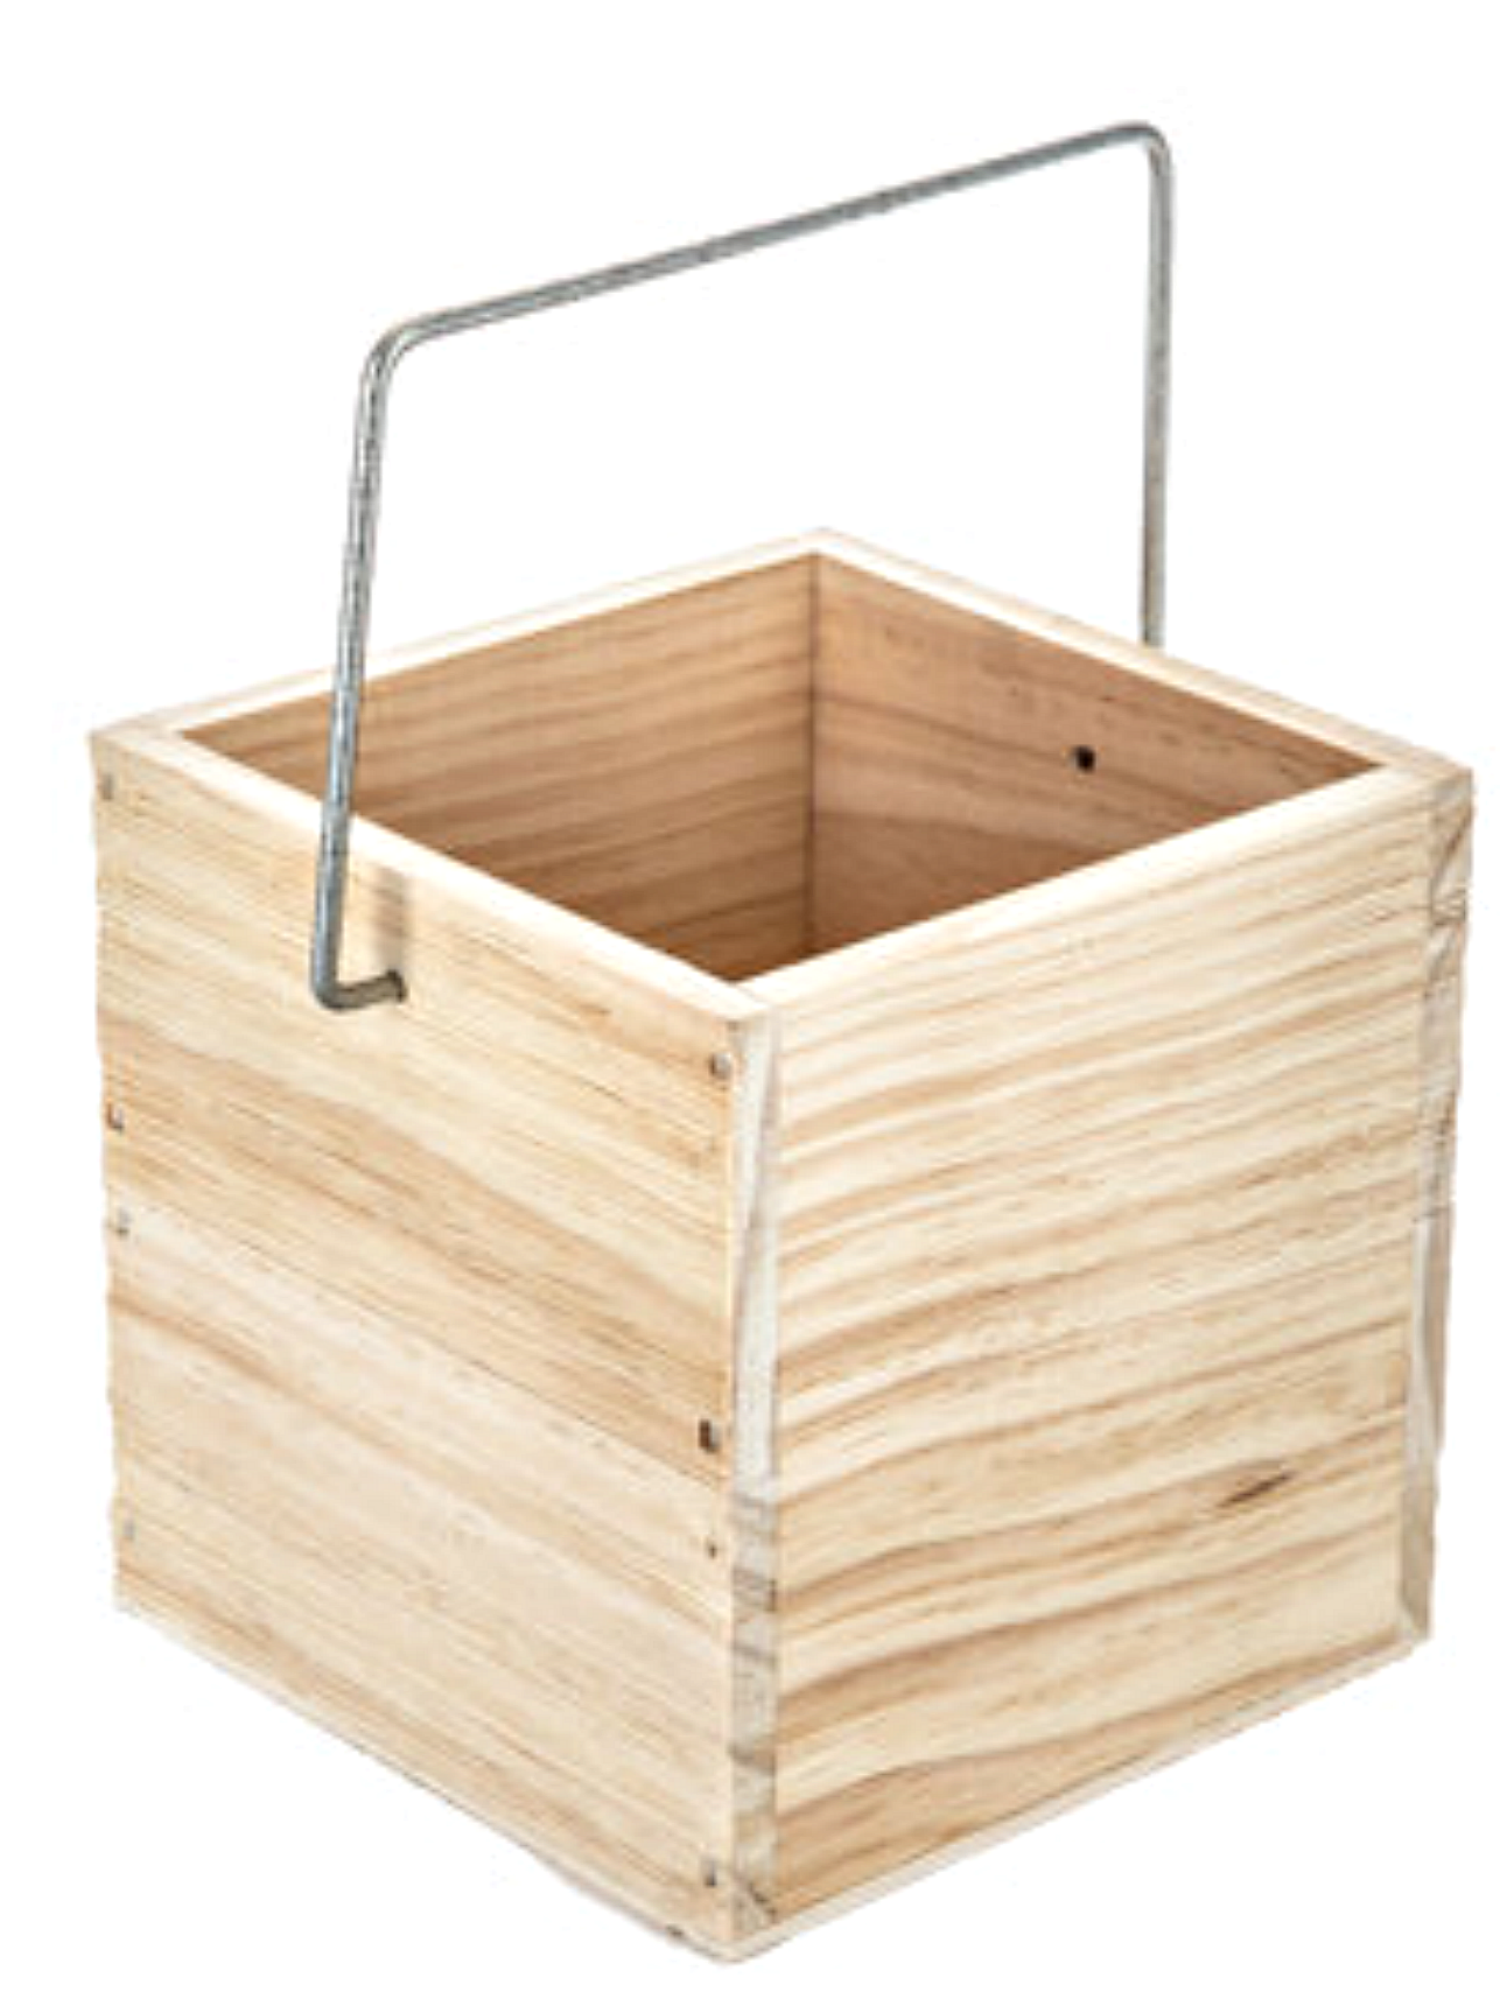
I measured the box, which was just under 6x6 so I just makde my pictures a 5.5x5.5 size in my Silhouette studio and turned them black and white with the Effects Feature. You can leave them colored as well if you like that look.
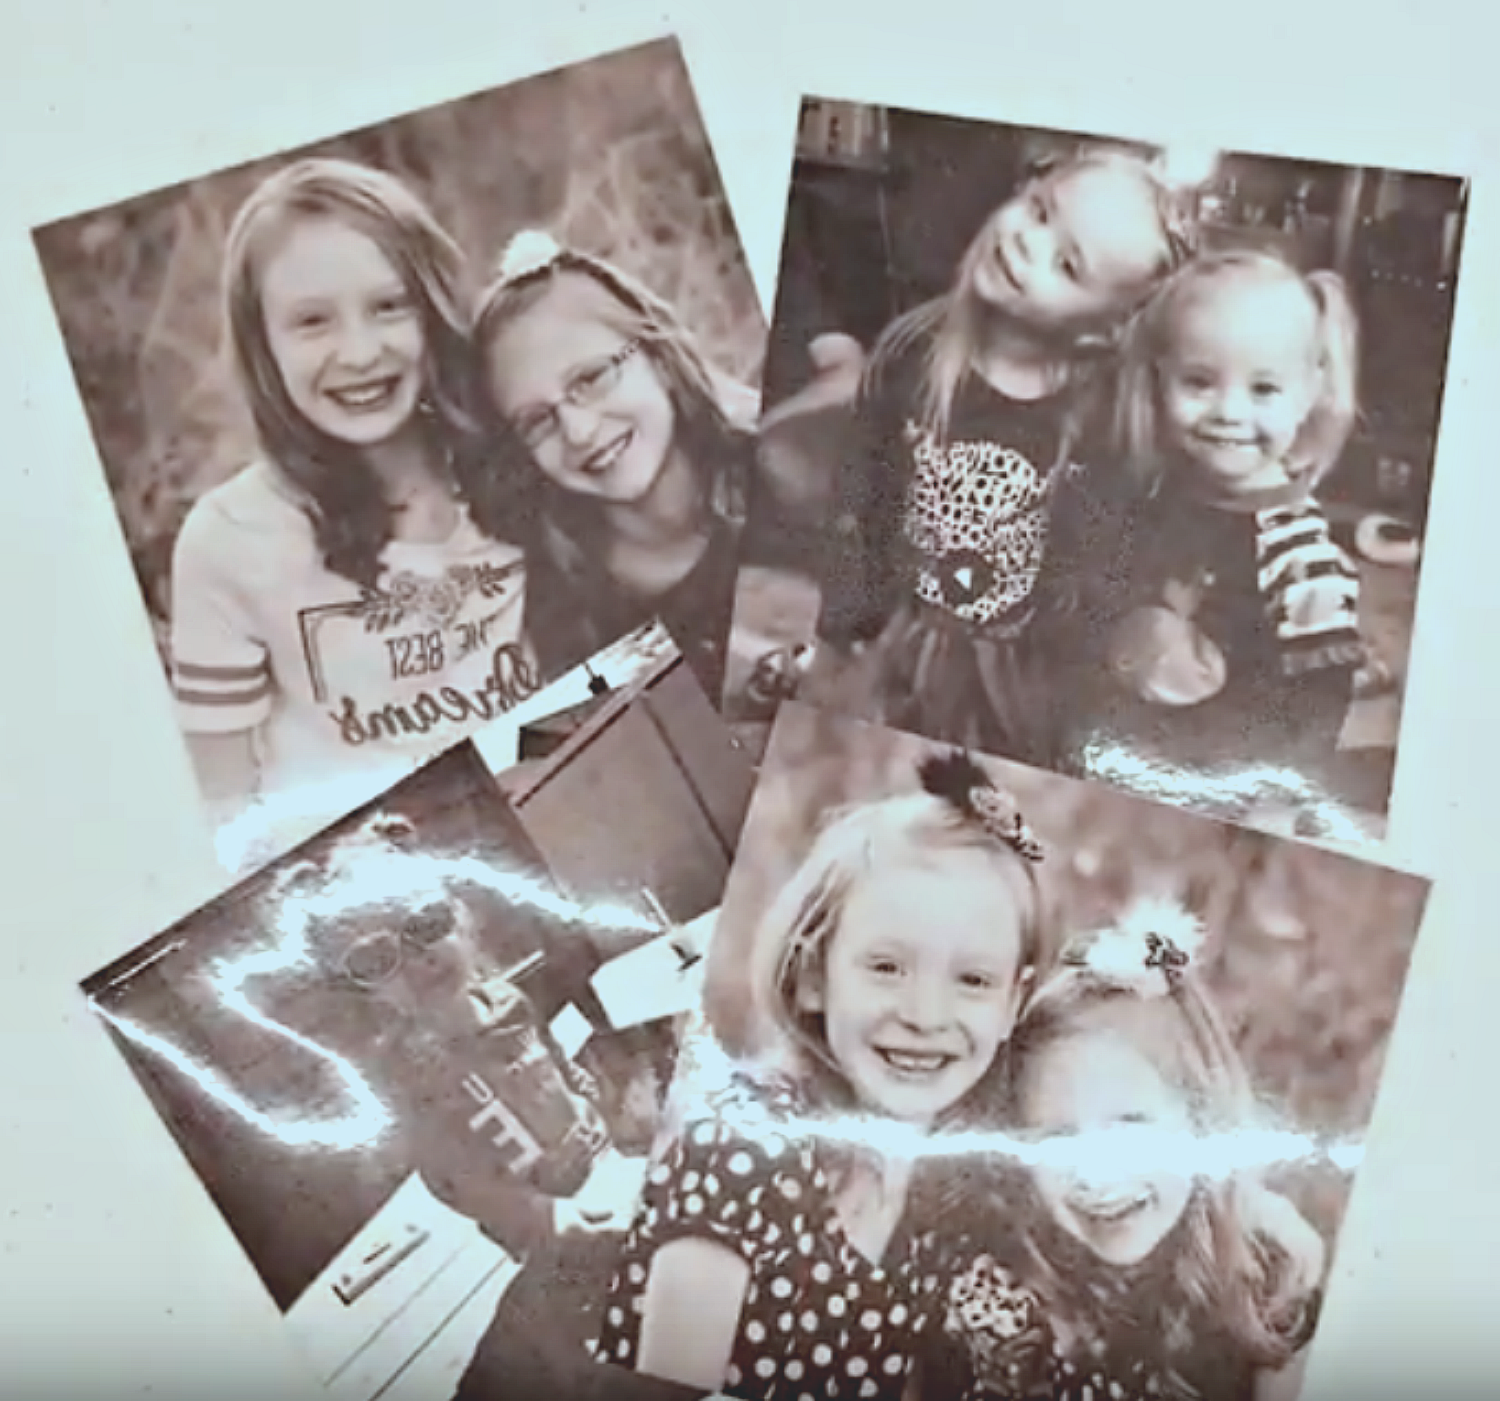
Before you start; read the instructions that are on the inside of the package.You will want to make sure and print on the correct side of the Tattoo paper or else the Tattoo will not work.
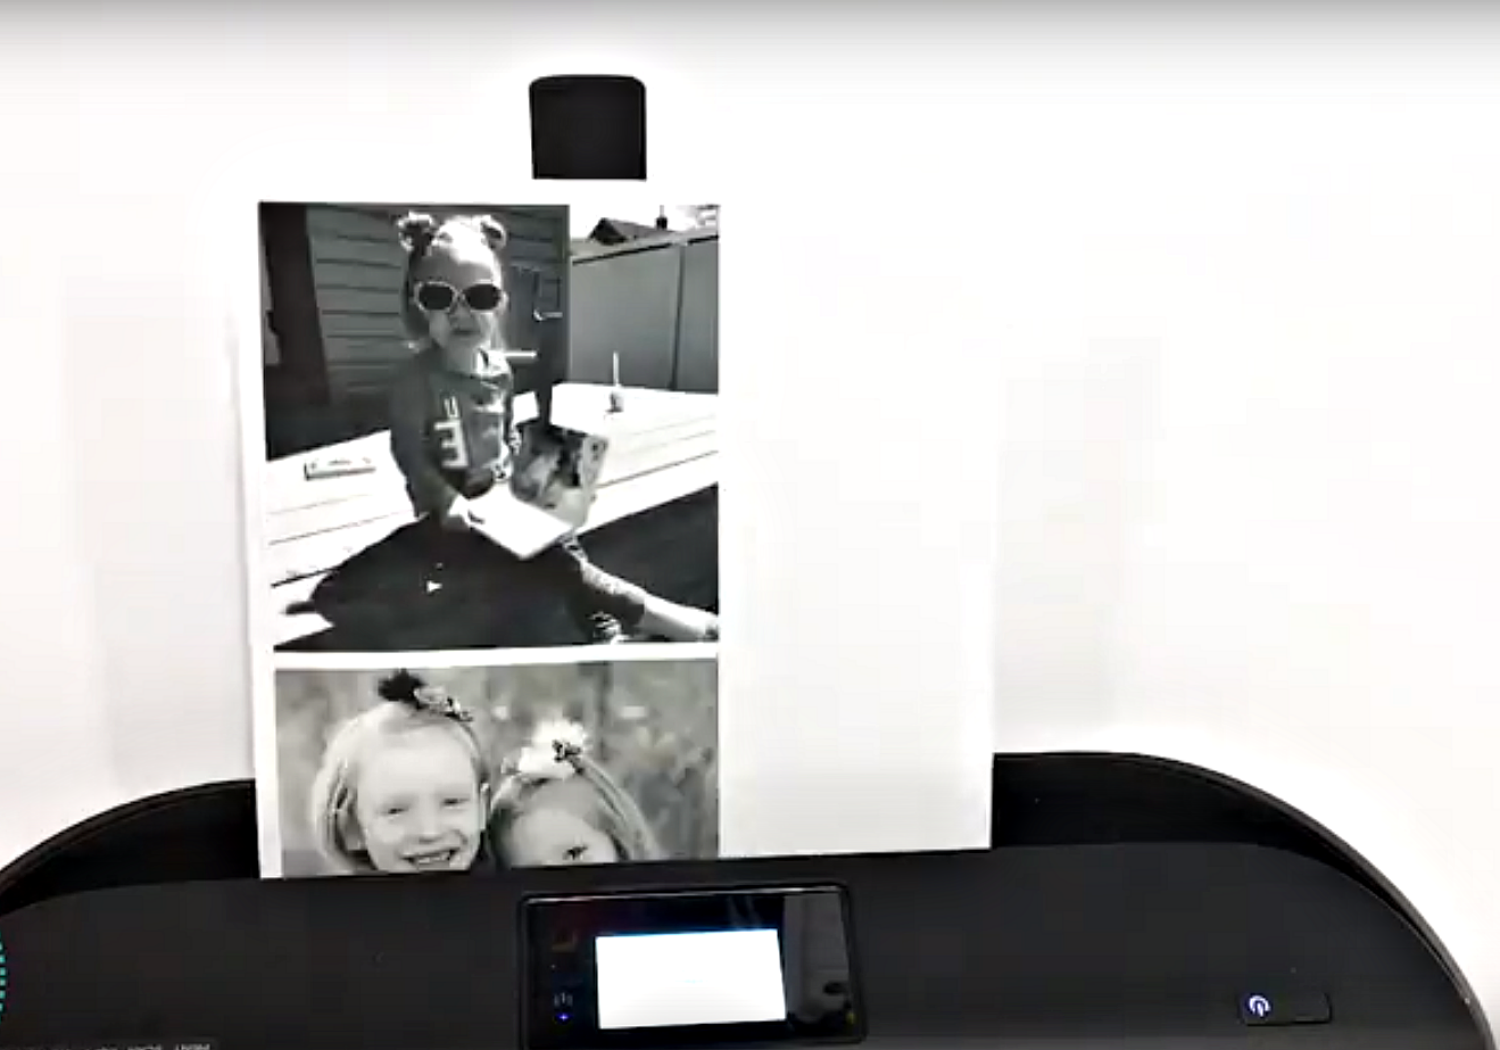
Don't forget to mirror your images
Once it has printed out, let it dry for just a bit, then you will apply your Tattoo Adhesive (included) just like your would Transfer Tape with Vinyl.
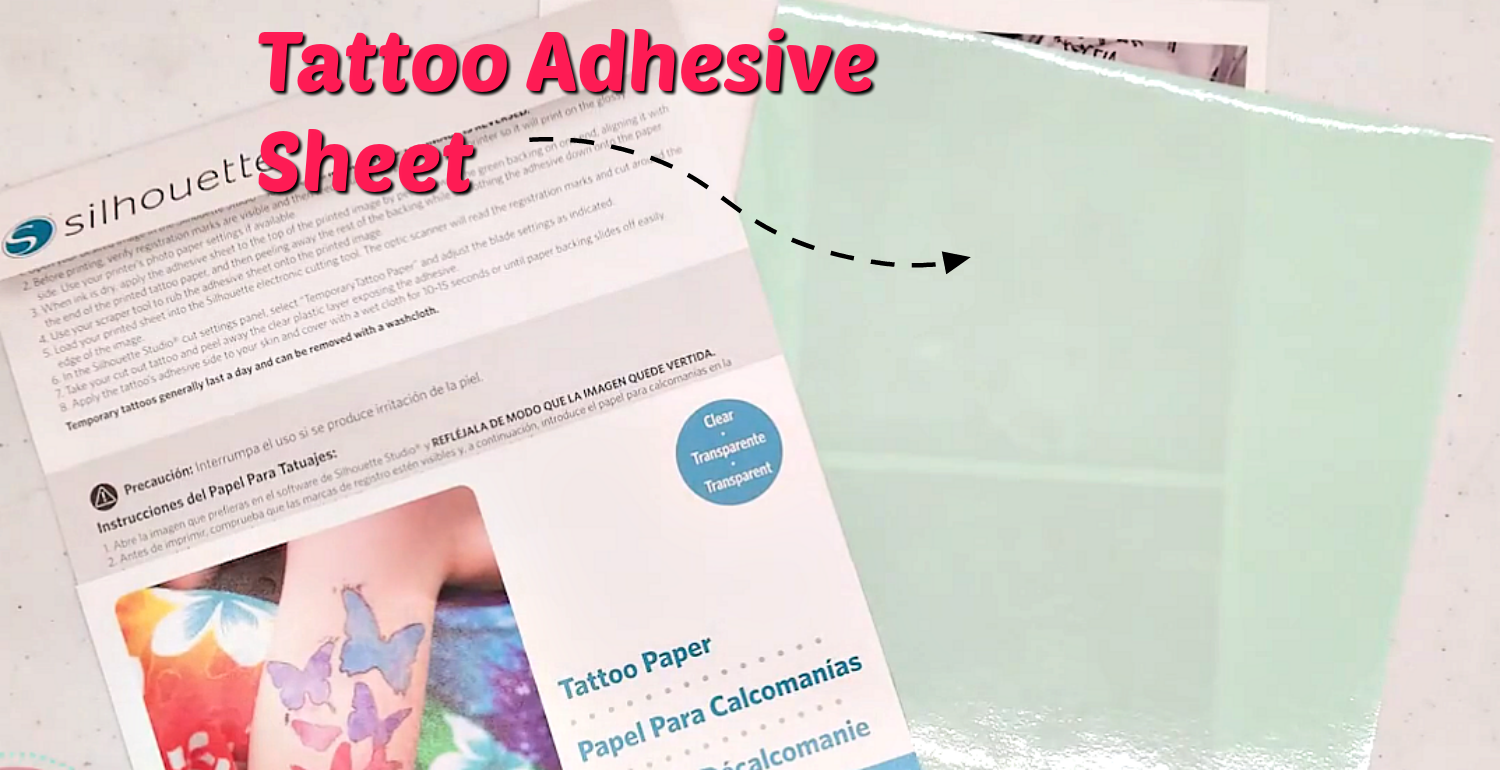
There is a nice little break at the top of the adhesive sheet which makes it easy to start applying and line it up, just using your application tool, SLOWLY lower it down while burnishing it onto the Tattoo Paper.
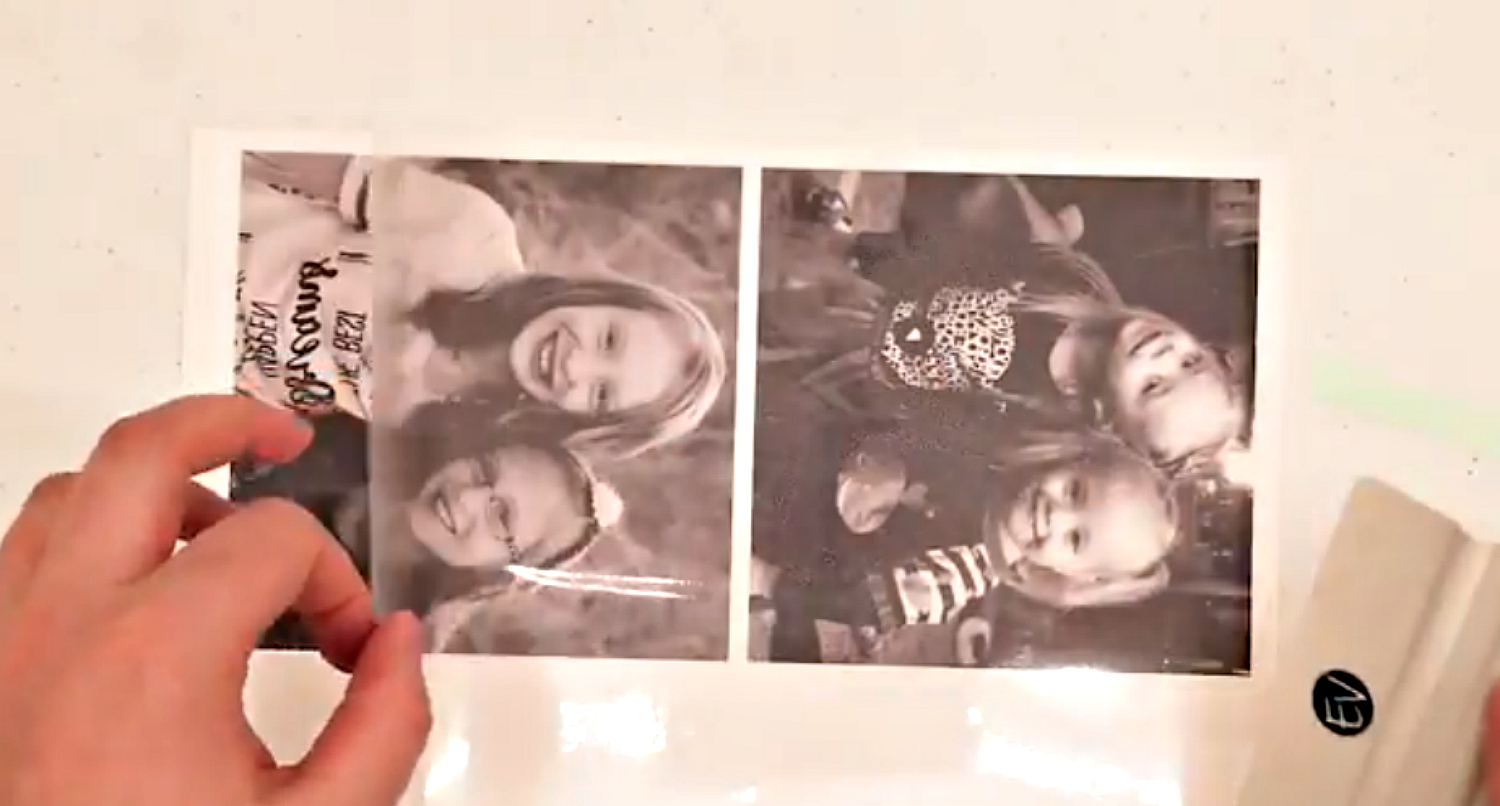
Since I was just working with basic shapes I did not need to use my Registration marks, just trim up your boxes with scissors or a paper trimmer.
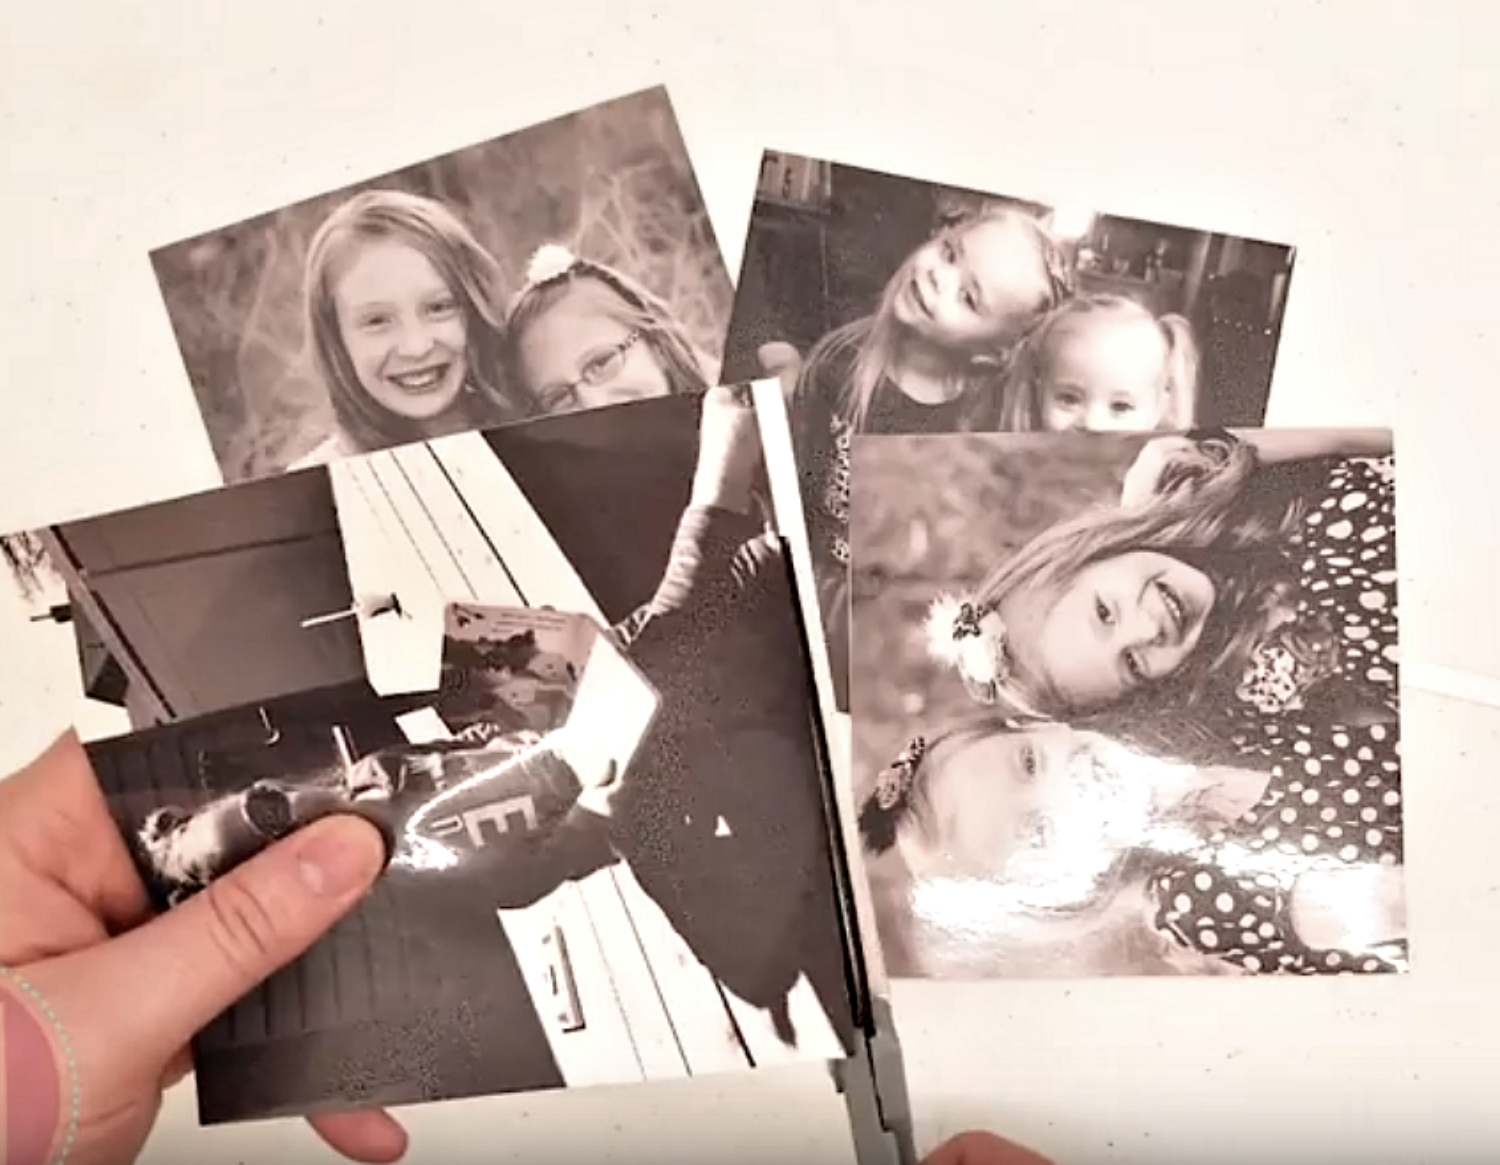
Here comes the fun part, remove the adhesive liner that was just applied before trimming them up, then position the images in the center.
This step applies that adhesive so watch your fingers it will be sticky.
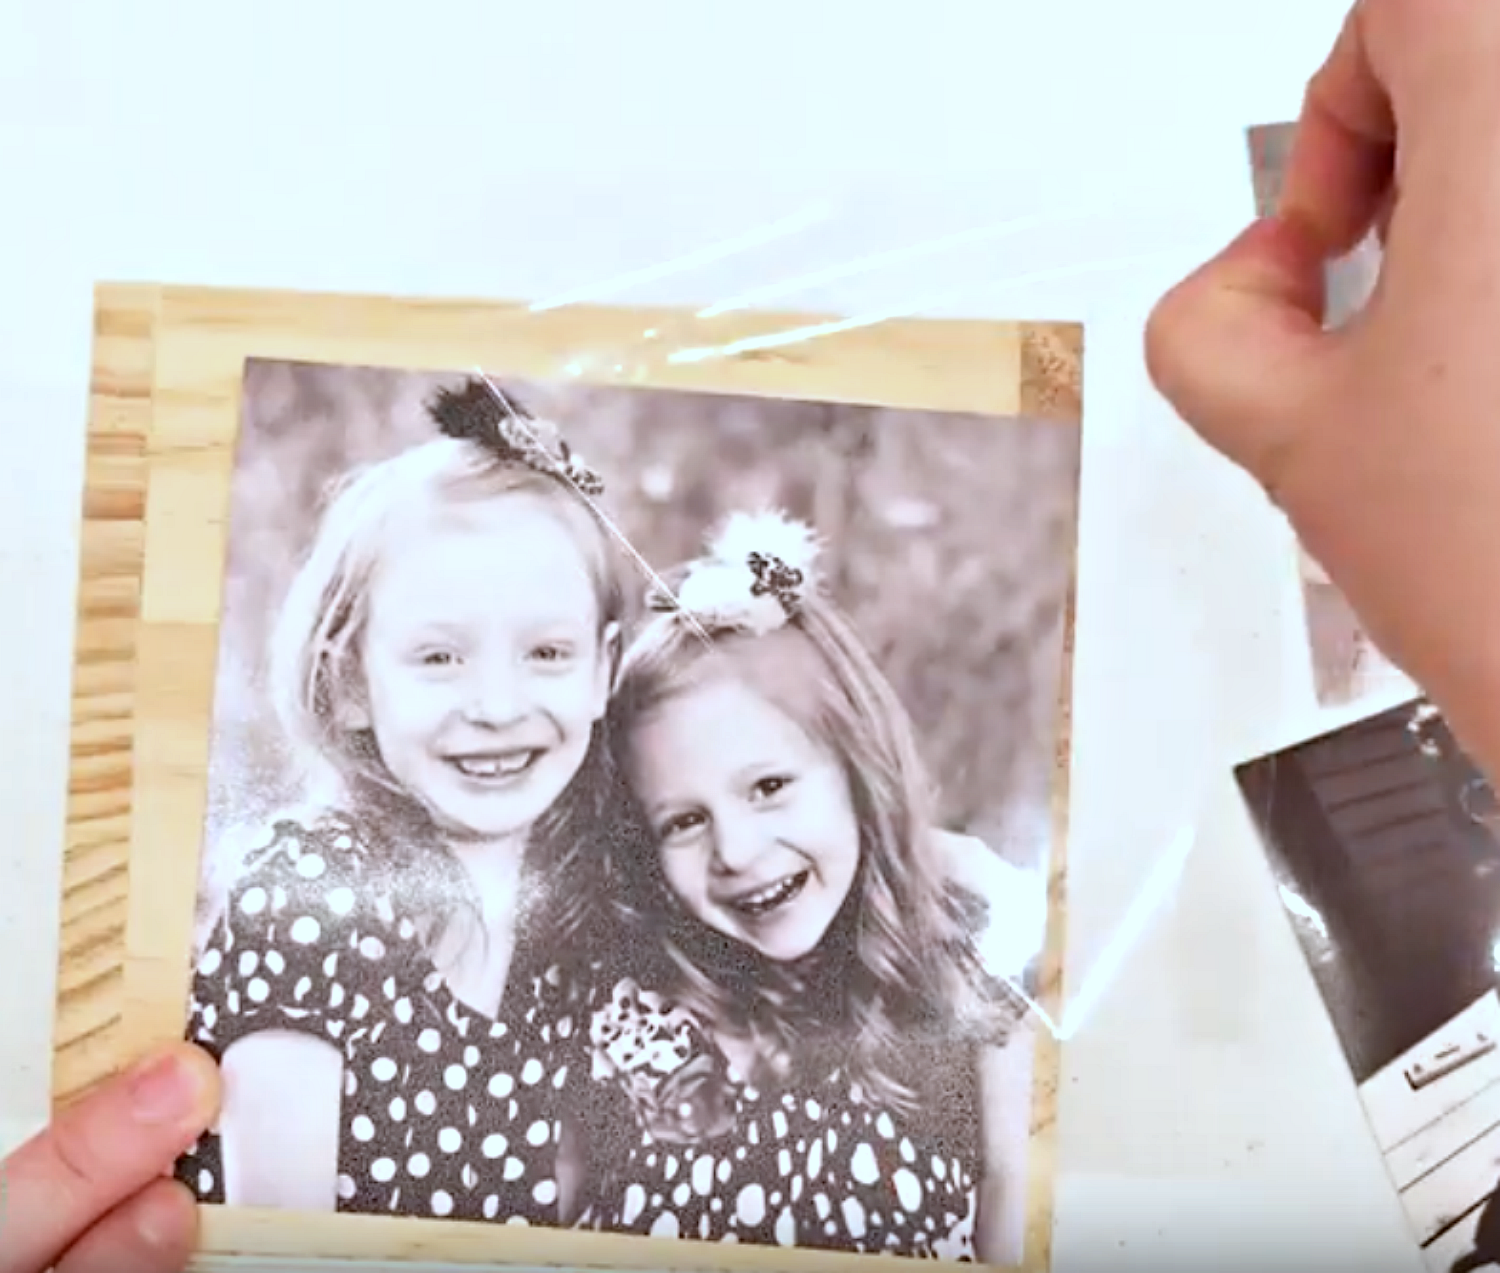
Then take your rag and dab it in some water and pat it around the tattoo paper until you see the image show through, just like you would on skin, slowly lift the paper backer,checking that the images is staying behind.
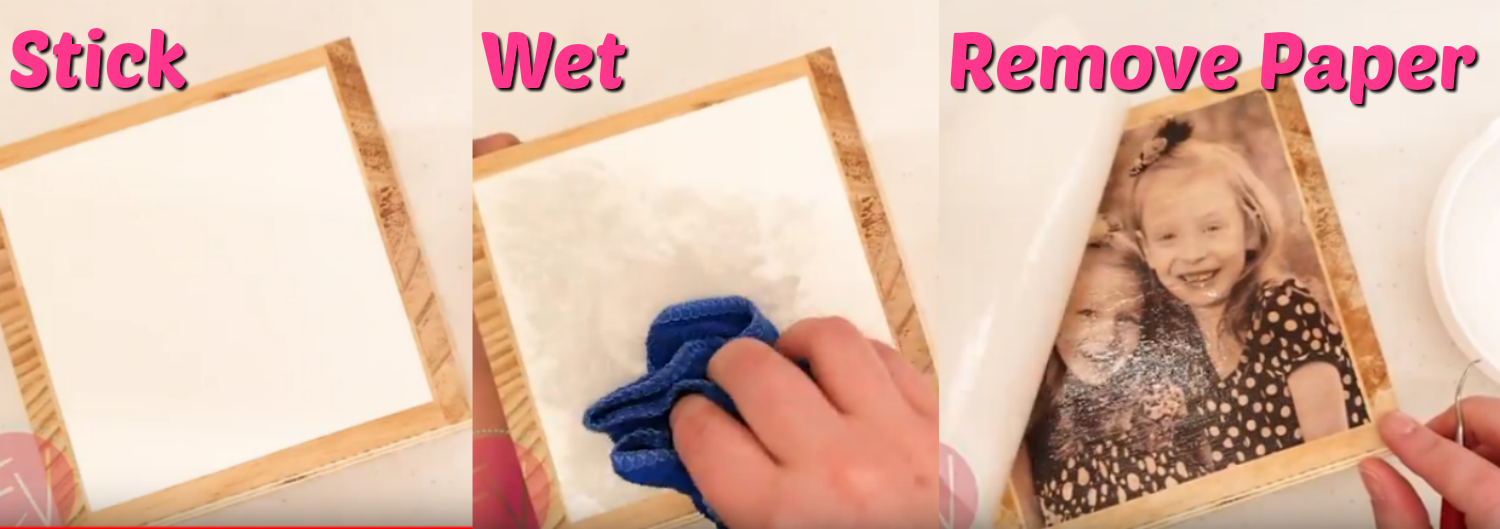
If it does look to be lifting, just apply a little more water.
Then remove paper when ready, and repeat process on all side, then set aside to dry.
I would also recommend applying a sealer to give it a nice finished look.
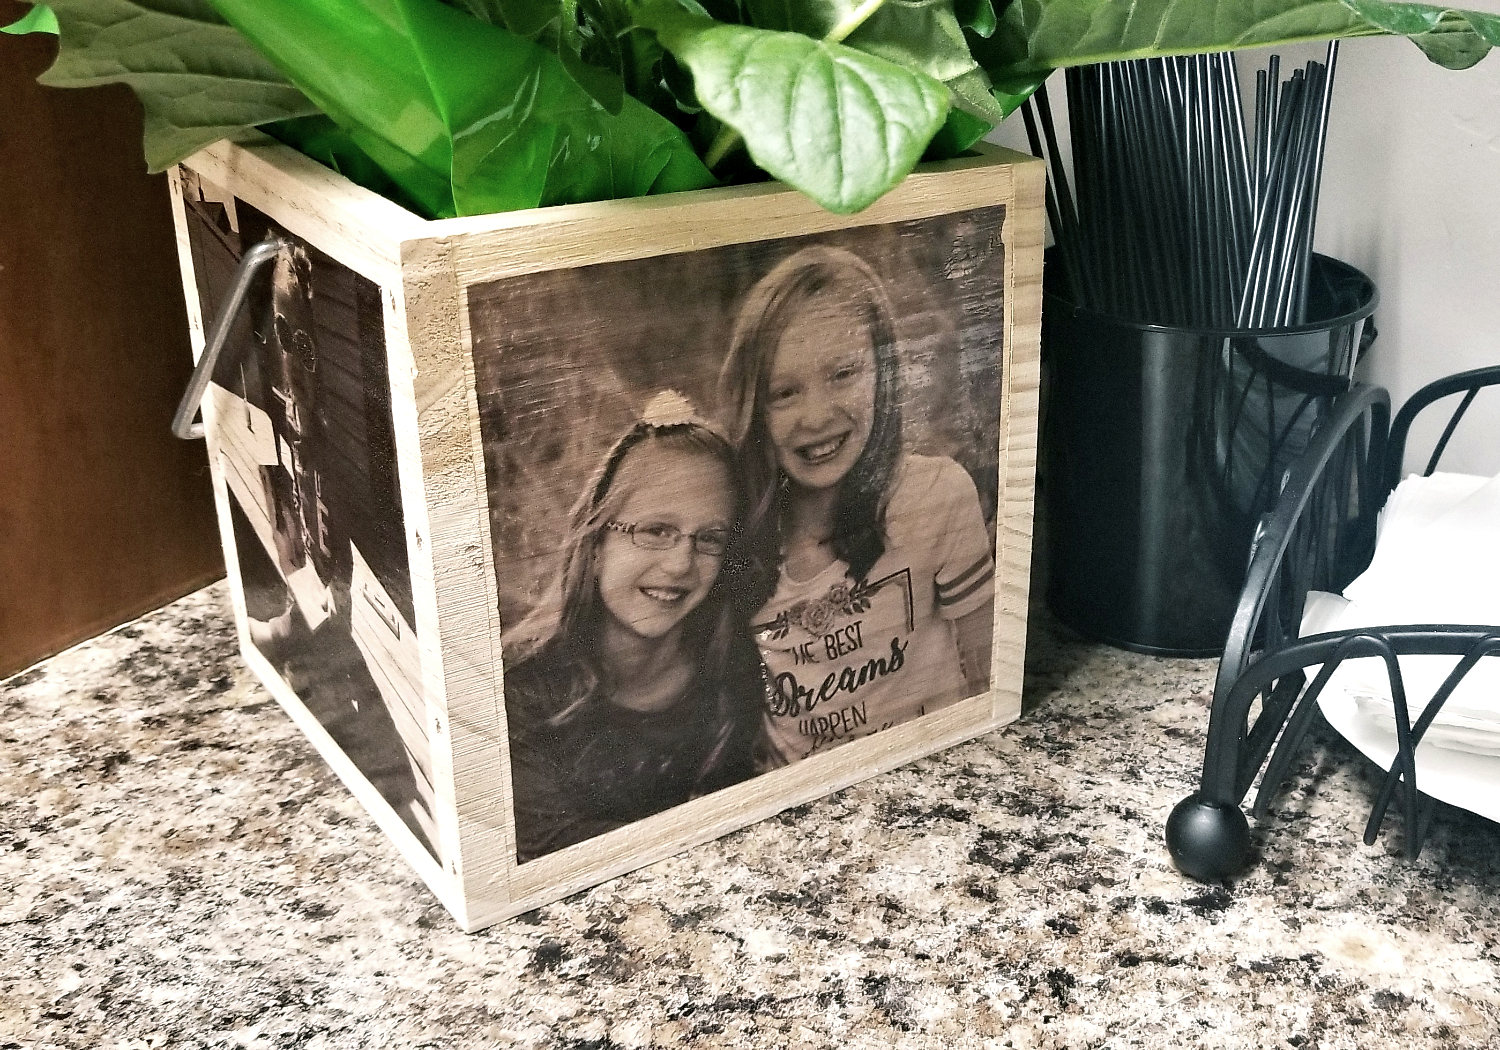
Add some cute flowers and there ya have it a fun photo planter box using Silhouette Clear Tattoo Paper
If you have questions leave them below and go get some Tattoo Paper and try it out yourself and I promise you will LOVE it!

Recent Posts
-
NEW Holographic Eclipse Heat Transfer Vinyl
April 15th, 2024 3 Ways to Use the New Holographic Eclipse Heat Transfer Vinyl from Siser …Apr 29th 2024 -
Hop into Spring with Cute Easter Vinyl Crafts
Do you love our Vinyl? Sign up for Vinyl Club today to get FREE vinyl and save big! …Mar 28th 2024 -
Fixing Wrinkles and Bubbles in Vinyl
How do you get air bubbles out of vinyl? There are a few different ways to ensure a flawless …Mar 26th 2024

