
Silkscreen Starter Kit
Hey everyone, its Starla with ExpressionsVinyl.com and Silhouette has been coming out with some fun new products for us crafters. Today we are going to intruduce the new Silkscreen Starter Kit.
So I was a little imtimidated by all that comes in this kit, let me give you a run down...
- Silkscreen Frame
- Silhouette Black Fabric Ink
- 3 Sheets of Silhouette Heat Transfer Material (12x15)
- 3 Sheets of Silkscreen Material
- Silhouette Hook Tool
- 10 Exclusive Designs (Design Card)
- Silkscreen Squeegee
Okay, now for the fun part. Choose your Image you want to screen print, I found this cute little Cactus on one of my favorite sites for cut files LOVESVG.COM. This is just named Cactus on their site. Or you can use one of the fun 10 images that comes in the kit via a download code card.
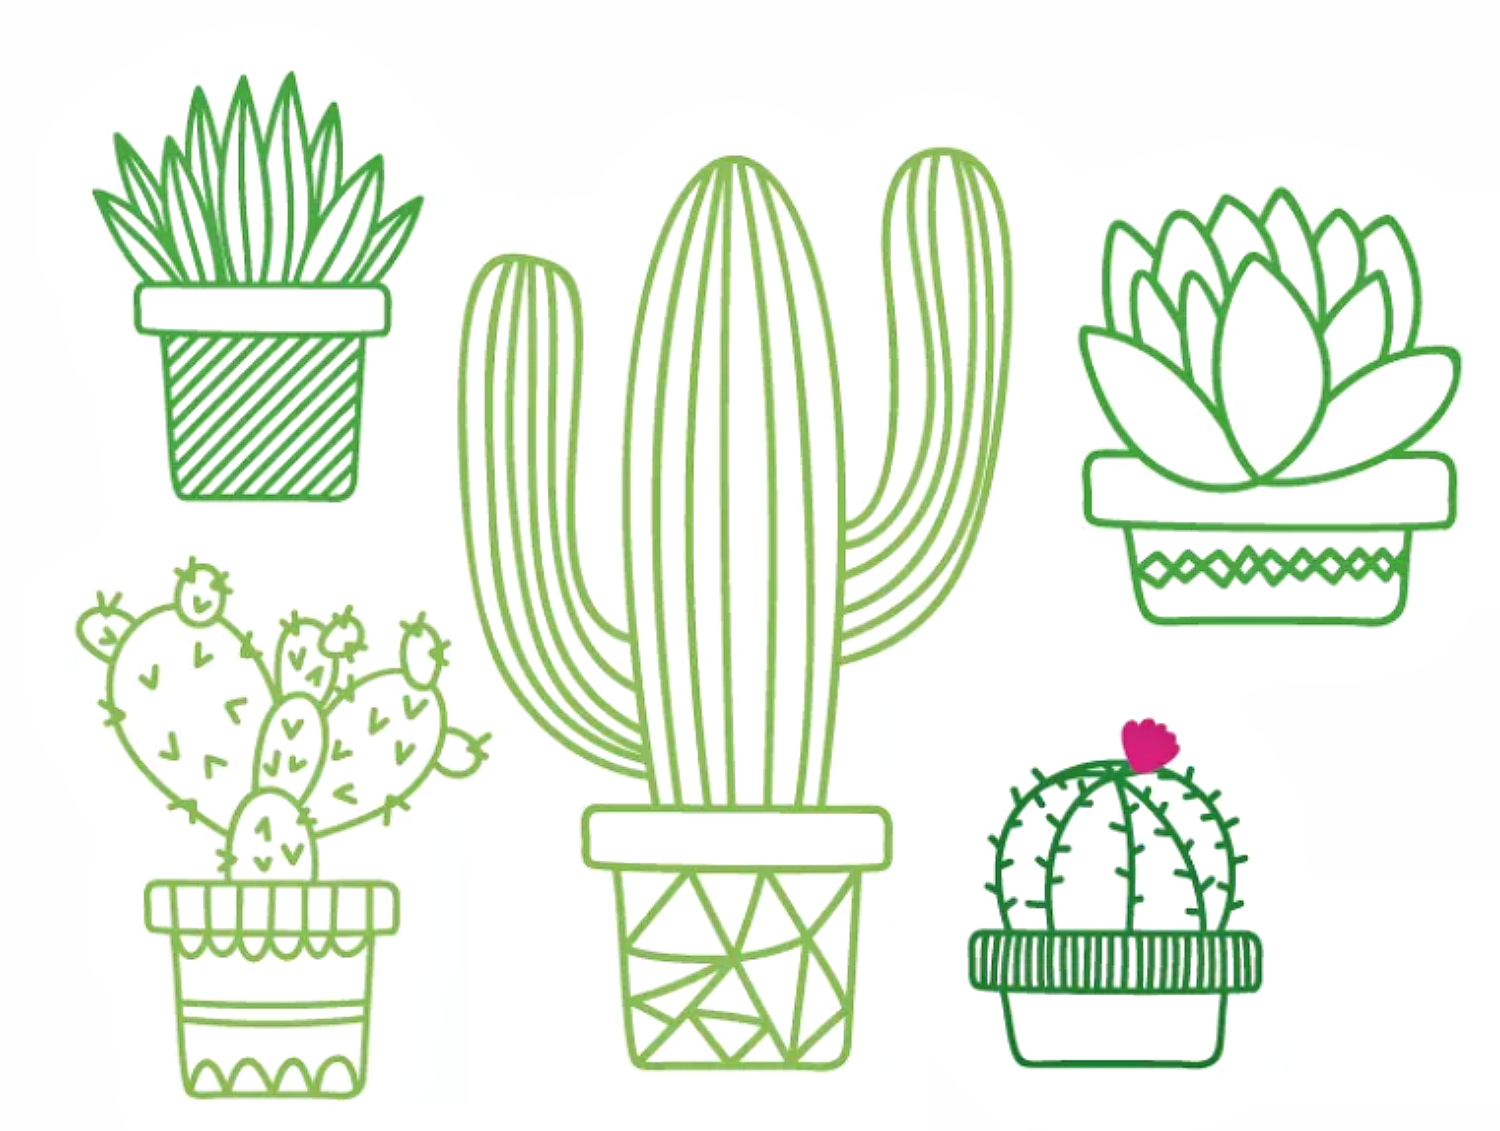
I really just wanted to use the middle image, since I love how the lines all look and thought it would make a good simple design. You are working with HTV so you will need to remember to mirror your image when cutting.
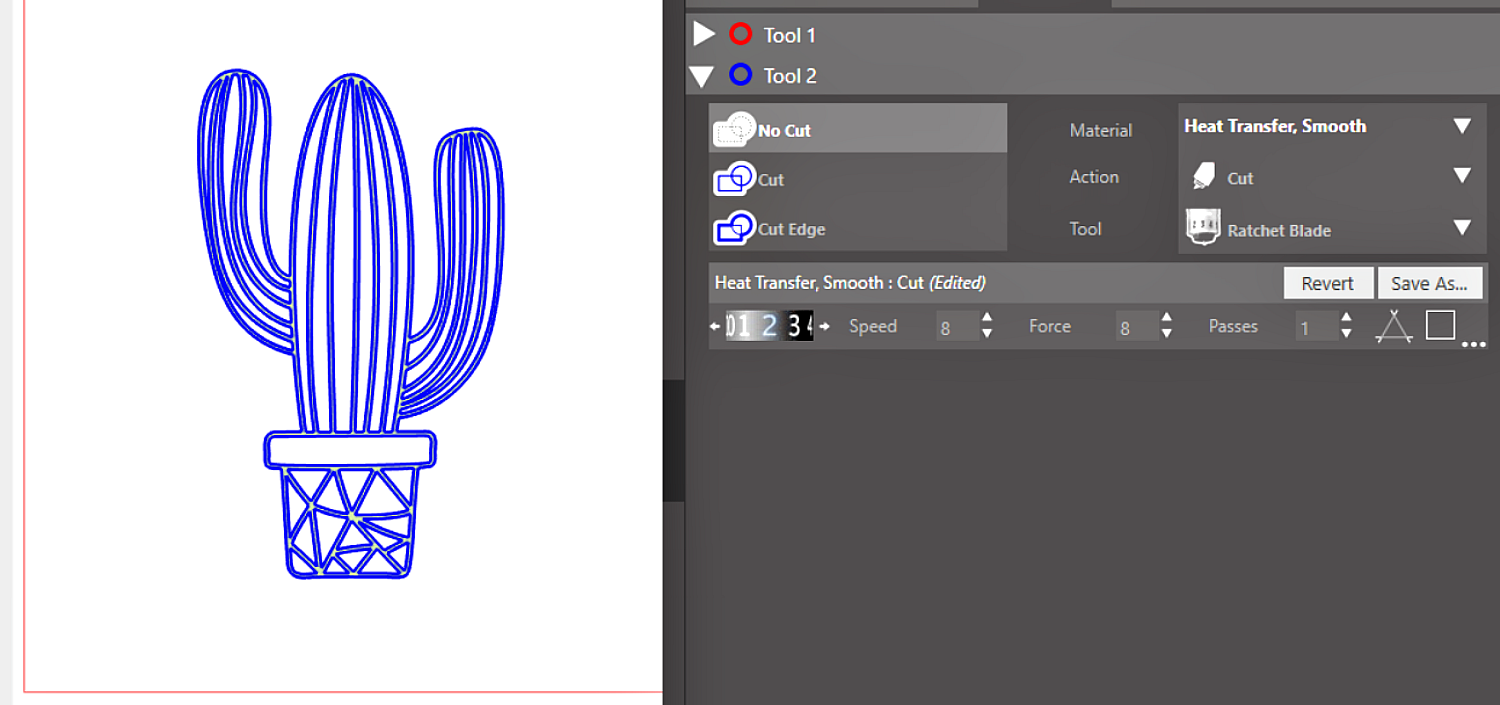
Since this is Silhouettes Vinyl, the settings are a little different than ExpressionsVinyl's Easyweed HTV.
I used Silhouettes Heat Transfer Vinyl Smooth setting and it did not quite work right so I uped my settings to cut it better.
Using my Premium Blade ( I prefer this blade for thicker and or more detailed images) with a Blade setting of 2, Speed 8 and Force 8 and it cut perfectly.
TIP: The image can be no larger than 7.5"x10.5" so keep that in mind, and you do have to use the whole 12x15" piece of HTV for there to be room on the frame to grip it tight.
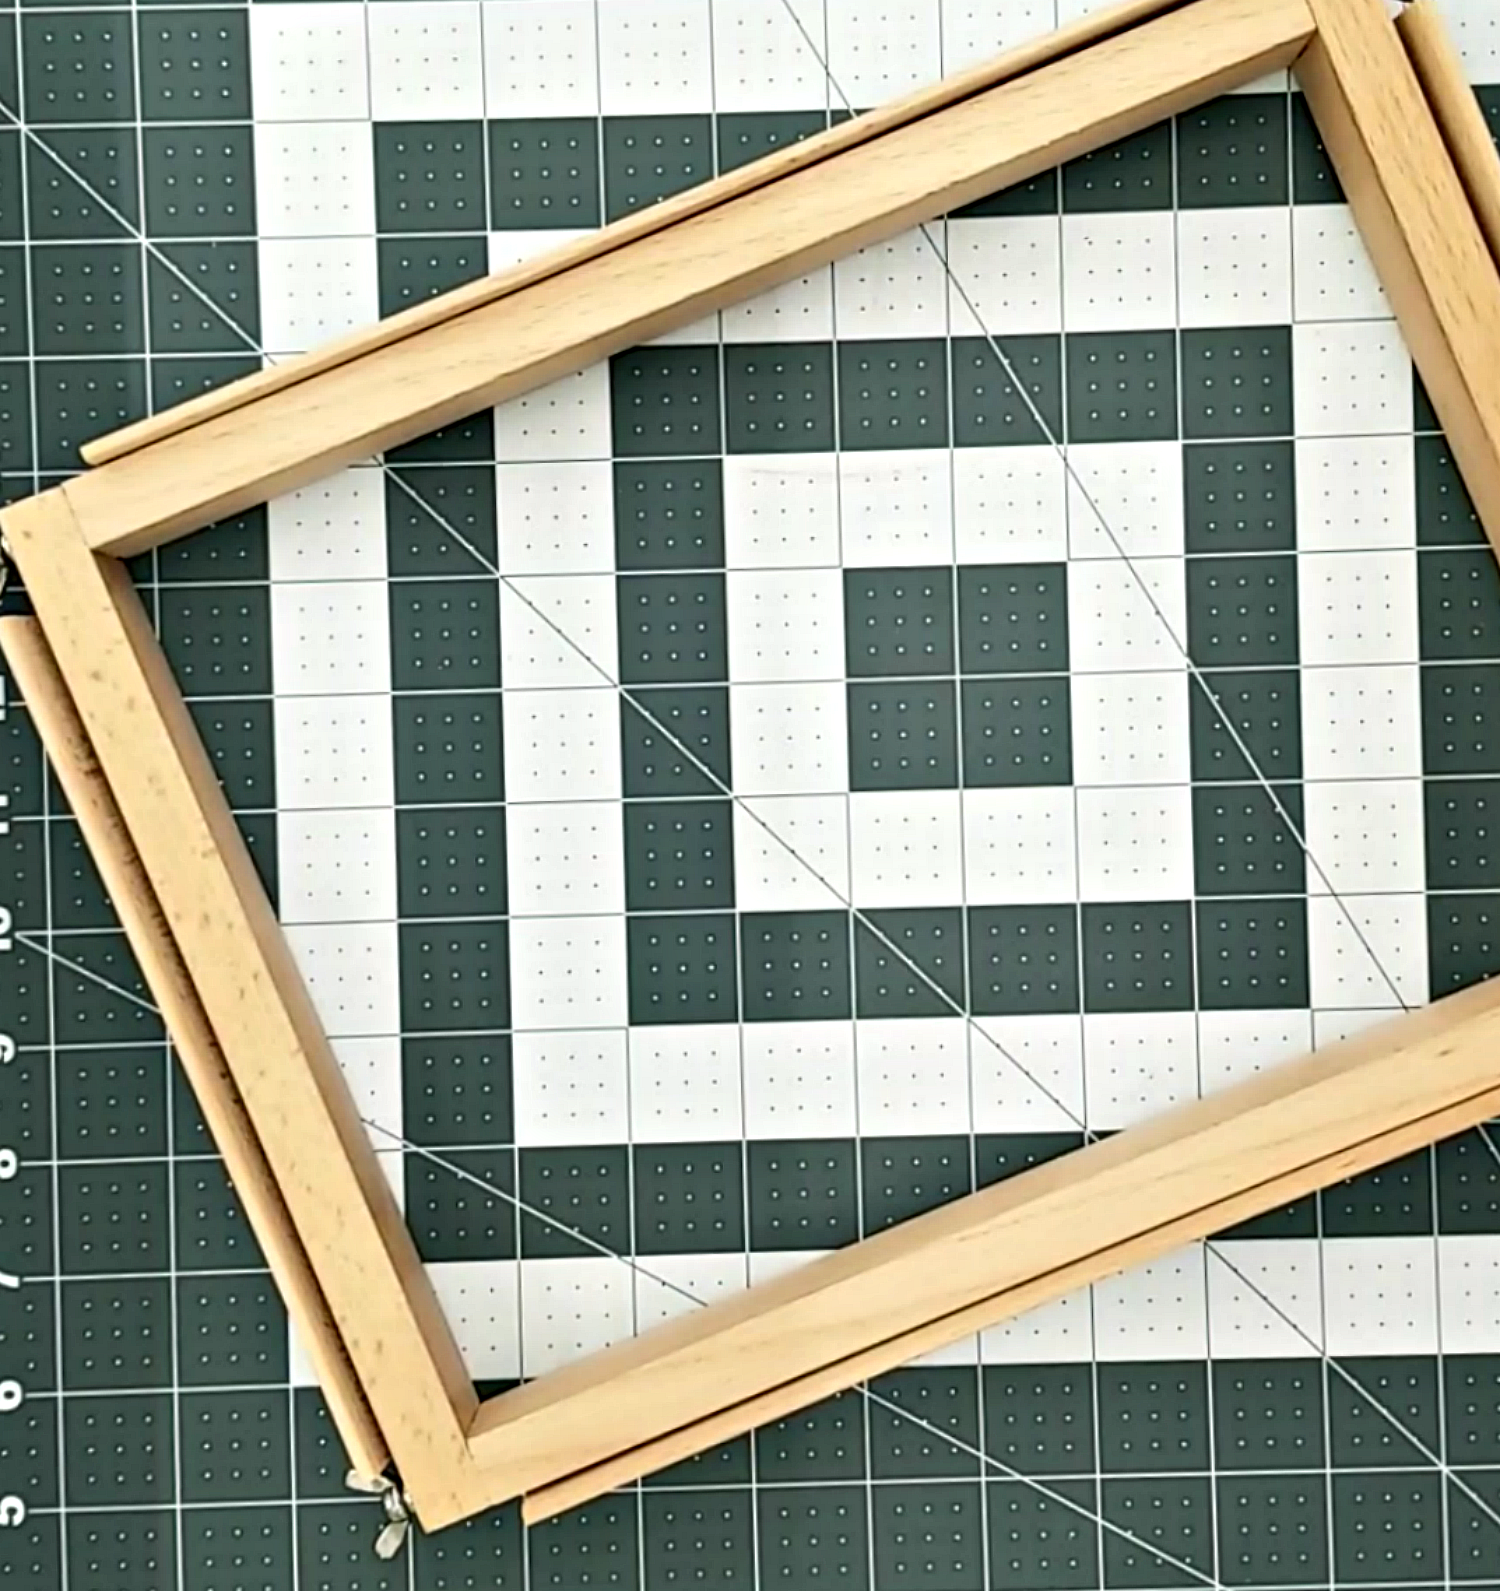
So what was most intimidating was that you had to put this frame together, but it is really easy to do, just line up the numbers on the frames making sure that the routered grooves face outward.
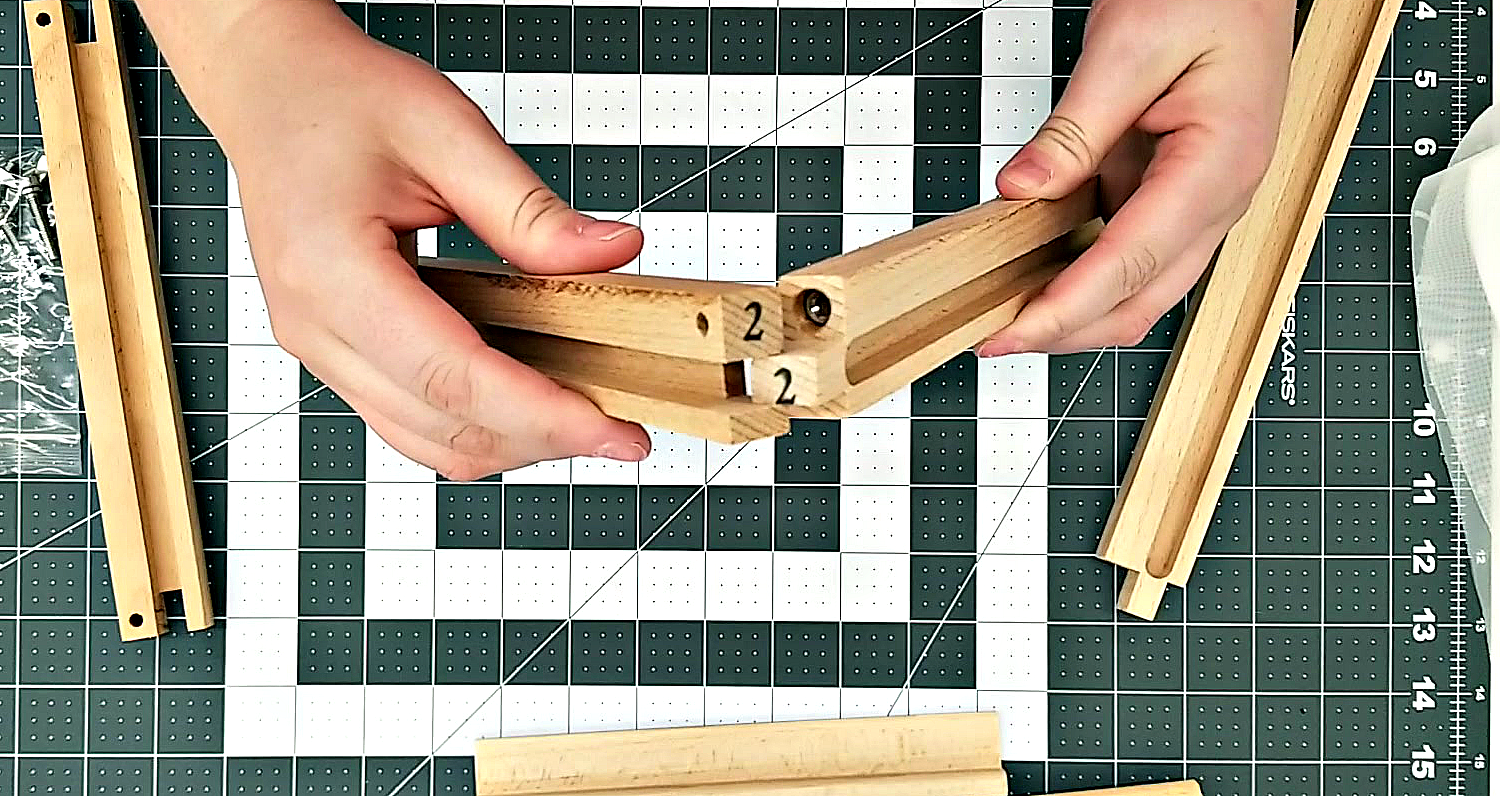
Once you have it all assembled, you will see that there are "Wedges" that come in the kit so as to hold the Silkscreen tight in the frame. Then tighten it all together with the butterfly screws that come with the kit. This will keep it nice and tight, but do not over tighten it, that can cause the frame to warp.
Your Frame should look like this.
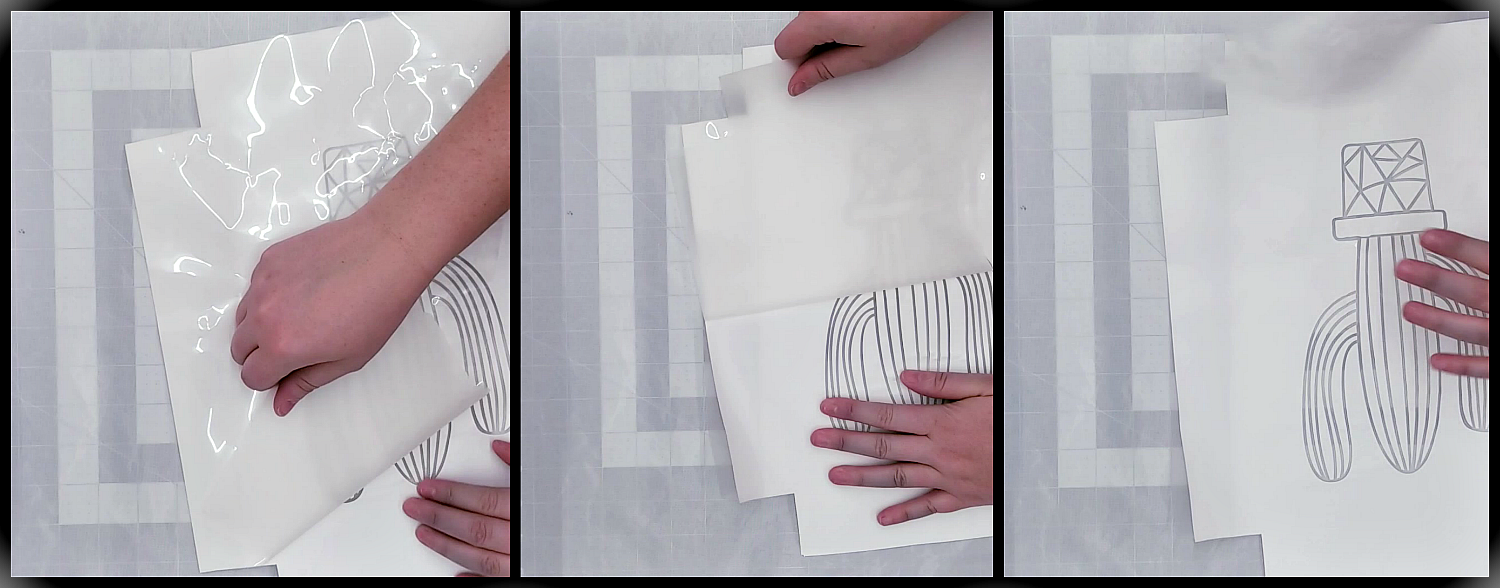
Now that the frame is assembled, and your vinyl is cut and weeded, you are now going to iron the Silkscreen TO the Heat Transfer, so you are kinda working backwards.

TIP: If you have a heat press, that will work too, just be sure to place a sheet of Multi Use Paper over the mesh or one of our Heat Transfer Cover Sheets to protect the element from any adhesive the vinyl could leave on it.
On the kits instructions, it tells you to cut a 2"x2" square out of each corner of the vinyl so that the vinyl with mesh can be held in tight to the frame. I did this just to the vinyl and then cut the mesh to match, but it made it hard to remove the carrier sheet, so I recommend just cutting the corners after the mest has been ironed onto the vinyl.
Then once it has been good and ironed down, just pull off that carrier sheet.
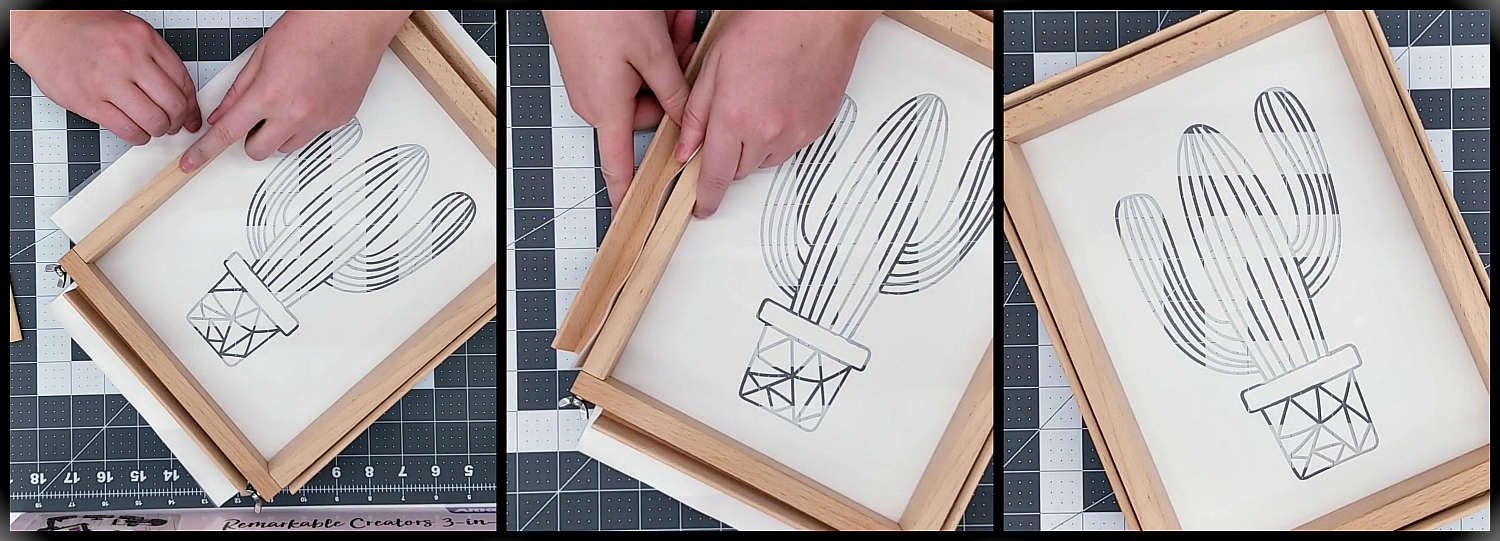
With the screen side down and the vinyl facing you, secure the material into place by folding the edges up and locking into place with the wooden frame inserts.
Then after giving your shirt a good ironing, lay the Silkscreen Frame with Vinyl on your shirt where you would like the image to be placed.
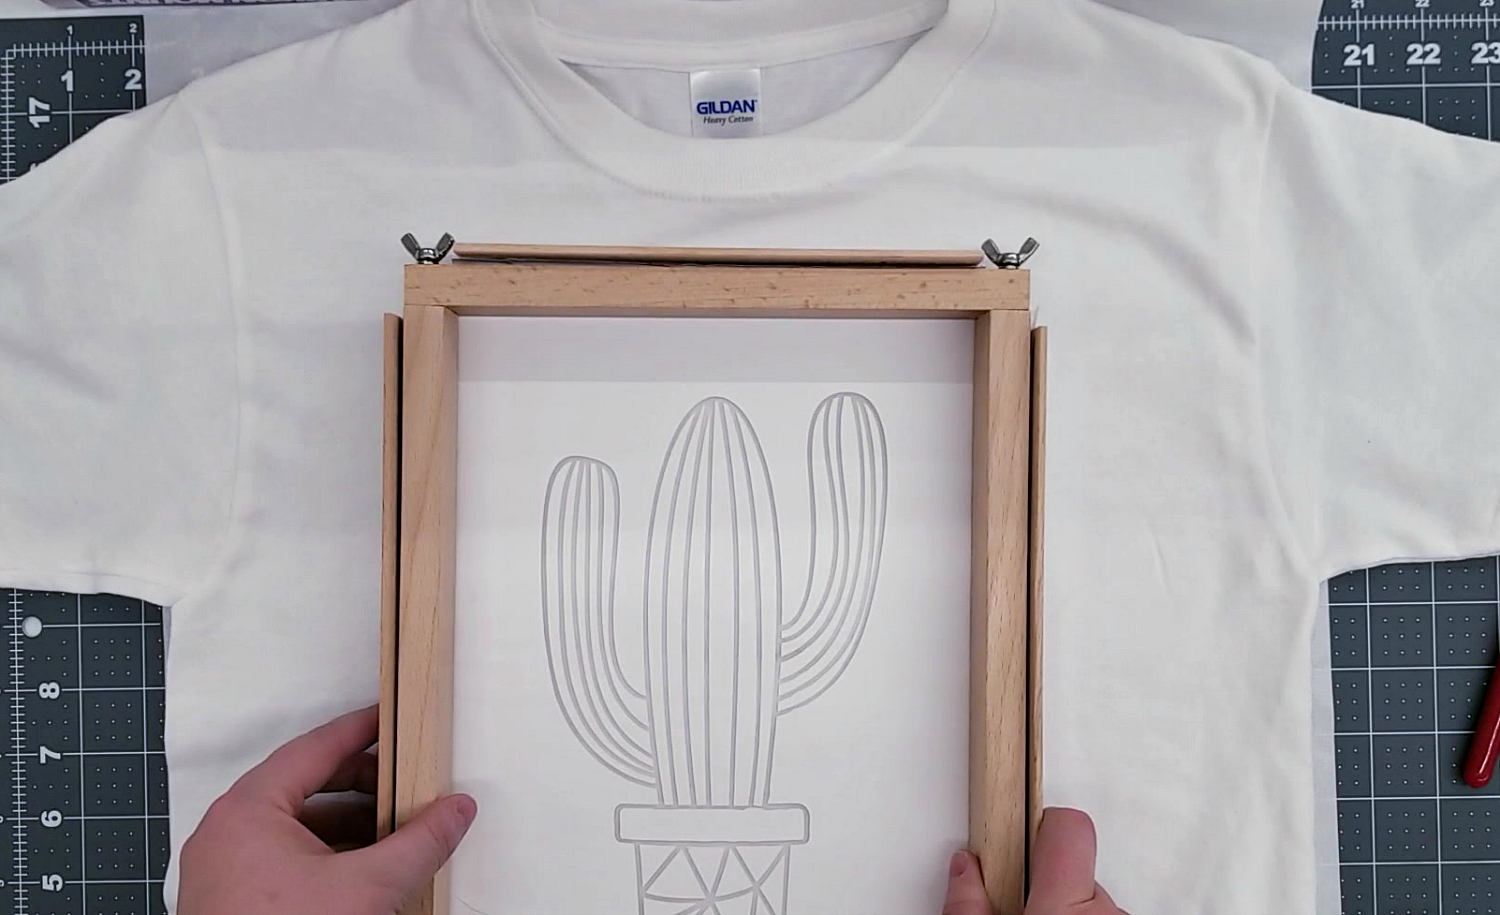
You can place some cardboard inside the shirt if you are worried about bleeding, but I honestly forgot about that and it didnt even leak through a little bit, so you are probably fine, but keep that in mind if you are using different fabric paint, it could bleed.
Now that you have it in place...
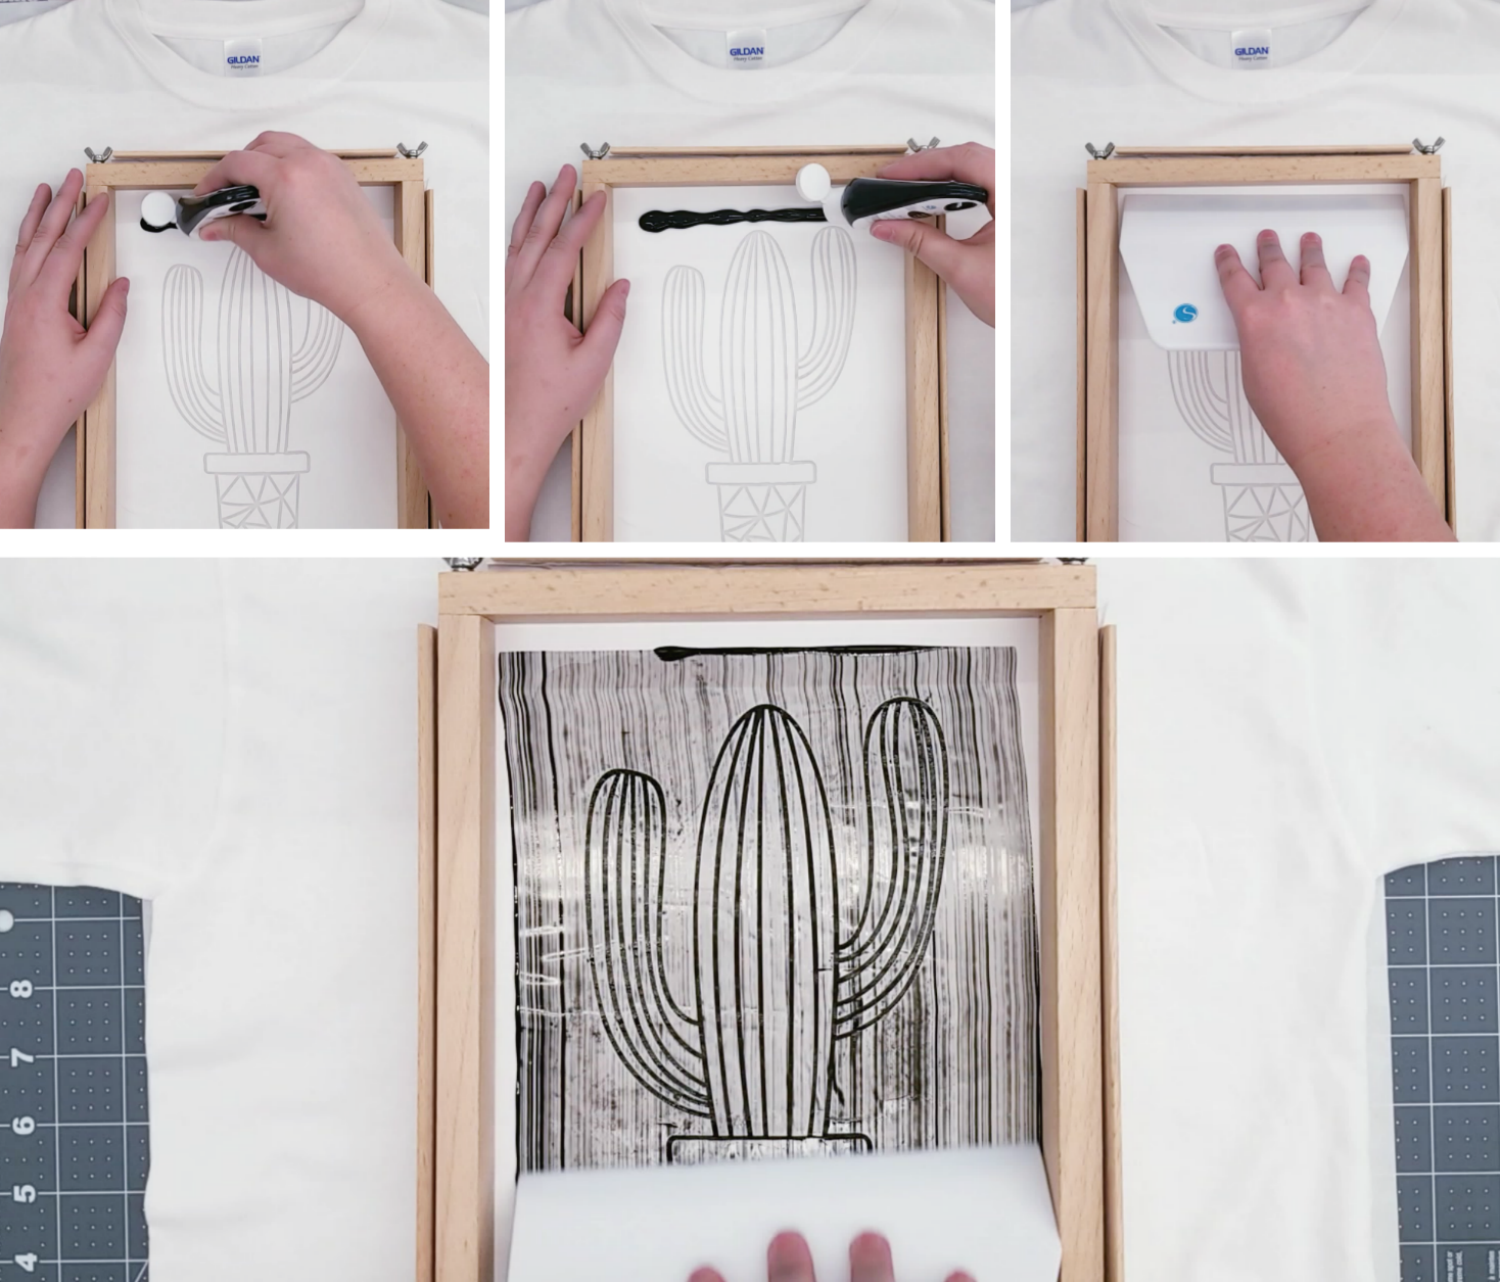
Squeeze out a decent amount of Silhouette Fabric Ink and run it the width of the image, enough that you will not have to make 2 passes, this may take some practice. If you do need to do a second pass, go in the same direction as the first, top to bottom. You will want some pressure, but really you dont need a ton.
Then remove the frame from the shirt.
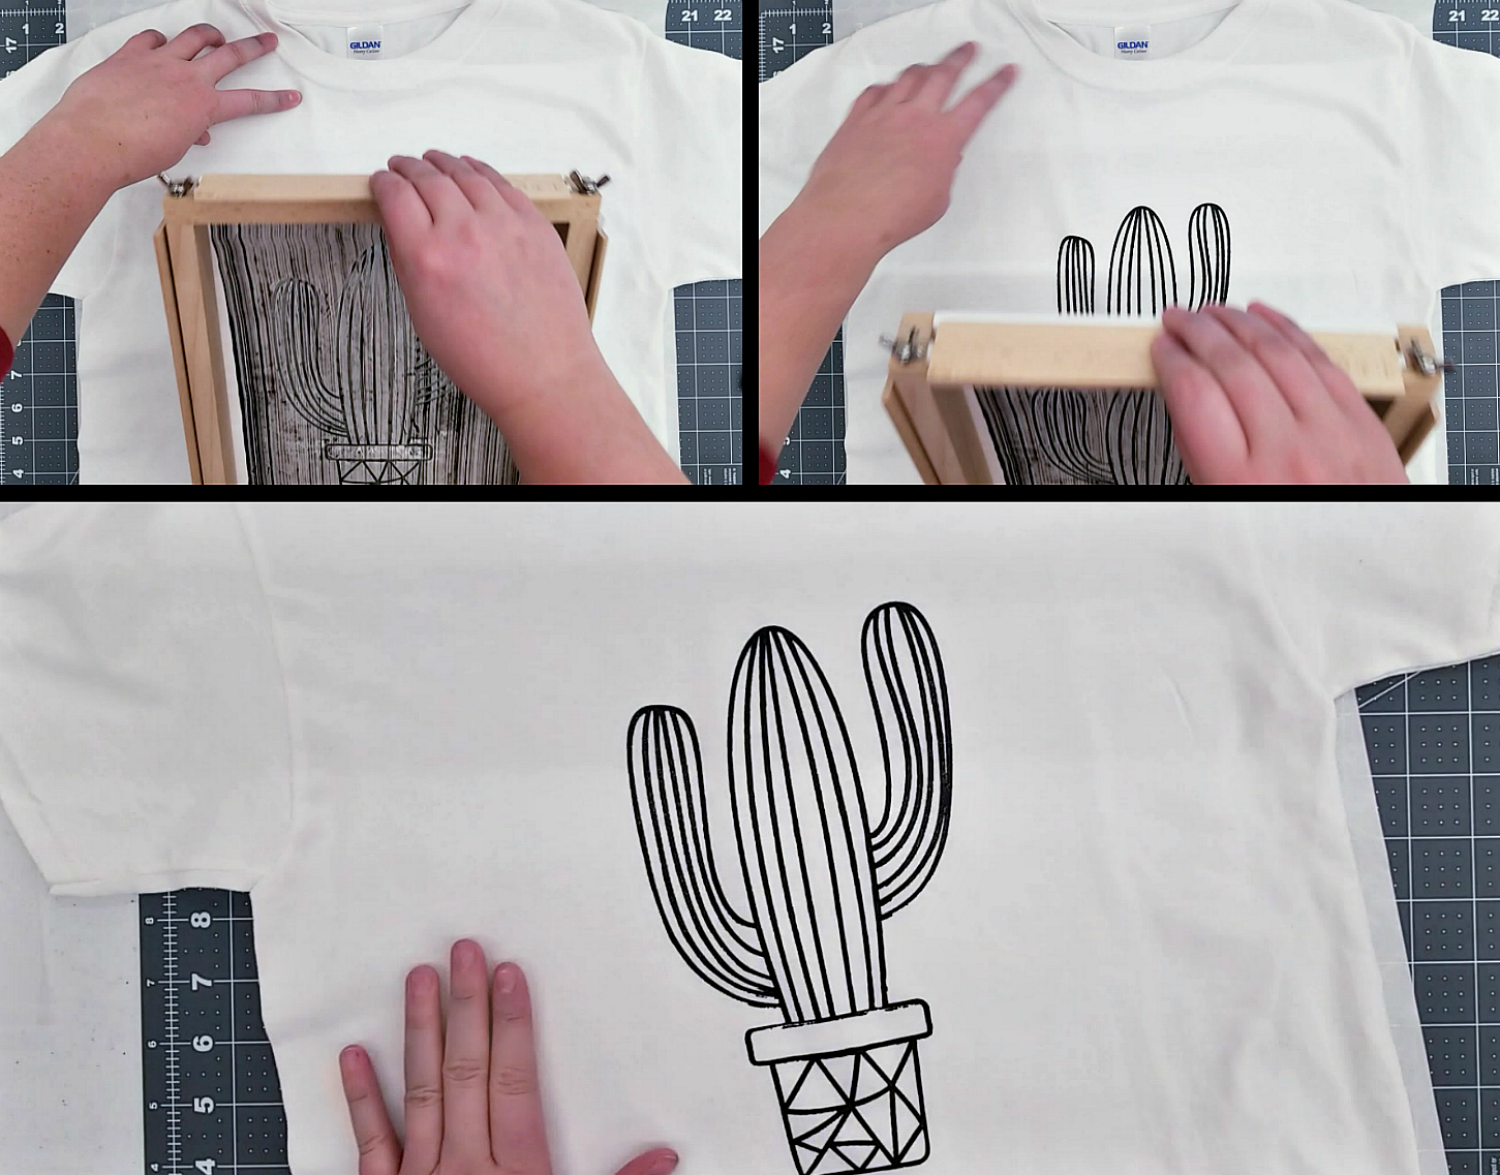
Not to bad for my first time, but I think this kit is super easy and now not intimidated by it at all. It will take some practice to avoid any bleeds but you could also touch it up with the same fabric ink and a paint brush.
I would for sure to a last press or ironing to set the paint, but it dries relatively quick.
If you want to get your hands on this fun kit, you can find it on our site here: Silkscreen Starter Kit.
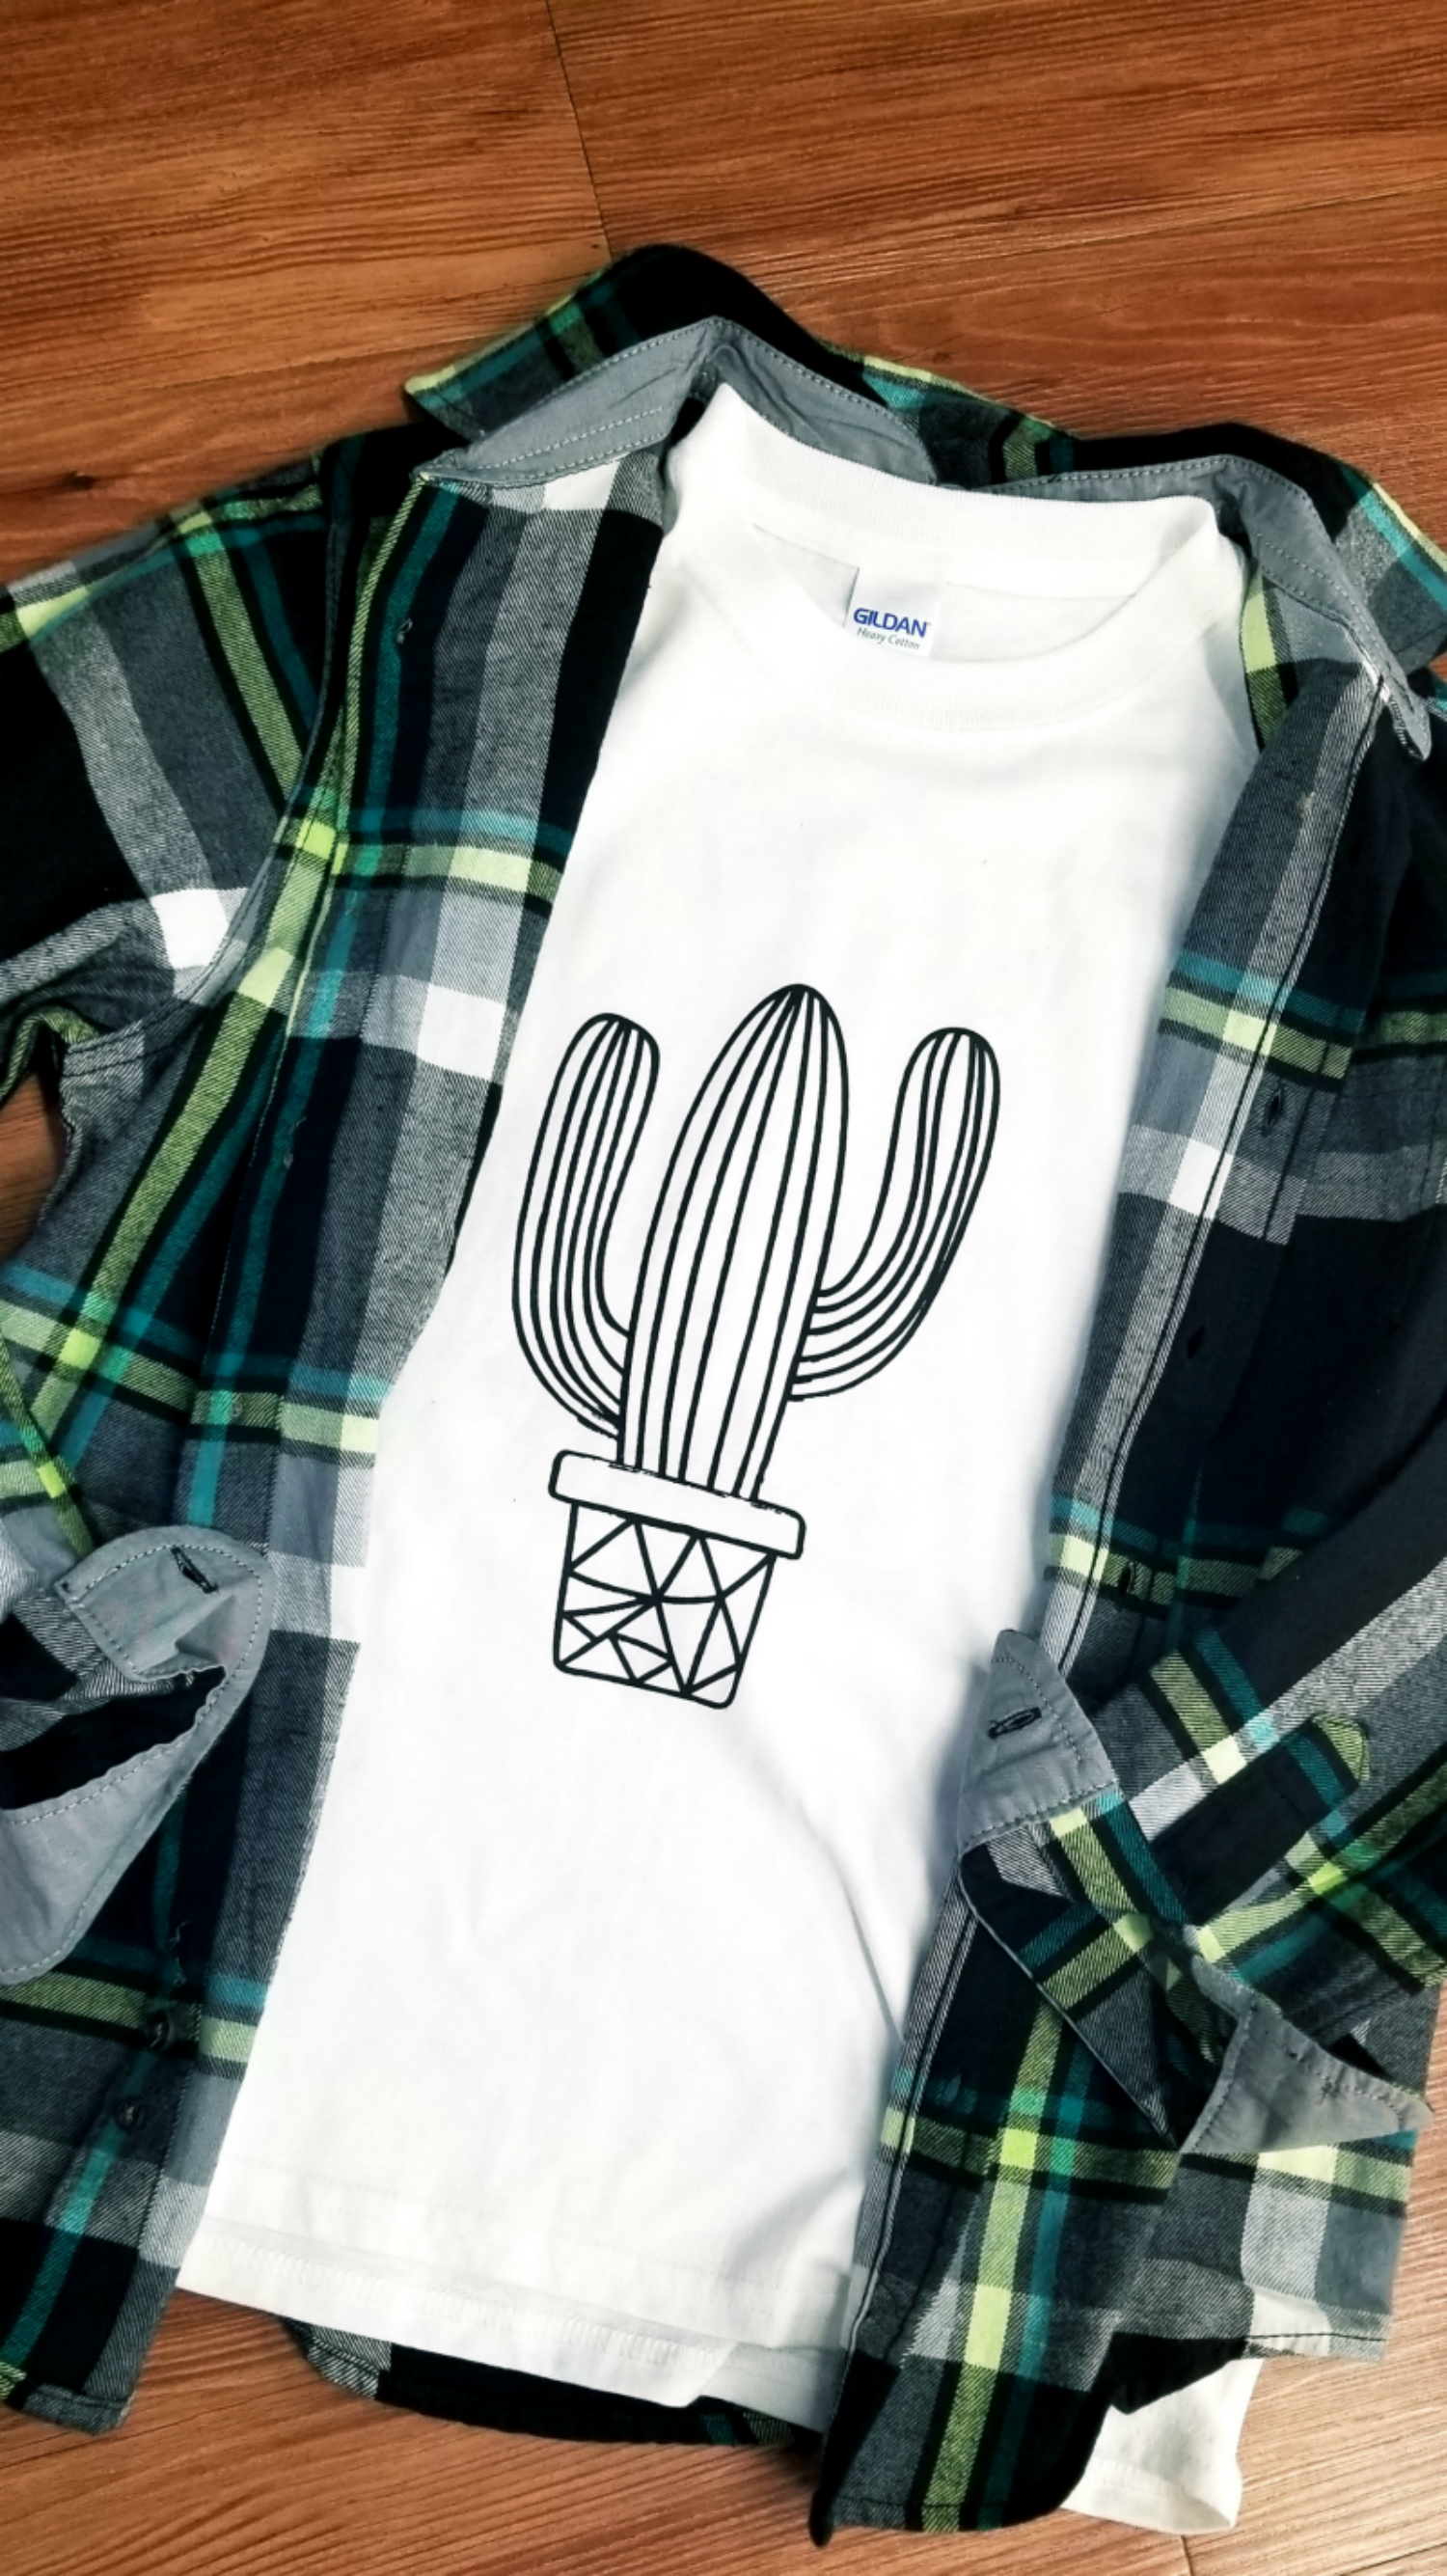
Check out how fun this would be with a cute button up shirt.
Thanks for stopping by and learning the Silkscreen Starter Kit with me, its fun. If you have any questions dont hesitate to ask and be sure to sign up for our emails and subscribe to our Facebook and Instagram pages for all the fun things coming up.

Recent Posts
-
NEW Holographic Eclipse Heat Transfer Vinyl
April 15th, 2024 3 Ways to Use the New Holographic Eclipse Heat Transfer Vinyl from Siser …Apr 29th 2024 -
Hop into Spring with Cute Easter Vinyl Crafts
Do you love our Vinyl? Sign up for Vinyl Club today to get FREE vinyl and save big! …Mar 28th 2024 -

Fixing Wrinkles and Bubbles in Vinyl
How do you get air bubbles out of vinyl? There are a few different ways to ensure a flawless …Mar 26th 2024