
Stenciled frame with oramask
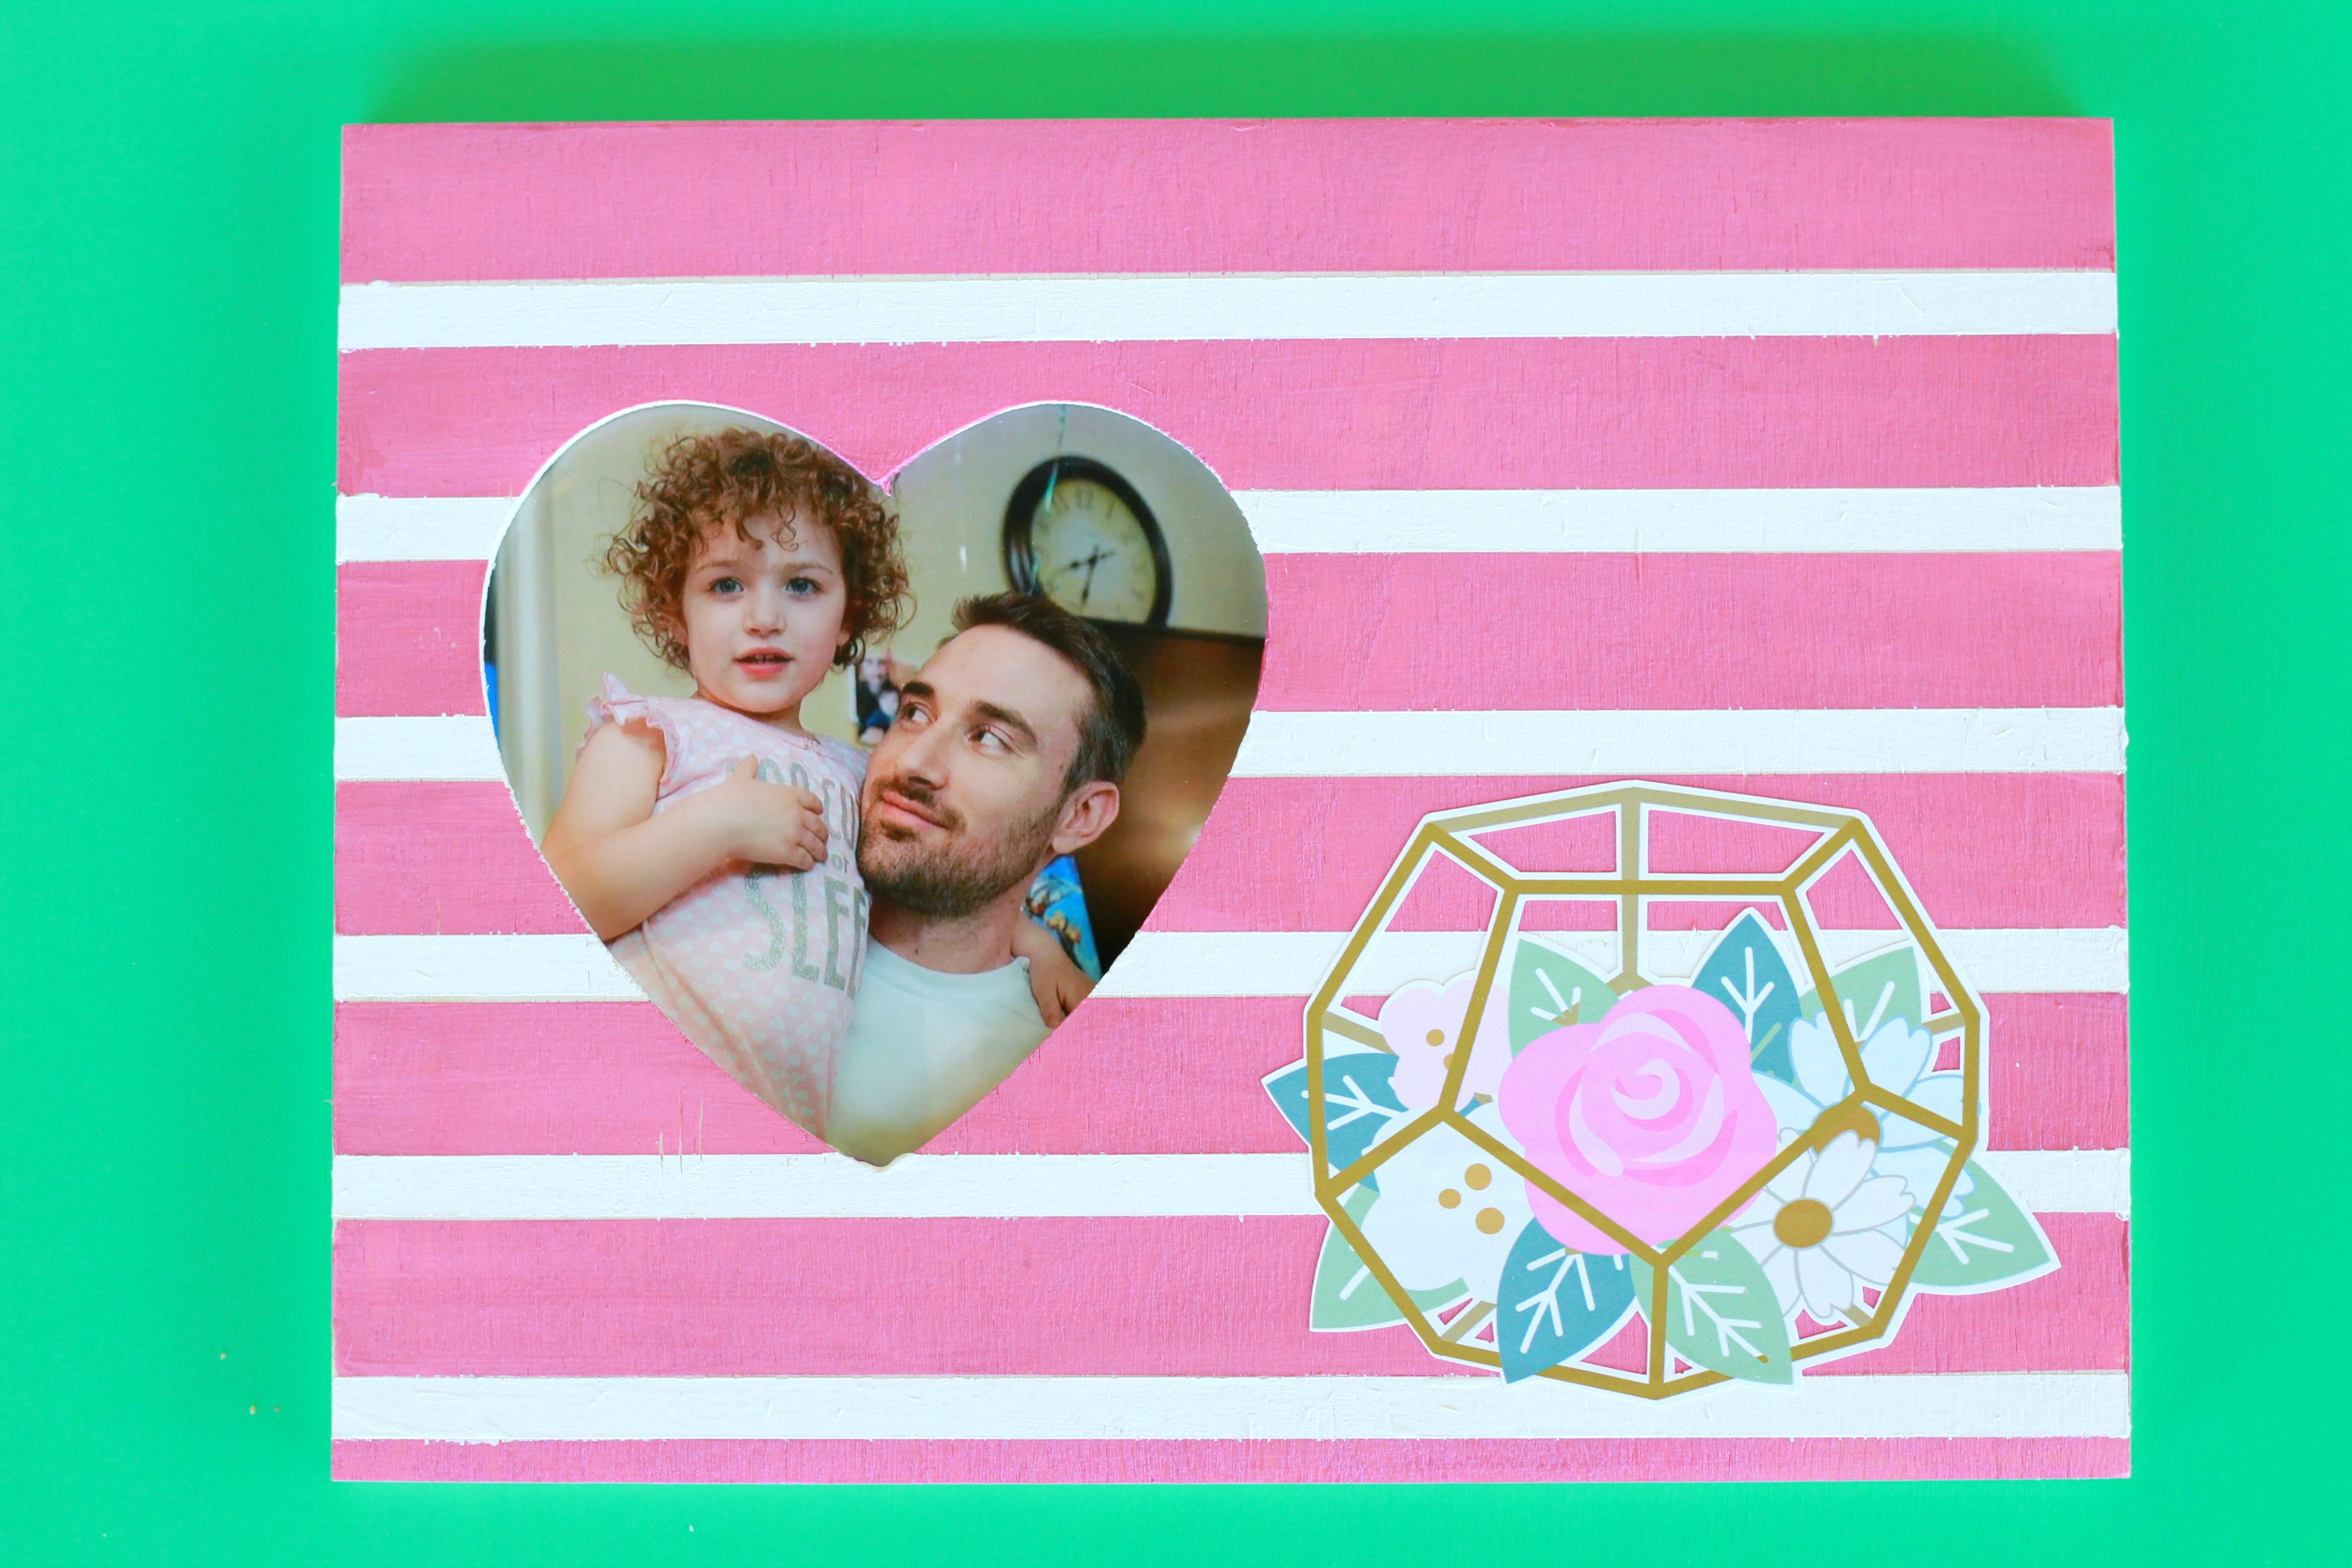
Hi crafty friends! Today I am going to show you how I made this adorable painted frame using Oramask 813 stencil vinyl and printable vinyl. I love getting blank things and turning them into something fun and vibrant. Stripes are my favorite pattern so I wanted to incorporate them onto this frame.
Things you will need:
-Wooden frame
-Oramask 813 stencil vinyl
-Adhesive printable vinyl
-Paint
-Cutting machine (mine's a Silhouette Cameo 3)
-Weeding tool
-Scraper
-Paint brushes
-Transfer Tape
Step 1: Design, Cut Stencil, & Paint
![]()
This is what the frame looked like when I first got it! SO MUCH POTENTIAL, amiright?!
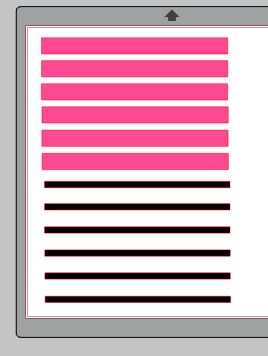
My next step is to measure the frame so that I know how wide to make my stripes. (To make it easier to explain on screen, the black stripes on my software are really the white stripes on the final project.)
Since I want this to be a stencil, I have to merge the multiple rectangle lines onto a larger rectangle so that I can group them to make them one cut! Do this to each set of the stripes. Select all the items inside and the rectangle. Right click and either "group" or "make compound path" in Silhouette Studio.
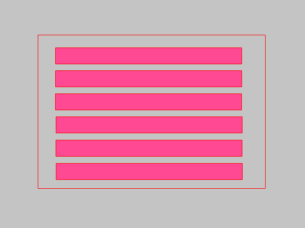
This is what they will look like when they grouped together. You will weed the inside rectangles so that you are left with negative space to paint!
![]()
Once you weed your design, use clear transfer tape to transfer the stencil onto the wooden frame. Use a scraper tool to really press the stencil on. Slowly pull the tape away from the frame.
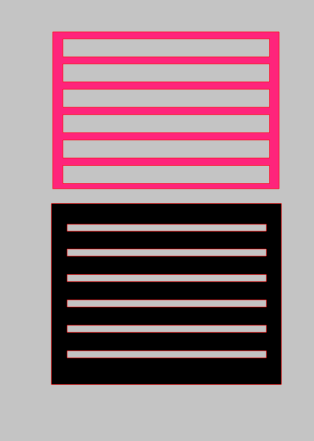
Paint the lines with the color of your choice (in my case, pink!) Once you are done painting, slowly peel away the stencil.
Once the paint dries, you are going to place the second stencil (the smaller lines) on the frame.
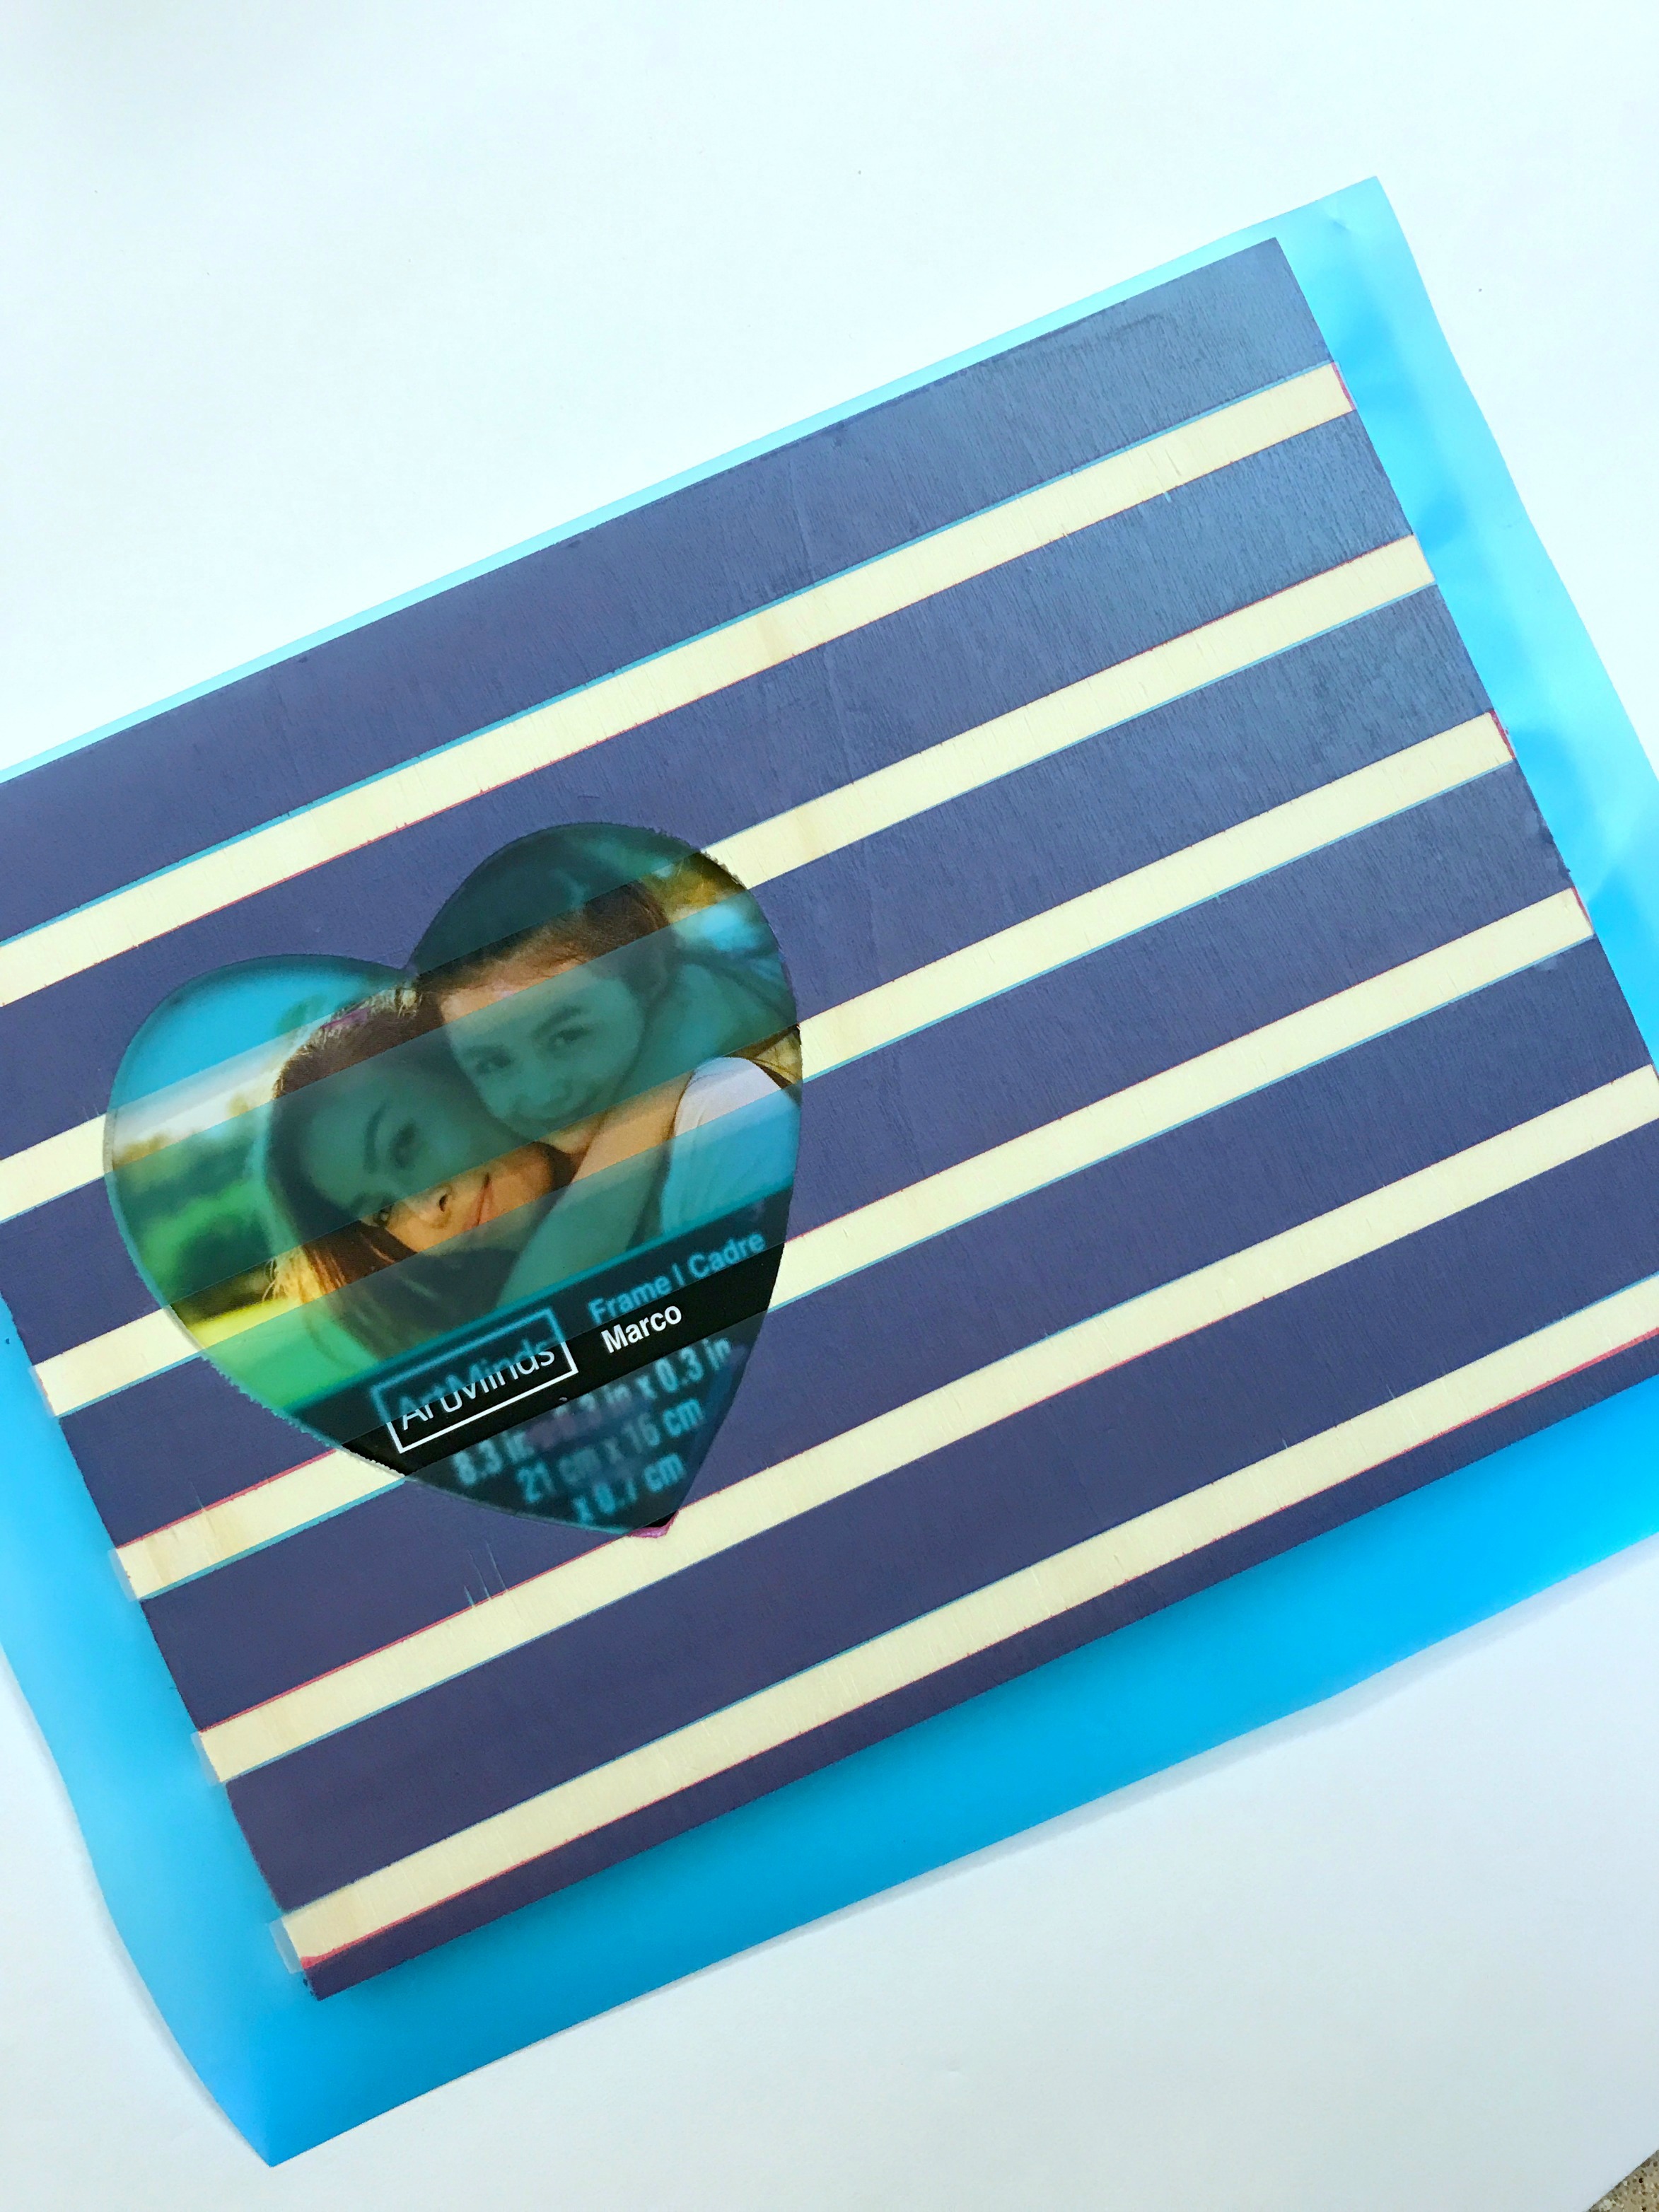
Then using the second color of your choice (white for me) paint the rest of the frame. Peel away the stencil before the paint fully dries.
Step 2: Print & Cut Flower and Insert Picture
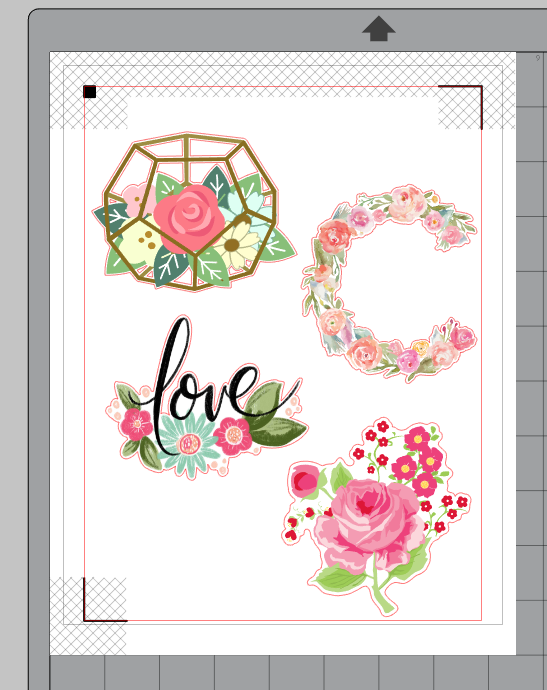
I wanted to add a pretty floral accent to the side of my frame.
I used the printable adhesive vinyl to print a ton of pretty designs.
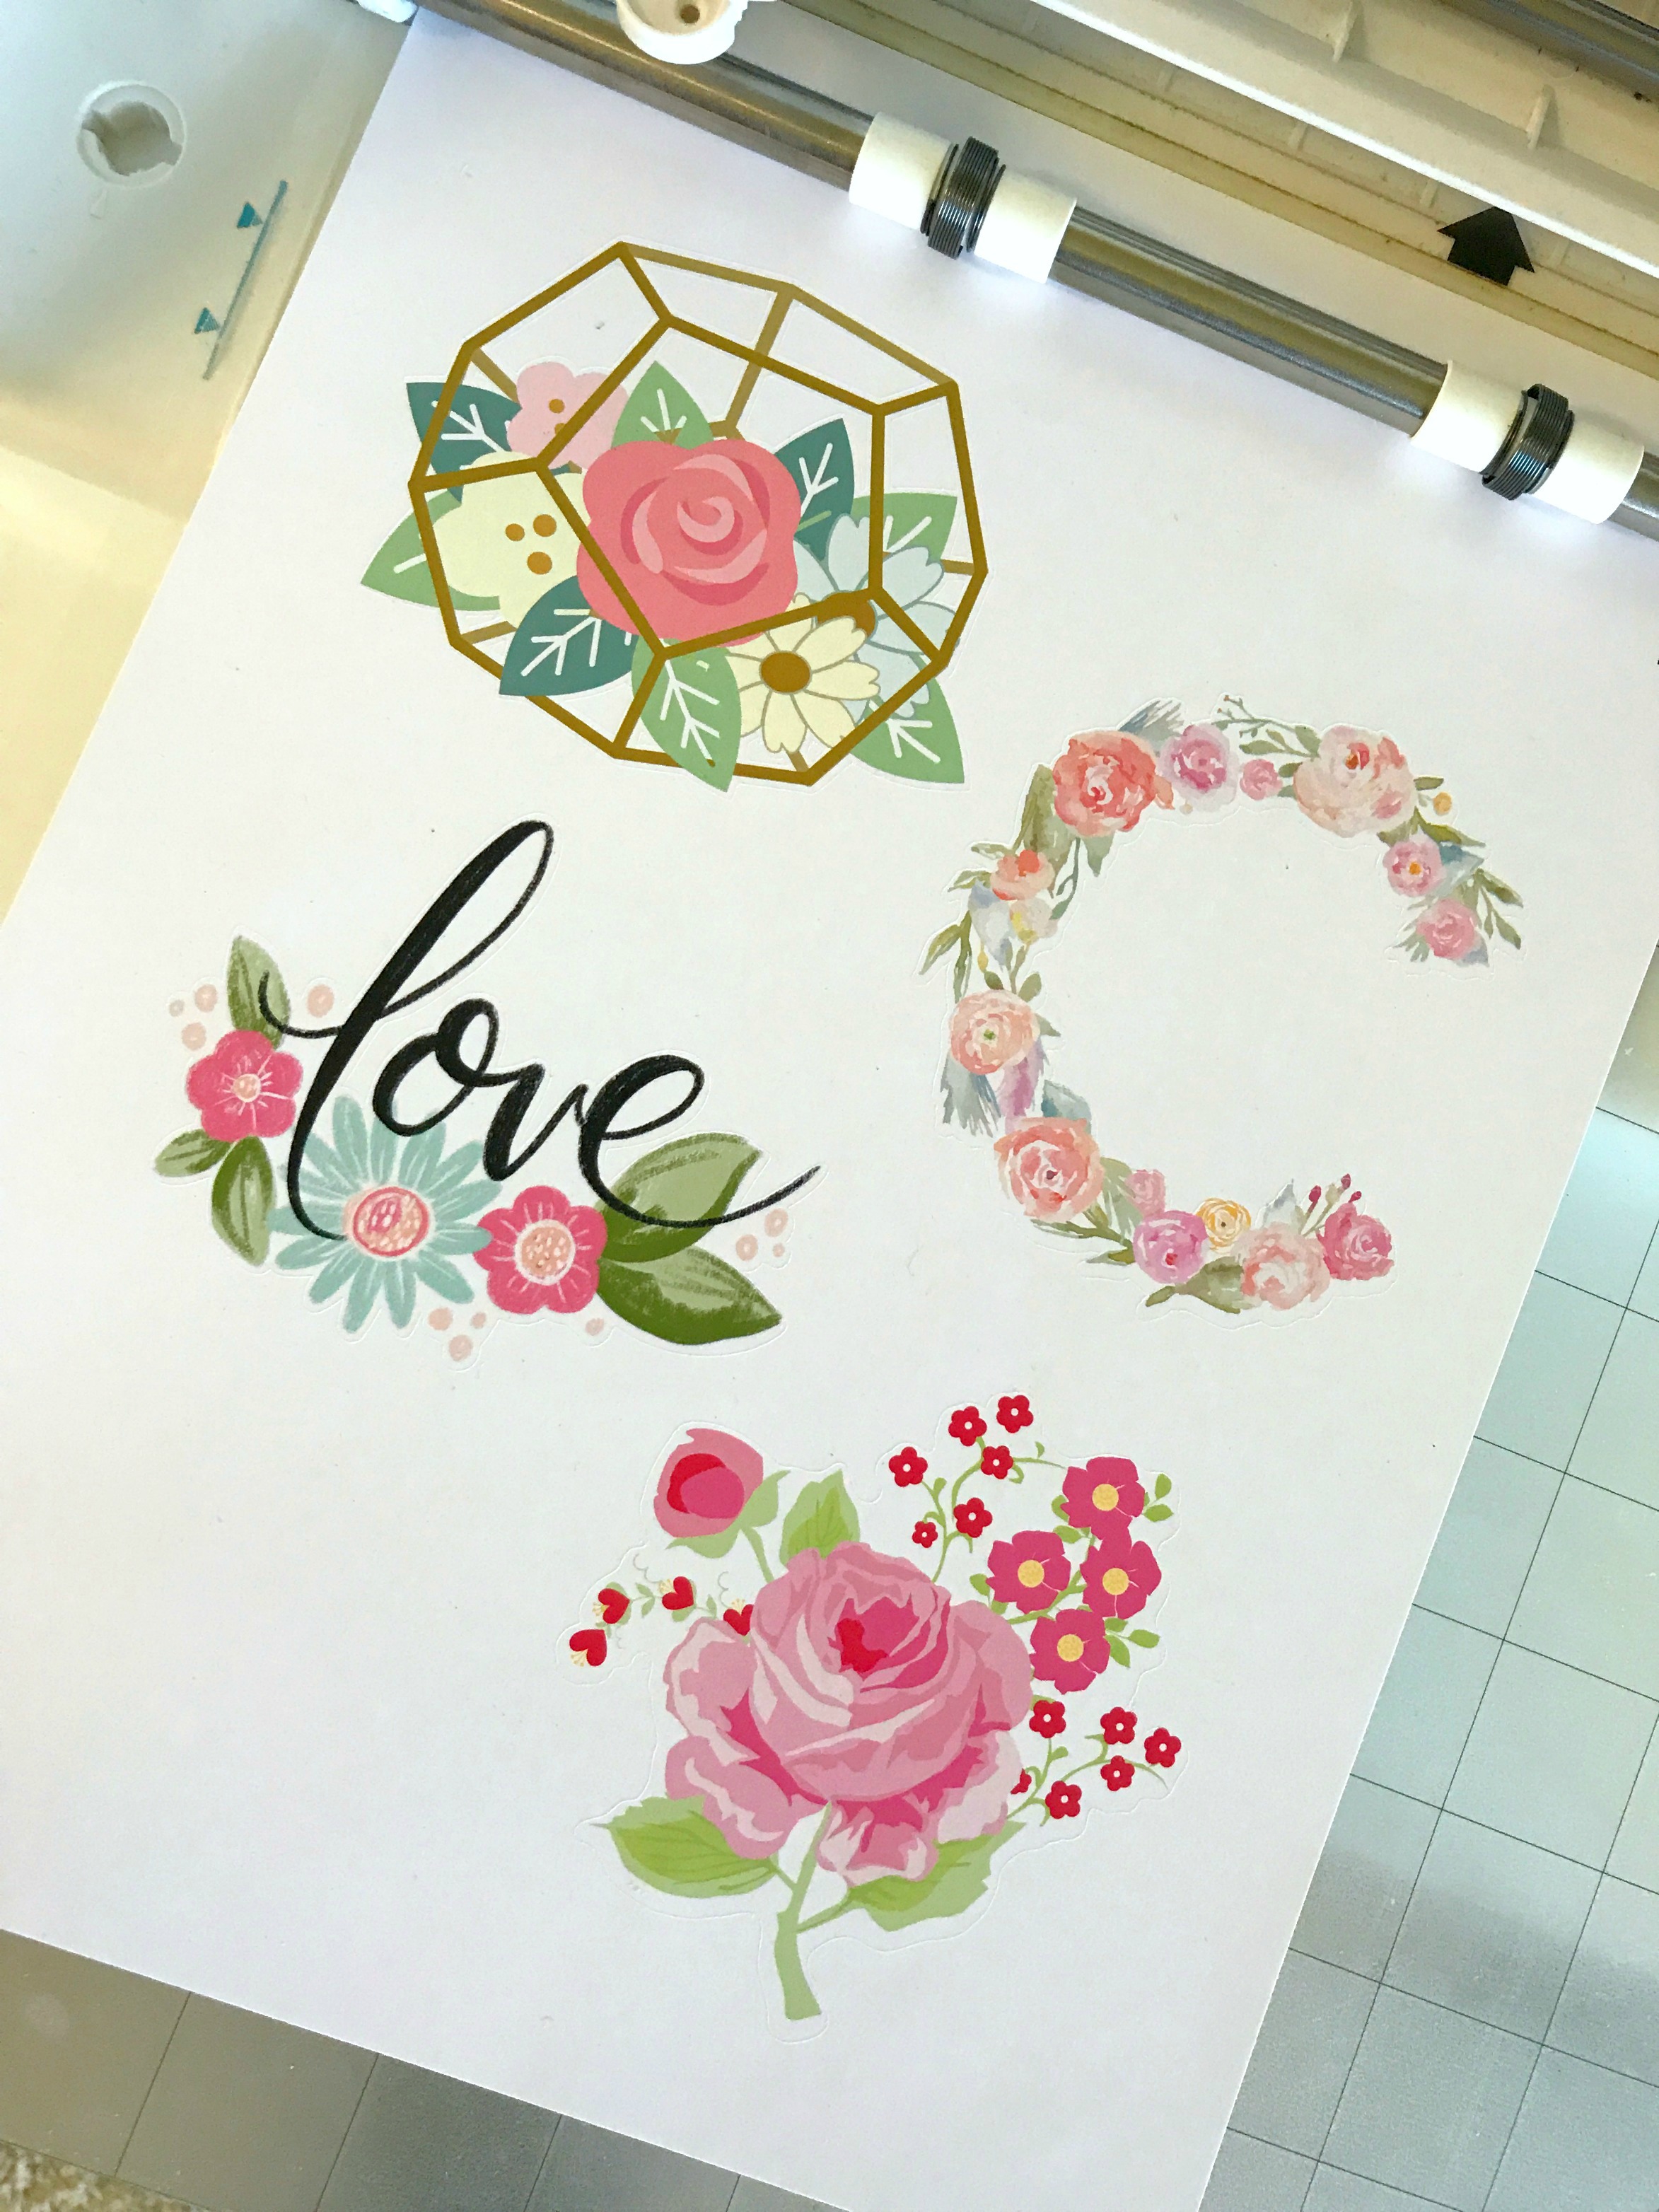
I used the print & cut feature to cut out the designs and I applied them to my frame by lifting it up like a sticker and placing it where I wanted it.
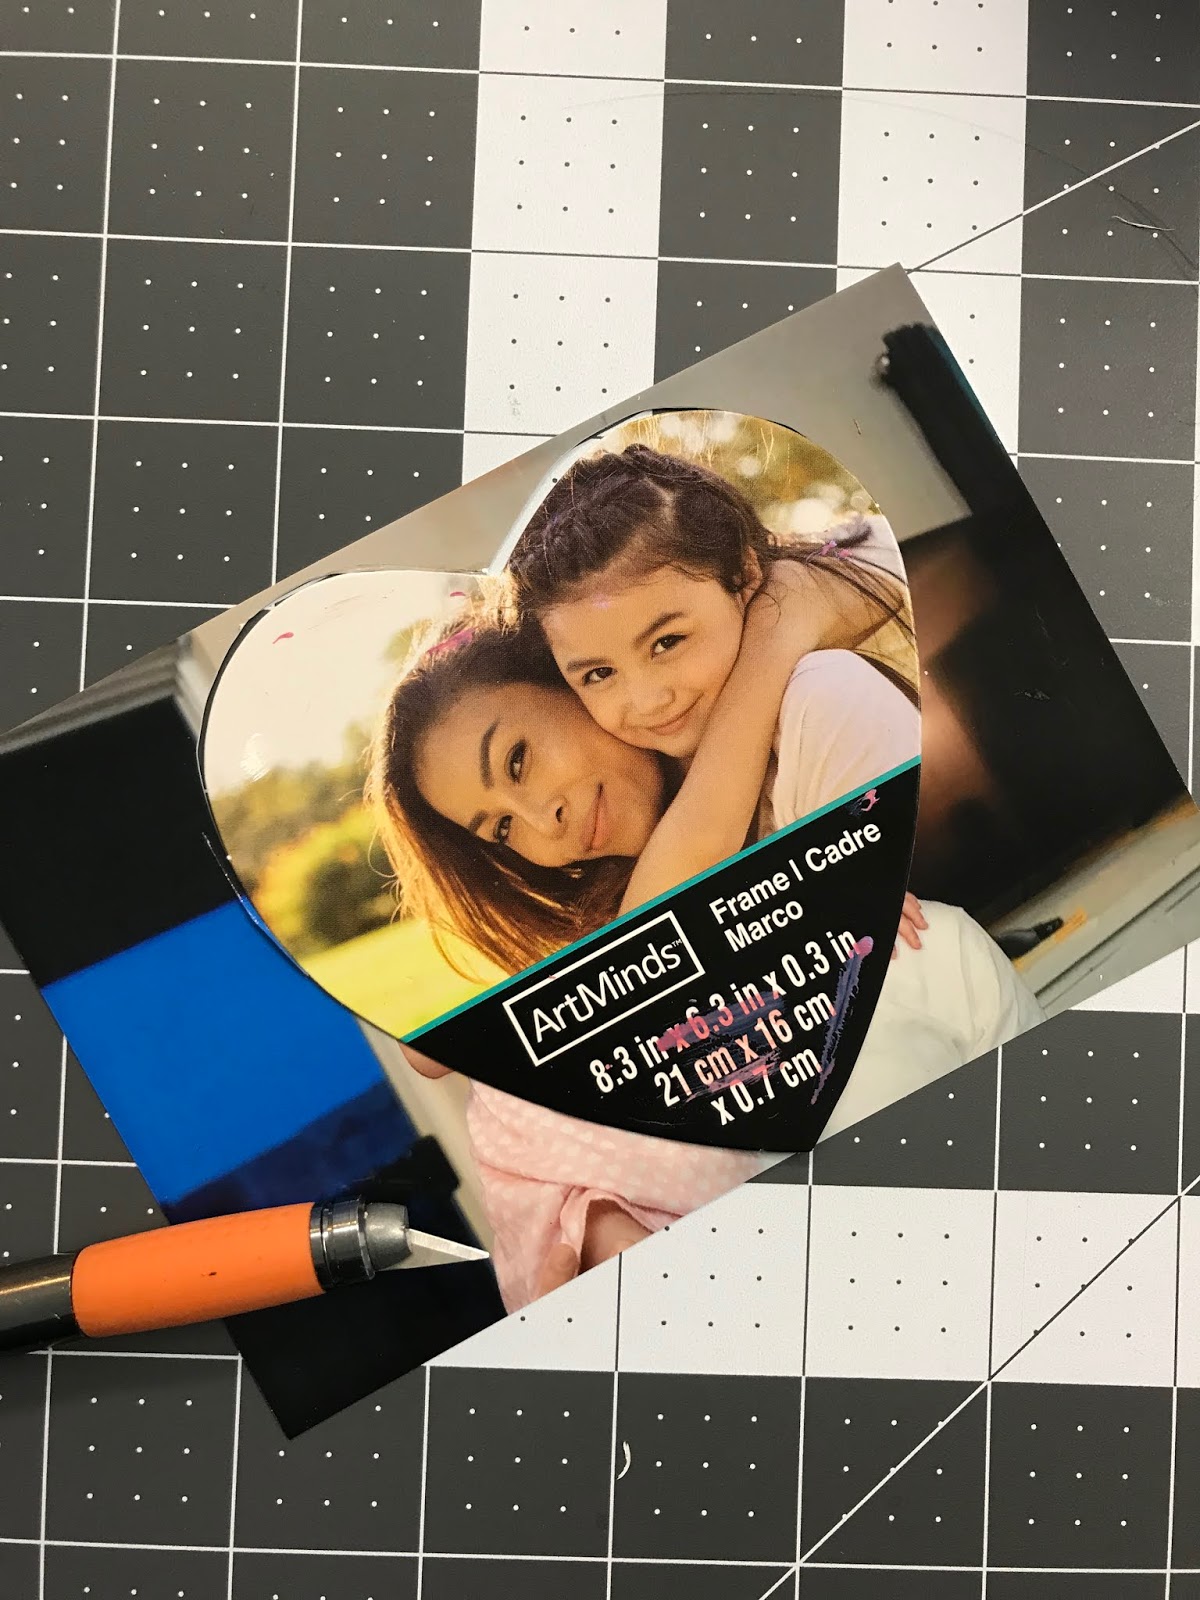
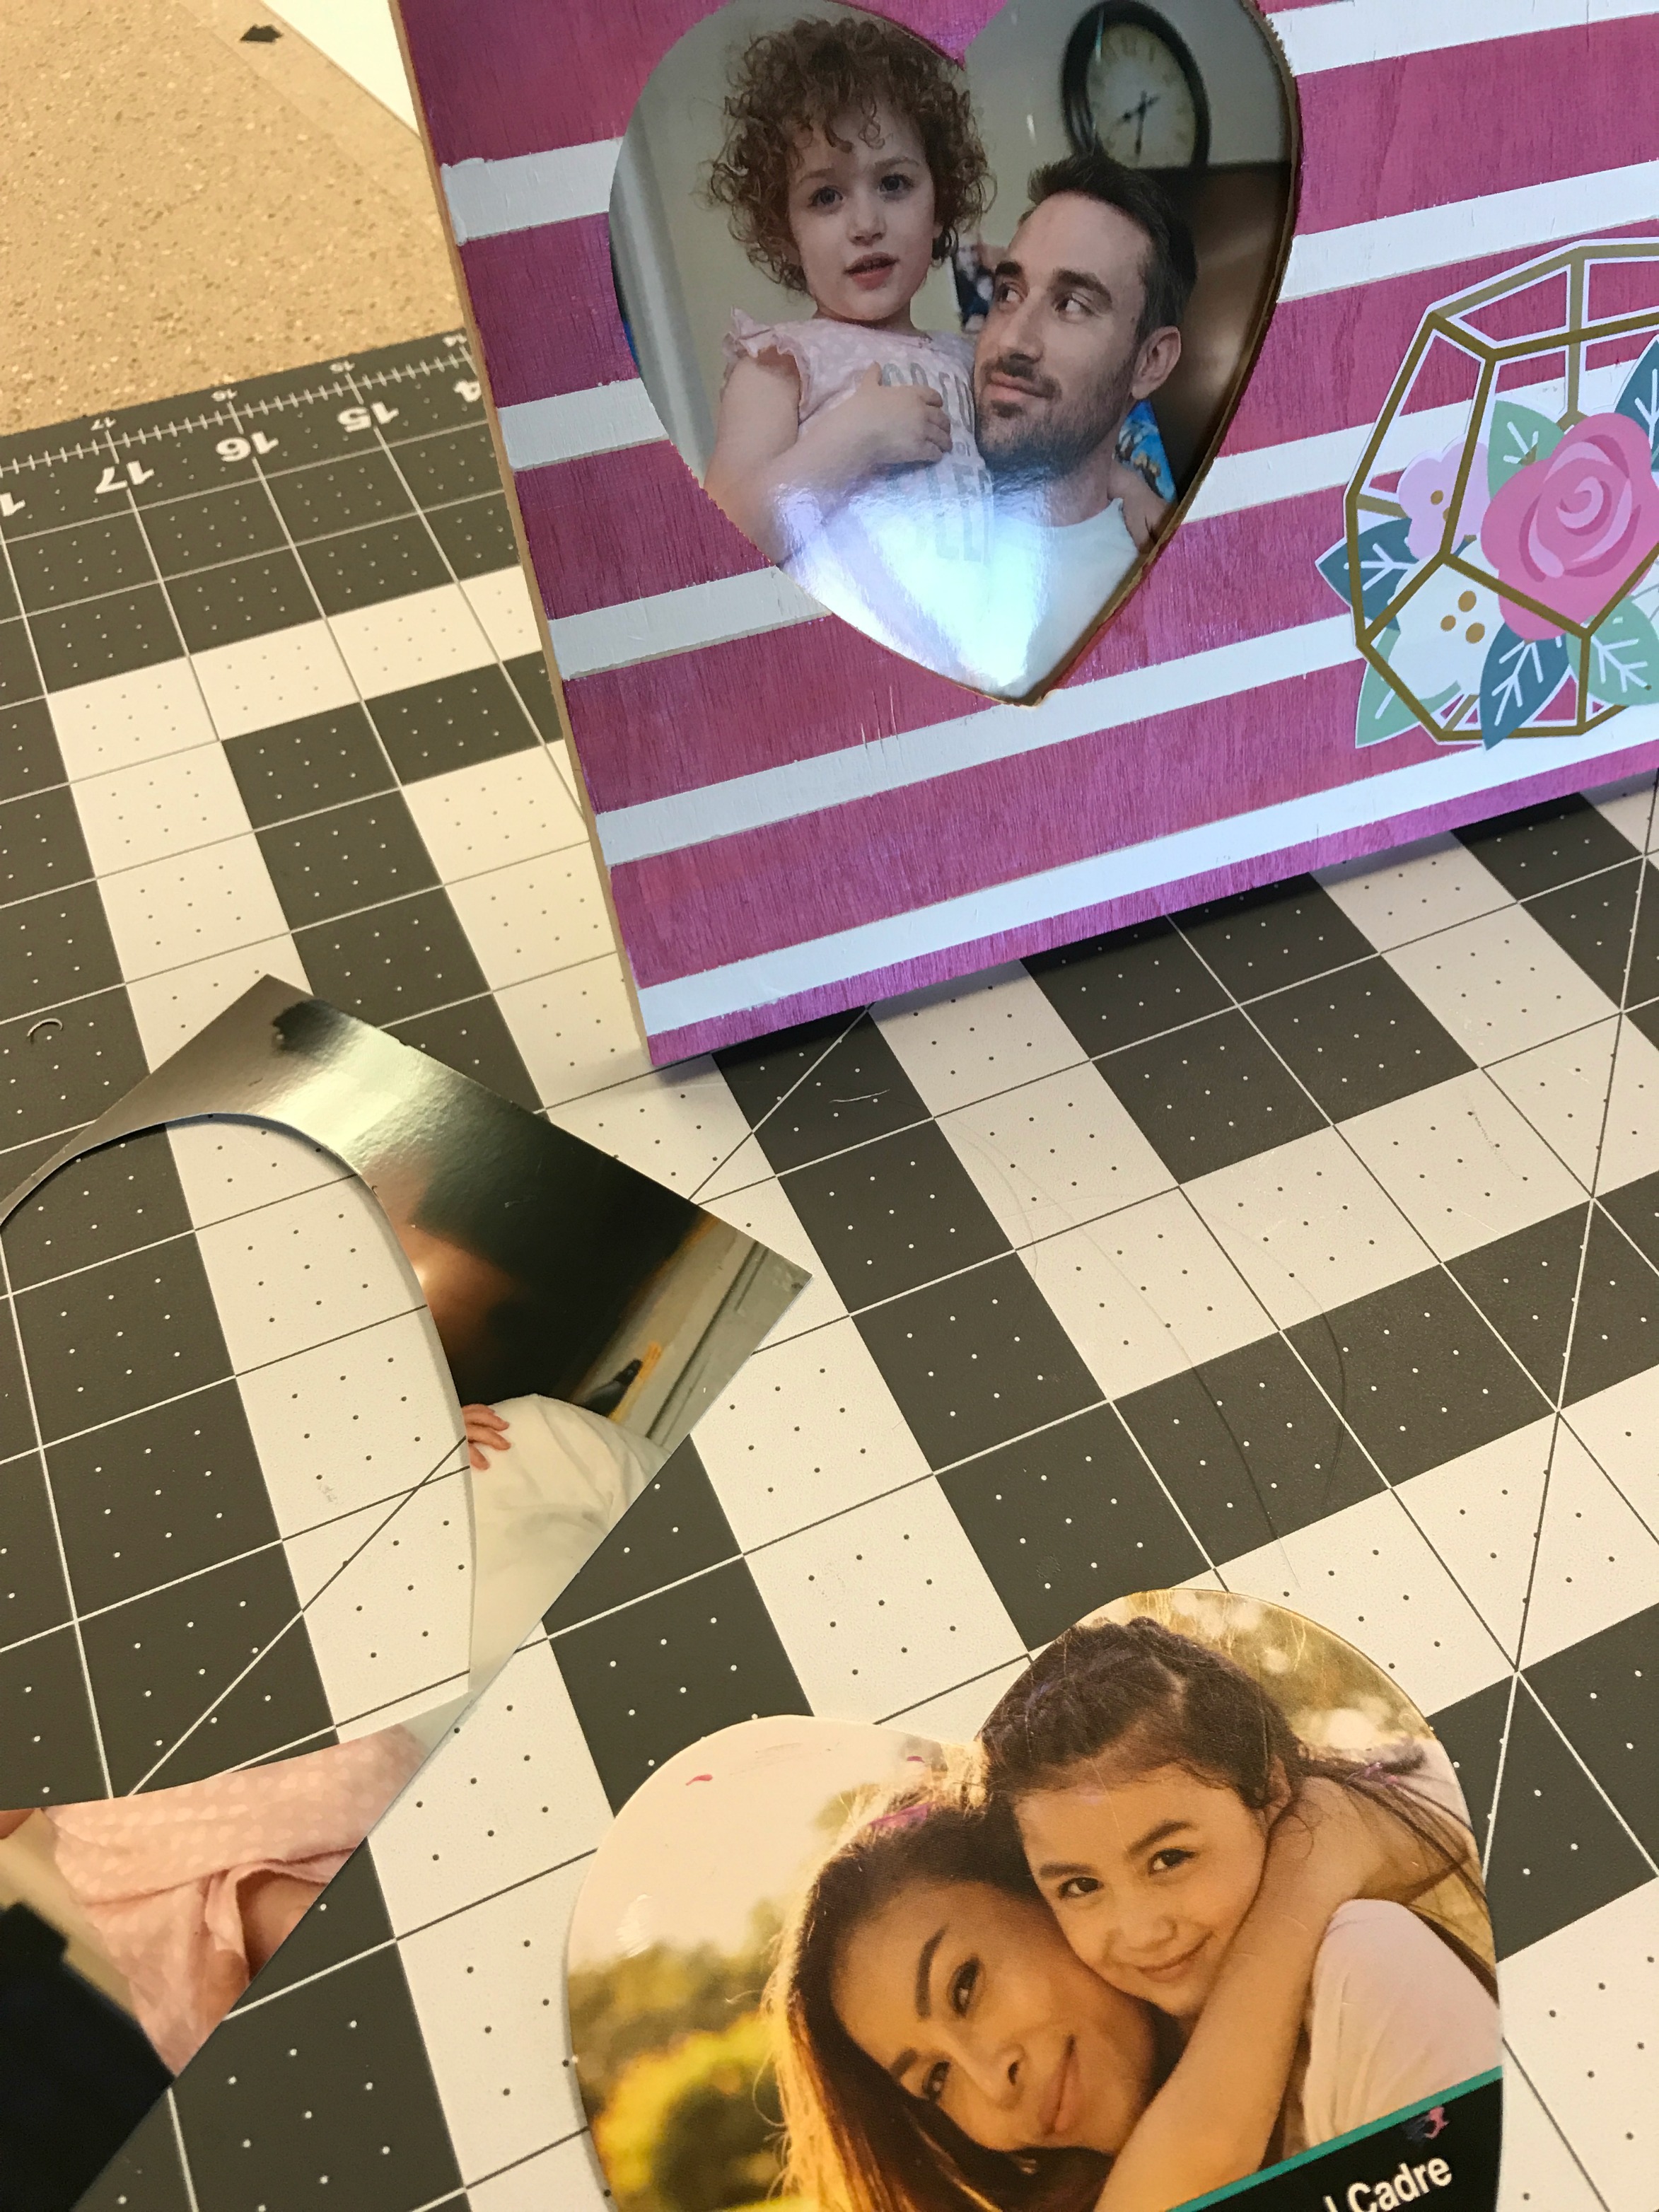
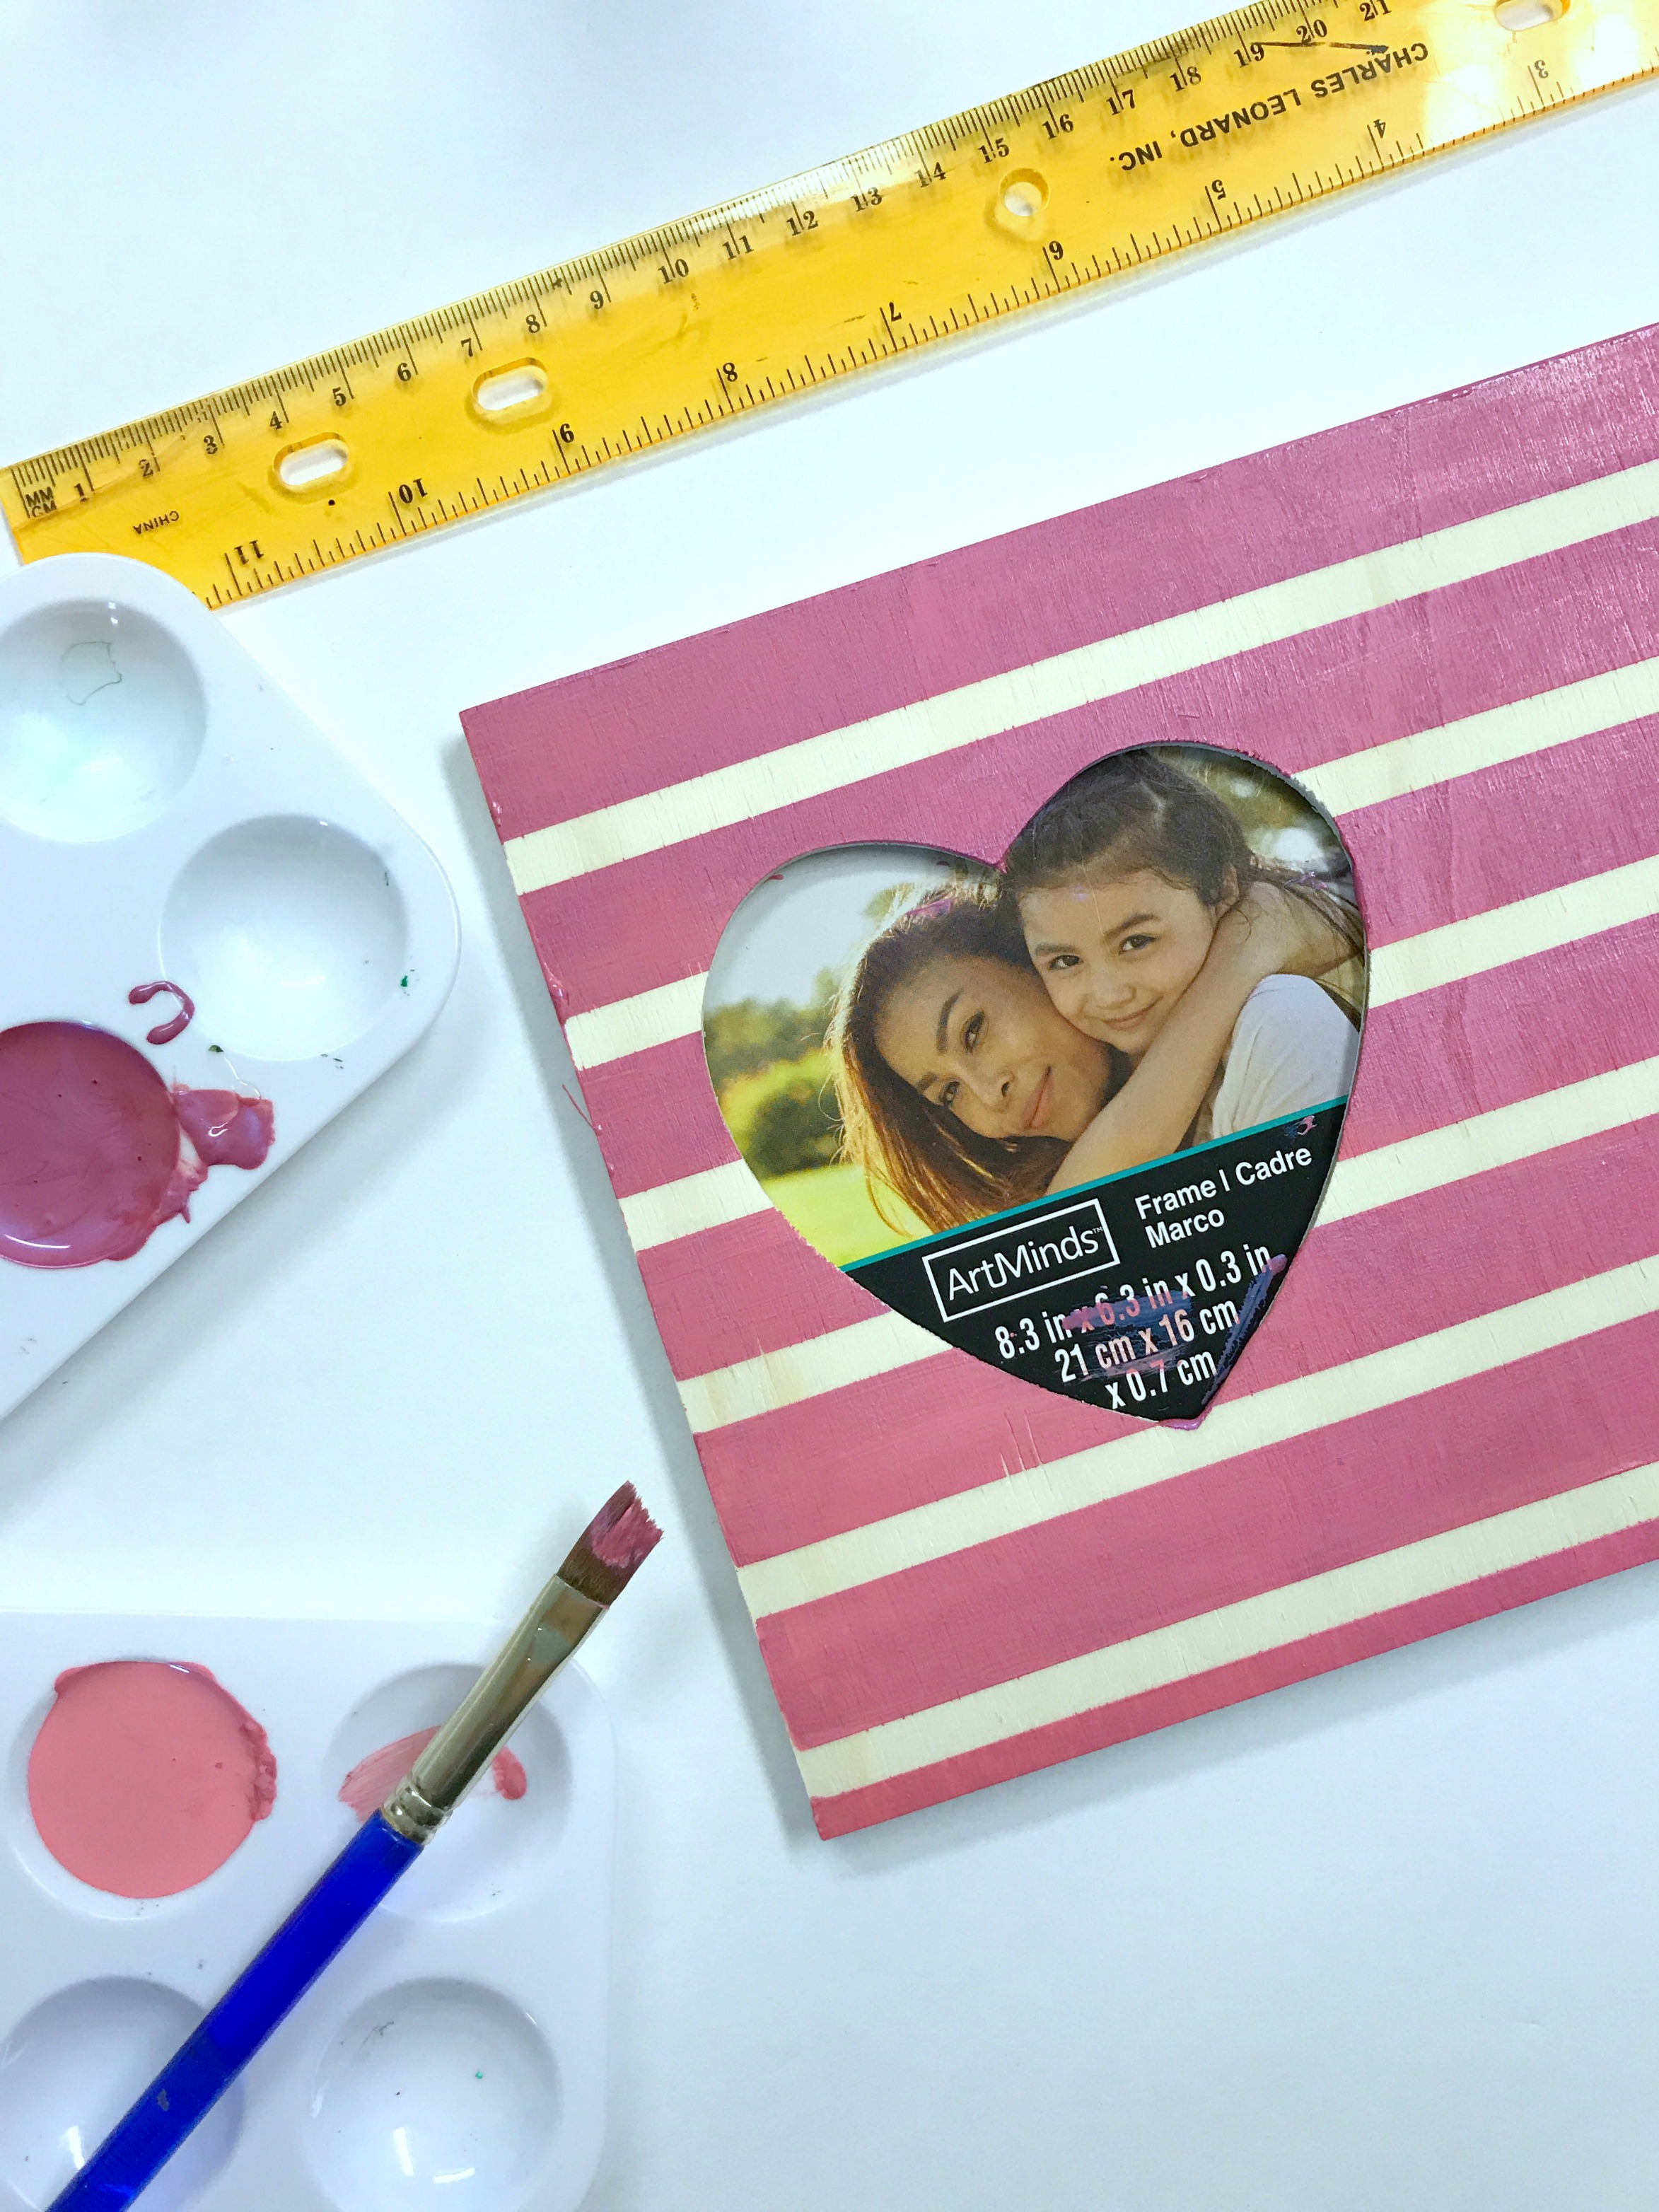
Lastly, I used the picture that came with the frame as a template to cut the picture I wanted to use. I used a craft knife to cut around.
Now you are done! If you want a more glossy look, you can use seal the frame--but you don't have to since it will be an indoor use item,
Can't wait to see what fun designs you create with some stencil vinyl. Be sure to tag me on Instagram @kutiekairadesigns so that I can see all your pretty work!
Happy crafting!
XO Connie!
Recent Posts
-
NEW Holographic Eclipse Heat Transfer Vinyl
April 15th, 2024 3 Ways to Use the New Holographic Eclipse Heat Transfer Vinyl from Siser …Apr 29th 2024 -
Hop into Spring with Cute Easter Vinyl Crafts
Do you love our Vinyl? Sign up for Vinyl Club today to get FREE vinyl and save big! …Mar 28th 2024 -

Fixing Wrinkles and Bubbles in Vinyl
How do you get air bubbles out of vinyl? There are a few different ways to ensure a flawless …Mar 26th 2024