
Trace And Cut Feature
I love all the wonderful features of the Silhouette Cameo! There are so many amazing thing the Cameo can do!
But one of my favorite features of the Silhouette that I have been using recently is the Trace and Cut feature.
Did you know that you can import an image into the Silhouette software, trace it and then cut the shape out? Amazing huh?
Well, recently I was asked to help make Super Hero invitations and I had a lot of fun using this feature. It made my life soooo simple!
Here is how to use the Trace and Cut Feature:
1. Find an image that you like. The clearer and cleaner the image the better. High contrast is also helpful. I chose this black and white image.

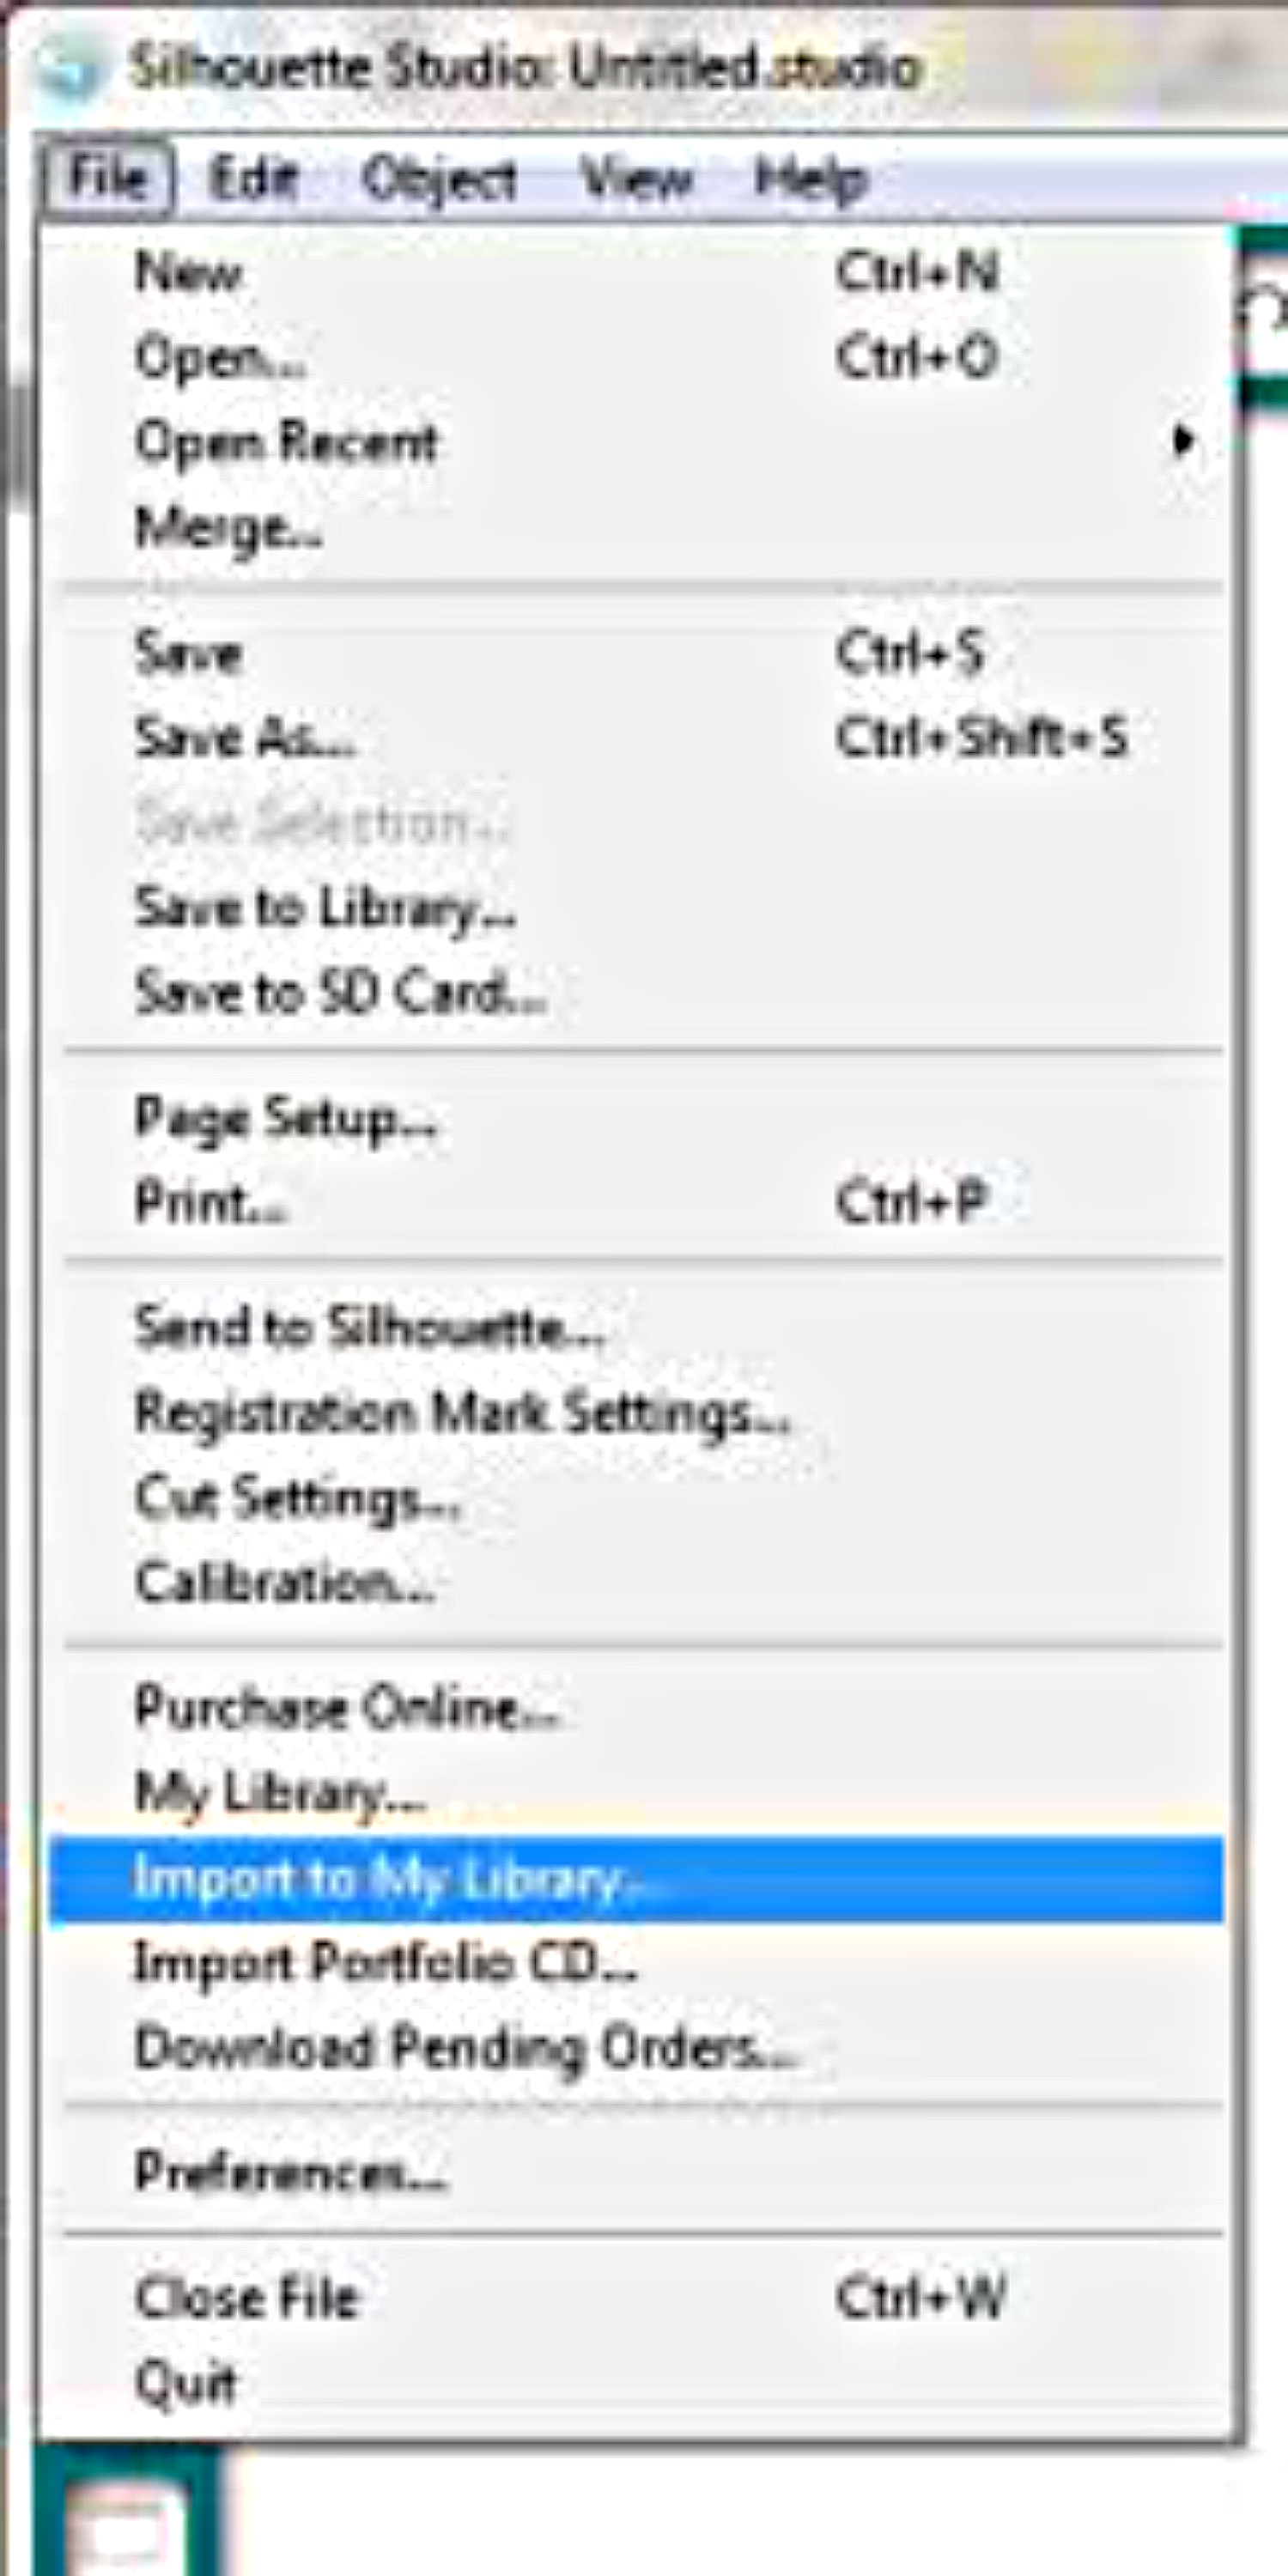
2. Open your Silhouette Studio software program and from your drop down menu select "File" and then "Import to My Library".
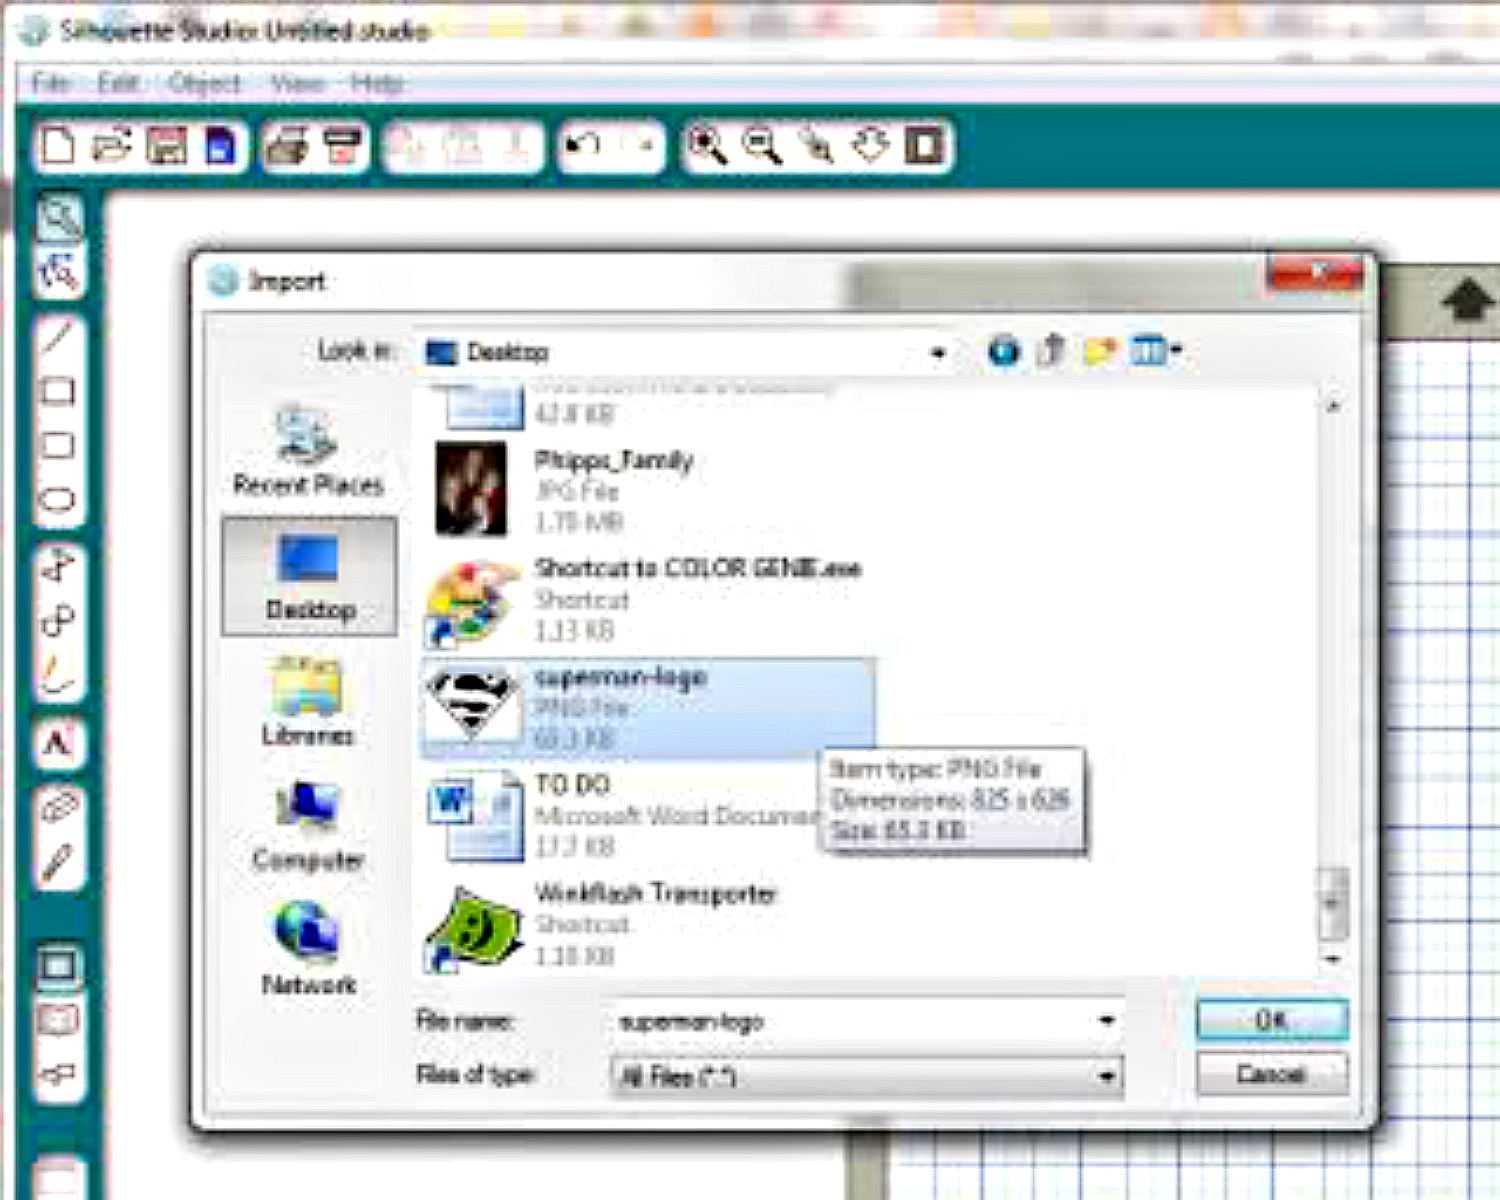
3. A dialog box will pop up. Be sure that the "file type" is set to "all" and select the file that you wish to import. Once it is selected, click "ok" to select and import into your library. A second dialog box will pop up and you have the opportunity to change the name of the file or add other details. When you are done click "ok."
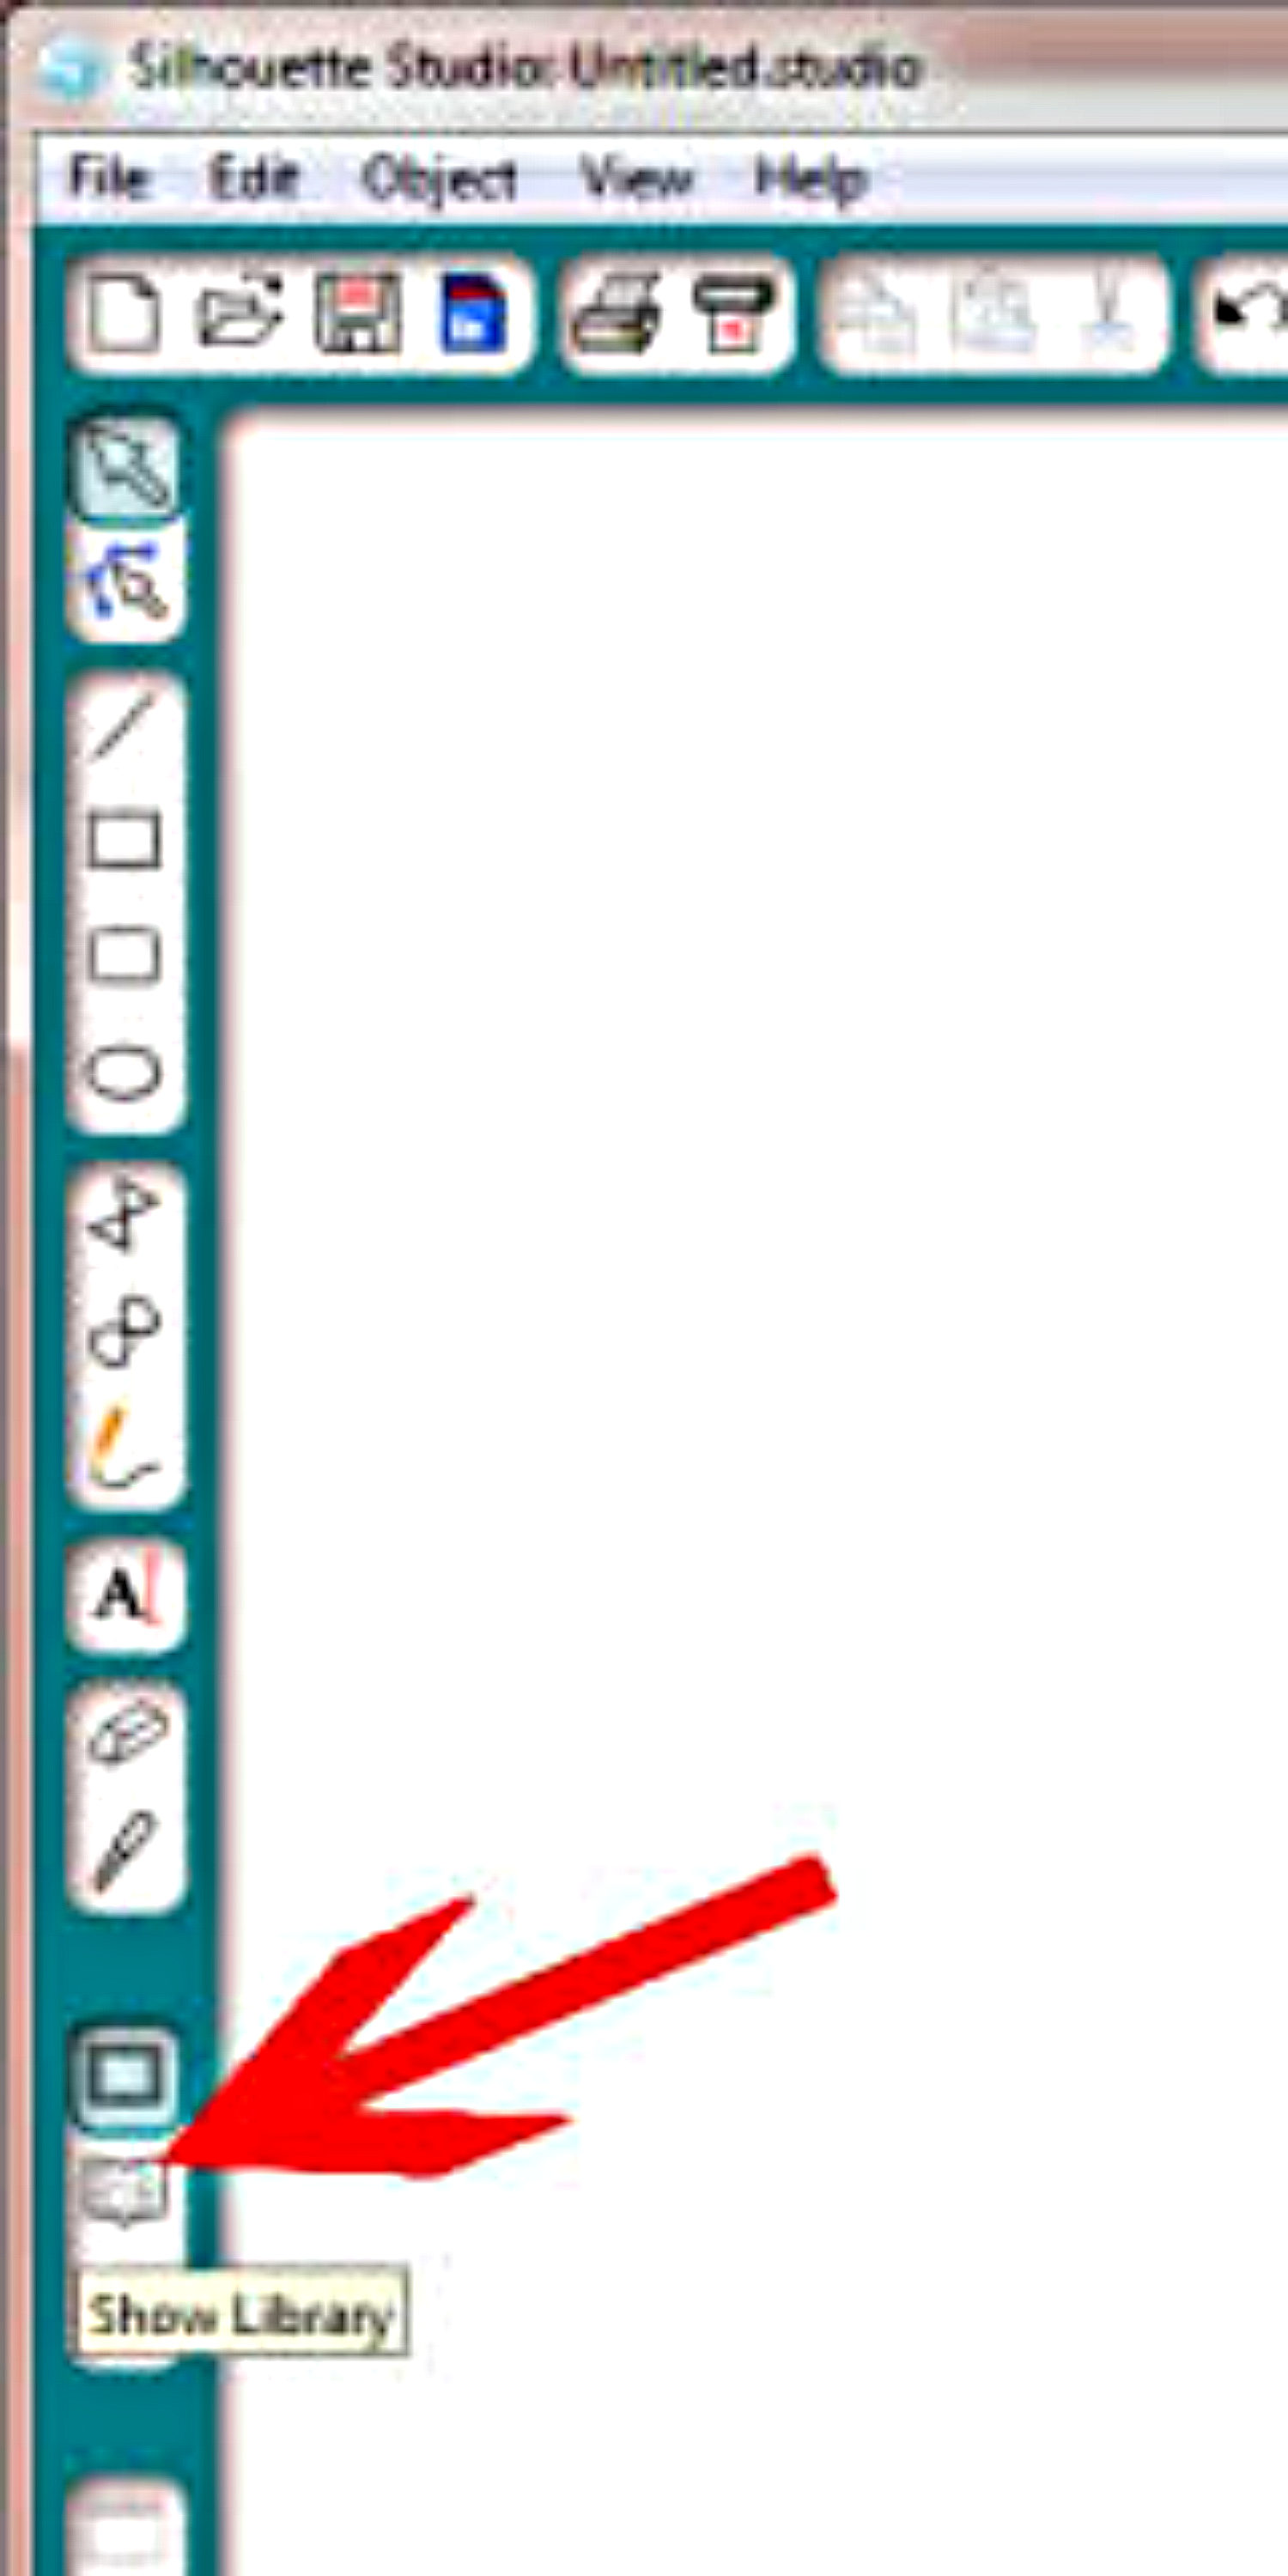
4. On your left side bar click on the My Library button.
5. Select "My Own Designs" and then select the image you just imported by double clicking on it.
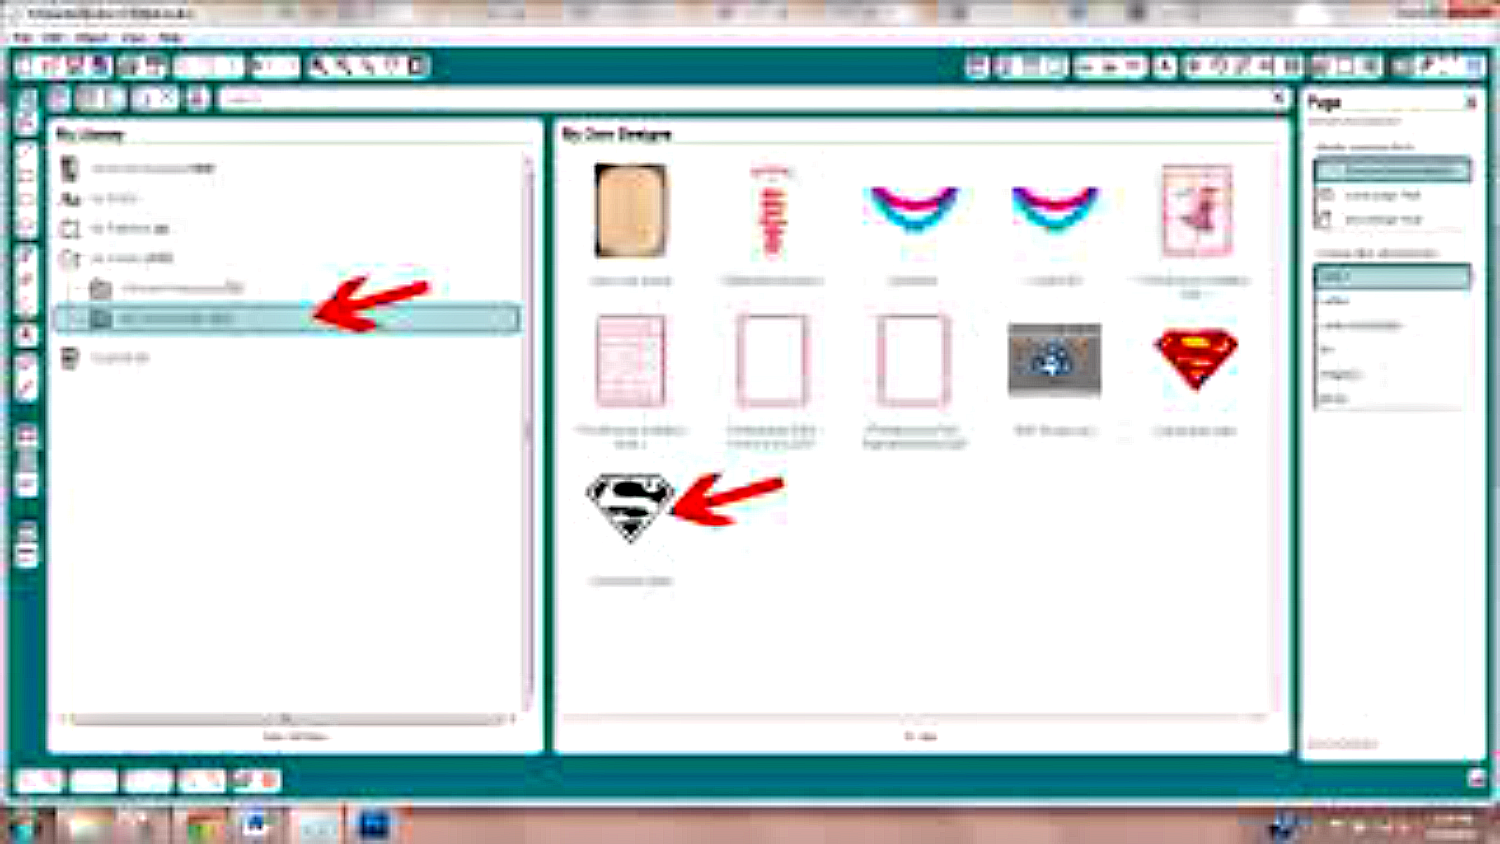
6. Your screen will return to your layout page with your image overlaying your silhouette cutting area.
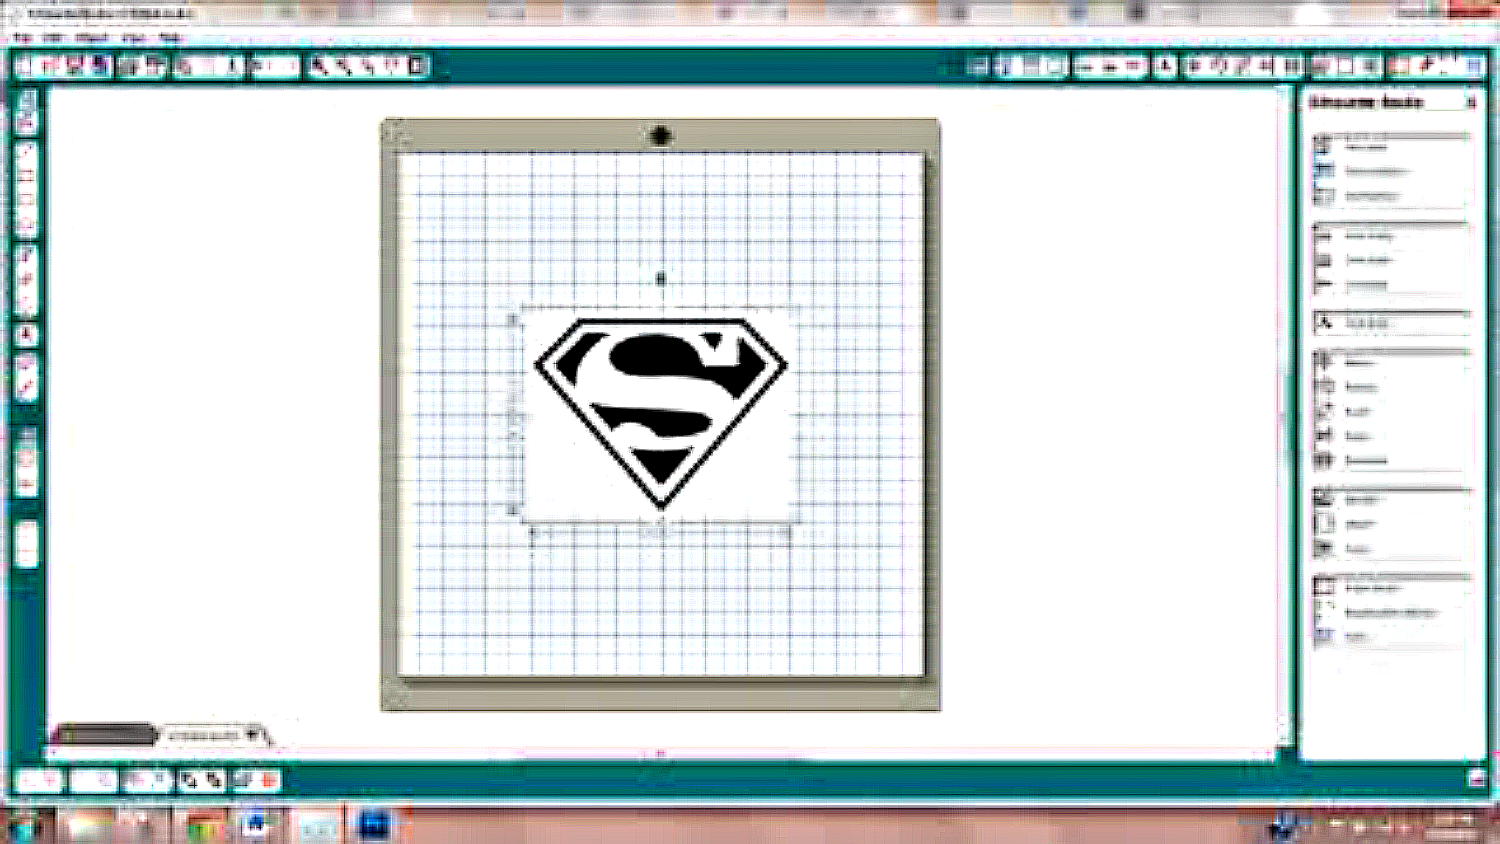
7. At this time you can select the image and scale it to the size you would like it to be.
8. Next, from the pull down menu select "Object" and then "Trace" or click the "Open the Trace Window" button on the top menu bar. Both will bring up your "Trace" window on the right of your screen.
9. Select "Select Trace Area" and use your mouse to create a selection window over the area you would like to select to trace.
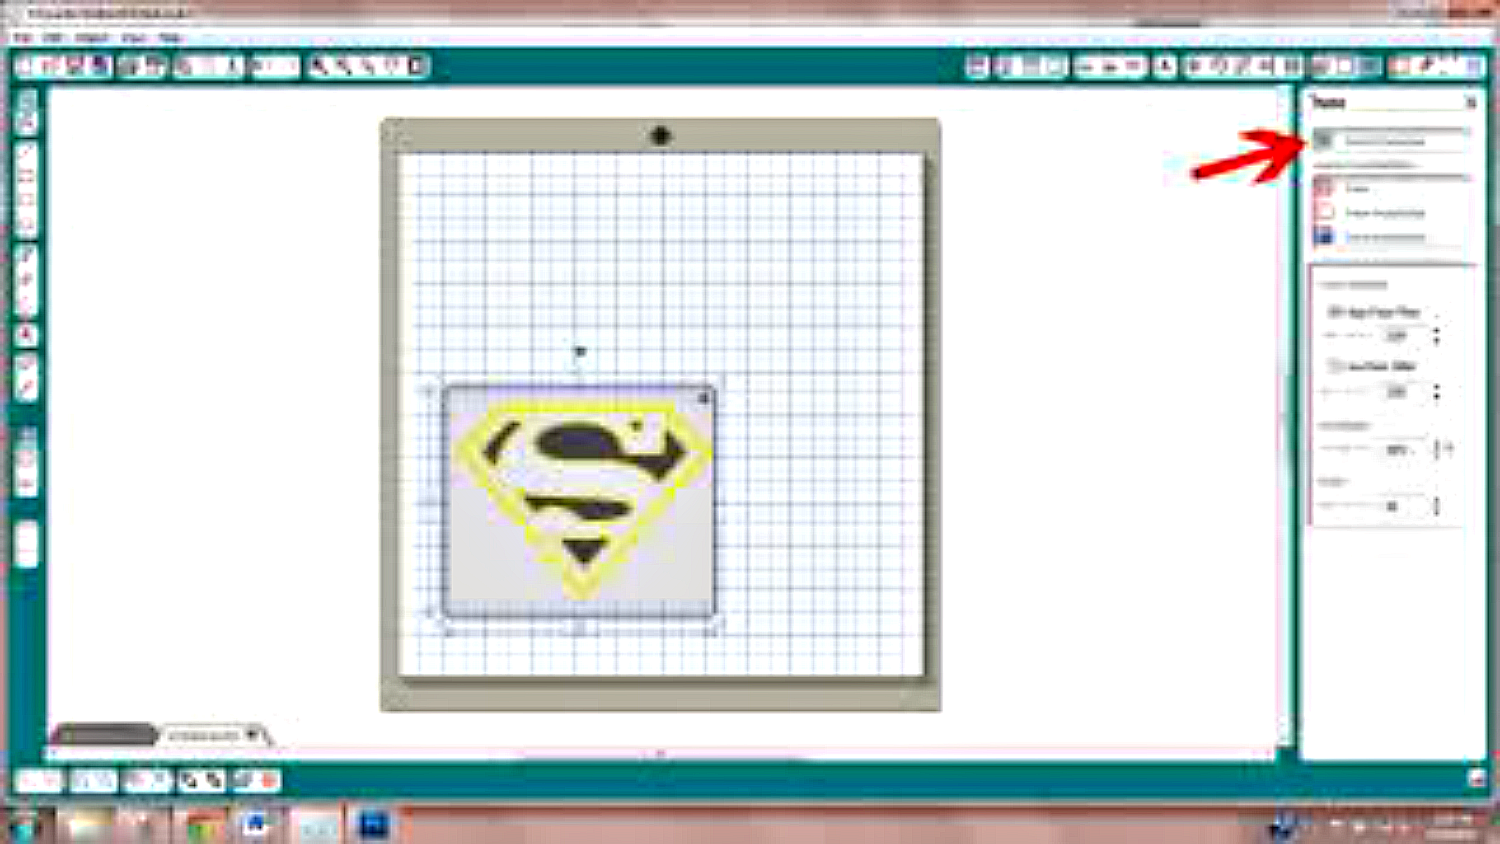
10. Then click on an option under "Apply Trace Method." Most often I use "Trace." "Trace Outer Edge" and "Trace and Detach" are also options.

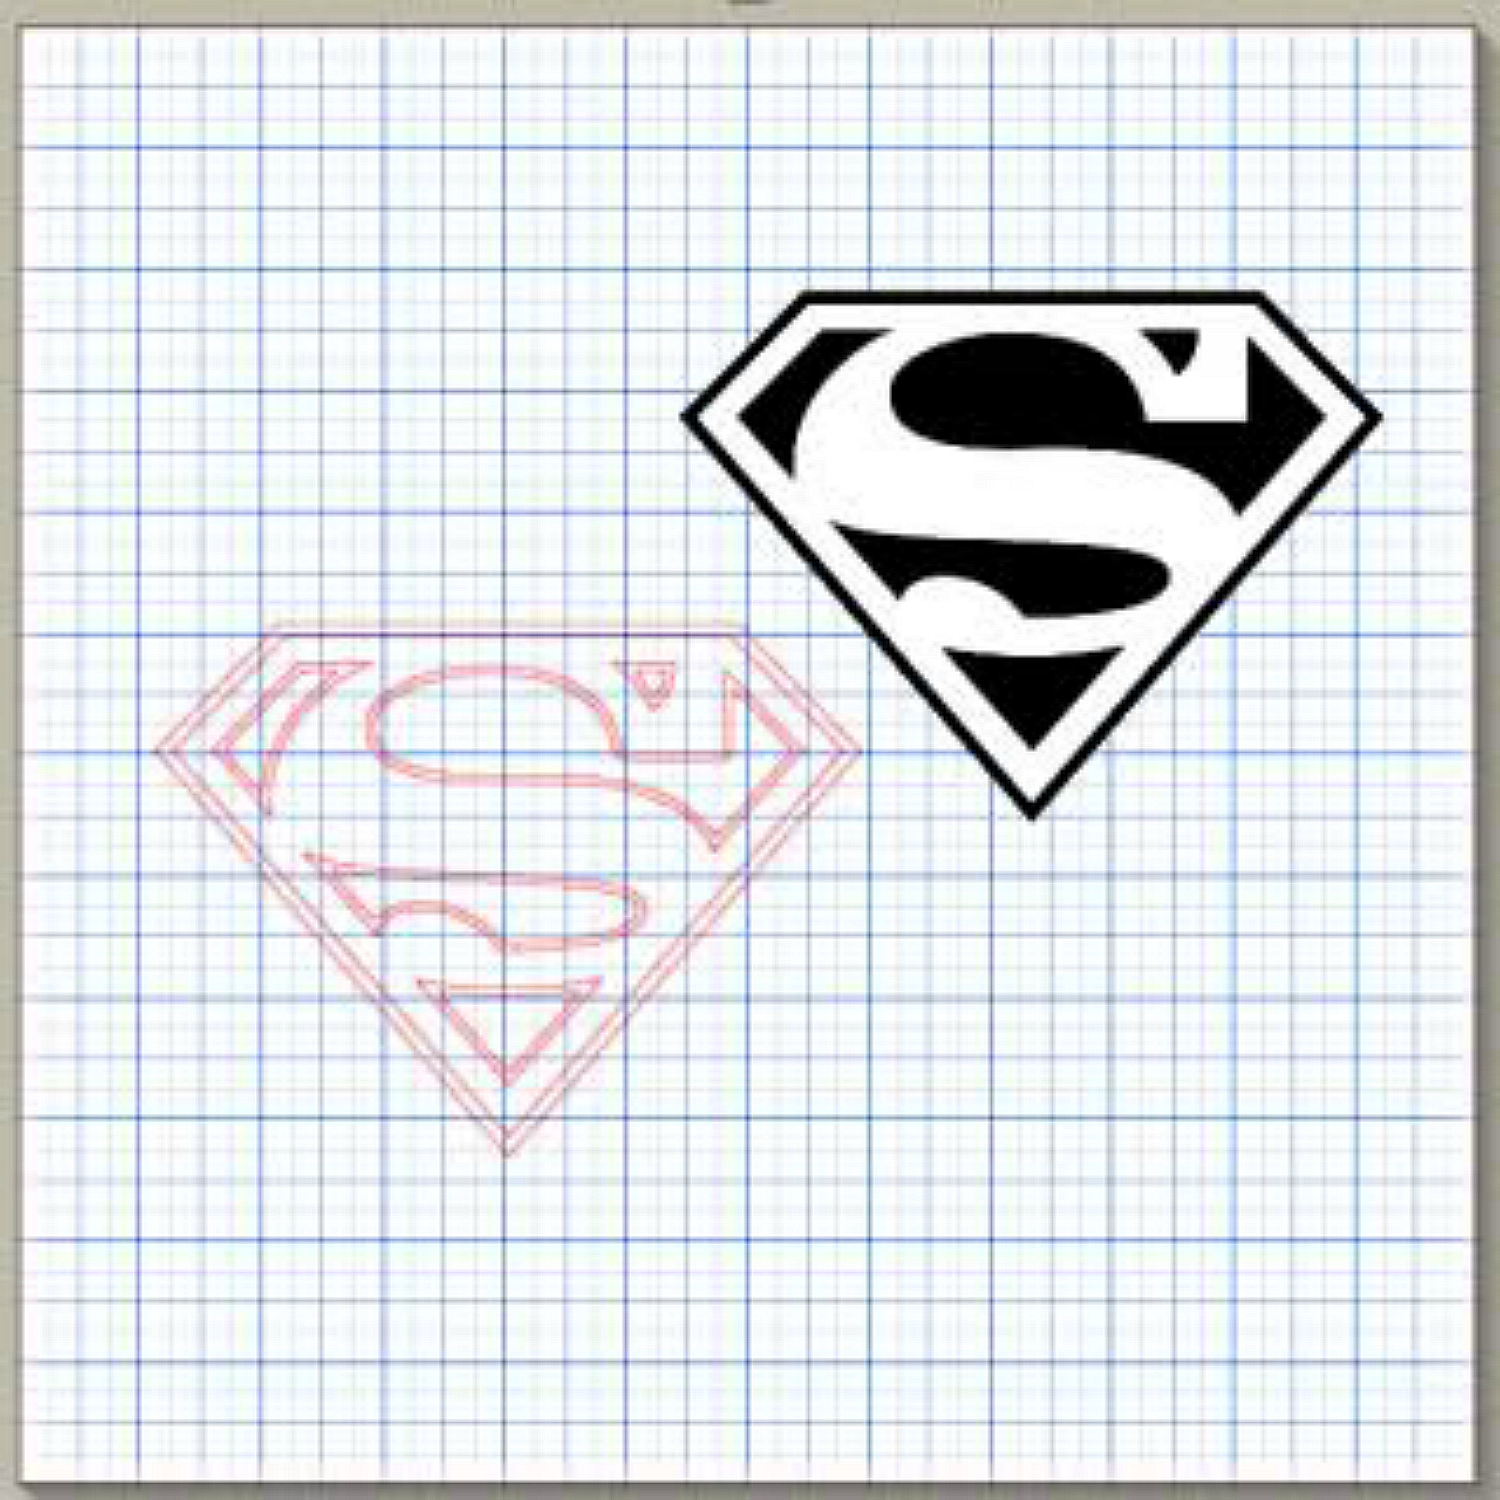
11. Your image has now been traced in preparation for cutting. If you were to delete or move your image, you will be left with those amazing little red "cutting" lines!
12. You can now modify the cutting lines by deleting or changing them as needed. I right-clicked on the image, selected "release compound path" and deleted the interior cutting lines.
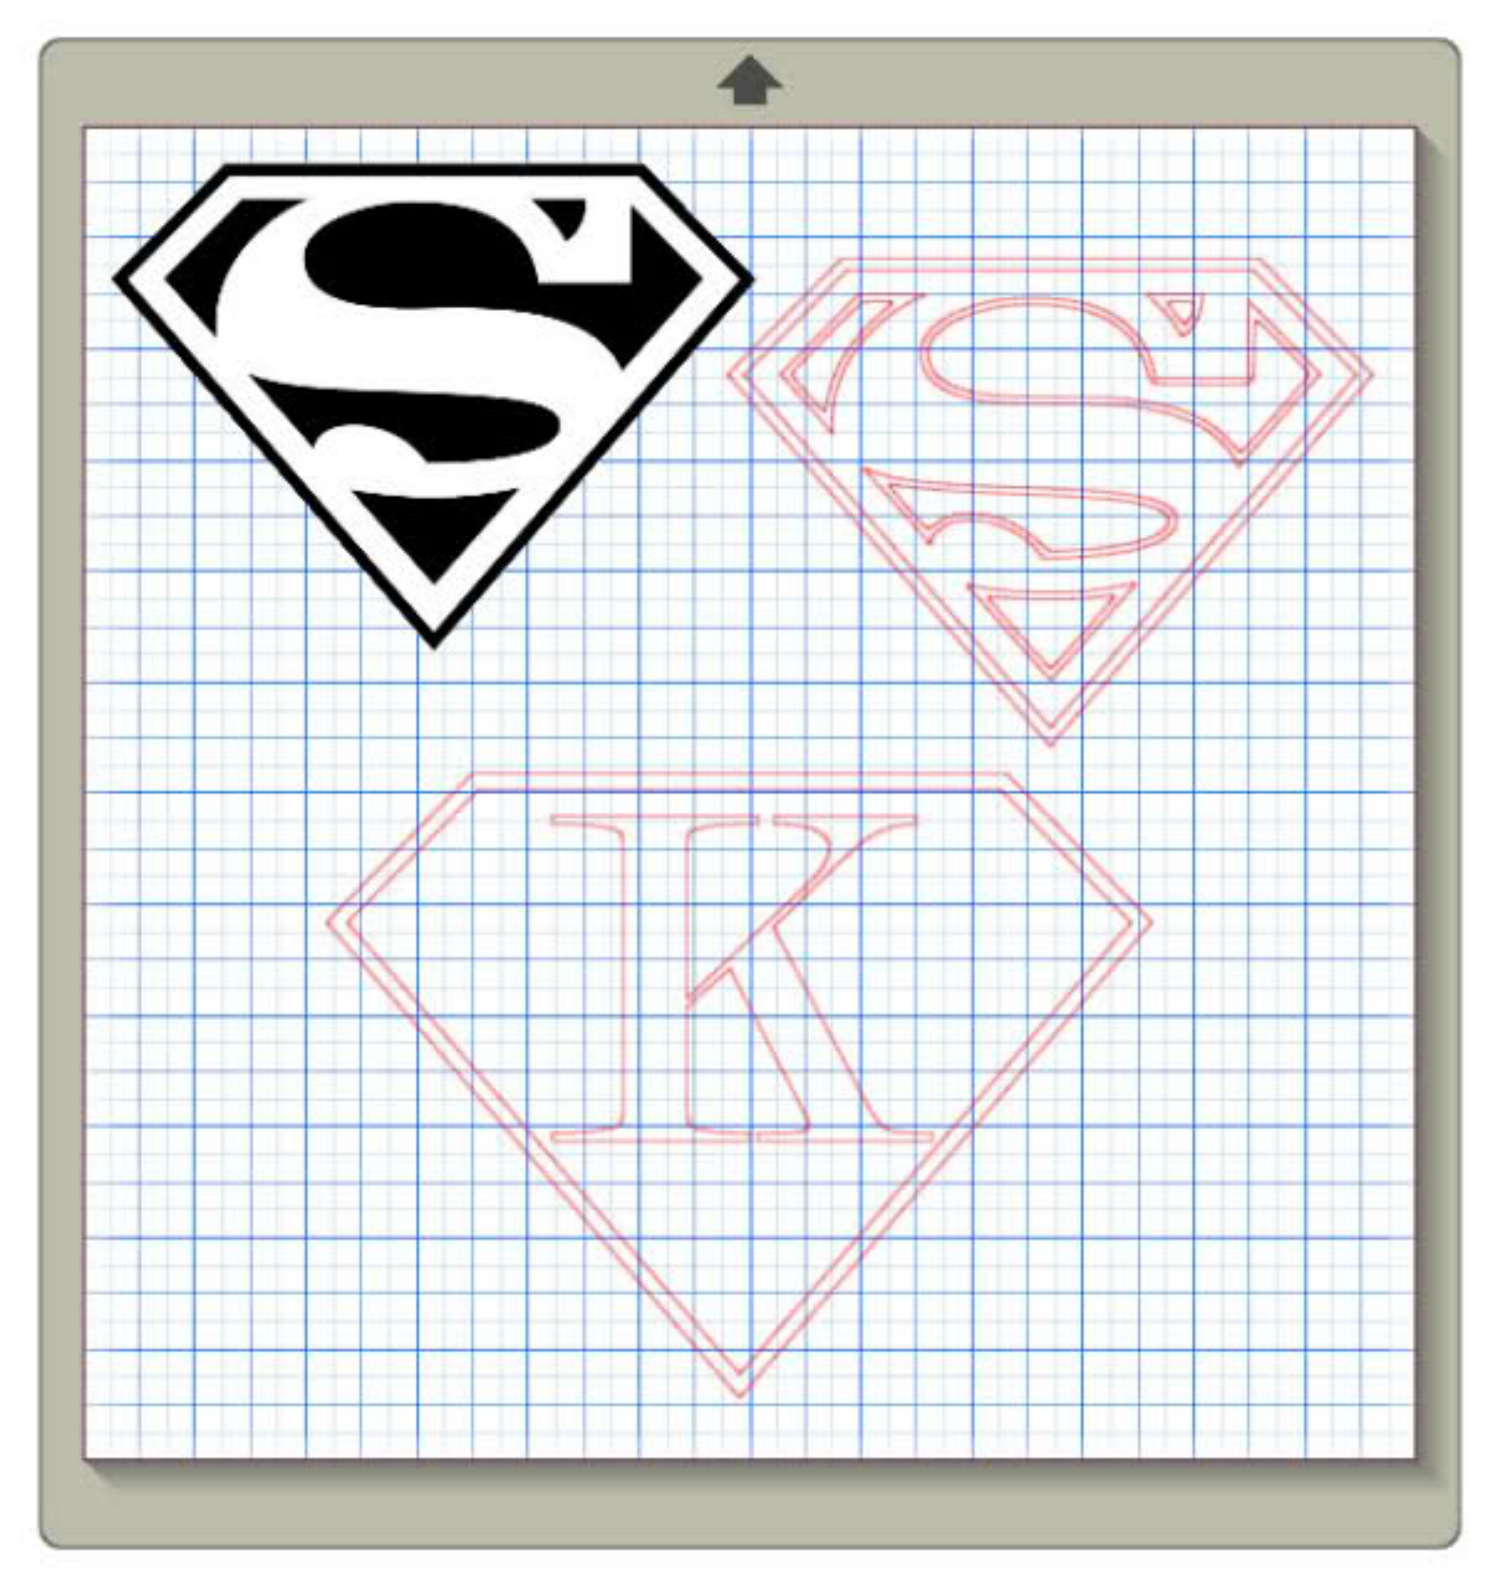
13. When your image is all ready, all you have to do it send it to the Silhouette to Cut!
How simple is that!?!
I have used this feature to make several different invitations but this would also be fun to use to make a banner or to cut out any shape you wanted for decoration, scrapbooking, cardmaking etc. The possibilities are endless!!
Happy crafting!

Recent Posts
-
NEW Holographic Eclipse Heat Transfer Vinyl
April 15th, 2024 3 Ways to Use the New Holographic Eclipse Heat Transfer Vinyl from Siser …Apr 29th 2024 -
Hop into Spring with Cute Easter Vinyl Crafts
Do you love our Vinyl? Sign up for Vinyl Club today to get FREE vinyl and save big! …Mar 28th 2024 -

Fixing Wrinkles and Bubbles in Vinyl
How do you get air bubbles out of vinyl? There are a few different ways to ensure a flawless …Mar 26th 2024