
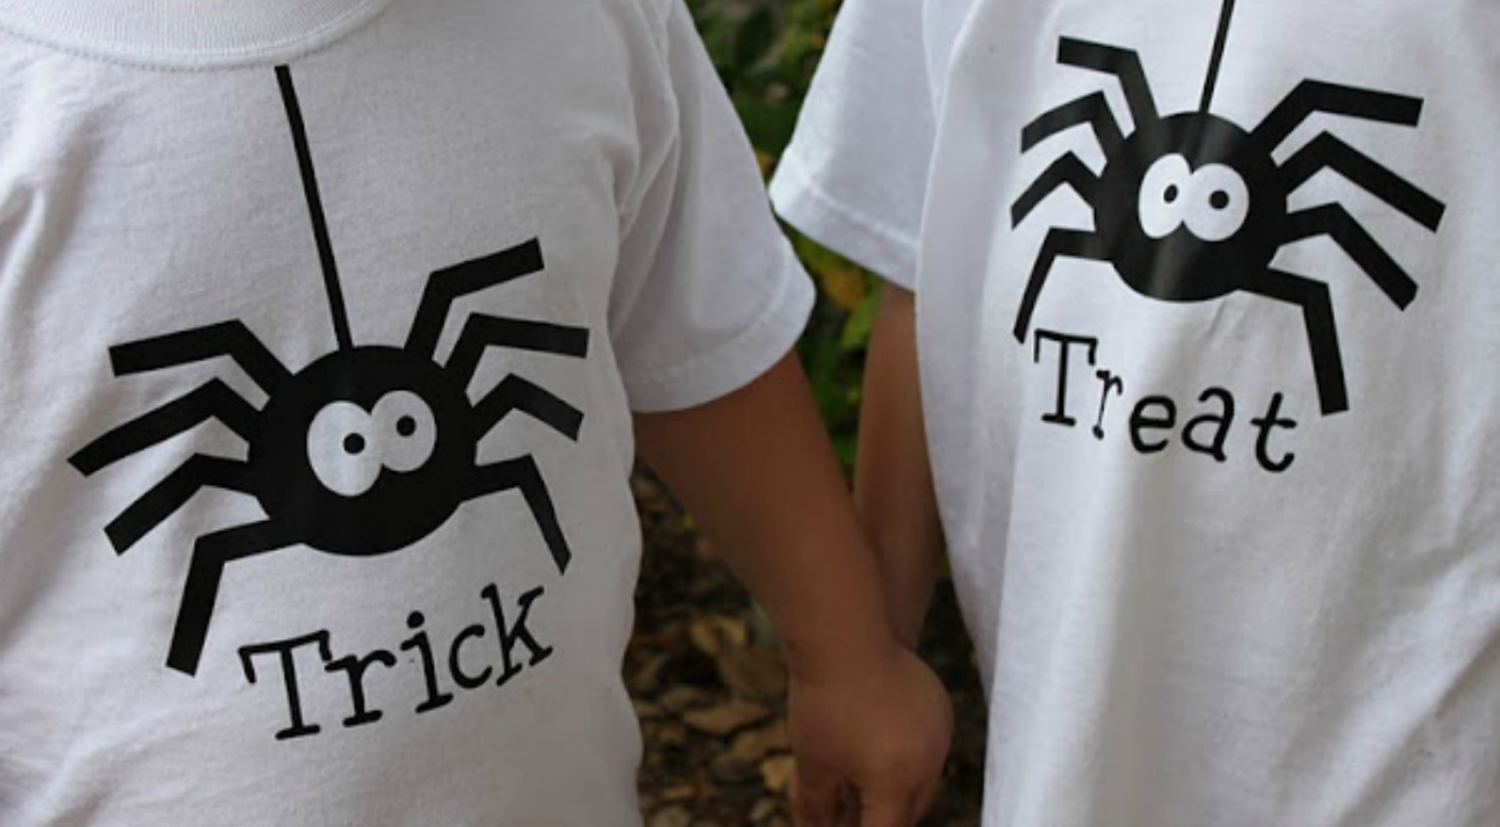
Trick Or Treat Halloween Shirts
Hi, this is Dorangela visiting from Two Prince Bakery Theater. I am super excited to share this project with you. This is my very first time using the Heat Transfer Vinyl( T-shirt Vinyl) and can I say I LOVE it!
Why have I never tried this before. It was super simple to use and the results achieved look nothing short of a professional screen shirt!
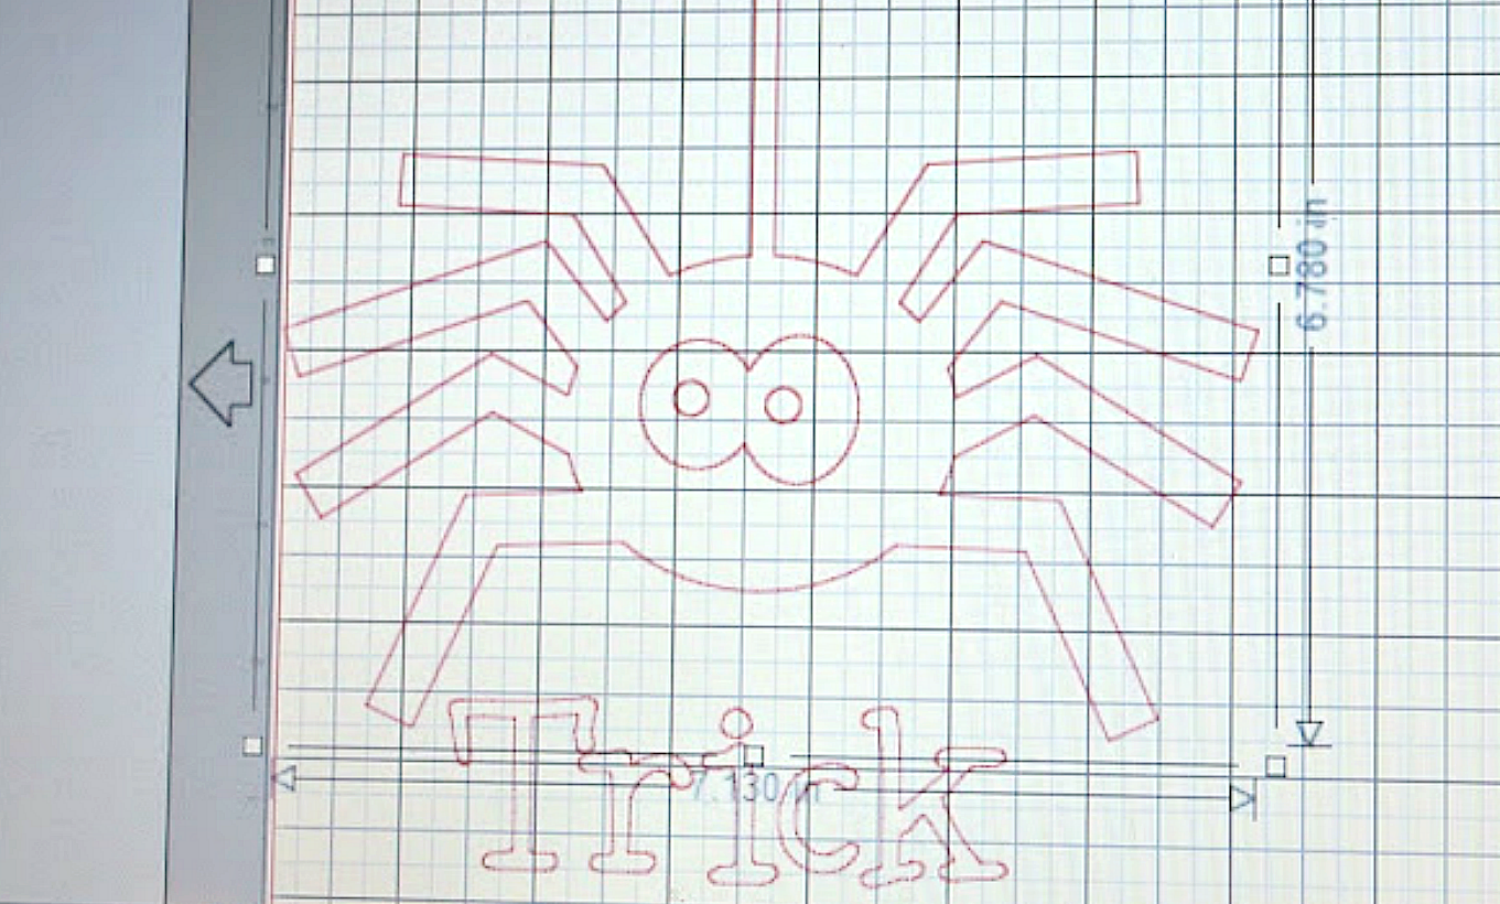
First use your machine's software, in my case the Silhouette to select your image. I selected to use these cute Halloween Spider (#21468) to make some Halloween shirts.
(HALLOWEEN SPIDER by Lori Whitlock #21468)
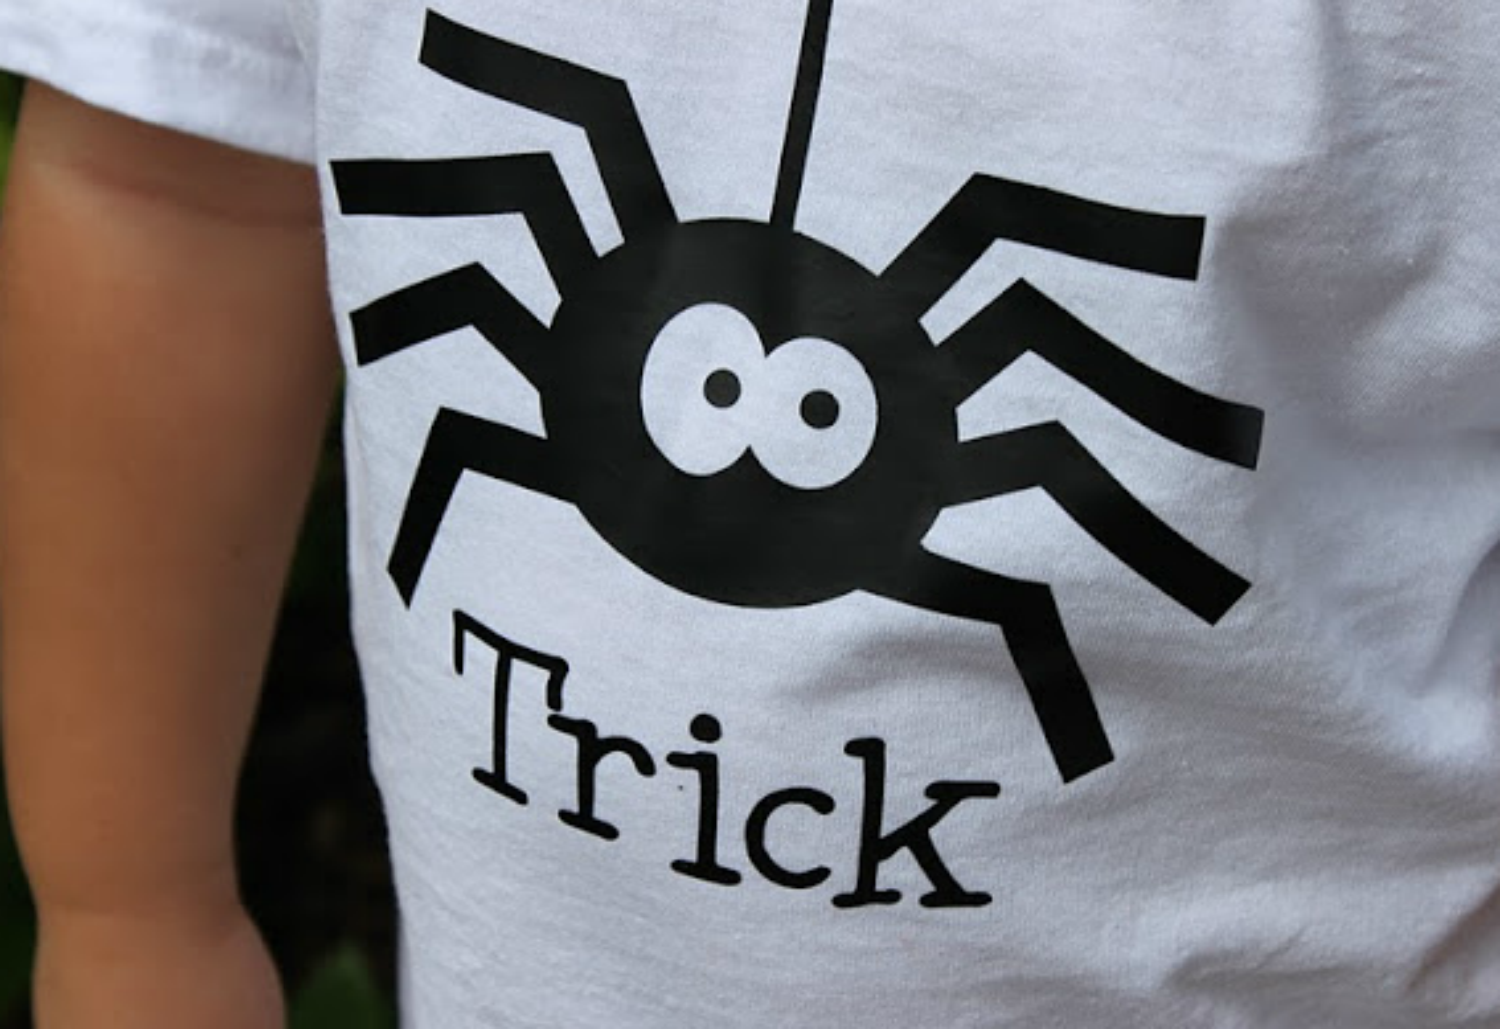
My Little Trick or Treat models
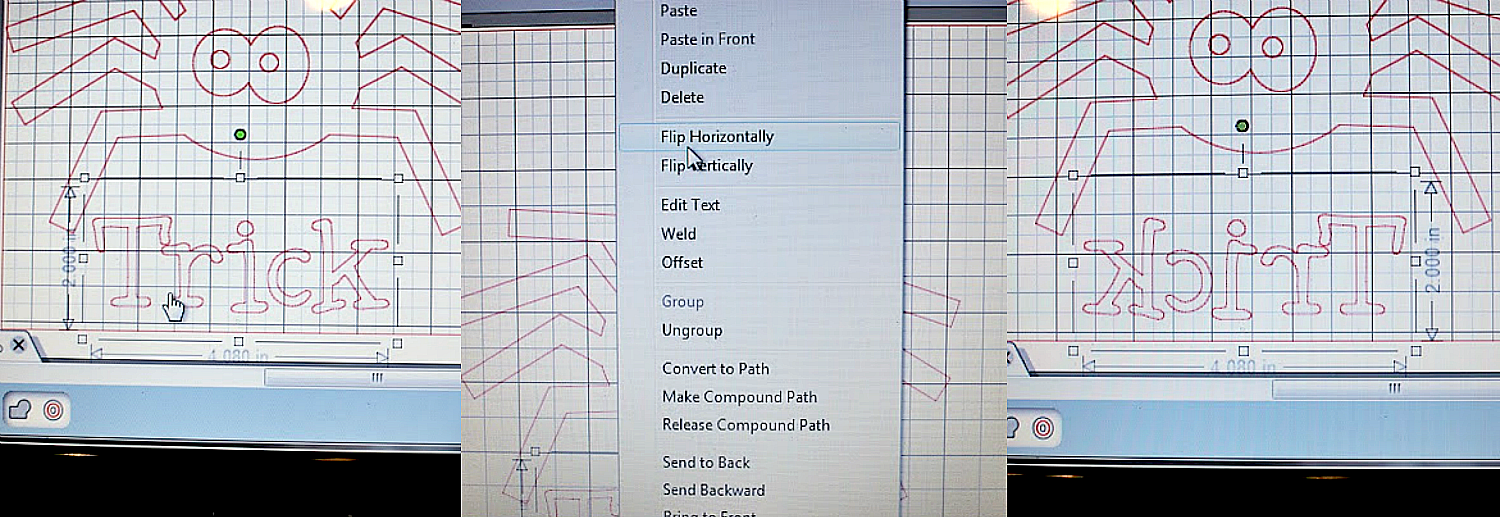
Very important once you select your image since you will be cutting the image from the top and then ironing it on You MUST mirror your image by right clicking and selecting flip horizontal. This is crucial when using any words because if you don't you will have an obvious word that is backwards!
When loading your Expressions Vinyl Heat Transfer Vinyl be sure to load it to your machine, shiny side down. I did not do this on the first try and ended up cutting the adhesive backing rather than the actual vinyl. If you do this accidentally do not worry, I was still able to re-insert the vinyl correctly and cut the design perfectly.
Once you cut you image and or letters, remove from your machine and peel off the excess vinyl. The heat vinyl comes with a clear stick backing attached which makes it super easy to peel off excess. I was actually amazed how effortly it peeled off!
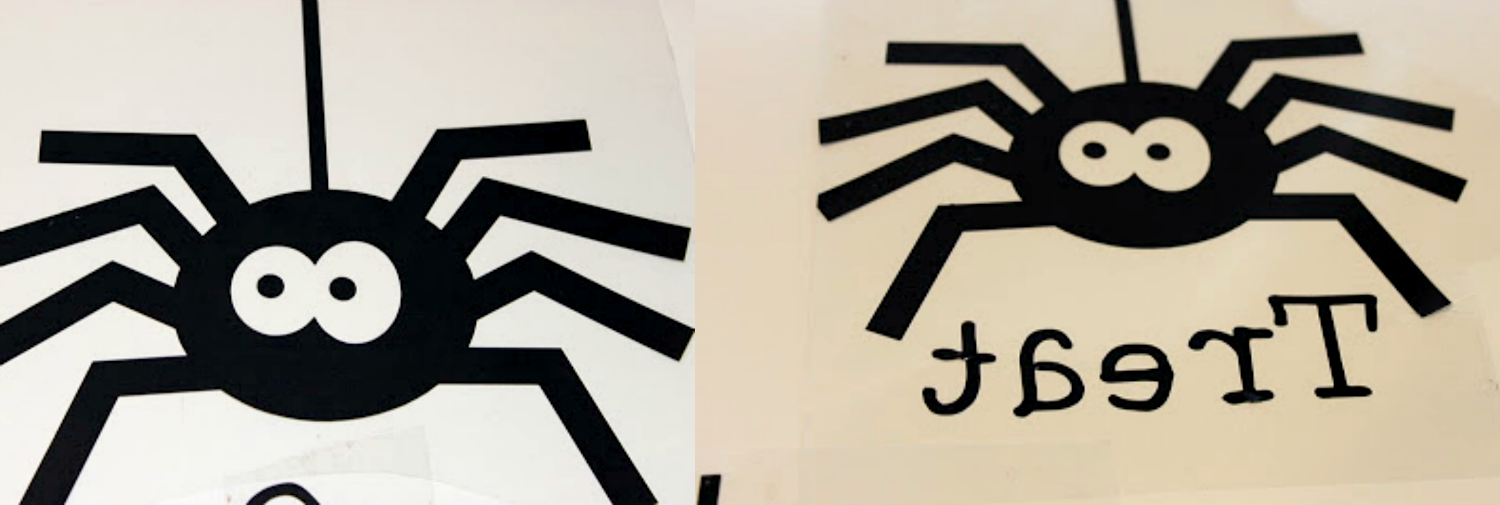
Reversed image after removing excess vinyl
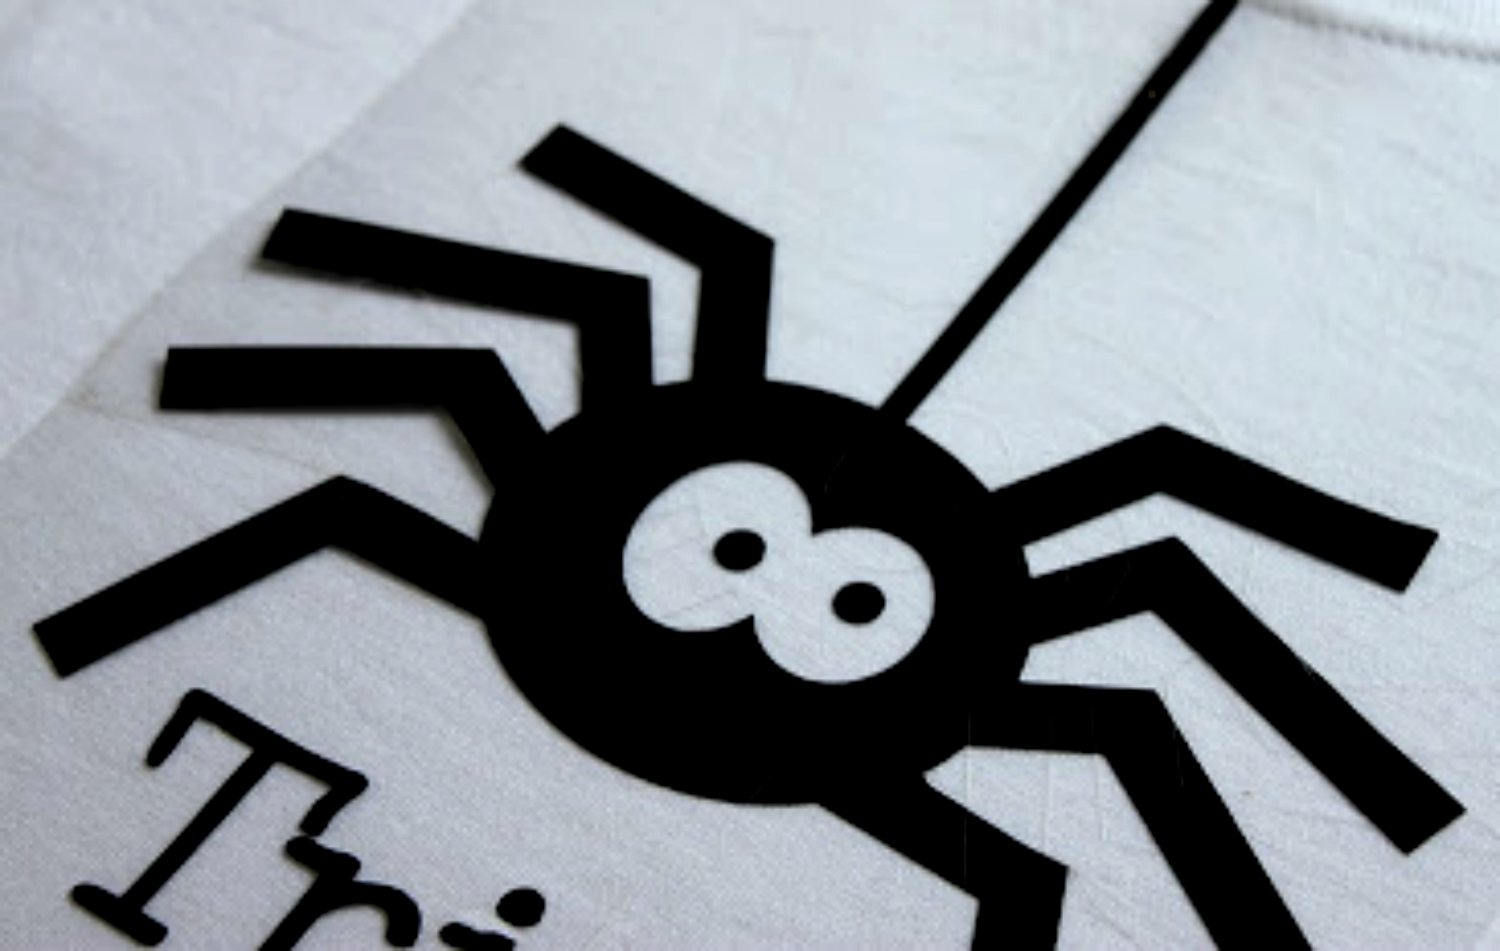
Image as it will appear on shirt
Next set your iron to the middle setting, Make sure the shirt you use has already been washed and dryed so that it is preshrunk, but no fabric softener. I bough the shirts at Michael's Craft Stores, they always have these at a great price! I also ironed the shirt so that it was warm before I applied the vinyl.
Place your image/words sticky side down on desired area on your shirt. Next use a thin piece of fabric, I used a pillow case to put over the area and then iron the image onto your shirt for about 10-15 seconds with firm pressure.
Be sure to let fabric cool completely before peeling off clear film. Then very gently peel off backing.

Gently peel off clear film
That's it you're done! Wasn't that super easy. It kinda makes you want to make a t-shirt for every occassion. I think I'm going to do just that. It was so easy and fun that I made two of them! I'm very pleased with how they turned out. What do you think? The possibilities are endless!
Be sure to come visit me over at Two Prince Bakery Theater for lost of fun craft projects and parties.
Recent Posts
-
NEW Holographic Eclipse Heat Transfer Vinyl
April 15th, 2024 3 Ways to Use the New Holographic Eclipse Heat Transfer Vinyl from Siser …Apr 29th 2024 -
Hop into Spring with Cute Easter Vinyl Crafts
Do you love our Vinyl? Sign up for Vinyl Club today to get FREE vinyl and save big! …Mar 28th 2024 -

Fixing Wrinkles and Bubbles in Vinyl
How do you get air bubbles out of vinyl? There are a few different ways to ensure a flawless …Mar 26th 2024