
Trick or Treat tote bag
Hey everyone! Can you believe school is already in session and we are already in the swing of holiday crafts?! Time sure seems to fly by so quickly! Today I want to show you how to make a fun trick-or-treating tote bag that your kids will love! No more bulky pumpkins that take up space in your storage! These totes can lay flat and take up no space at all! So let's get to it.
Supplies:
-heat transfer vinyl (I used black, orange, purple, and green glitter) -cutting machine (I used a Silhouette Cameo) -weeding hook or craft tweezers -blank tote bag -home iron or heat press
STEP ONE: Create design in software
Open your software program (I used Silhouette Studio) and import your Halloween design. This one is found in the Silhouette Design store.

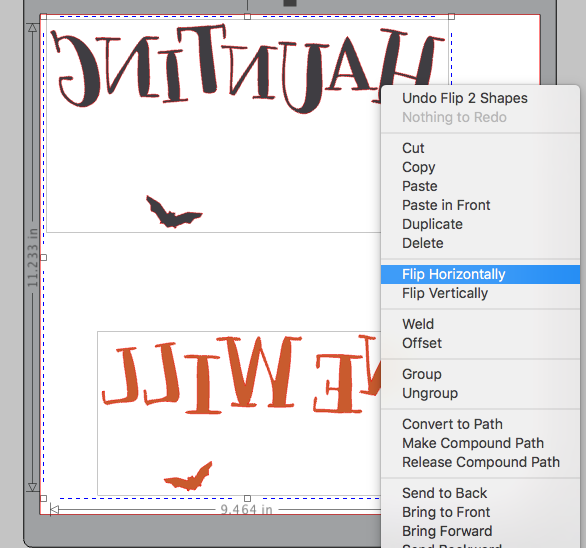
Now we need to separate the colors so we can cut them separately. The colors are already grouped together so move them around on your cutting mat so that only two colors are there.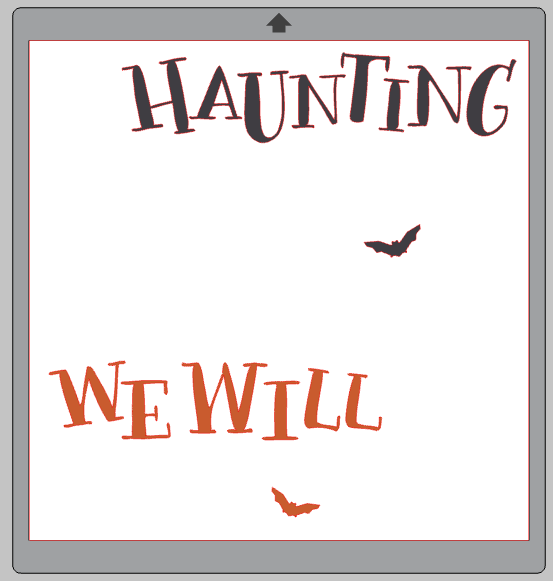
Select each part and right click then choose flip horizontally. Because we cut on the back side of HTV, we need to mirror our image.
Now we are ready to cut!
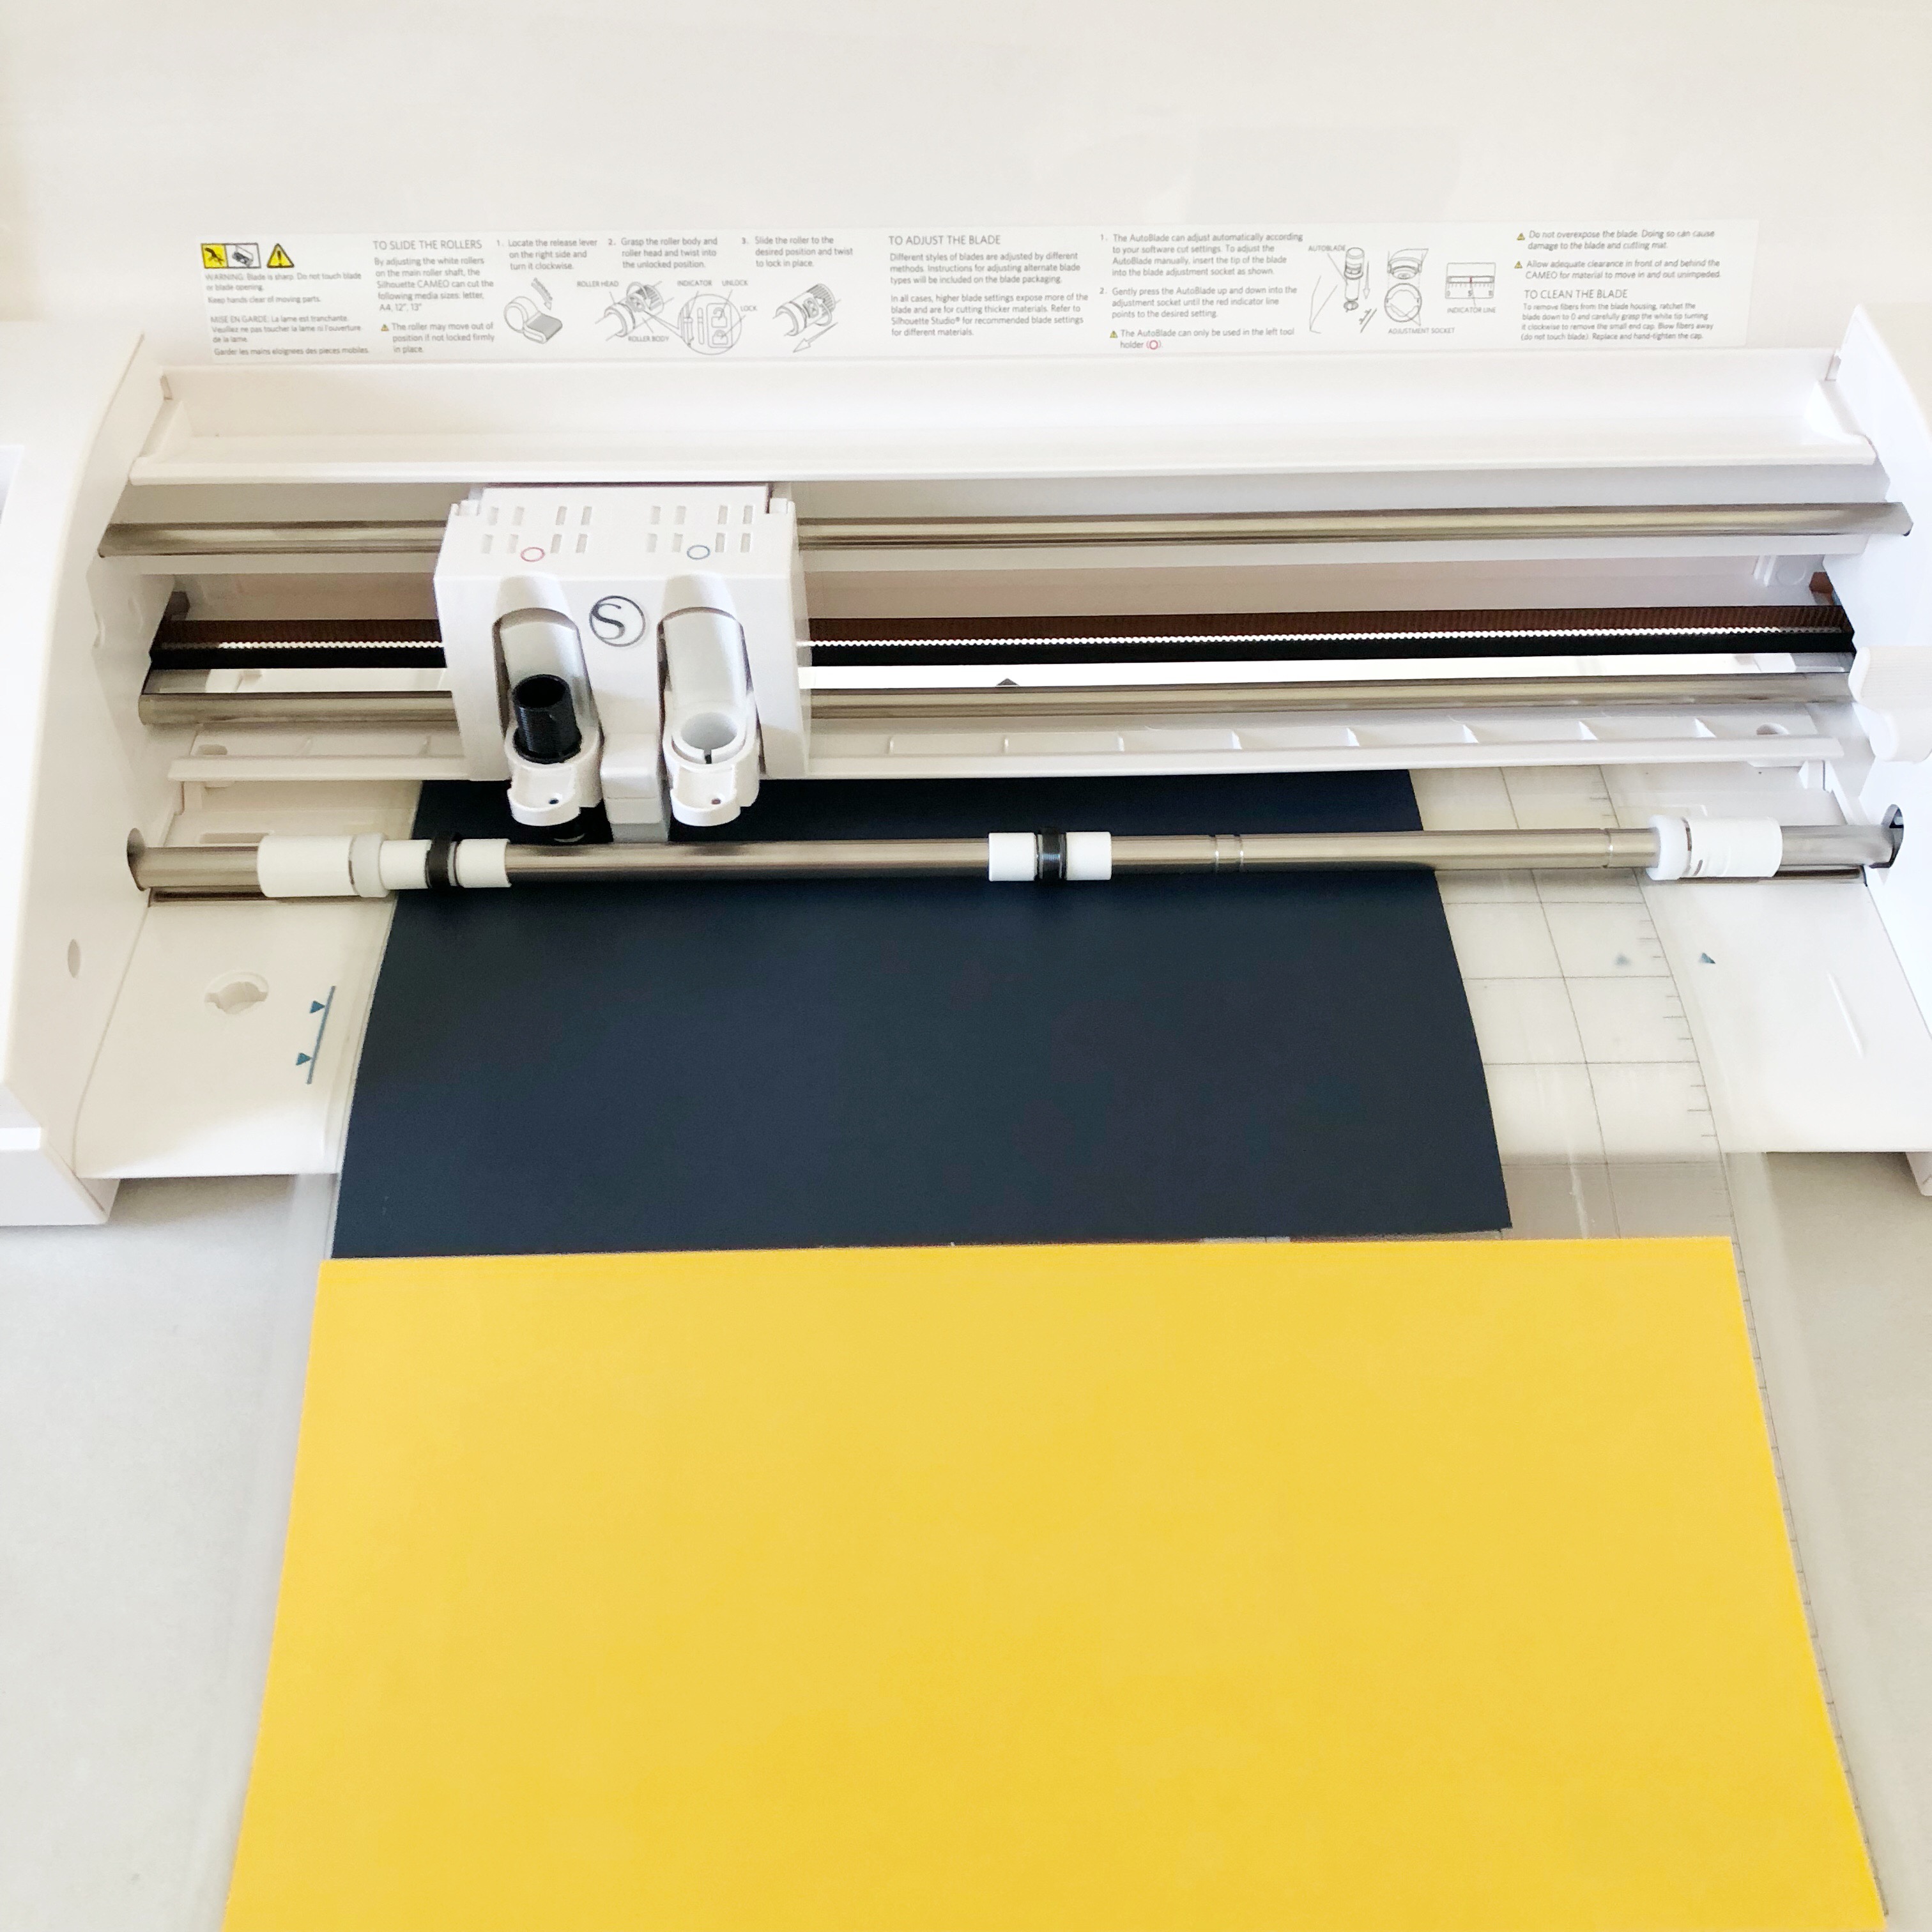
STEP TWO: Cut designs out of heat transfer material
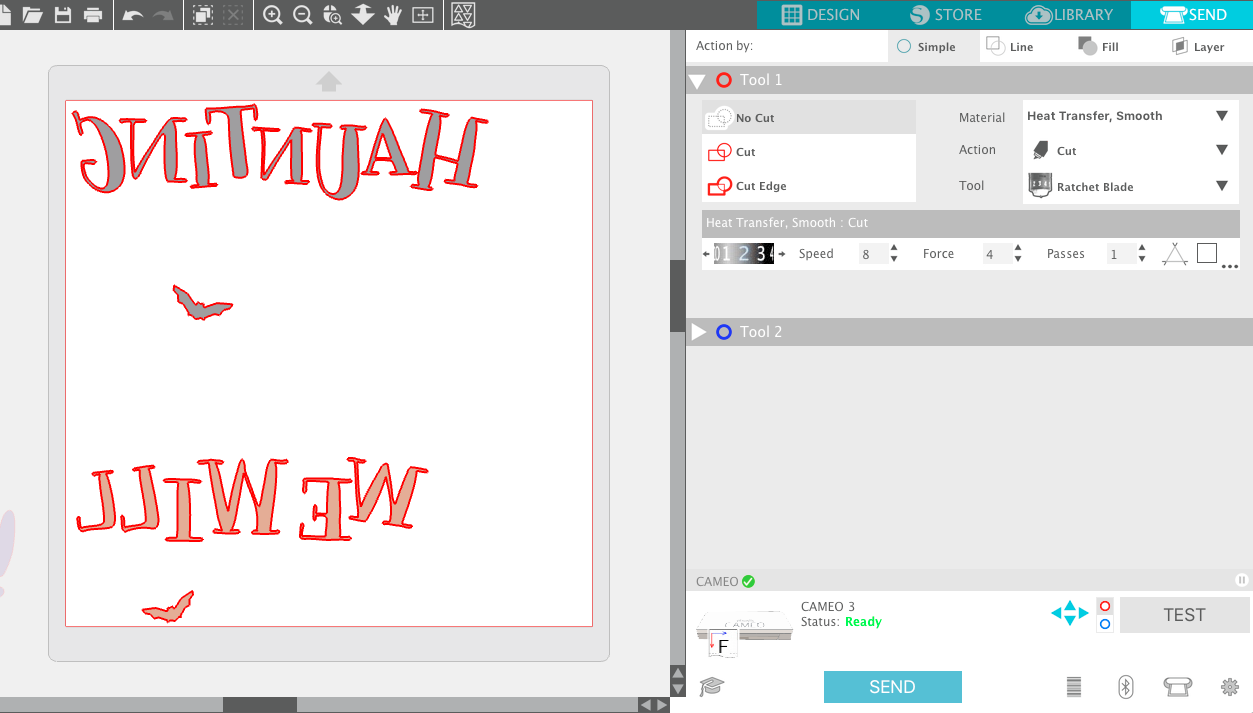
Go to your cut settings window and select your material. We will be doing the smooth HTV first so select that material and change your blade accordingly (if you aren't using the autoblade function.)
 \
\
We can cut two colors at the same time so place your HTV with shiny side down on your cutting mat.
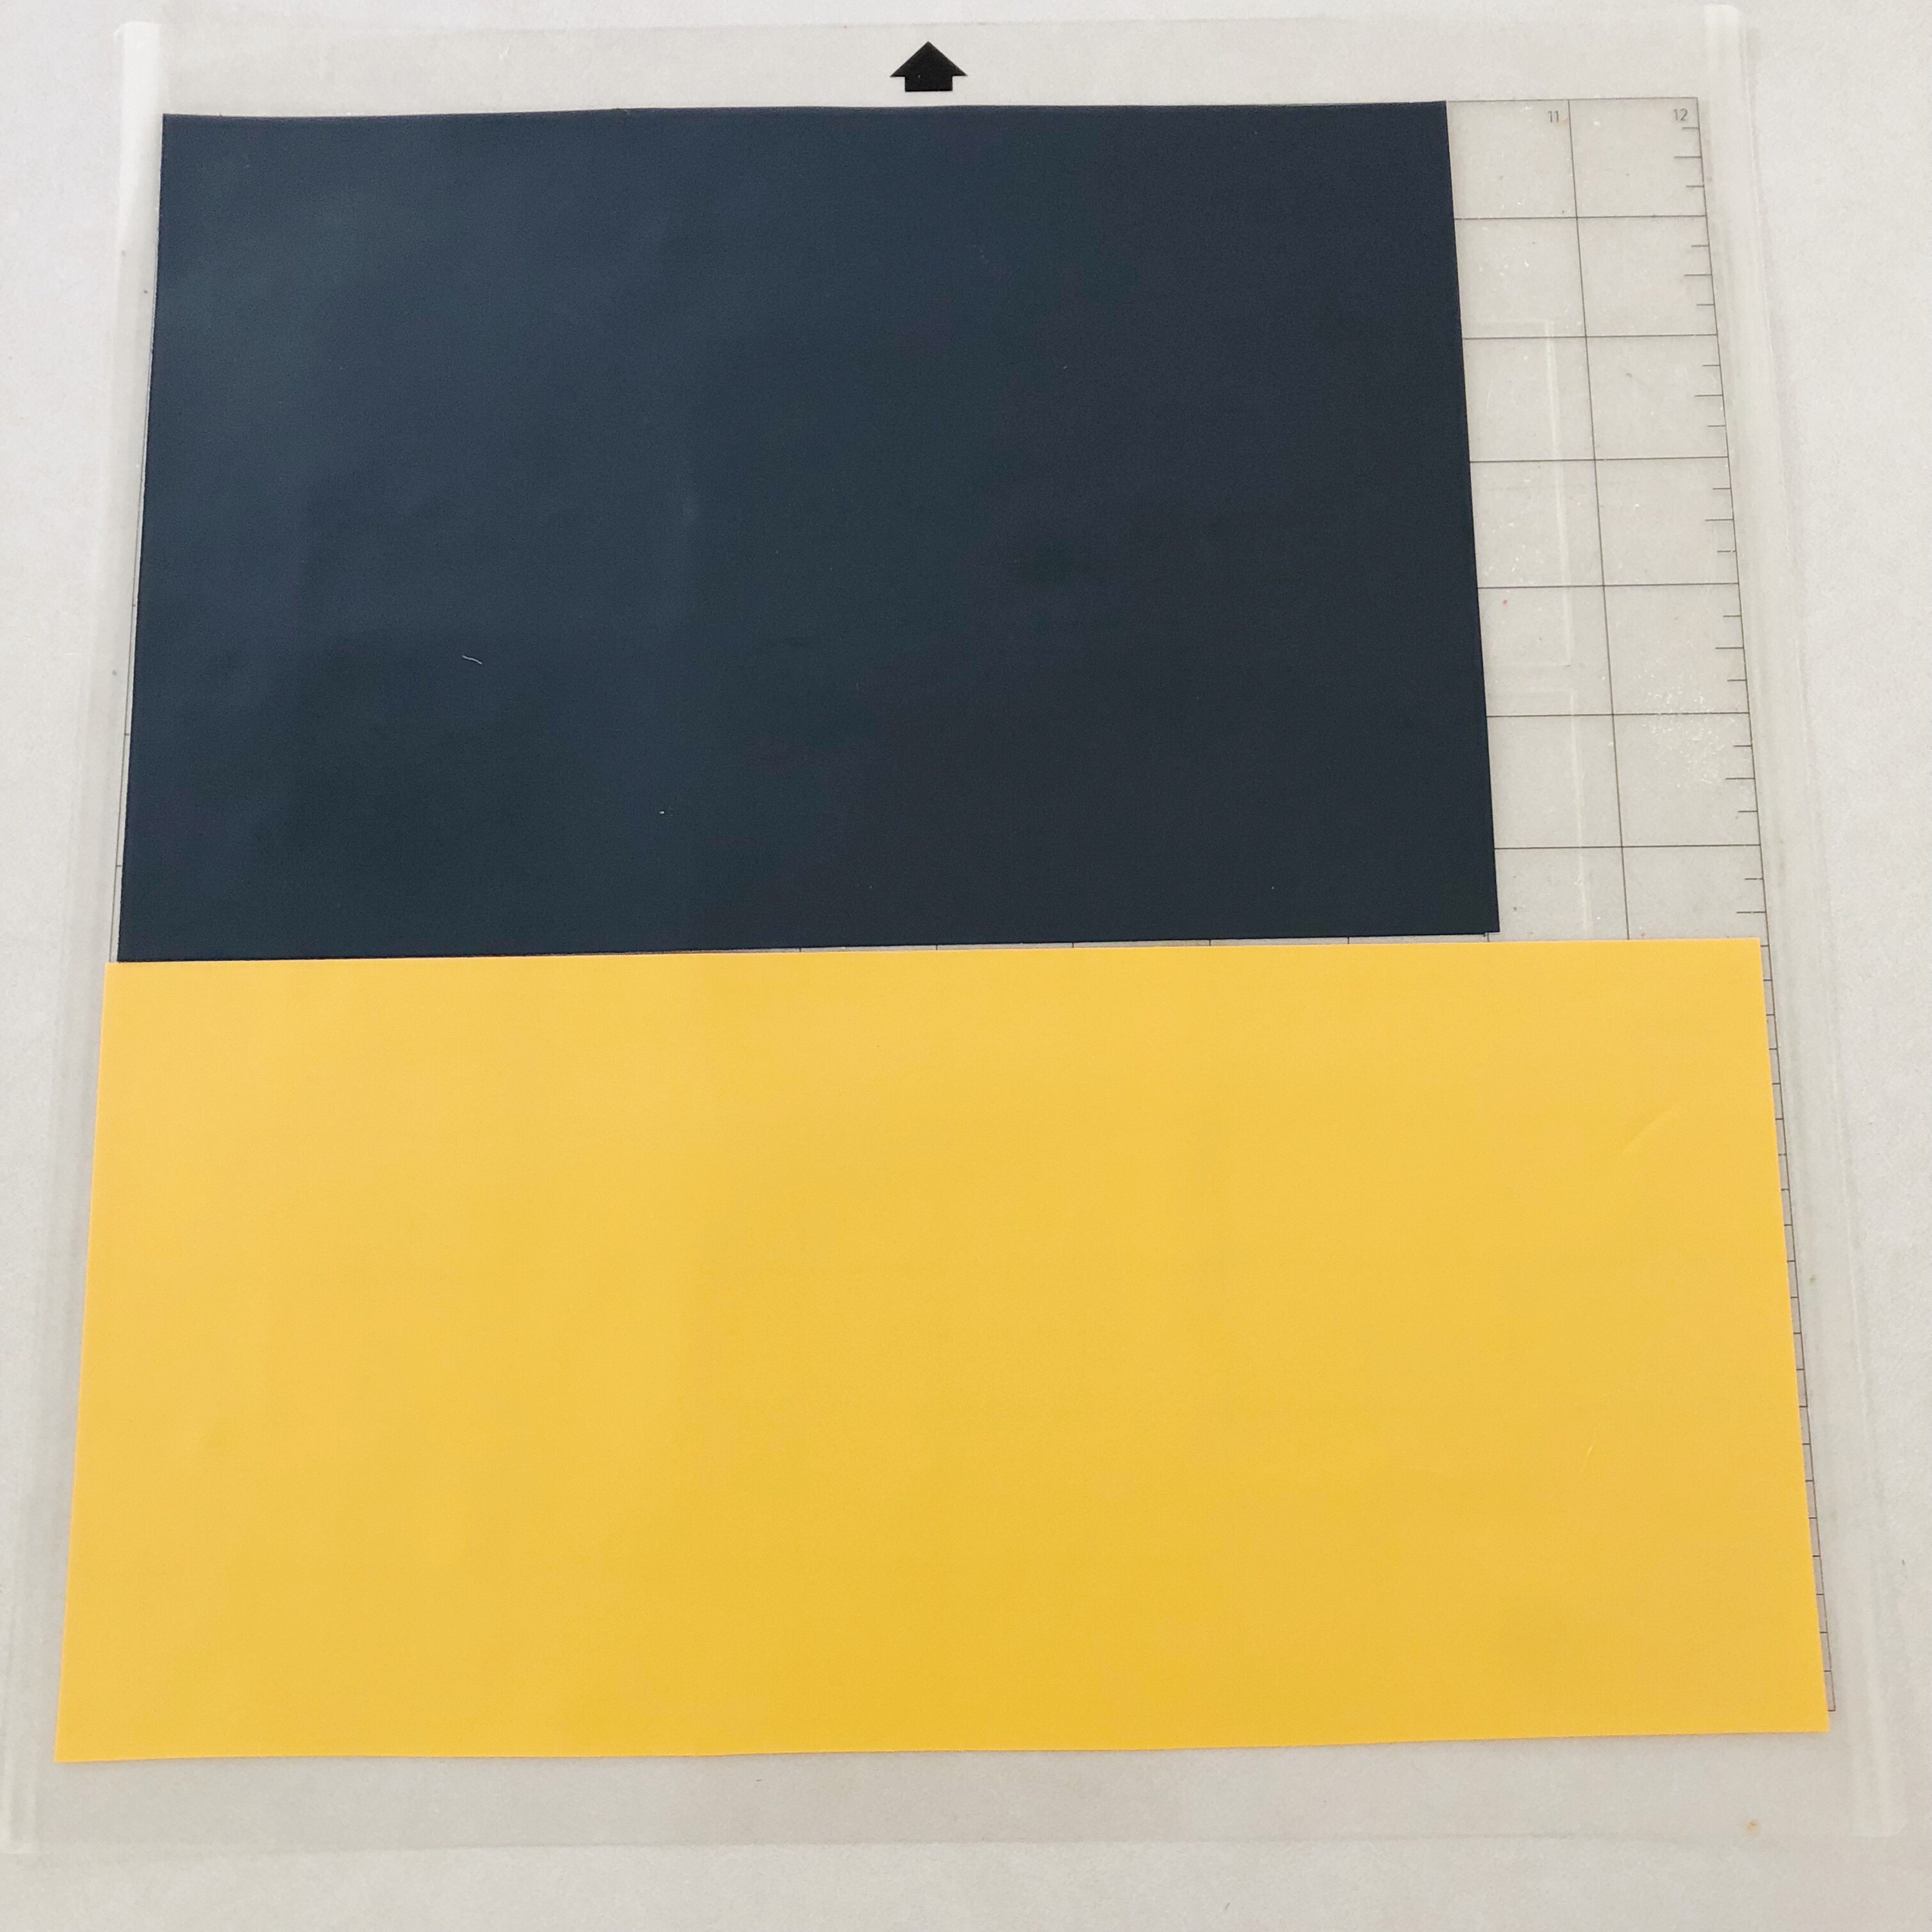
Load it into your machine and let it do its magic! Repeat for the remaining colors.
STEP THREE: Weed HTV designs
Once all your colors have been cut, peel off the vinyl that isn't part of the design. With a good cut, this part should go smoothly.
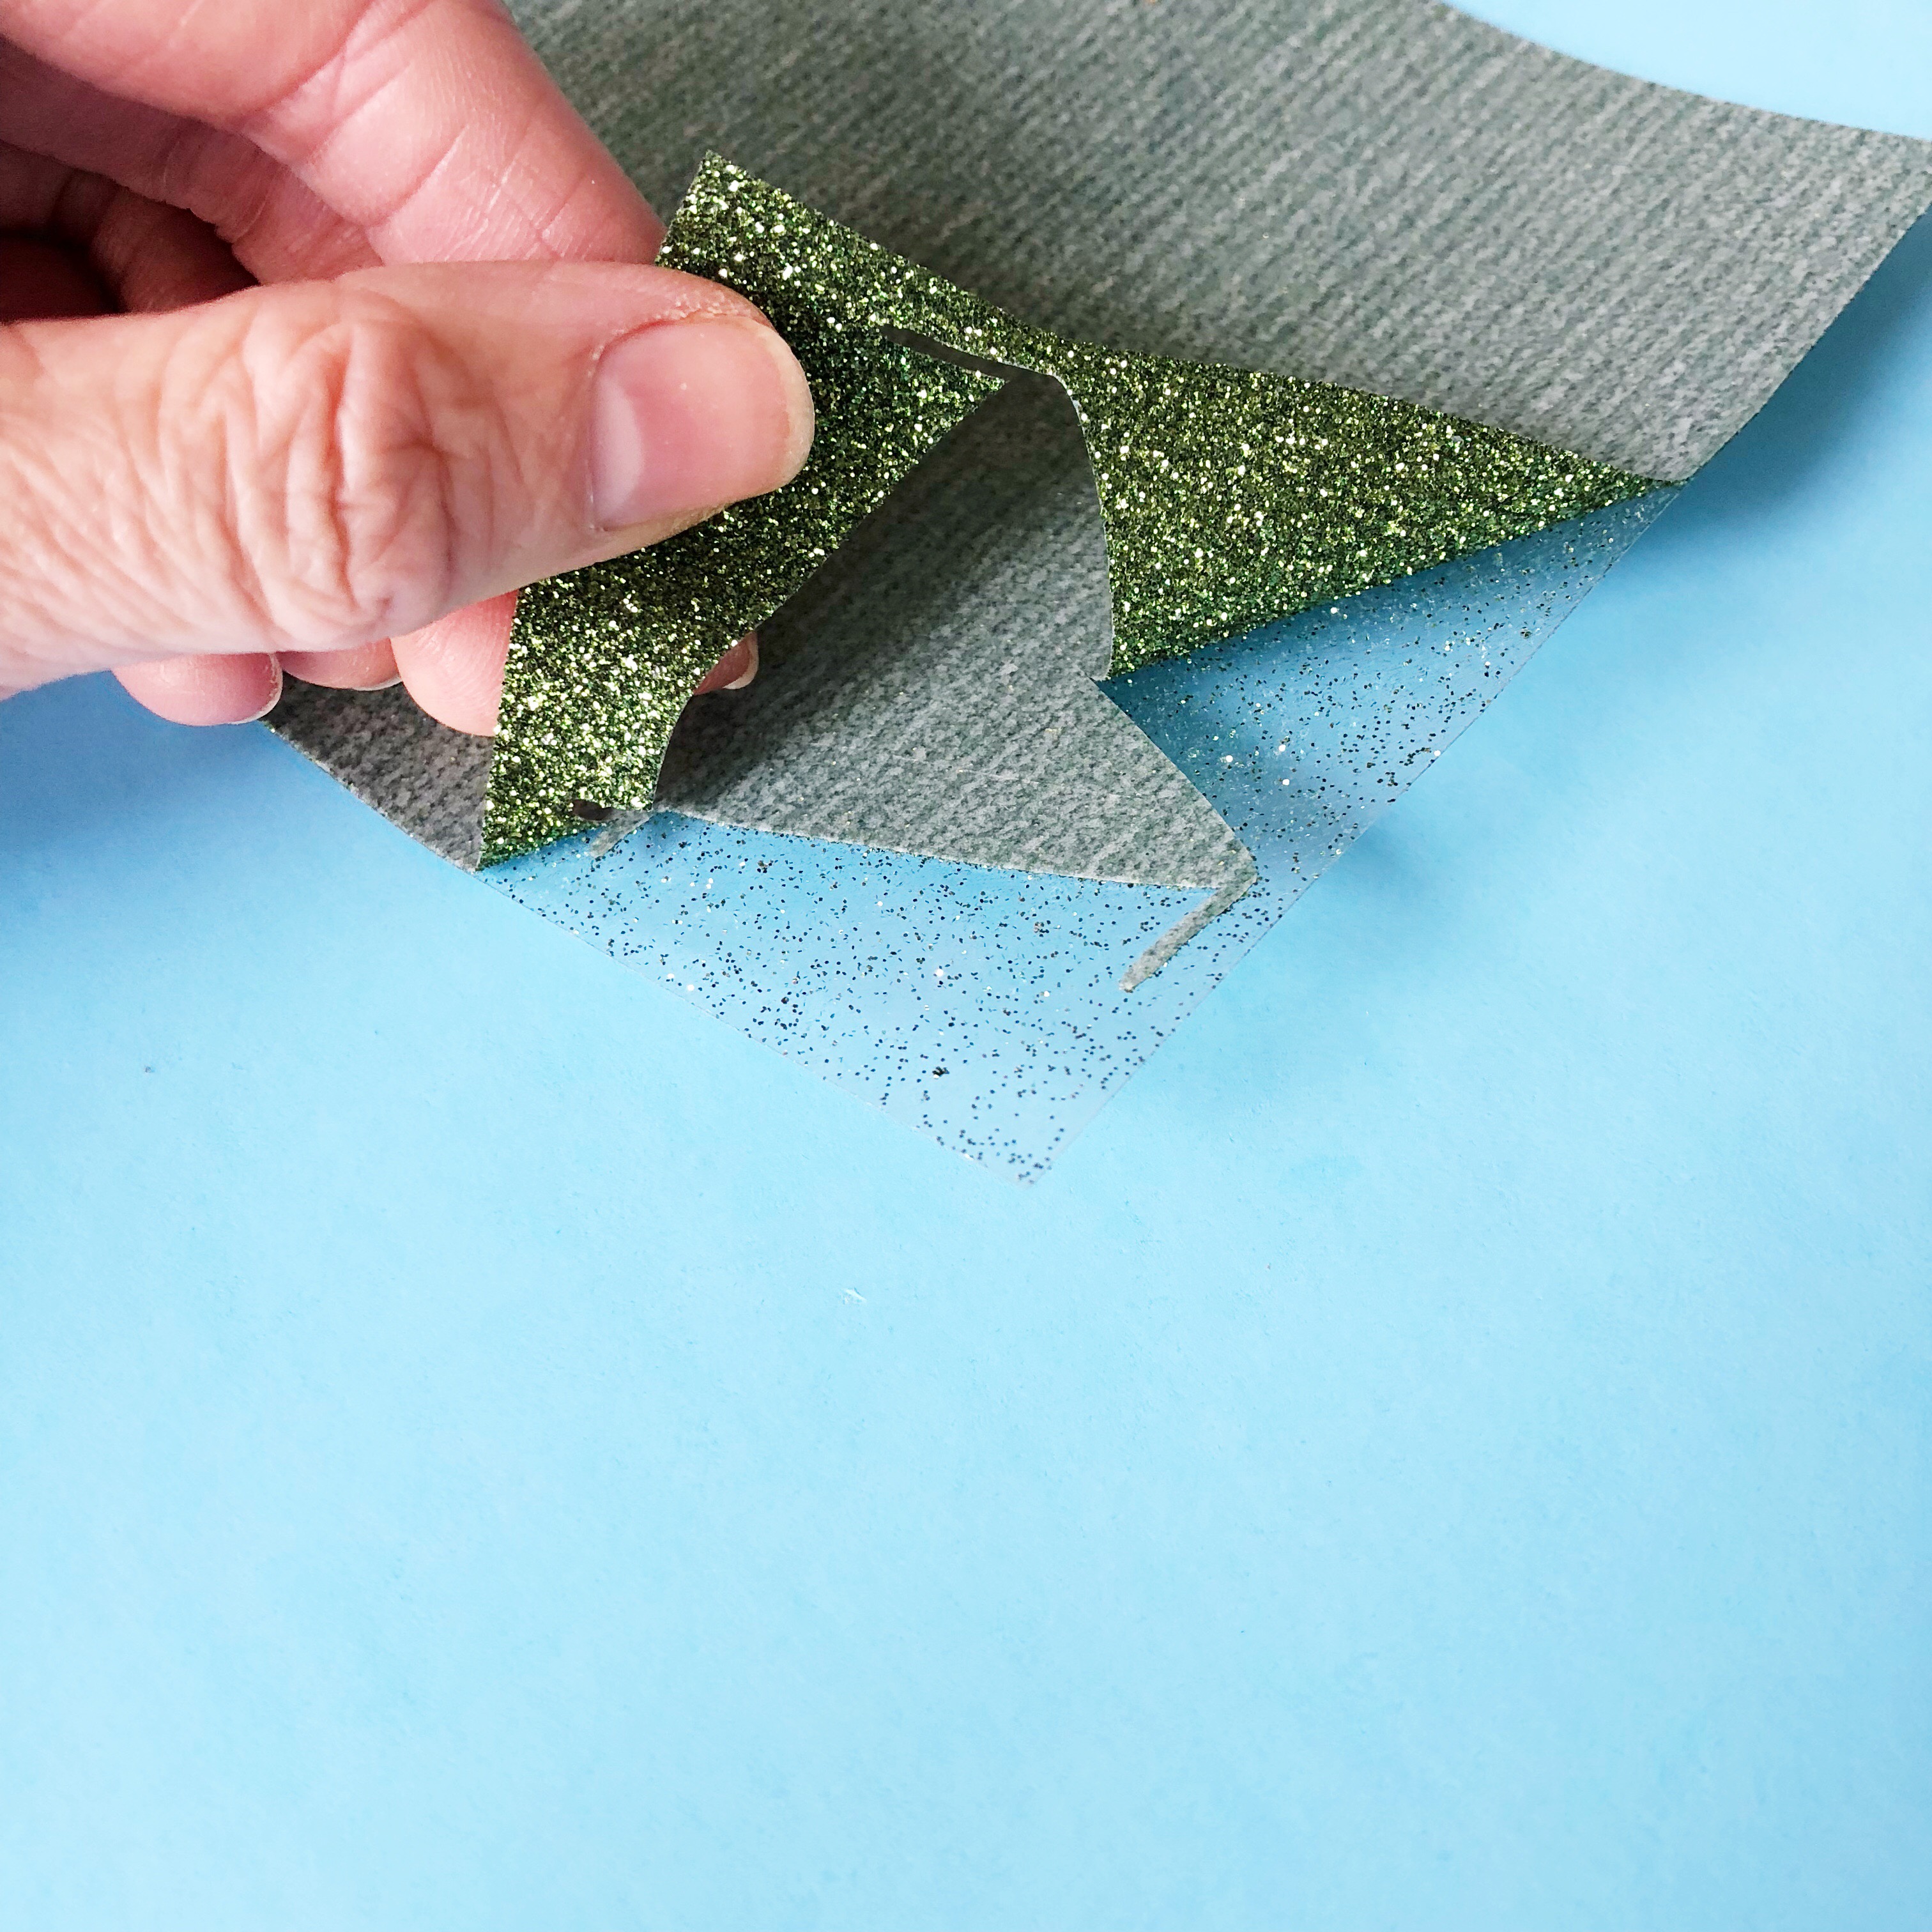
For the small inside pieces, use a weeding hook or a pair of craft tweezers to peel them out.
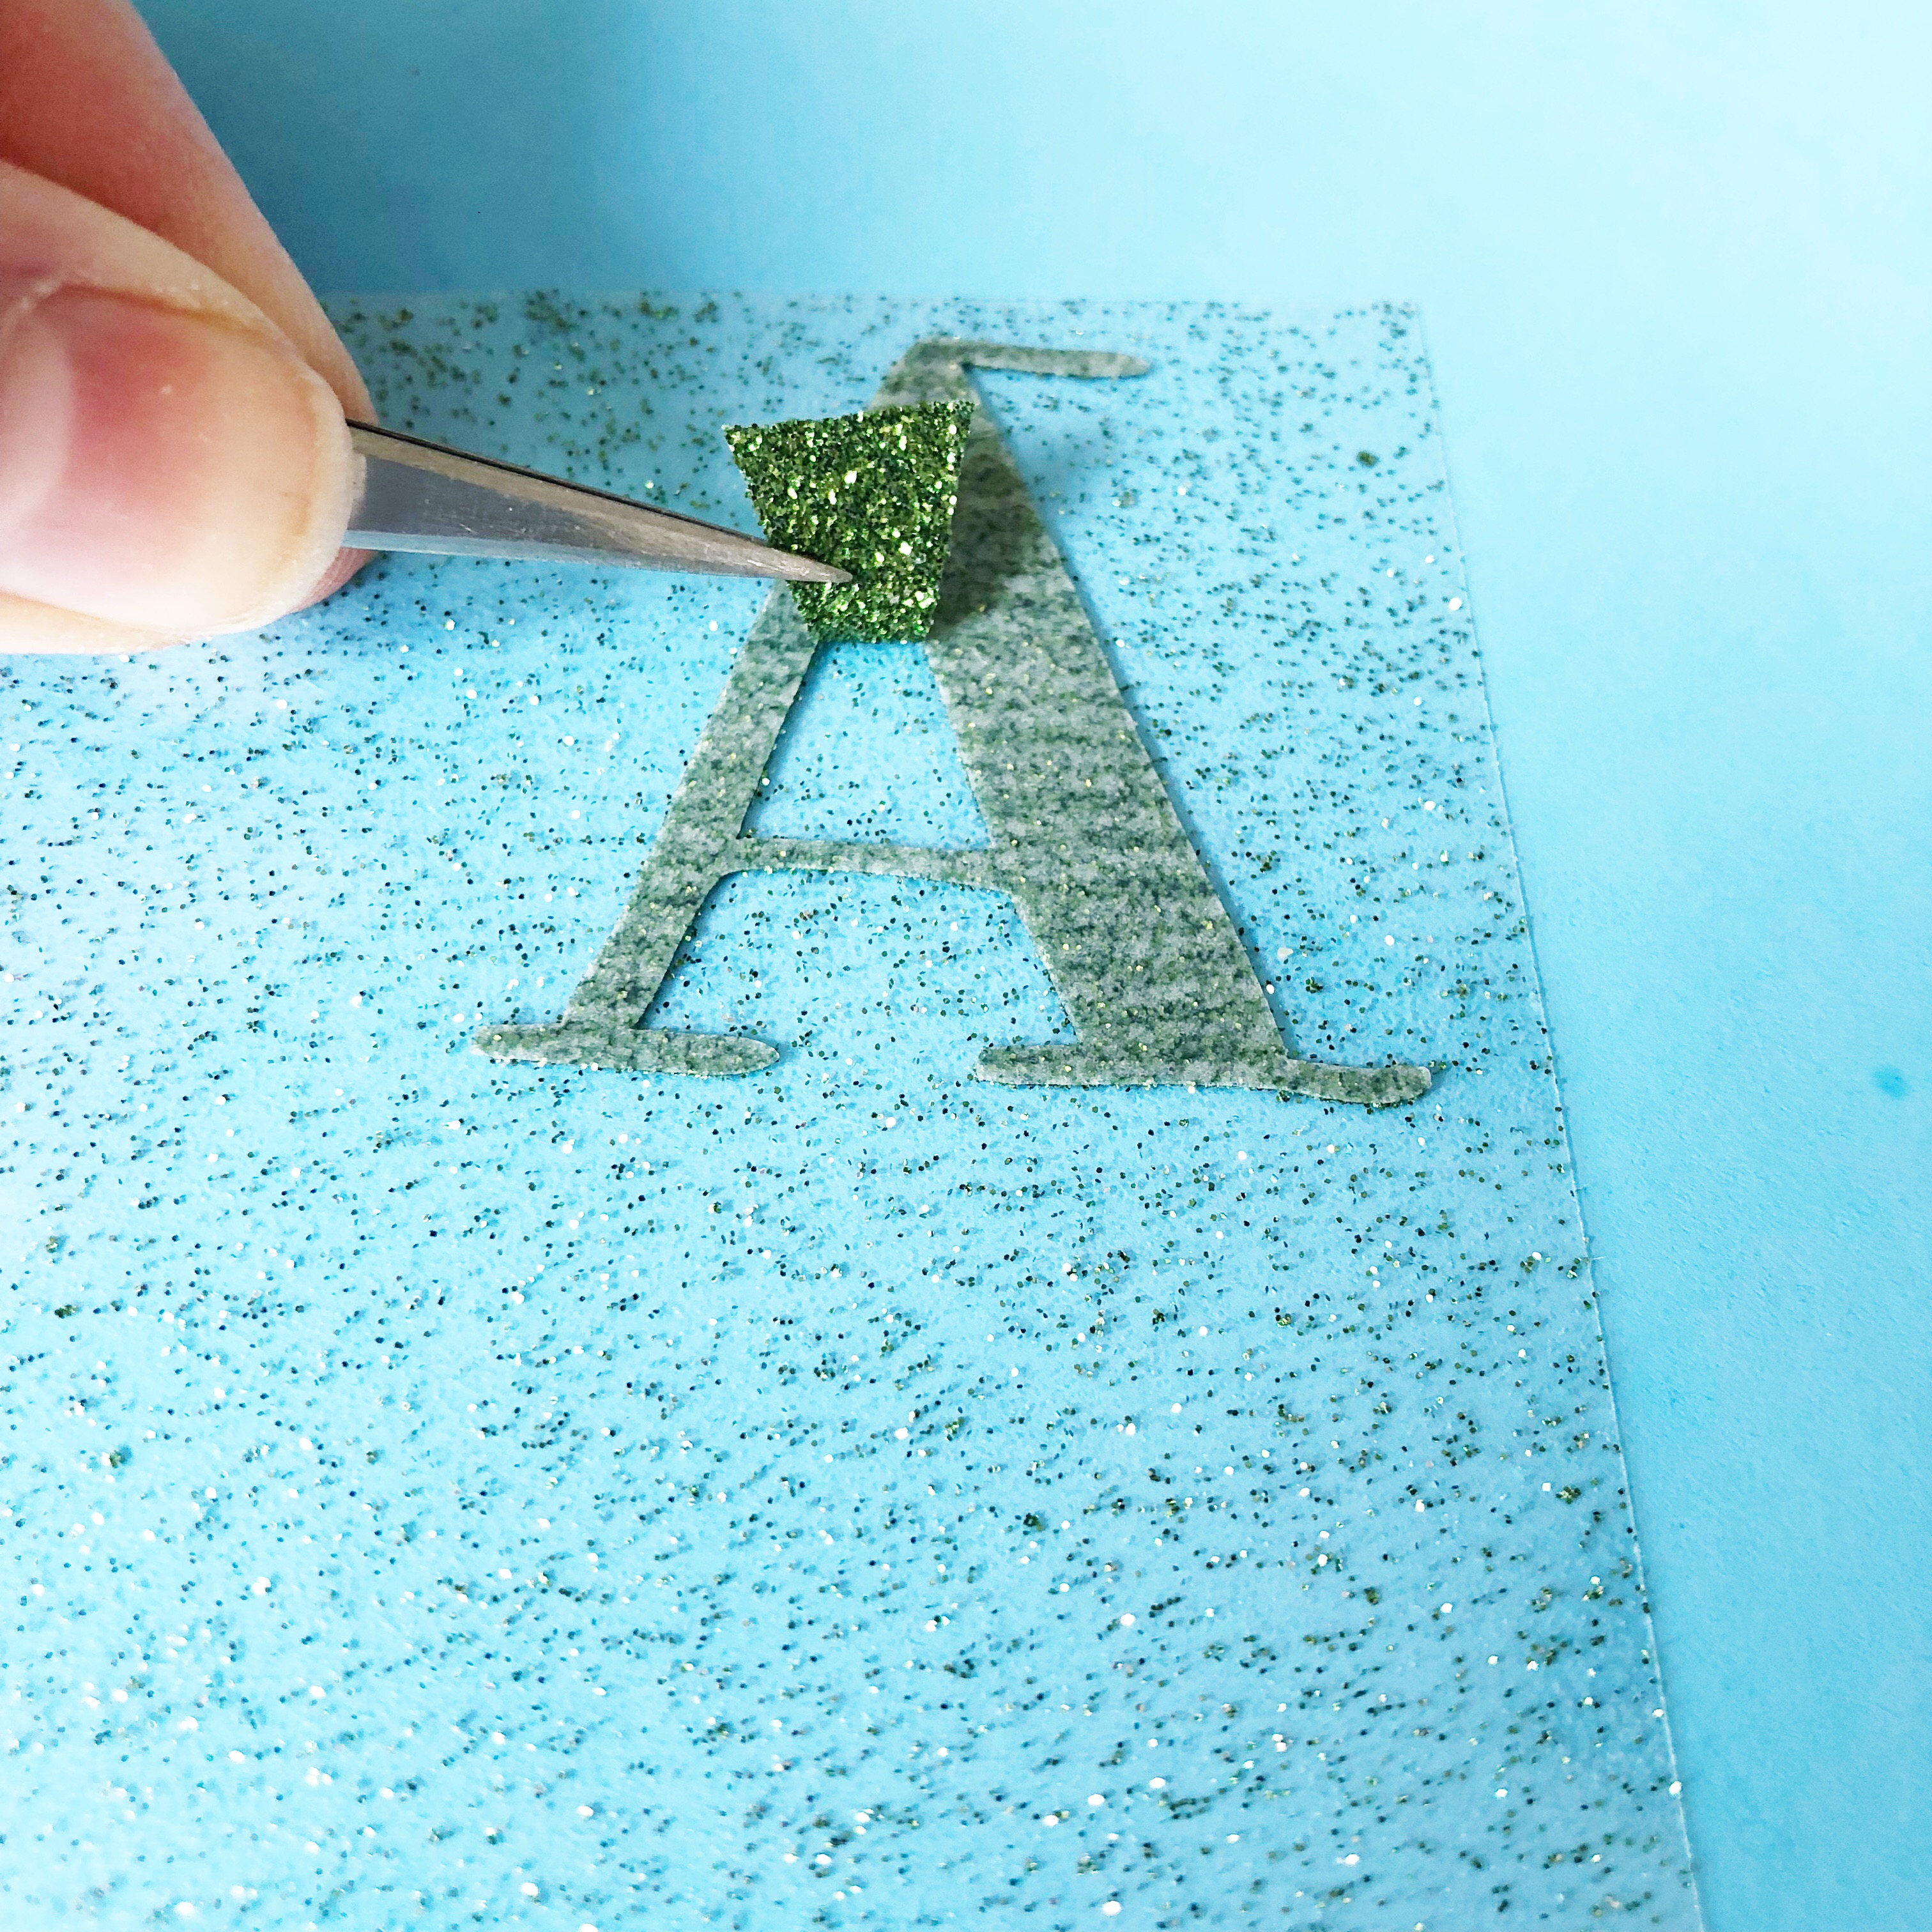
Continue until each color has been weeded.
STEP FOUR: Iron HTV onto tote bag
Heat up your home iron to cotton settings with no steam. (For a heat press, follow the manufacturer's guidelines.) Iron out the wrinkles of the tote bag until it's nice and smooth.
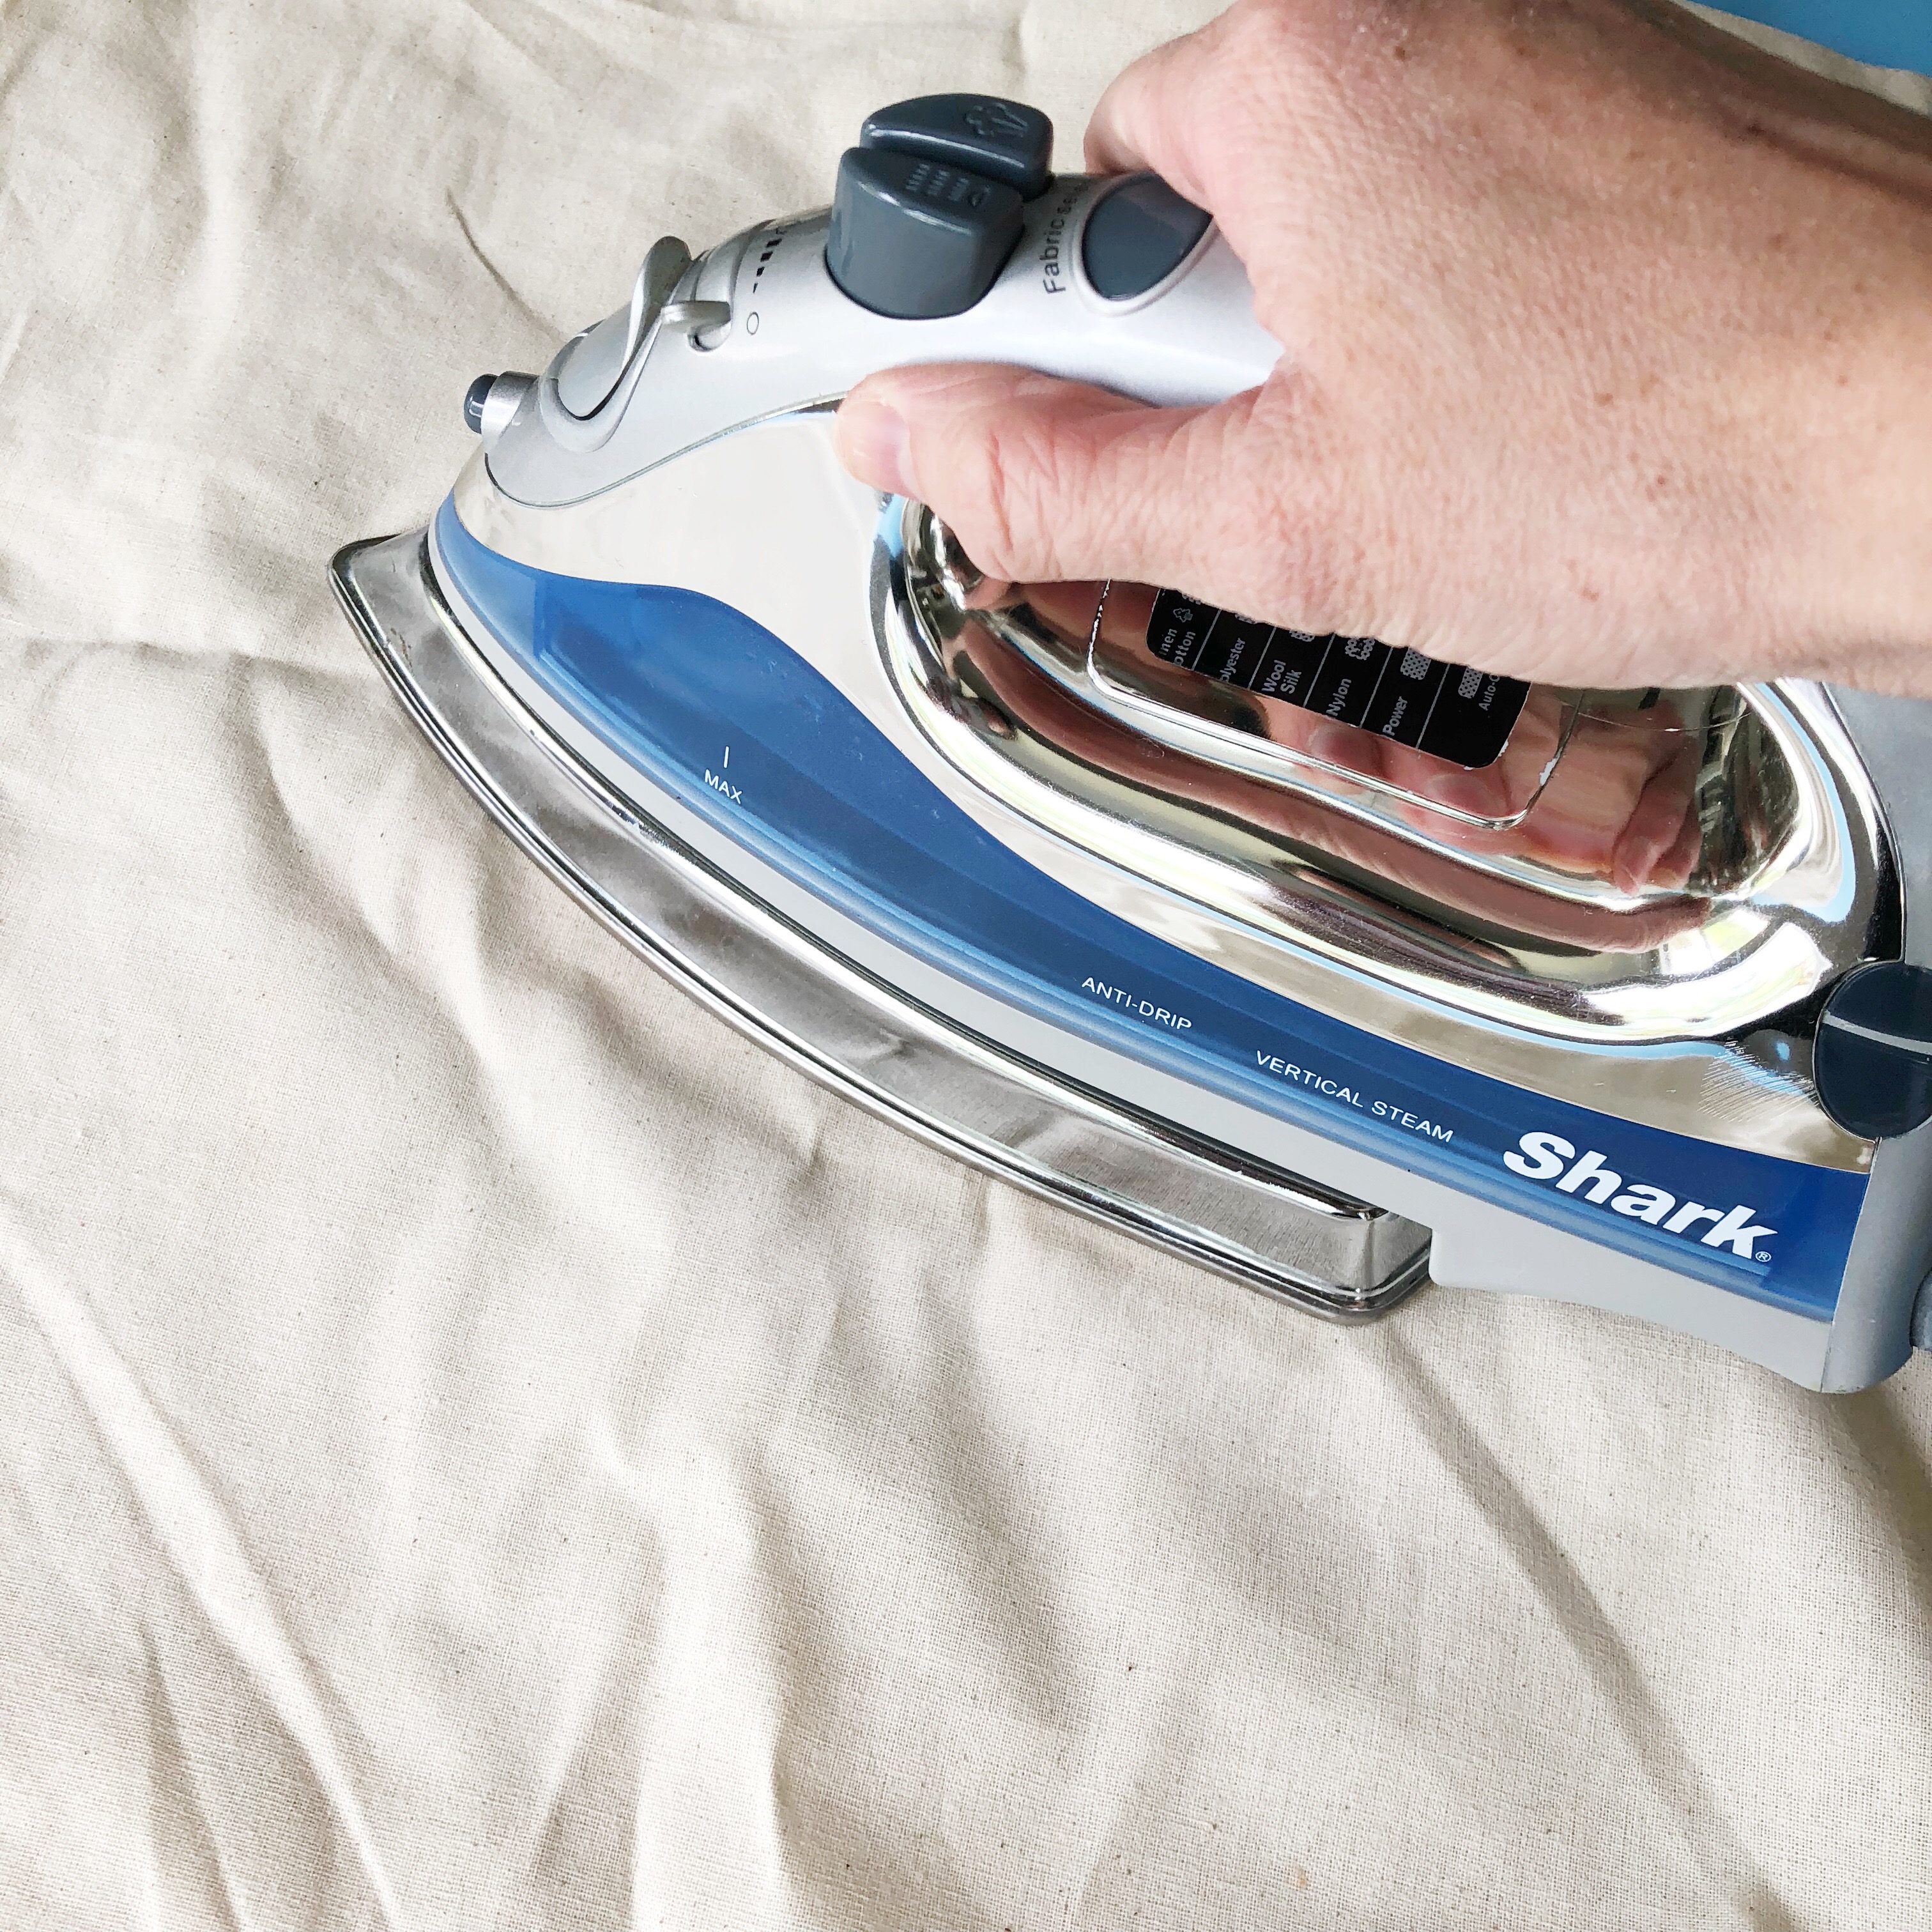
Now place your first color onto the tote bag and press for 10-15 seconds.
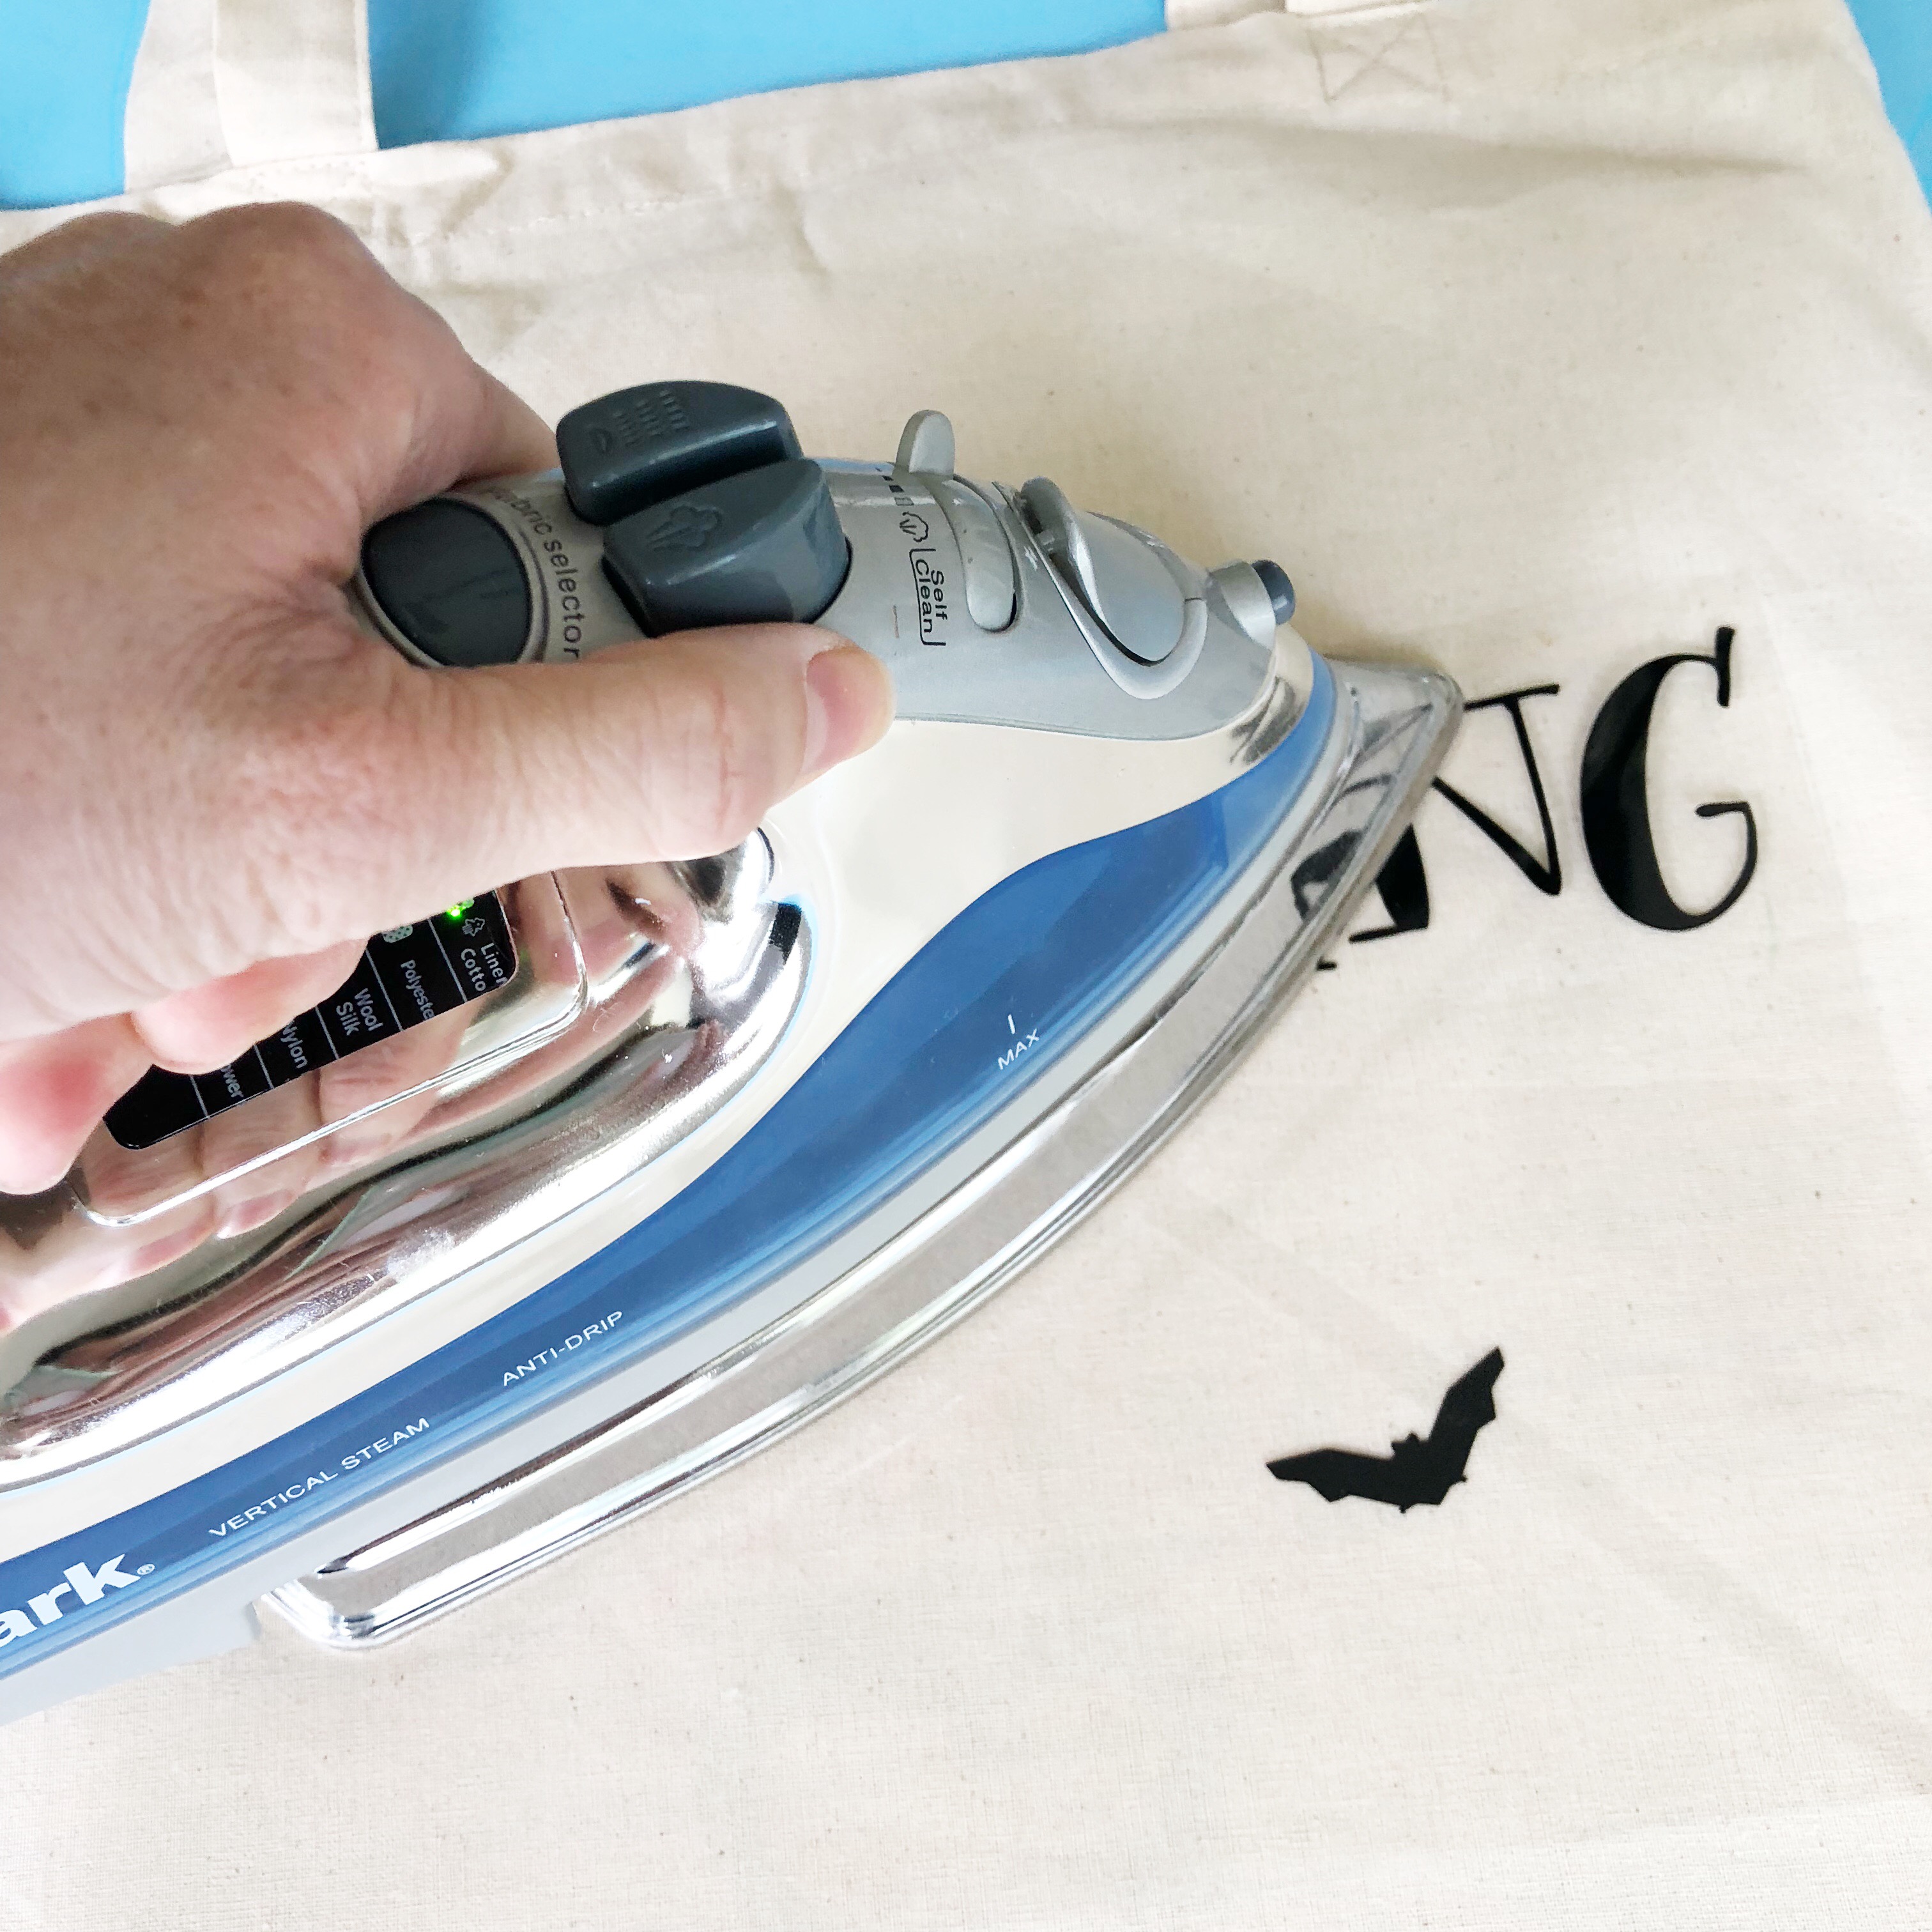
Carefully peel off the clear carrier sheet. If any part of the vinyl starts to lift up, place the carrier sheet back down and press for a little longer.

Repeat for each color until your whole design has been pressed. Be sure that your iron doesn't touch the vinyl directly because it will melt! Use a thin cloth or parchment paper to protect the layers.

I love how the green glitter adds to the design! So pretty!
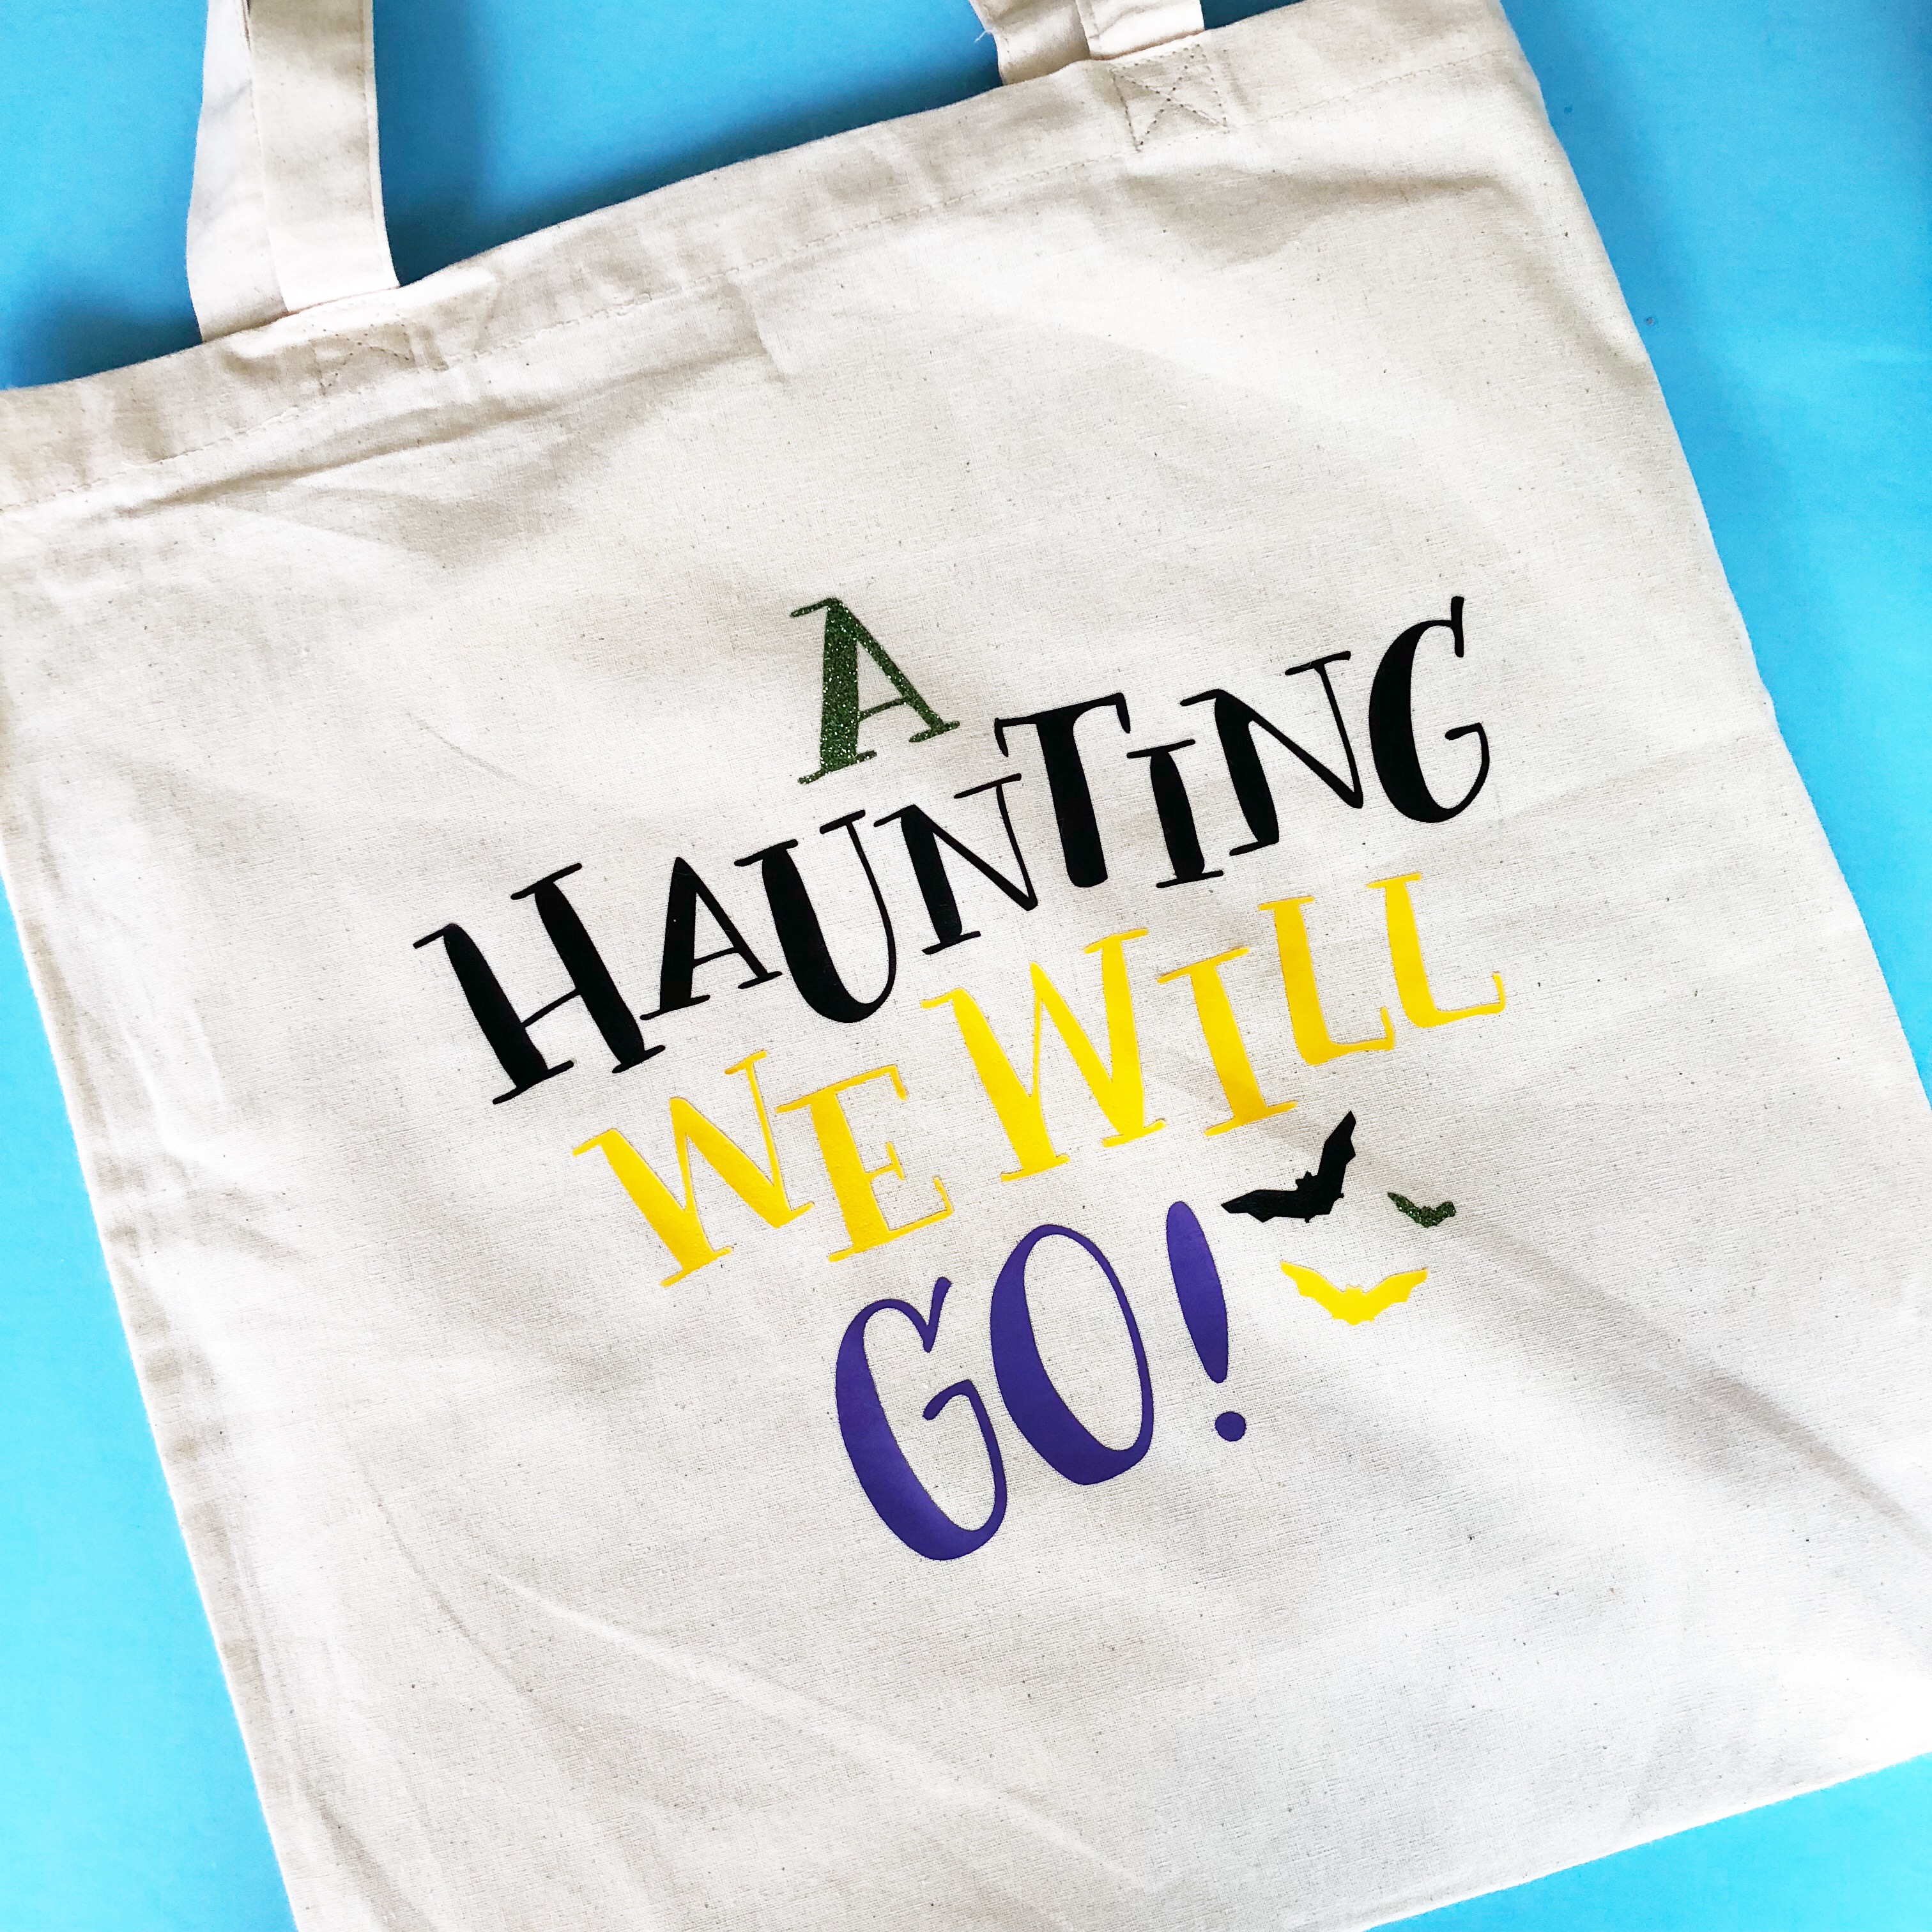
Your kids will be so excited to fill it all with candy and goodies come Halloween time!
Recent Posts
-
NEW Holographic Eclipse Heat Transfer Vinyl
April 15th, 2024 3 Ways to Use the New Holographic Eclipse Heat Transfer Vinyl from Siser …Apr 29th 2024 -
Hop into Spring with Cute Easter Vinyl Crafts
Do you love our Vinyl? Sign up for Vinyl Club today to get FREE vinyl and save big! …Mar 28th 2024 -

Fixing Wrinkles and Bubbles in Vinyl
How do you get air bubbles out of vinyl? There are a few different ways to ensure a flawless …Mar 26th 2024