
Using The Mat Grid
Hi everyone!! I'm Mandy and I blog over at Sugar Bee Crafts!

I am excited to be part of the design team over here at Expressions Vinyl Blog and am looking forward to my chance to share my ideas with you monthly. Today I want to share something I love about vinyl and my Cameo....
One of my FAVORITE features of the Cameo is the grid. I use it ALL. THE. TIME. Do you ever turn your grid feature on?? You should! See this screen shot - the "page" tab is open over on the right and where the arrow is pointing is a slider bar labeled "reveal cutting mat" - as you drag it over to the right (mine is on about 60%) you'll see the grid lines start to appear.
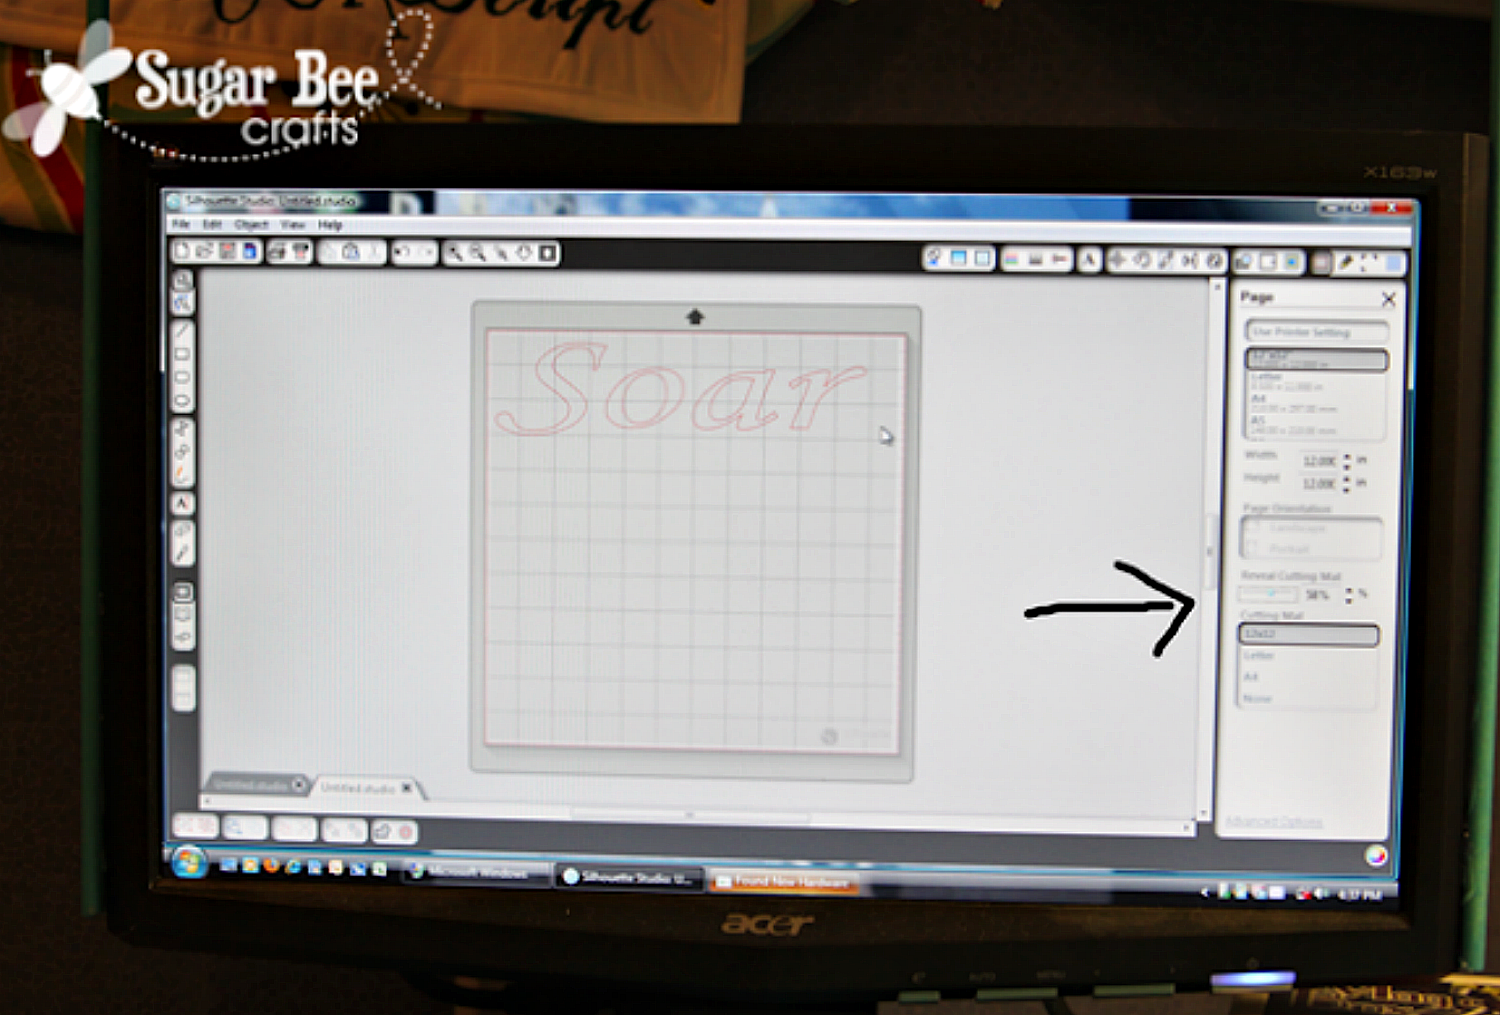
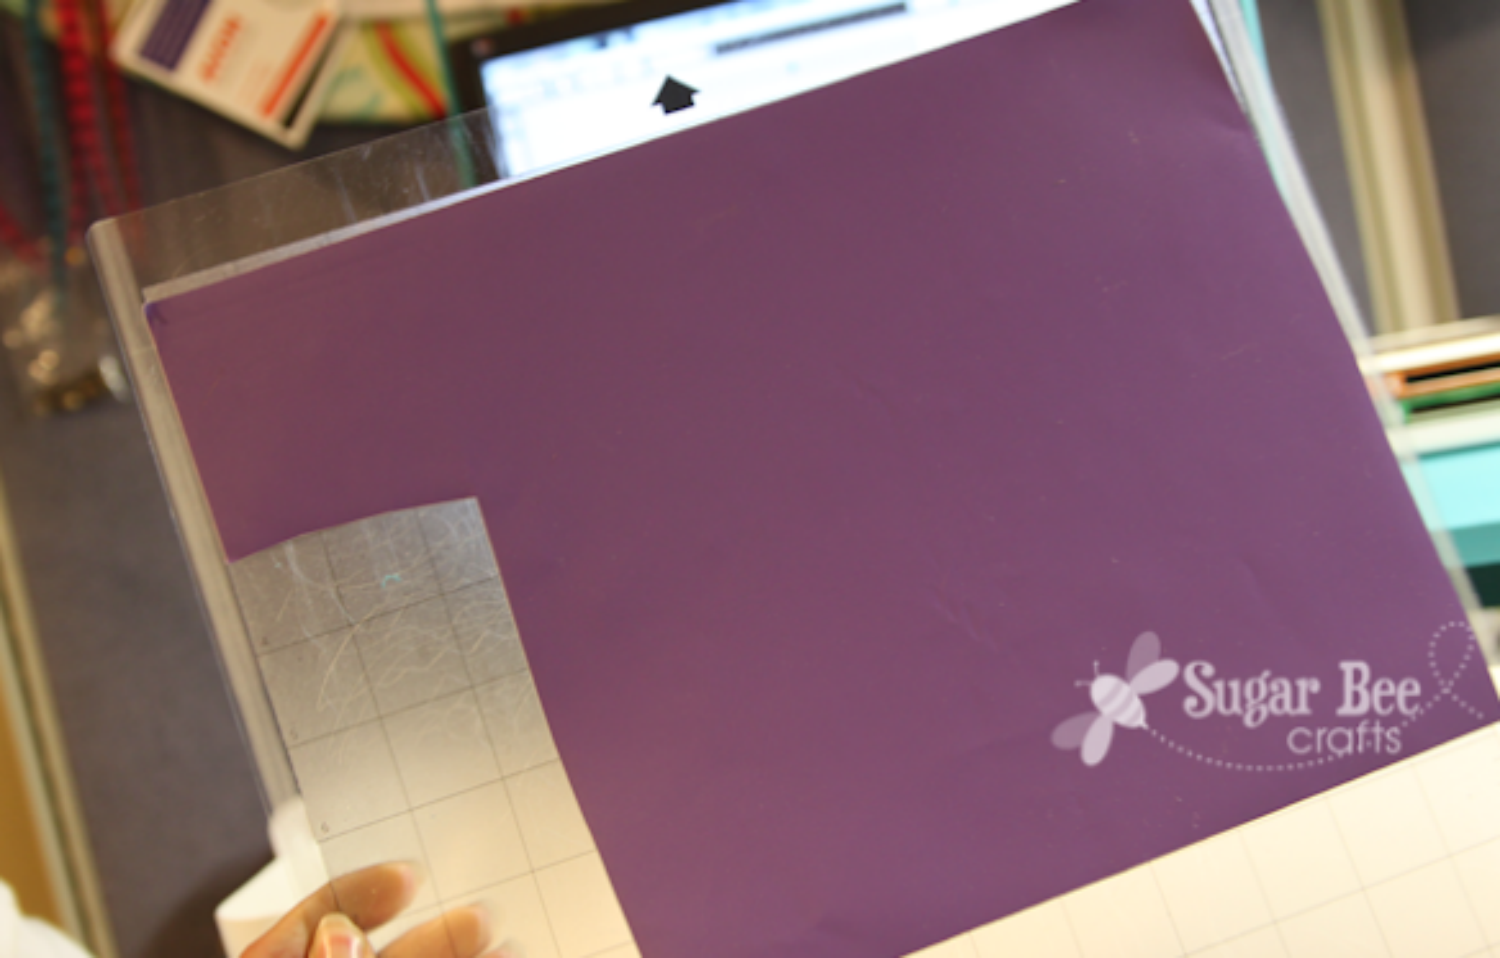
Why use grid lines?? They're awesome! I like to hoard little scraps of vinyl. With my grid lines on, I can see exactly where my design is going to be cut because it corresponds with the grid lines on my cutting mat. Then I place the little scrap right on the cutting mat in the correct spot and feed the mat in to my Cameo. Takes out the guess work. In the image above you can see that the word "Soar" covers the top three rows of squares. So I made sure my vinyl covered the top 3 rows of squares on the cutting mat, like so:
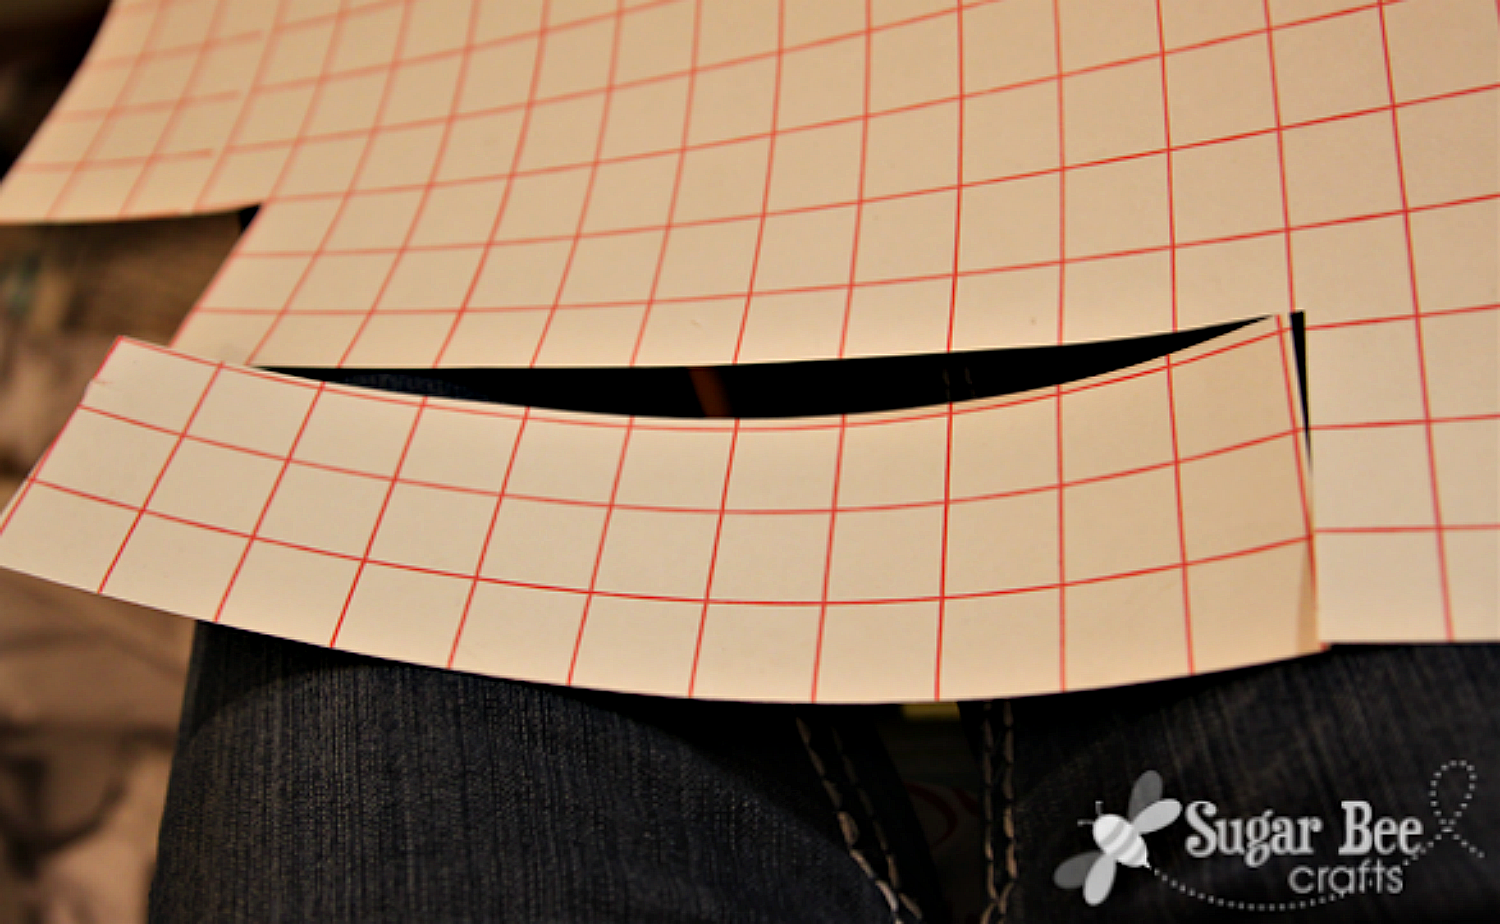
The genius part is not only that the design element matches the cutting mat, but also that the squares are measured on the 1 inch, so if you need a specific size you can easily measure it visually. And better yet, the transfer paper has the same grid printed on it. So I knew by looking that I needed a piece of transfer paper that was 3x12 squares, or inches. So I cut it to just the right size. Easy peasy!
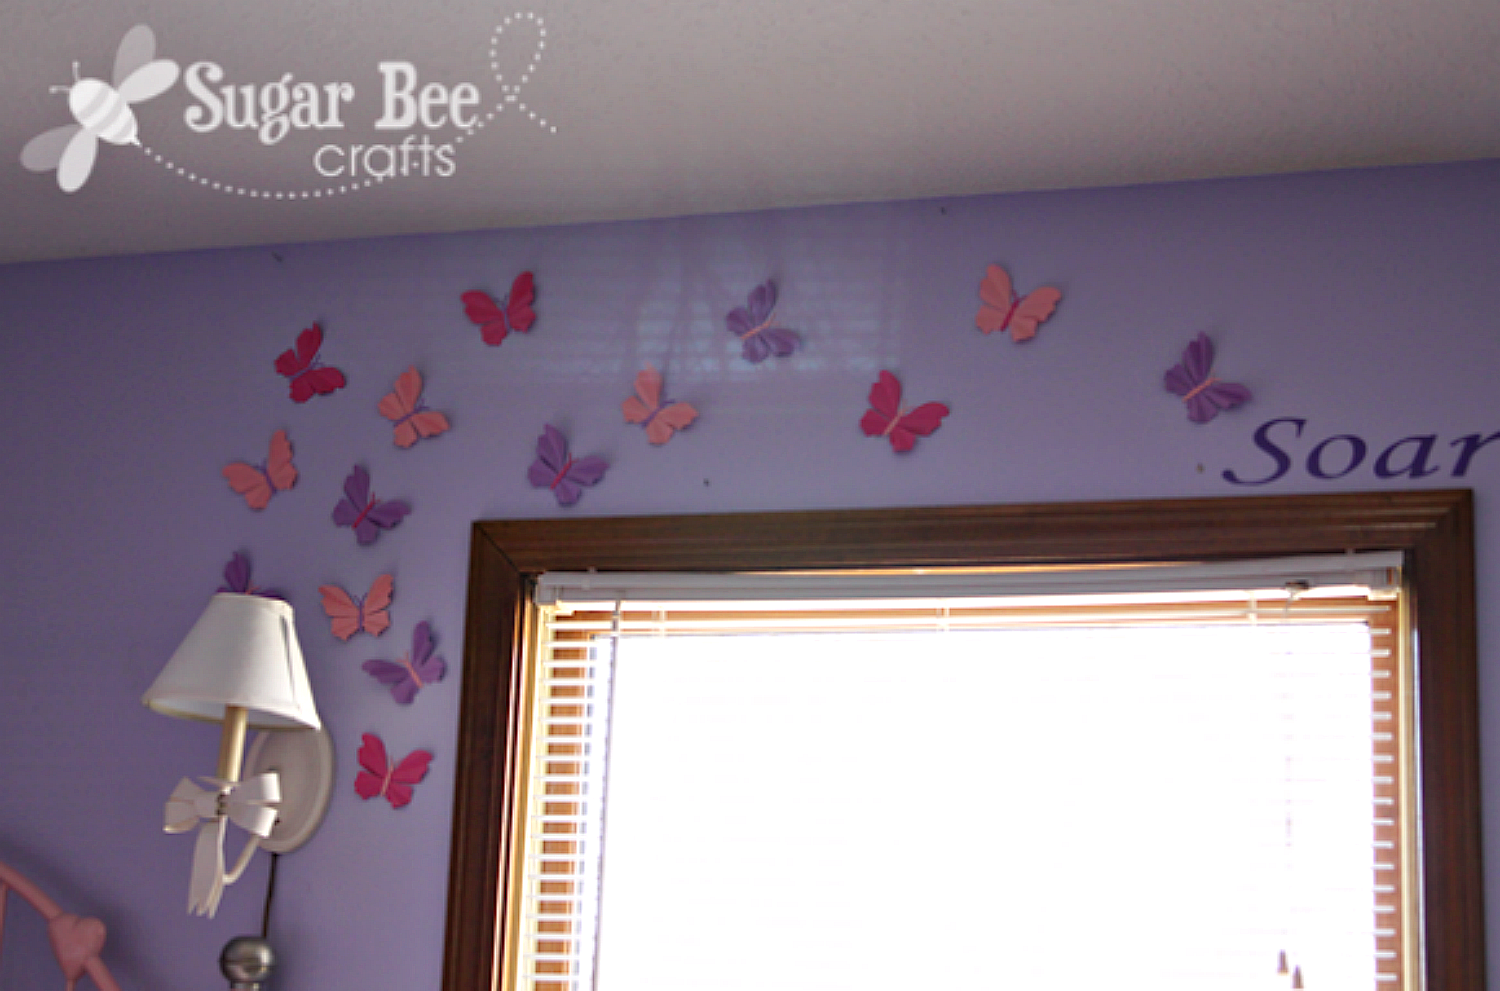
So if you've never "revealed your cutting mat" give it a try - you're going to love it!! I used this vinyl, "soar", in my girls' room with a bunch of butterflies, like so:
Recent Posts
-
NEW Holographic Eclipse Heat Transfer Vinyl
April 15th, 2024 3 Ways to Use the New Holographic Eclipse Heat Transfer Vinyl from Siser …Apr 29th 2024 -
Hop into Spring with Cute Easter Vinyl Crafts
Do you love our Vinyl? Sign up for Vinyl Club today to get FREE vinyl and save big! …Mar 28th 2024 -

Fixing Wrinkles and Bubbles in Vinyl
How do you get air bubbles out of vinyl? There are a few different ways to ensure a flawless …Mar 26th 2024