
Vinyl Lingo
Supplies
- Siser Weeding Tool
- Application Tool
- Transfer Tape
- Series 31 Marine Blue
- Series 51 Turquoise
- Live Life in Full Bloom by Sarah Hurley ID#194269 (Silhouette Store)
- Be Your Own Kind of Beautiful by Silhouette ID#196168
- Autumn in November by Dafont

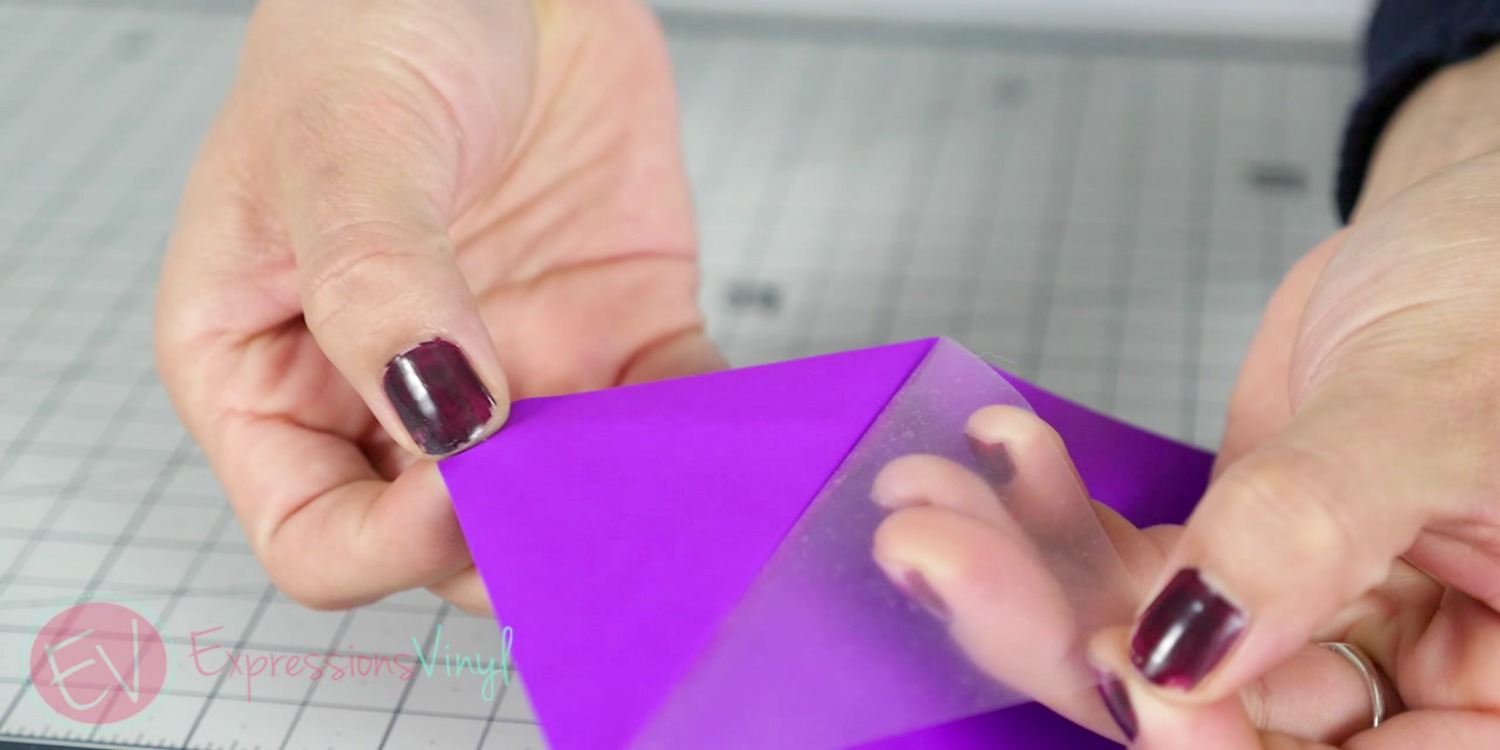
Hello! It’s Amy with expressionsvinyl.com and today I’m going to go over common “vinyl lingo” terms. Lets first talk about the basics of vinyl. There are two different types: heat transfer vinyl and adhesive. Heat transfer vinyl is also known as HTV or iron-on vinyl. It’s most commonly used for fabric related materials. Heat transfer vinyl comes with a side that has a carrier sheet (tolerates heat so it won’t melt) and the other side is the adhesive. The vinyl is in the middle. The adhesive is only activated when heat is applied.
Adhesive vinyl has a side that is the vinyl and the other side contains a paper backing with the adhesive in the middle. One way to tell the difference between heat transfer vinyl and adhesive is that HTV feels like plastic and adhesive vinyl feels more like paper.
HEAT TRANSFER VINYL (aka HTV and iron-on)

ADHESIVE VINYL

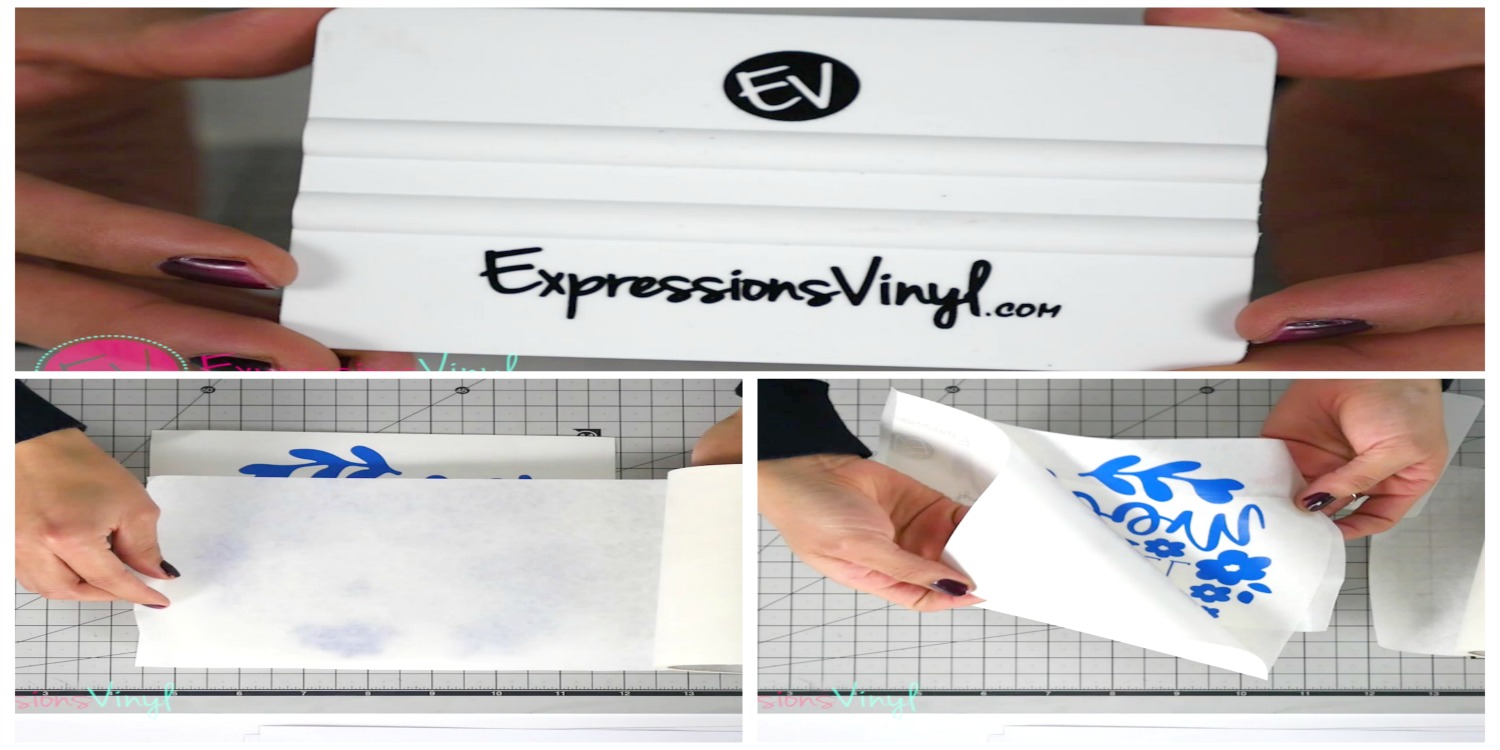
Now that we have the basics of vinyl, I’m going to cover common vinyl tool terms. Lets start with the application tool. This is also known as a squeegee or scraper. This handy tool helps apply pressure by helping the transfer tape adhere to the vinyl. A common term that comes with the application tool is burnish. Burnish basically is applying or rubbing the transfer tape with pressure to help the vinyl stick to a surface.

TRANSFER TAPE
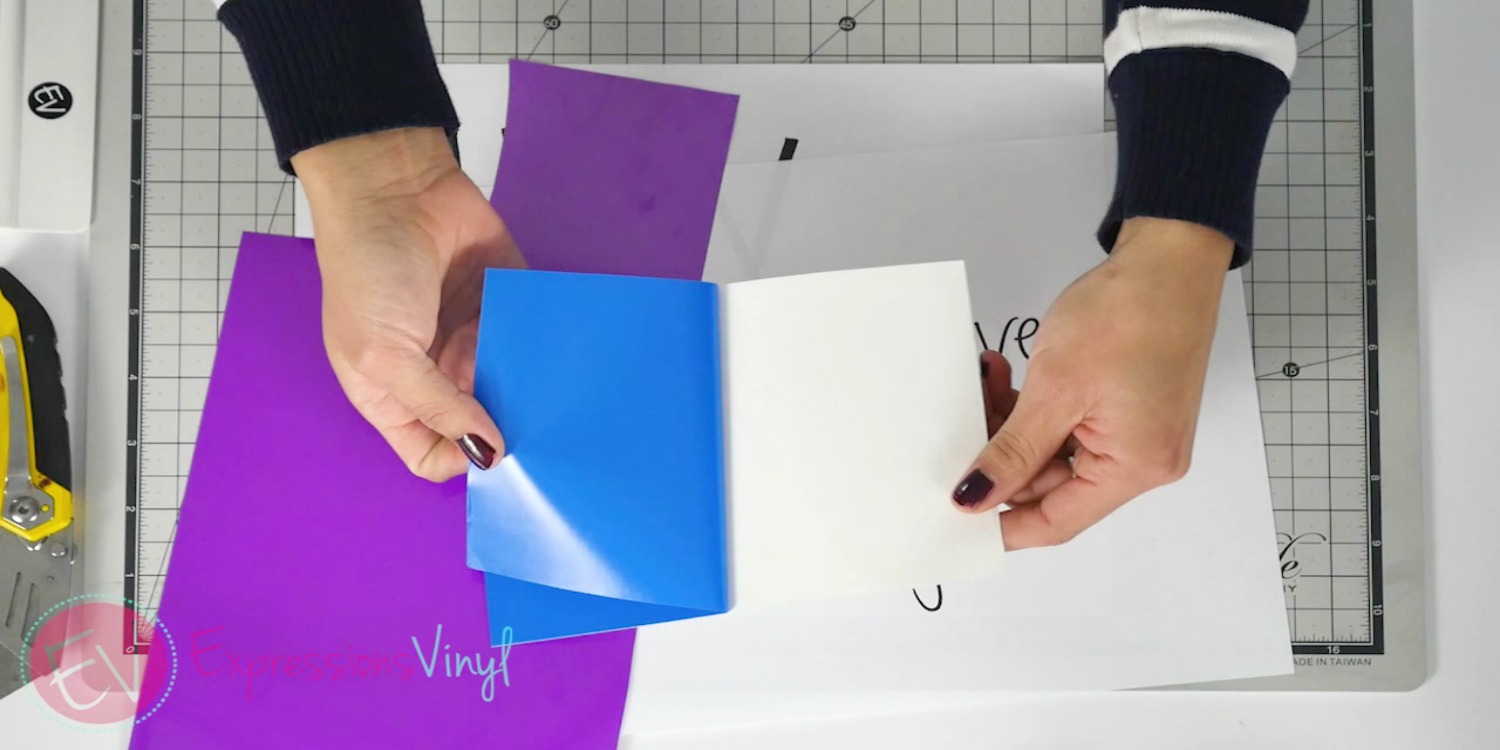
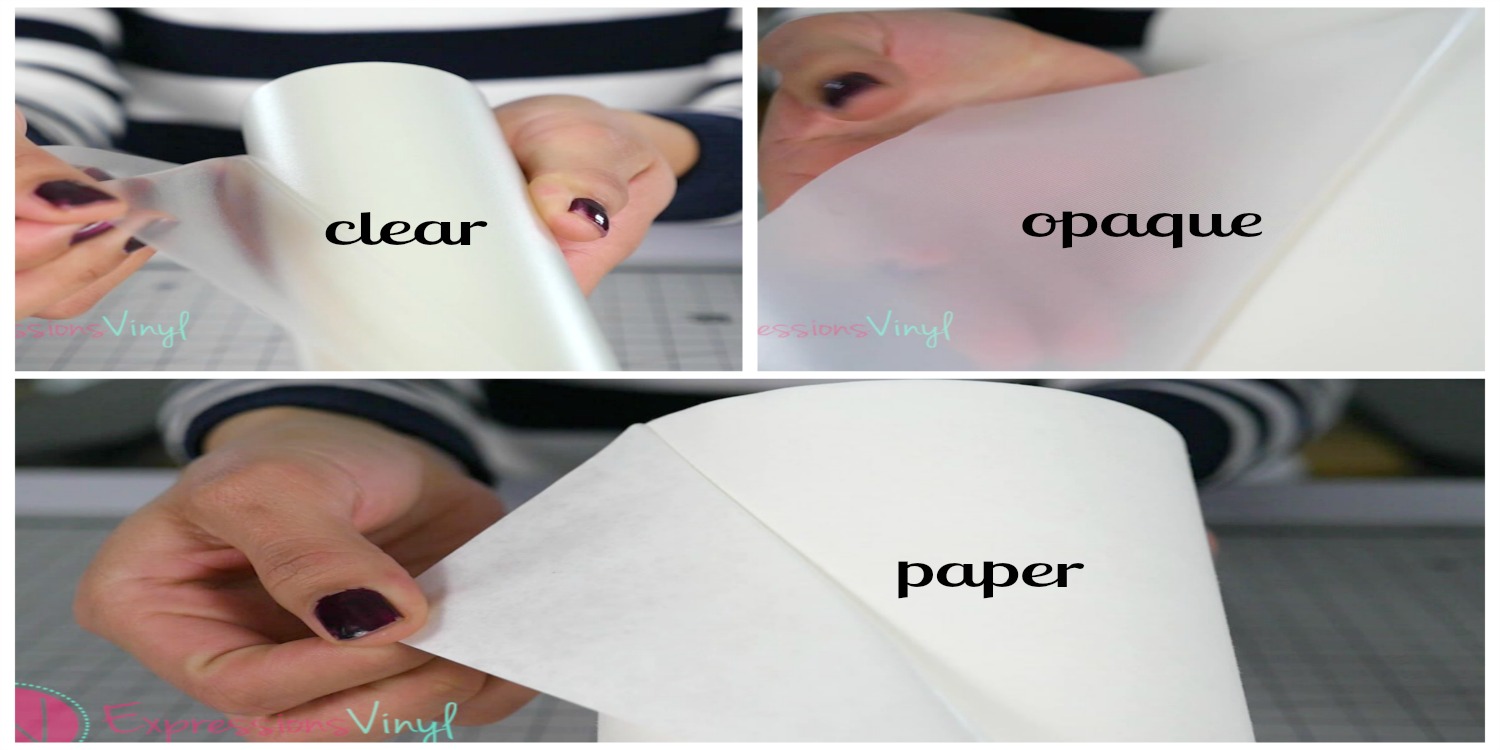
Then we have transfer tape. Transfer tapes comes in clear (or clear gridlined), opaque, and paper. They vary in texture and the purpose of transfer tape is to help transfer your vinyl designs from the backing paper to your project. And it is only needed when working with adhesive vinyl.
CUT SETTINGS
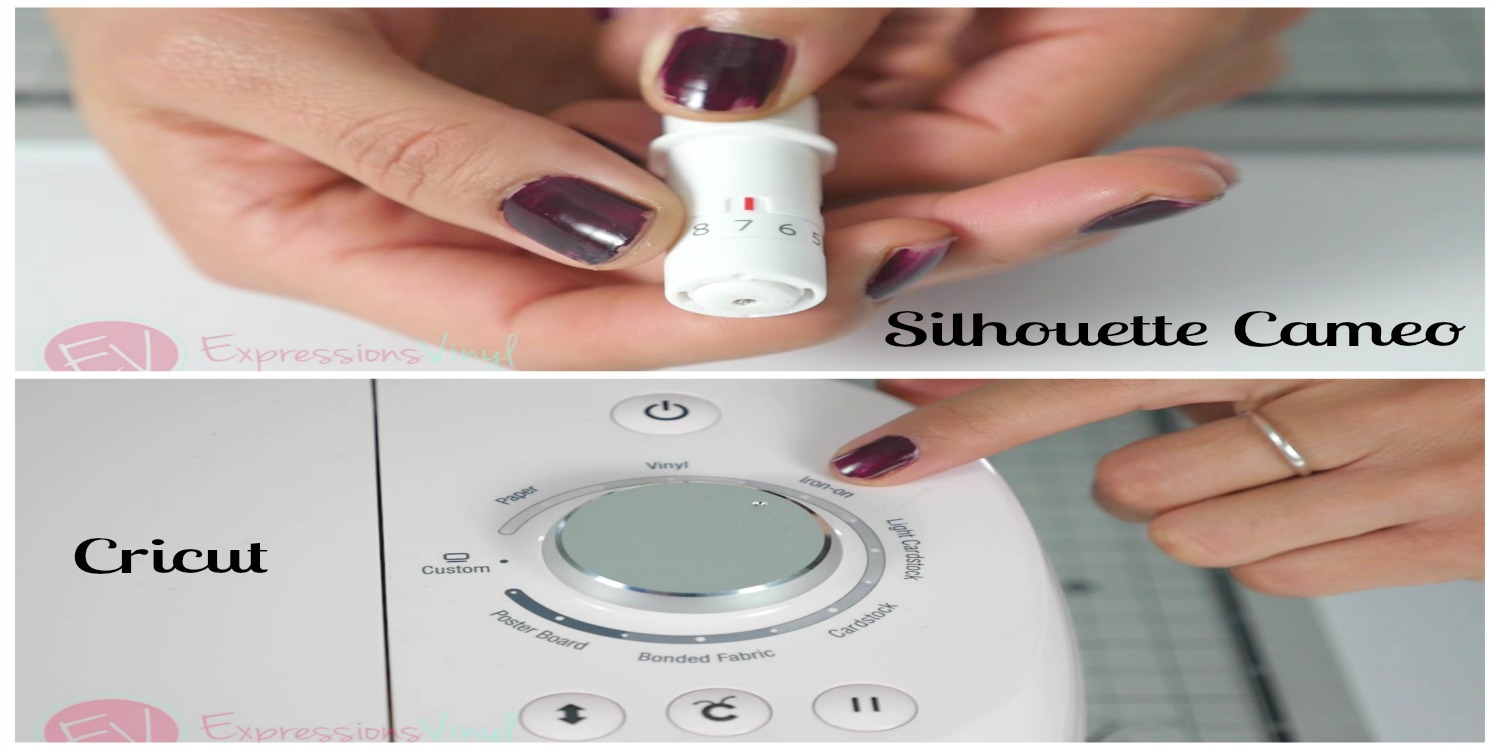
The next terms are grouped into cut settings. With Silhouette, it’s separated into three parts: blade, speed, and force/thickness. Blade is how far the blade is exposed. Speed is how fast the image is being cut. Force/thickness (depending on which version of Silhouette Studio you have) relates to how hard the blade is pressing down. It is not how thick the material is. All of these three go hand in hand with each other so make sure to follow our recommended cut settings for various vinyl. But most importantly… always do a test cut just because each machine varies slightly. With Cricut, follow their recommended dial settings. But you are able to adjust the blade, speed, and force/thickness under custom settings.

MIRROR
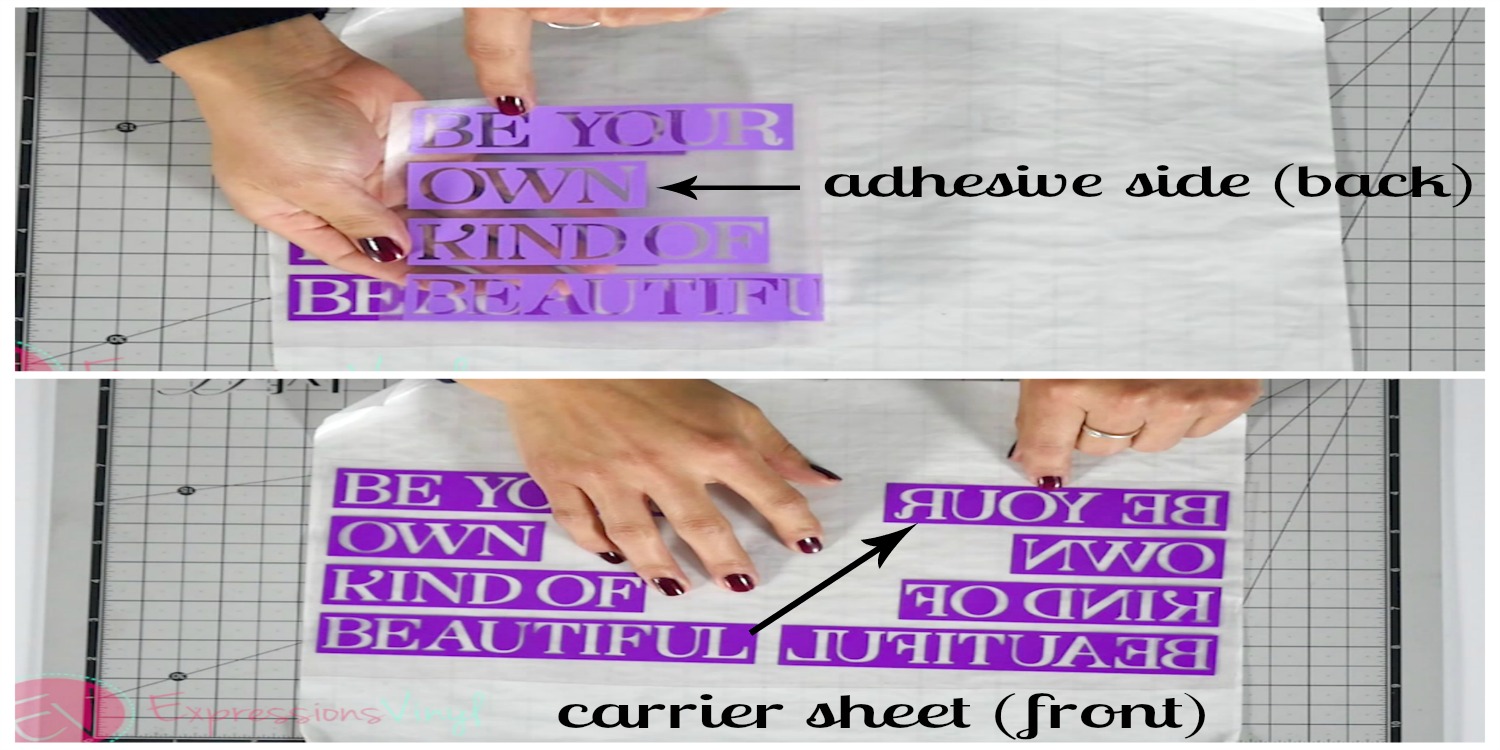
Now I’m going to talk about what it means to mirror. You may also hear it as flip or reverse. You only need to mirror your image when you are using heat transfer vinyl. With HTV, you are cutting from the adhesive side, which is considered the back piece of your vinyl. The carrier sheet would be the front. So mirroring will make your image appear correctly when it is cut and applied onto your material.
This is an example of an image that was not mirrored. You can see that when I finished weeding from the adhesive side, it looks correctly but when I flip it to the front (carrier sheet) side, it actually appears backwards.

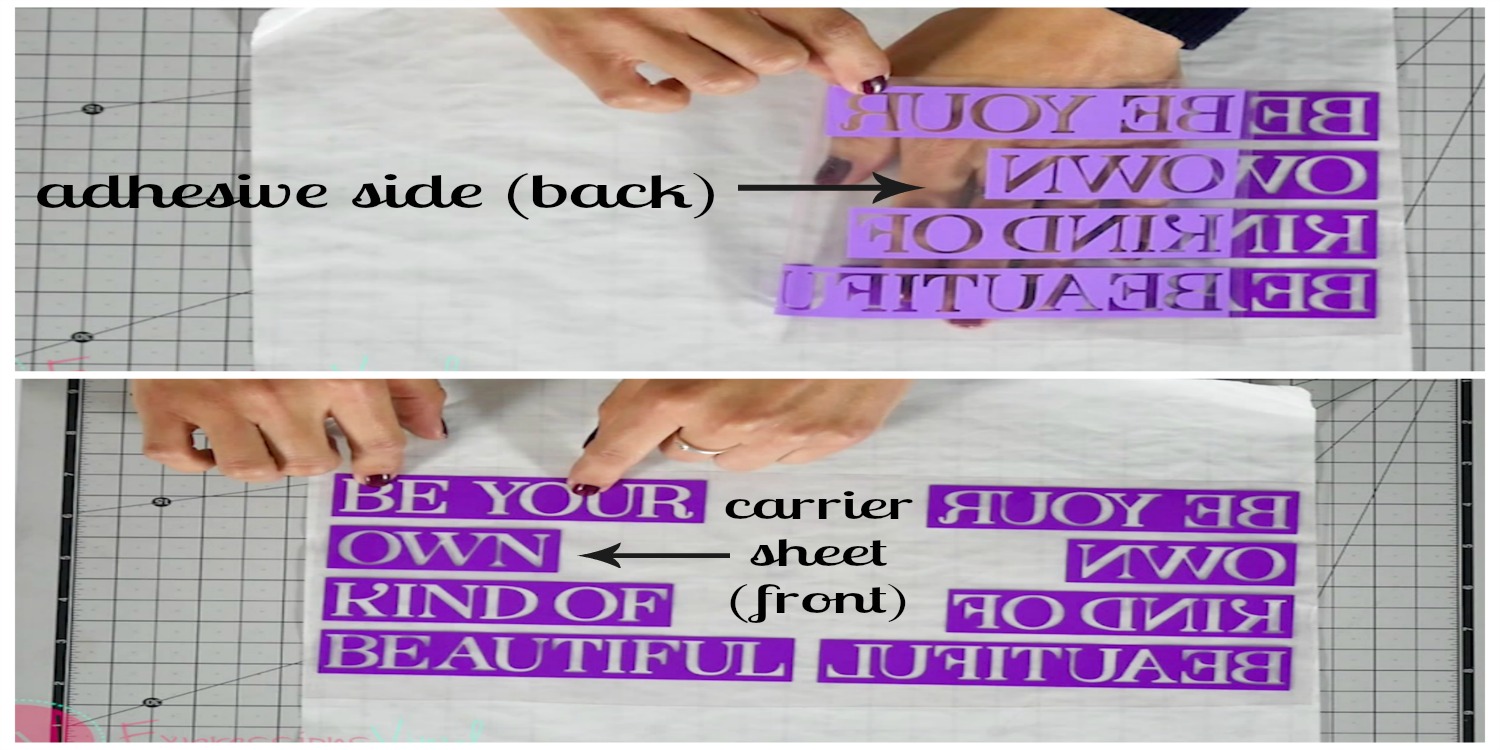
This next example is when I mirrored my image. Once I finished weeding from the adhesive side, my image looks backwards but when I flip it over to the font (carrier sheet) side it reads correctly. That’s just what we want!

KISS CUT
You do a kiss cut 99.9% of the time without knowing it. A kiss cut means only cutting through the first layer aka the vinyl layer. You do not cut through the vinyl and paper backing. You need the paper backing to apply transfer tape so it can keep all the vinyl pieces together before the paper backing is removed. The image below shows that only the vinyl was cut through.

WEEDING
Now we come to weeding. What does weeding mean? Basically, it’s the process of removing unwanted vinyl or negative space from your image. Its how you get rid of the excess vinyl.
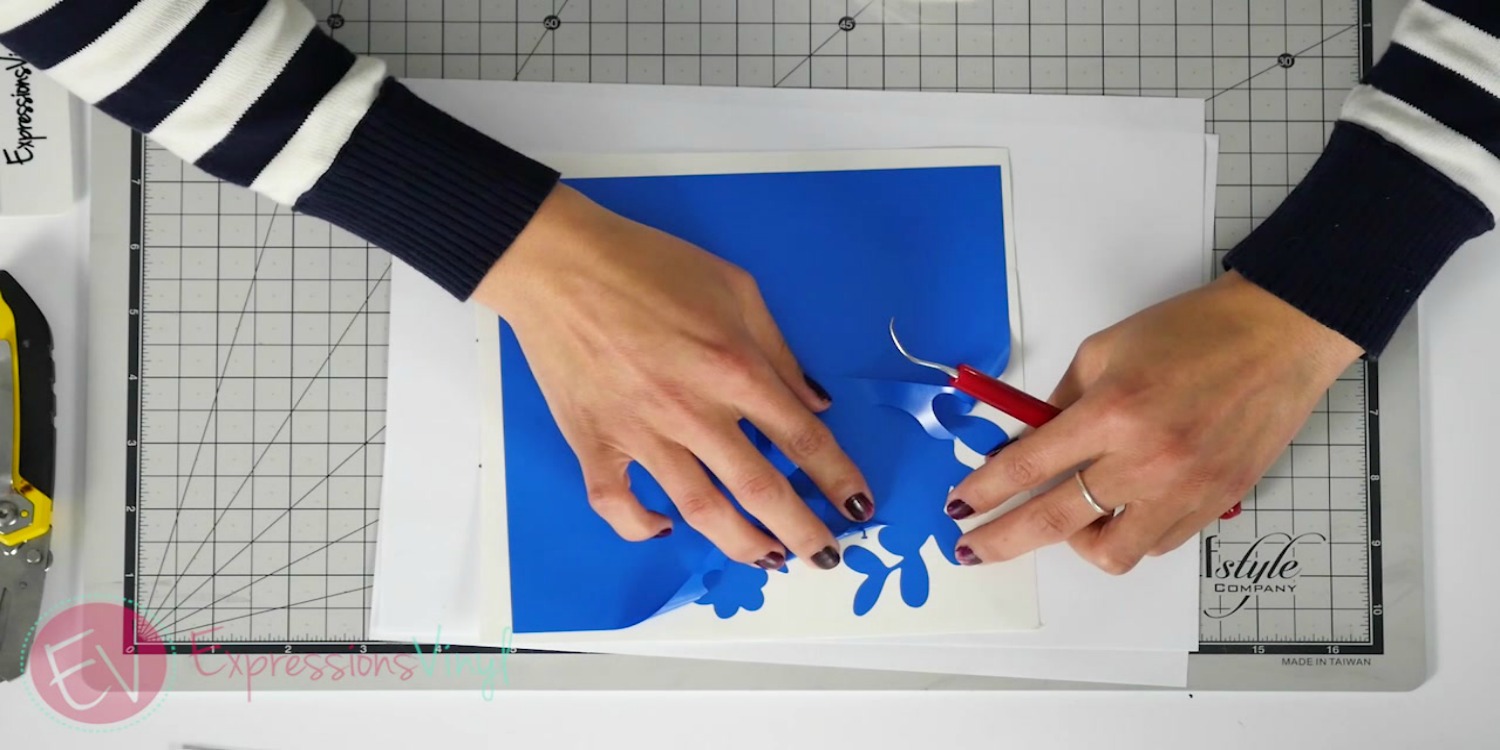

WEEDING TOOL
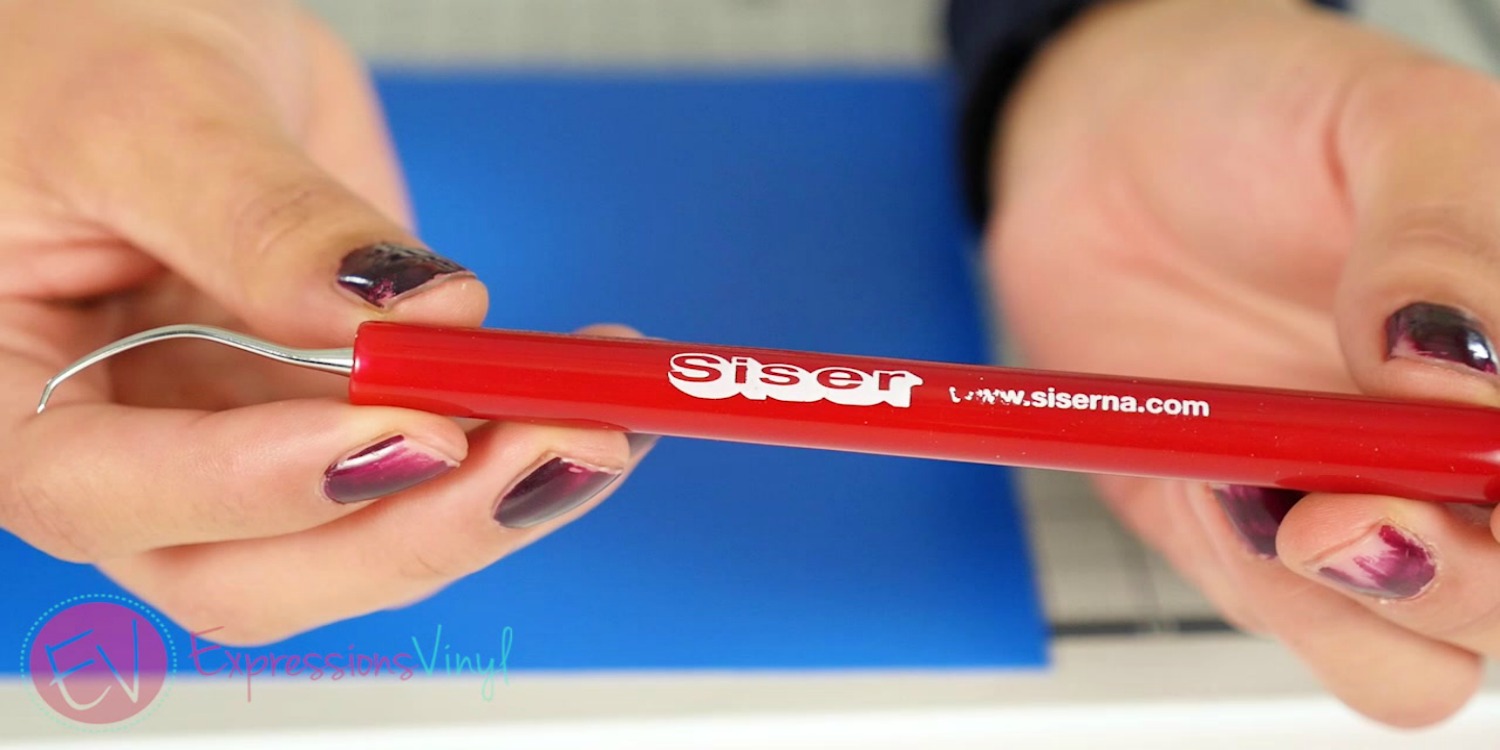
A hook tool is used to remove unwanted vinyl or negative space once your image is finished cutting. There are various forms of weeding tools. The one I always use is the Siser Weeding Tool. It has a sharp curved hook that easily grasps the vinyl. I love it!

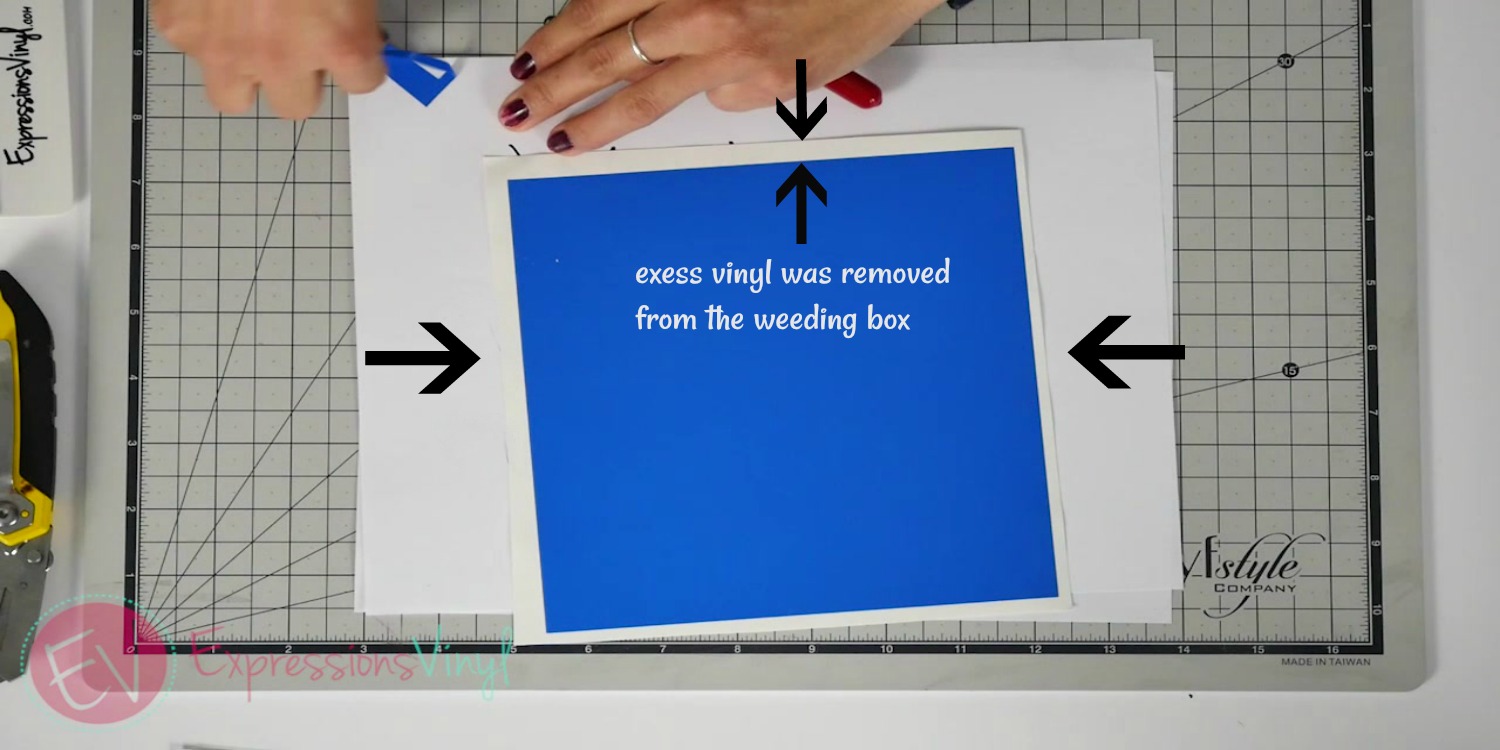
WEEDING BOX
A weeding box is used as a guide during the weeding process. It is simply a rectangular box that surrounds your image. You can make a weeding box from the shapes button both on Cricut and silhouette. This also helps reduce wasting vinyl.

WELD
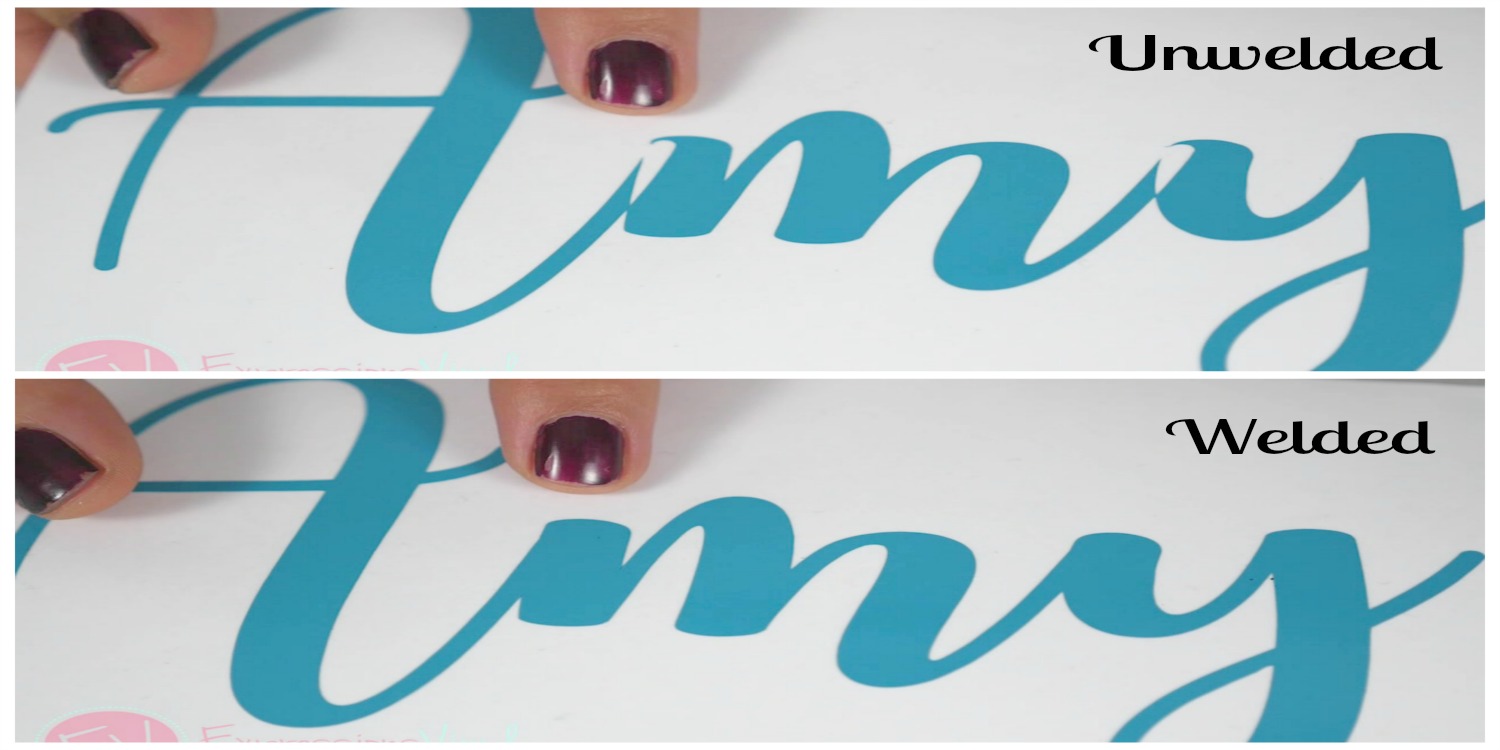
The next vinyl word is weld! Letters are common when it comes to using the weld button. Looking at this font, the top picture shows that when I typed out Amy, some letters over lapped to the next creating extra cut lines. By not welding, you end up weeding out those cut lines leaving you with empty spaces. The bottom picture shows that welding gets rid of those empty spaces by creates a single cut line. So, welding joins shapes and letters into one solid image.
Unwelding and welding with letters. This font is called "Autumn in November" from Dafont.
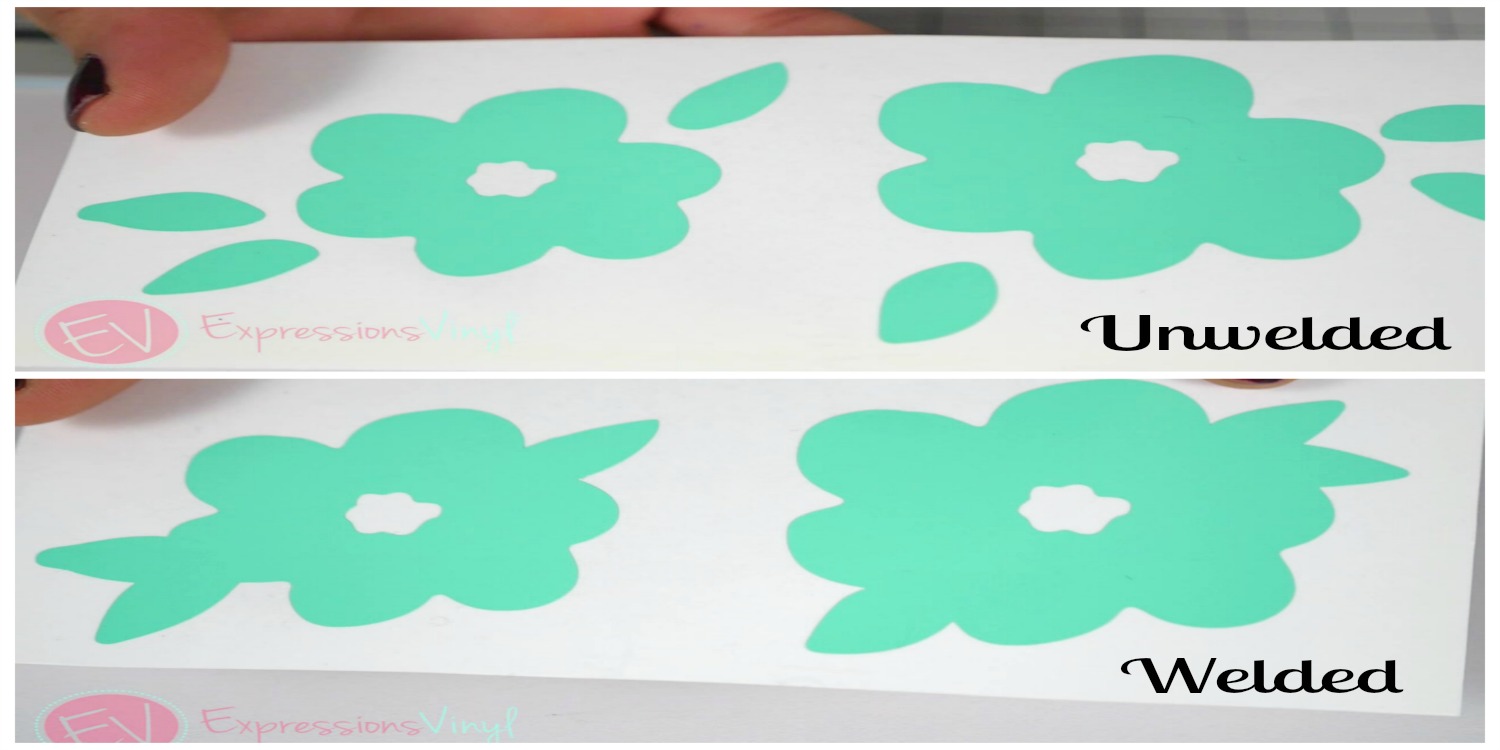
Unwelded and welded with images such as these flowers and leaves.

And there you have it! Some commonly used vinyl terms. If you are wanting a deeper understanding of these terms or have other vinyl words that don’t make sense, make sure to leave us a comment. Till next time!

Recent Posts
-
NEW Holographic Eclipse Heat Transfer Vinyl
April 15th, 2024 3 Ways to Use the New Holographic Eclipse Heat Transfer Vinyl from Siser …Apr 29th 2024 -
Hop into Spring with Cute Easter Vinyl Crafts
Do you love our Vinyl? Sign up for Vinyl Club today to get FREE vinyl and save big! …Mar 28th 2024 -

Fixing Wrinkles and Bubbles in Vinyl
How do you get air bubbles out of vinyl? There are a few different ways to ensure a flawless …Mar 26th 2024