

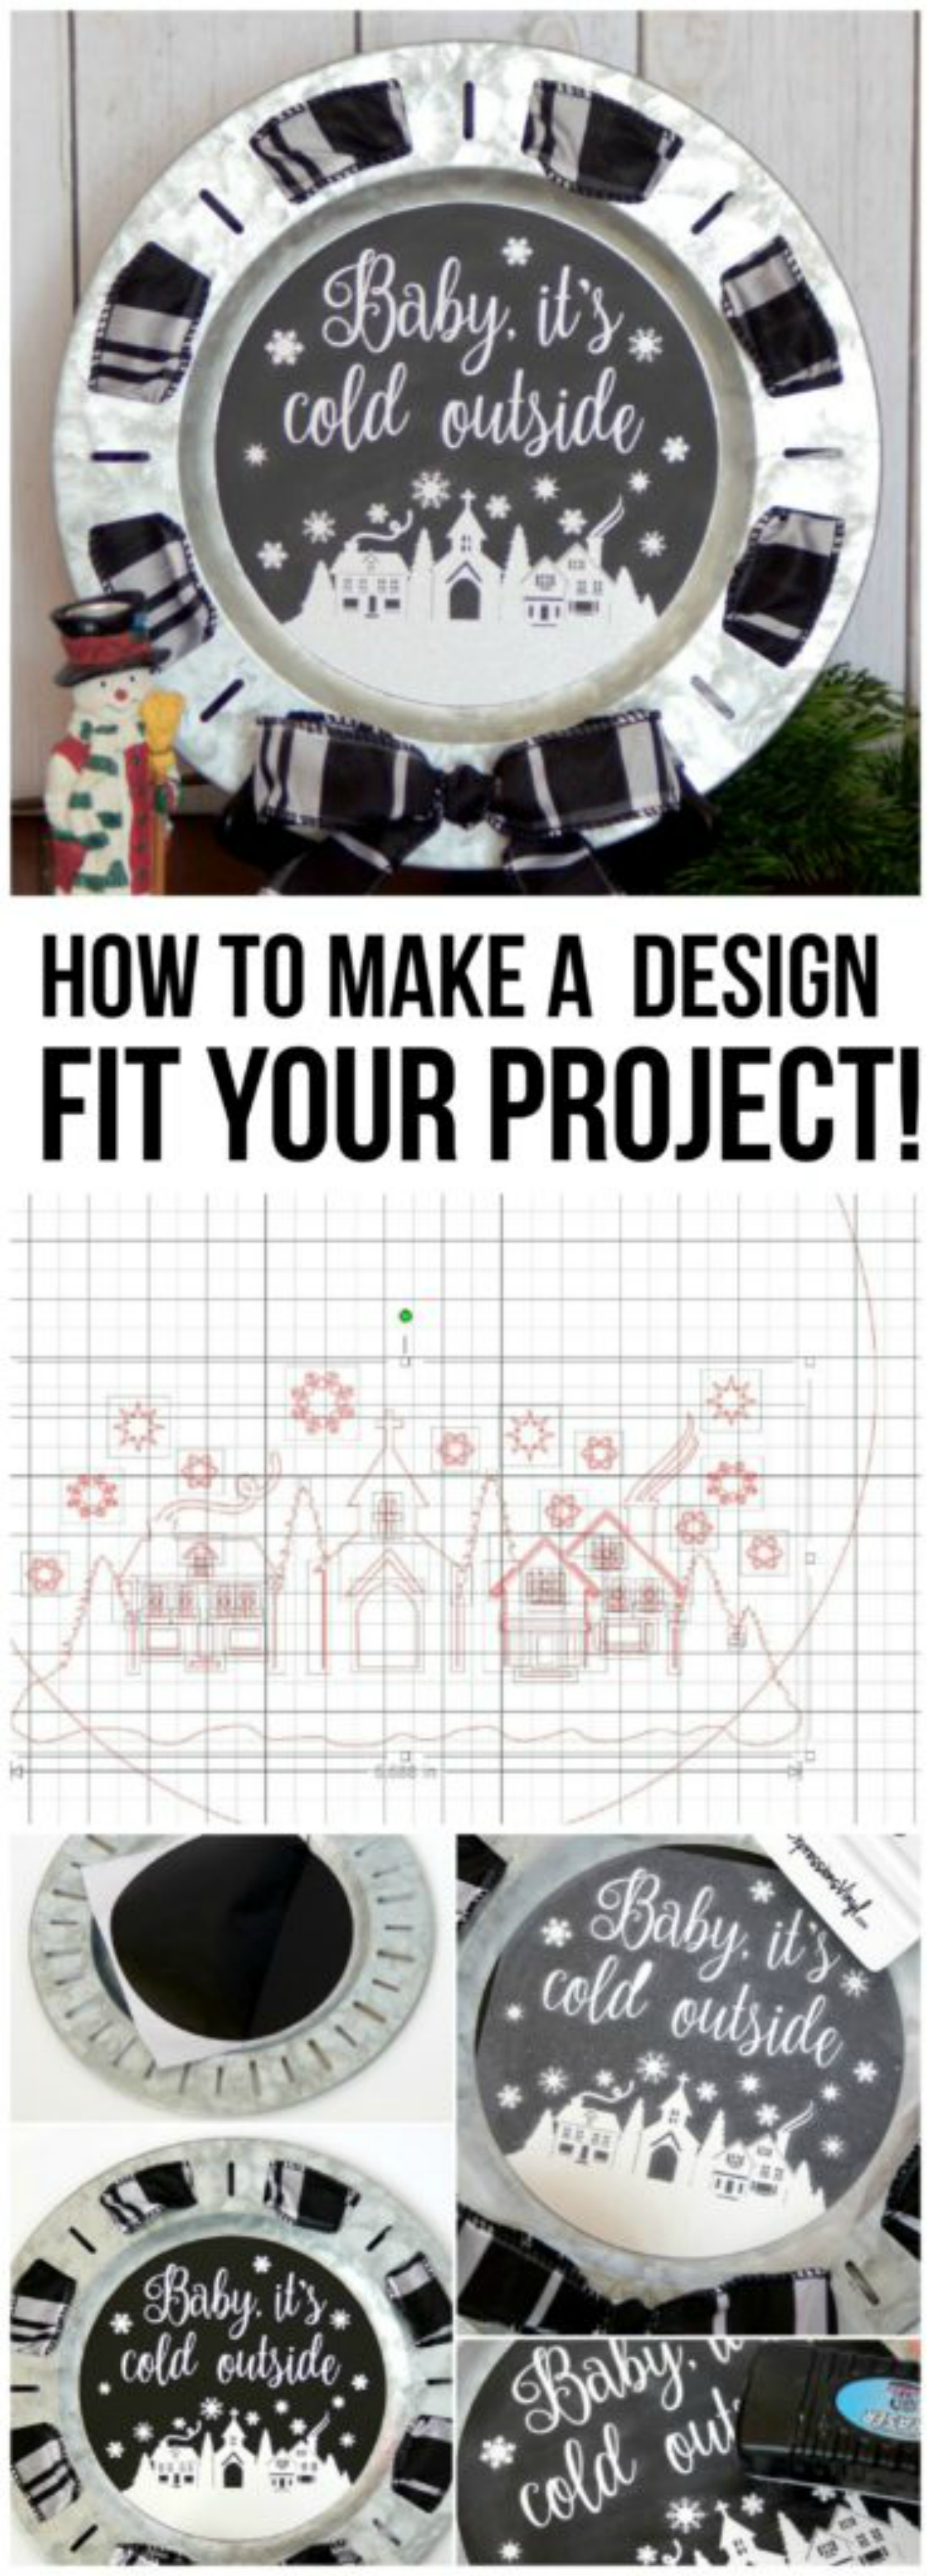
How to adjust a design to fit your project
Hello, hello! It's Michele from The Scrap Shoppe, and today I'm sharing one way I beat the post Christmas blues. Tell me I'm not alone in getting so sad when the Christmas decor comes down. The house feels so empty! I like to make up for it by staying partially decorated... with winter decor! So a fun winter chalkboard platter was in order.
I've included some details instructions so you can easily make something similar yourself.
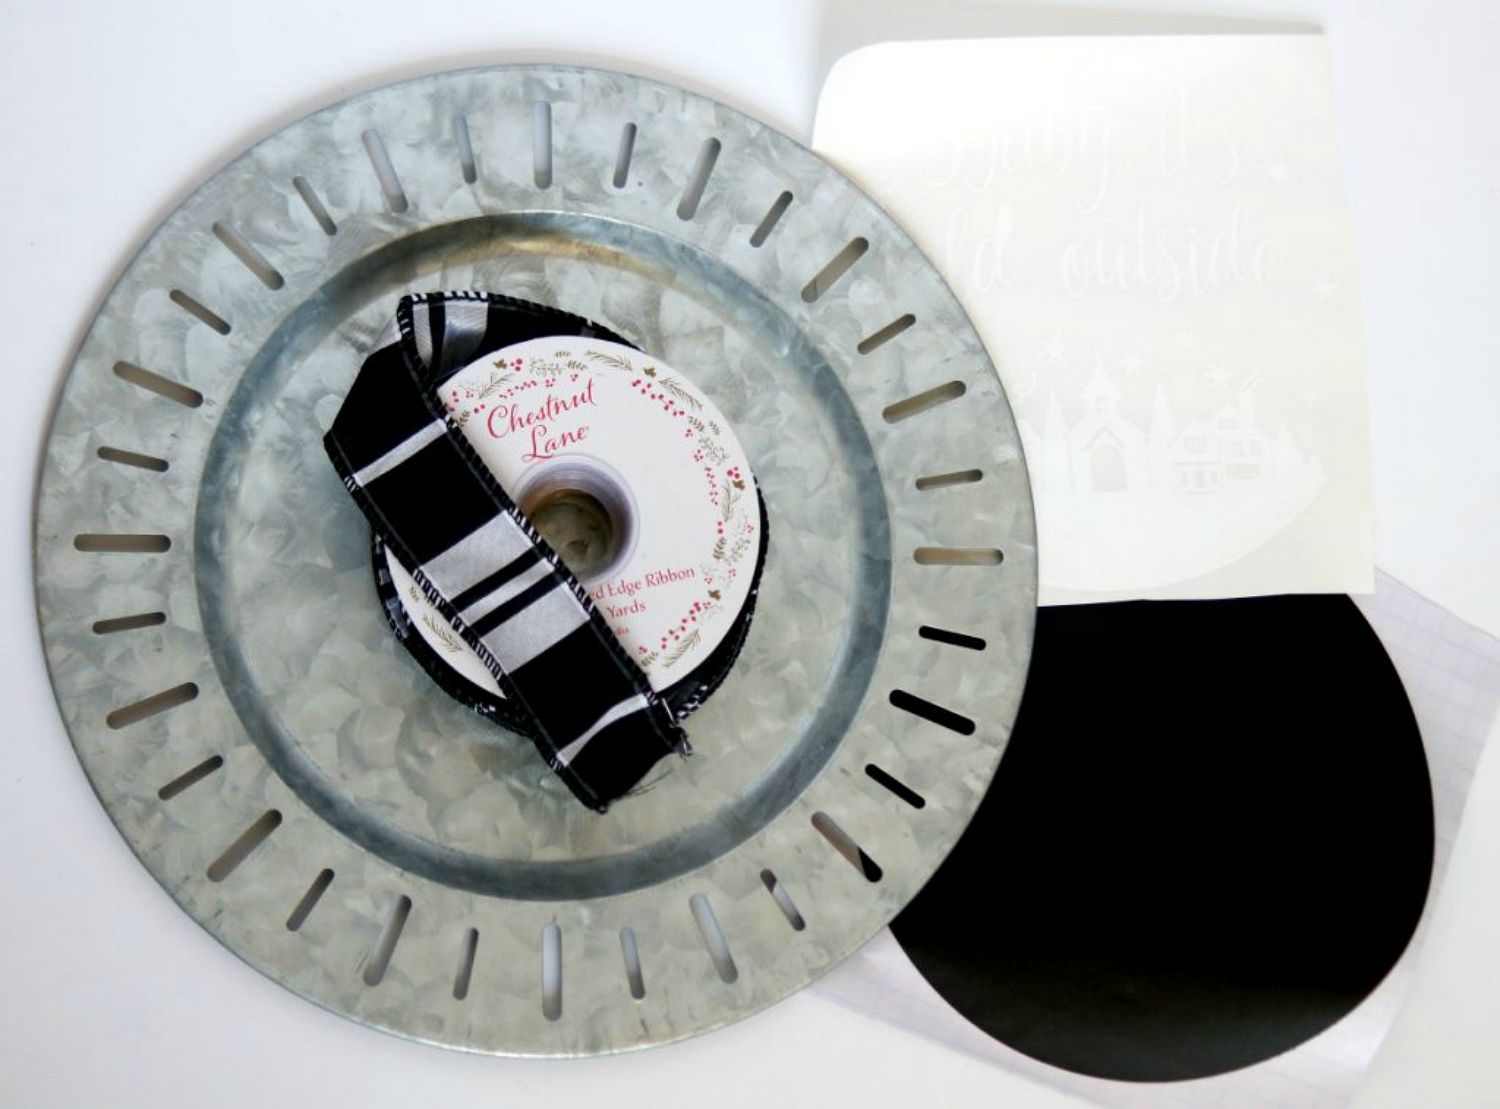
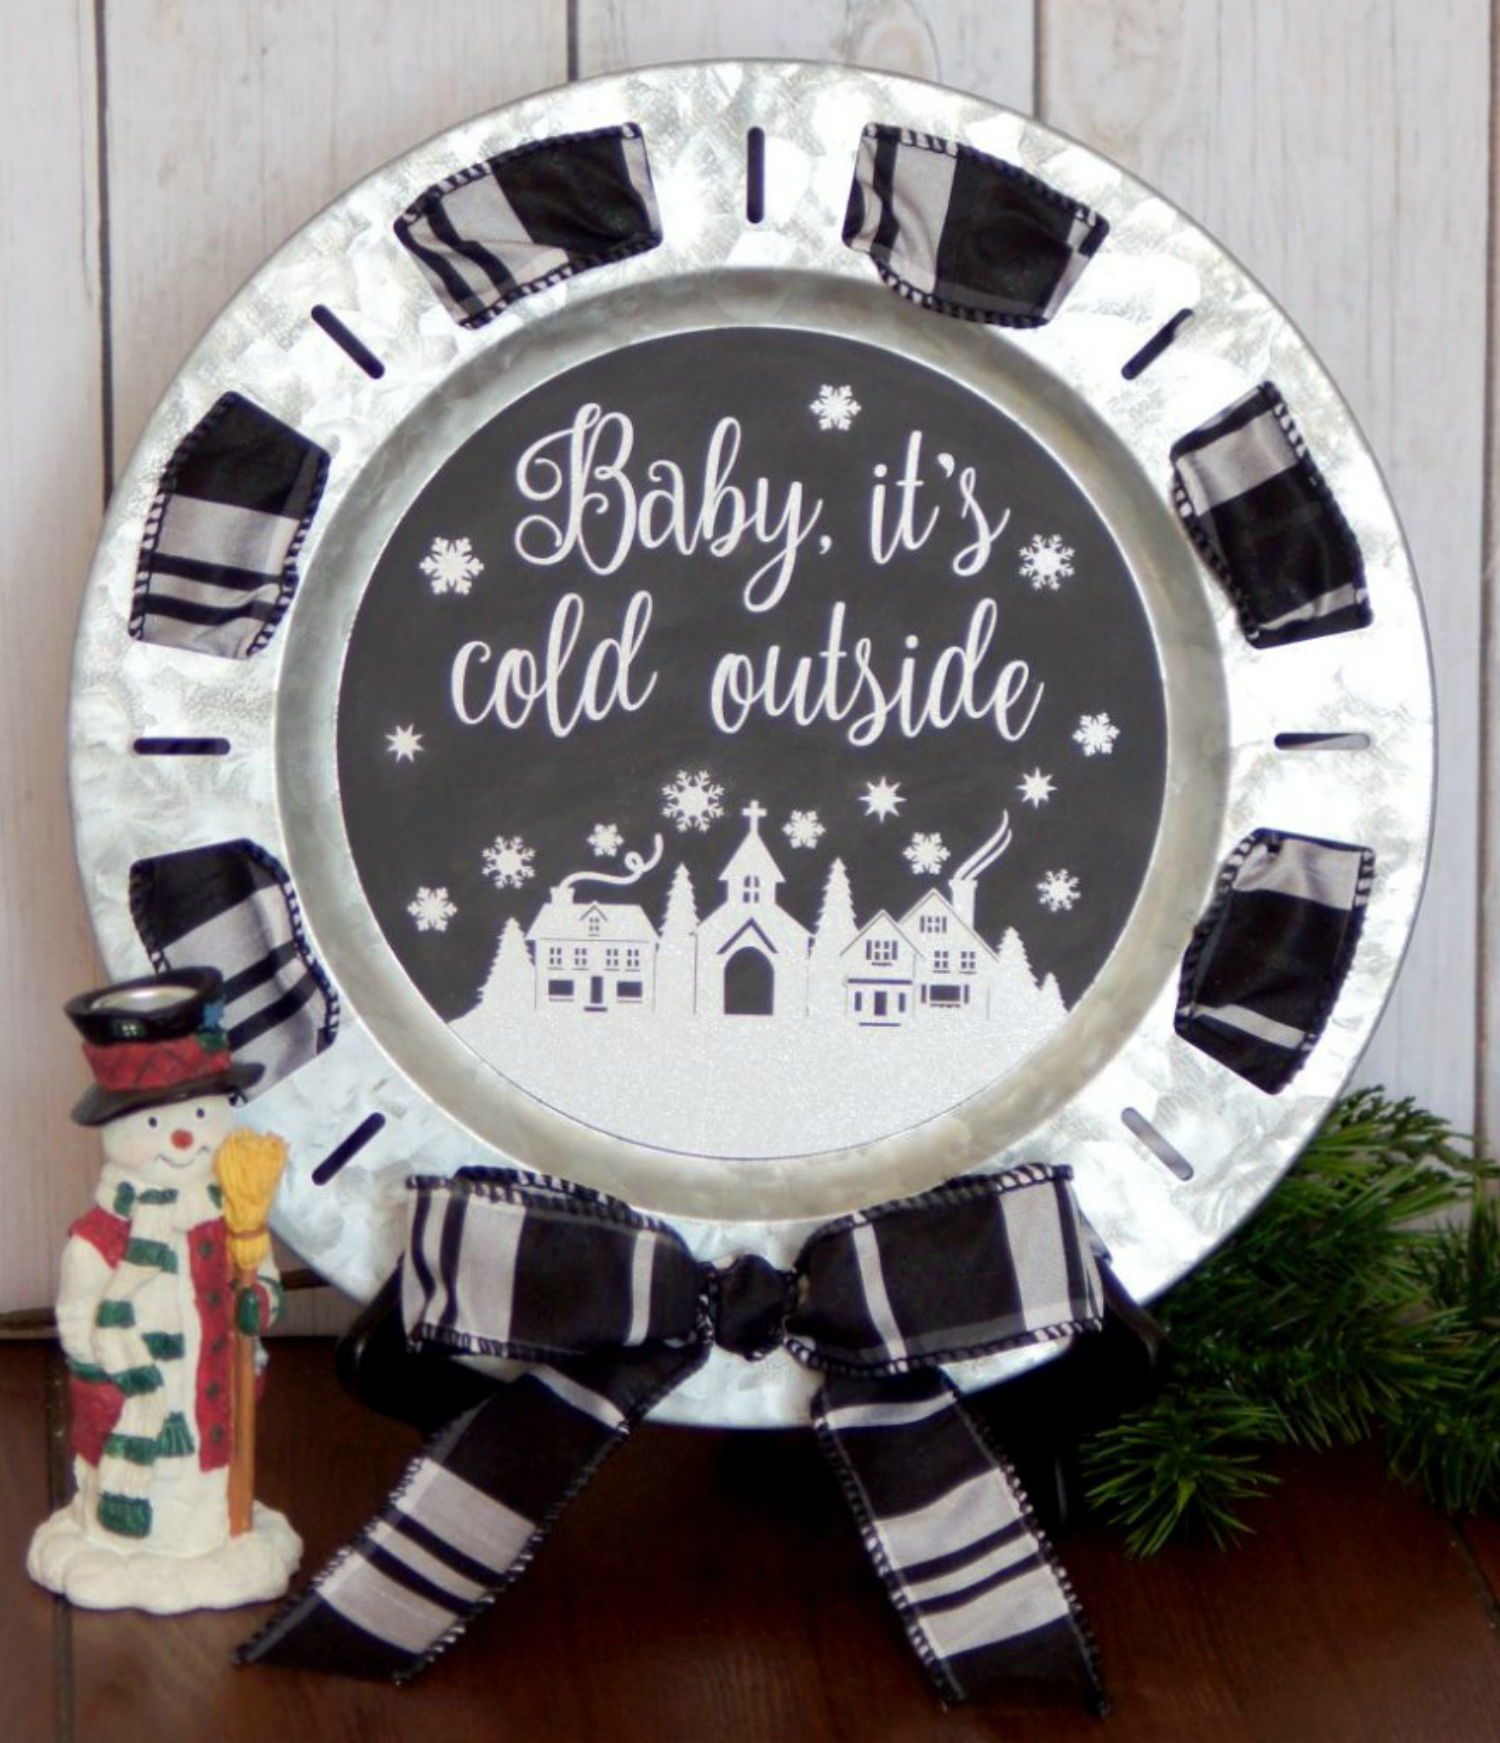
I found this awesome metal platter at Joann's. I'm pairing it with some black and white ribbon, chalkboard vinyl, and white glitter vinyl.
I love sharing Silhouette images with you guys, but this time I used one from the Silhouette library rather than one I designed myself. So, instead, I'm going to show you how to use that image to create this design, but you can use the technique on any image you choose to use.
I used the "Christmas town snow scene" from the Silhouette library. It's absolutely gorgeous with lots of detail and only $.99. Totally worth the purchase!
First, measure the inner diameter of the platter then draw a circle in the Silhouette software the same size. Use this circle to cut out the chalkboard vinyl.
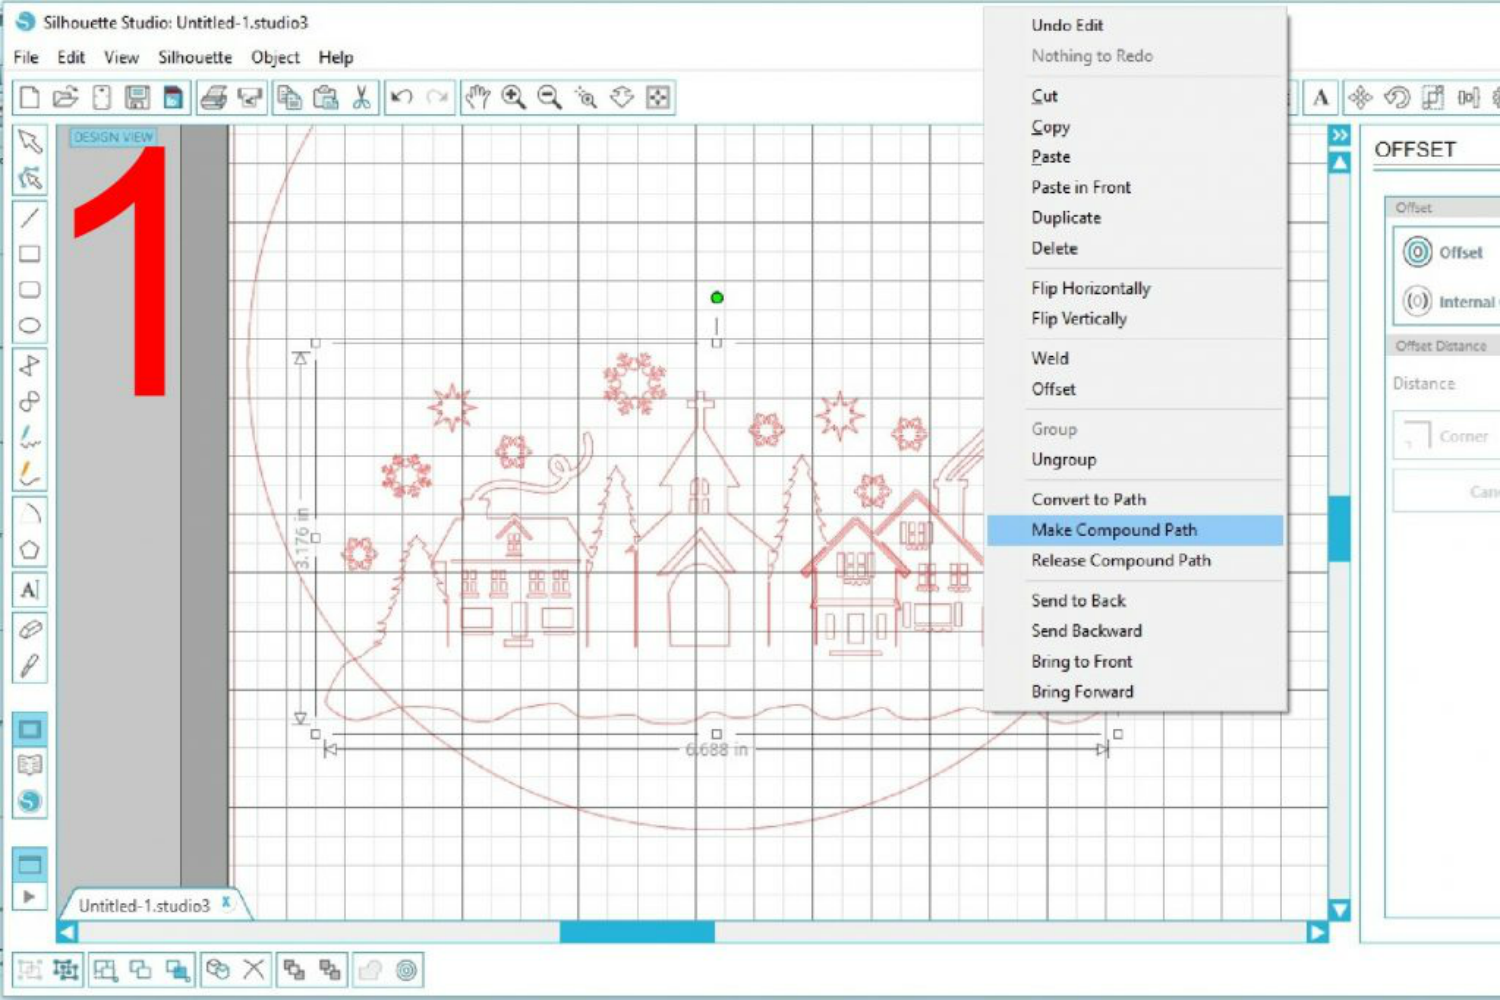
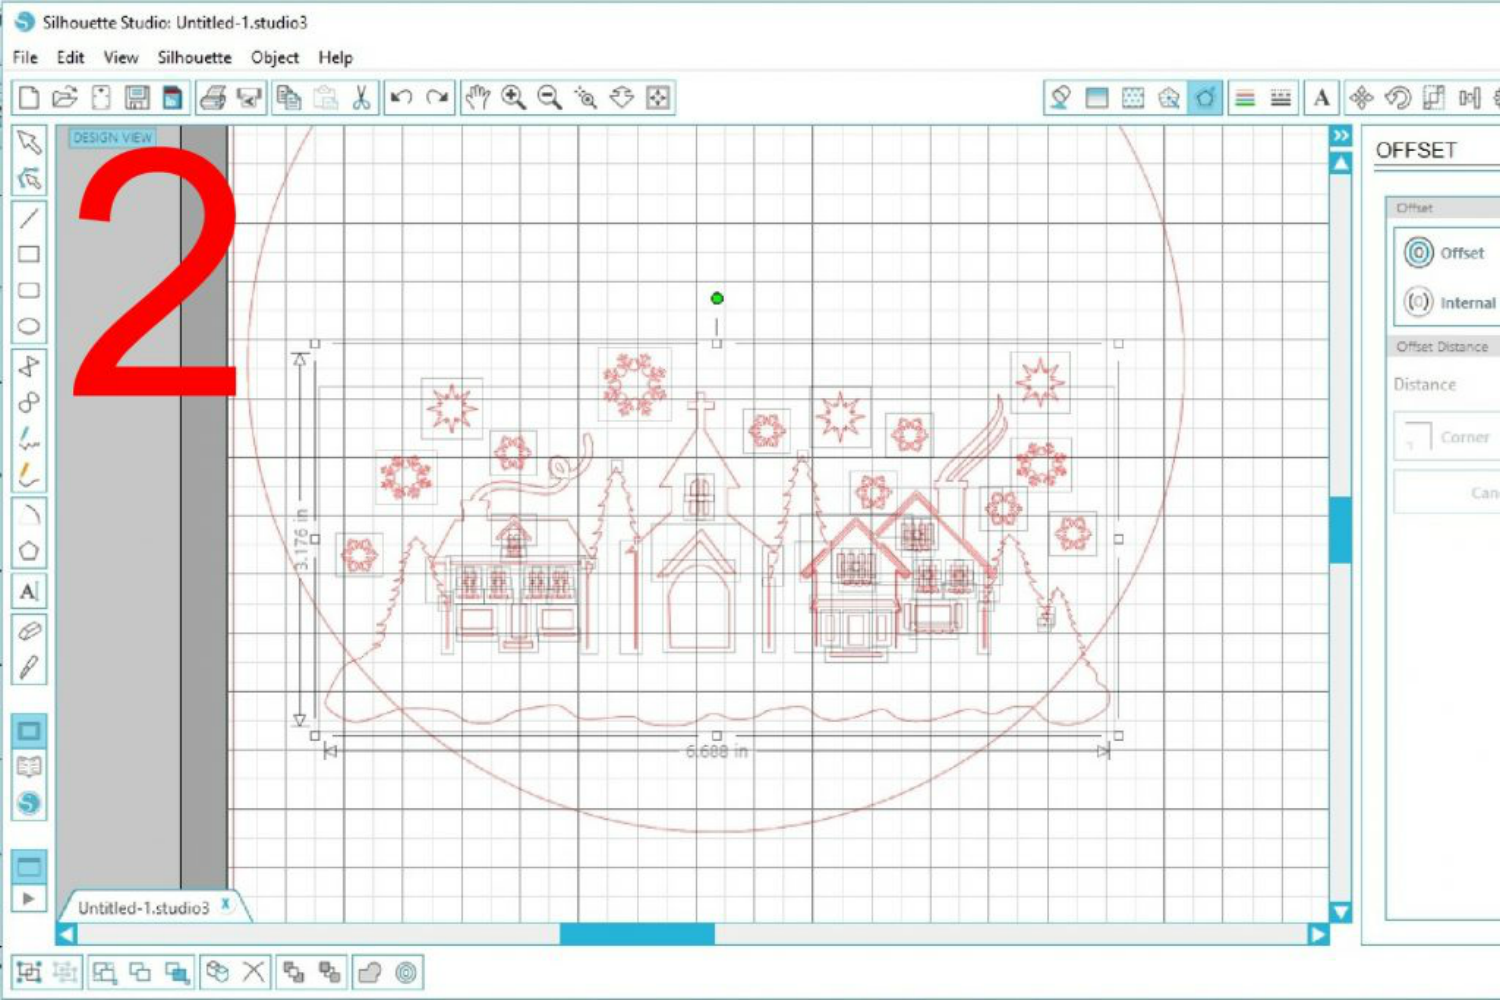
1. Once the chalkboard vinyl is cut, use the circle to alter the snow scene. Open the newly downloaded image and overlap it on the circle where you want it to go. All of the little details of the snow scene are linked together.
While the image is selected, separate the image by right clicking on the mousepad and selecting "MAKE COMPOUND PATH."
Immediately right click again and select "RELEASE COMPOUND PATH."
2. When the compound path is released, the town scene is now separated into multiple images.
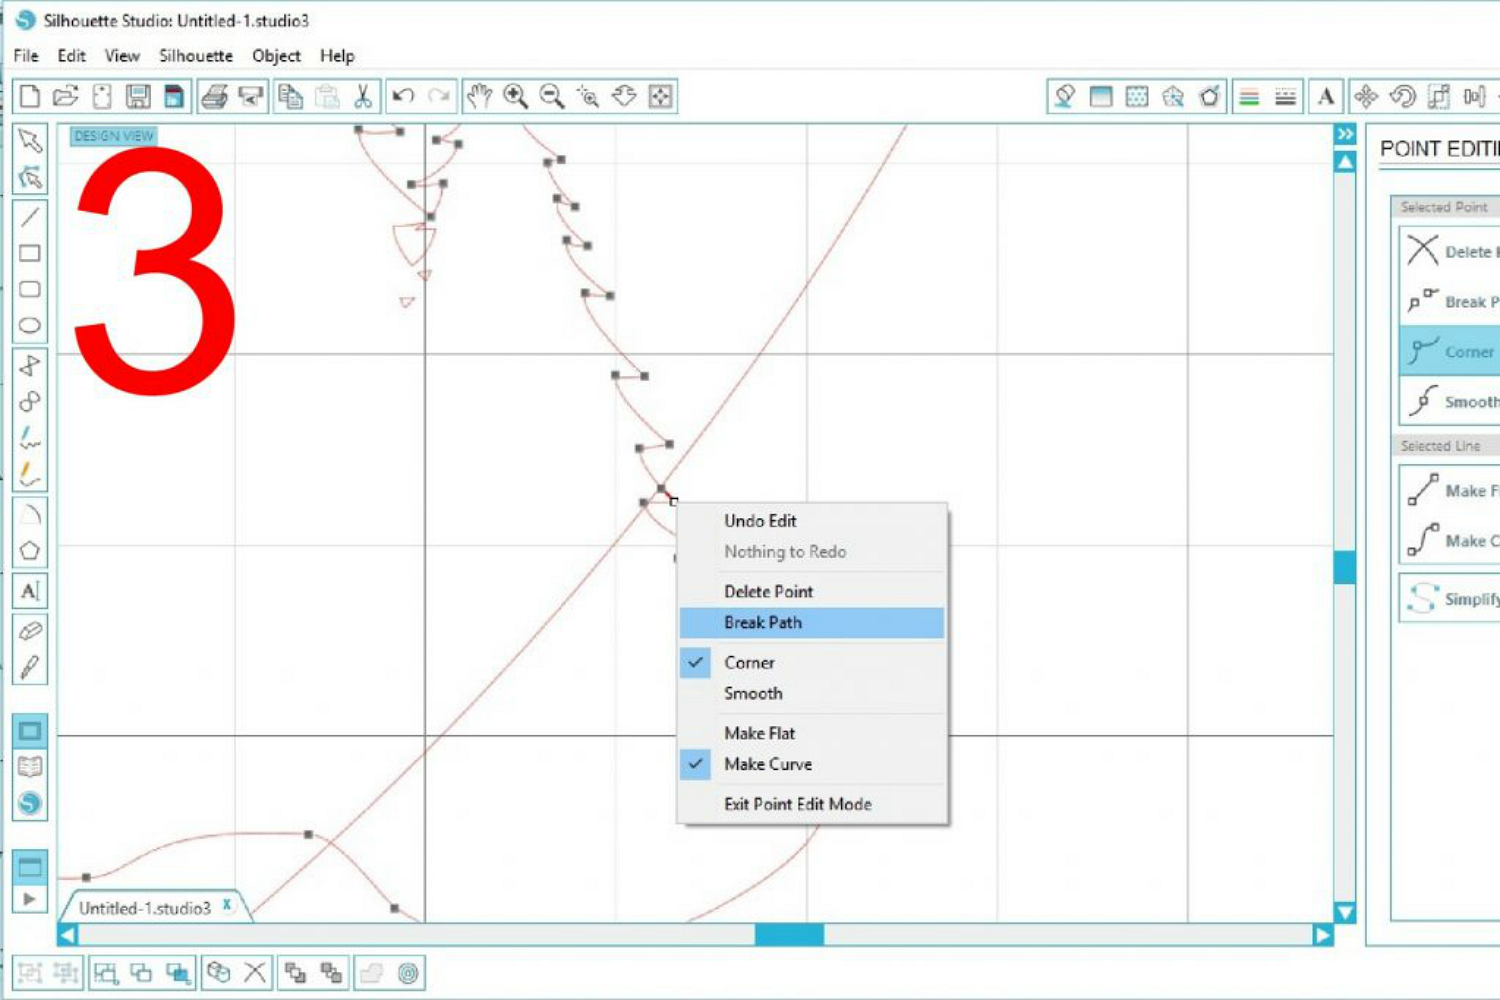
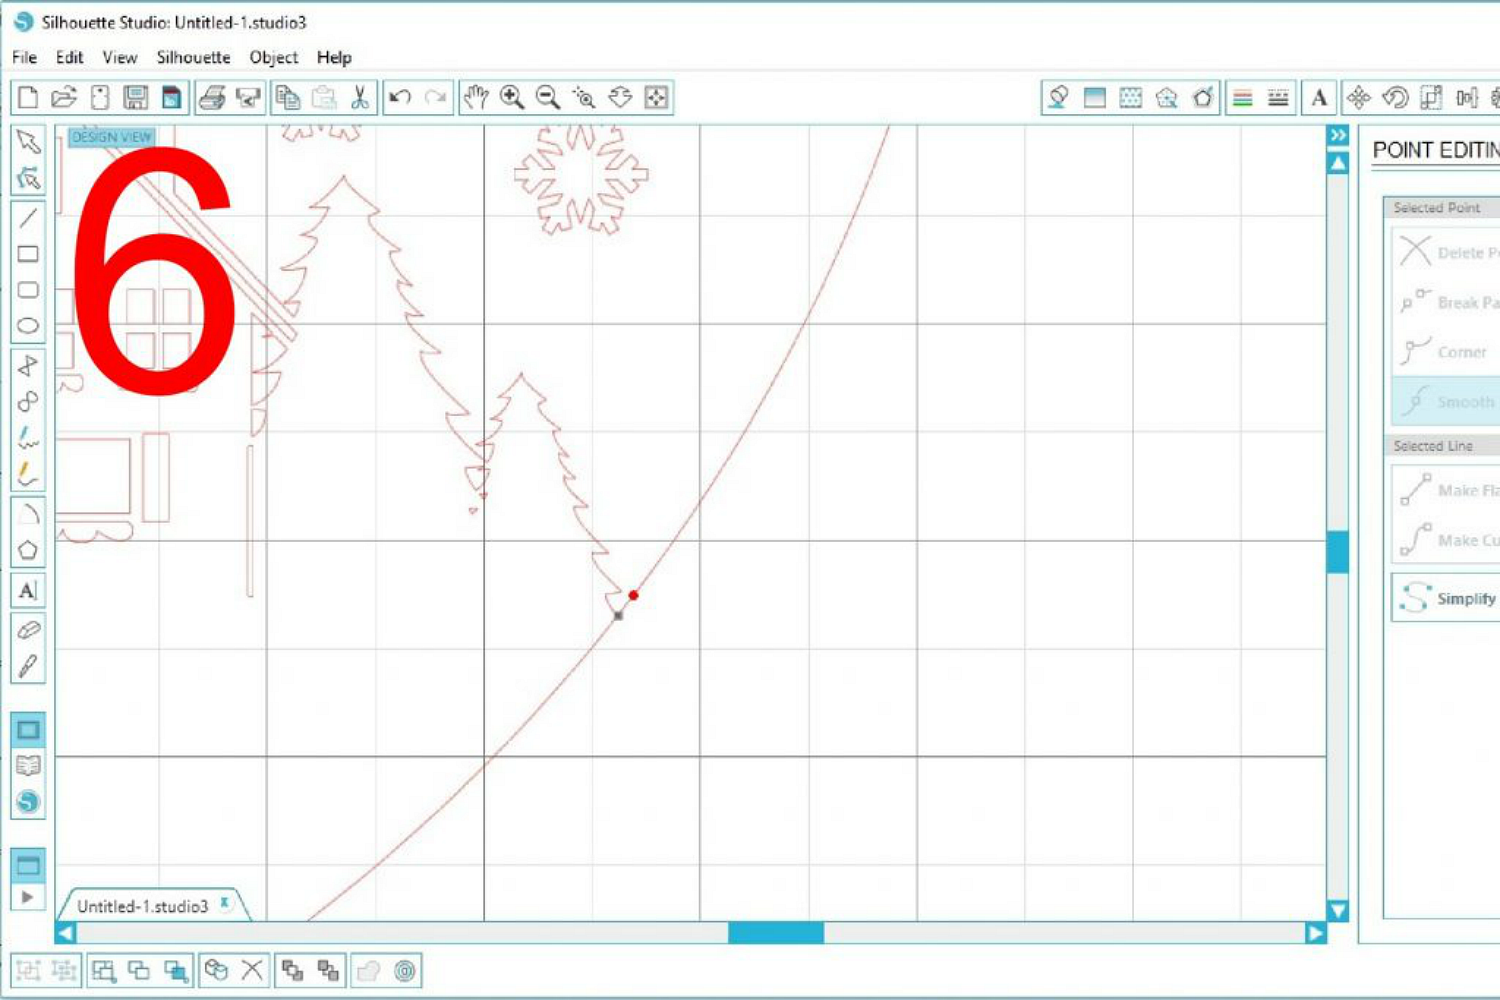
3. Click off of the image of the town scene to make all of the boxes go away, then go back and left click on the base of the image twice. Little squares will appear all over the outline of the town scene because it is now in Point Mode. Zoom in to where the image meets the circle.
Left click on the image where it meets the circle and a new small square will appear. Right click on the very next square after the new one you just made. It should be outside of the circle. Select "BREAK PATH" and the square with turn into a red circle. Left click on the circle and select "DELETE POINT." A break will appear in line path. Select the red circle that is still linked to the new square you made, right click and select "DELETE POINT."
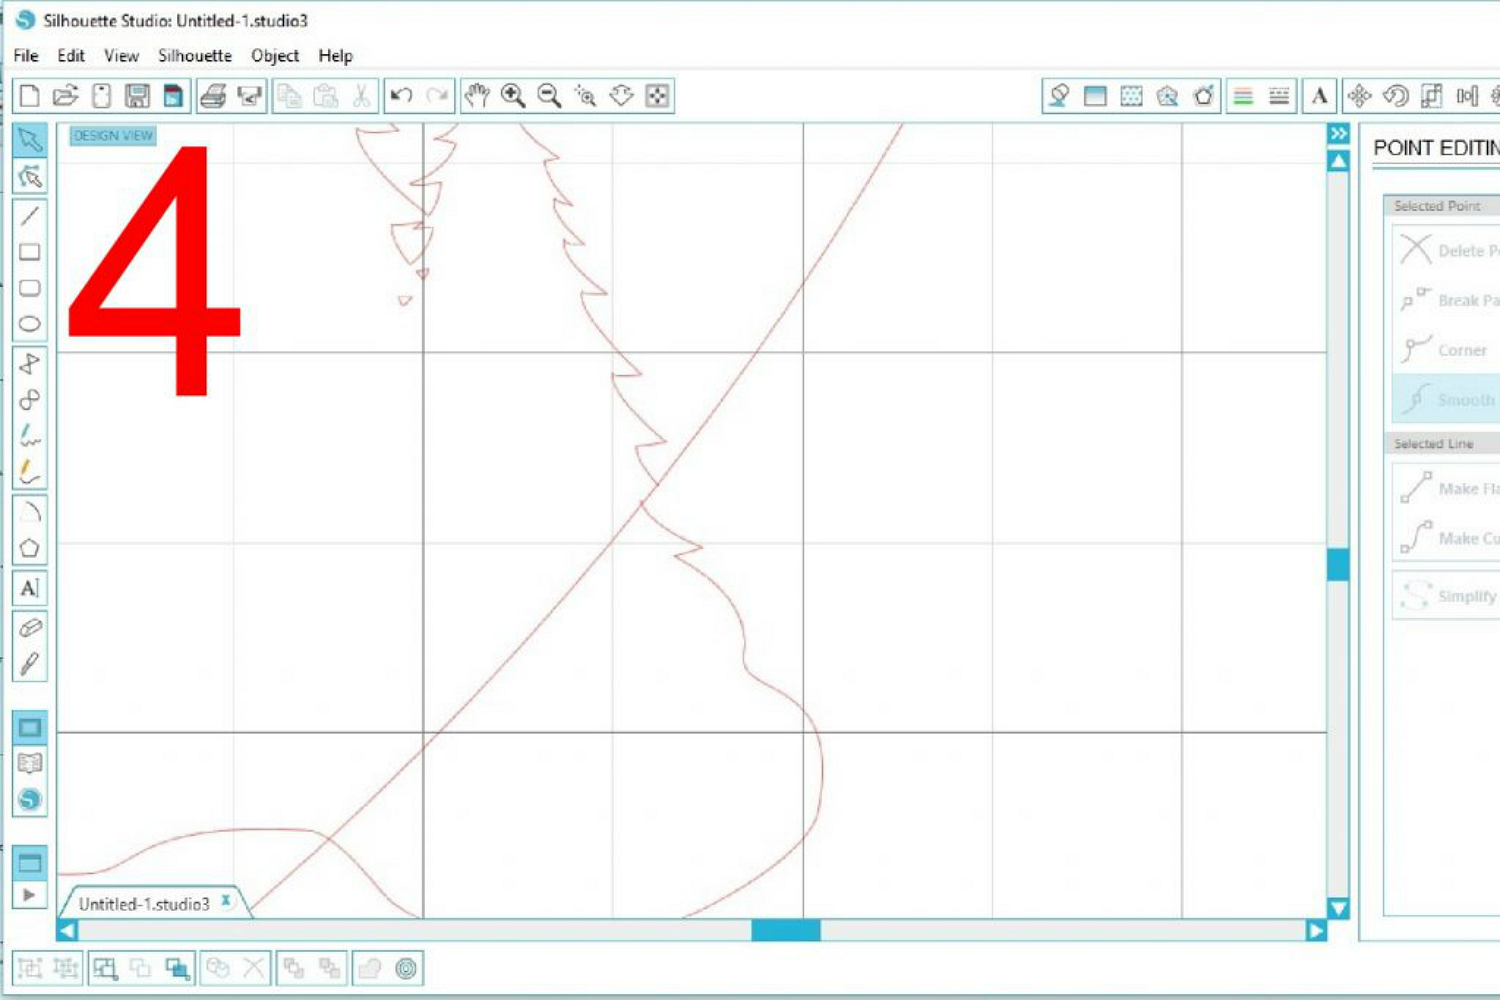
4. The outline of the town scene should now stop where it meets the circle and start again elsewhere.
5. Repeat this process with the other side of the town scene so that the outline meets the edge of the circle and picks up again elsewhere.
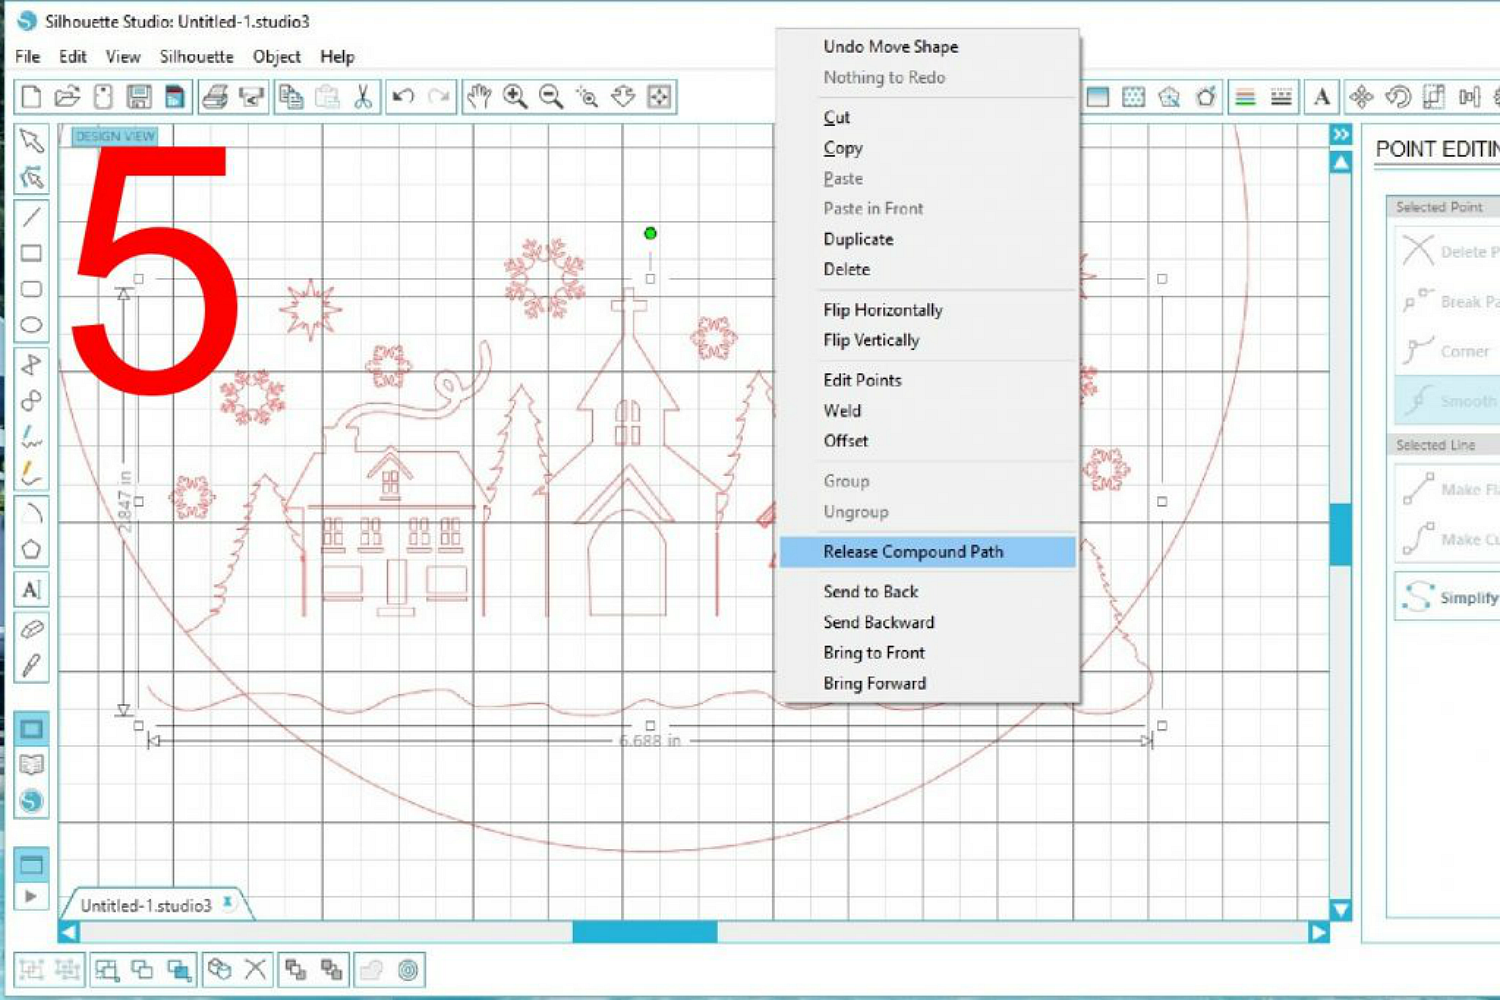
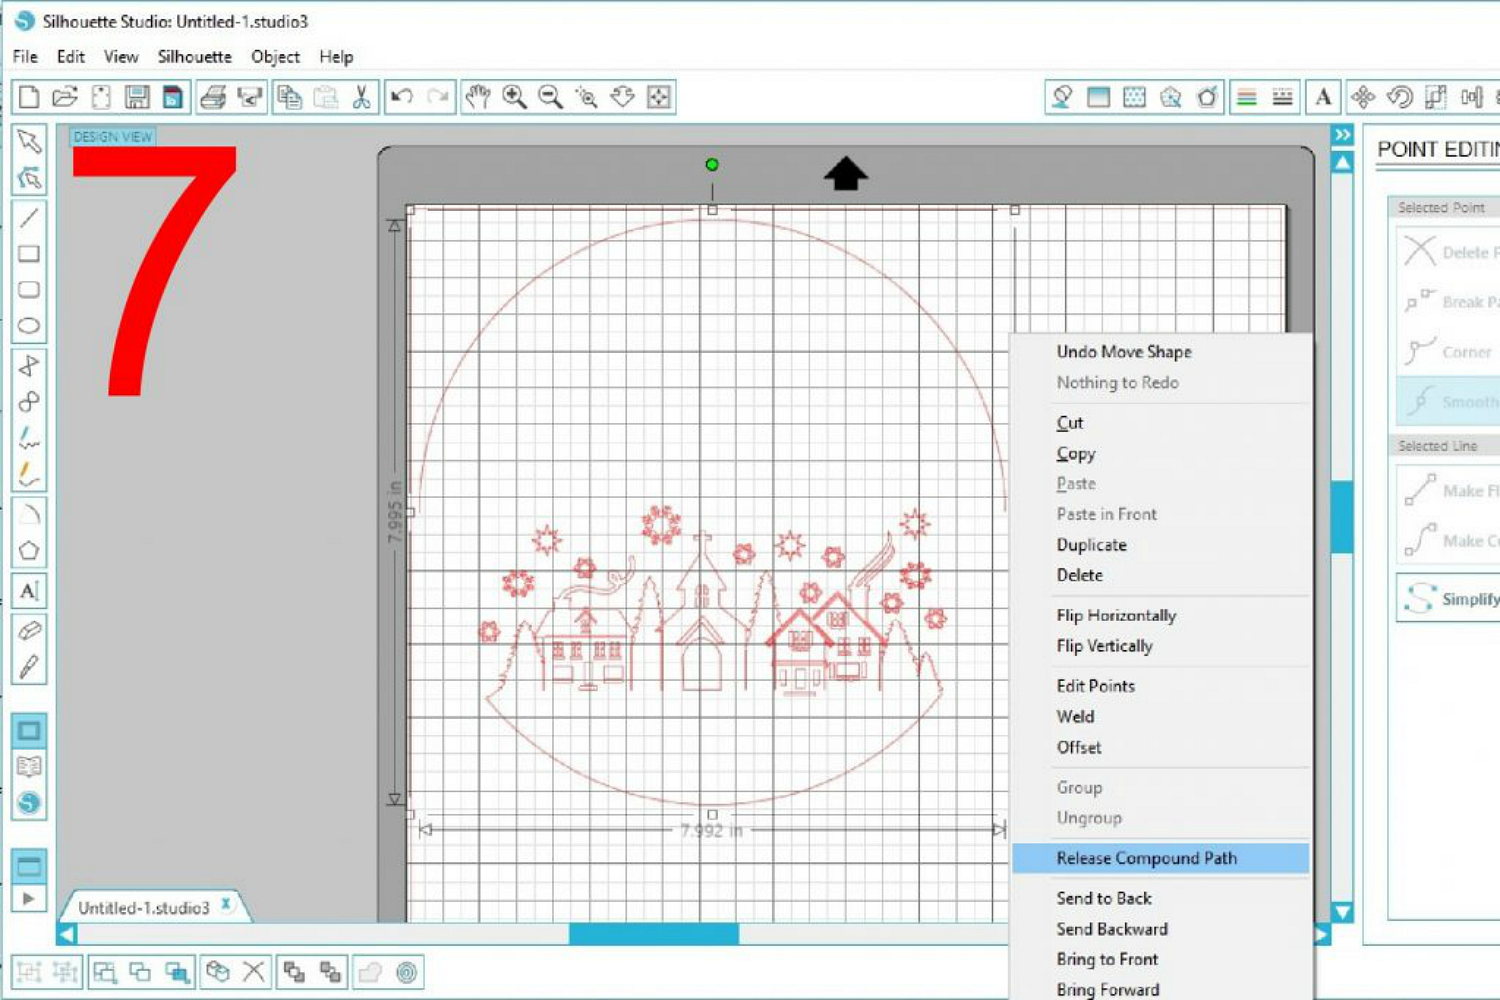
Though you have separated the town scene, the two parts are still linked together. Right click on the outline and select "RELEASE COMPOUND PATH." The outline will be separated into two new images. Delete the bottom portion that you broke off.
6. Now repeat the same process with the circle. The circle is already a compound path so you simply need to left click twice on the circle to put it into point mode. Click on the circle where it meets the outline of the town scene to add a square to the edge of the circle.
Left click on the circle again, further up, to create a second square. Right click on the second square and select "BREAK PATH" which will turn the square into a red circle. Right click on the red circle and select "DELETE POINT." There will now be a break in the circle. Right click on the red circle again and select "DELETE POINT" so that the bottom of the circle ends where it meets the town scene.
Repeat this process with the circle on the other side of the town scene.
7. Once again, even though there is a break in the circle so that it looks like it is two images, they are still connected. Right click on the circle and select "RELEASE COMPOUND PATH" to separate the circle into two images. Delete the upper portion of the circle.
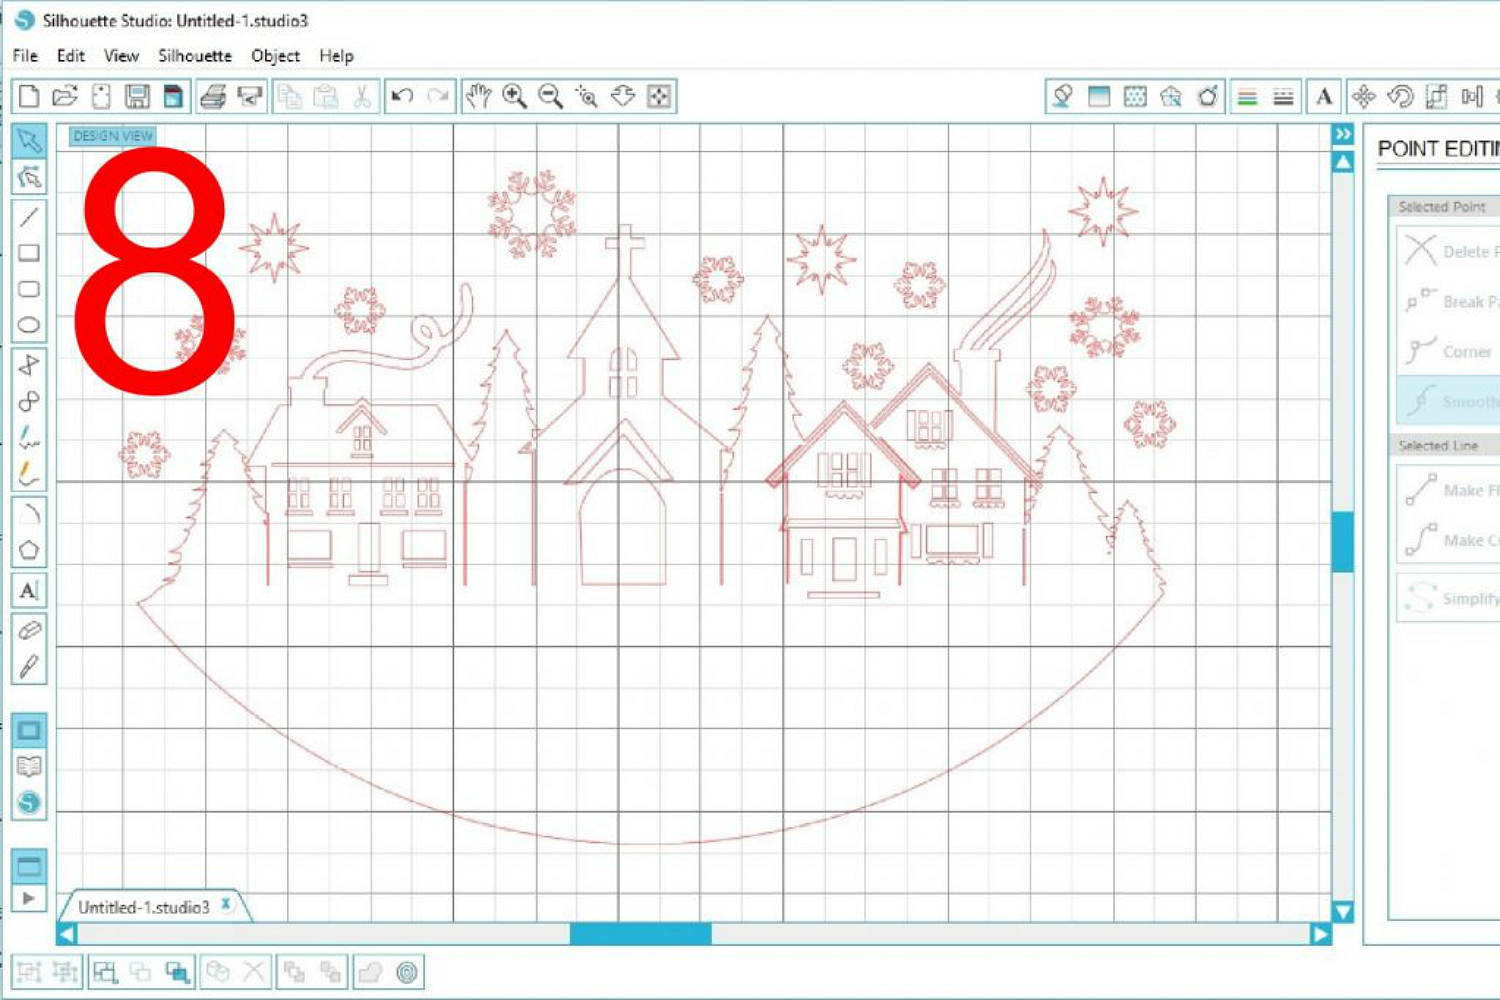
8. You are now left with a town scene image that will cut and fit perfectly right on top of the round chalkboard vinyl.
Finish decorating as you see fit. I used free font Nouradilla for the text and copy and pasted some of the snowflakes from the town scene and scattered them around the text.
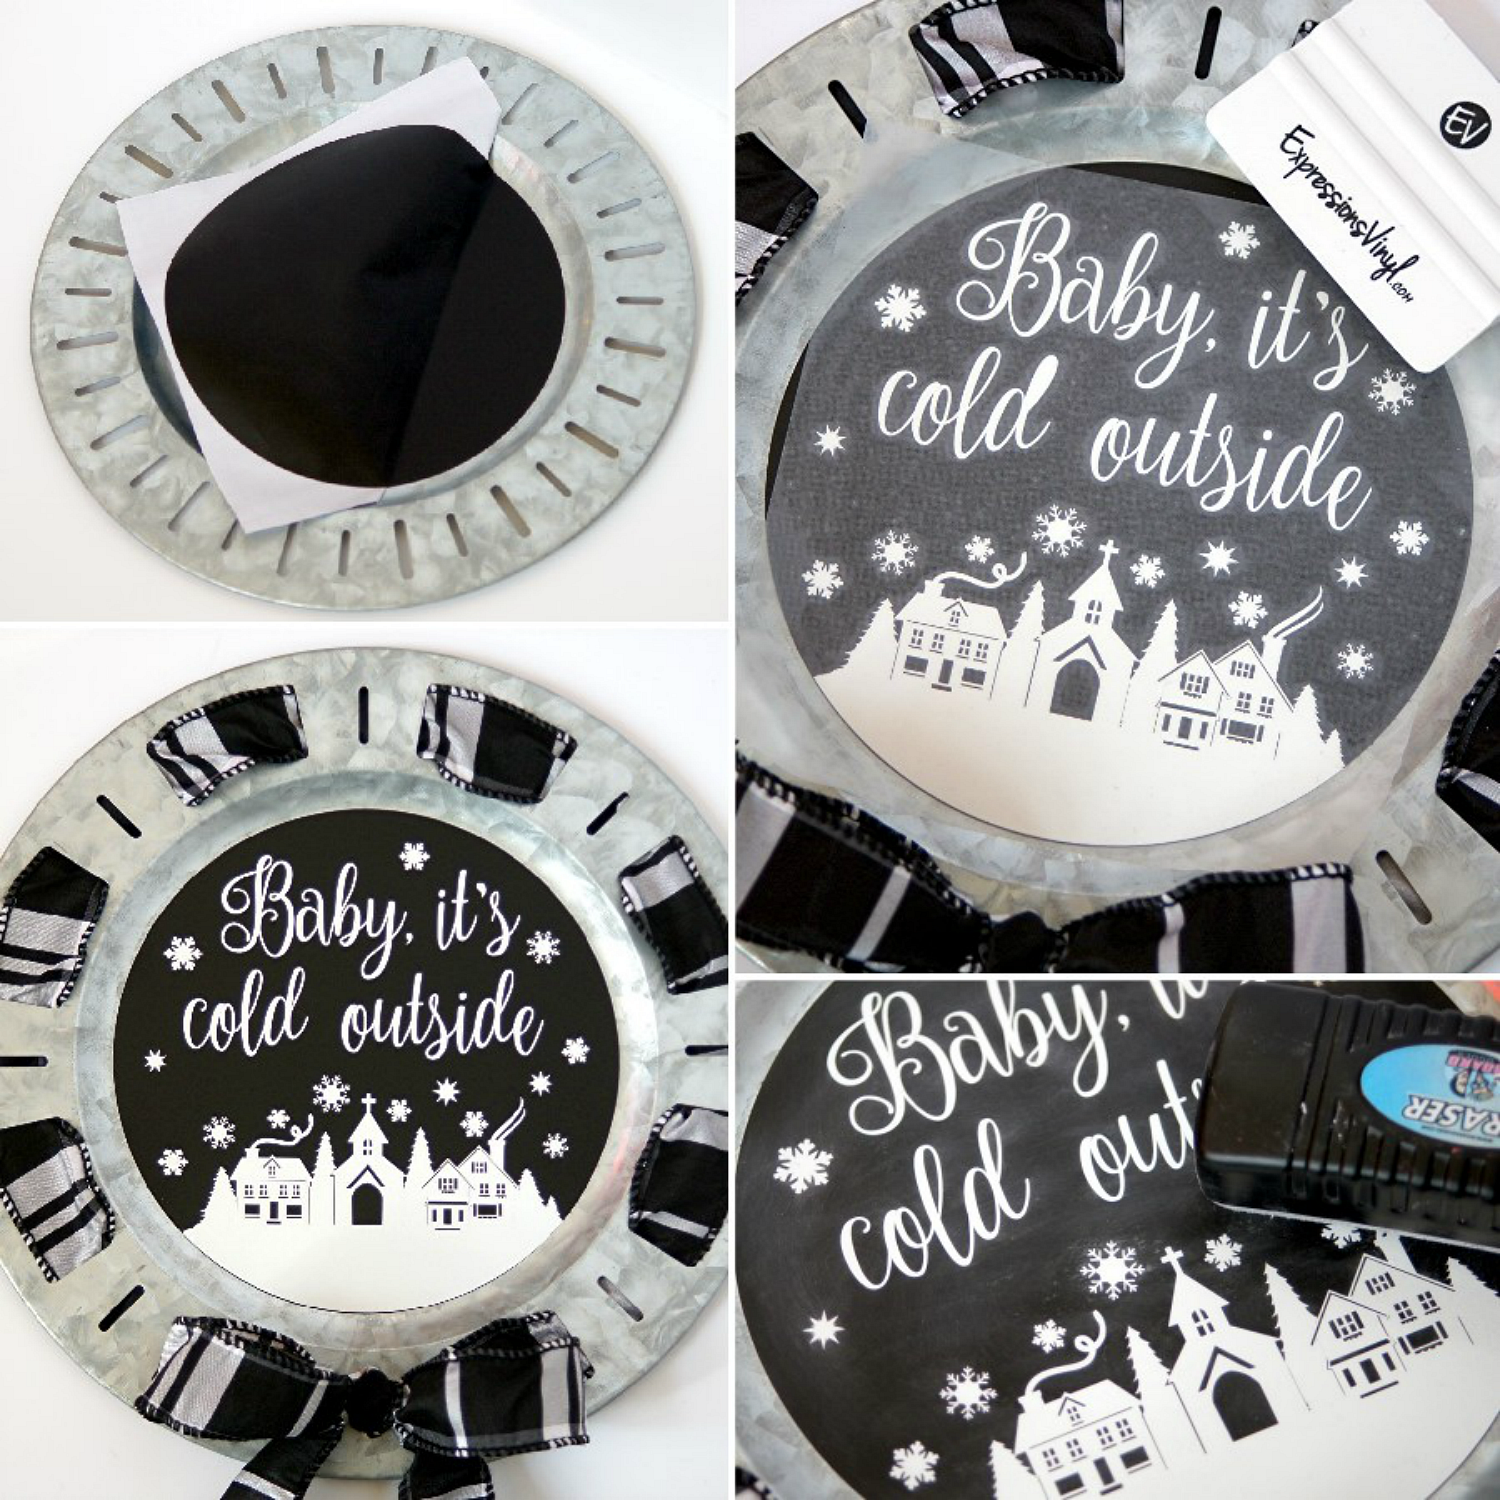
Apply the chalkboard vinyl to the platter. To ensure little to no air bubbles, only peel back a small portion of the backing at a time to apply the vinyl. Smooth vinyl on the peel and smooth until it is completely intact.
Cut the winter scene on the white glitter vinyl, weed, then use transfer tape to move the image to the chalkboard vinyl. Rub evenly with an application tool then peel up transfer tape.
To give the overall look of a chalkboard, lightly rub a well used chalkboard eraser over the vinyl.
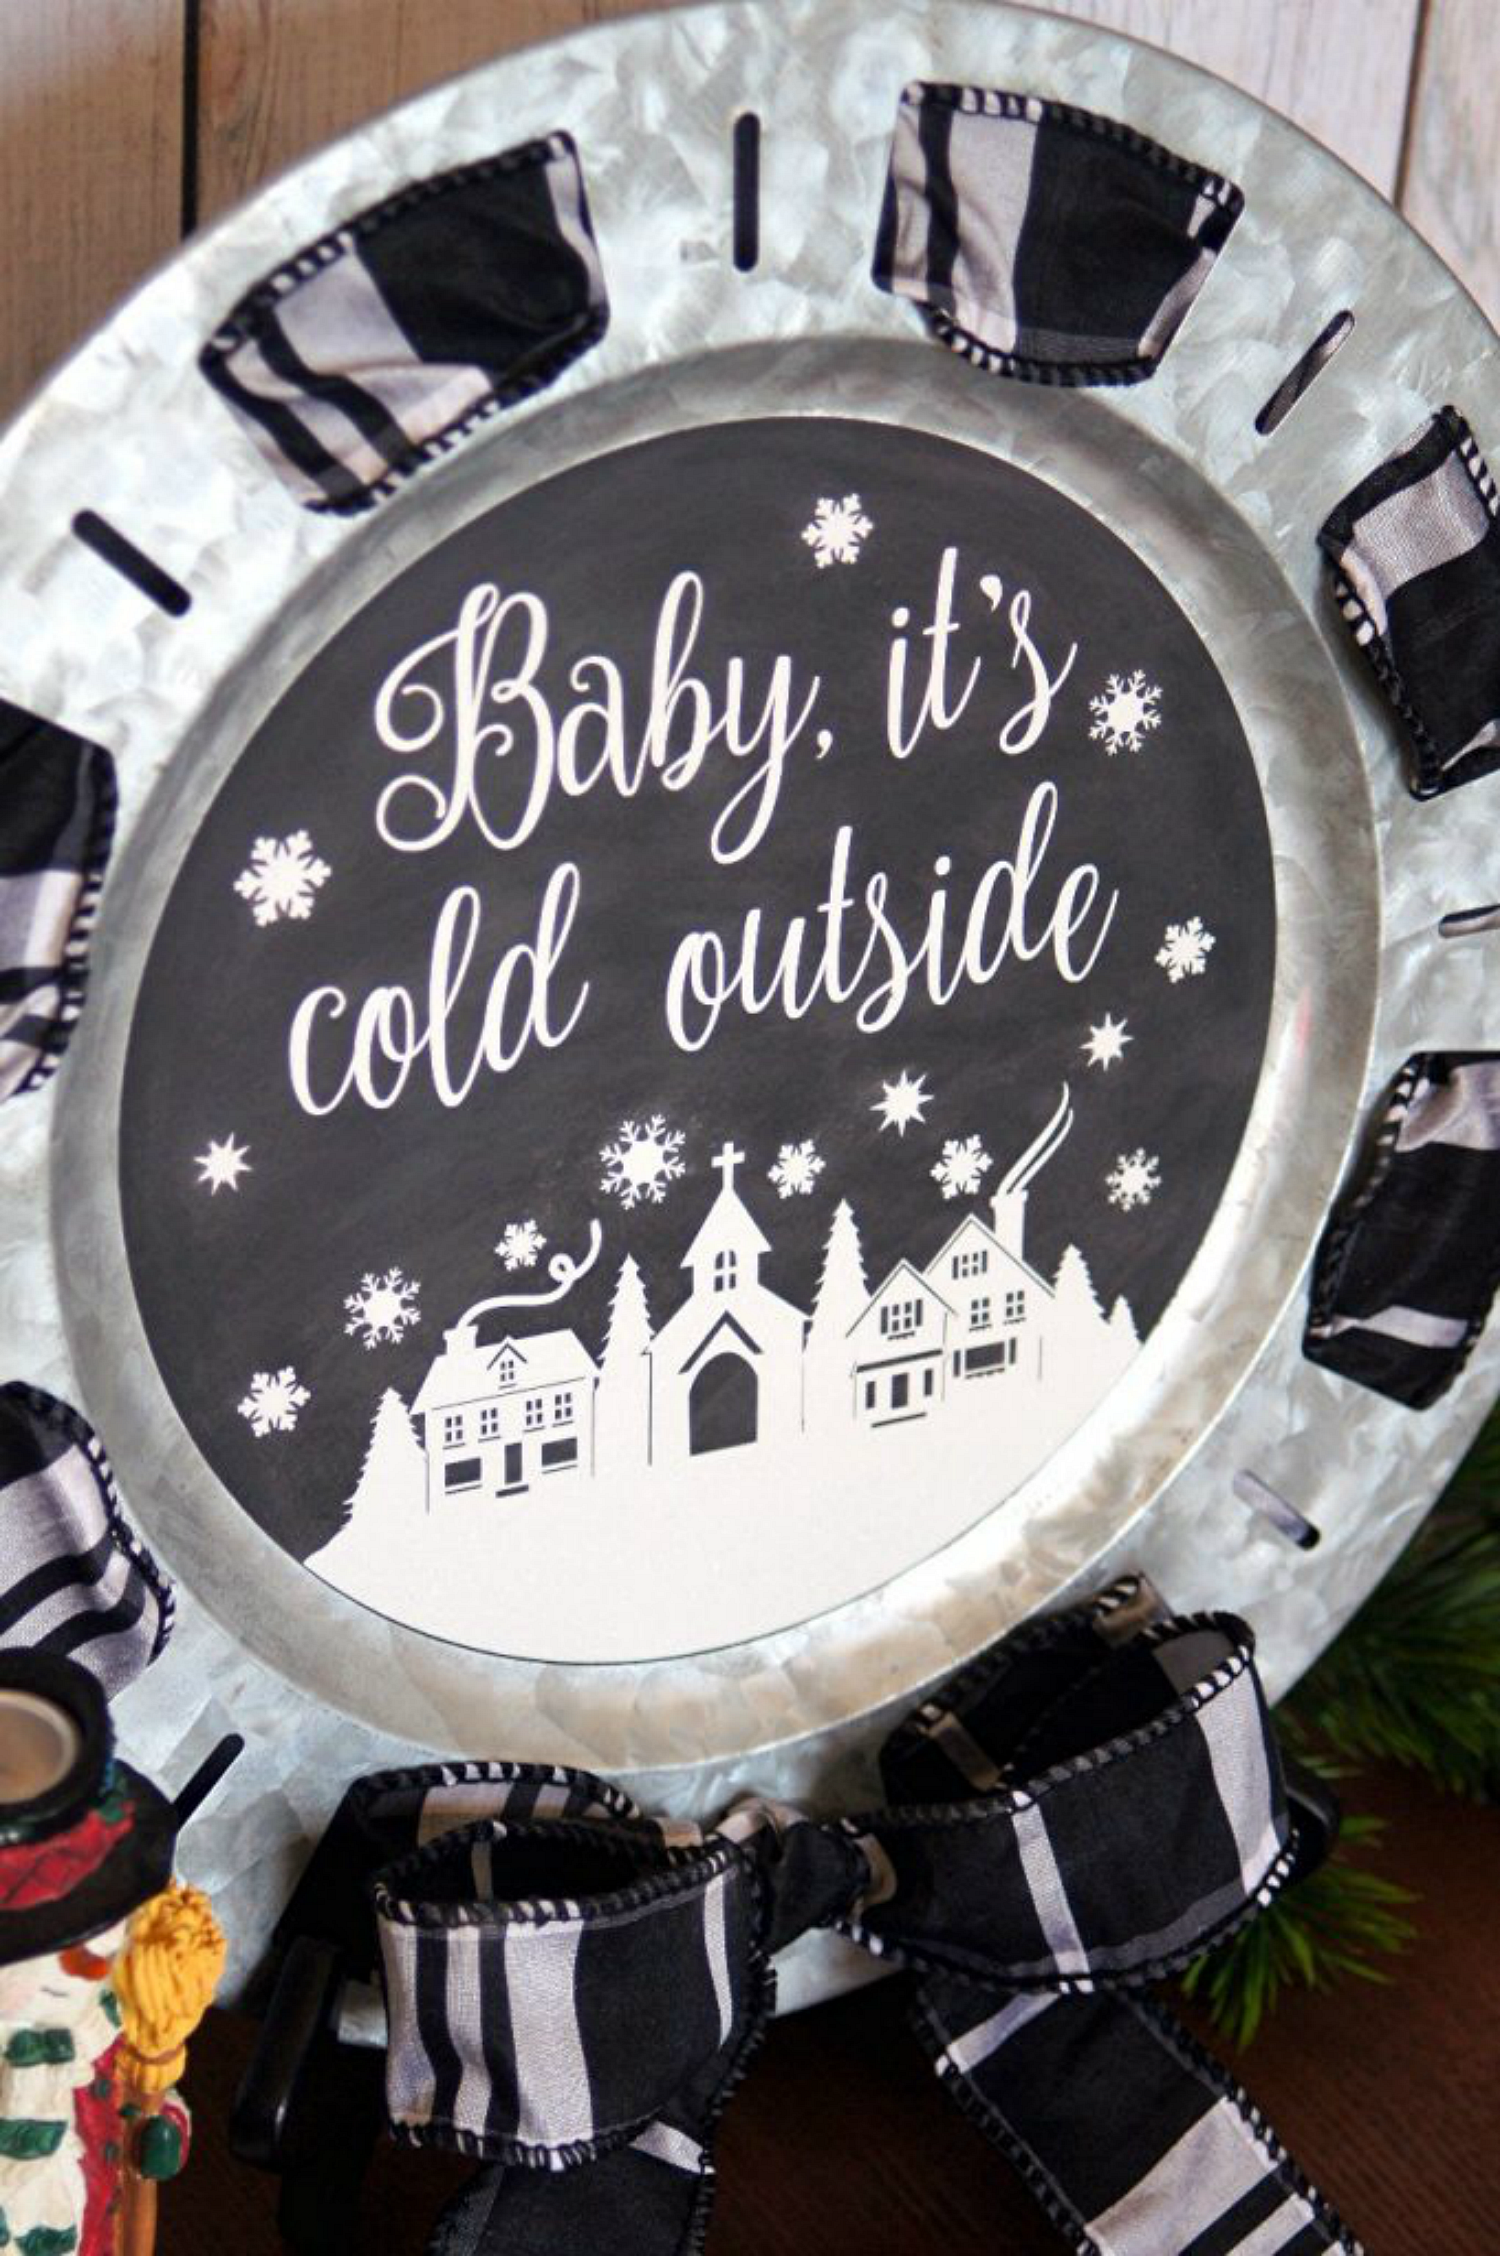
I think it turned out perfect for winter! There was a bit of tiny weeding on that little town scene, but I think it was totally worth it. You can always find and image that would take much less weeding if you'd rather.
This will help keep some of the post Christmas blues away for sure!
Recent Posts
-
Hop into Spring with Cute Easter Vinyl Crafts
Do you love our Vinyl? Sign up for Vinyl Club today to get FREE vinyl and save big! …Mar 28th 2024 -

Fixing Wrinkles and Bubbles in Vinyl
How do you get air bubbles out of vinyl? There are a few different ways to ensure a flawless …Mar 26th 2024 -

20 Creative Craft Quotes You Will Love
March 12, 2024 20 Creative Craft Quotes You Will Love You can never have too many craft …Mar 12th 2024