")
Easy Way To Knockout Text To Avoid Bulk in Silhouette Studio (Great For Layering Vinyl!)
I love Valentine's Day! Maybe it's because pink is my favorite color and I am obsessed with hearts, and chocolate and flowers! I mean, what's not to love.
I created this super fun pail and filled it with treats and goodies and added a fun layered text phrase on the front to spice it up. I used a really cool method to ensure that no bulk showed when layering. I wanted to have a white background to make sure my letters popped, especially since the design on the pail is pretty busy.

Layering vinyl is super easy and you can layer vinyl-on-vinyl without "knocking" out the image behind BUT I love to do it when possible to avoid bulkiness. I am only using two colors/layers here but imagine if I were using 5-6 colors. This technique is great to have in your toolbox because it will help you with headaches along the road!
Things you will need:
-Pail/bucket
-Things to fill your bucket
-White glitter adhesive vinyl
-Red glitter adhesive vinyl
-Clear gridded transfer tape
-Scraper tool & weeding tool
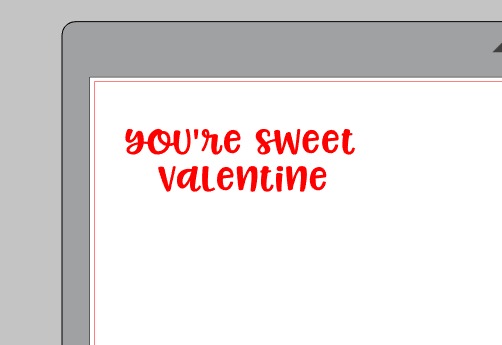
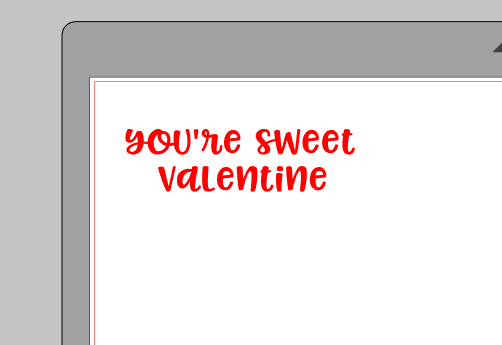
First, go ahead and write out the phrase or name that you want to add on the bucket. I decided with "you're sweet valentine" because I wanted to use the pun to my advantage and fill it with sweets :)
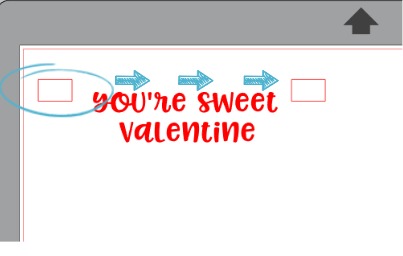
Next, you will want to create a small rectangle to the left of the phrase. Make a copy of the rectangle to the "right" and use the arrow keys on your keyboard to slide the duplicated rectangle to the opposite side of the phrase. Make sure you don't move the arrows up or down, just side-to-side. This will make sure the rectangles are even--if not, the layers will be off at the end!
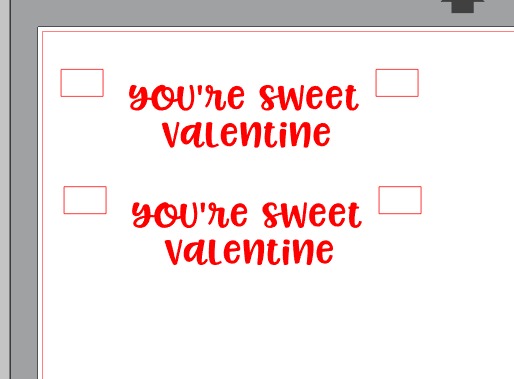
Make a copy of the entire design and move it over to the side, you will need it later!
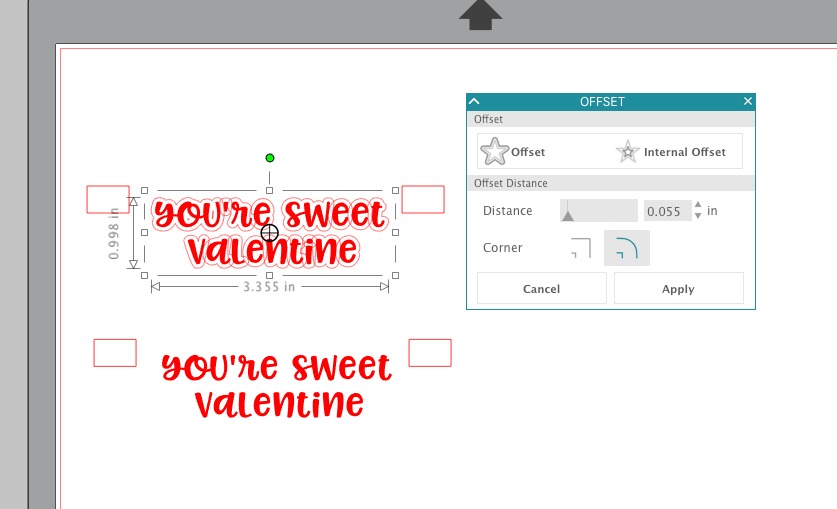
Now, we want to create the white outer bubble/background so that our red letters stand out on the busy background. To do this, we are going to use the offset tool. I offset to .055 which made the bubble affect around my image. You can adjust it more or less depending on how much "white" you want to show.
Once you have the offset ready, select the entire text image and either right click on your mouse or go to object--> make compound path. (Getting technical here for a second: You can also go to
object--> modify---> subtract all to achieve the same thing, but the first trick I showed you is a bit easier!)
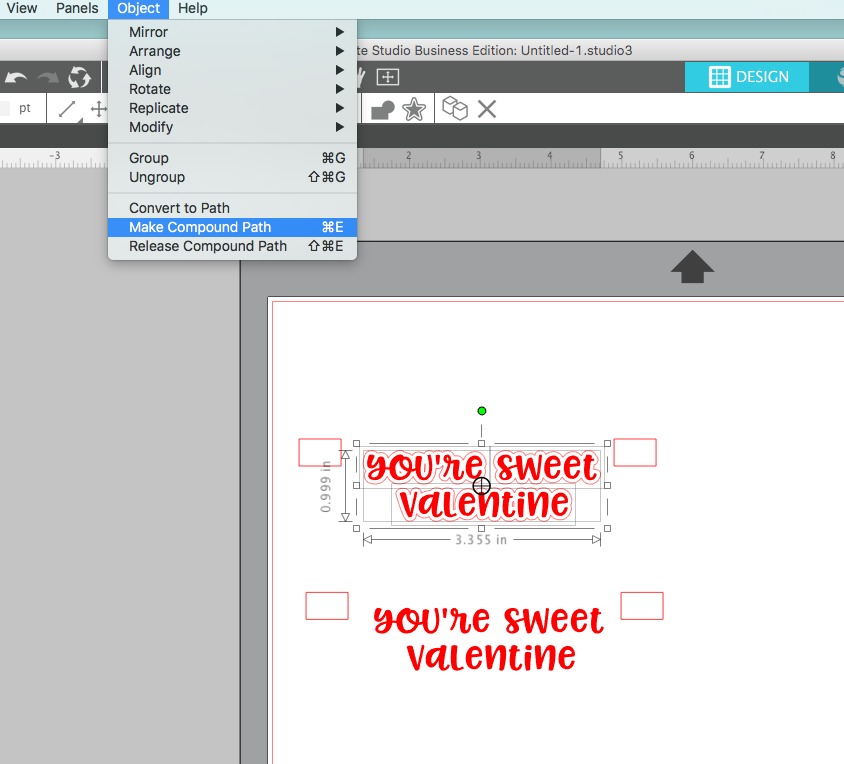
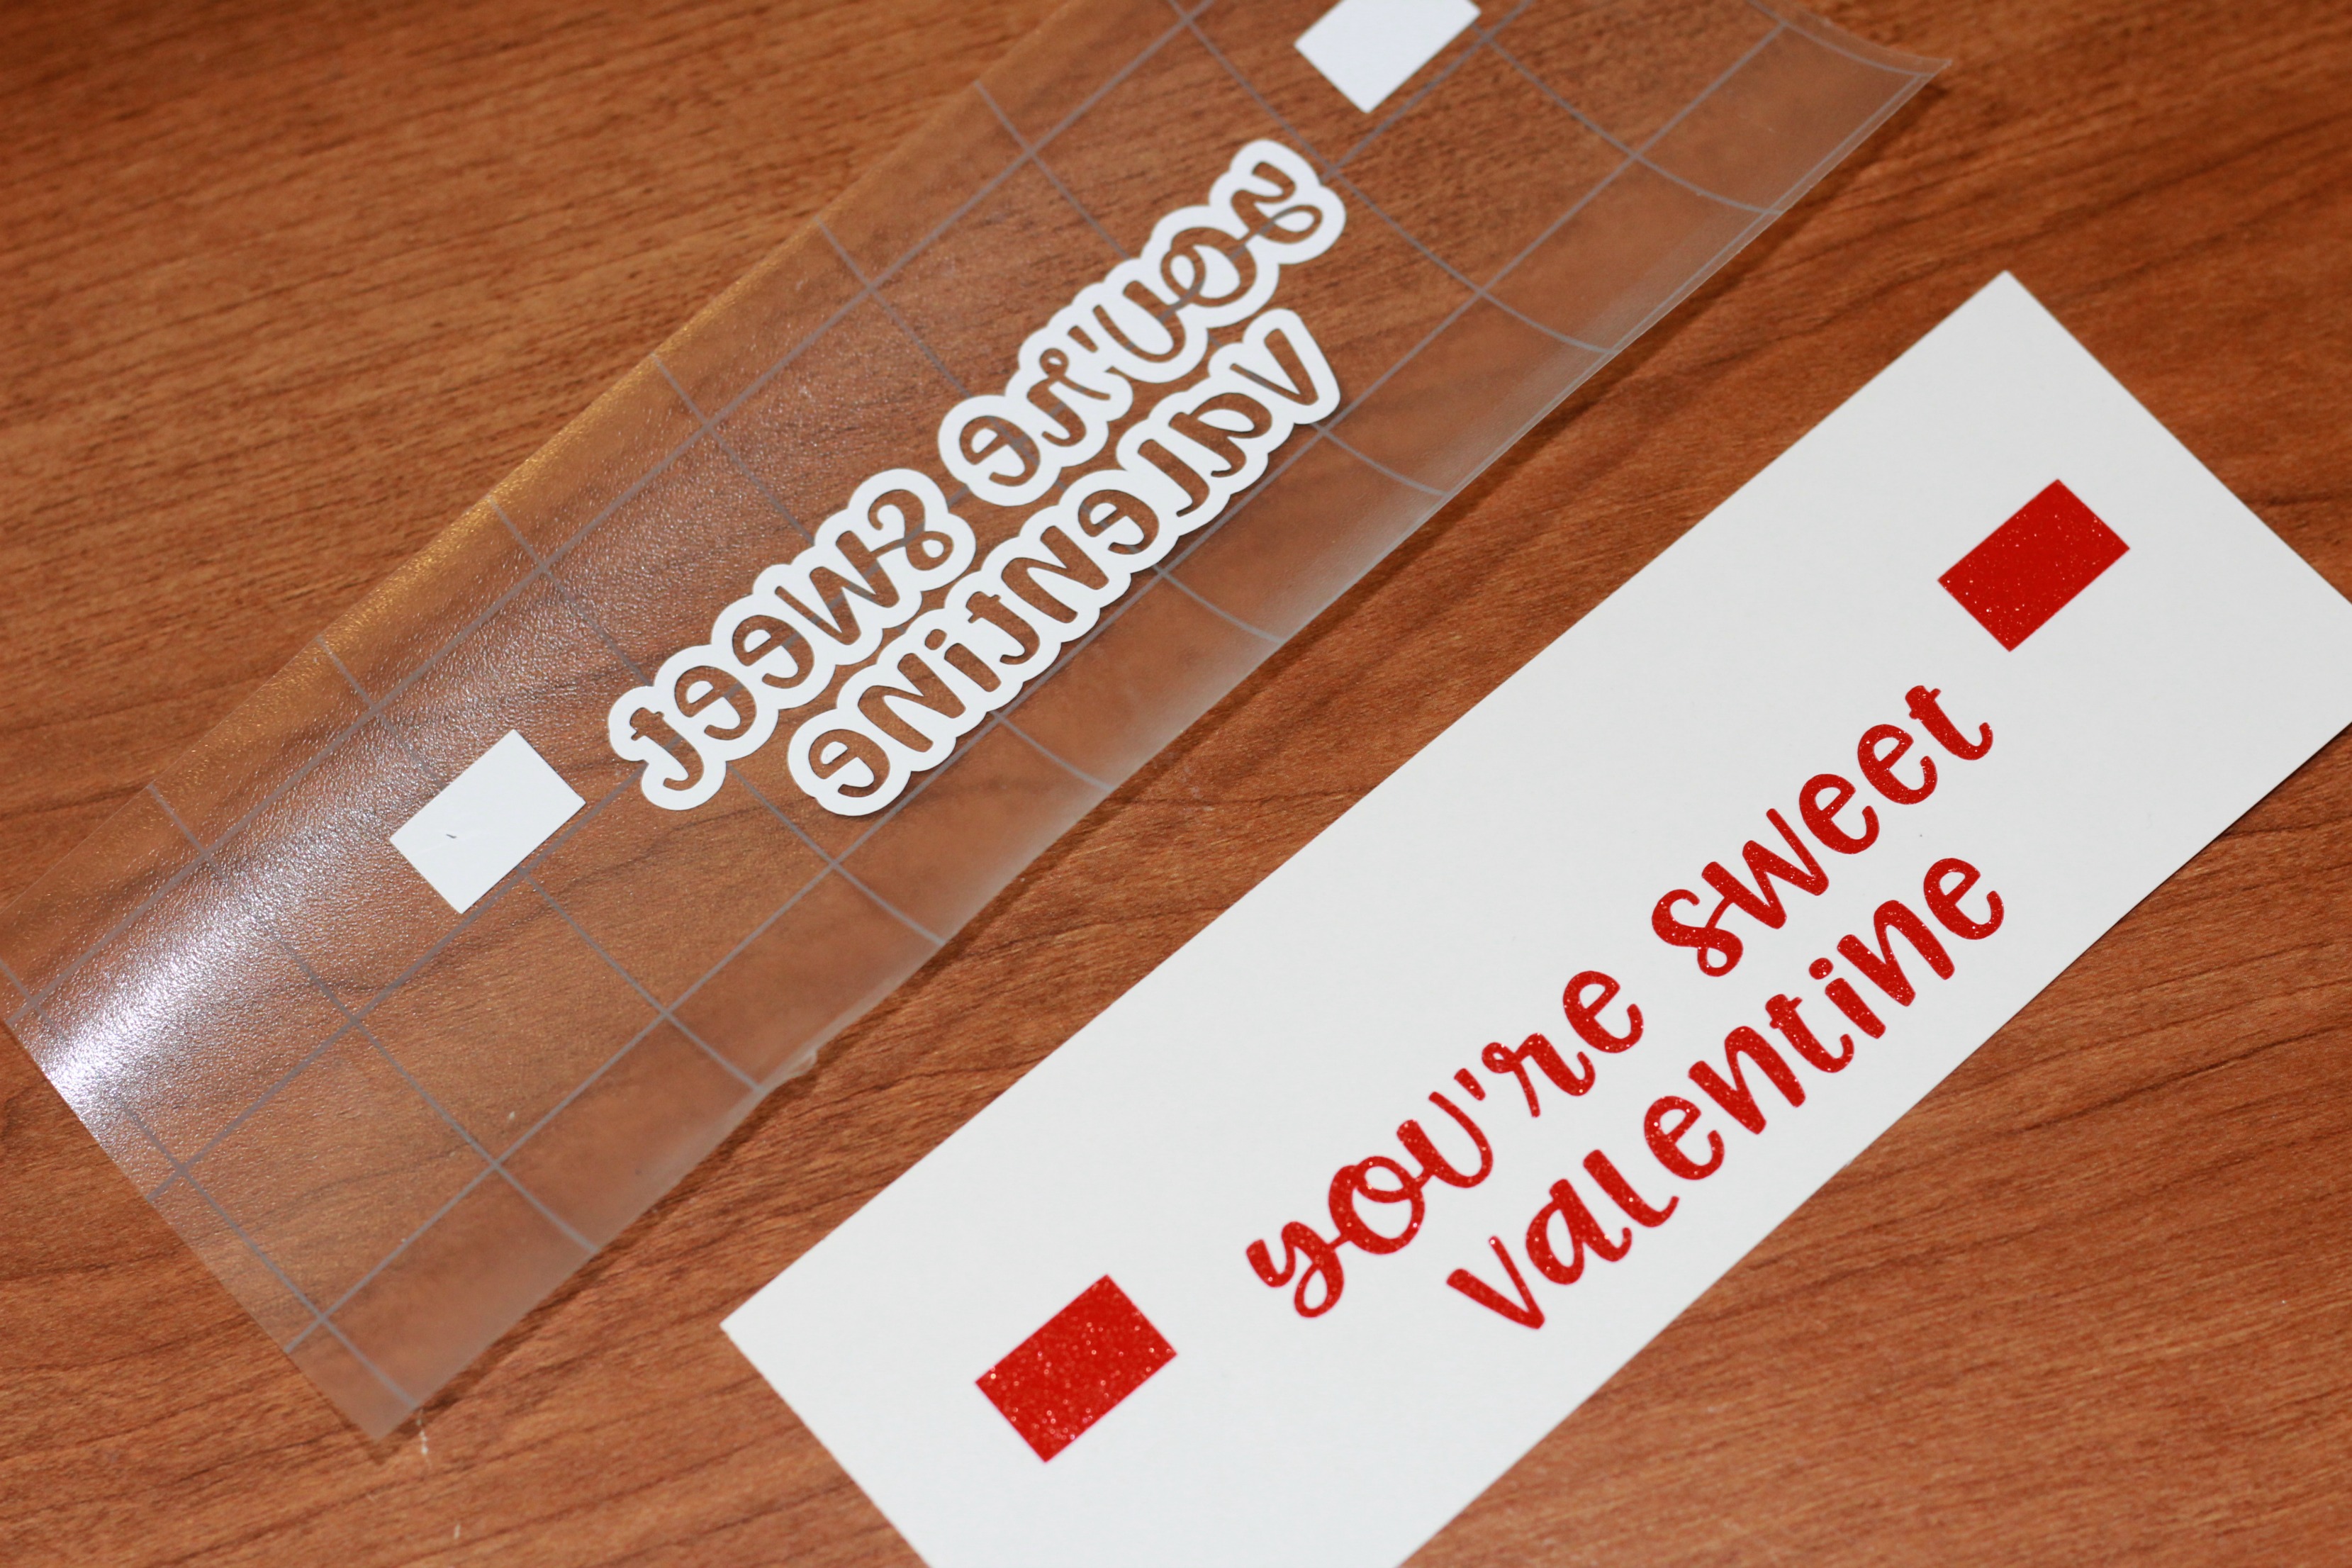
When you hit "make compound path" it will look like the picture below (I changed the text to black to make it easier to see on the software but in real life I used white vinyl).
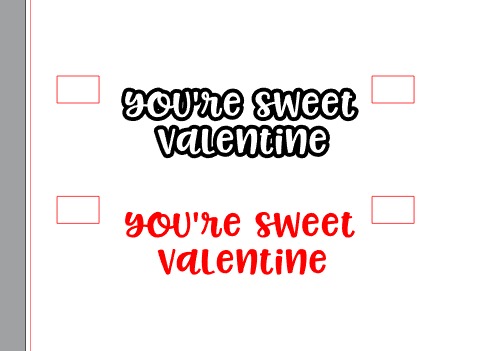
Here is a digital version of what it will look like when cut and layered!
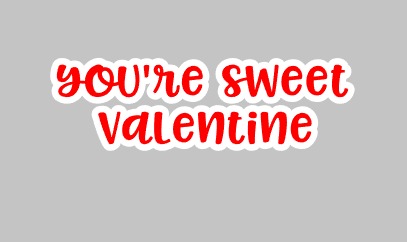
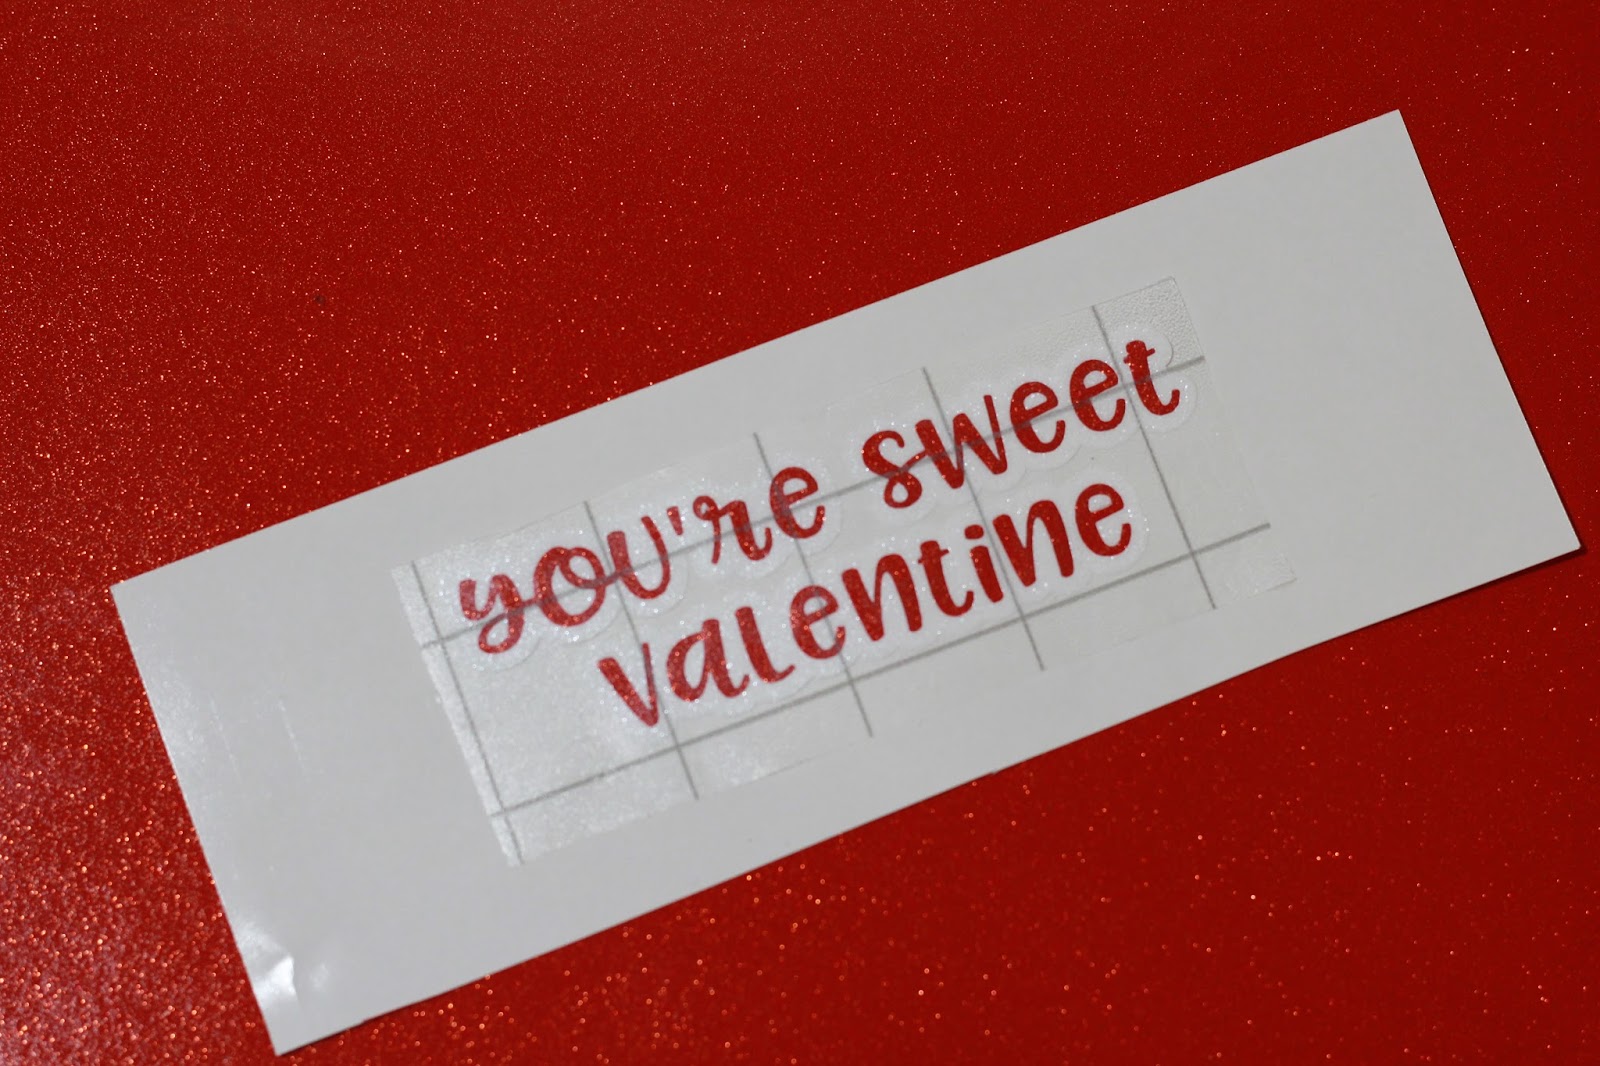
Now that the designing is done, cut out each piece in the colors you want, in my case white and red and align the top piece(white rectangles) to the red rectangles and watch it fit perfectly like a puzzle piece!!!
So very satisfying, right?!?!

Look at that perfect match with none of the background showing at all! Why "eyeball" it when you can get perfection every single time with this trick!

Now you can apply the completed layered imagine in one piece on your bucket and fill it with fun treats :)
Can't wait to see what fun things you create with this new-found trick up your sleeve! Be sure to tag me on Instagram @kutiekairadesigns if you do so I can admire your beautiful projects!
Happy Crafting!
XO Connie
Recent Posts
-
NEW Holographic Eclipse Heat Transfer Vinyl
April 15th, 2024 3 Ways to Use the New Holographic Eclipse Heat Transfer Vinyl from Siser …Apr 29th 2024 -
Hop into Spring with Cute Easter Vinyl Crafts
Do you love our Vinyl? Sign up for Vinyl Club today to get FREE vinyl and save big! …Mar 28th 2024 -

Fixing Wrinkles and Bubbles in Vinyl
How do you get air bubbles out of vinyl? There are a few different ways to ensure a flawless …Mar 26th 2024