
Baby Name Subway Art
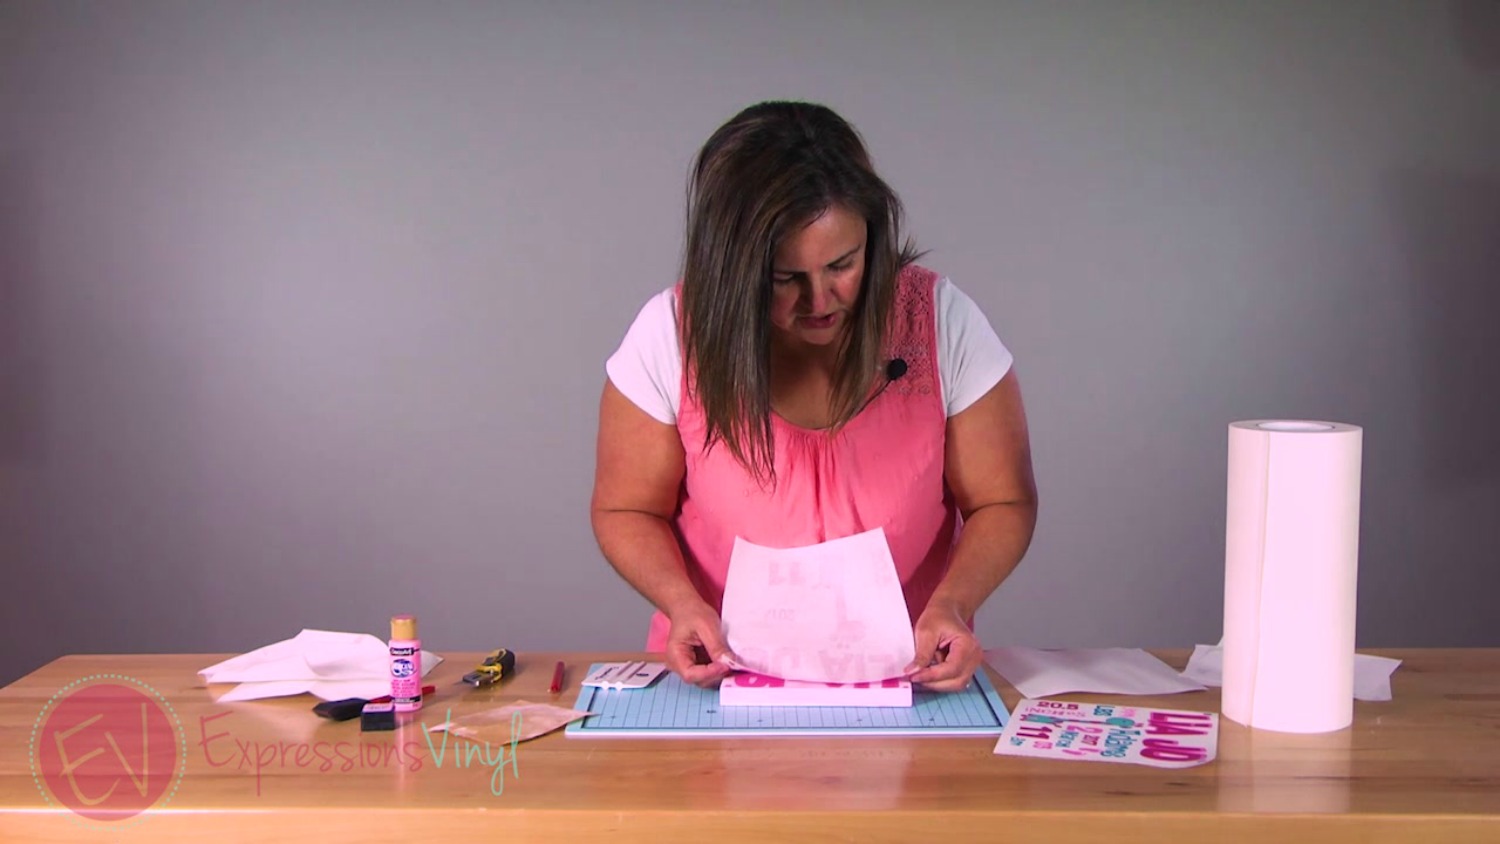
Hi everyone, it’s Bonnie from expressionsvinyl.com. I am extremely new to vinyl and I wanted to try a project that I thought would be somewhat simple. It's a New Baby Name Sign. I thought this would be an easy project because I knew exactly what words I wanted on the sign, but I didn’t realize I would have such a hard time choosing fonts, colors, and actually designing the sign! That part was hard! What made it even harder is that if you ask others for advice everyone has their own opinion about what looks good. So...just do what YOU like and it will turn out perfect! Here’s what I used:
Materials:
- 8x8 MDF frame from Hobby Lobby
- Poodleskirt Pink DecoArt Americana paint
- Spun Sugar Distress Ink
- Vinyl colors:
- Oracal 631 Pink
- Oracal 631 Carnation Pink
- Oracal 631 Turquoise
- Glitter Tiffany Blue
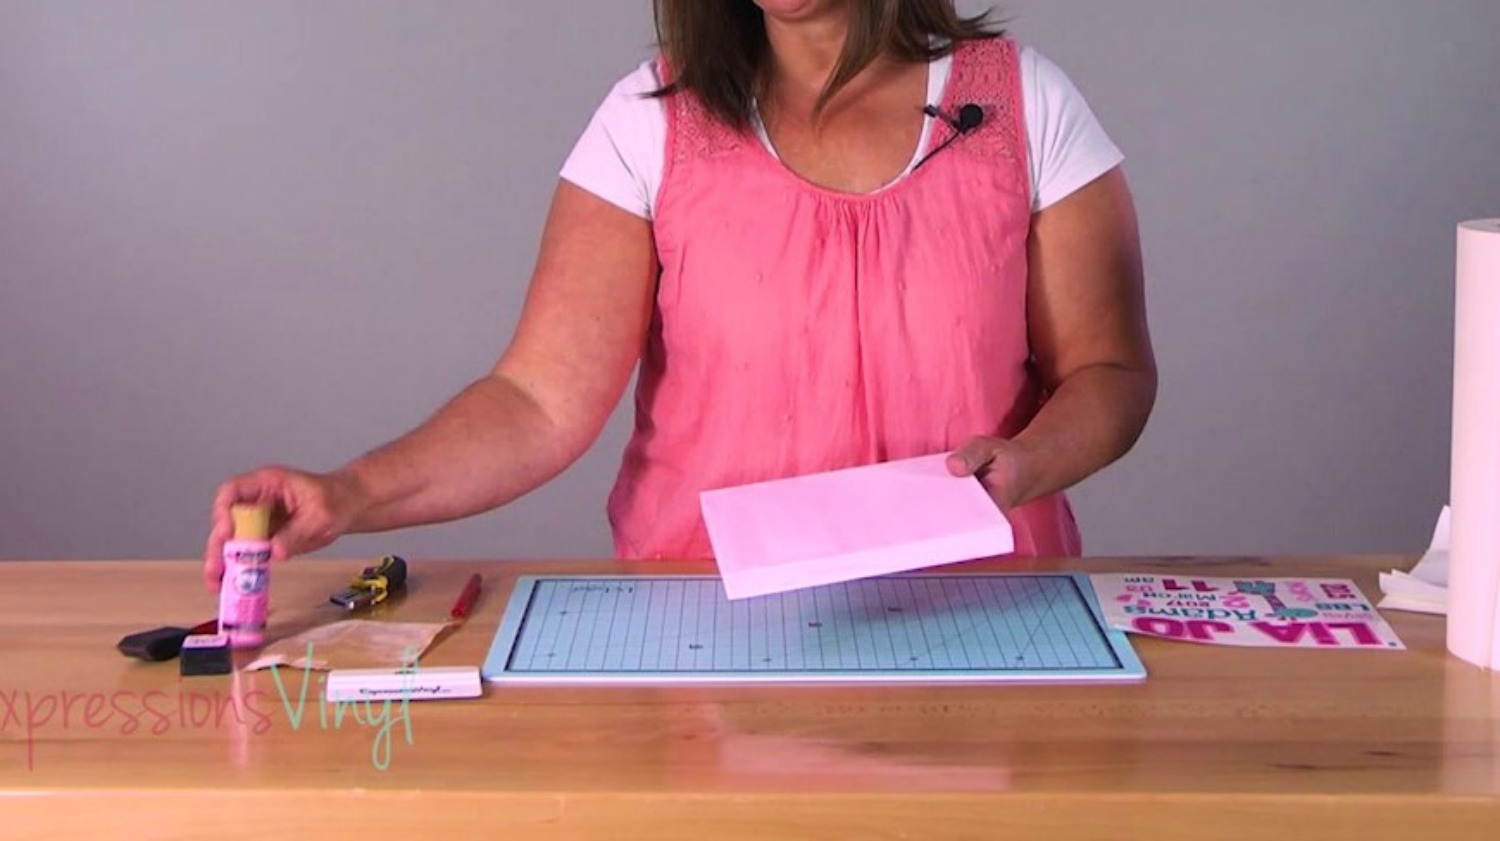
Step 1: Paint & prep your wood.
Vinyl will adhere better to something that has been painted rather than dry wood.
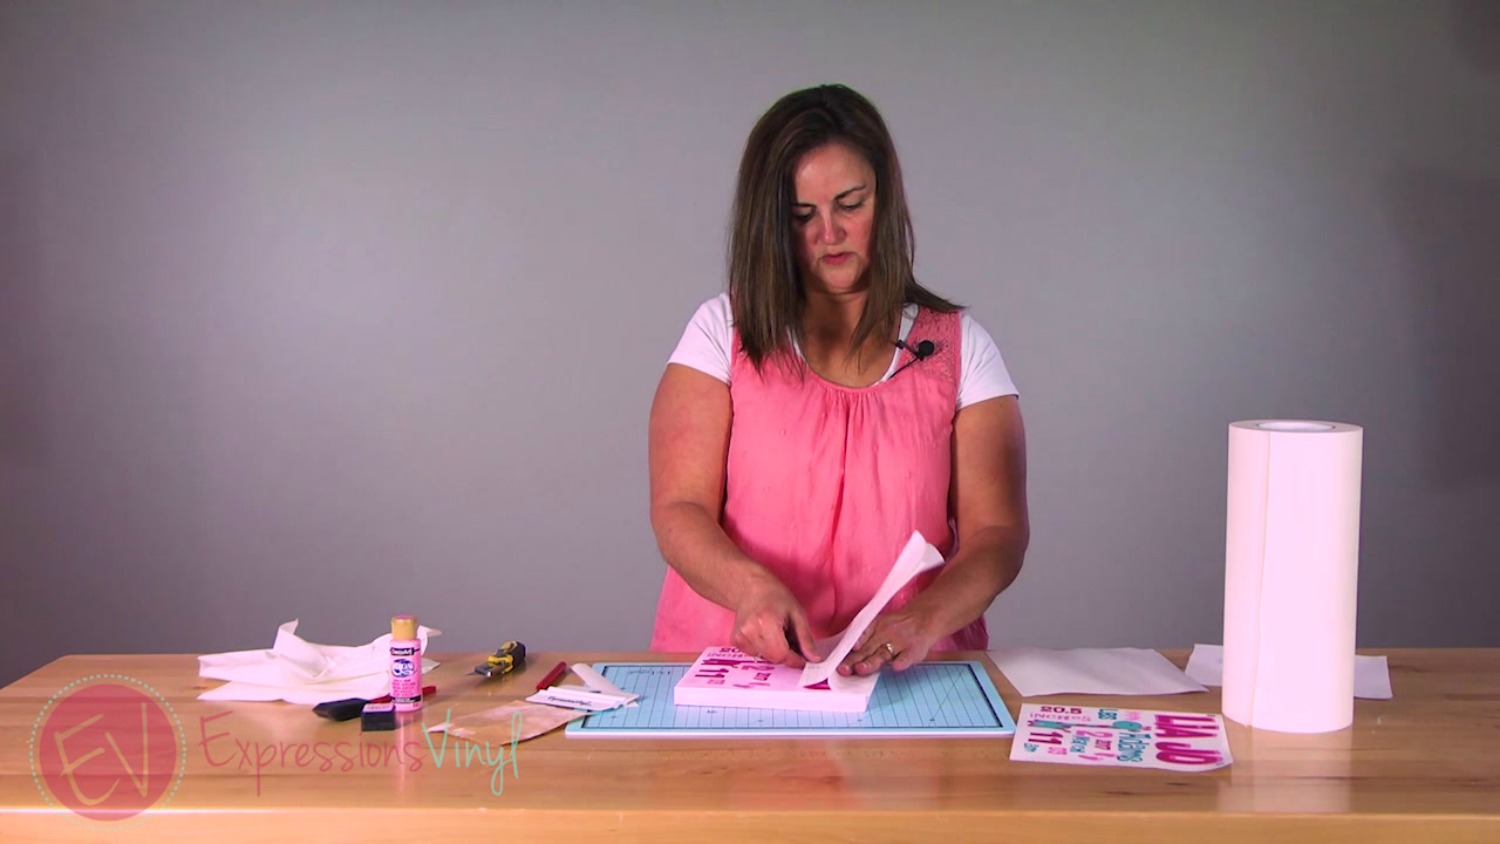
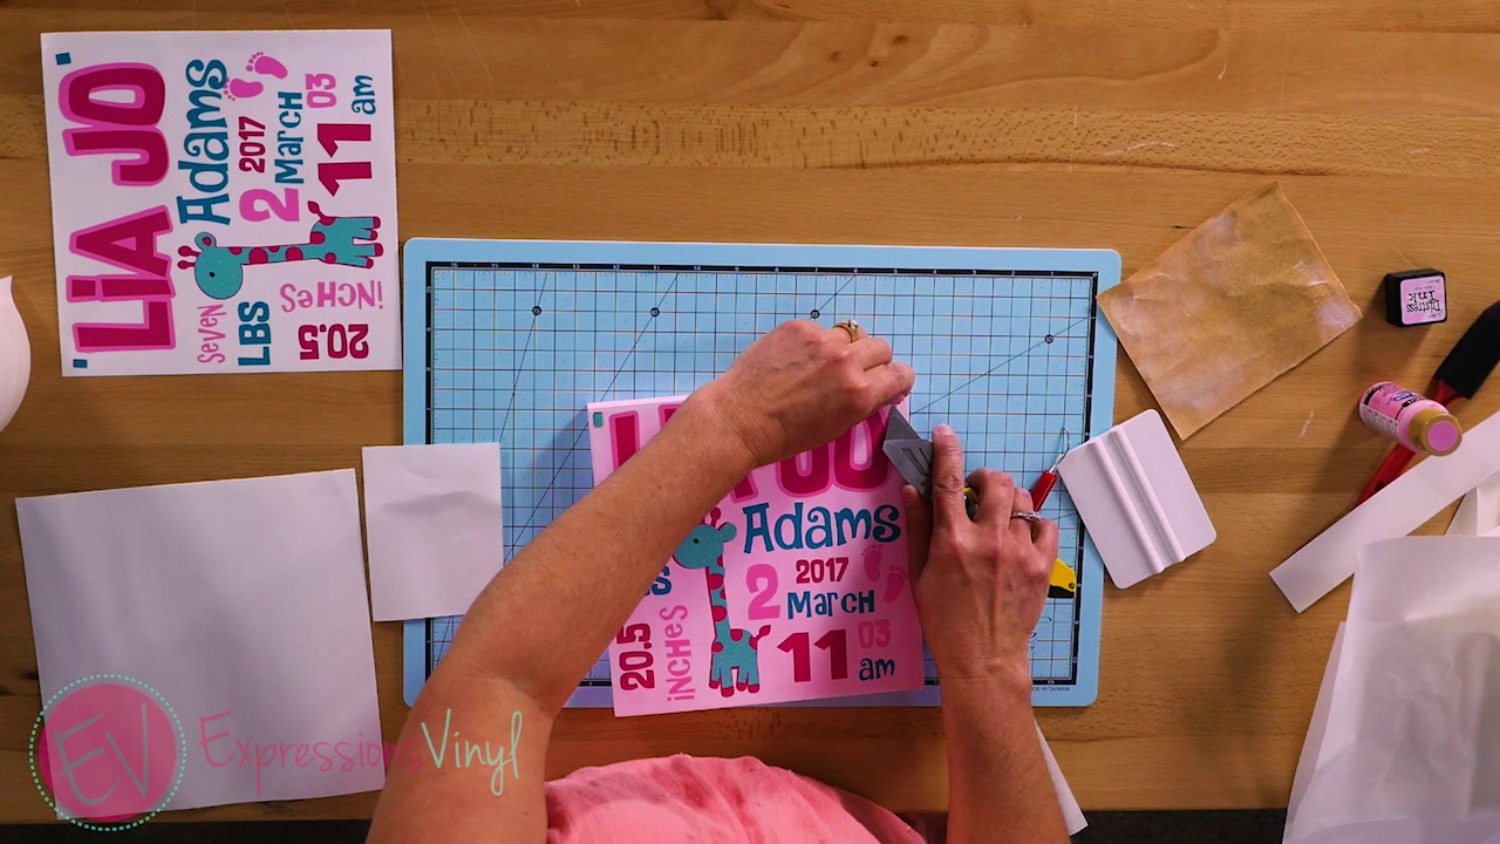
Step 2: Cut out your vinyl.
Once I finished designing my project on silhouette studio (which deserves another “how-to” blog), I added 2 rectangles in the top corners, as shown. I will use these rectangles later to line up each of my vinyl layers. Since my sign has 4 different colors, I needed to cut out 4 separate sheets of vinyl. To do this, I duplicated my design 4 times in silhouette studio. Make sure to save the original! In each of your 4 copies, simply delete every color except one, which will be the color that you are cutting. This is a quick and easy way to cut each color separately.
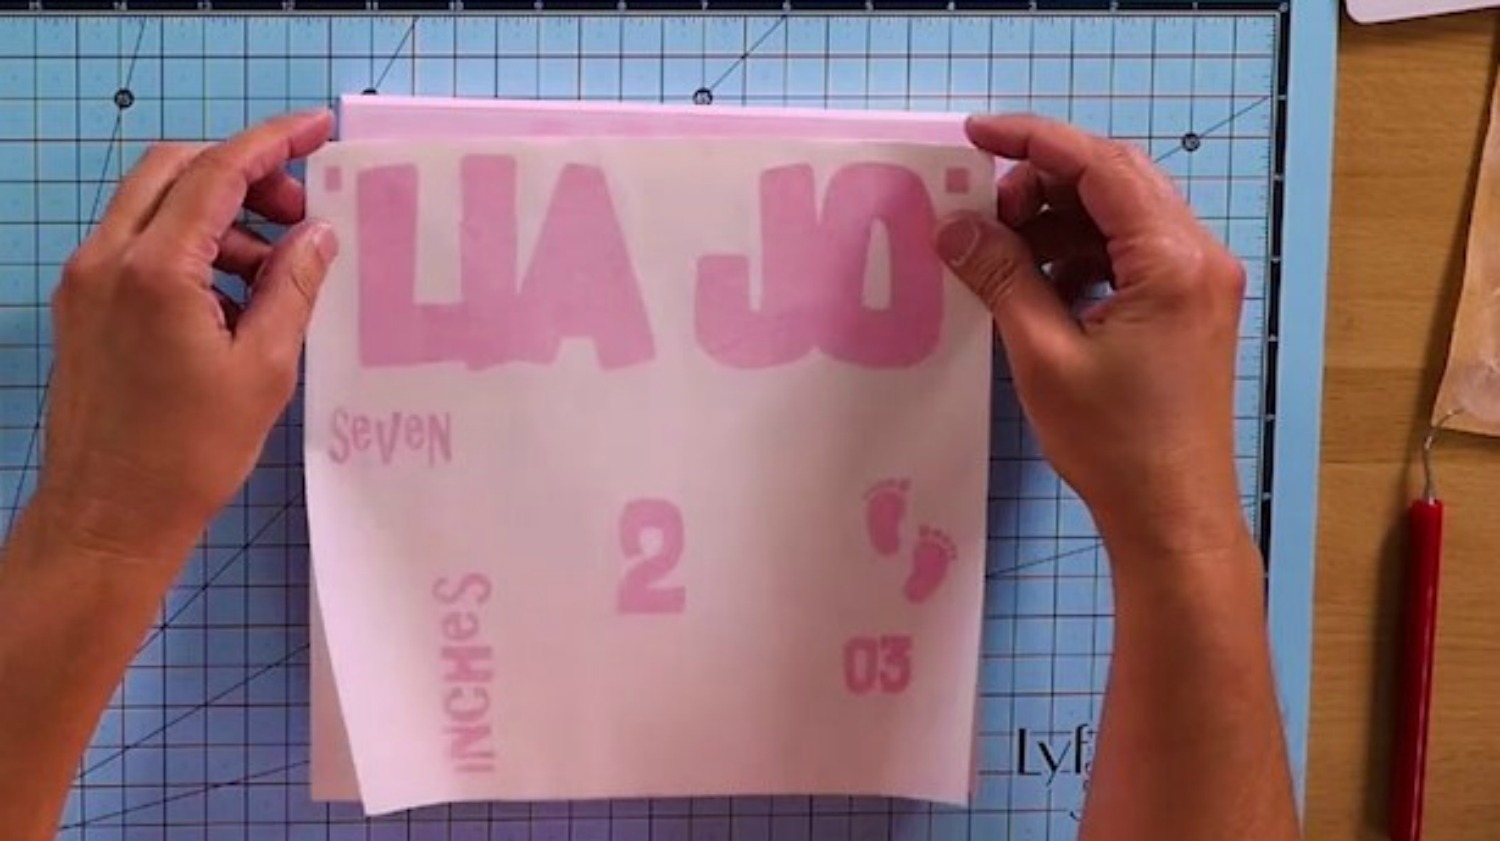
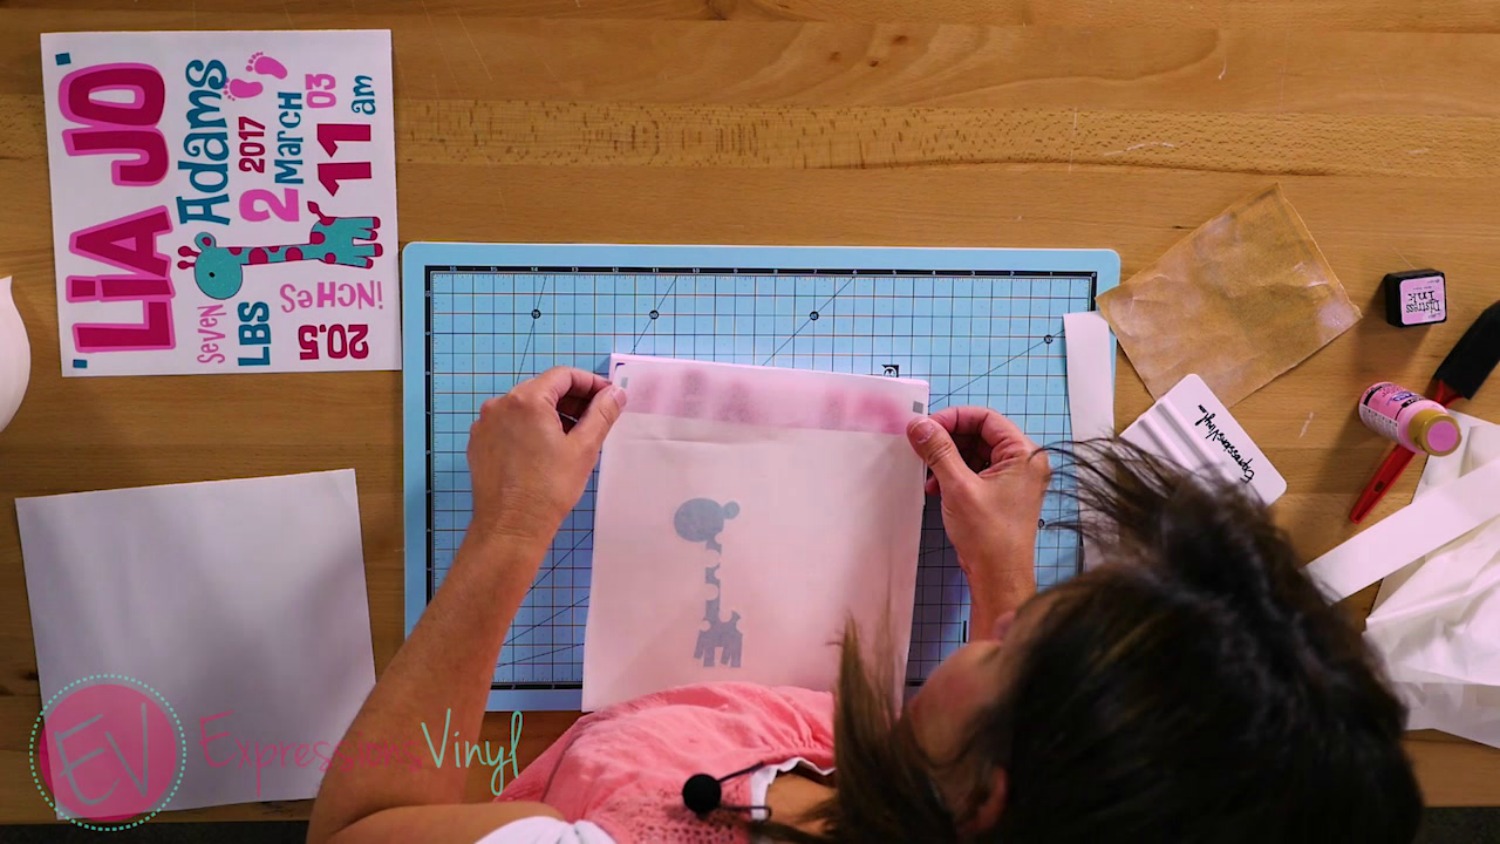
Step 3: Use the Siser Weeding Tool to weed and apply transfer tape to each piece of vinyl. I used paper transfer tape, but use whatever you prefer.
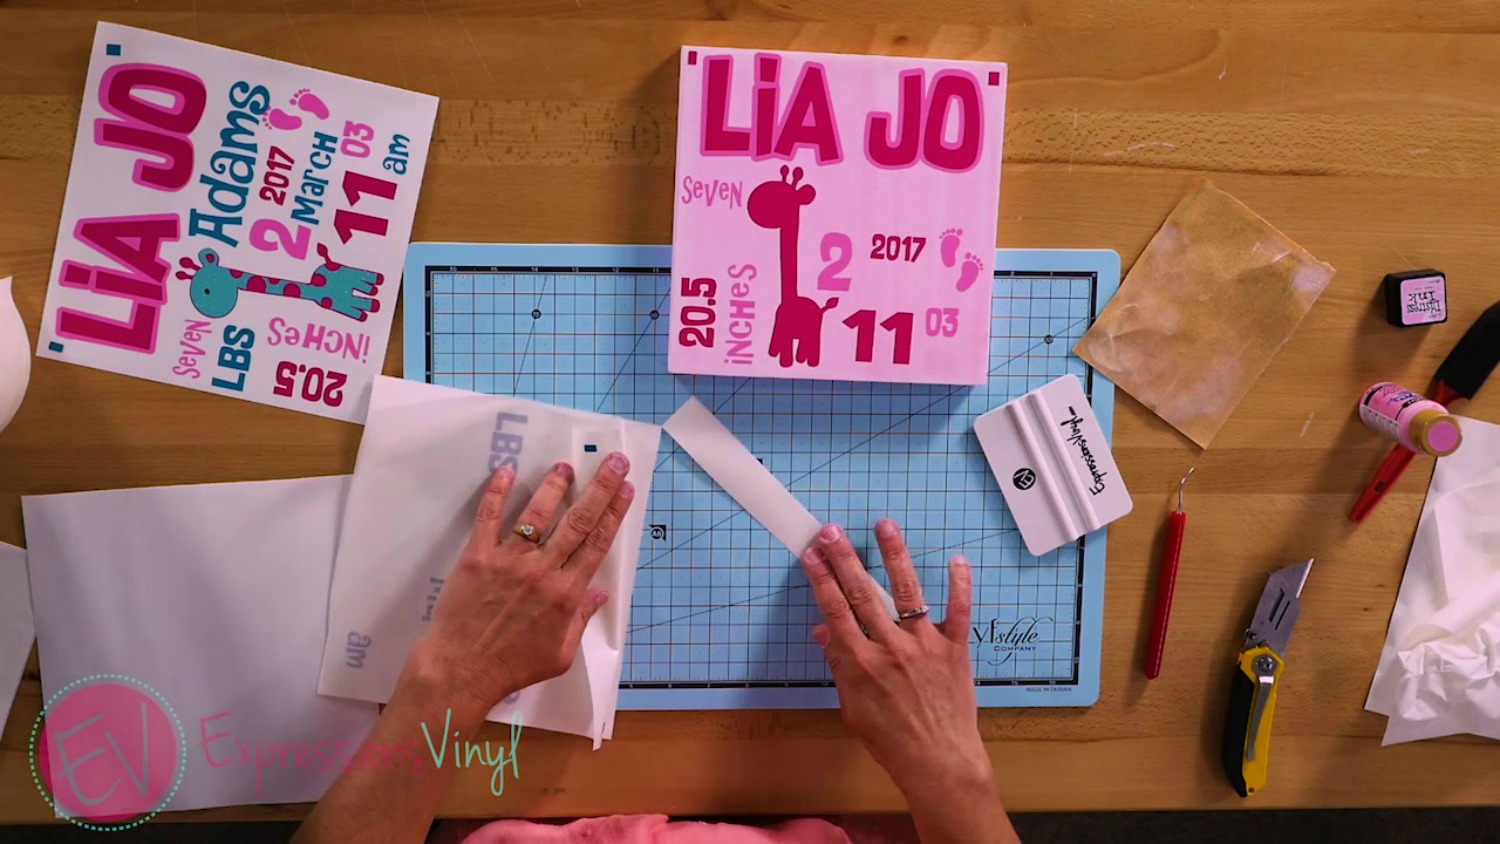
Step 4: Apply your first layer of vinyl.
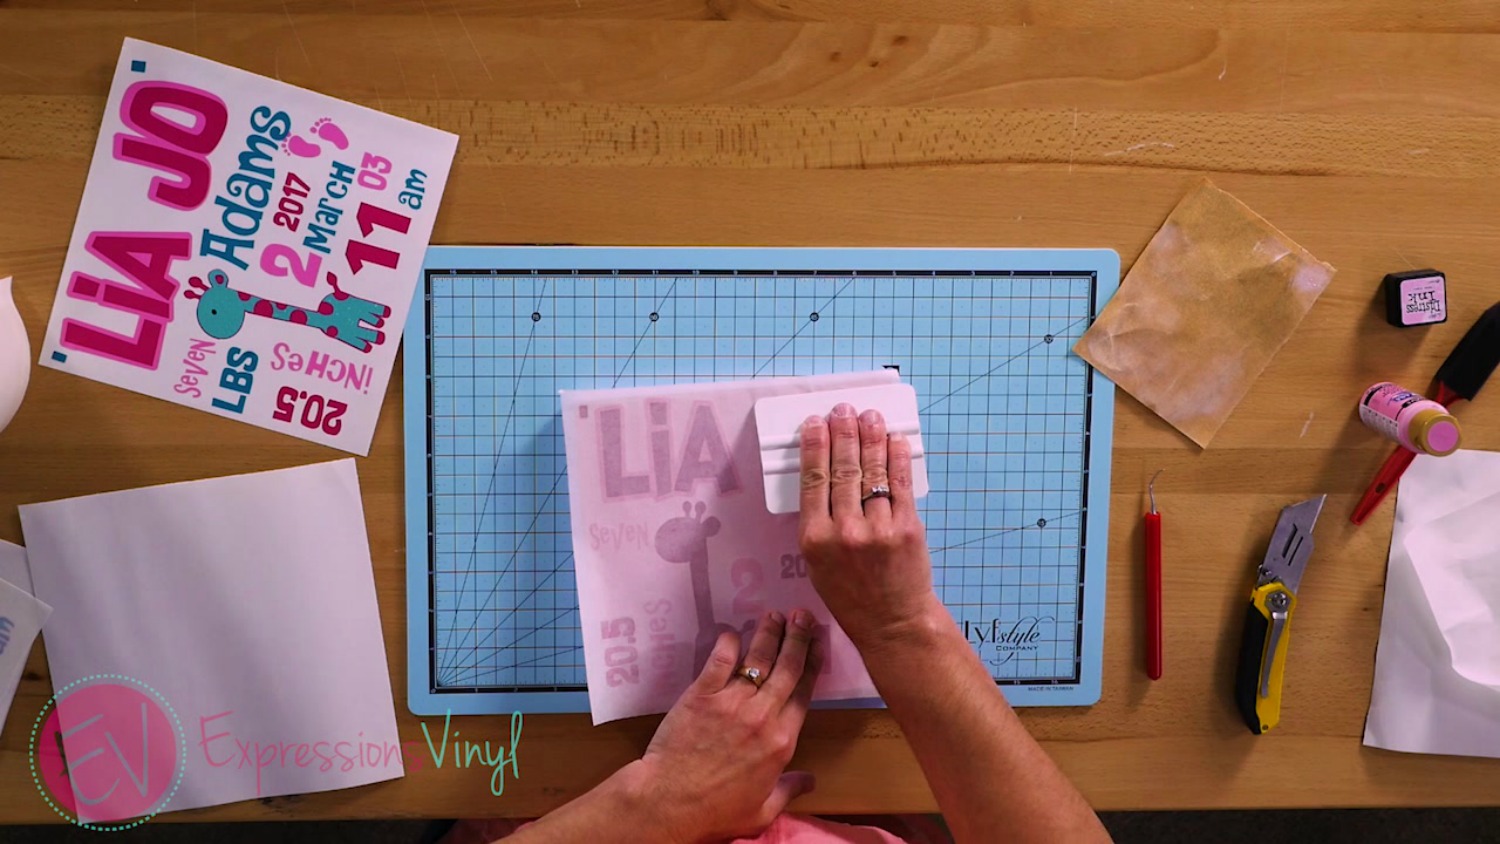
When layering vinyl, remember to put the bottom color on first! I know, it sounds obvious, but trust me it’s not. Since Carnation Pink is below the Pink, I had to make sure to apply that first. Also, make sure to use the application tool so that every piece adheres firmly to your project.
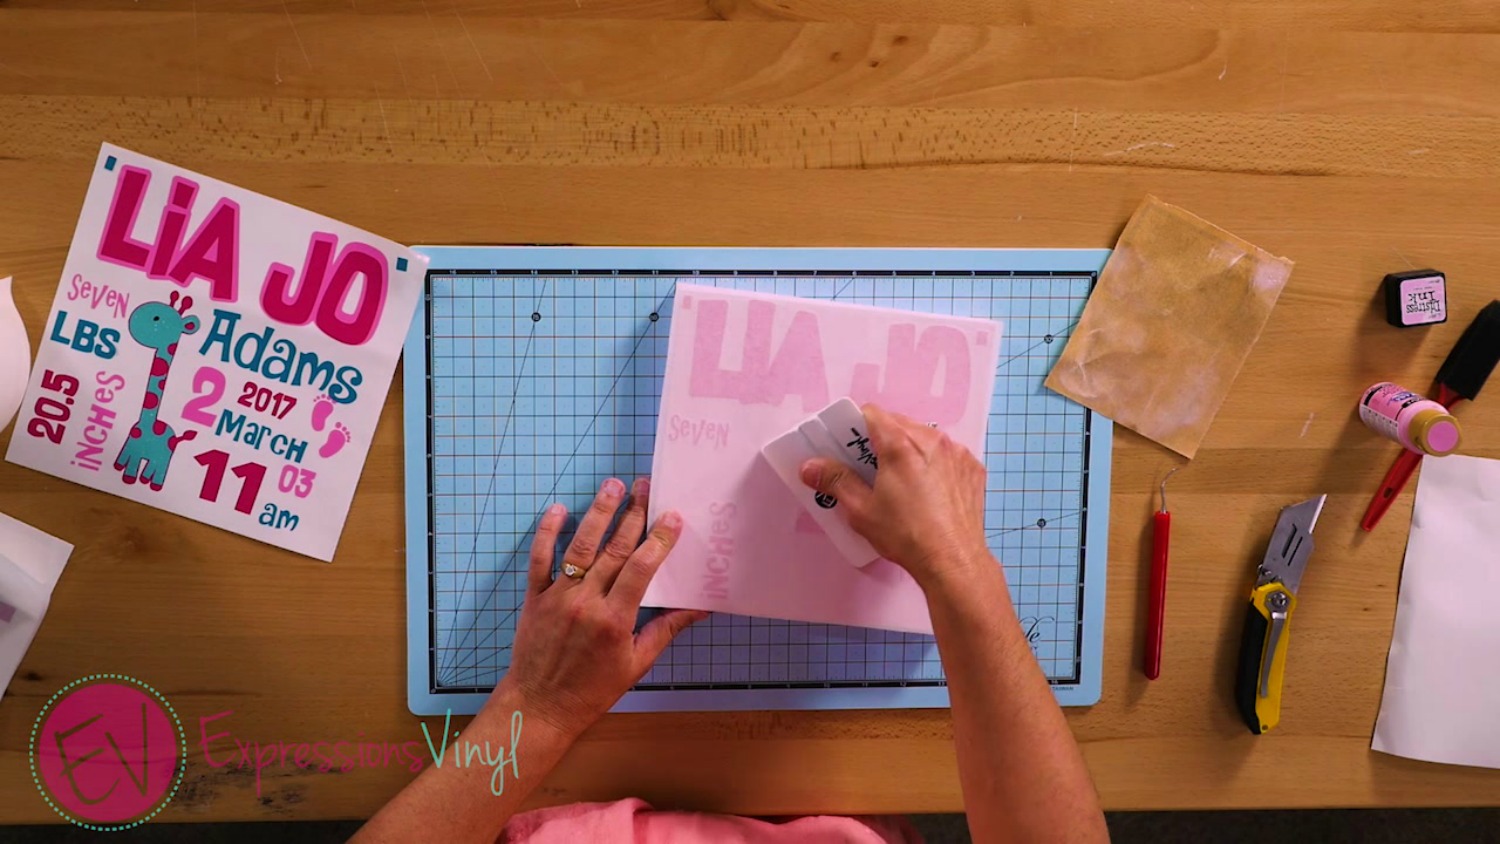
Step 5: Peel your transfer paper off.
Go slow to make sure that all vinyl is stuck to your project.
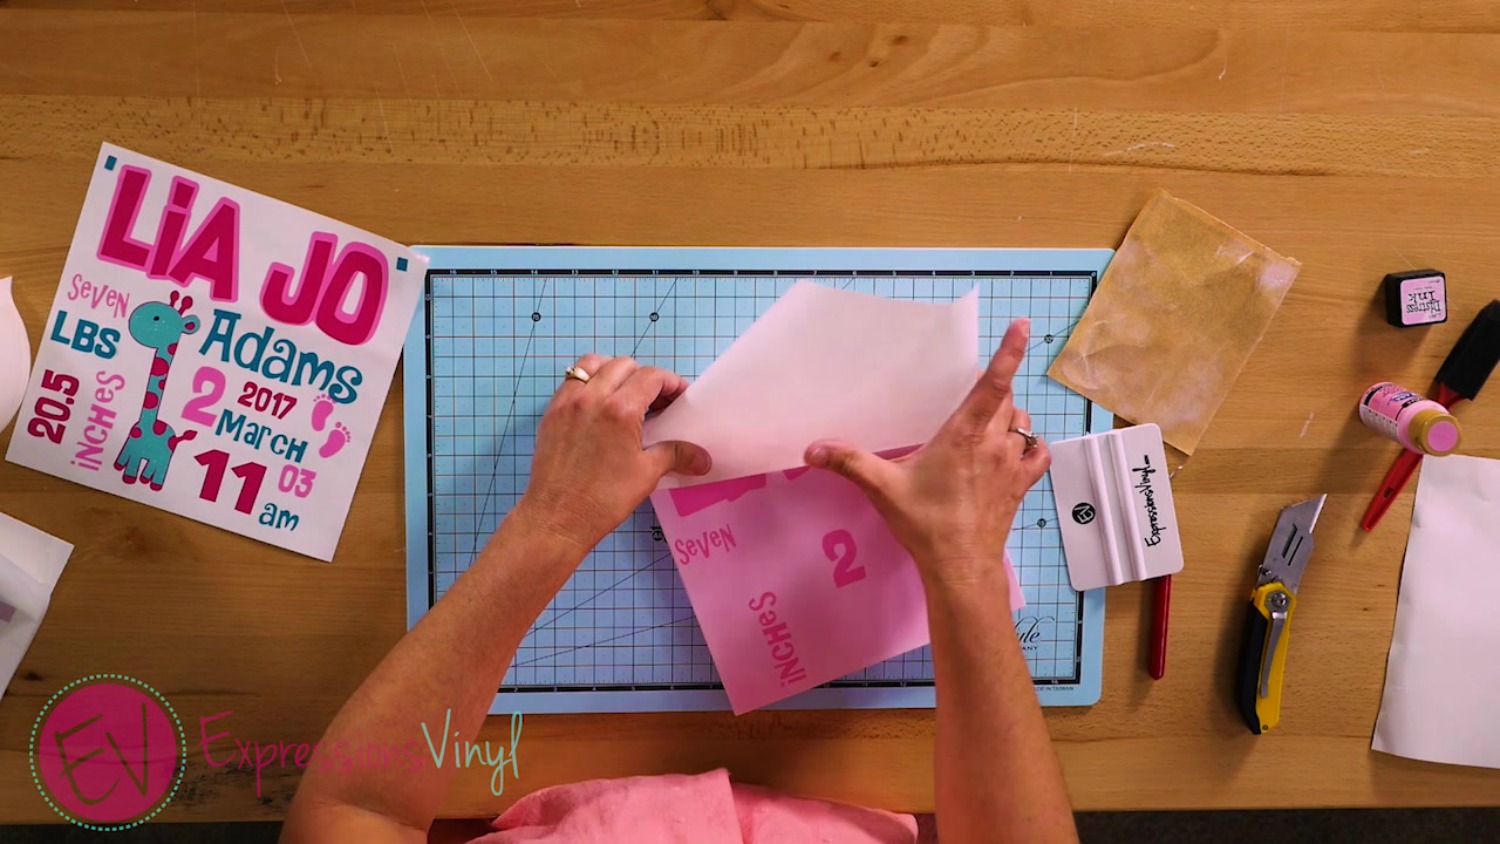
Step 6: Apply the next color (or layer) of vinyl
This is where those two rectangles at the top of your project come in handy! The pictures below will shows the “HARDER” method where I peeled the entire backing sheet off the vinyl, tried to line up the rectangles, and then smoothed down the next layer. (Yes, I learned this the hard way) In the next step I’ll show the “BETTER” method.
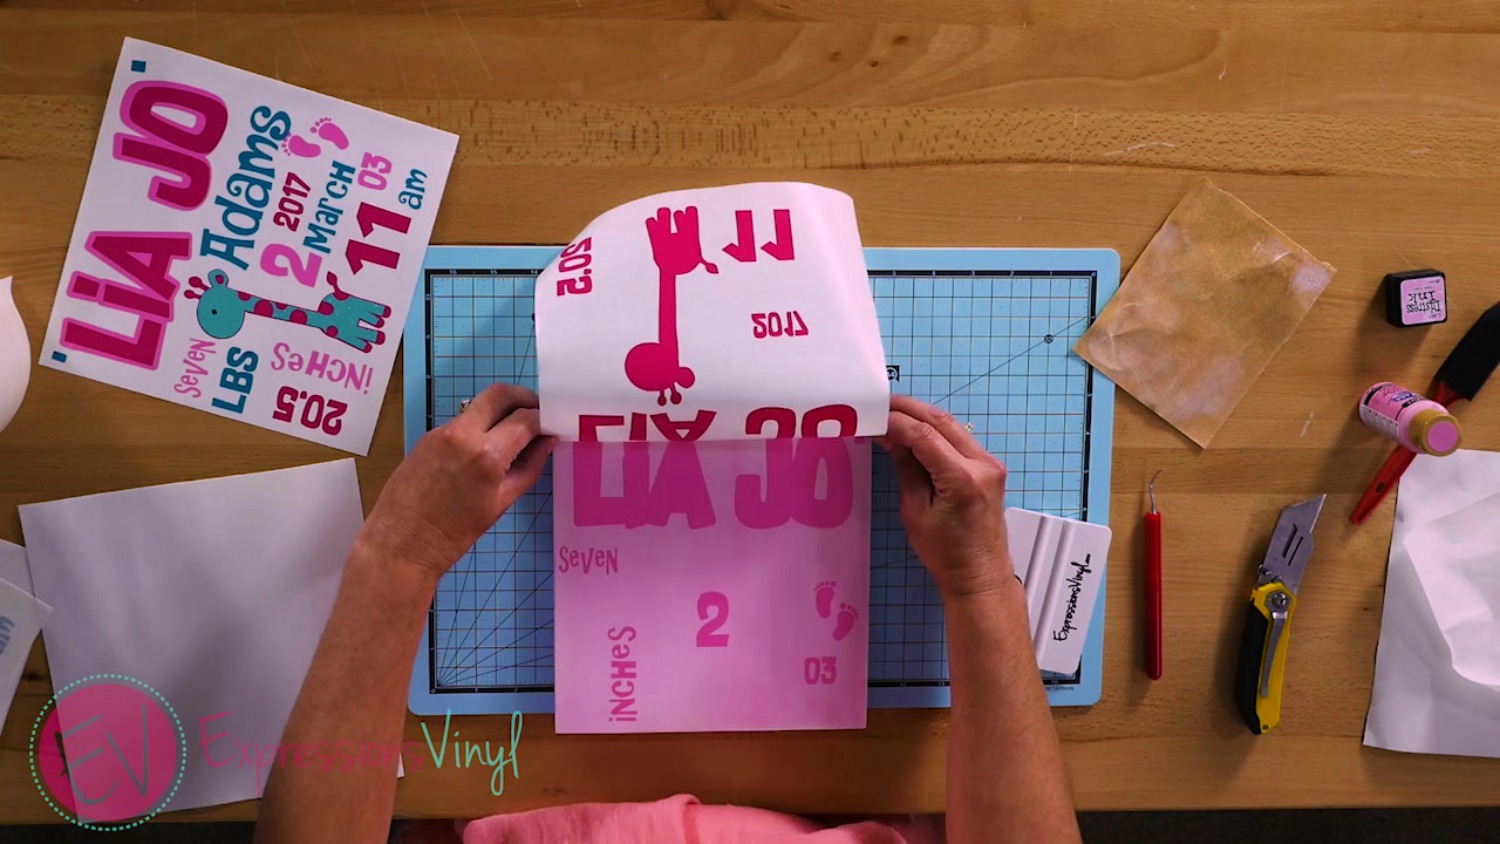
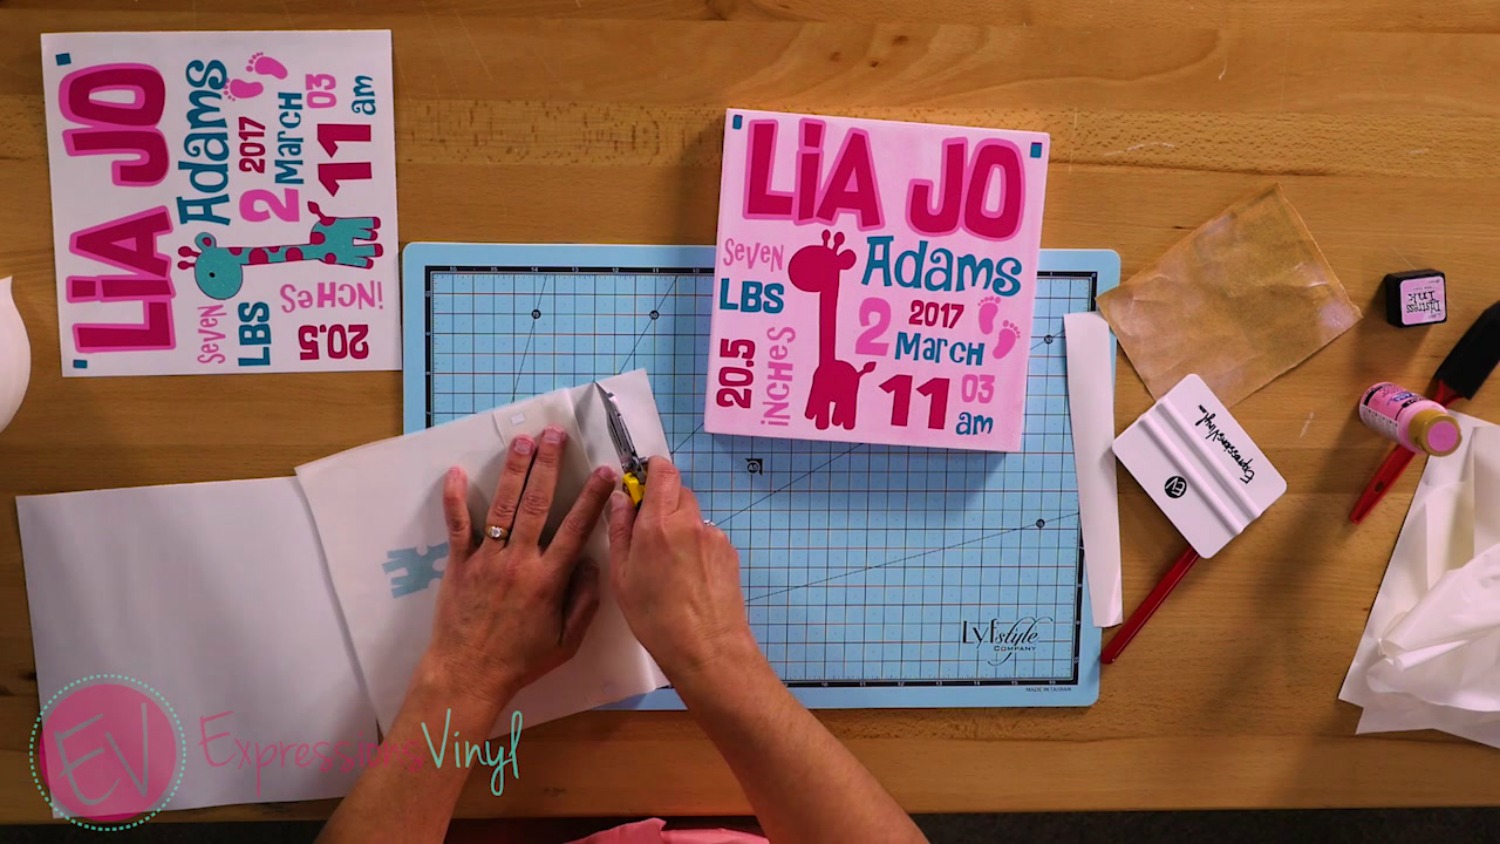
Step 6 (again…) – BETTER method to apply next layer.
Peel the backing paper ONLY off the two rectangles and cut this portion off. Then line up your vinyl perfectly without having the entire sheet stick to your project! (better, huh?!) Once your rectangles are lined up, pull the rest of the backing paper off.

Step 7: Continue to apply vinyl layers.
Make sure to line up your rectangles with each layer.

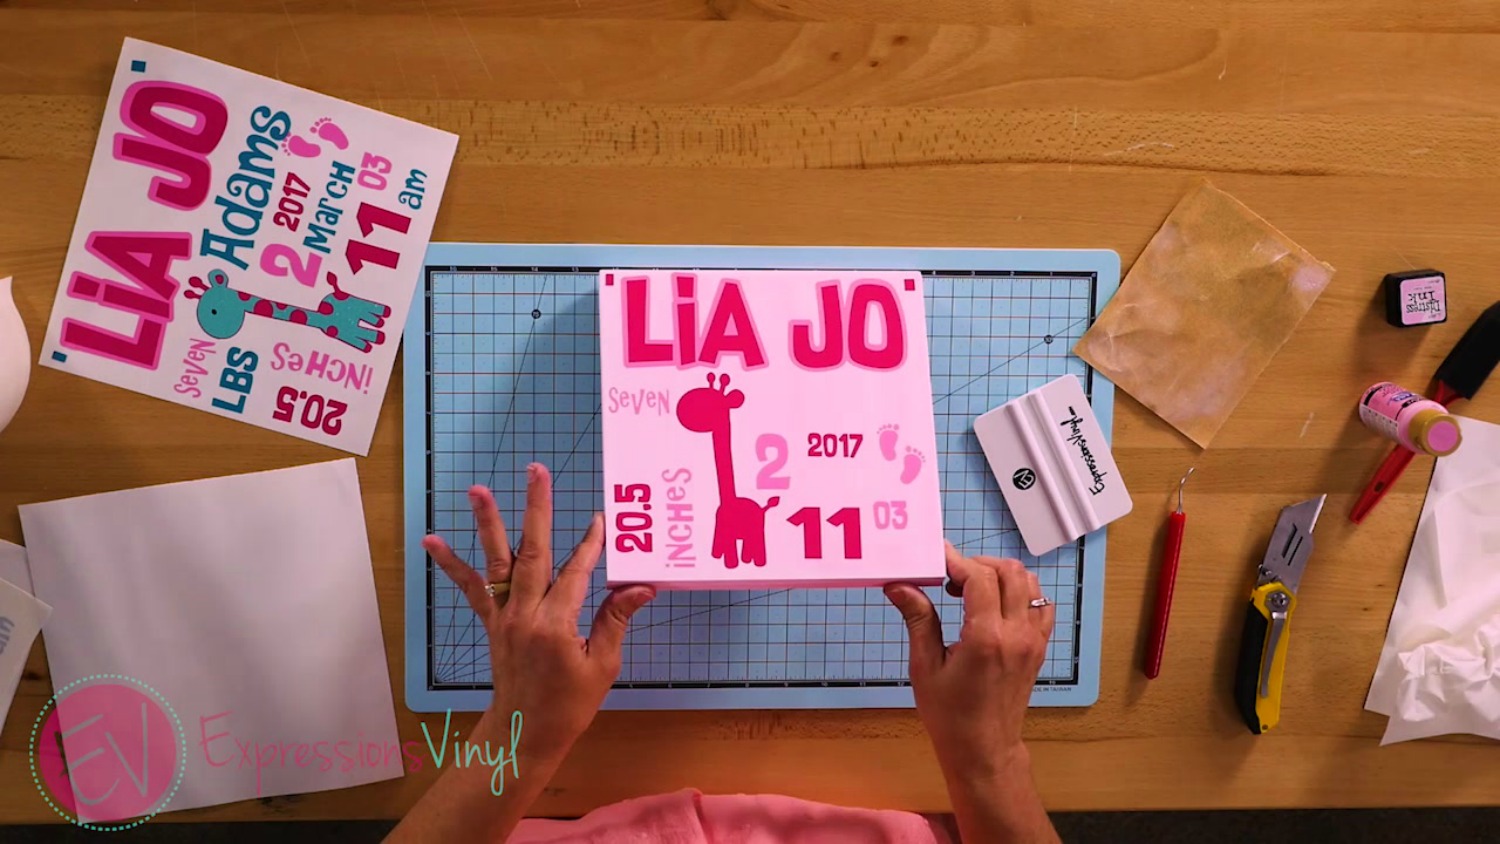
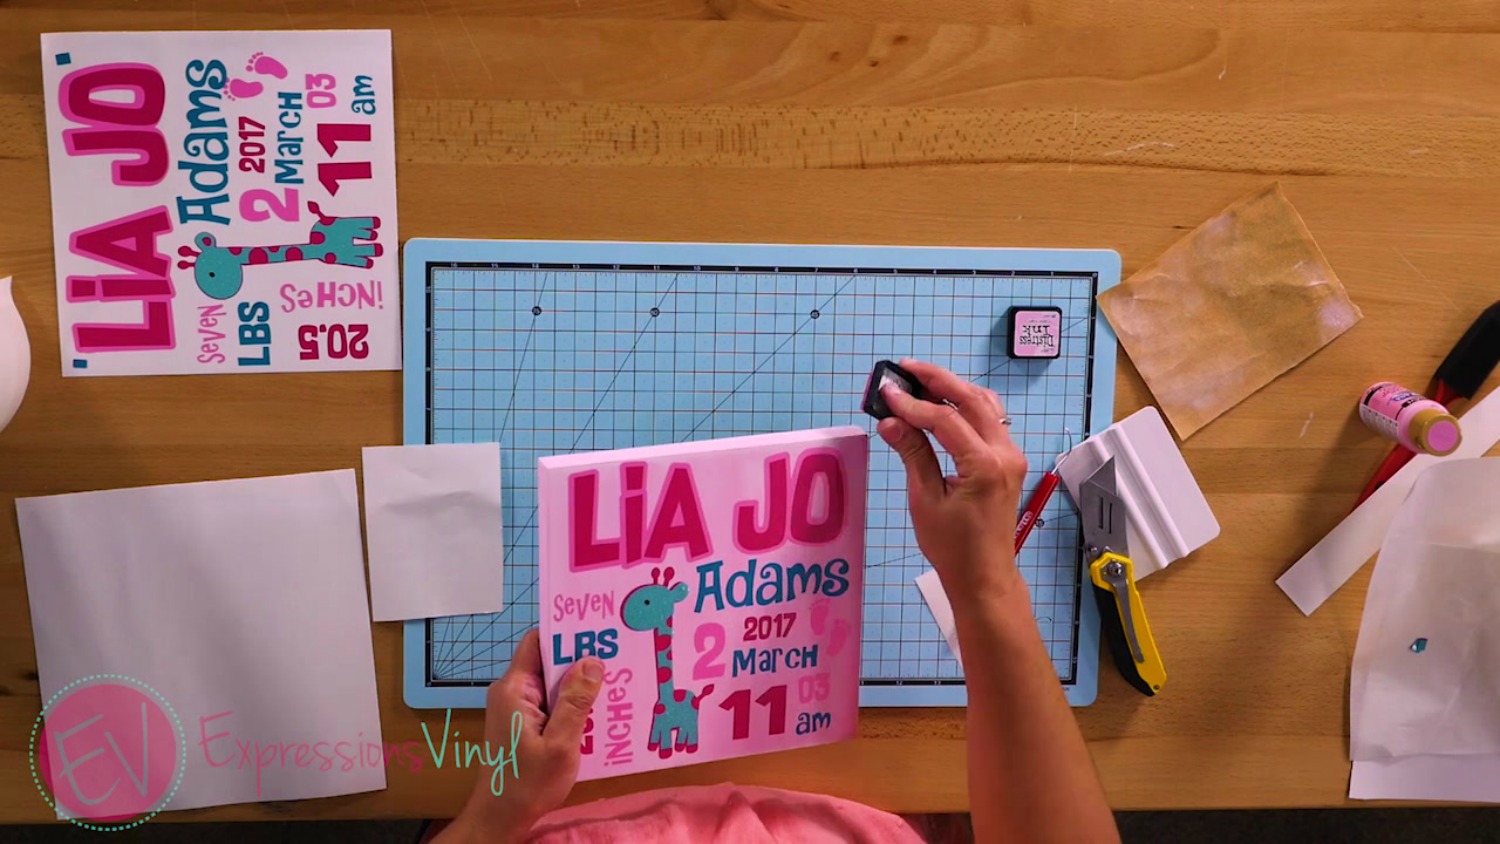
Step 8: Remove the rectangle corners and add desired finishing touches
I chose to add some distressed ink to the edges of my project.

That’s it! Baby Name Art is the perfect gift!! Now it’s your turn to try it!

Recent Posts
-
NEW Holographic Eclipse Heat Transfer Vinyl
April 15th, 2024 3 Ways to Use the New Holographic Eclipse Heat Transfer Vinyl from Siser …Apr 29th 2024 -
Hop into Spring with Cute Easter Vinyl Crafts
Do you love our Vinyl? Sign up for Vinyl Club today to get FREE vinyl and save big! …Mar 28th 2024 -

Fixing Wrinkles and Bubbles in Vinyl
How do you get air bubbles out of vinyl? There are a few different ways to ensure a flawless …Mar 26th 2024