
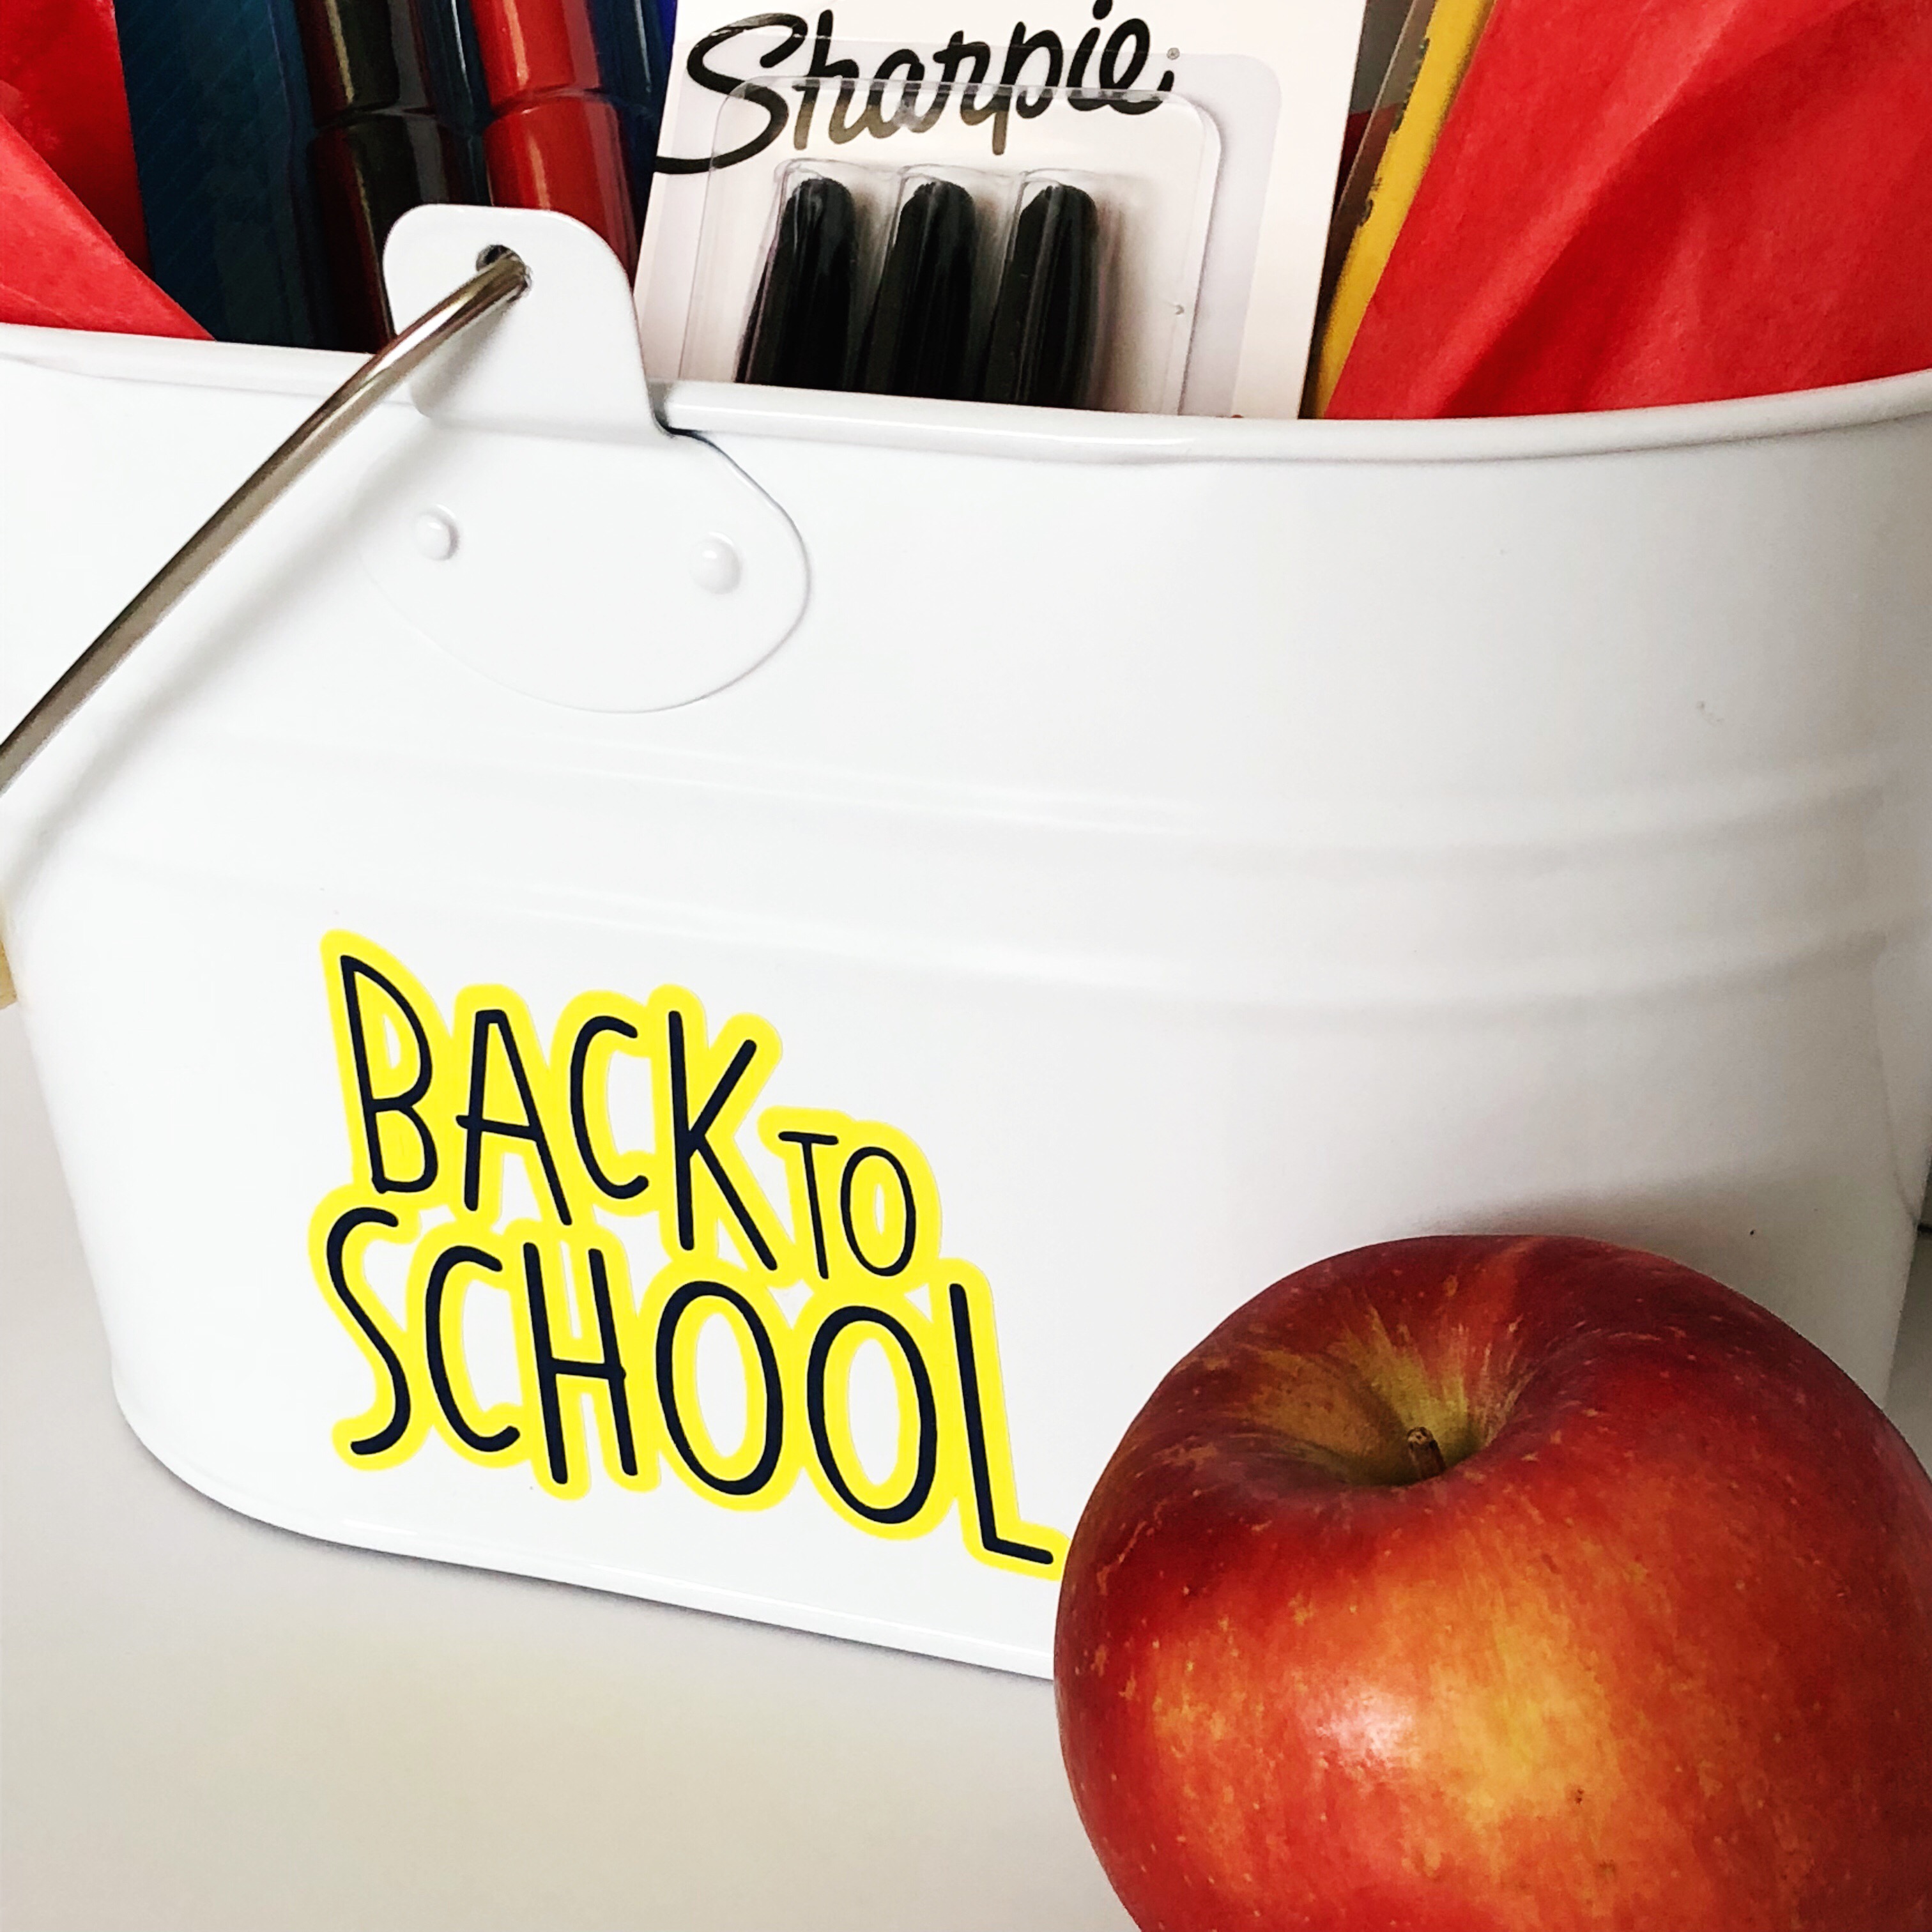
Back to school pail with adhesive vinyl
I can't believe summer is about over and all the kids will be on their way back to school with their new shoes, clean lunchboxes, and organized folders. There's so much excitement in the air, and it's a great time for both students and teachers. I'm always amazed at how dedicated teachers are to their job. They truly want their students to succeed and spend countless hours preparing lessons and activities to help grow the minds of young children. Because of their dedication, I thought it would be fun to make a back-to-school teacher gift that can be stuffed with supplies, gift cards, markers...basically anything a teacher could need. And of course, vinyl to the rescue to make it cute and customized! Here's how to make one of your own!
Supplies:
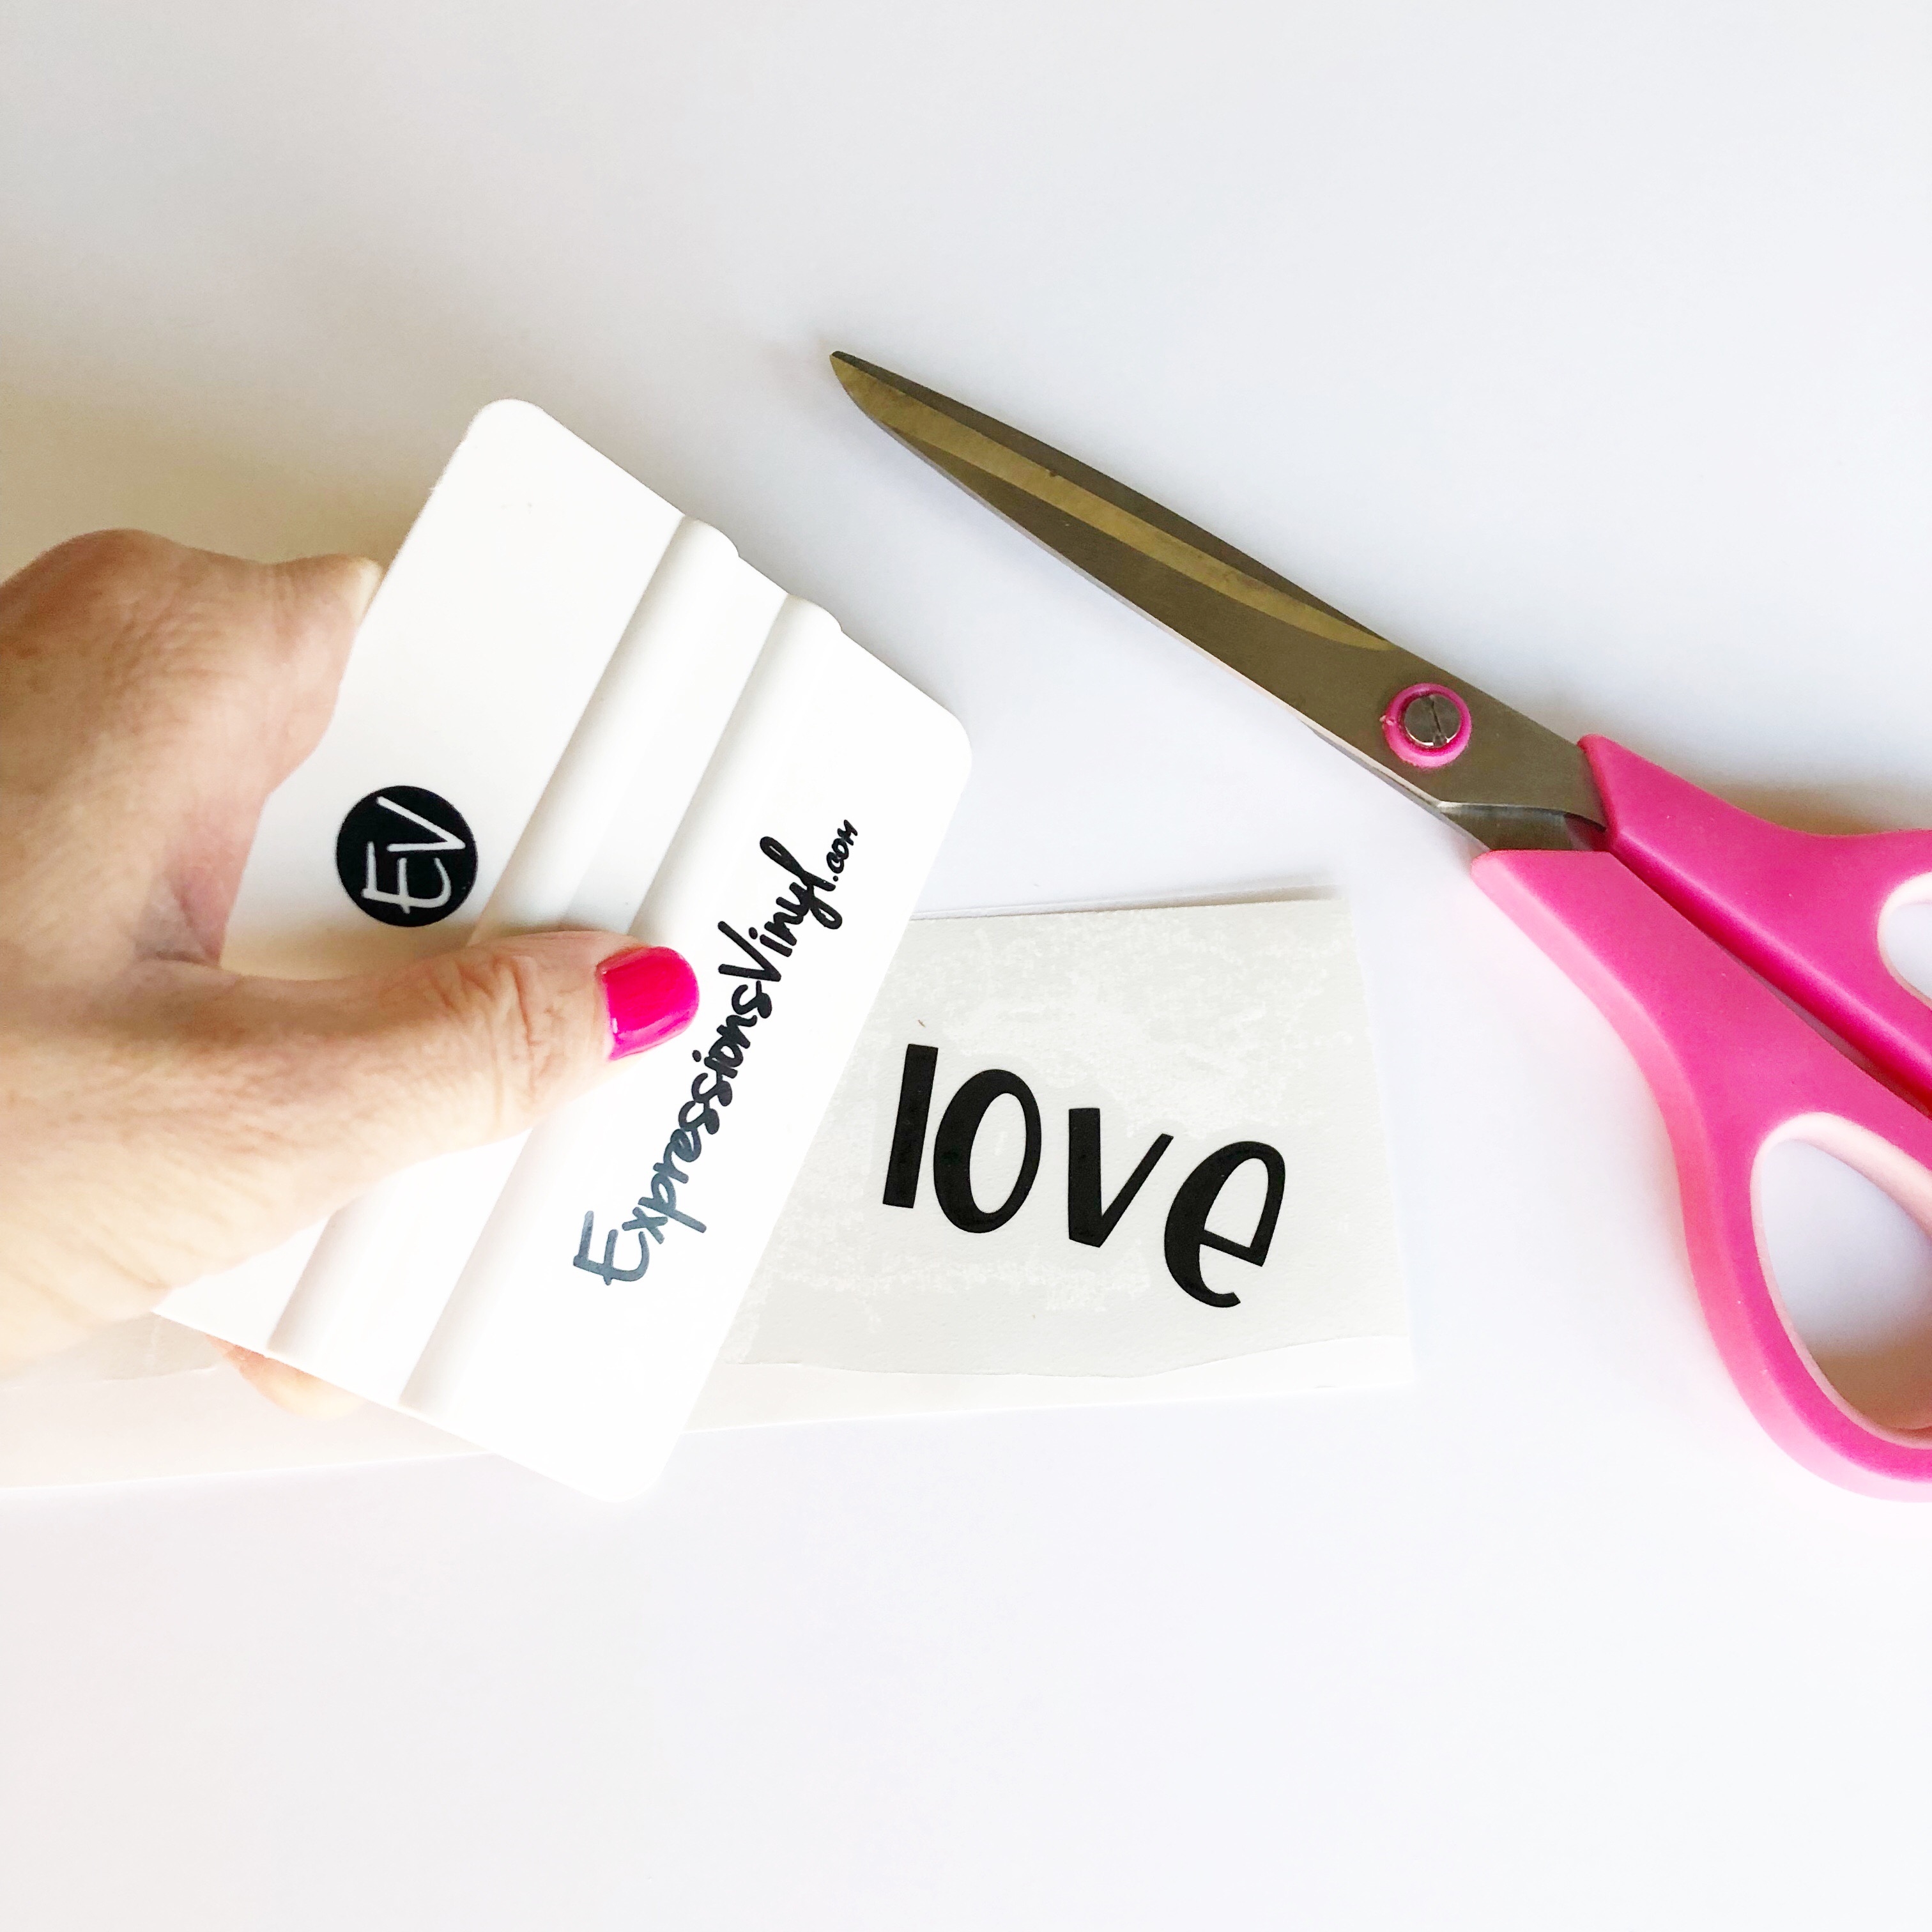
-adhesive vinyl (I used yellow and navy blue) -transfer tape -cutting machine (I used a Silhouette Cameo) -empty bucket or tin -vinyl application tool -weeding hook or craft tweezers -teacher supplies
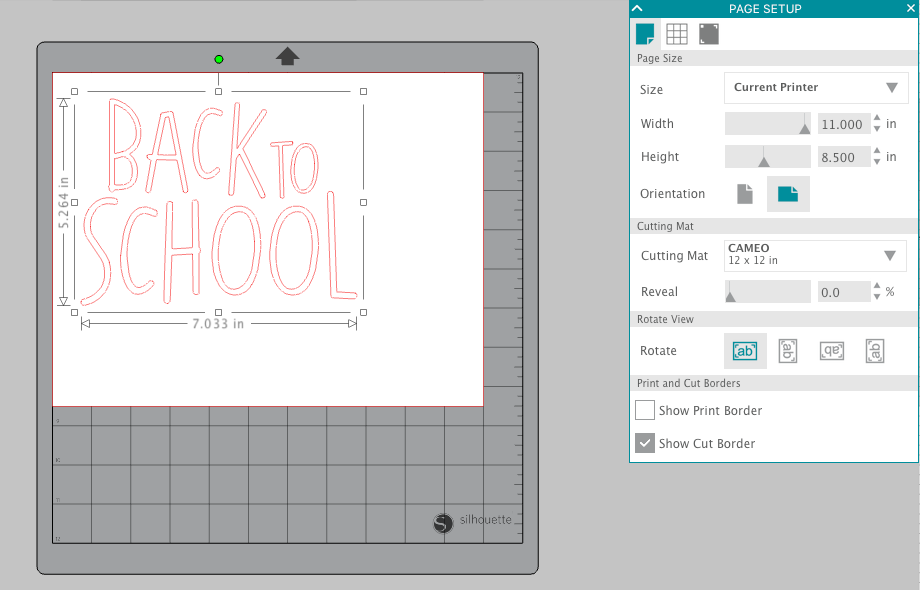
STEP ONE: Create design in software
Open your software program (I used Silhouette Studio) and import your design. I found this cute Back to School one and thought it would be perfect as a decal on my white metal bucket.
I like the look of layered vinyl, so I need to create an offset. Select your design and click on the offset function in the toolbar.
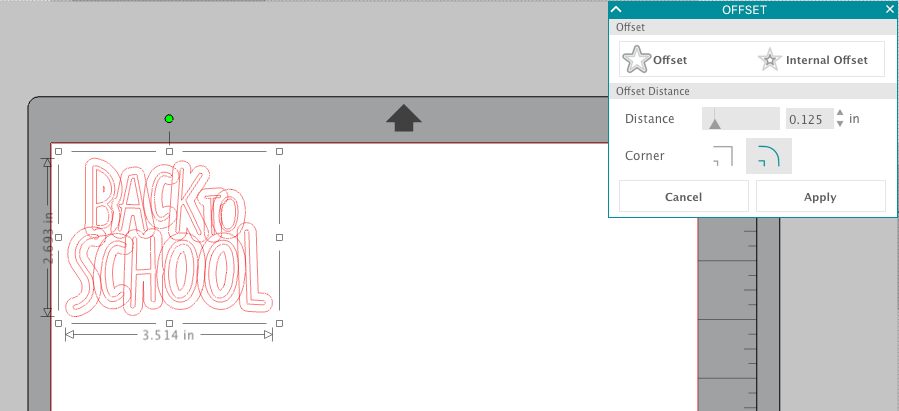
You can choose the distance of the offset if you want it large or small. Once you have it the size you'd like, click Apply.

Now separate the two parts of the design and add some fill color to give you a better idea of what the design will look like. This also helps remind you where to place your colors before cutting.

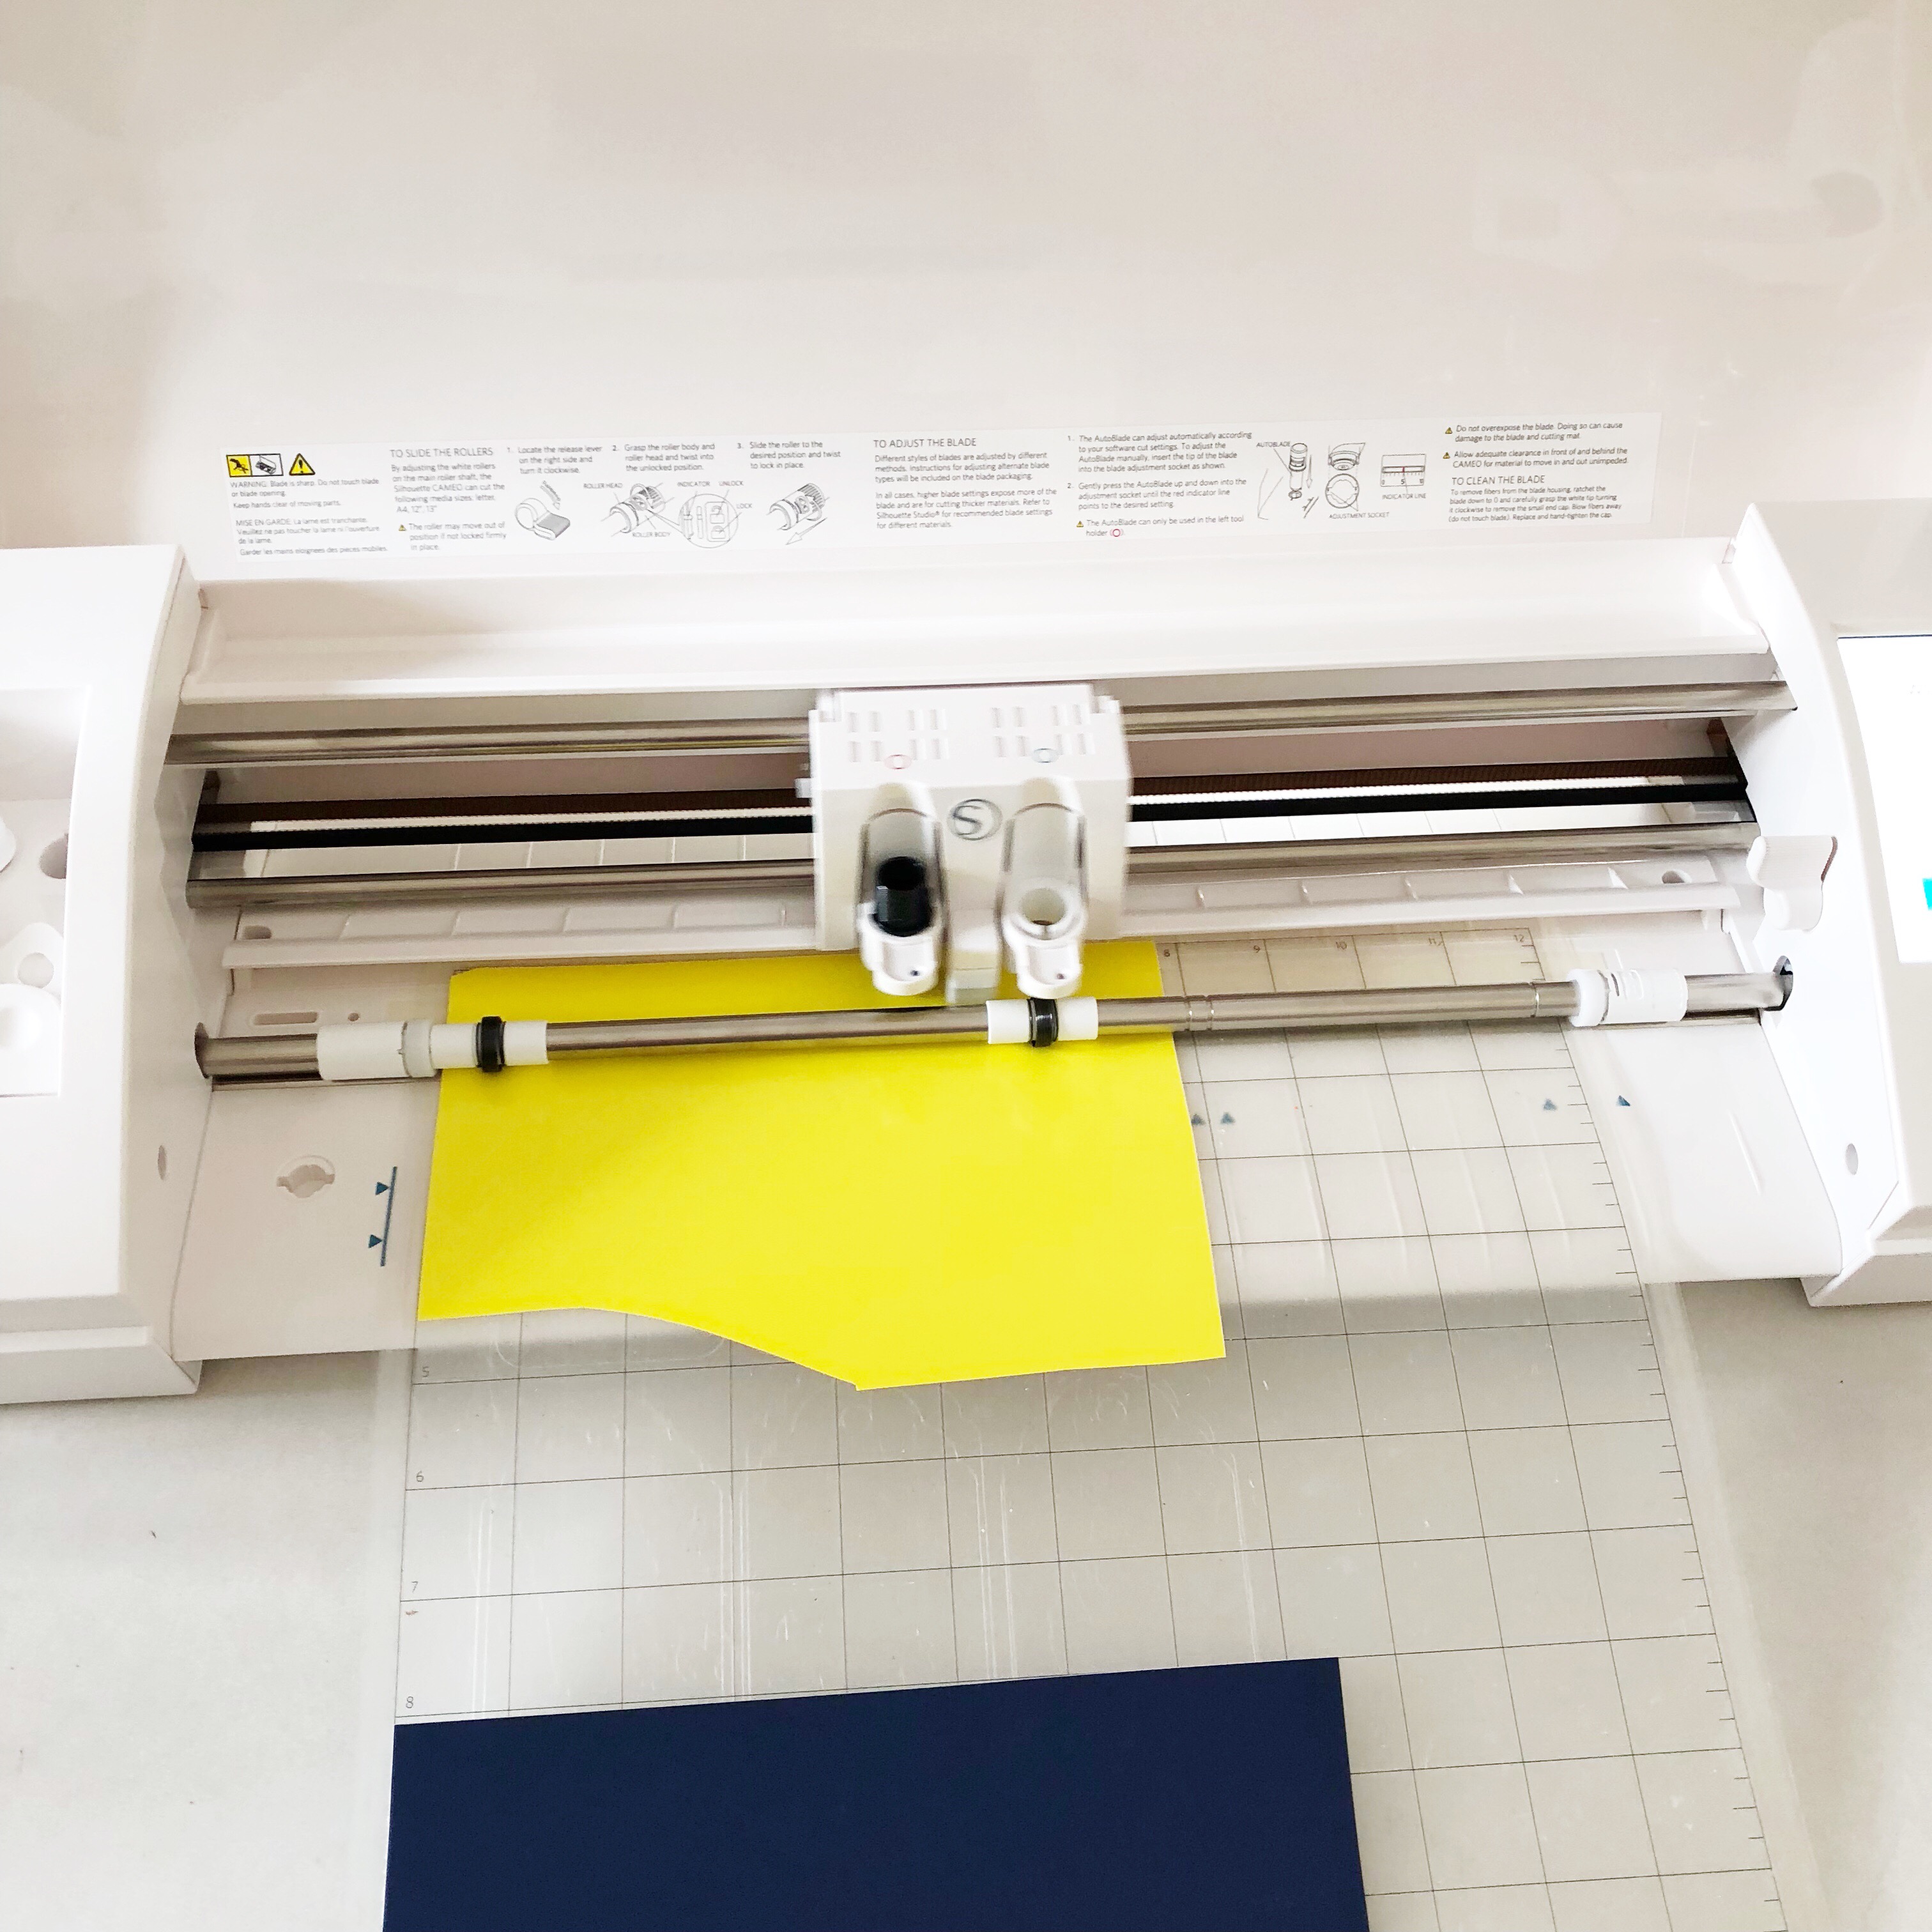
STEP TWO: Cut out vinyl designs
Go to your cut settings window and select the correct material. I used glossy vinyl so I chose that material option. Remember to adjust your blade if you are not using the auto blade on your Cameo.
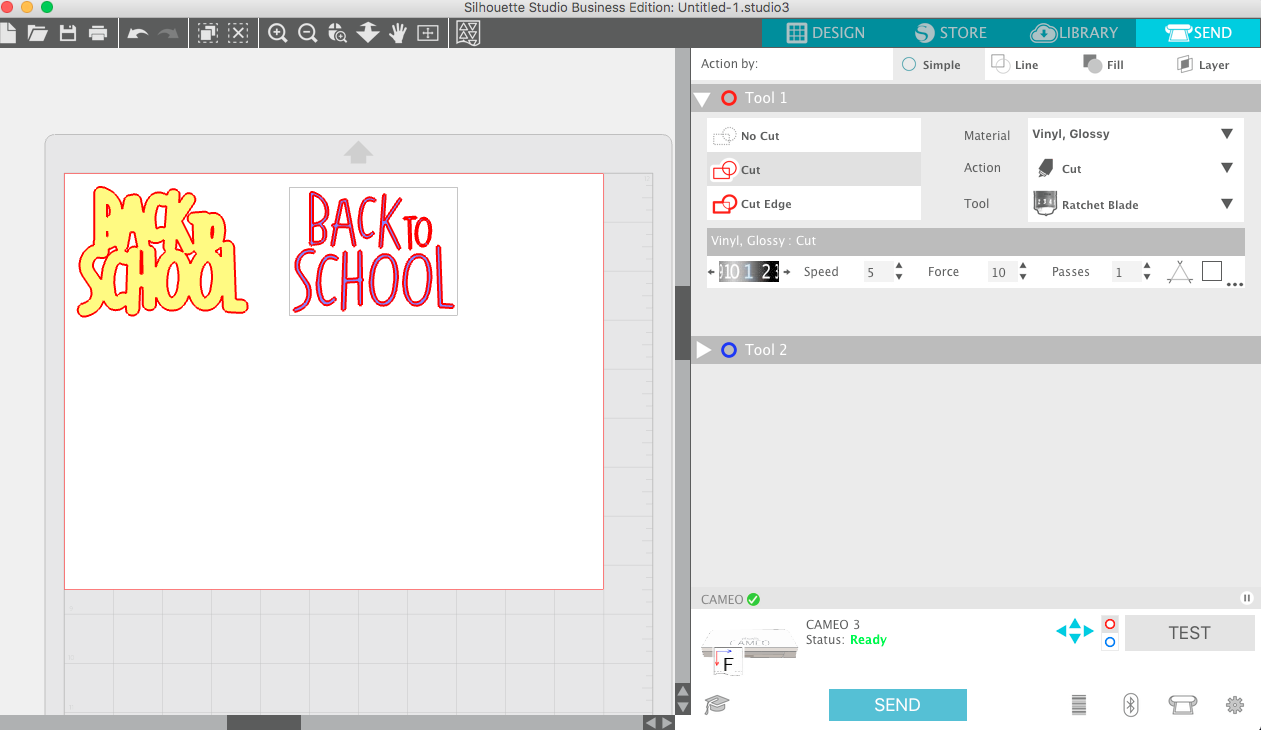
Now load your cutting mat into your machine and let it get to work! I love that I can cut out multiple colors at once!
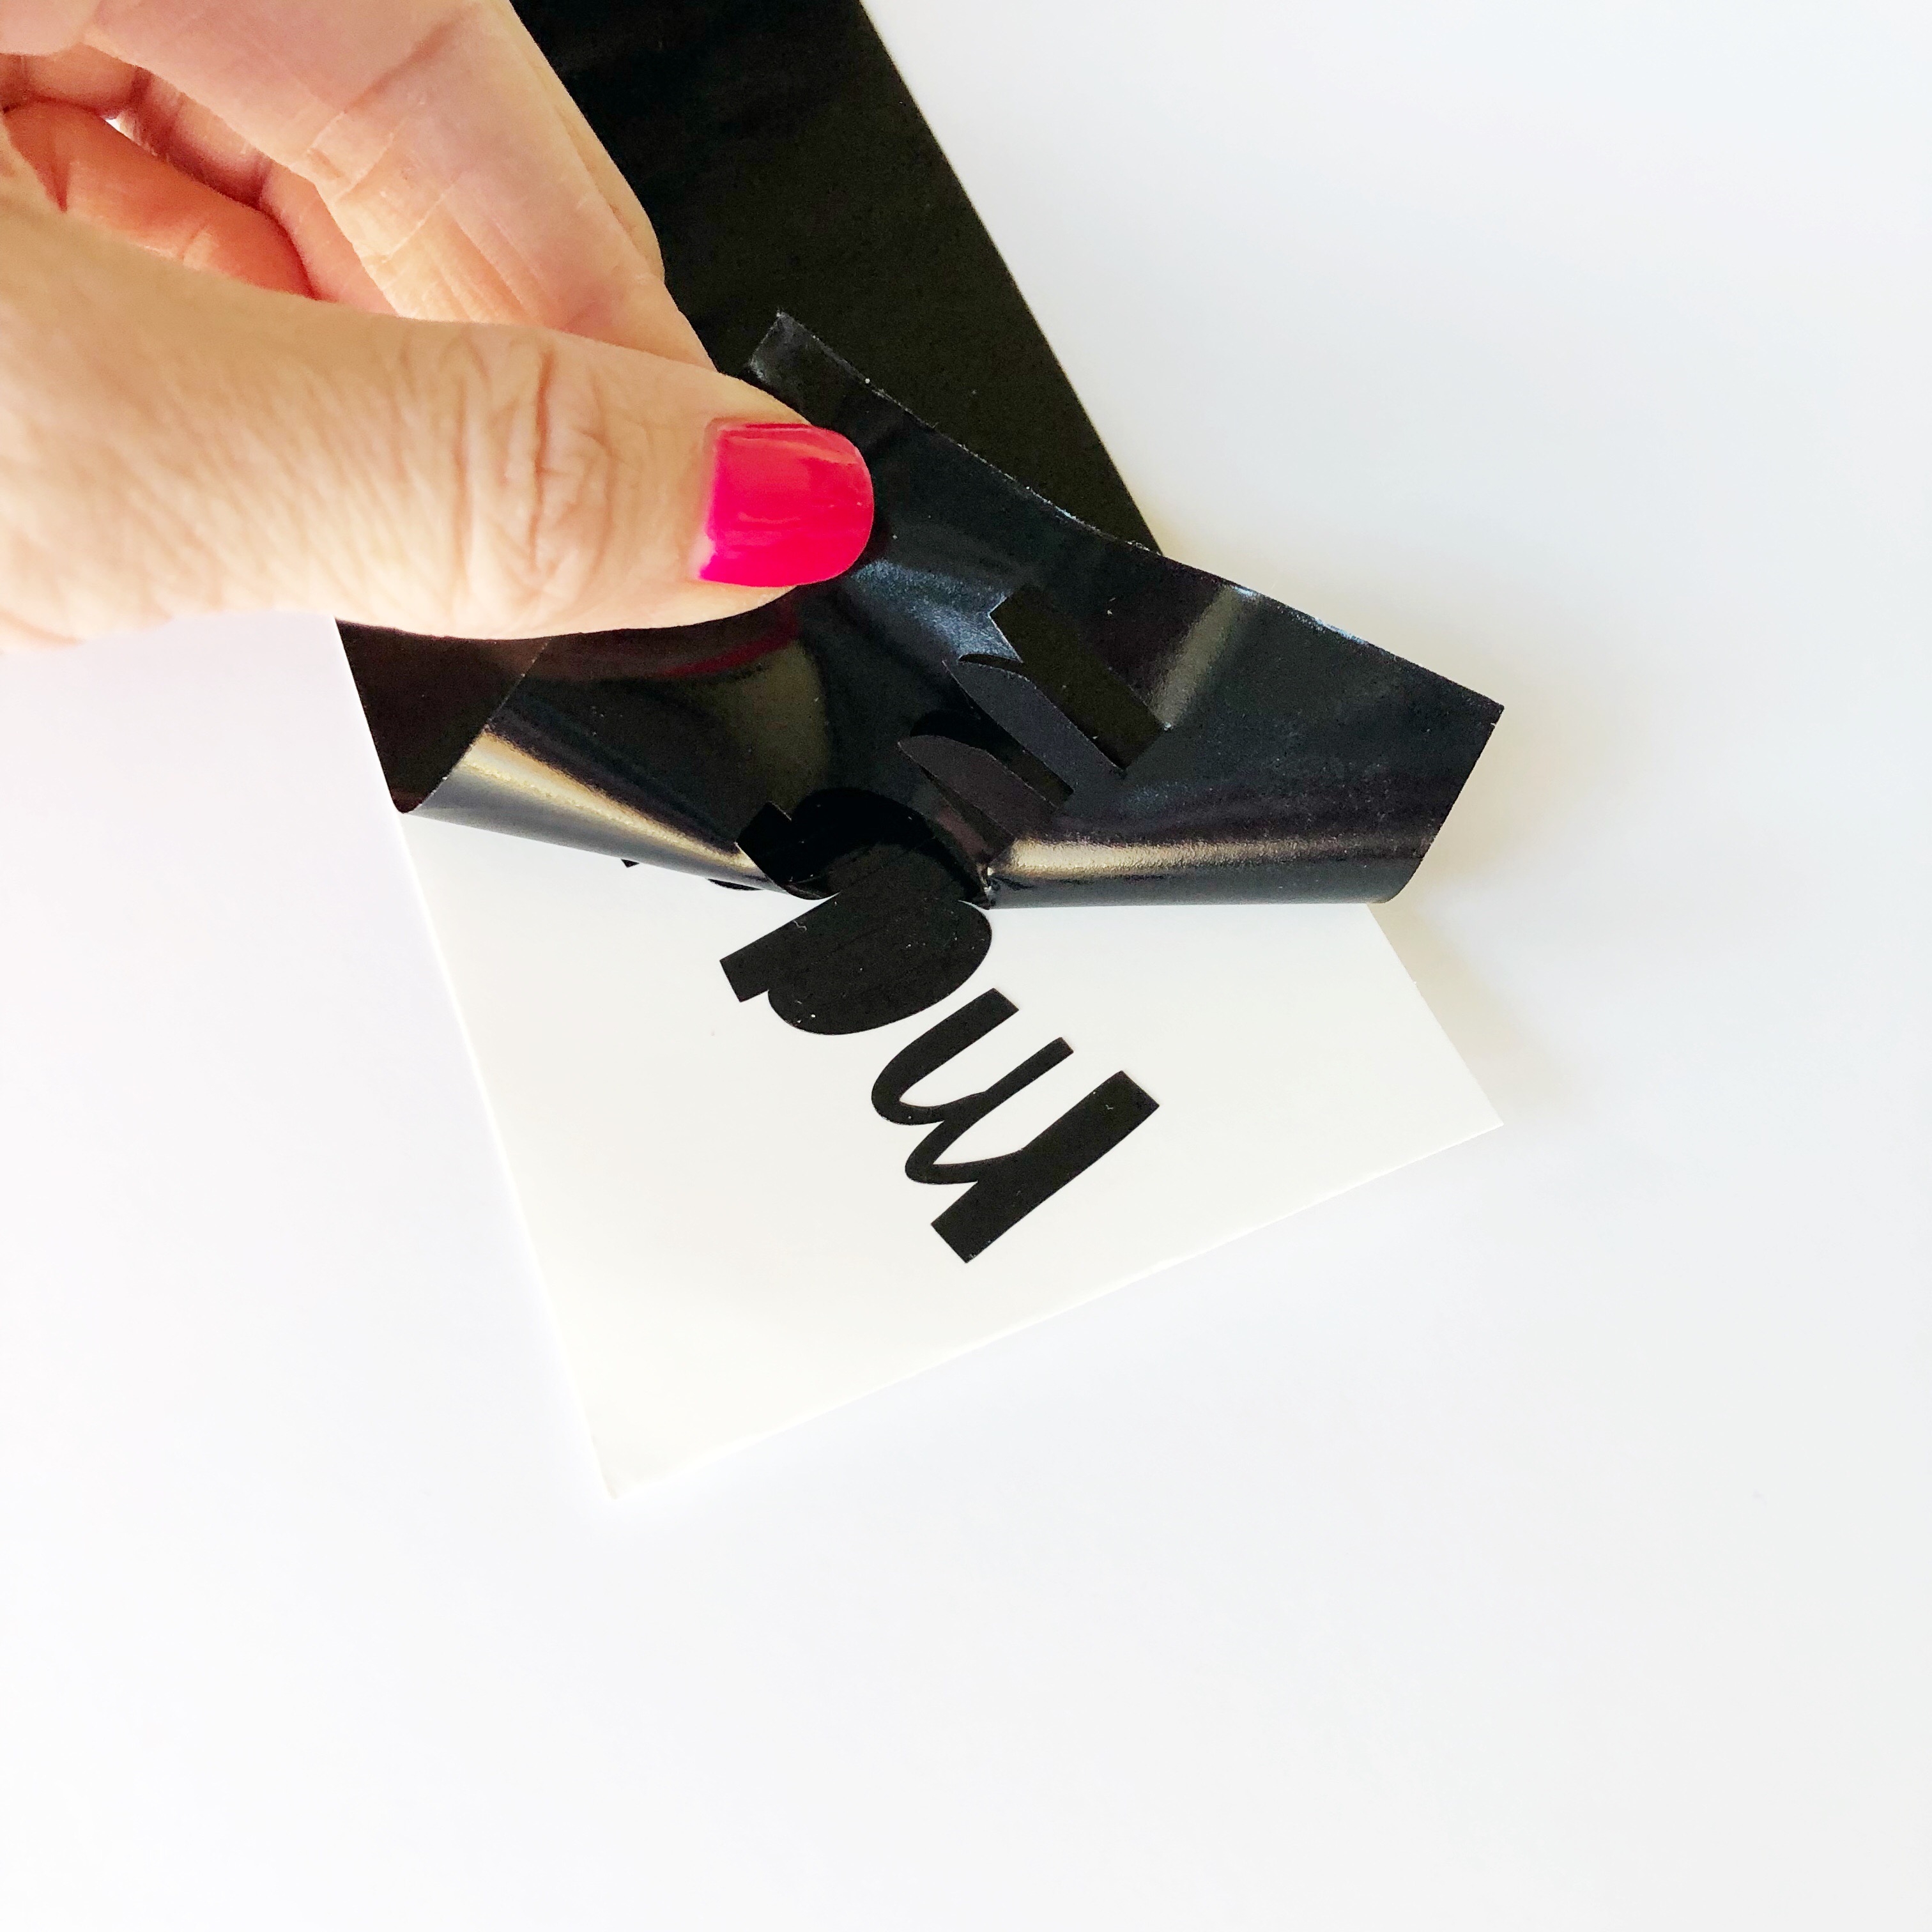
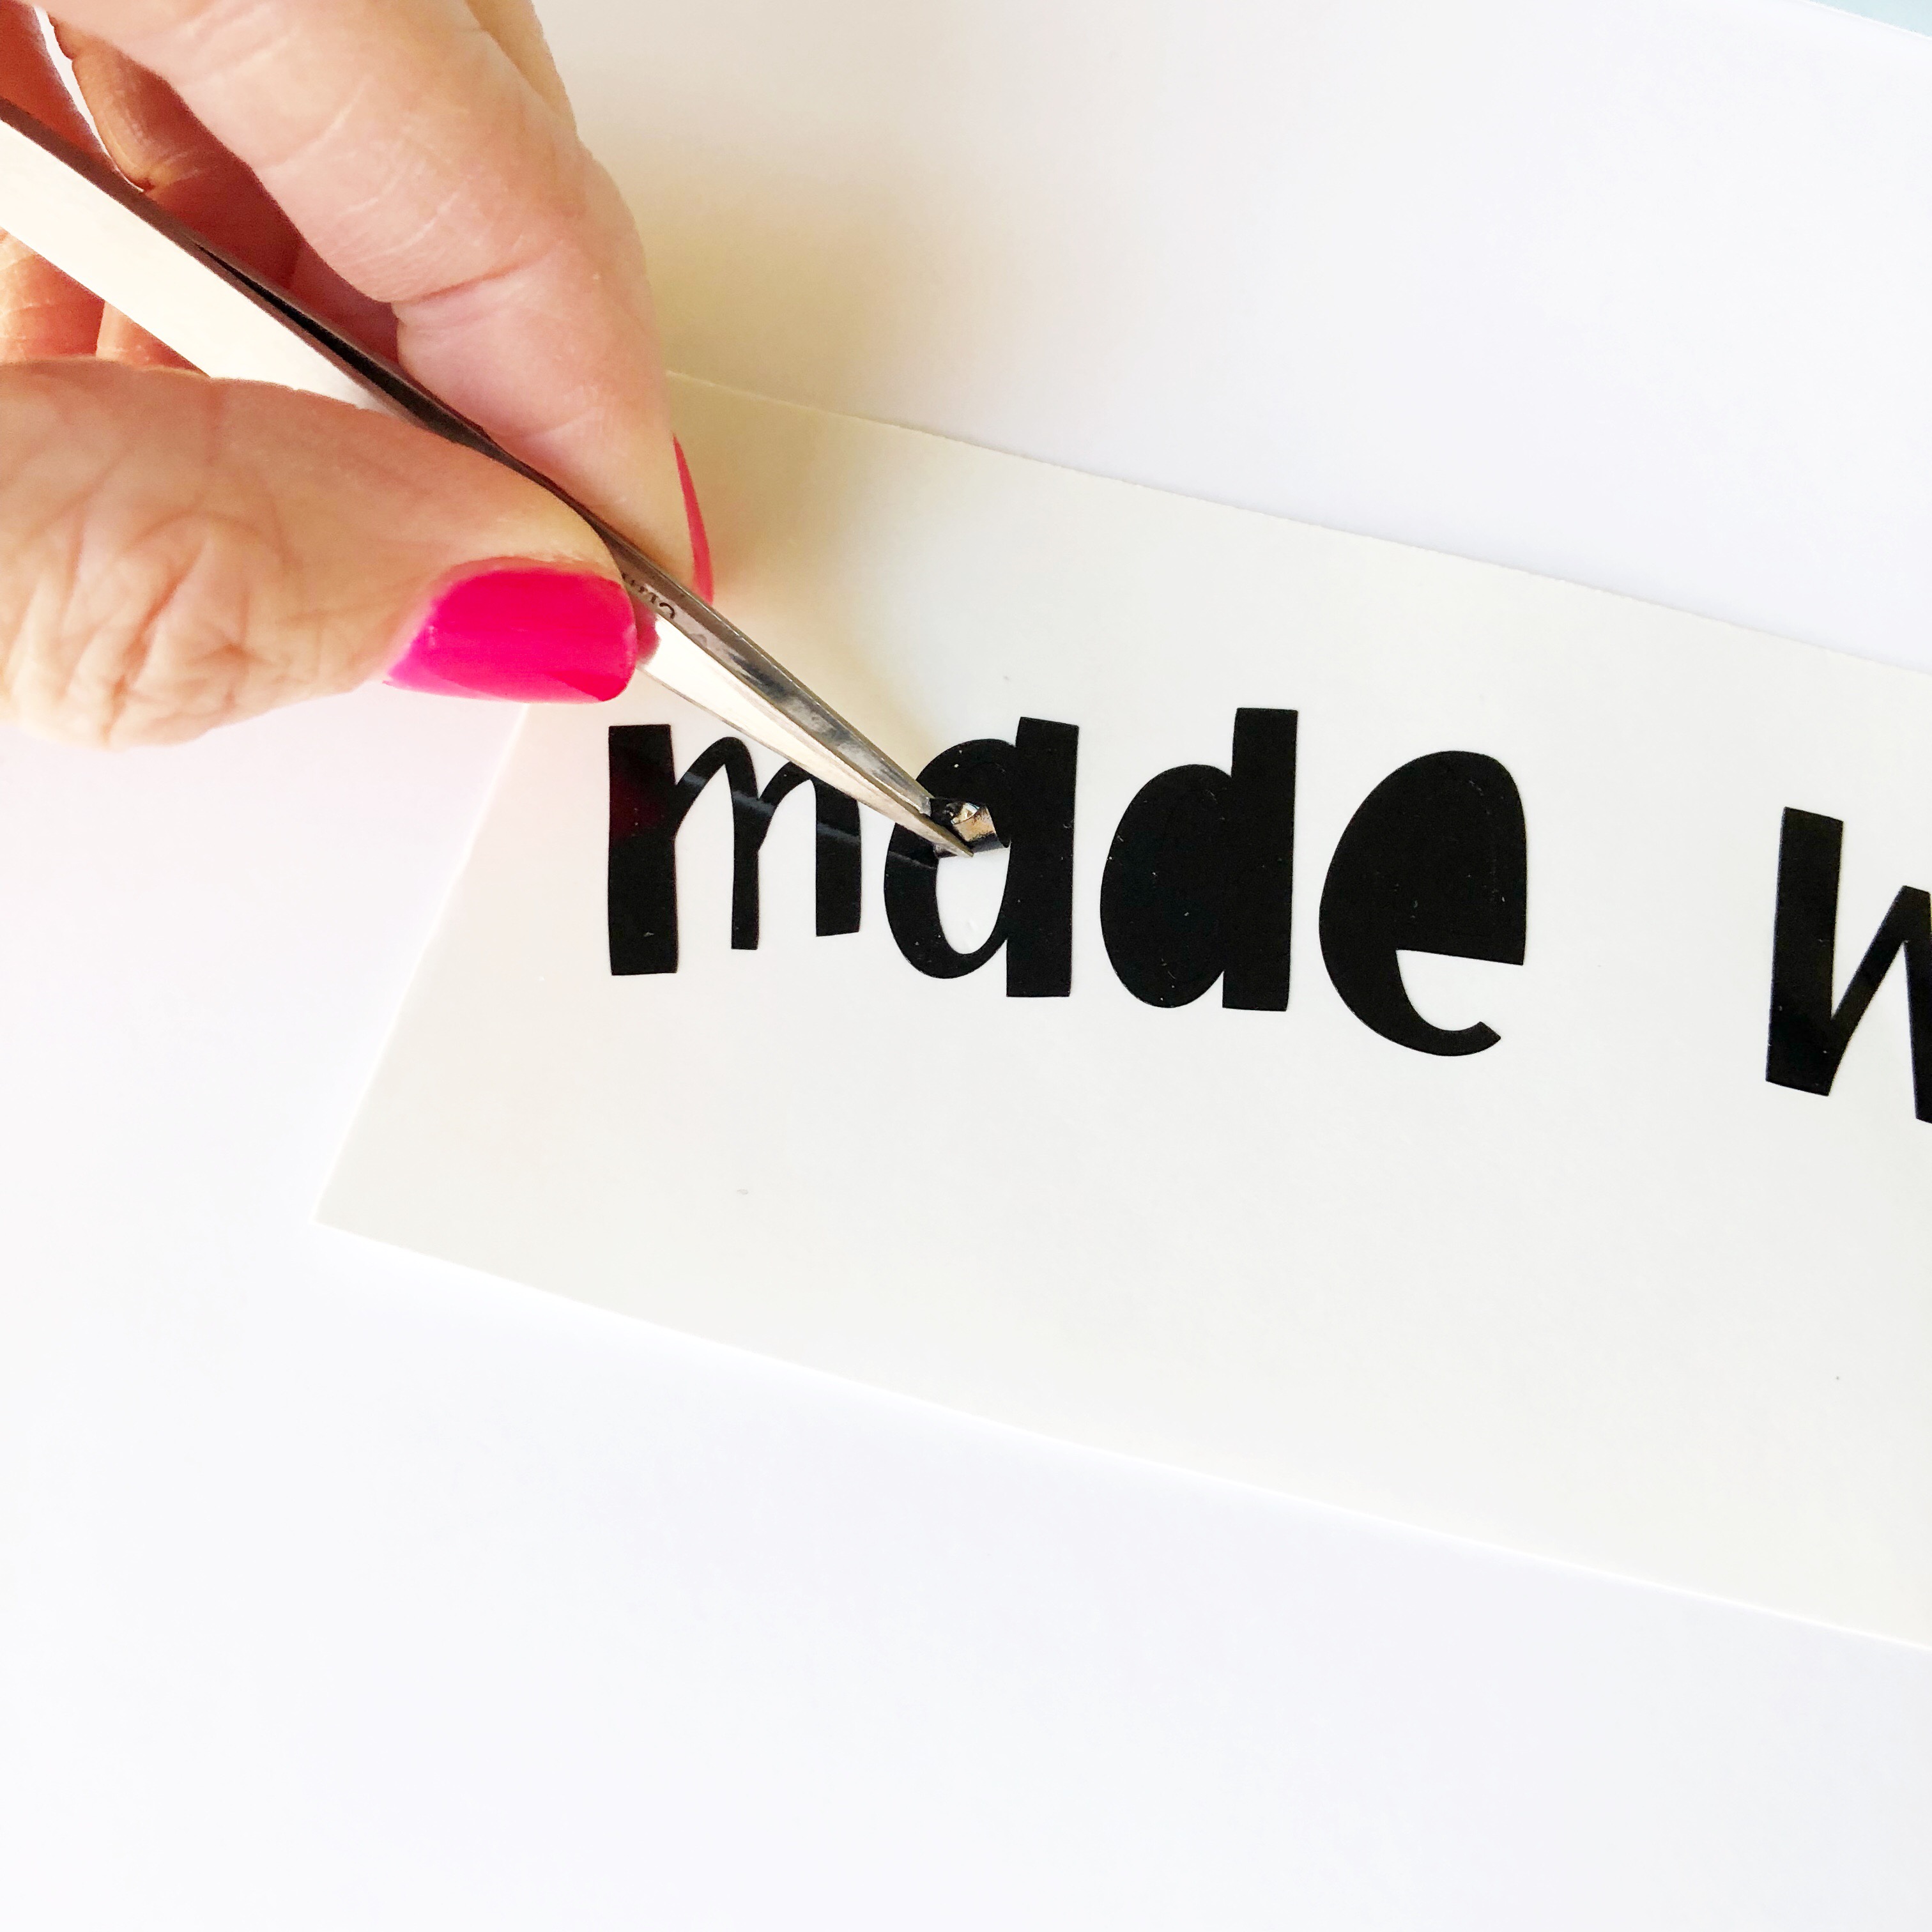
STEP THREE: Weed vinyl designs
Once your vinyl pieces have cut, peel off the extra vinyl that is not part of your design.
Using a weeding hook or a pair of craft tweezers, weed out the little insides of the letters.
Now our two layers are finished weeding!

STEP FOUR: Transfer layered decal onto metal bucket
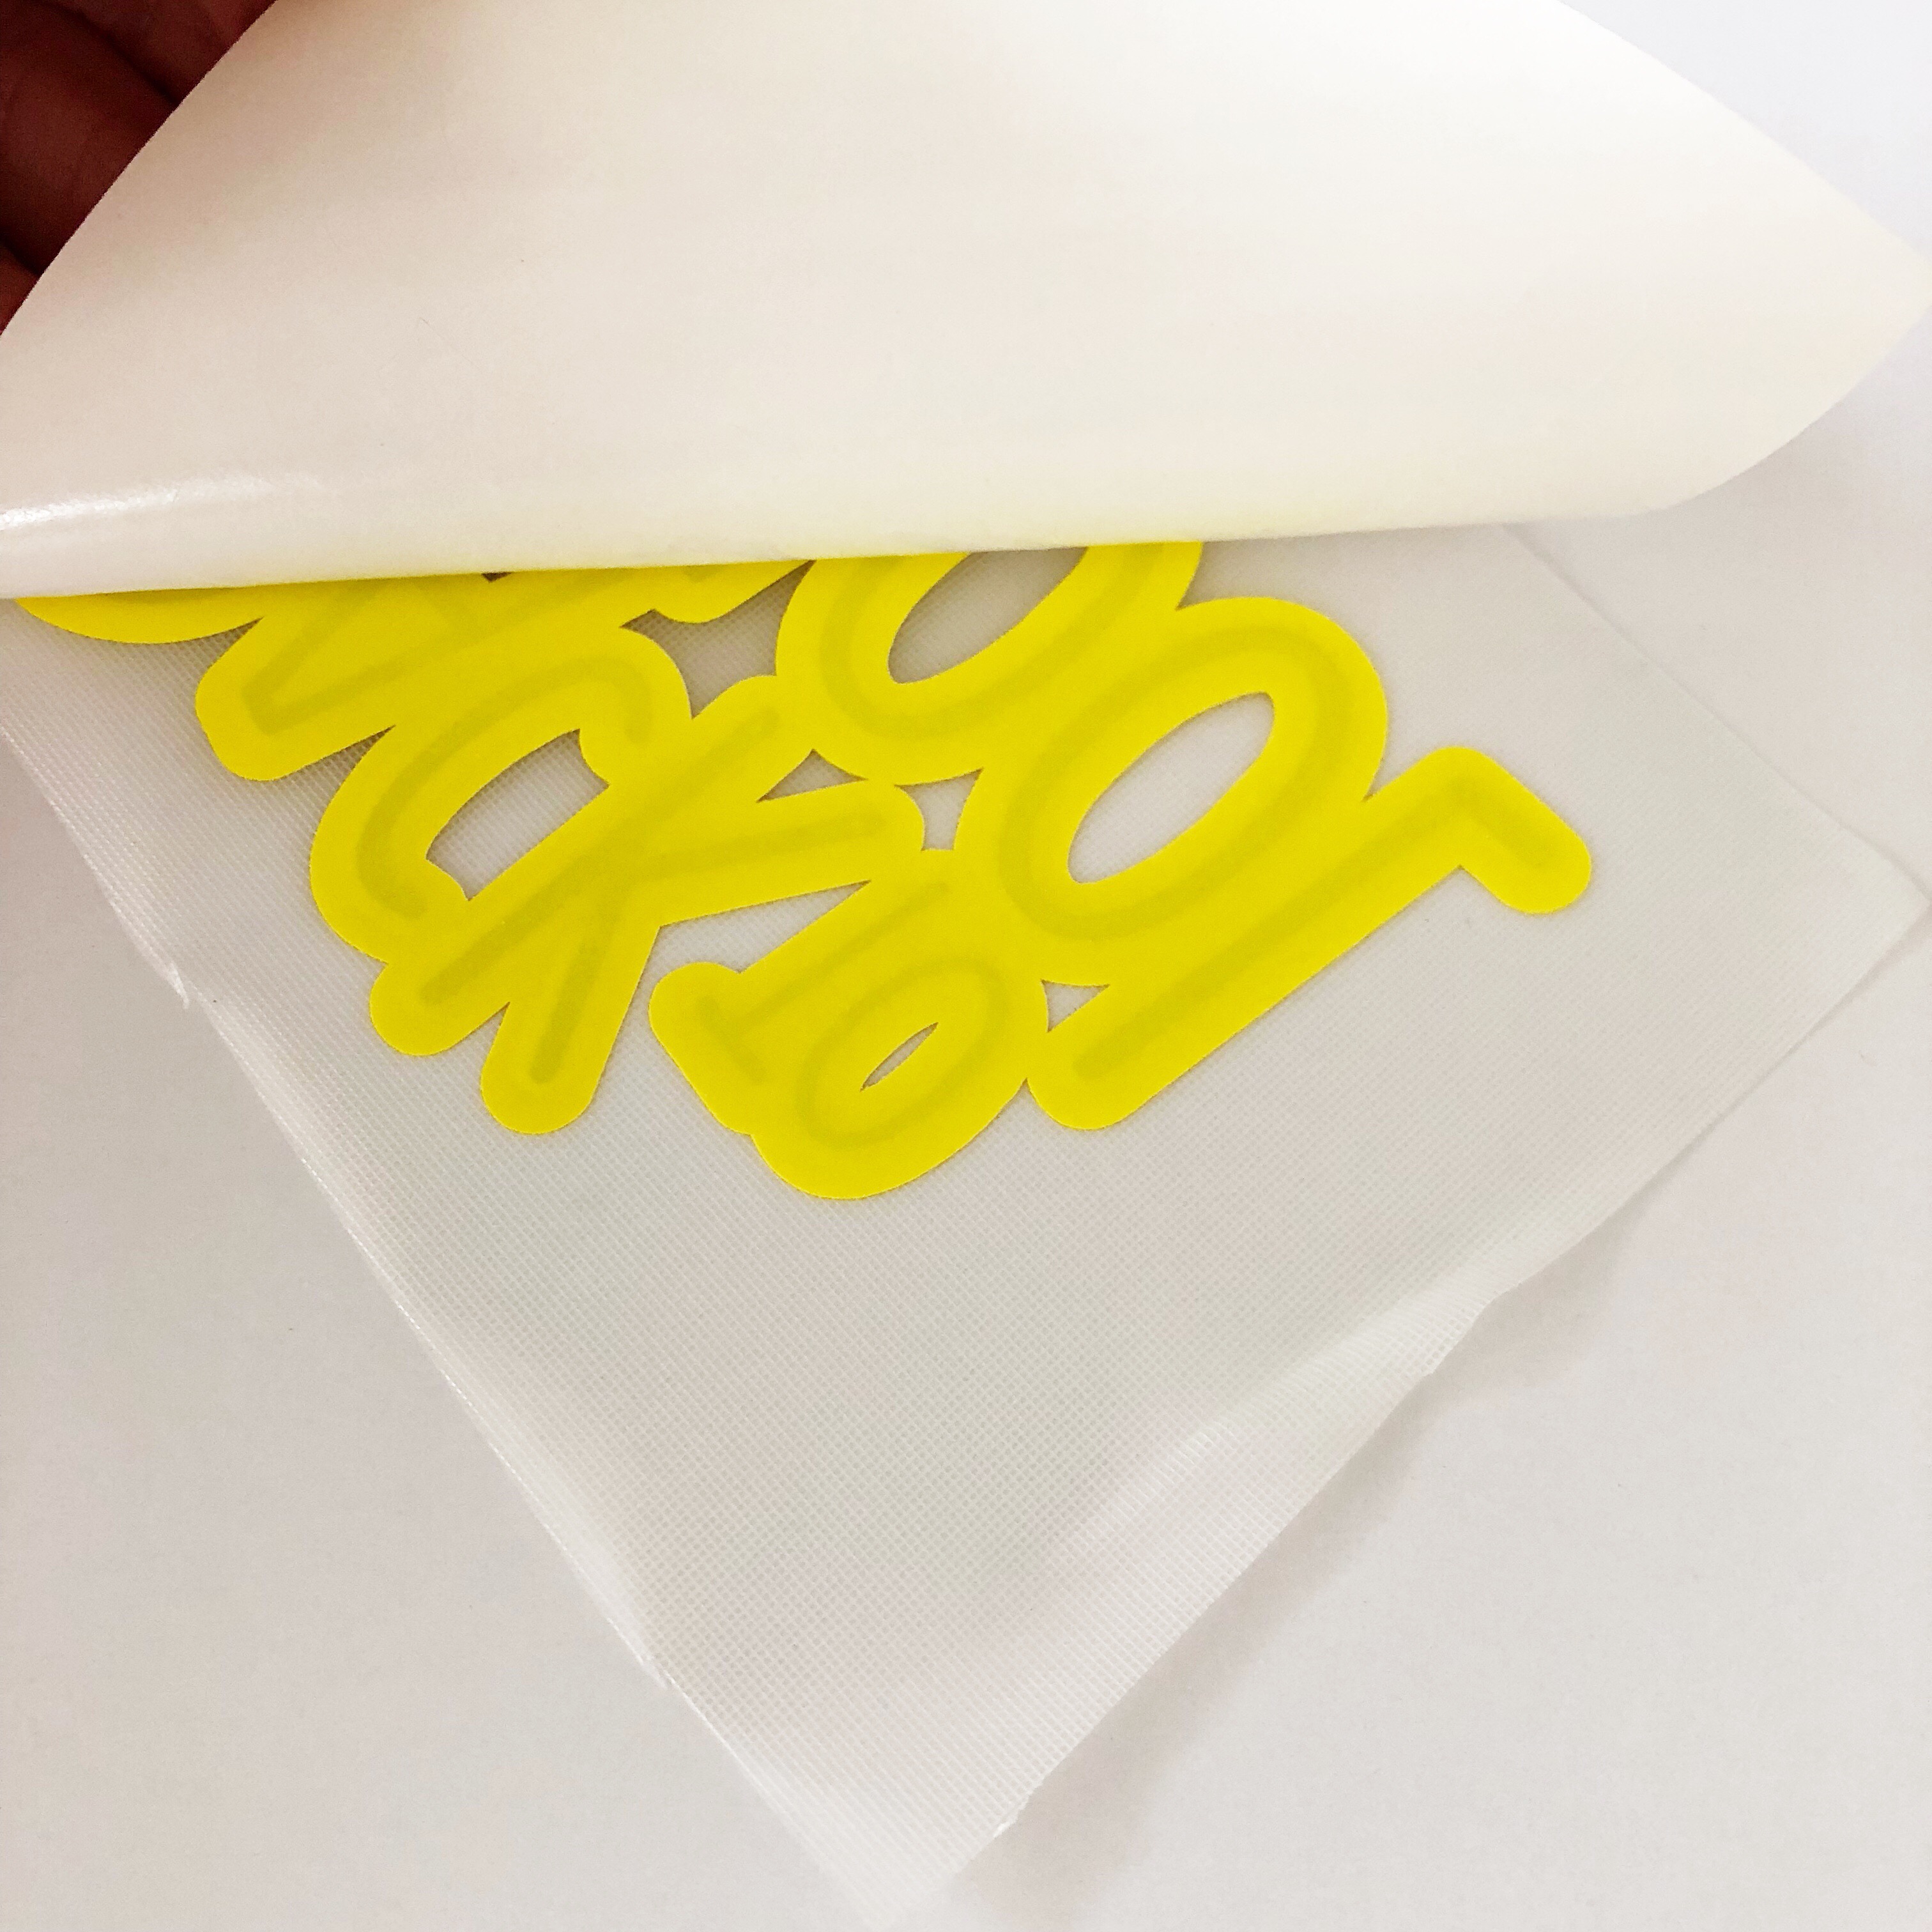
Take a piece of transfer tape and place it over your first layer, which is the blue letters.
![]()
Use your vinyl application tool to smooth out any bubbles.
Now turn it over and peel off the backing of that first layer, exposing the adhesive side of the blue vinyl.Center your blue letters onto the yellow offset and carefully place it down. Then repeat and peel off the backing paper of the yellow offset vinyl.
Now you are ready to stick your cute decal onto the metal bucket!
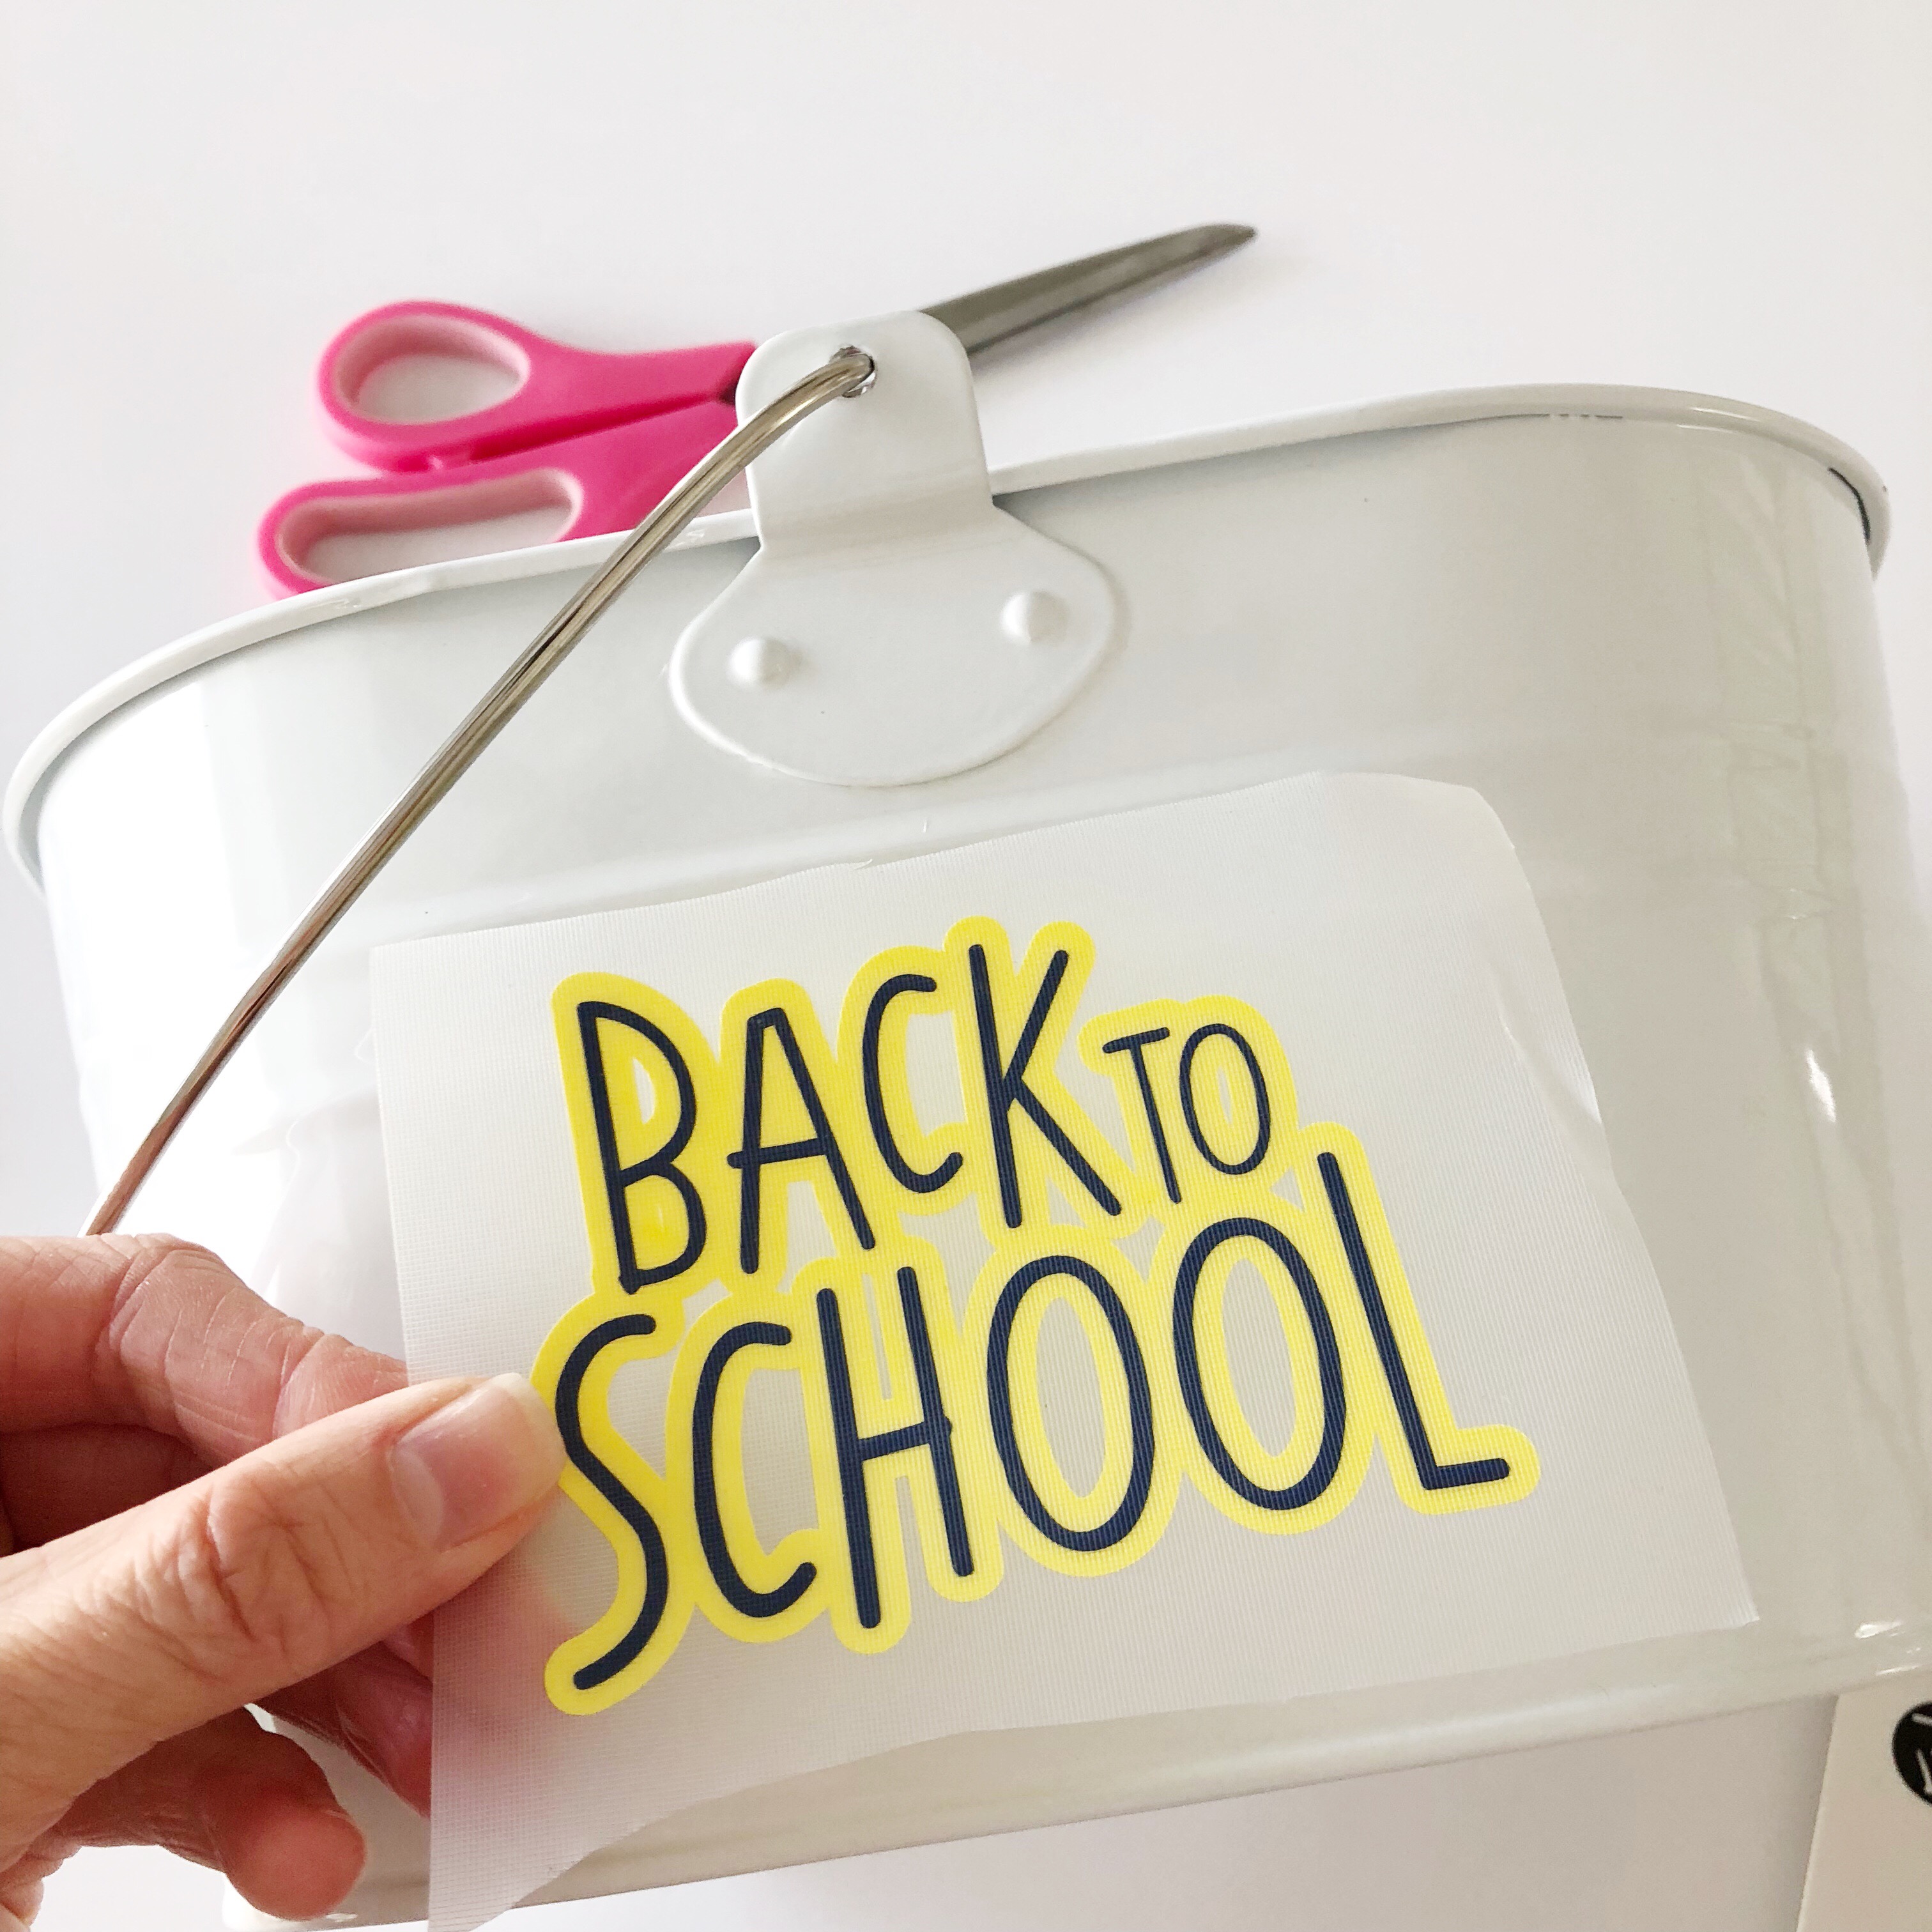
Rub it on really well so it's nice and smooth and adhered well, then peel off the transfer tape.
![]()
And voila! Check out those cute layers of vinyl!
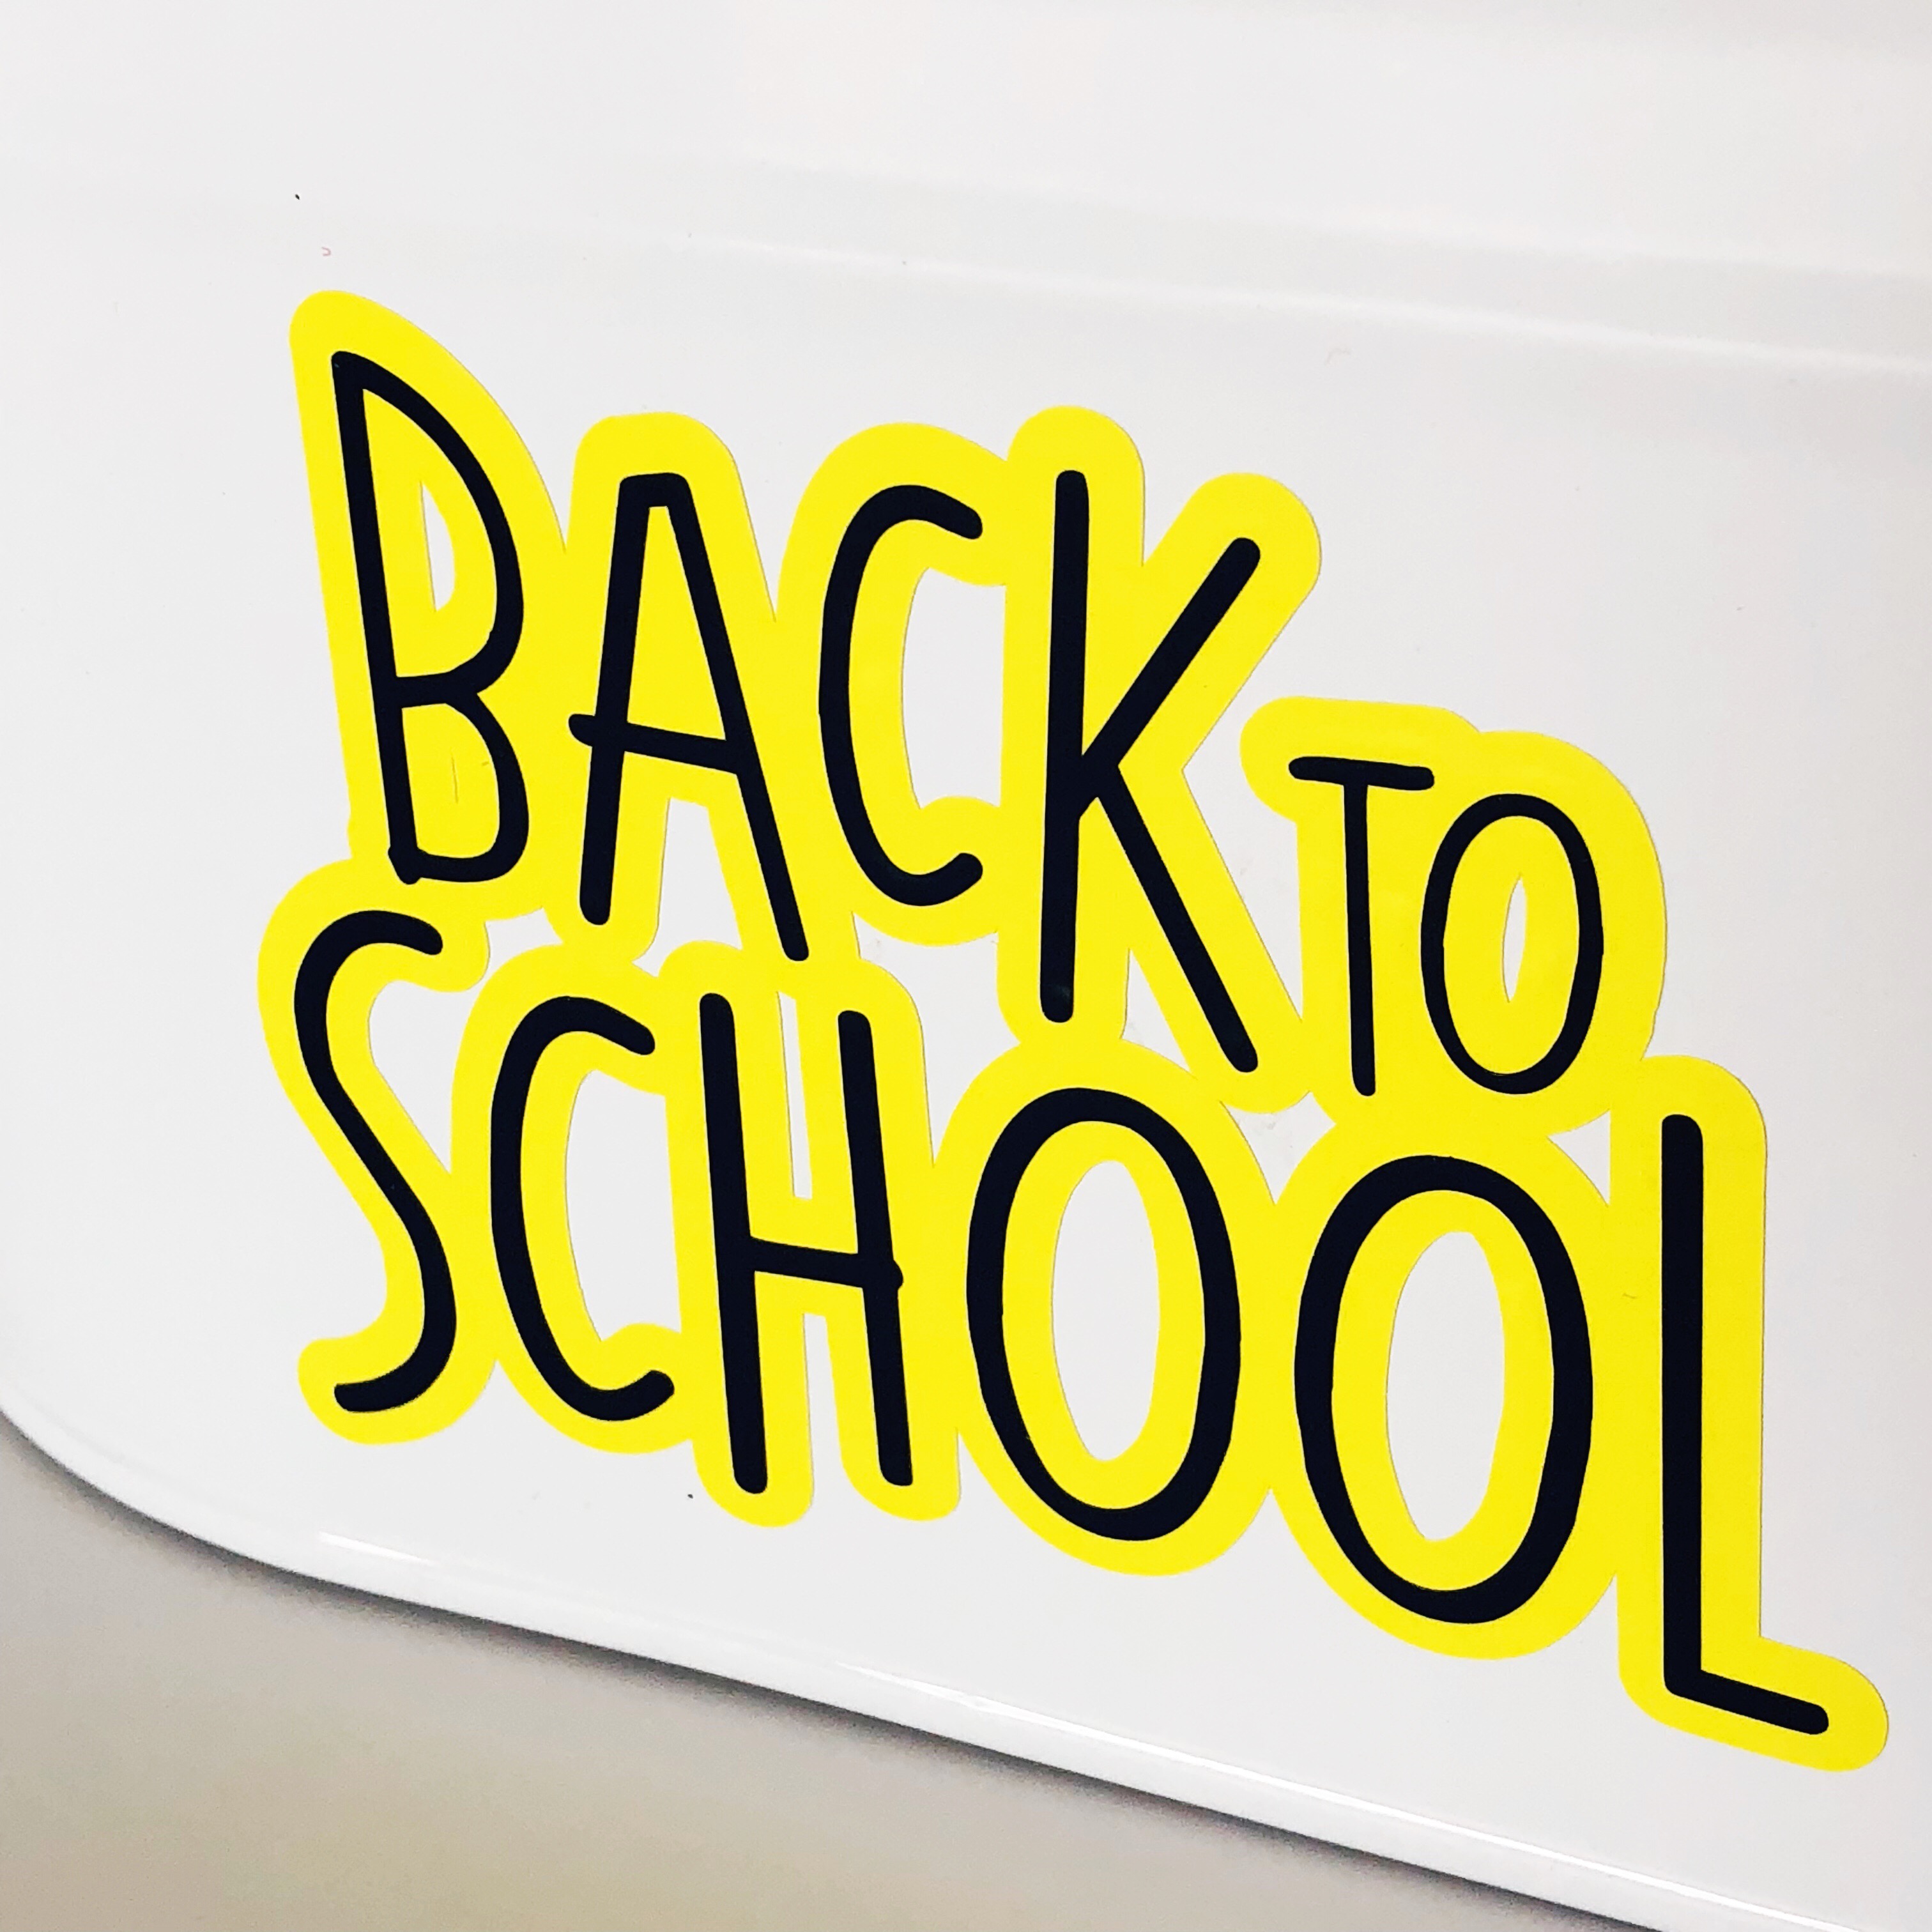
Fill the bucket up with goodies for your teachers and send your kids off to school! Happy crafting!
Recent Posts
-
NEW Holographic Eclipse Heat Transfer Vinyl
April 15th, 2024 3 Ways to Use the New Holographic Eclipse Heat Transfer Vinyl from Siser …Apr 29th 2024 -
Hop into Spring with Cute Easter Vinyl Crafts
Do you love our Vinyl? Sign up for Vinyl Club today to get FREE vinyl and save big! …Mar 28th 2024 -

Fixing Wrinkles and Bubbles in Vinyl
How do you get air bubbles out of vinyl? There are a few different ways to ensure a flawless …Mar 26th 2024