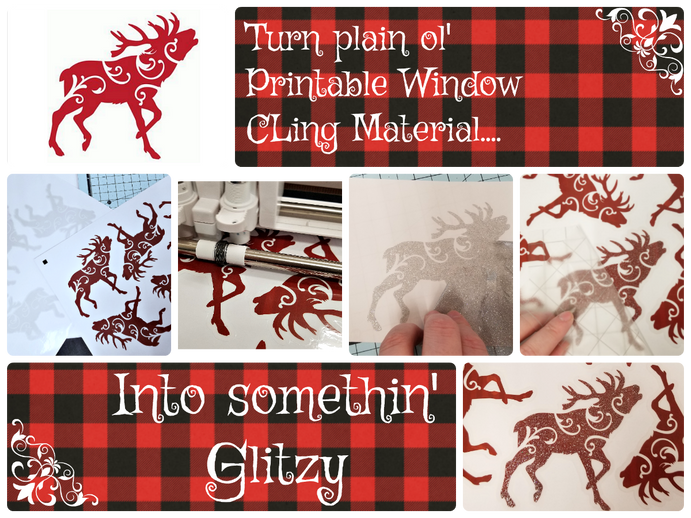
Bling up your Window Cling with Glitter Vinyl
Hey, have you ever had a board that you do not know quite what to do as far as what season to stick with for your decor? How about using cling vinyl so you can change it up whenever you want.
We are going to spuce it up a bit since regular cling vinyl can mute the colors depending upon the surface you are clinging too and the light showing through.
What you will need:
Silhouette Window Cling Material
Glitter FX Star Dust (Star Dust is a transparent Glitter in the FX line)
Gridded Clear Transfer Tape {THE BEST!!!}
Silhouette Images:
Reindeer #102077
Sleigh #66097
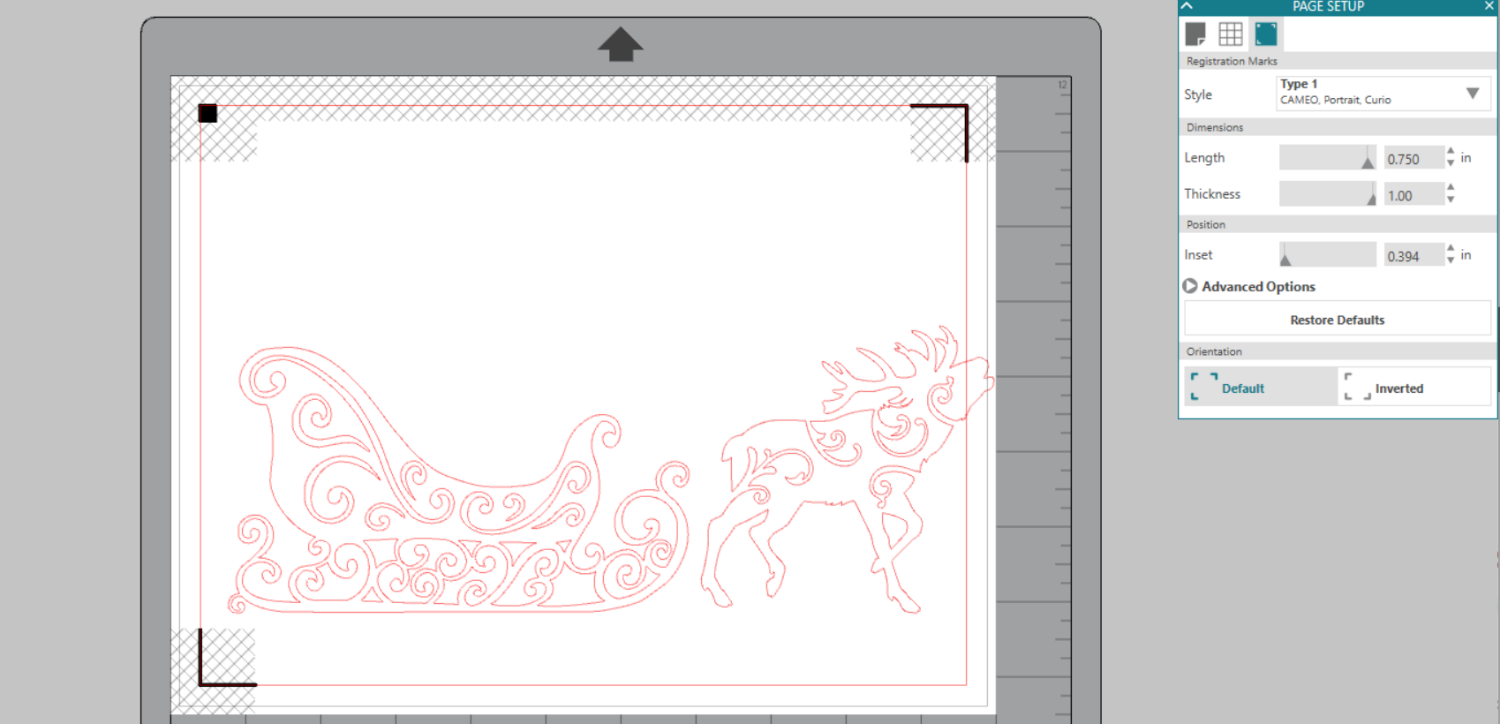
Start by creating your image, I really like the images of Santa and his Reindeer and I thought it would be a fun Christmas one to do and you can get the kids involved as well. For this you will want to use your registration marks.
You page should look like this, it does not matter which way the page is going just so you have your registration marks showing.
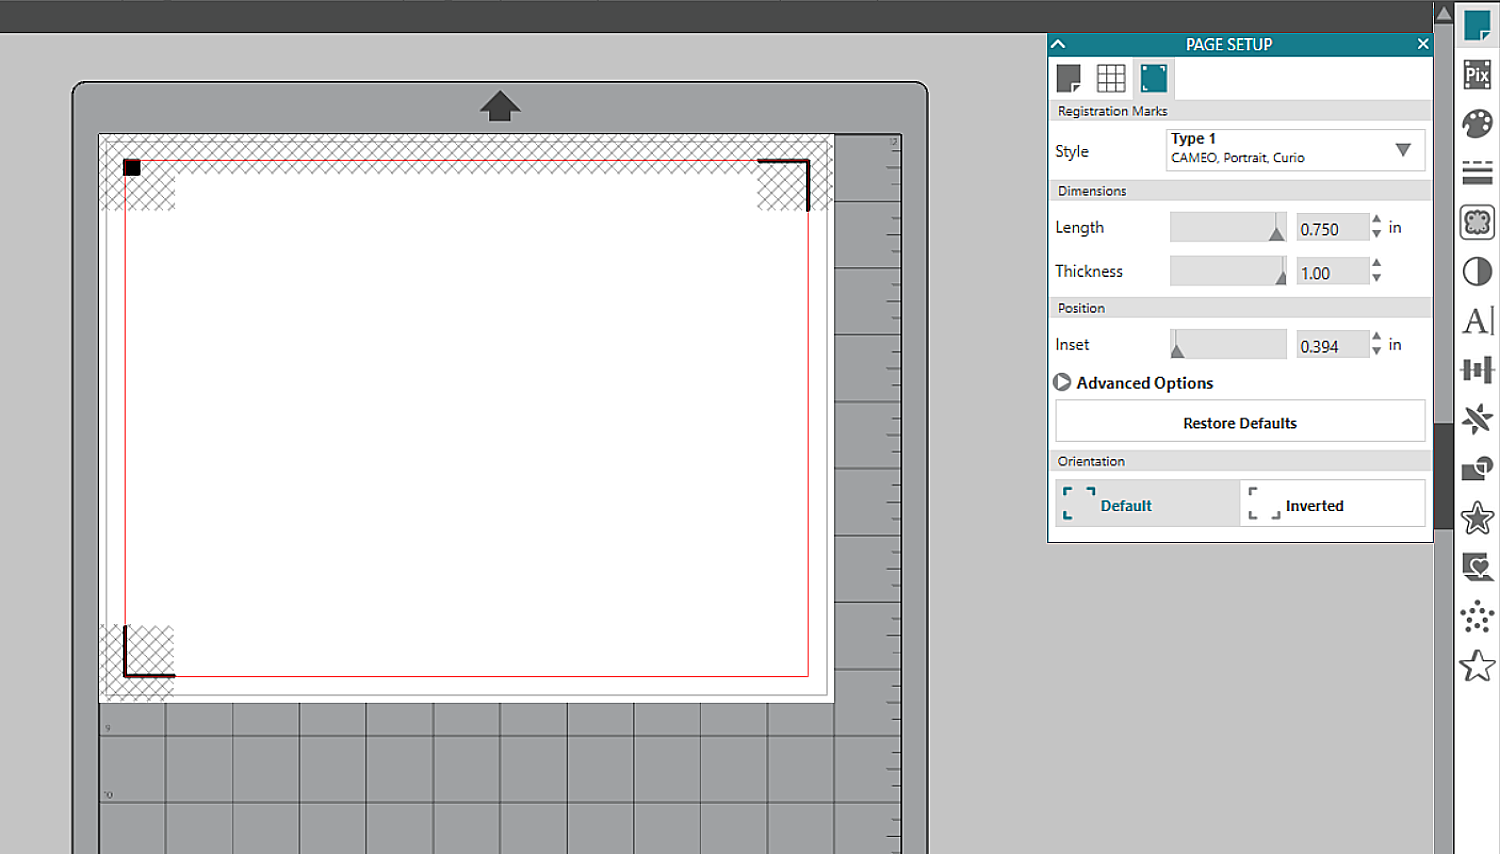
I also like to thicken up my lines to the full 1.00, I find that it makes cutting the registration much easier for the lazer in the housing unit it read.
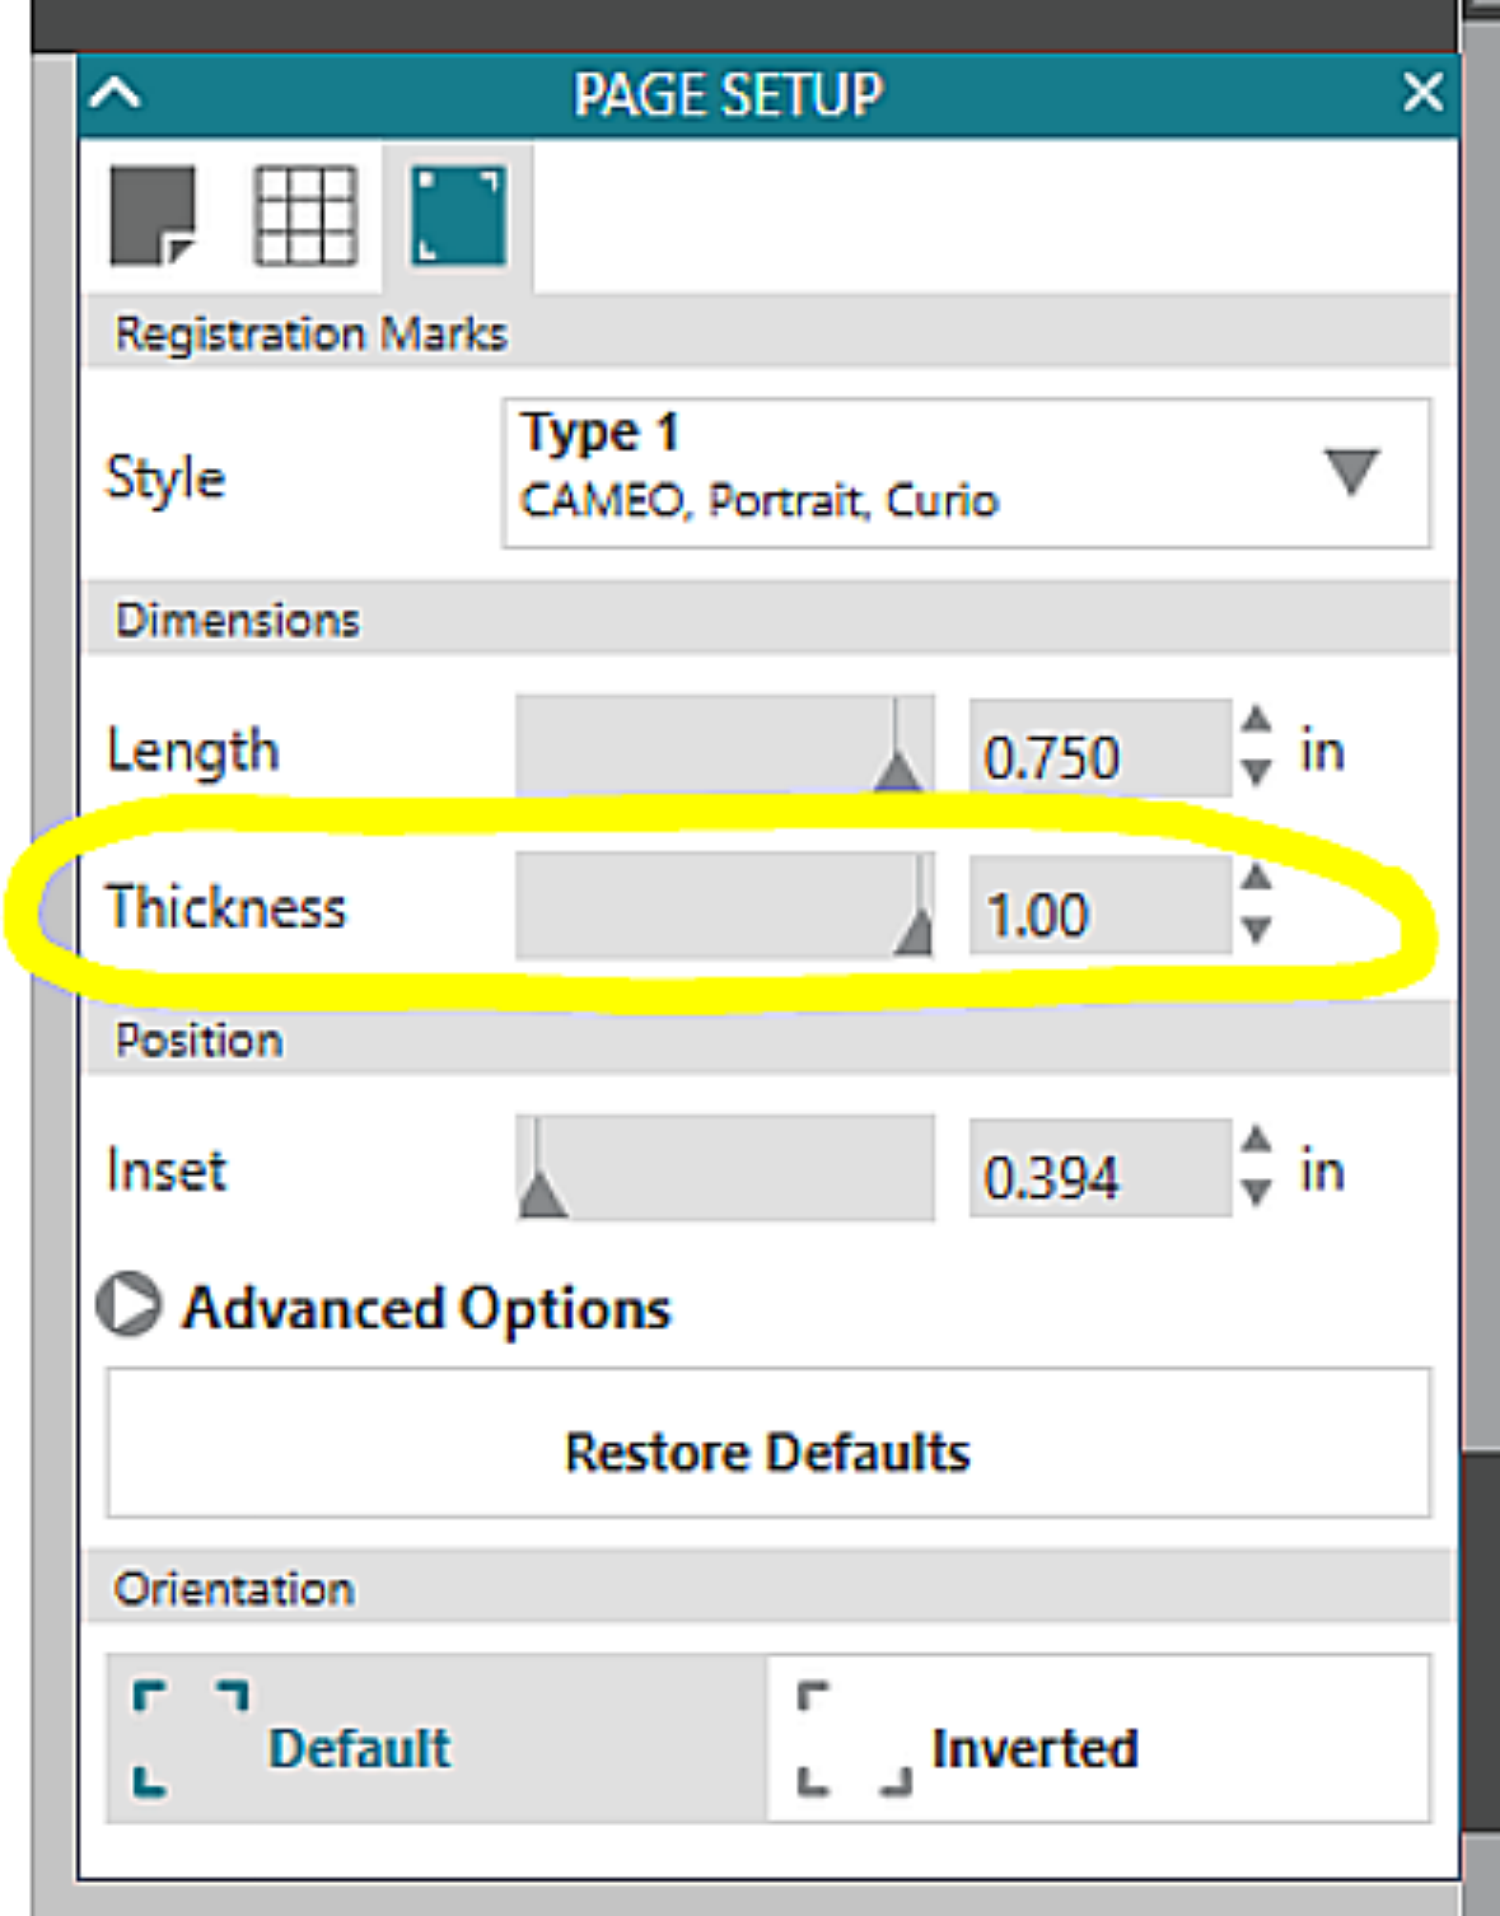
I would not recommend adusting the default sections because how the default is set up it it proves to be the best set up.
Next select your images, I used these images and sized them to what I thought would be a good size for my window I am working on
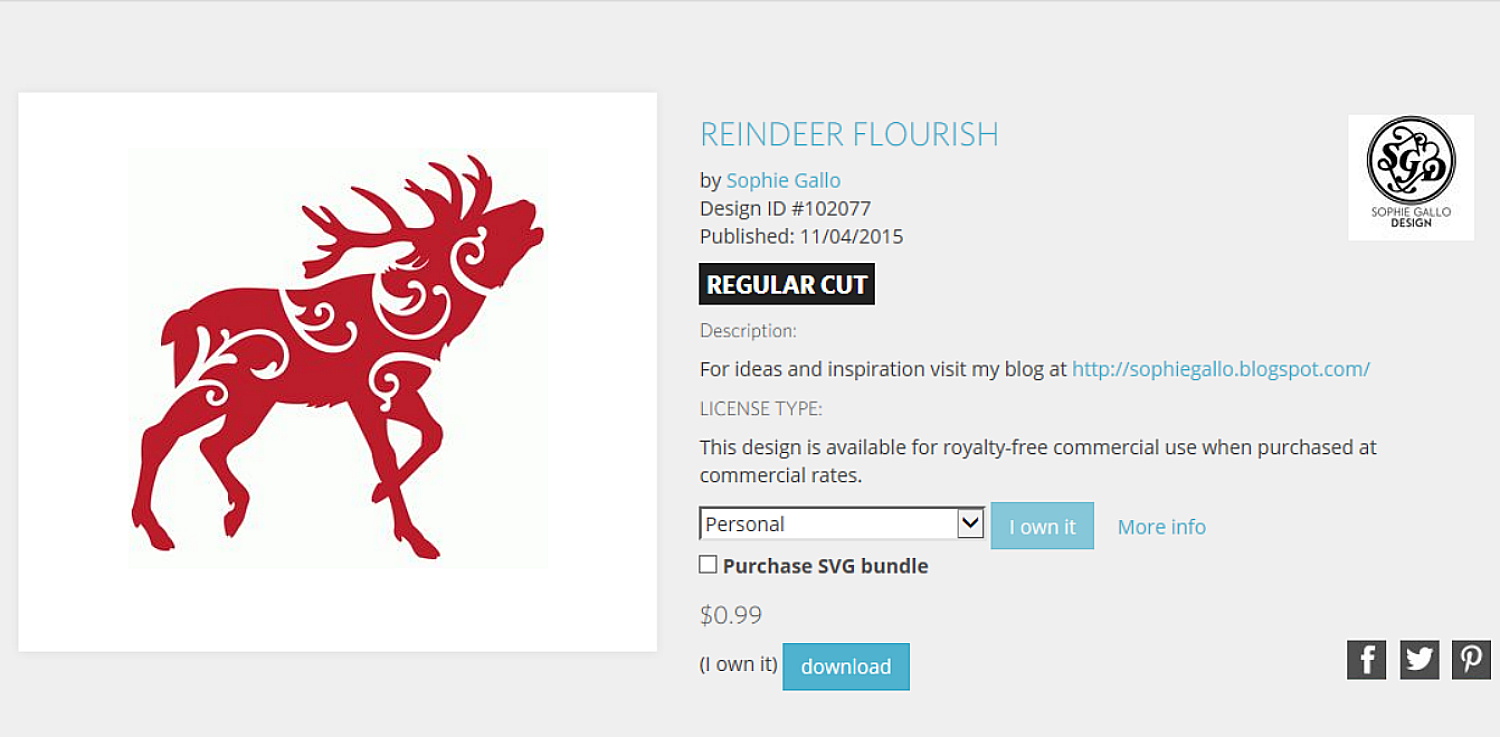
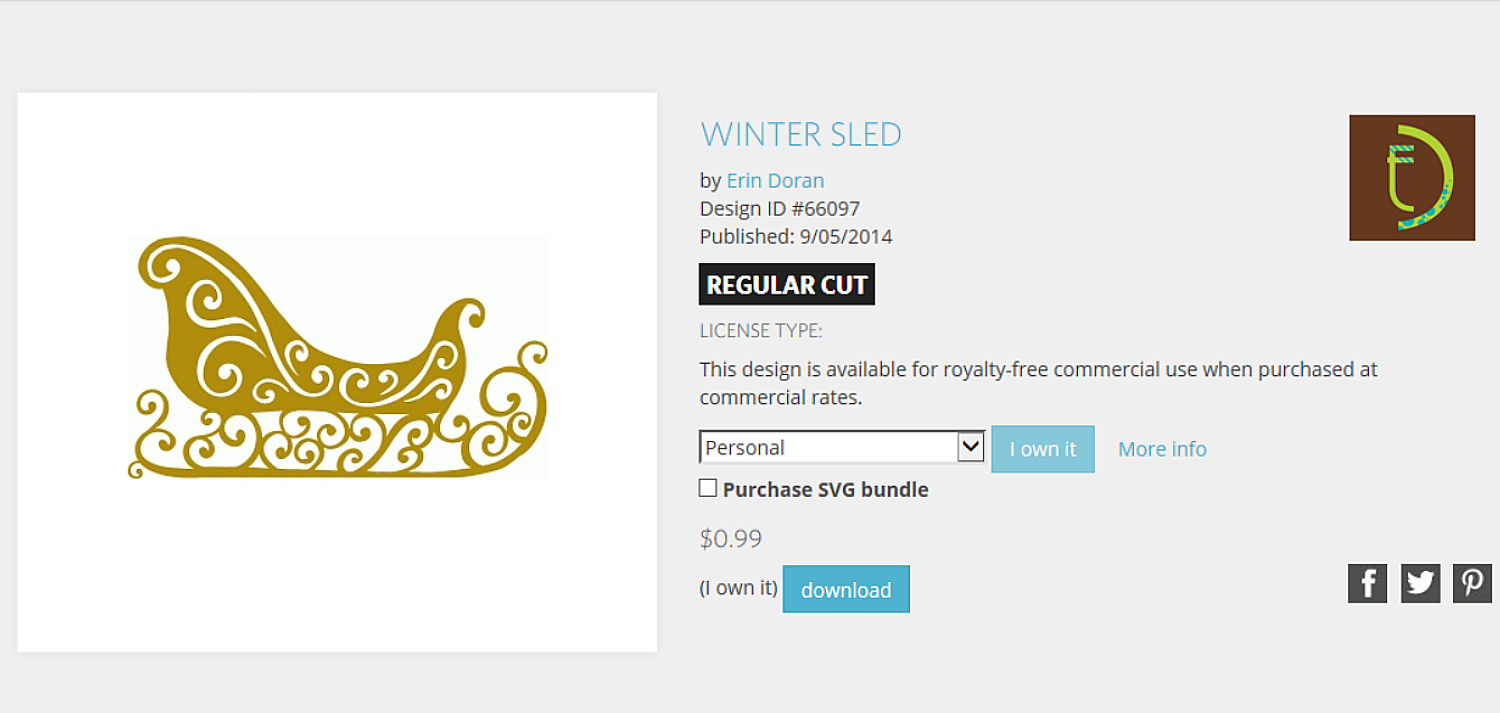
You can choose from quite a variety of reindeer and sleighs in Silhouette. Cricut Design Space has several as well. The ones That I would recommend from Cricut would be
Sleigh: #M3E1D1 Teresa Collins December 25th, and the Reindeer: #MA8D0C Holly and Ivy. I think these would be similar if you are looking for the same look.
Set your images into Silhouette Studio, and size them to what looks good to you and what will work on your window.
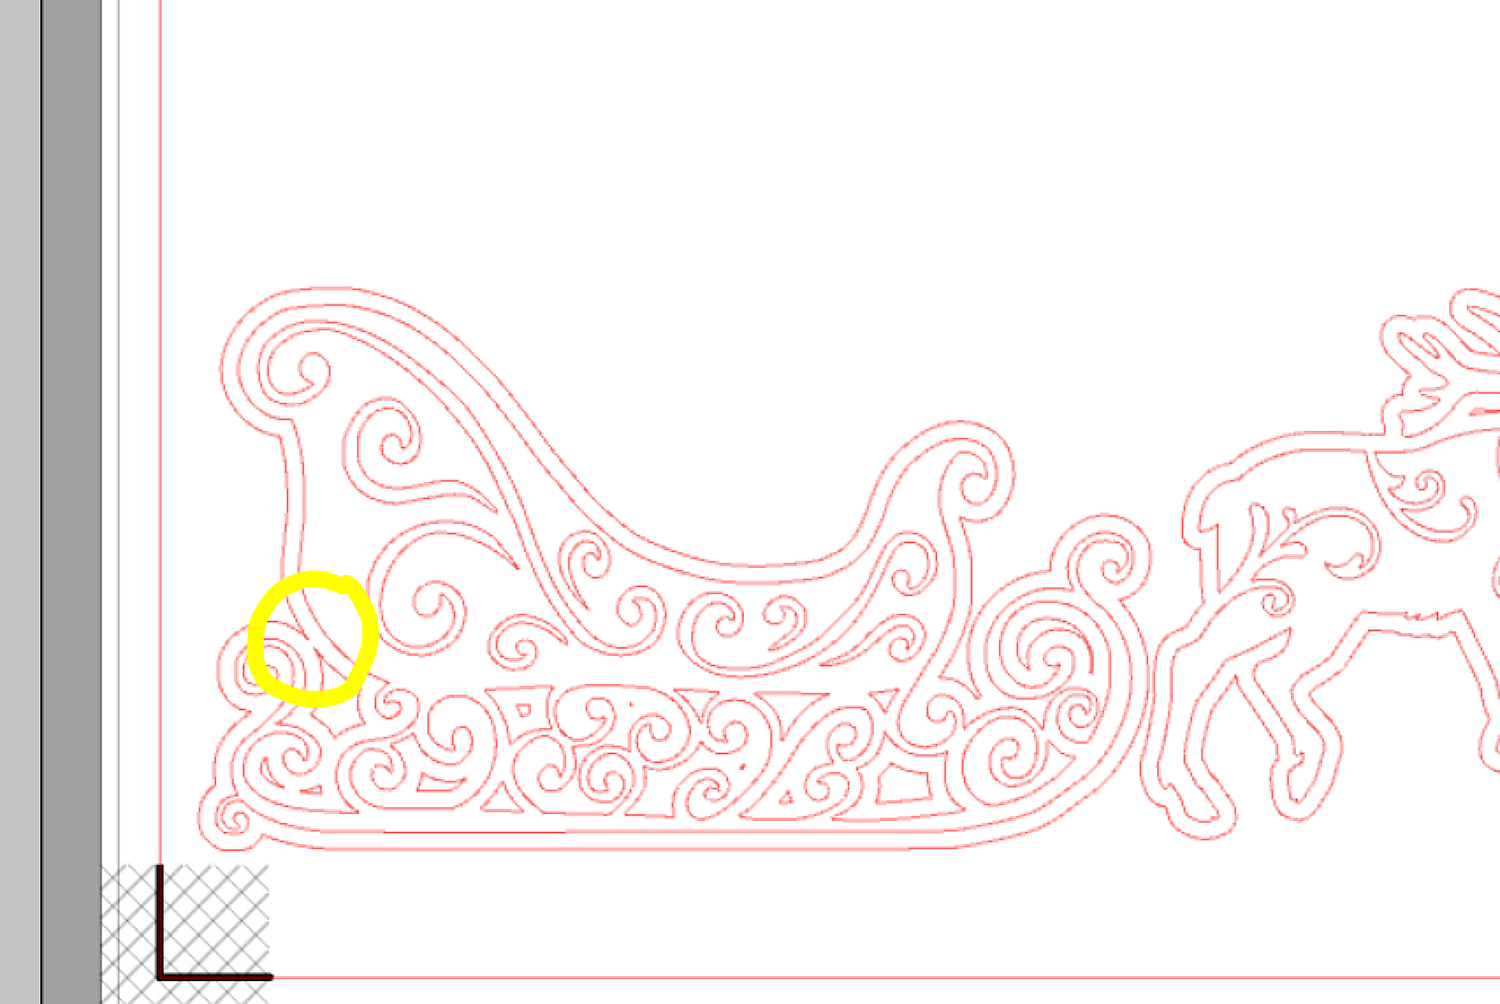
Next, you will want to give these an offset so that the clin works better when moving it around. Offset it however small or large you like, I did mine at 0.115 with a round corner I could have stood to go a little thinner but I did not want any openings like where the back of the sleigh meets the curly end of the back runner.
Once you have it where you would like it, select apply and it will automatically weld any overlaps. I also like to get rid of any little offsets that I do not need so I only have an outline (I may leave some ;) )
Select the offsets and Release Compound Path and get rid of any little sections you do not with to be in there.
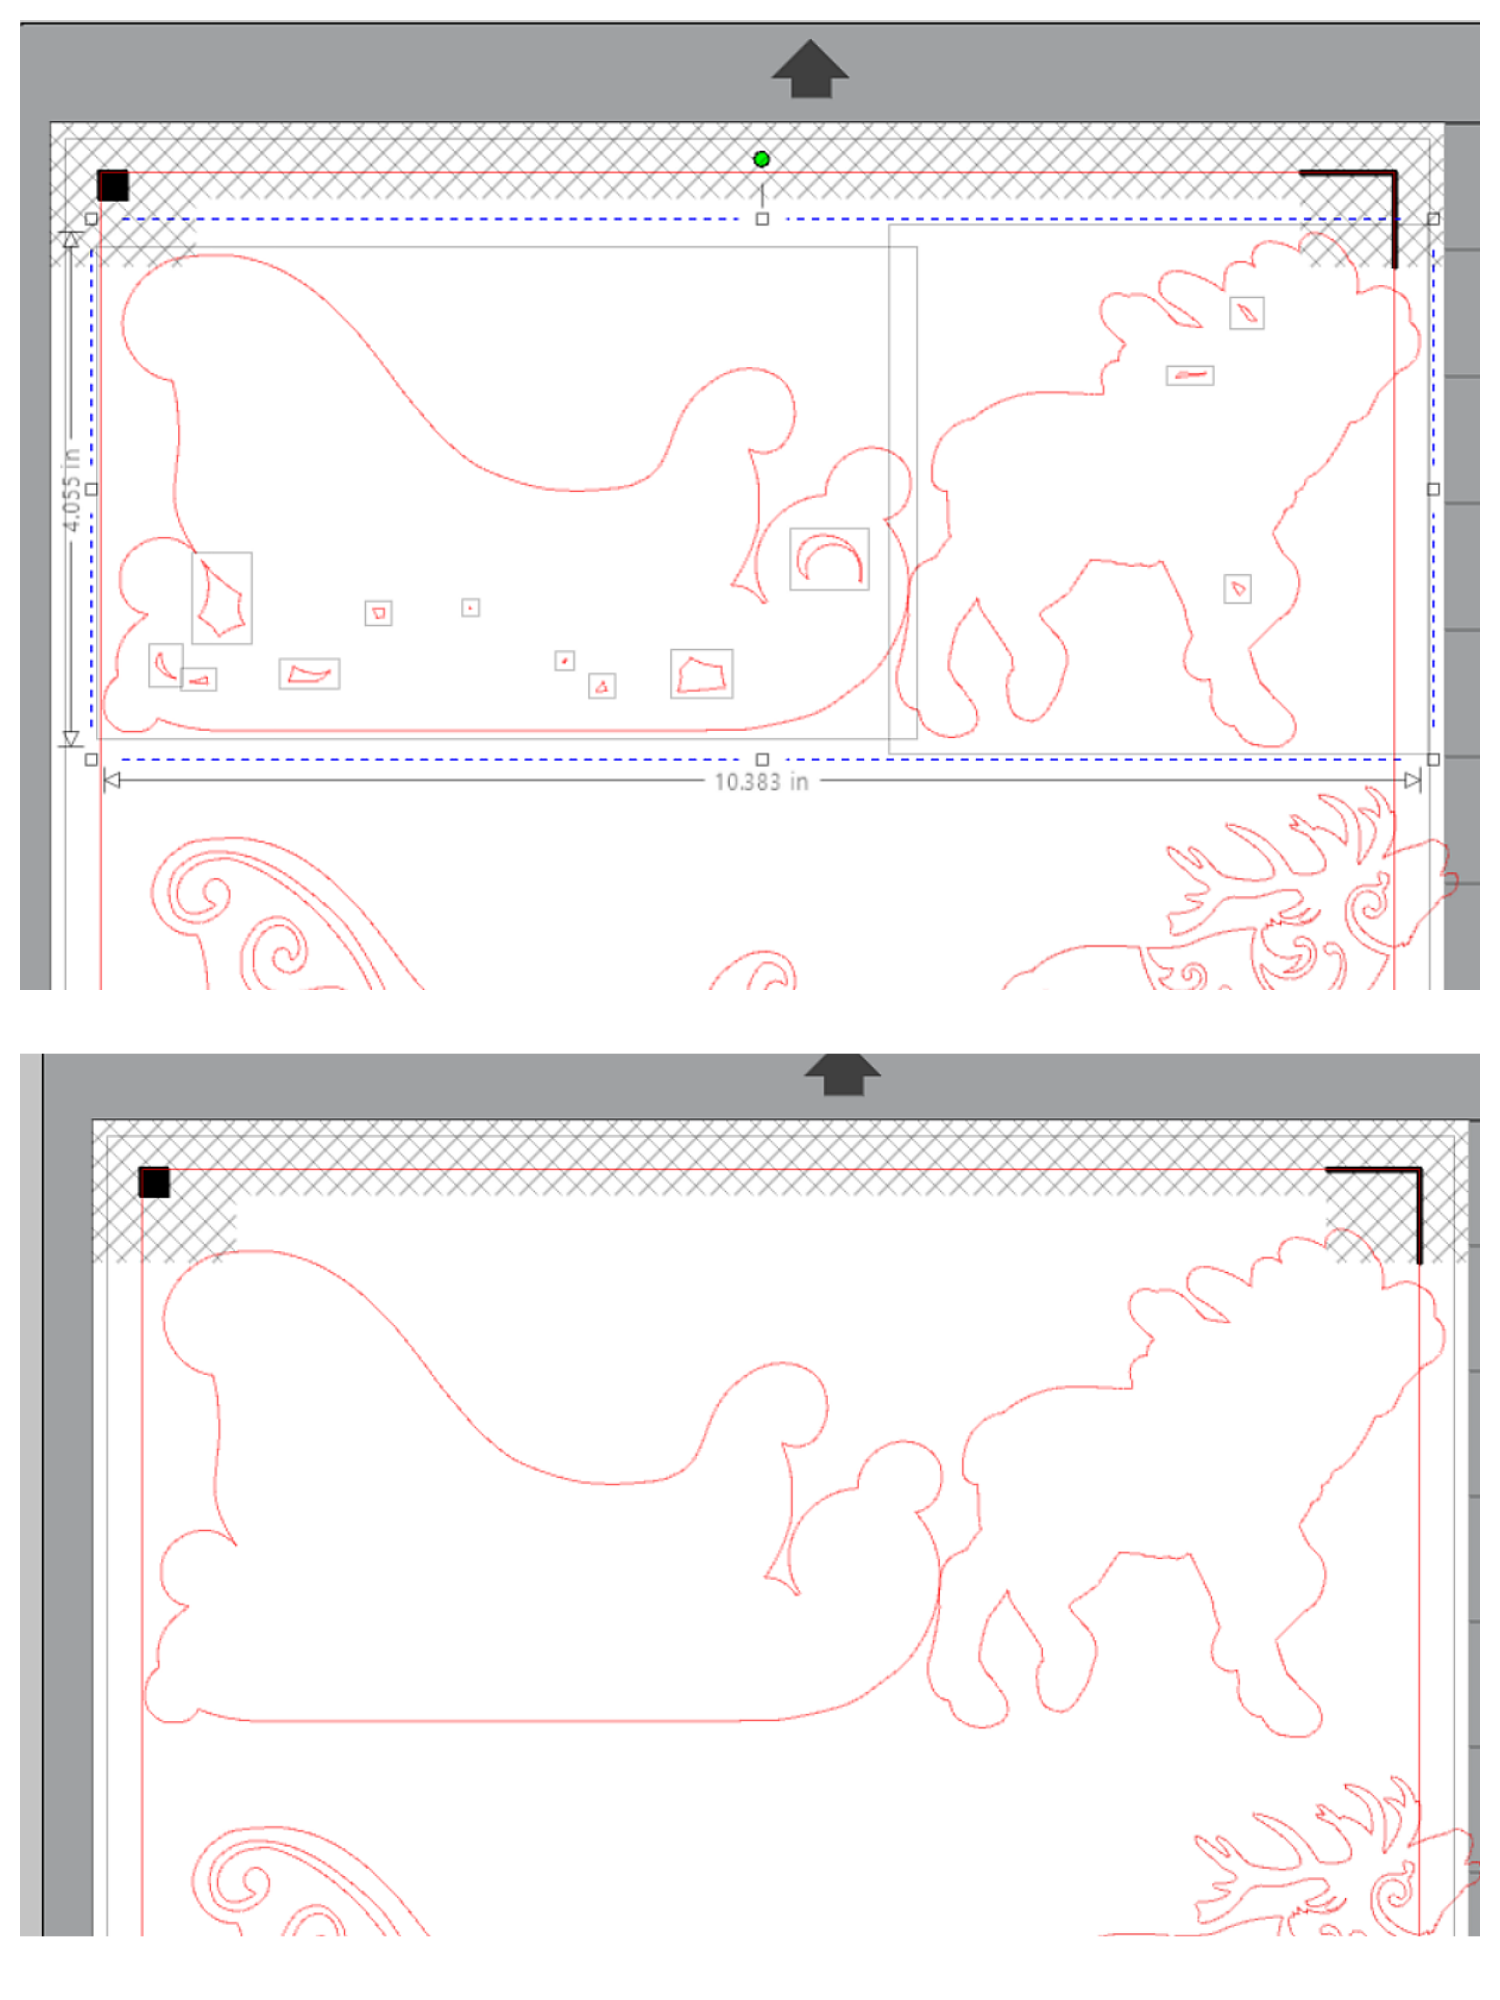
Then you can recenter them back with their original images and give them some color. The offsets will not need color since you will not be able to see them on the window, they are simply to give you a more solid image.
I did do a duplicate of the sleigh and release the image to get the swirls on my sleigh seperated so I can cut them in a different color.
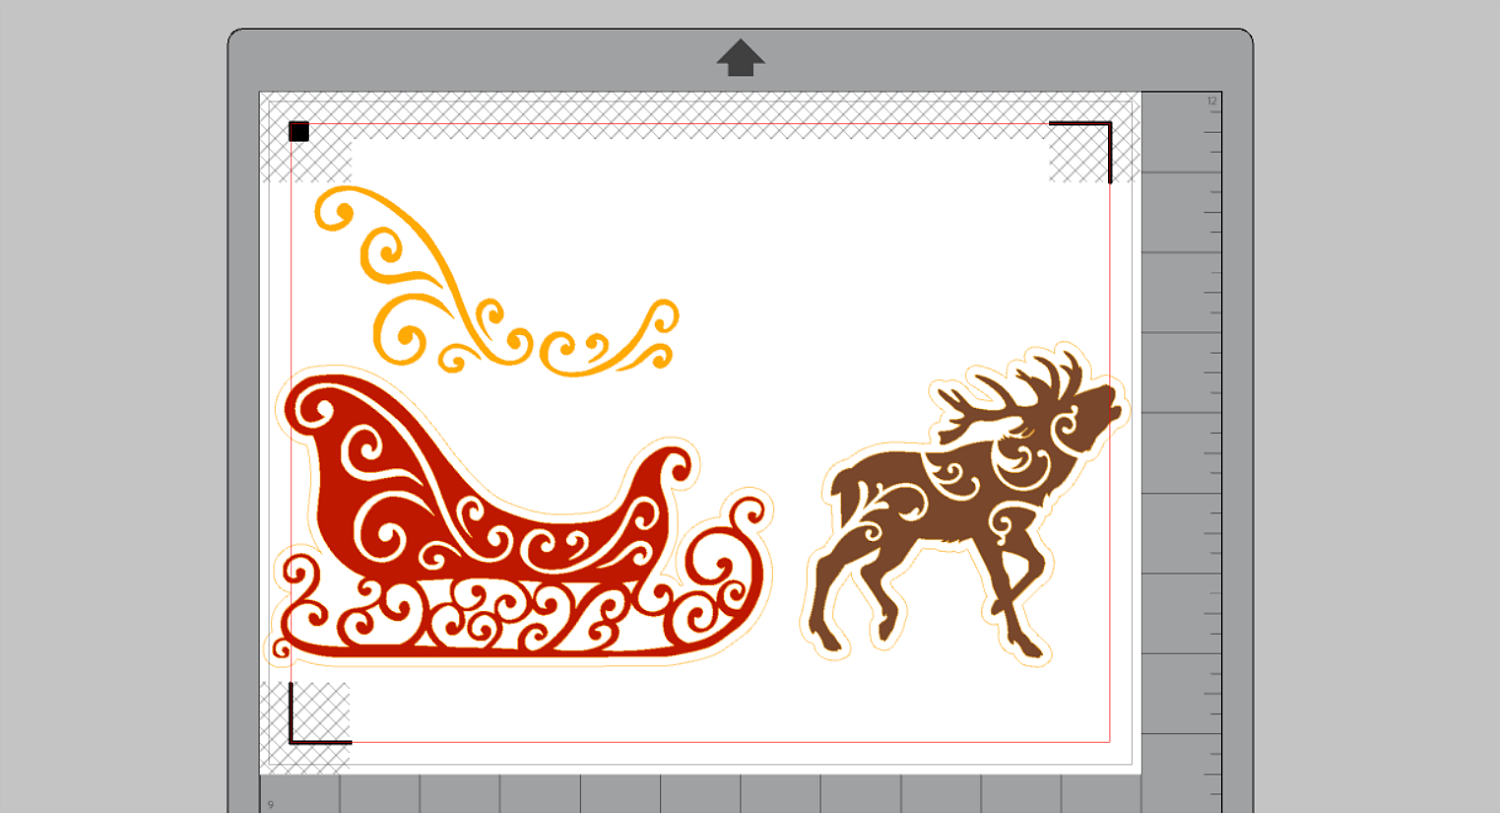
I think this looks good. Now time to duplicate my reindeer, I am just giong to fit as many as I can onto my Window Cling Material. Flip and turn them however you need to just make sure they are not overlapping.
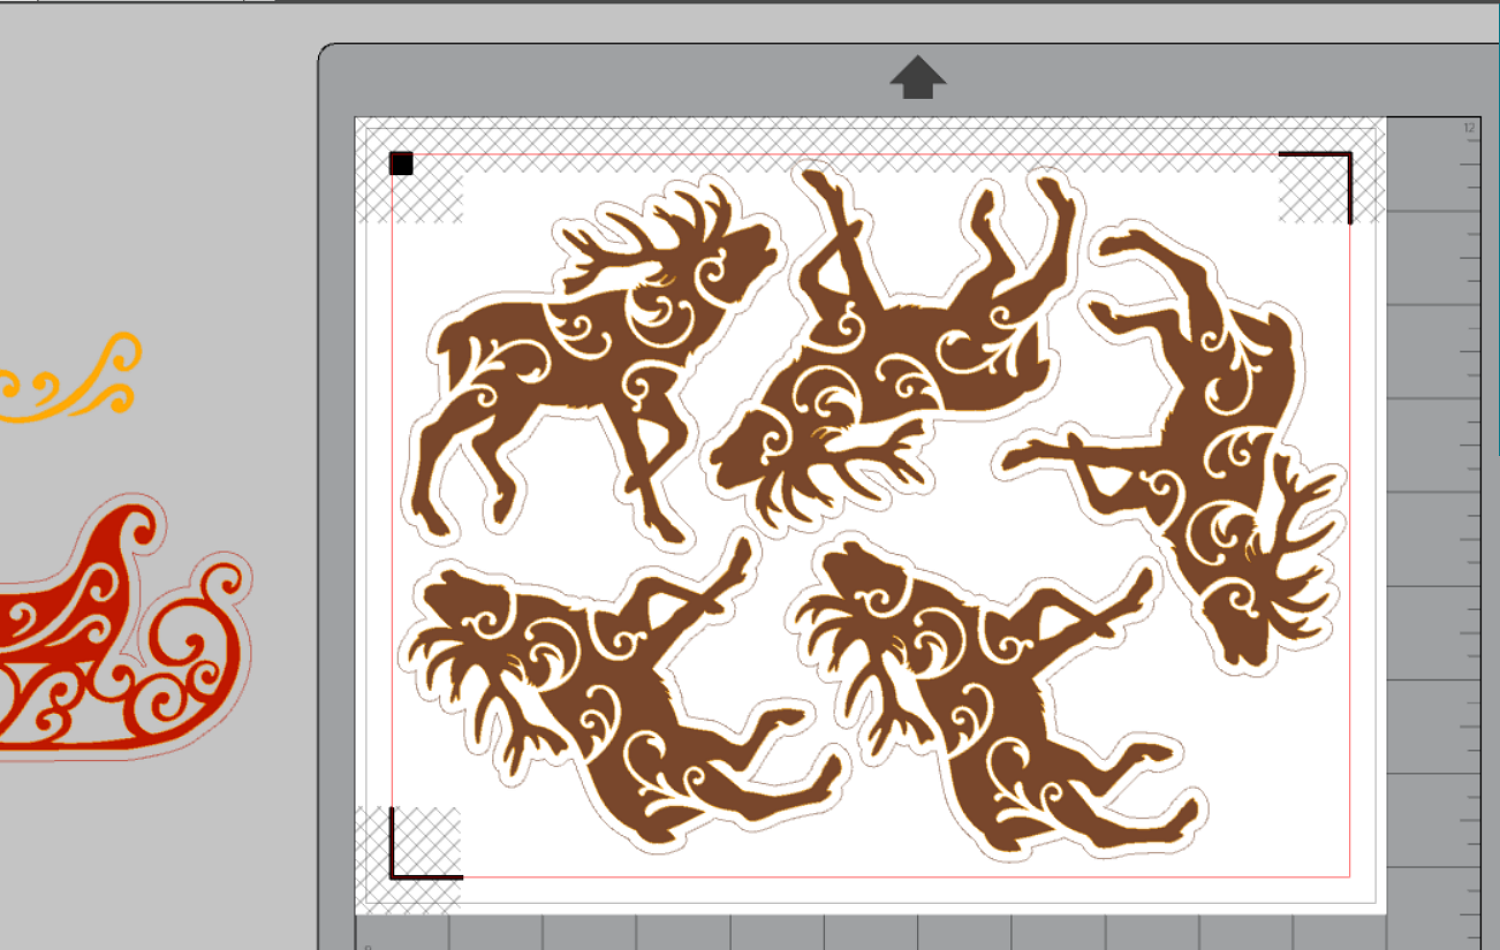
Usually you would want to print these colors fairly dark, but since we are going to apply some vinyl over top, you do not have to do them as vibrant.
For the Transparent Vinyls, I will mak them some what dark and for the Glitter Heat Transfer I am making them very light soley for the purpose of being able to line them up.
I have my Brown for my Transparent Glitter and my Grey for my Glitter Heat Transfer:
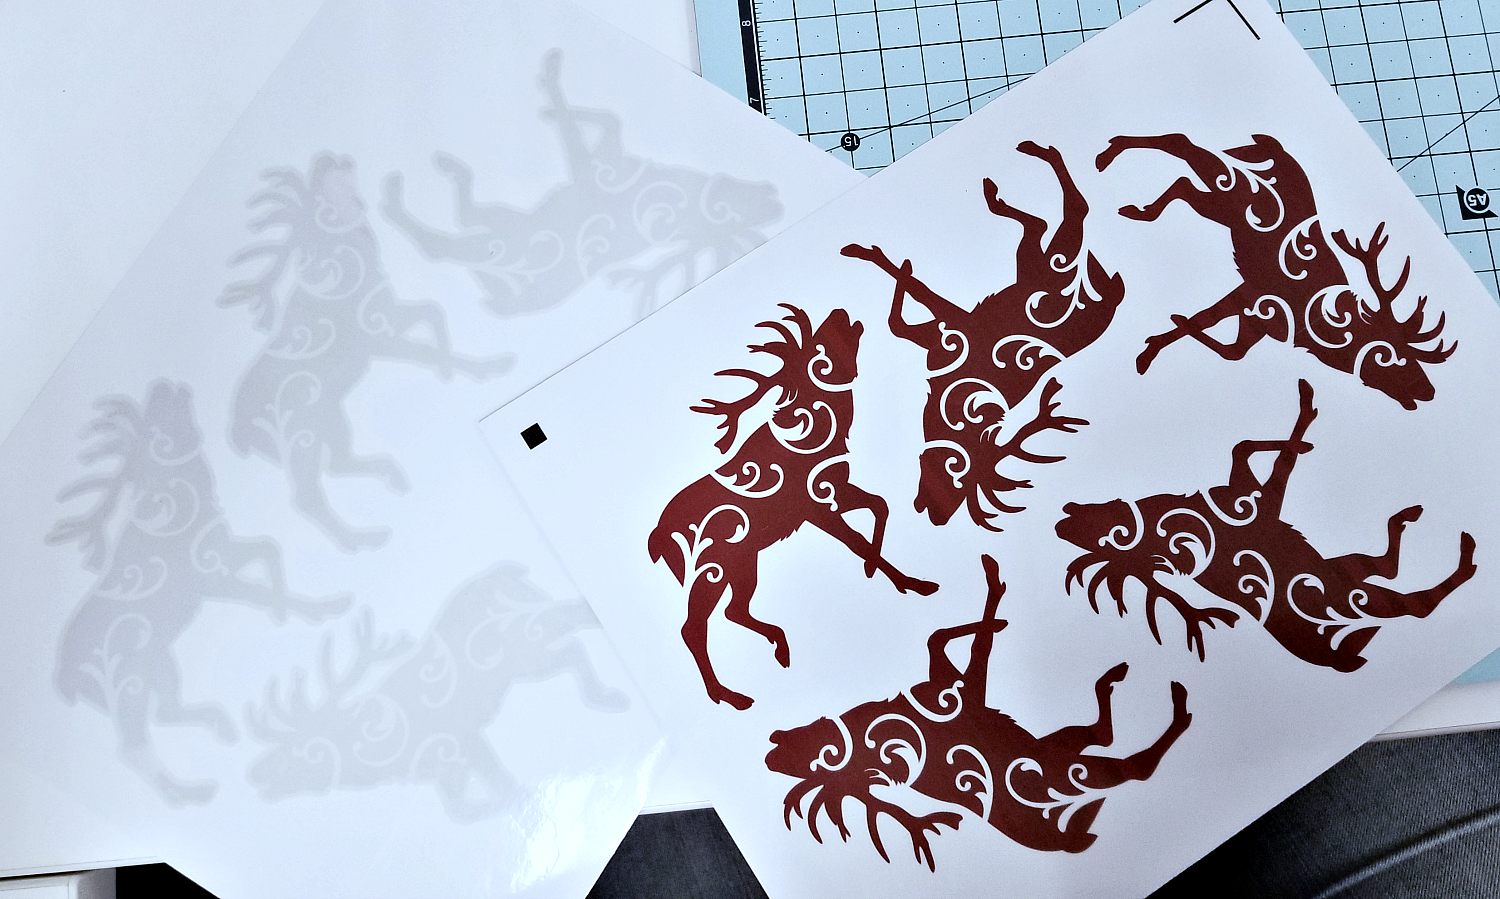
Now place the image on your mat just like it is shown on the Silhouette Studio layout. Making sure that the Registration marks are in the same location.
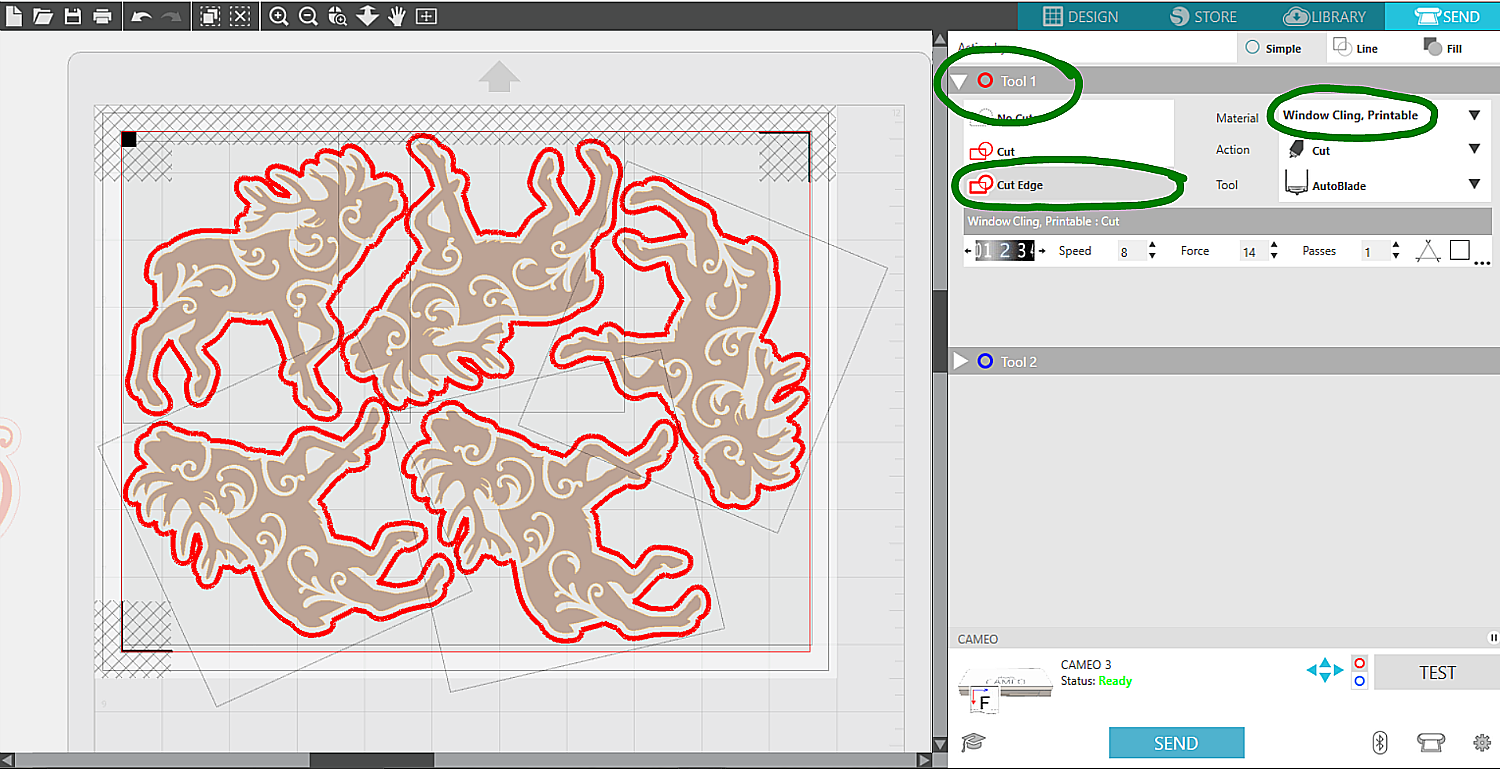
Once you have this ready to go and are in the send page, make sure that these key settings are in place.
- Cut Edge~ You do not want to cut the actual Reindeer, you just want to cut the offset
- Window Cling, Printable Silhouette Setting~ This is their product so they already have a setting in place
- Tool~ I am using my Auto blade so my cut lines should show as Red and my settings under Tool 1
{These same steps will follow for the sleigh}
Now go ahead and cut. Making sure the registration marks are reading correctly, going over the box. If you see a little red light going over the box, then crossing the corner lines, you are probably in good hands.
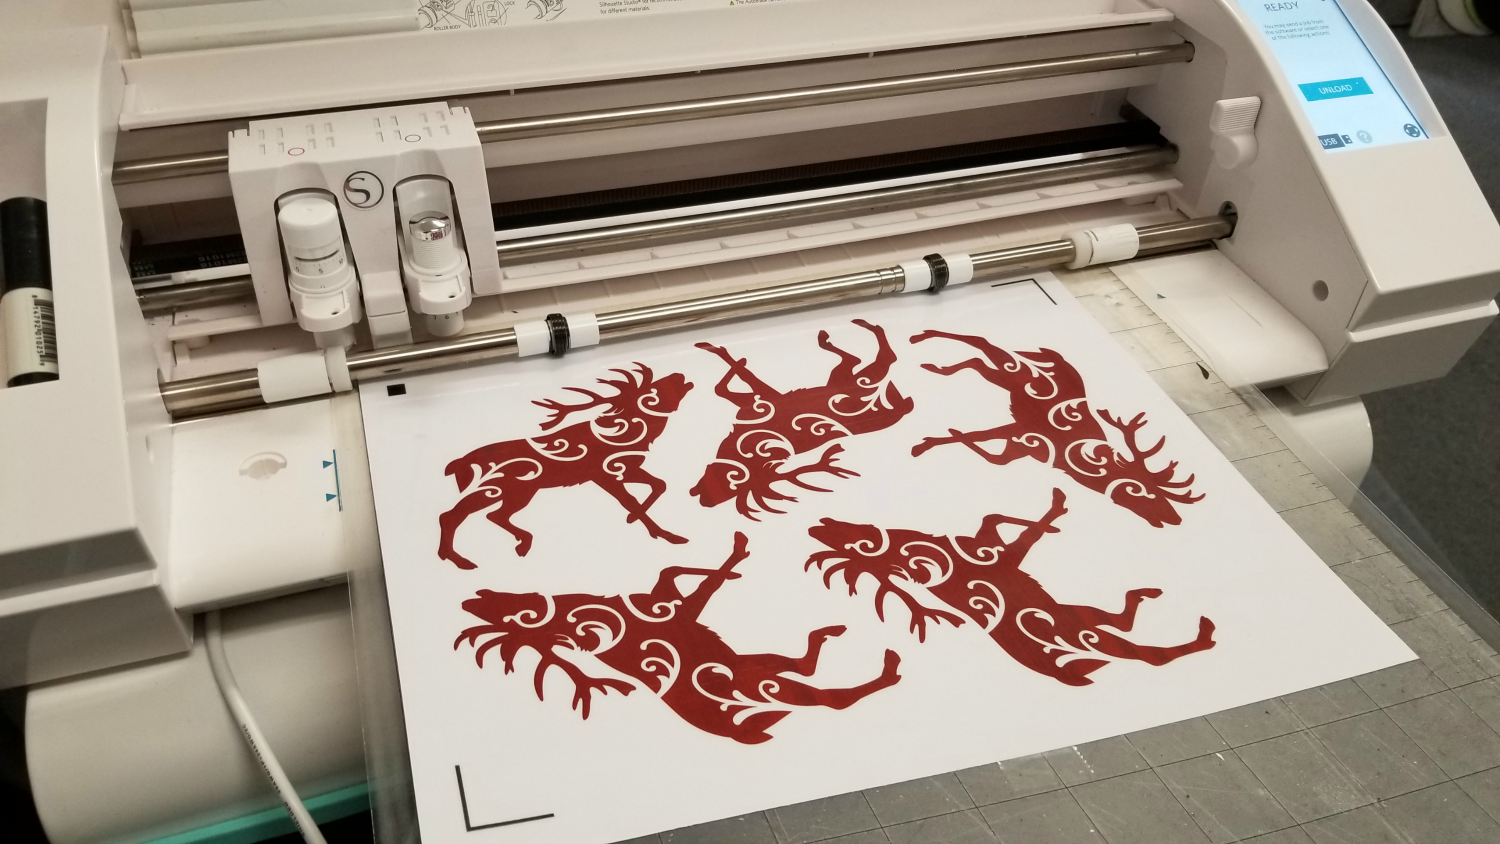
See the little red light reading away...dont mine the dust on the machine
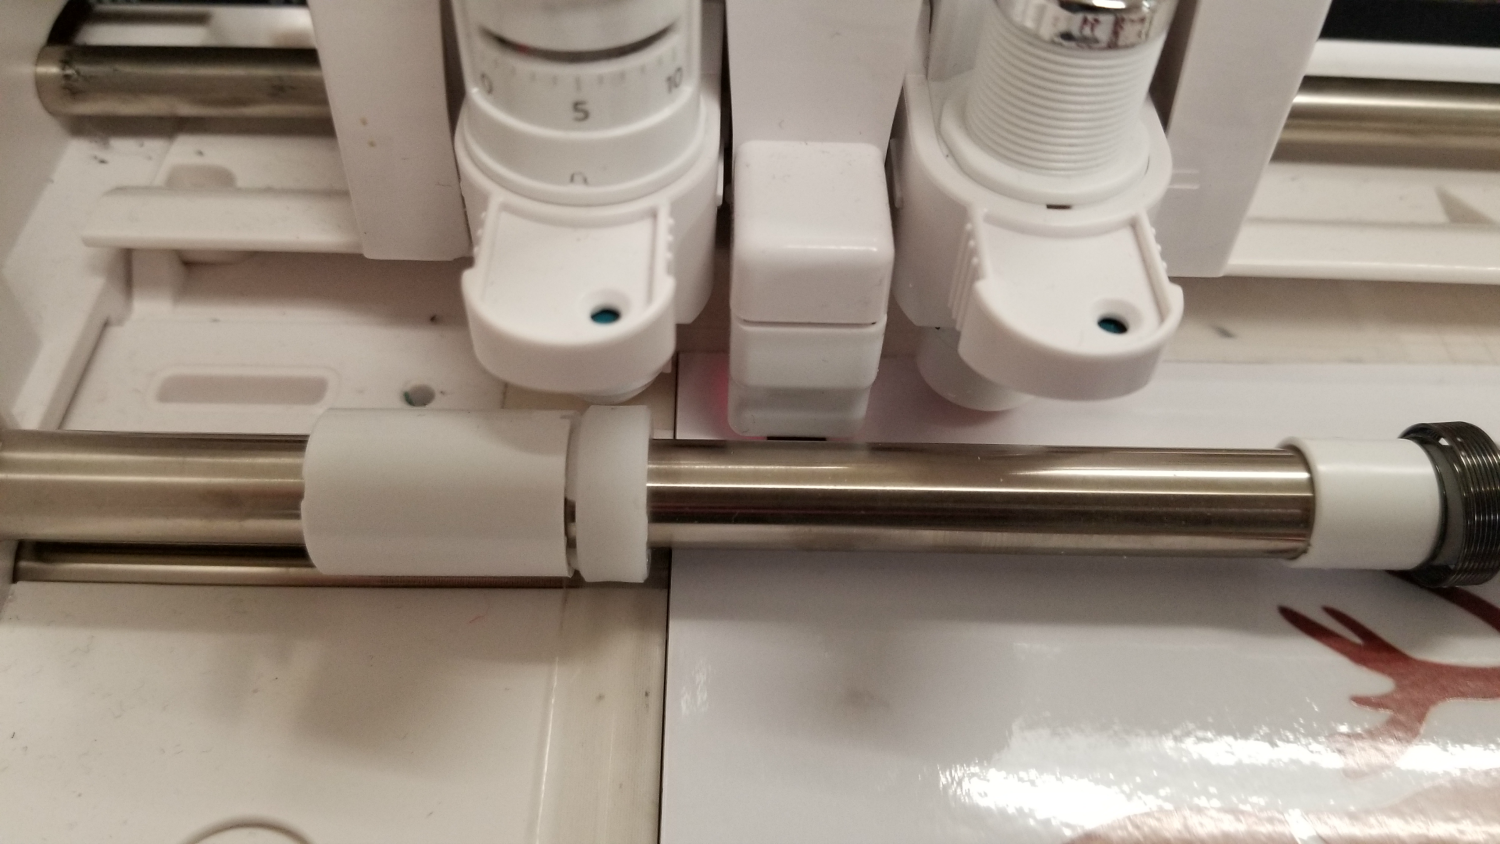
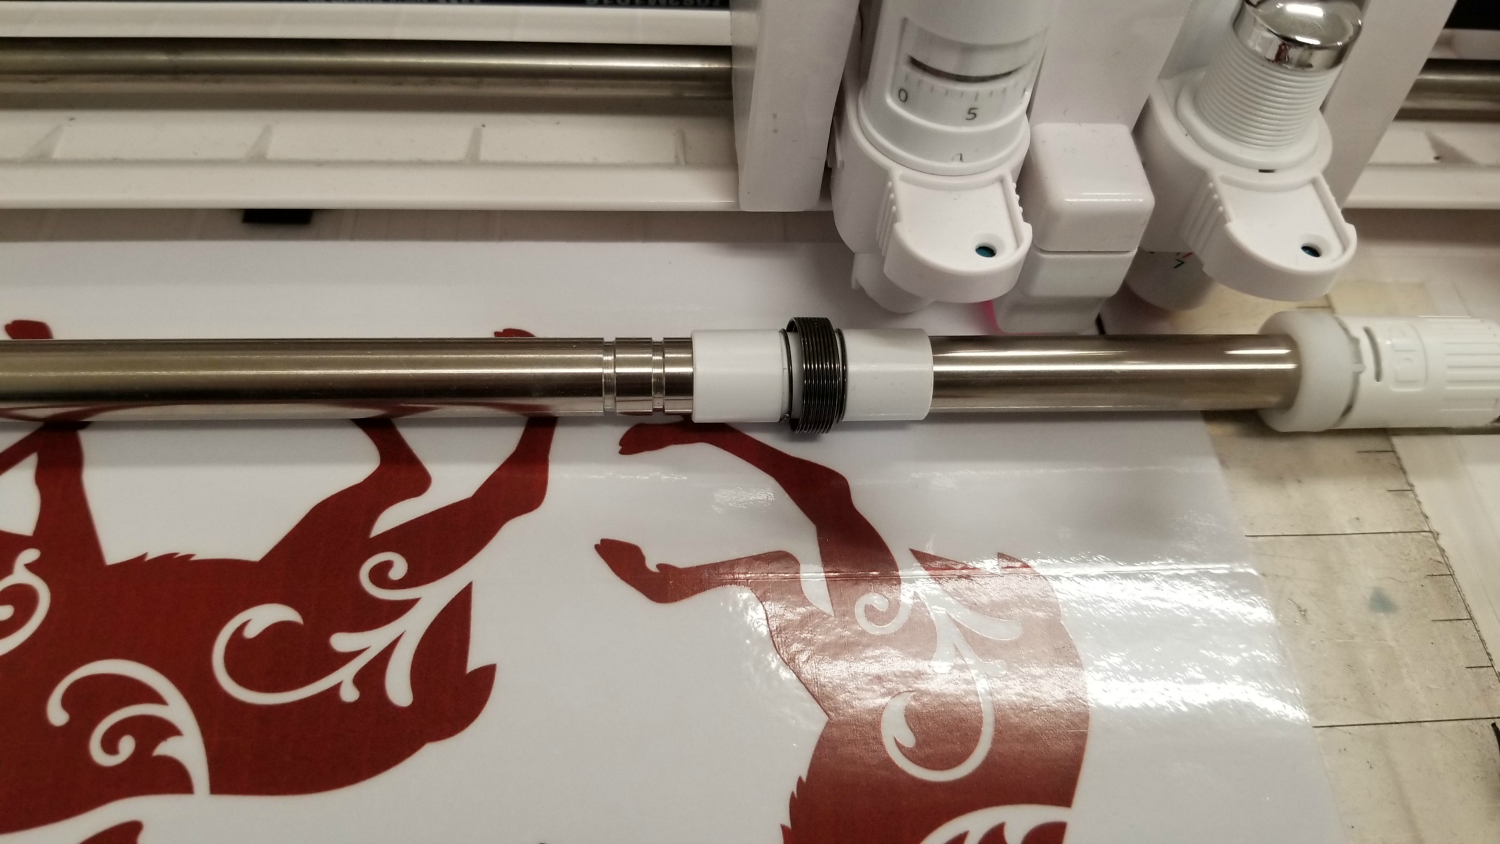
Check out that perfect cut job.
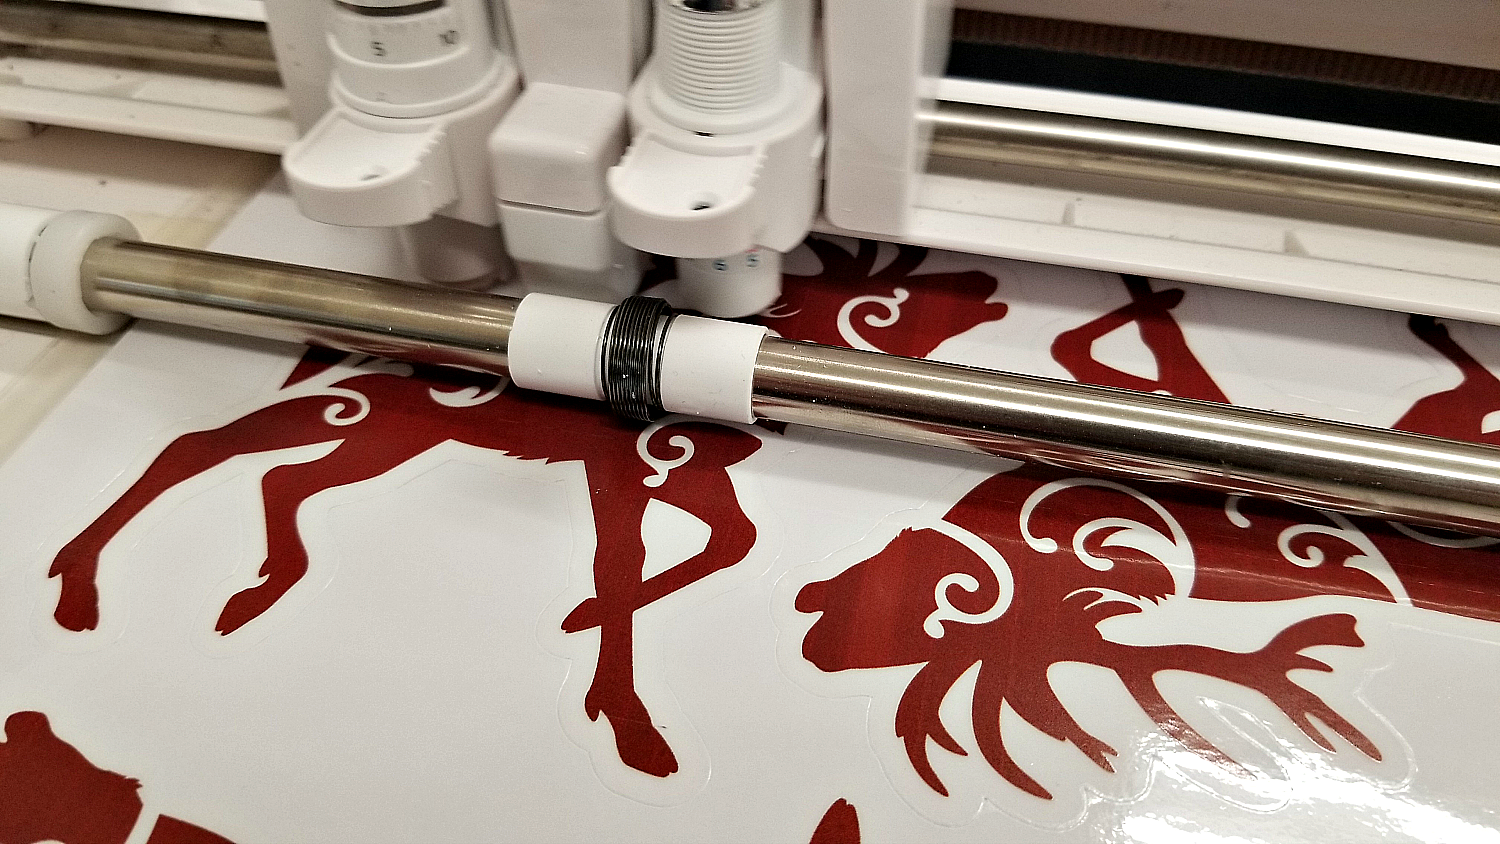
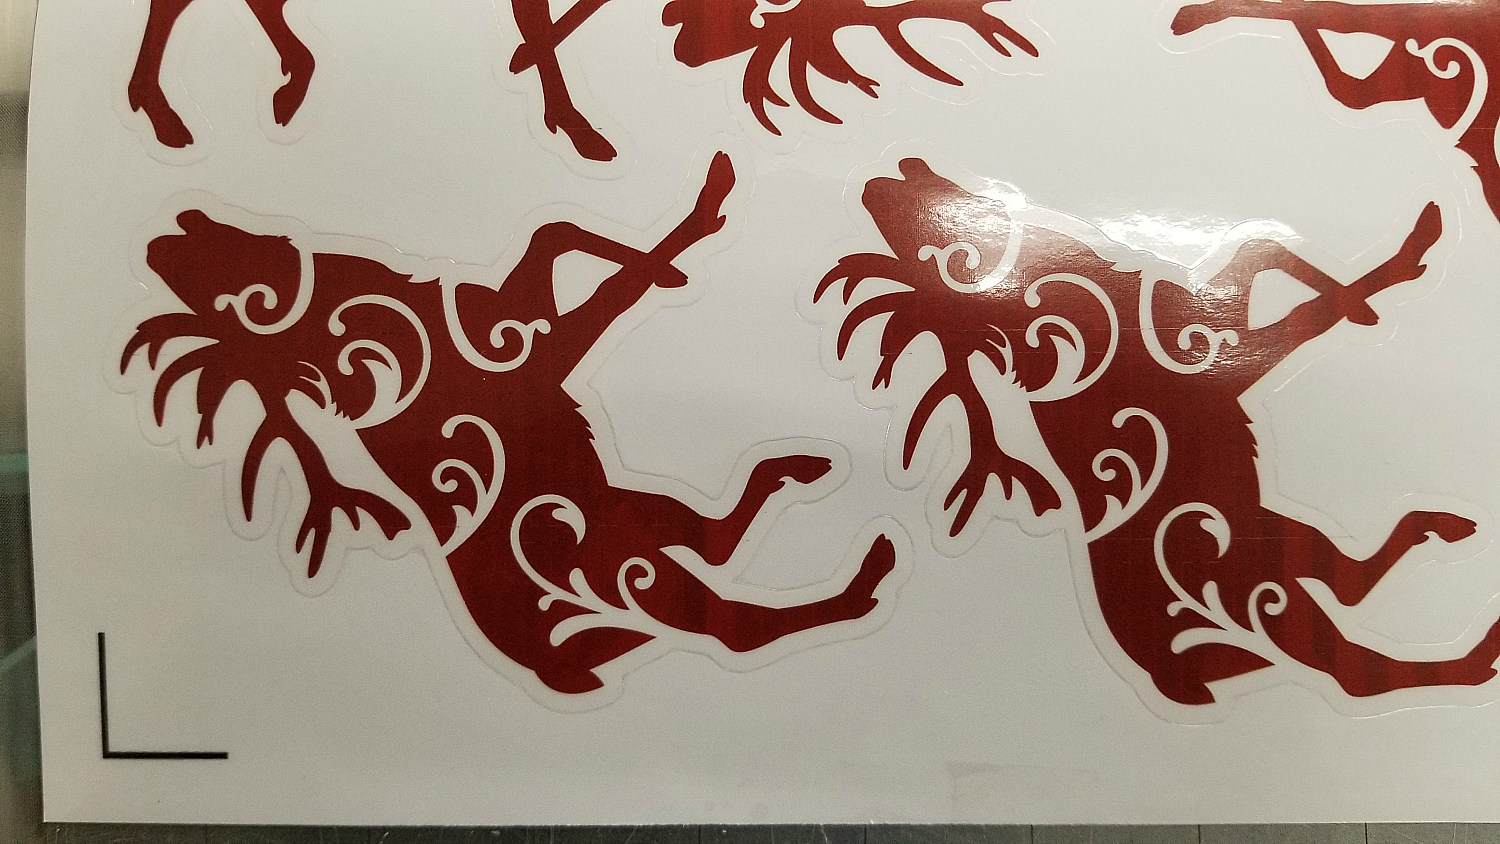
You would then follow the same steps to get your sled.
Now is the fun part, change your mat to NO MAT, turn off registration marks and adjust the size settings for your vinyl size. I have a 12x24 of the Glitter FX StarDust, so MY setting will look like thiis and my reindeer I will keep in the same grouping for easy access.
{DO NOT CHANGE ANY SIZES} you want your reindeer to match so they need to be the exact same size as you cling printable material.
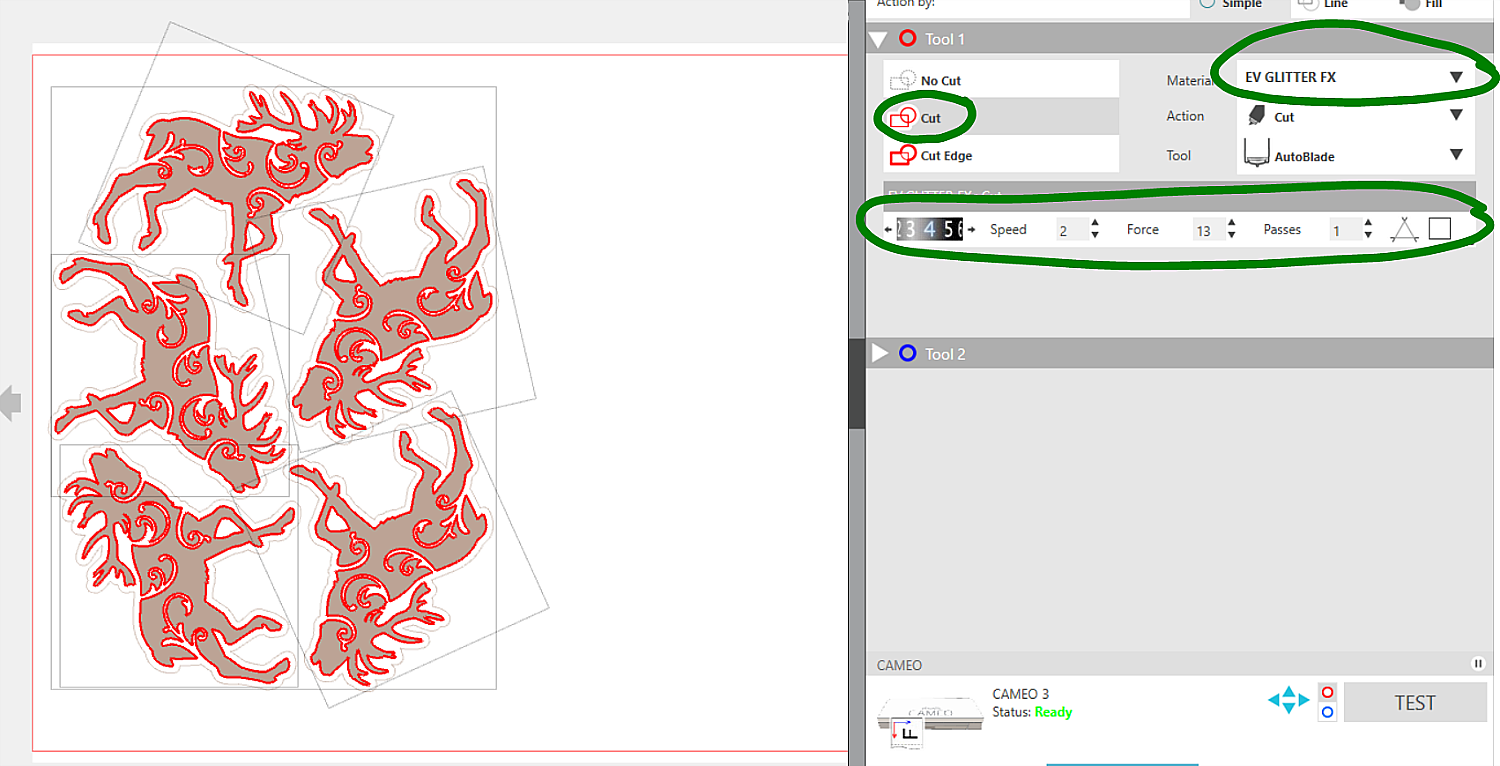
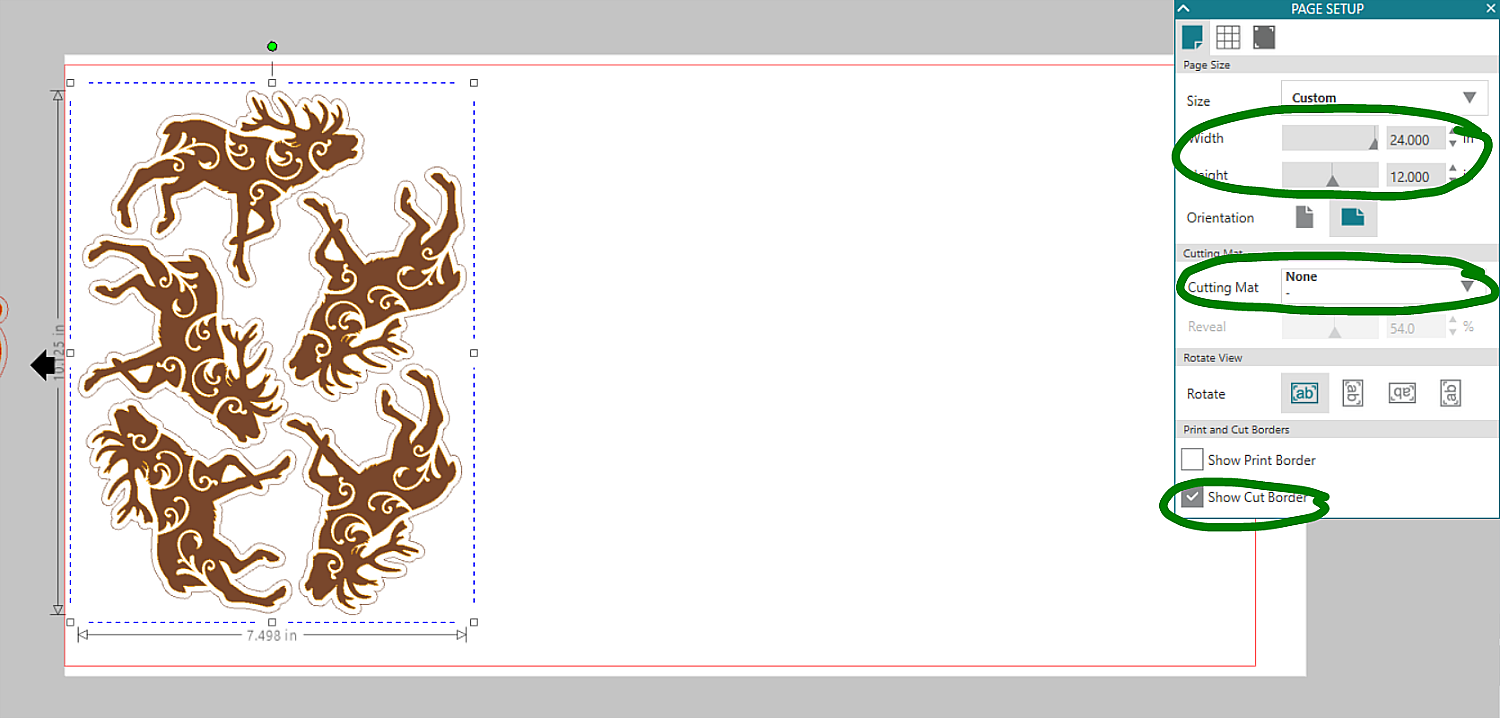 Send to your Silhouette. Just as before you will need to adjust some settings. THIS is when you cut your Reindeer, so we need to change some settings, the easiest way I have found is to ungroup the images until they all have their own boxes, the with all of them selected make them all a NO CUT, then you can go back and click the Reindeer and change them to a CUT.
You should have a cut that looks like this.
Note my settins also need to change since this is a different media, this a settings that I have saved, but I would recommend cutting the Transparent Glitter with this setting
Blade 2 (image shows 4, oops, took picture too soon, thats too deep)
Speed 2
Force (Thickness) 13
The Transparents can be somewhat hard to see, so take your time when weeding to get all those nice flourishes out clean. Then apply some Gridded Clear Transfer Tape.
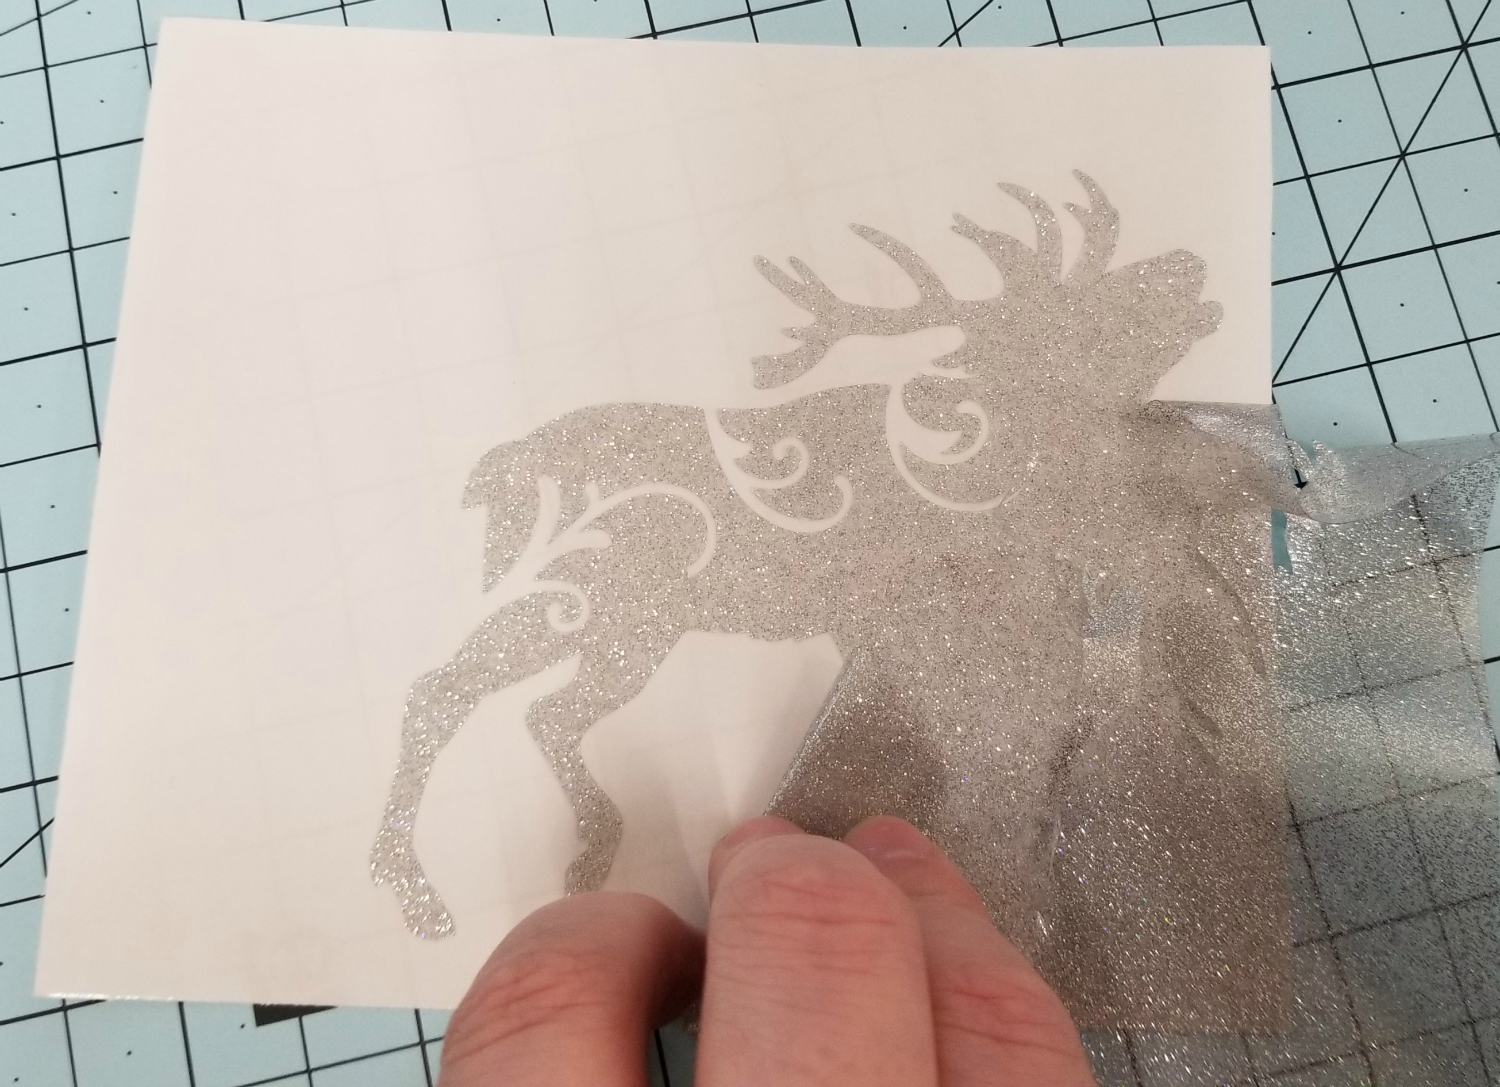
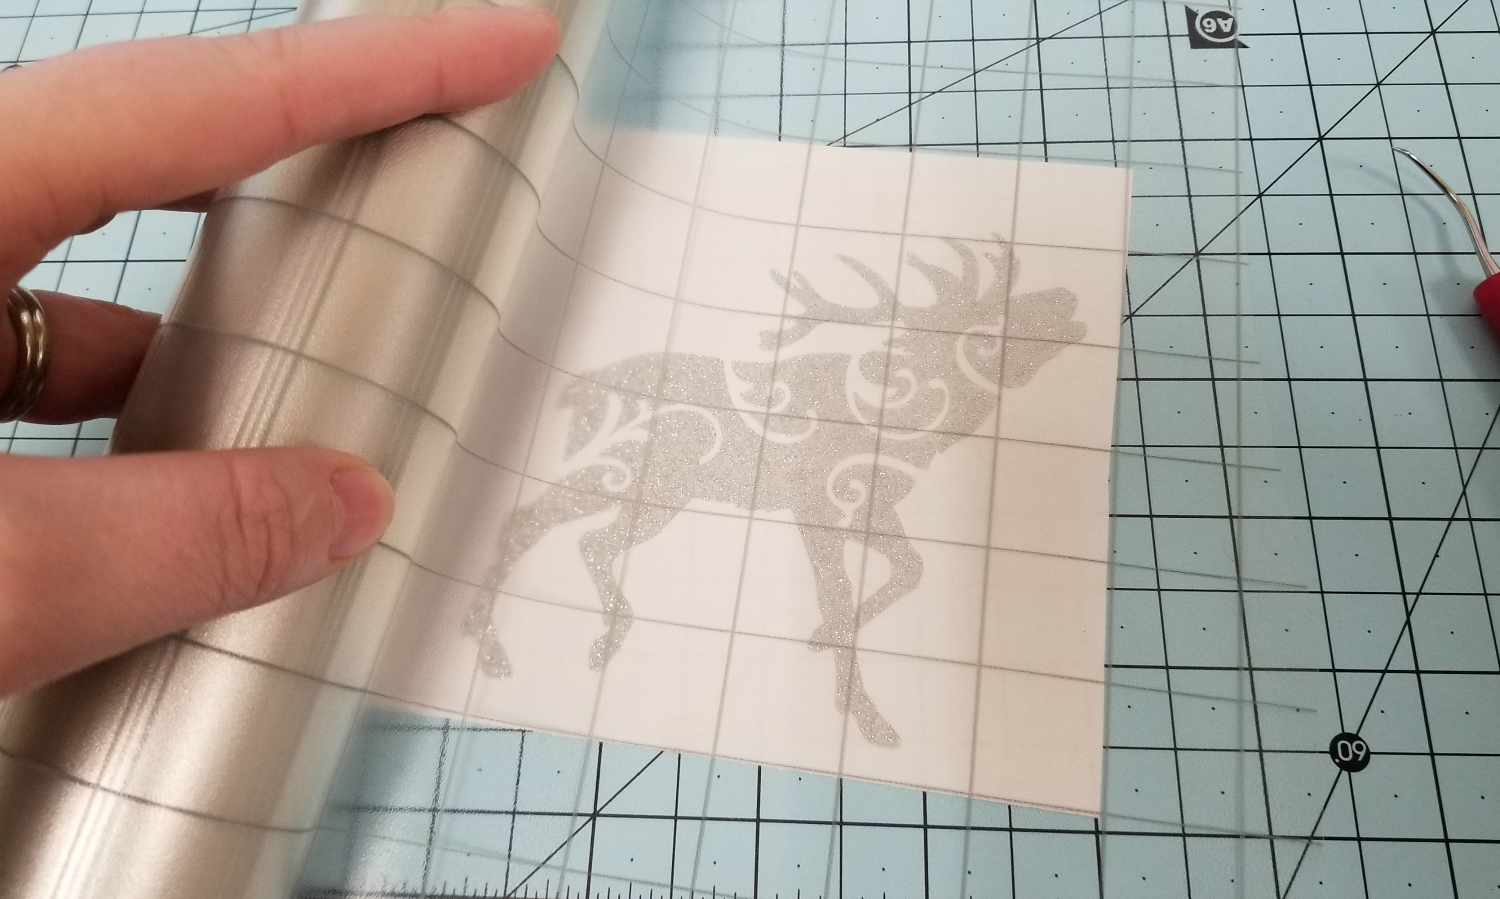
Before you apply your Star Dust Glitter to your cling, remember to take off the excess cling, this will make it much easier to apply the vinyl to the cling.
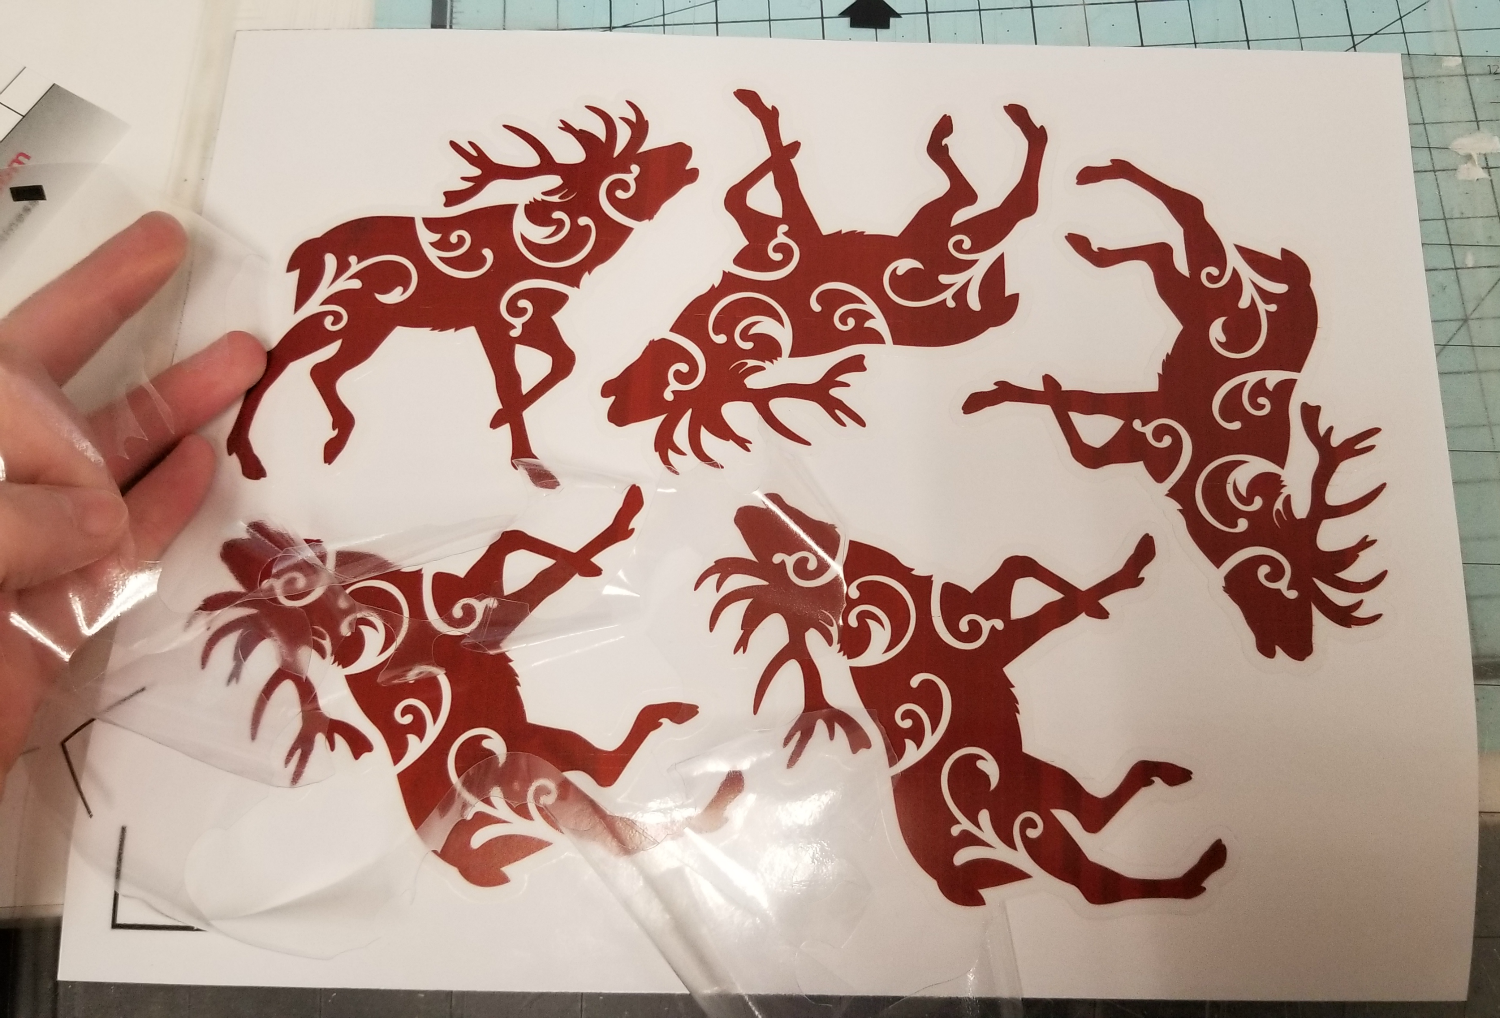
Then just apply your vinyl to your Reindeer.
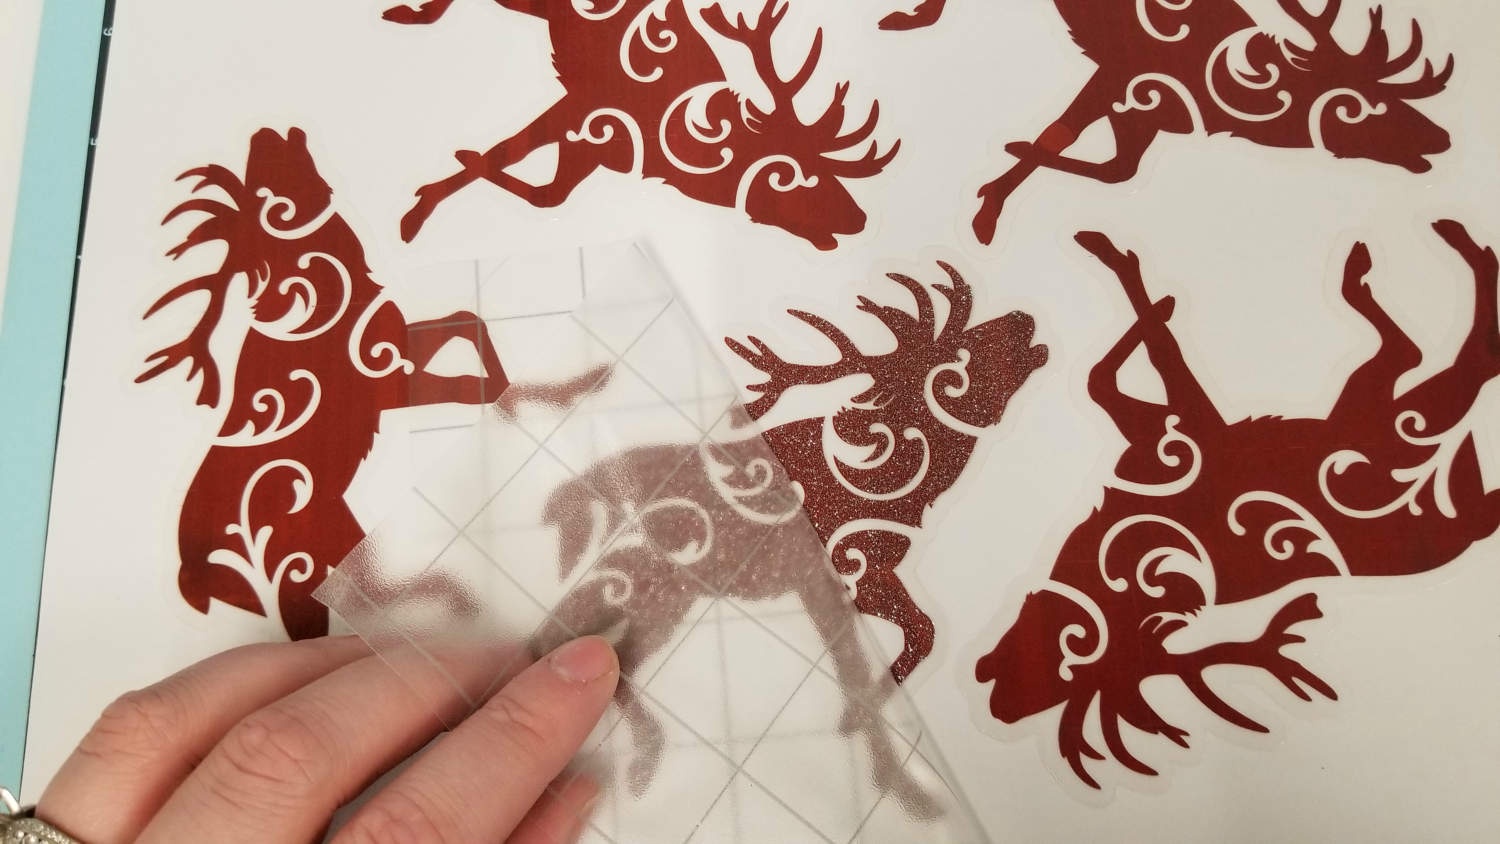
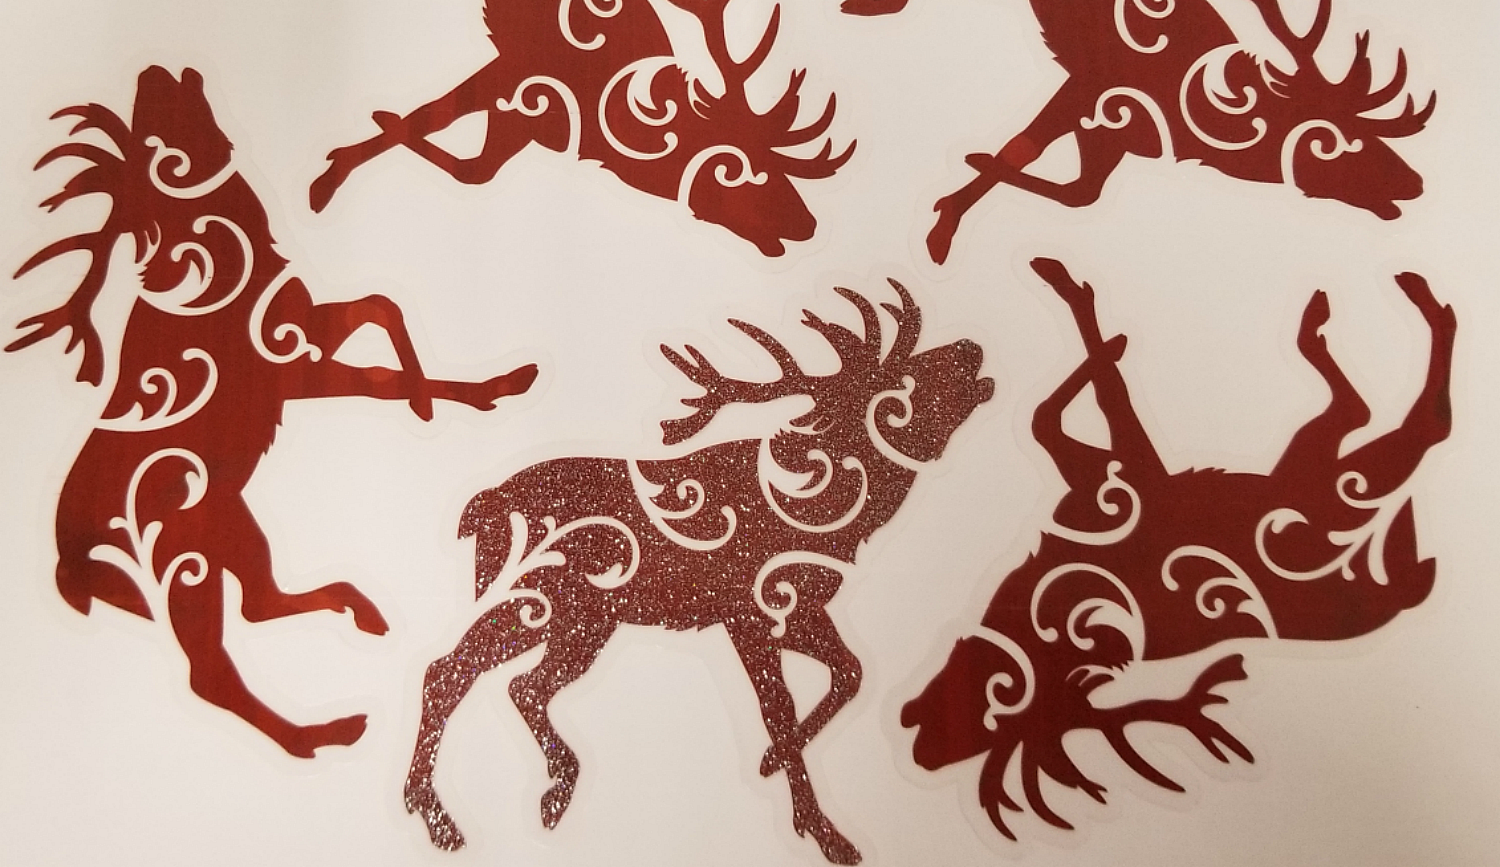
How fun is that. You can print the color and do the Star Dust FX Glitter over top or choose any of the colored Vinyls. These are awesome to change out seasonally or make some fun clings for your kids,Go Crazy and have a
Merry Christmas

Recent Posts
-
NEW Holographic Eclipse Heat Transfer Vinyl
April 15th, 2024 3 Ways to Use the New Holographic Eclipse Heat Transfer Vinyl from Siser …Apr 29th 2024 -
Hop into Spring with Cute Easter Vinyl Crafts
Do you love our Vinyl? Sign up for Vinyl Club today to get FREE vinyl and save big! …Mar 28th 2024 -
Fixing Wrinkles and Bubbles in Vinyl
How do you get air bubbles out of vinyl? There are a few different ways to ensure a flawless …Mar 26th 2024

