
Chalkboard menu with vinyl
Hi crafty friends! My name is Connie from Kutie Kaira Designs and today I am going to show you how to make a super cute weekly meal menu made from chalkboard vinyl as well as printable vinyl and Oracal 651 vinyl. I love practical projects that I can use on a daily basis to help me stay organized!
Things you will need:
-Chalkboard Vinyl
-Inkjet Printable Vinyl
-Oracal 651 White Vinyl
-A board of your choice (Any material will do since you will be using chalkboard vinyl to make the surface "writeable".)
-Transfer Tape
-Silhouette or Cricut Cutting Machine
-Chalk Pens
Step One: Design Your Project In Software
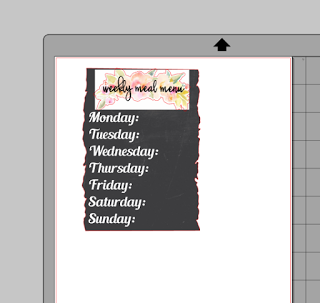
I am using a Silhouette Cameo for my project today so in Silhouette Software I created a digital mock up of what my final design will look like. I always like to design a digital version to make sure I like it and to ensure that it all fits on the actual board. Use a rule to measure the space on your board and size it accordingly in your software. Now you know how much space you have to design.
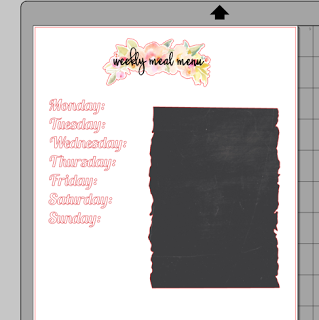
Now that the design is final, separate each piece in the software so that you can cut each one individually. Since each design is a different material, we have to do one at a time! But don't worry, it is super easy!
The days will be cut out of Oracal 651 vinyl, the rectangle will be the chalkboard vinyl, and lastly the floral design will be cut out of inkjet printable vinyl.
Step Two: Cut And Apply Your Designs
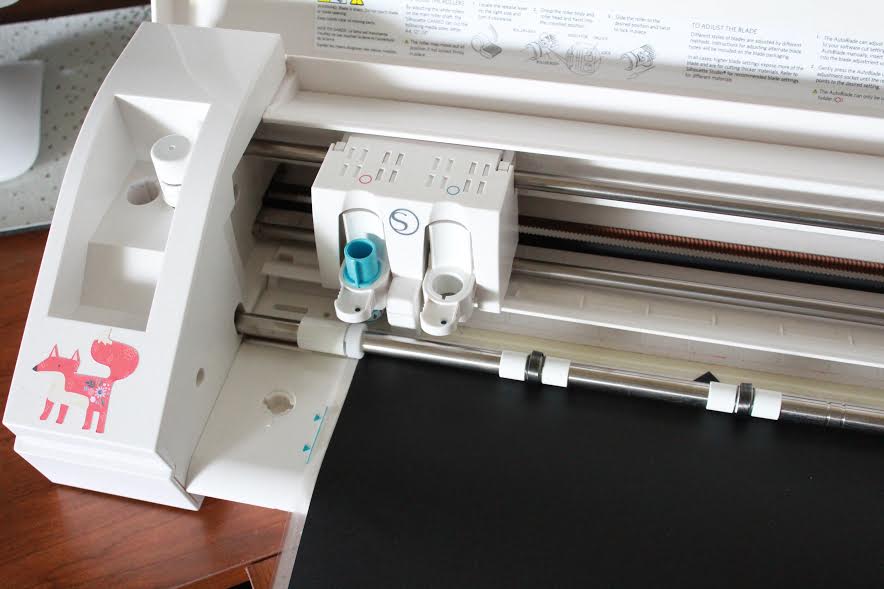
Load your chalkboard vinyl and cut your rectangle out (cut settings blade 2, thickness 10, speed 7).
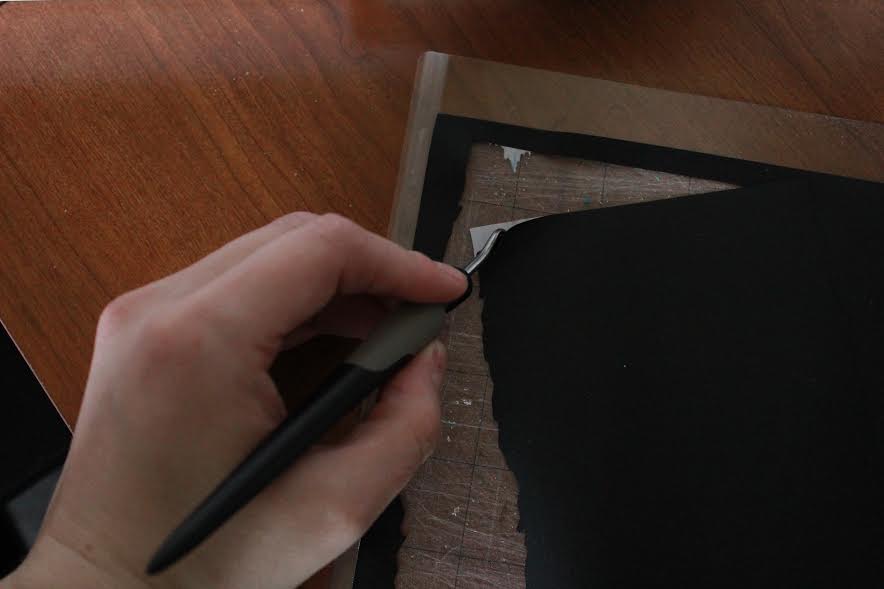
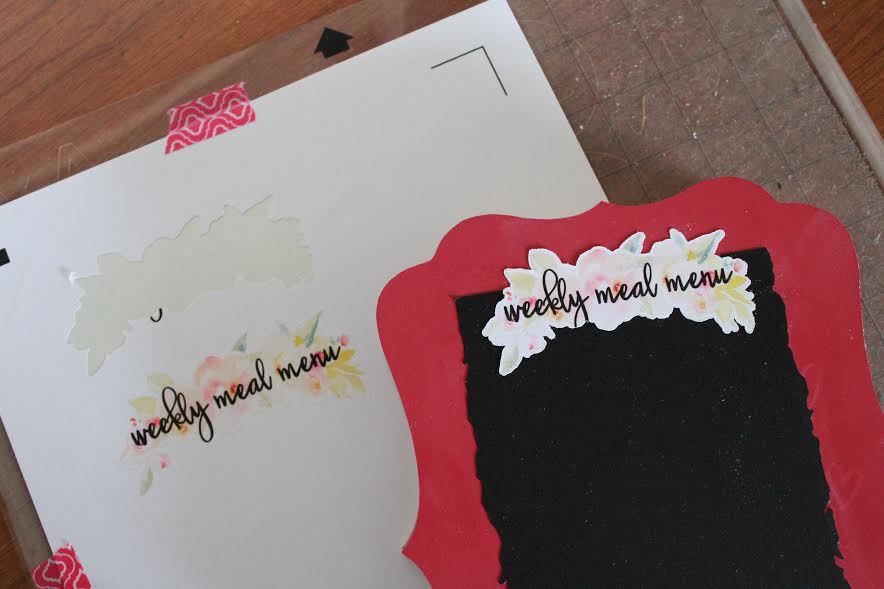
Weed your rectangle piece by lifting the corner using the Siser weeding tool and using your hand to peel it off of the backing. I love that you don't need to use transfer tape for chalkboard vinyl! Apply your rectangle to your board. Set aside while you cut the rest of your piece out.
Next, it's time to cut your floral design. *Pro Tip* Use washi tape to hold down the sides of your materials once your mat starts to lose stickiness. This tip has helped me save so much money by extending the life of my mat. The beauty of washi tape is that the adhesive is so light that it won't ruin your material--not even card stock paper--but sturdy enough to hold your material in place while you cut.
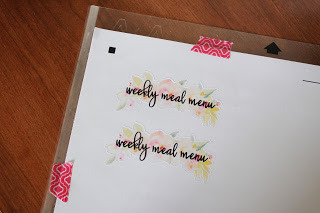
Print your registration marks along with your design on the inkjet printable vinyl and use the print and cut features on your machine to cut along the edge of the floral design.
Once your design is done cutting, simply lift your floral design and apply it on the board.

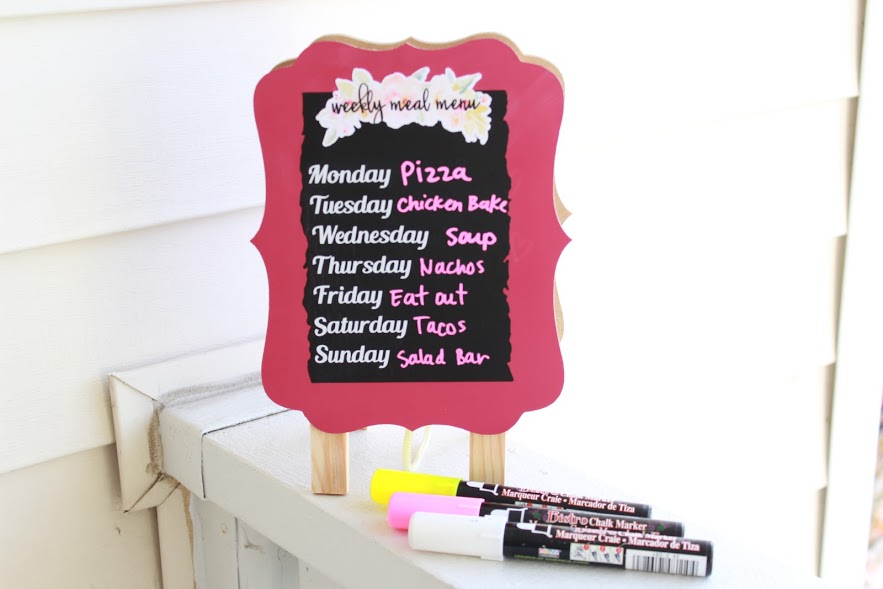
The final step will be to cut your Oracal 651 vinyl days. For this step you will need transfer tape. Cut out your designs and use transfer tape to apply the letters on the board. *Pro Tip* Use a hairdryer or other source of heat when applying 651 vinyl to surfaces that are difficult to "stick" on. The heat will further activate the adhesive making it easier to apply.

Now your beautiful project is complete!
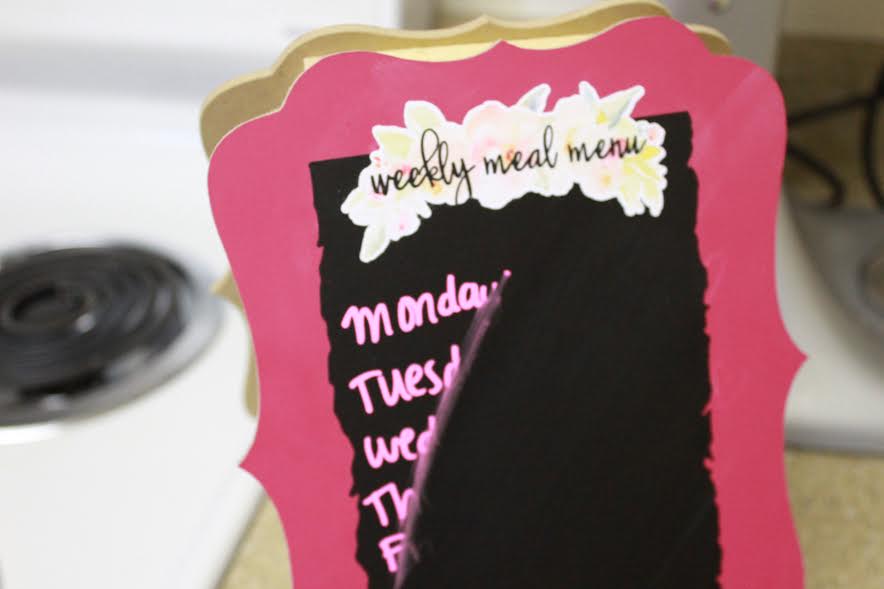
I love how easy it is to wipe the chalk pns of of the chalkboard vinyl! No residue at all!
Hope you enjoyed this project and I can't wait to see what amazing creations you come up with! Be sure to tag me on Instagram @kutiekairadesigns if you do so I can see them :).
Recent Posts
-
NEW Holographic Eclipse Heat Transfer Vinyl
April 15th, 2024 3 Ways to Use the New Holographic Eclipse Heat Transfer Vinyl from Siser …Apr 29th 2024 -
Hop into Spring with Cute Easter Vinyl Crafts
Do you love our Vinyl? Sign up for Vinyl Club today to get FREE vinyl and save big! …Mar 28th 2024 -

Fixing Wrinkles and Bubbles in Vinyl
How do you get air bubbles out of vinyl? There are a few different ways to ensure a flawless …Mar 26th 2024