
Christmas 2X4S
Hi everyone, it's Kaysi again from Keeping it Simple.
It's Christmas time!!! I LOVE decorating for Christmas, it is my favorite holiday! I love the feel of the season, everyone seems to be so much happier :).
I made this for my front door step. I made it for Christmas but plan on keeping it out all winter long!
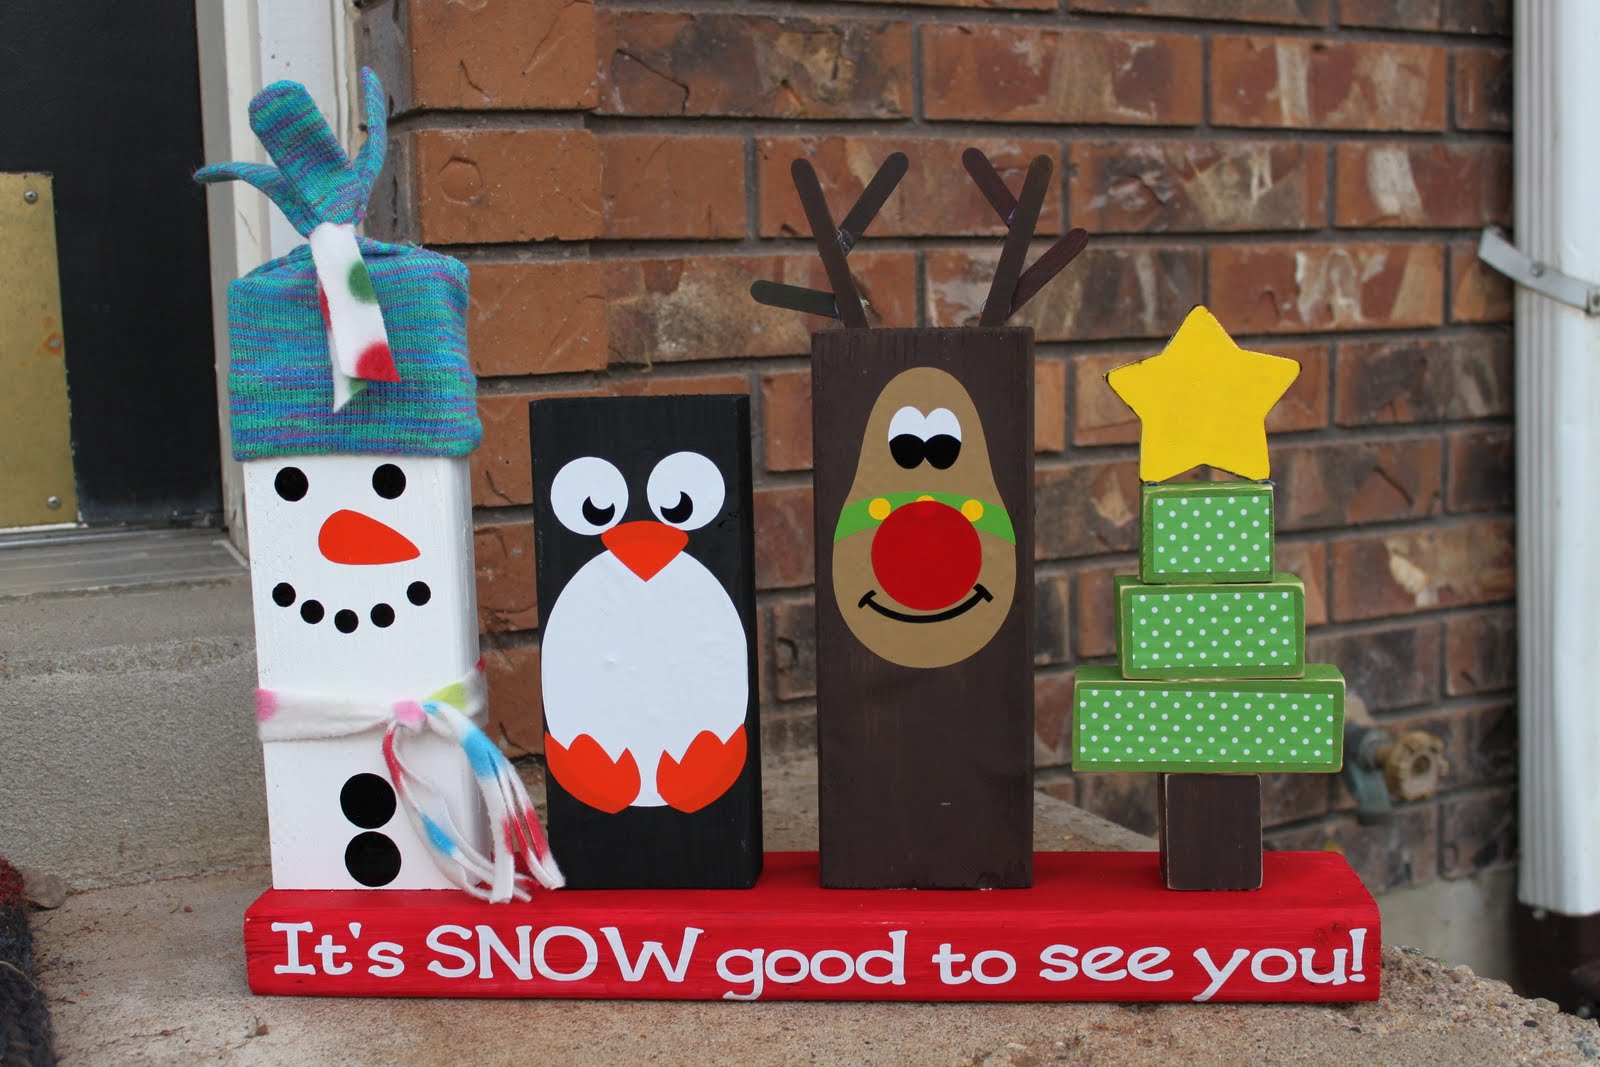
This is how I made it:
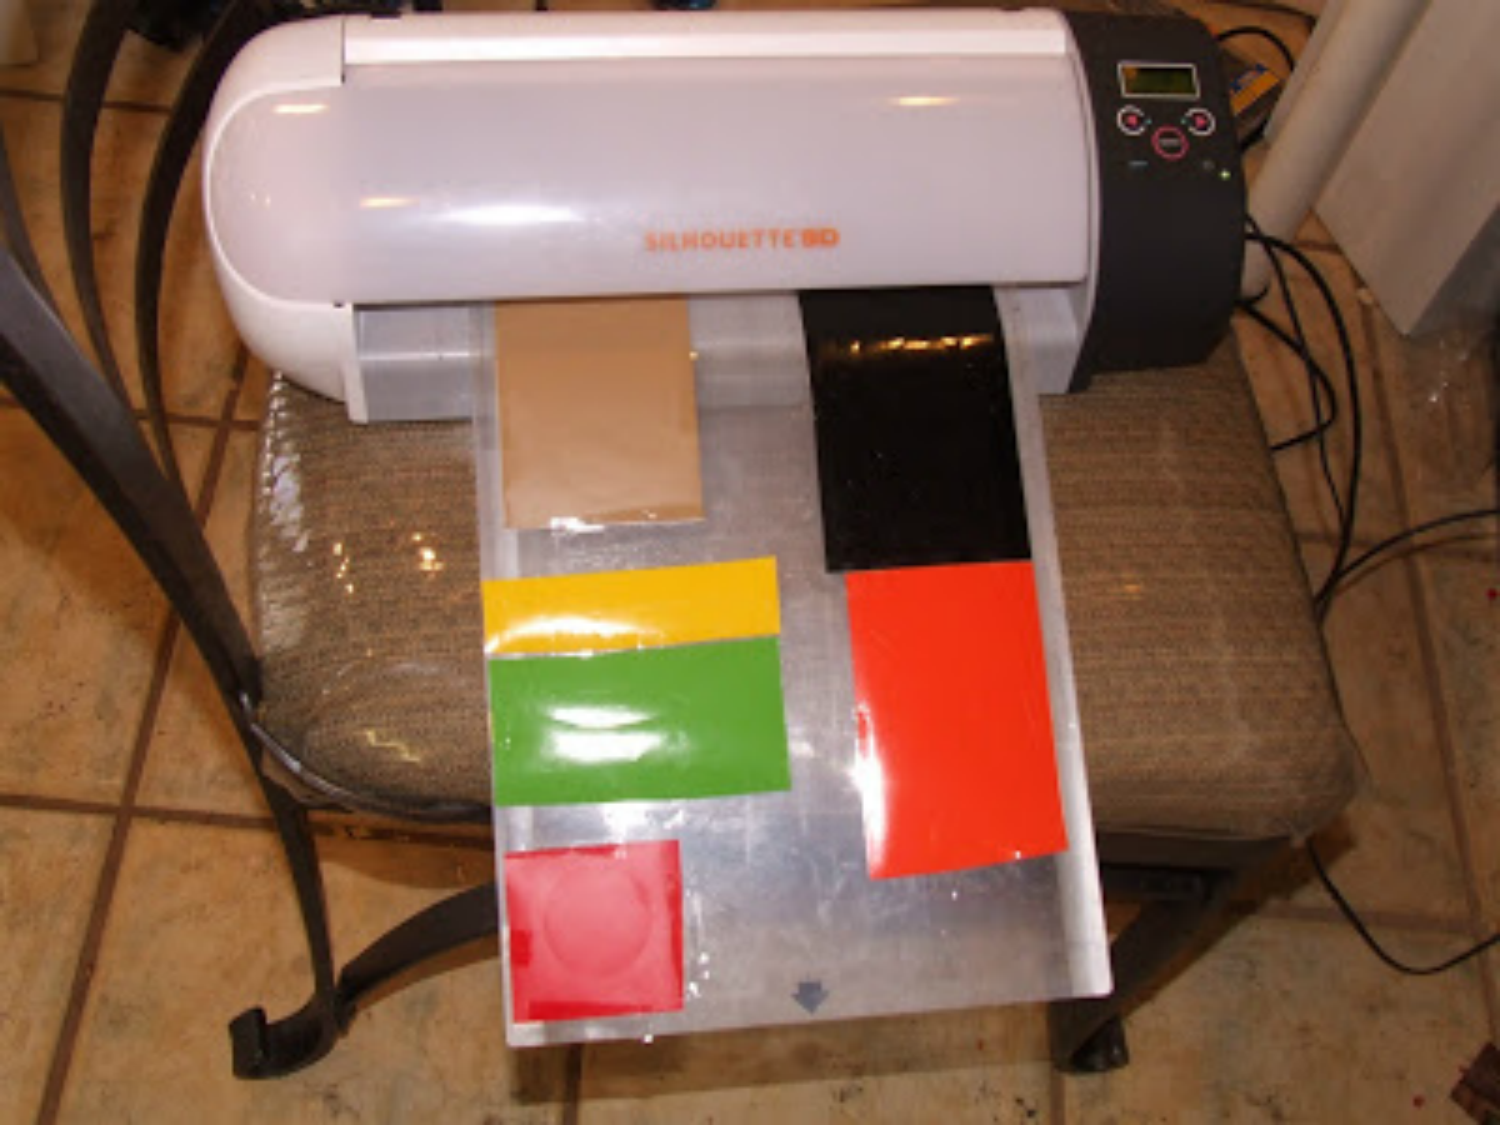
1) Using my Silhouette, I cut out my vinyl for the faces. I used colors: light brown, black, white, lime tree green, red, orange, yellow, and black in the outdoor vinyl from Expressions Vinyl. I got all of my images off of the Silhouette online store and the font used is called second breakfast.
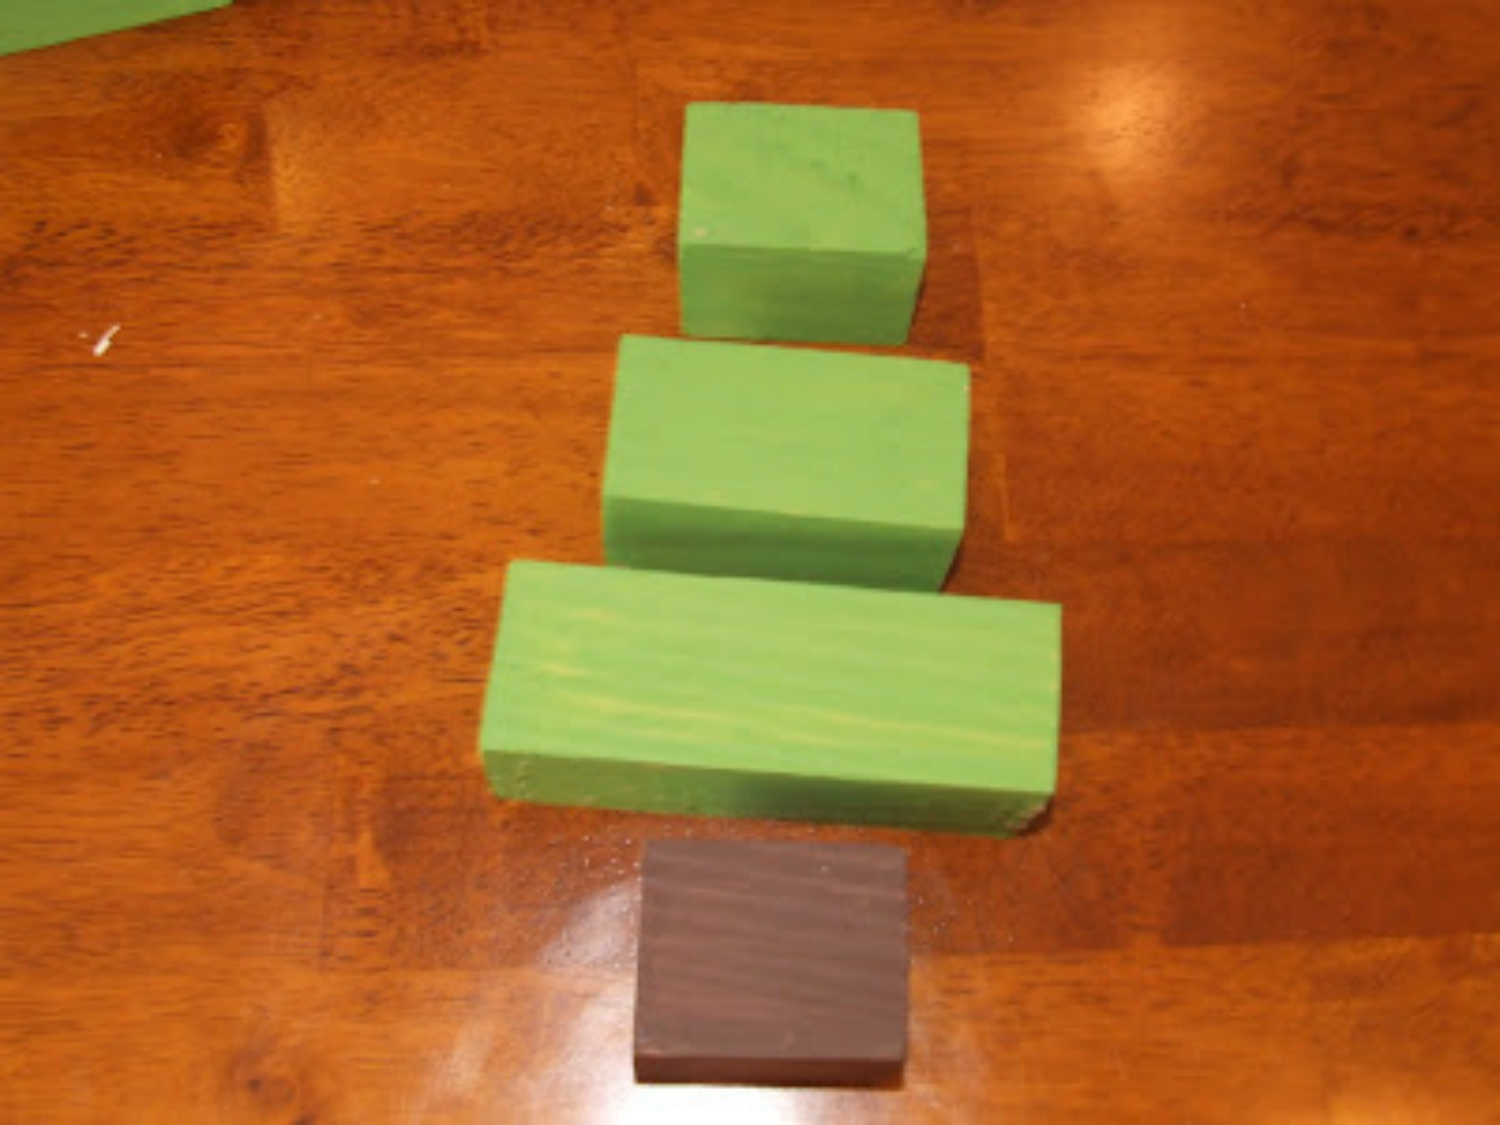
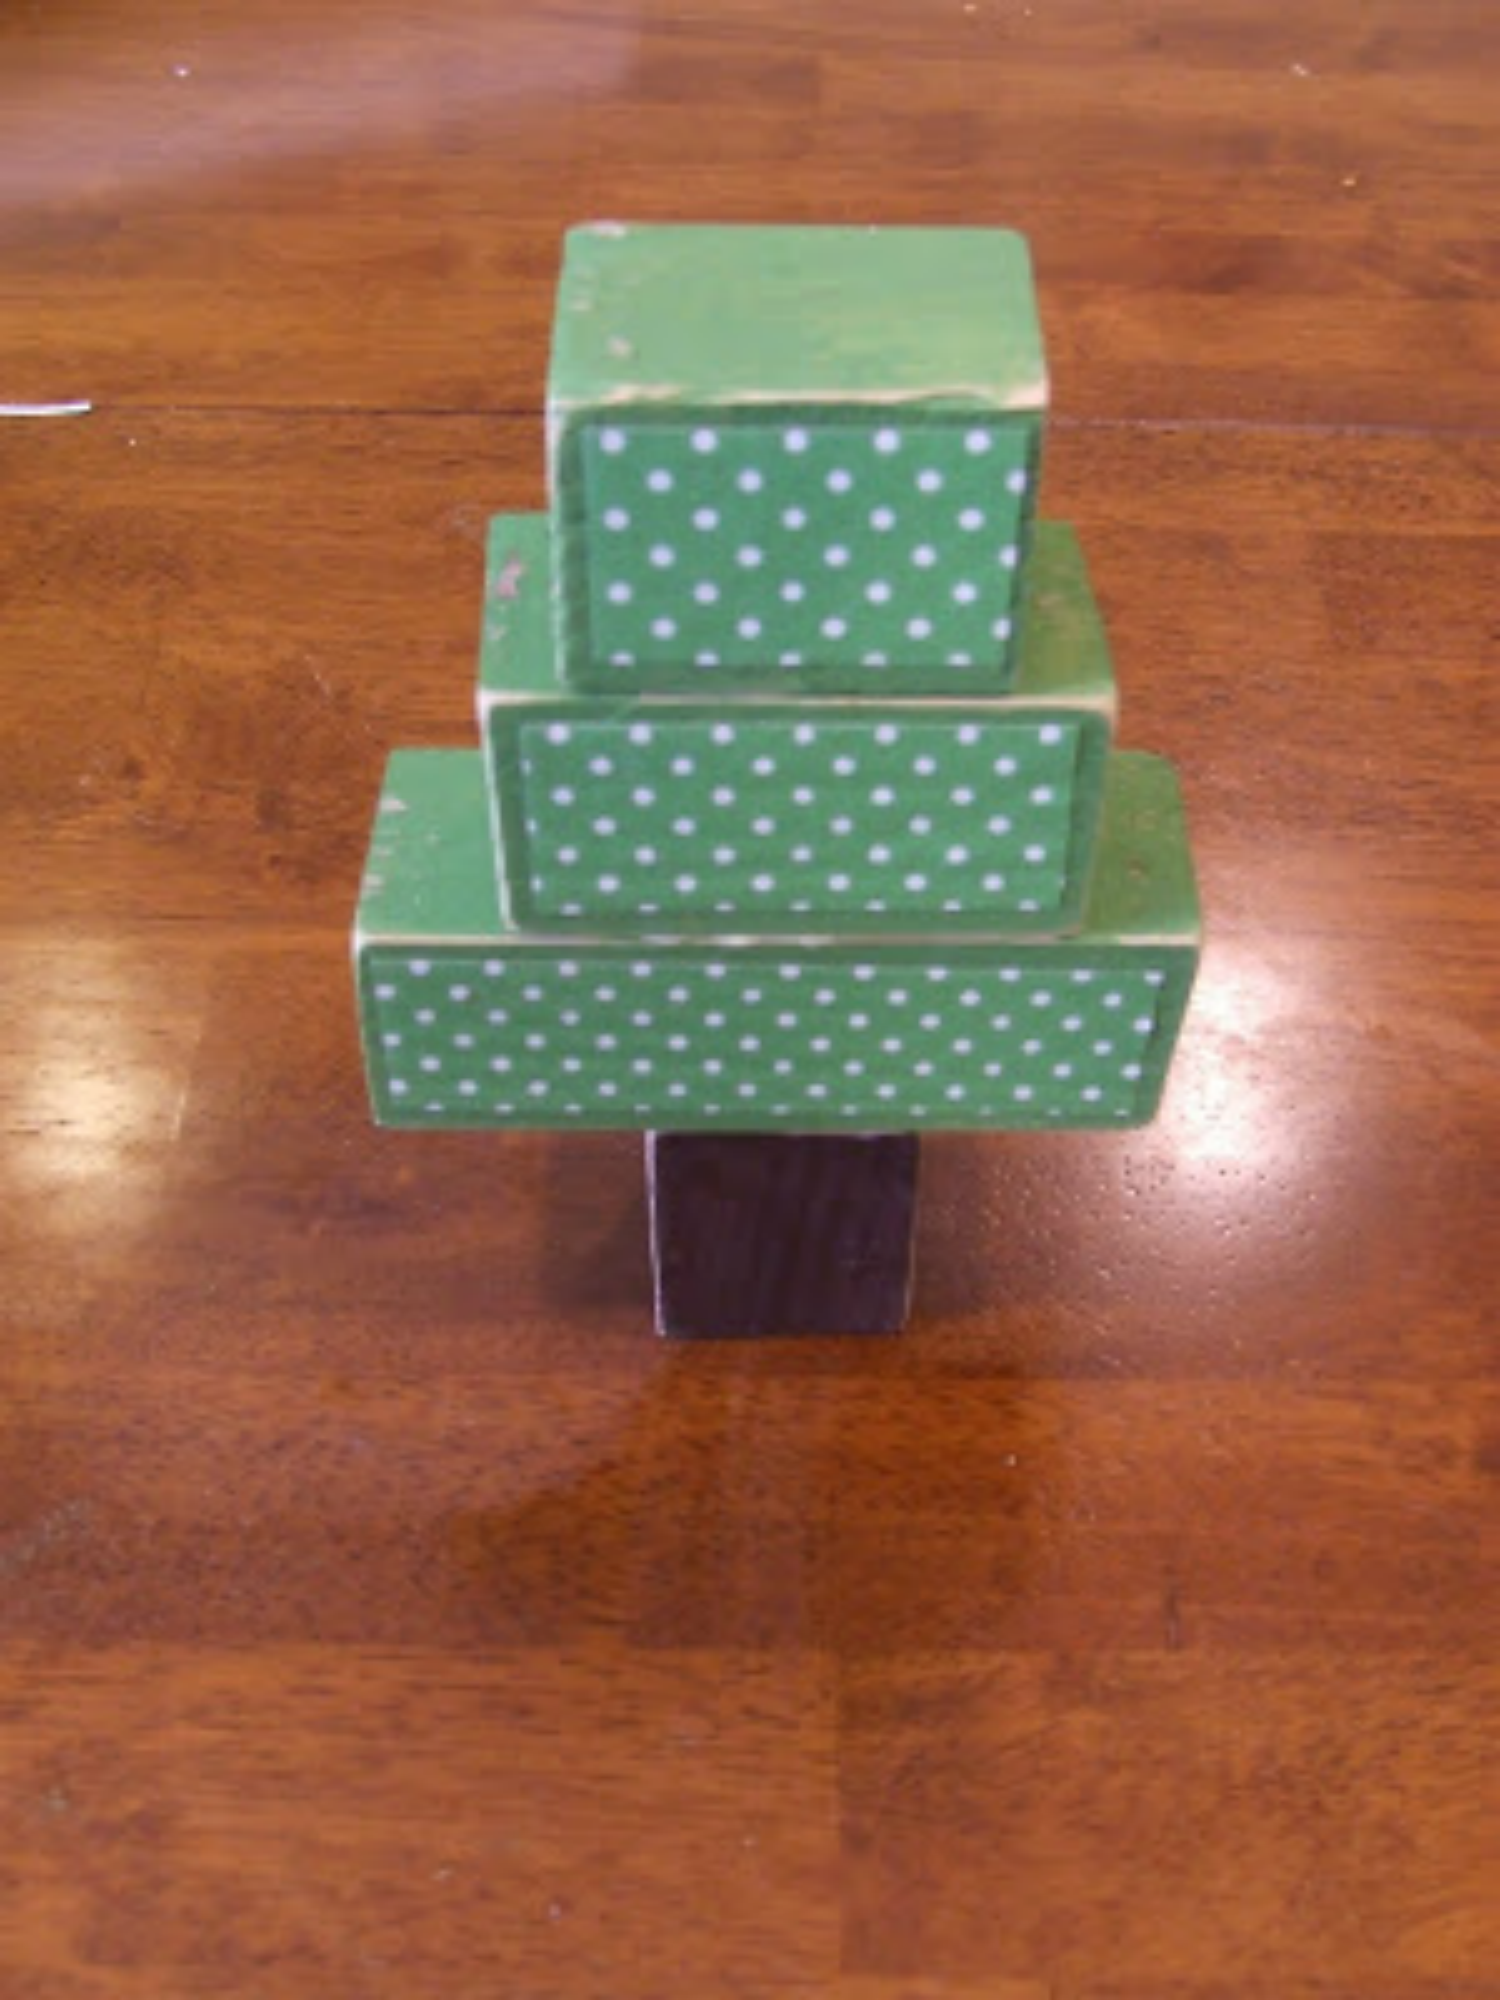
For the tree:
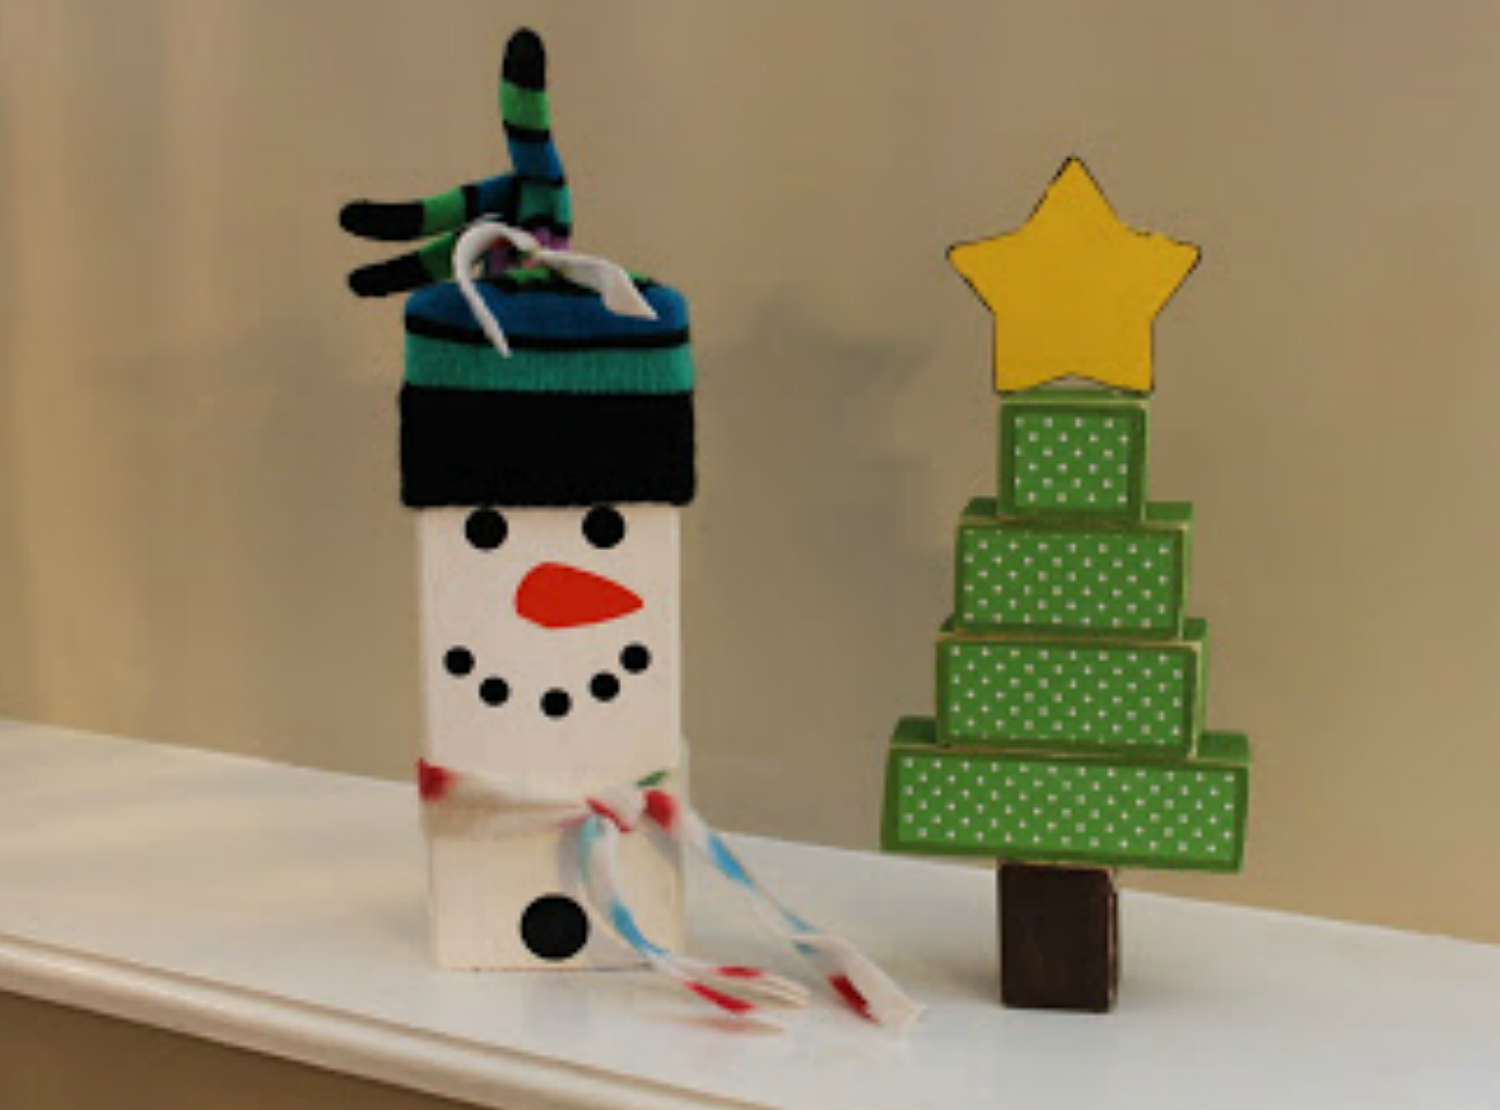
2) I cut a 2x2 piece of wood into 4 pieces. 2", 4", 3" and 2". I painted them green and brown.
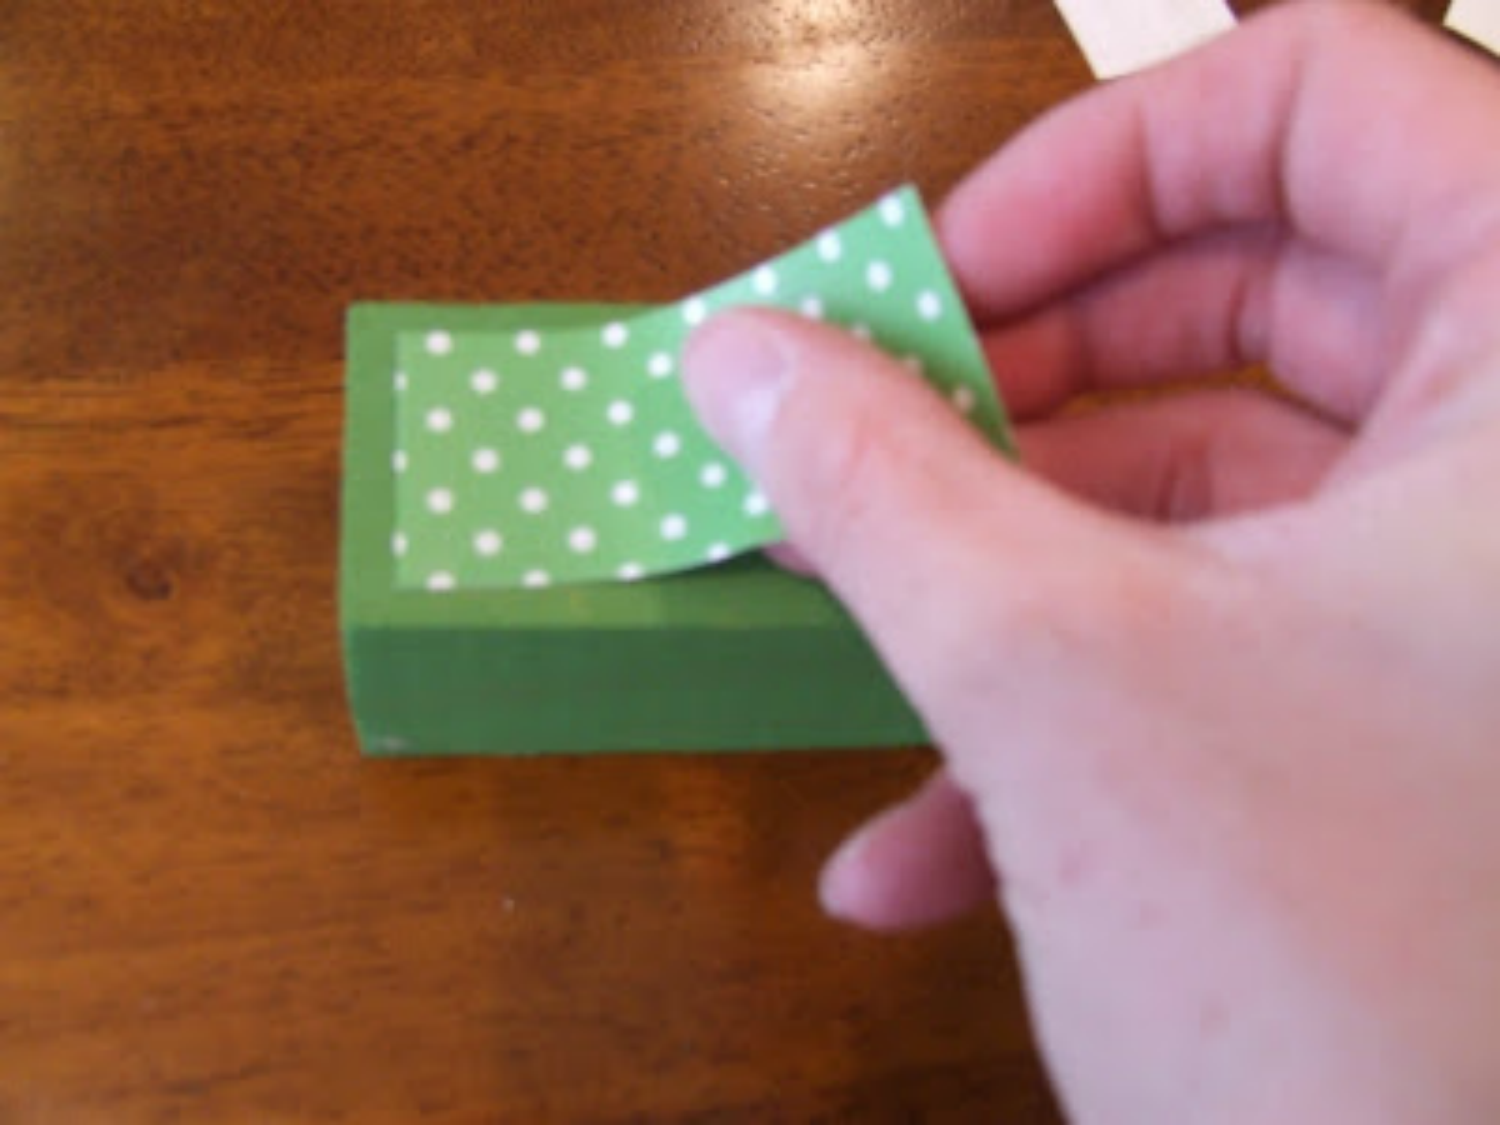
3) Next I used Expressions Vinyl's new patterned vinyl. Because this is going to be outside, I needed it to be vinyl and not paper. I cut three strips of the vinyl and then the laminate (to protect the vinyl from fading).

4) I carefully placed the laminate onto the vinyl. I used an applicator to make sure there were no air bubbles.

5) I then applied the vinyl to the wood. This stuff is awesome, it's so simple and easy!!
6) I glued the tree together with wood glue. I sanded the edges and put a wood star on top.
For the snowman:
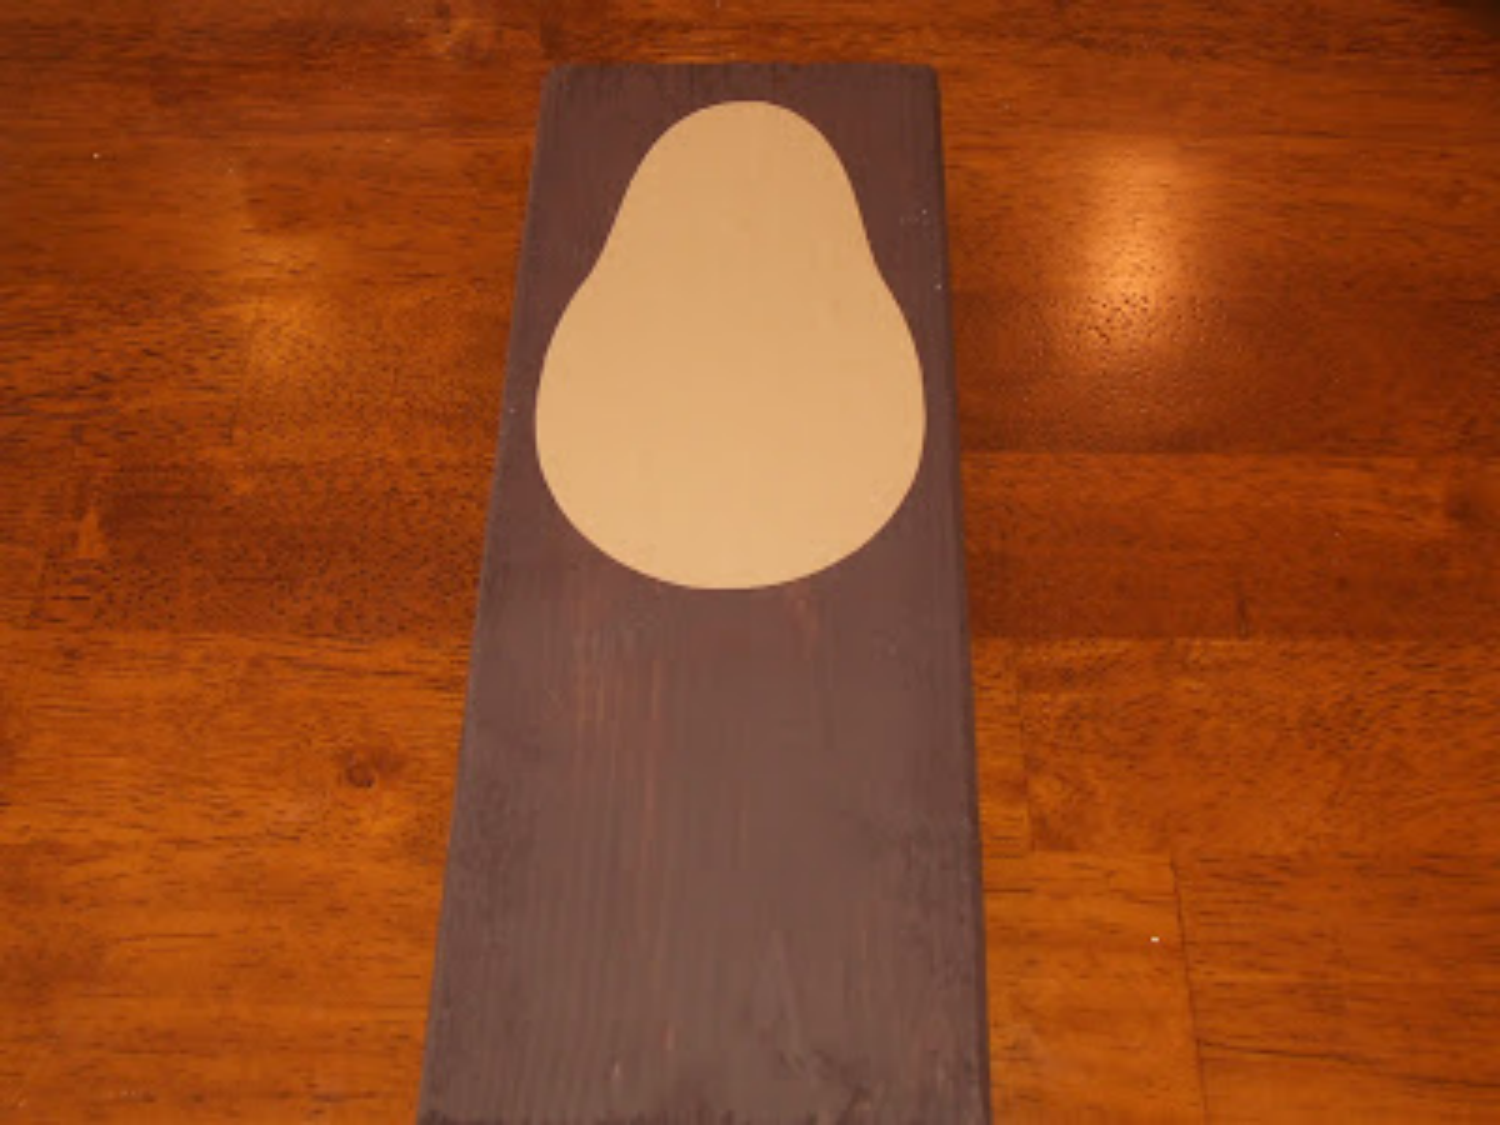
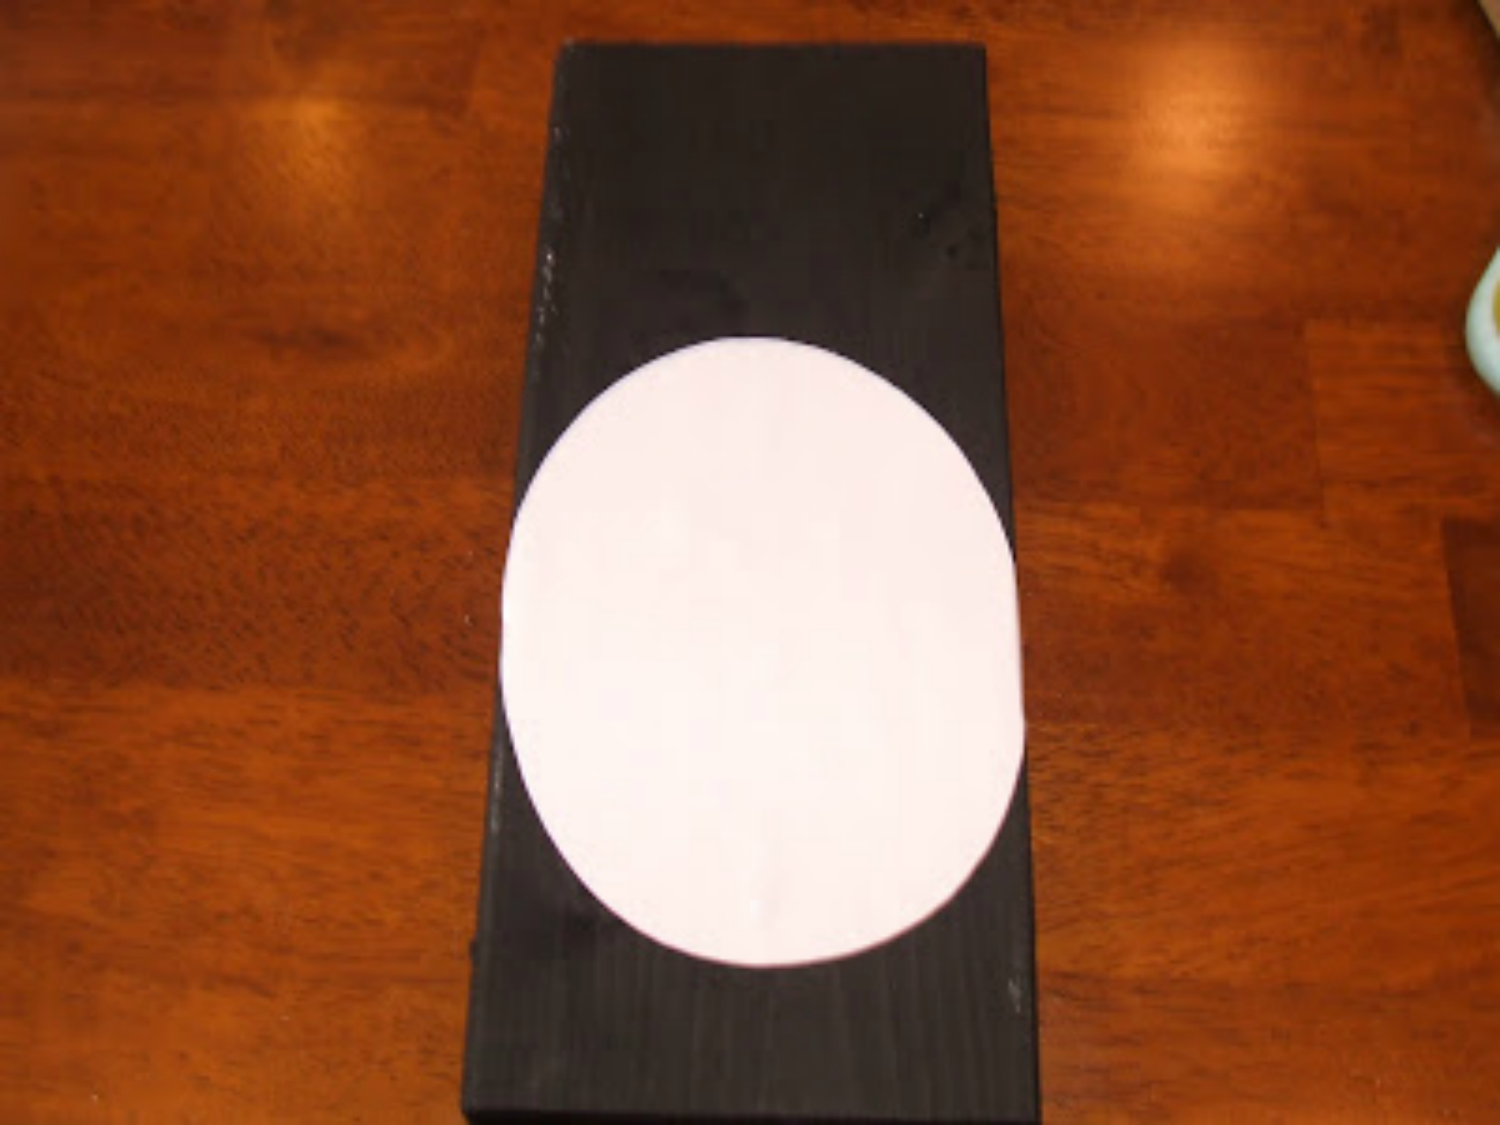
7) I cut a 2x4 10" long and then painted it white.
8) I add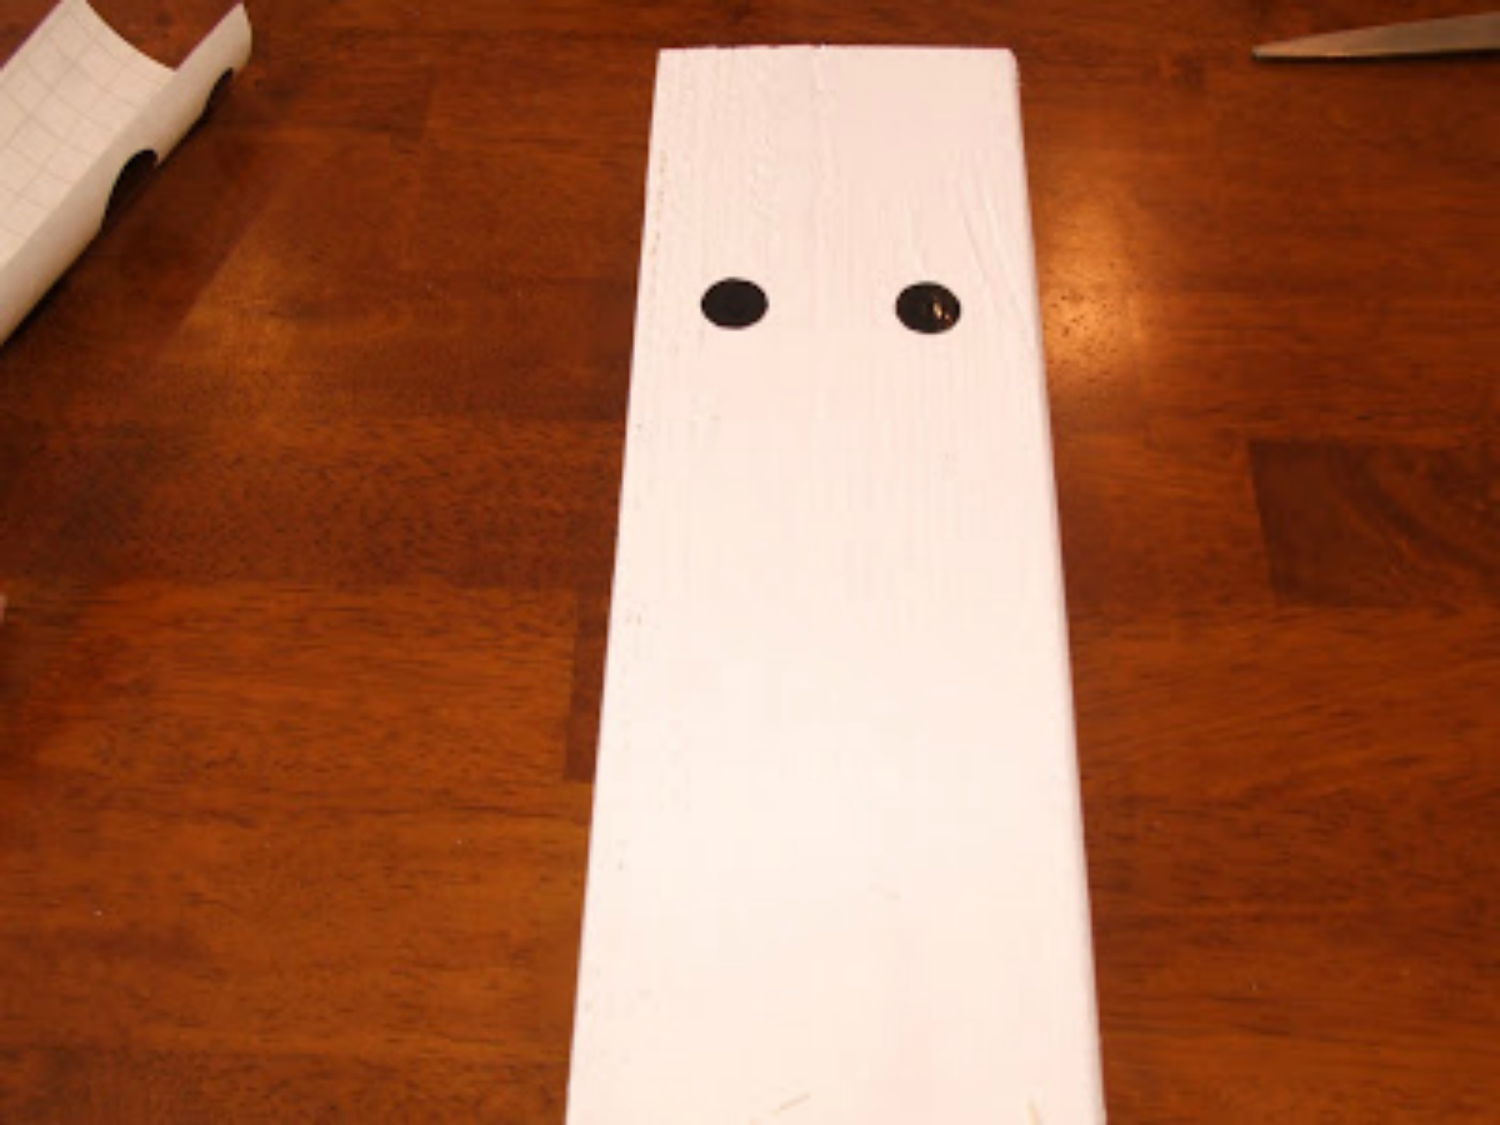 ed the face with vinyl. Then I cut a fleece scarf and tied it around the wood.
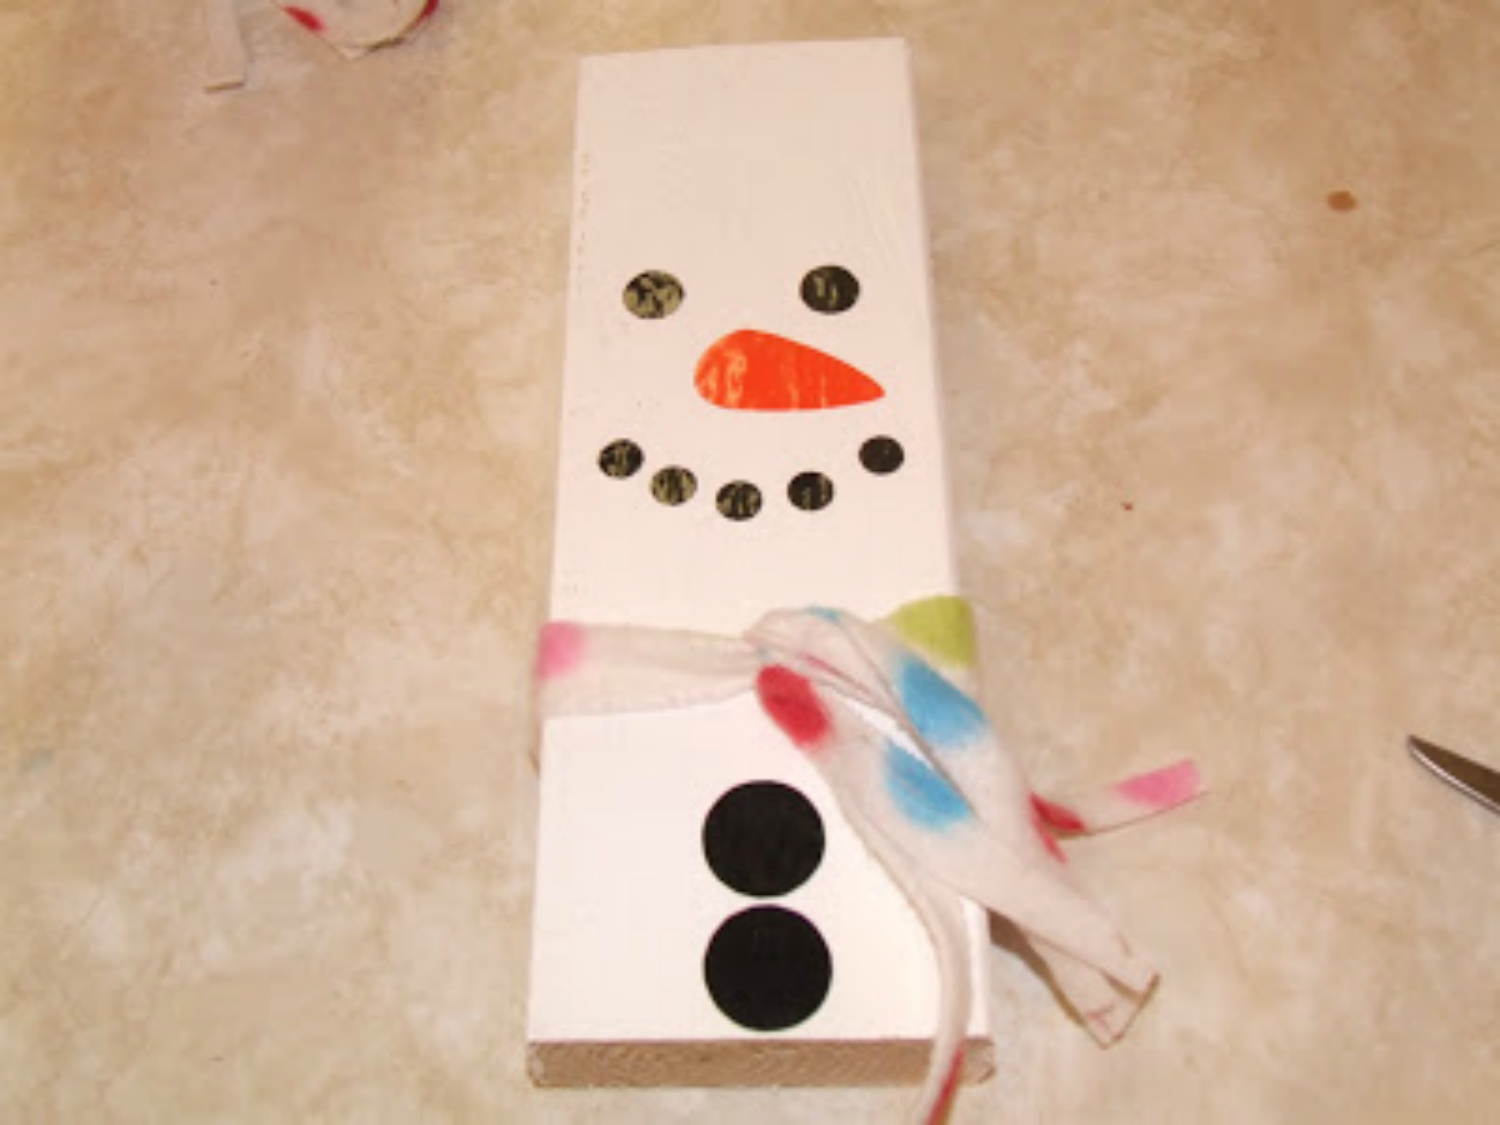
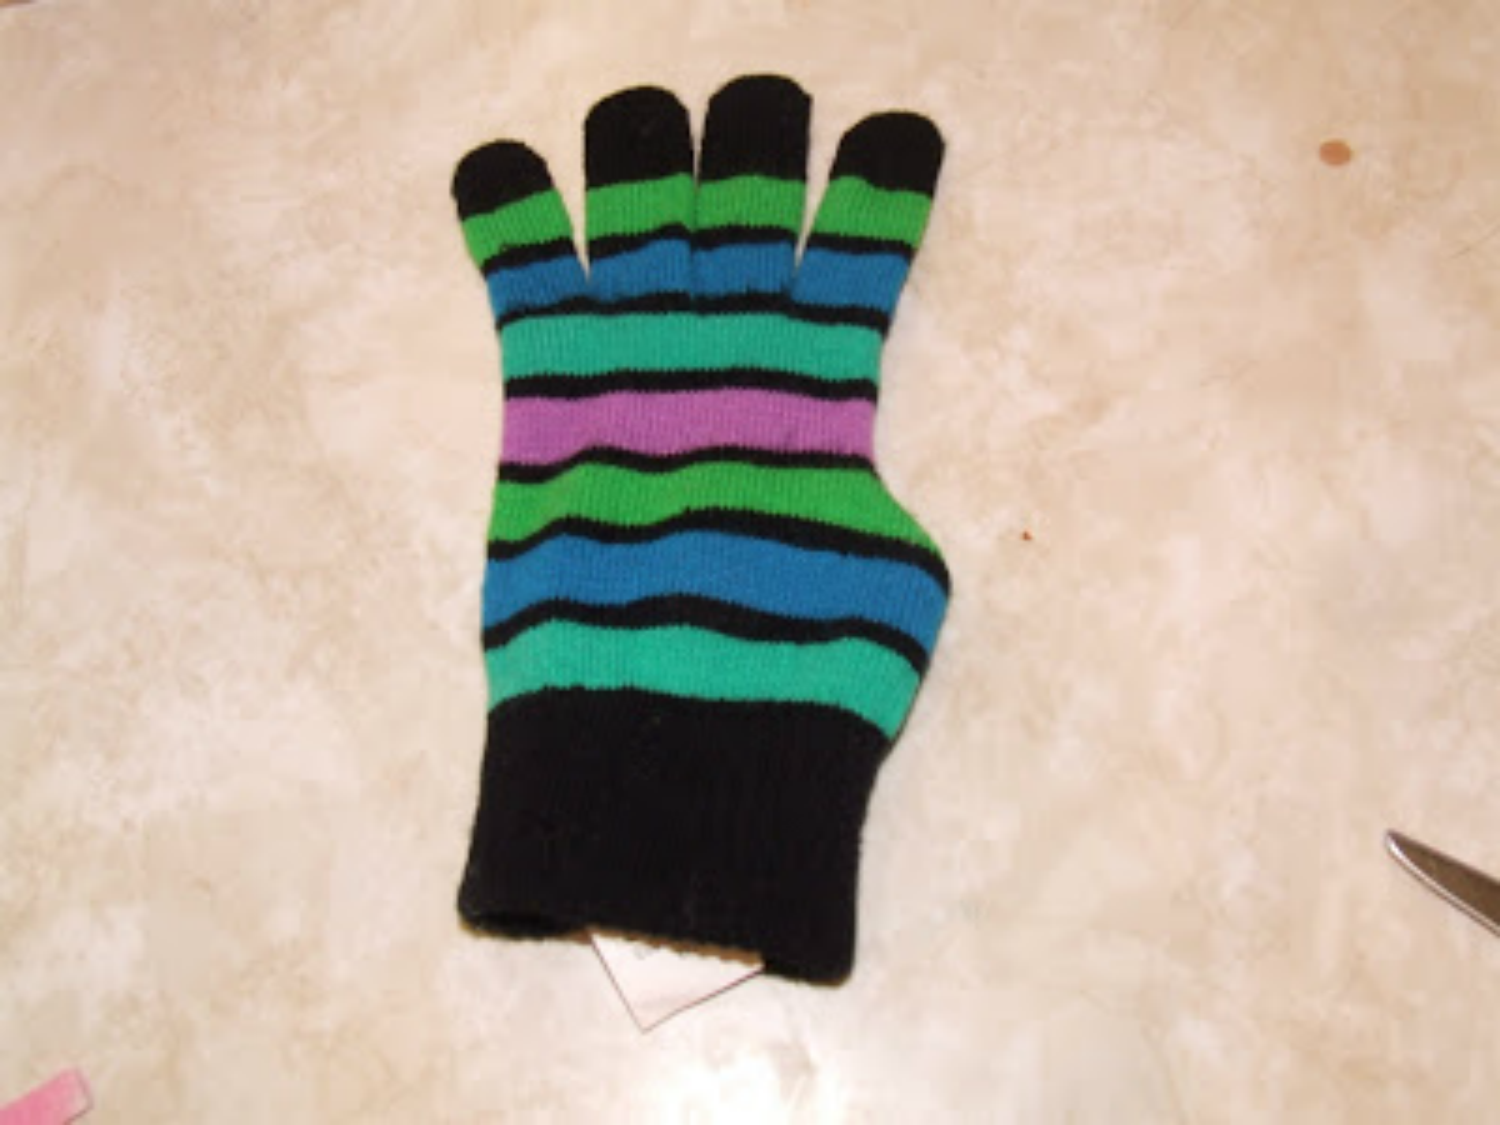
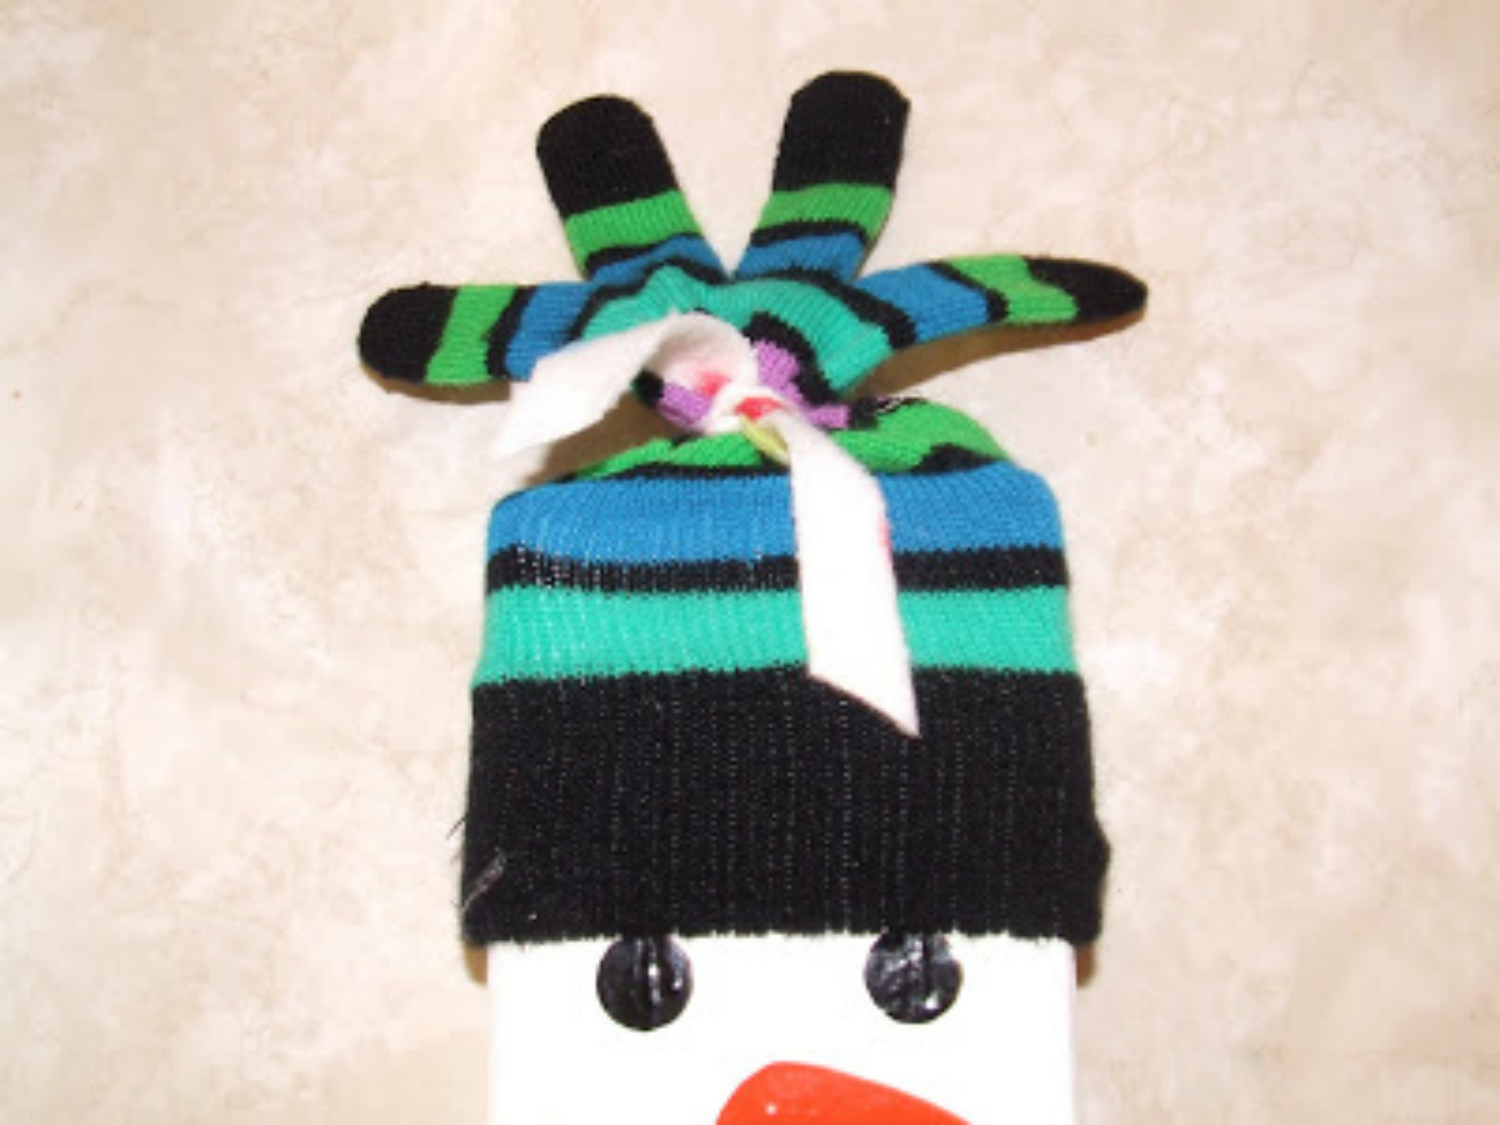
9) For the hat I took a normal glove.
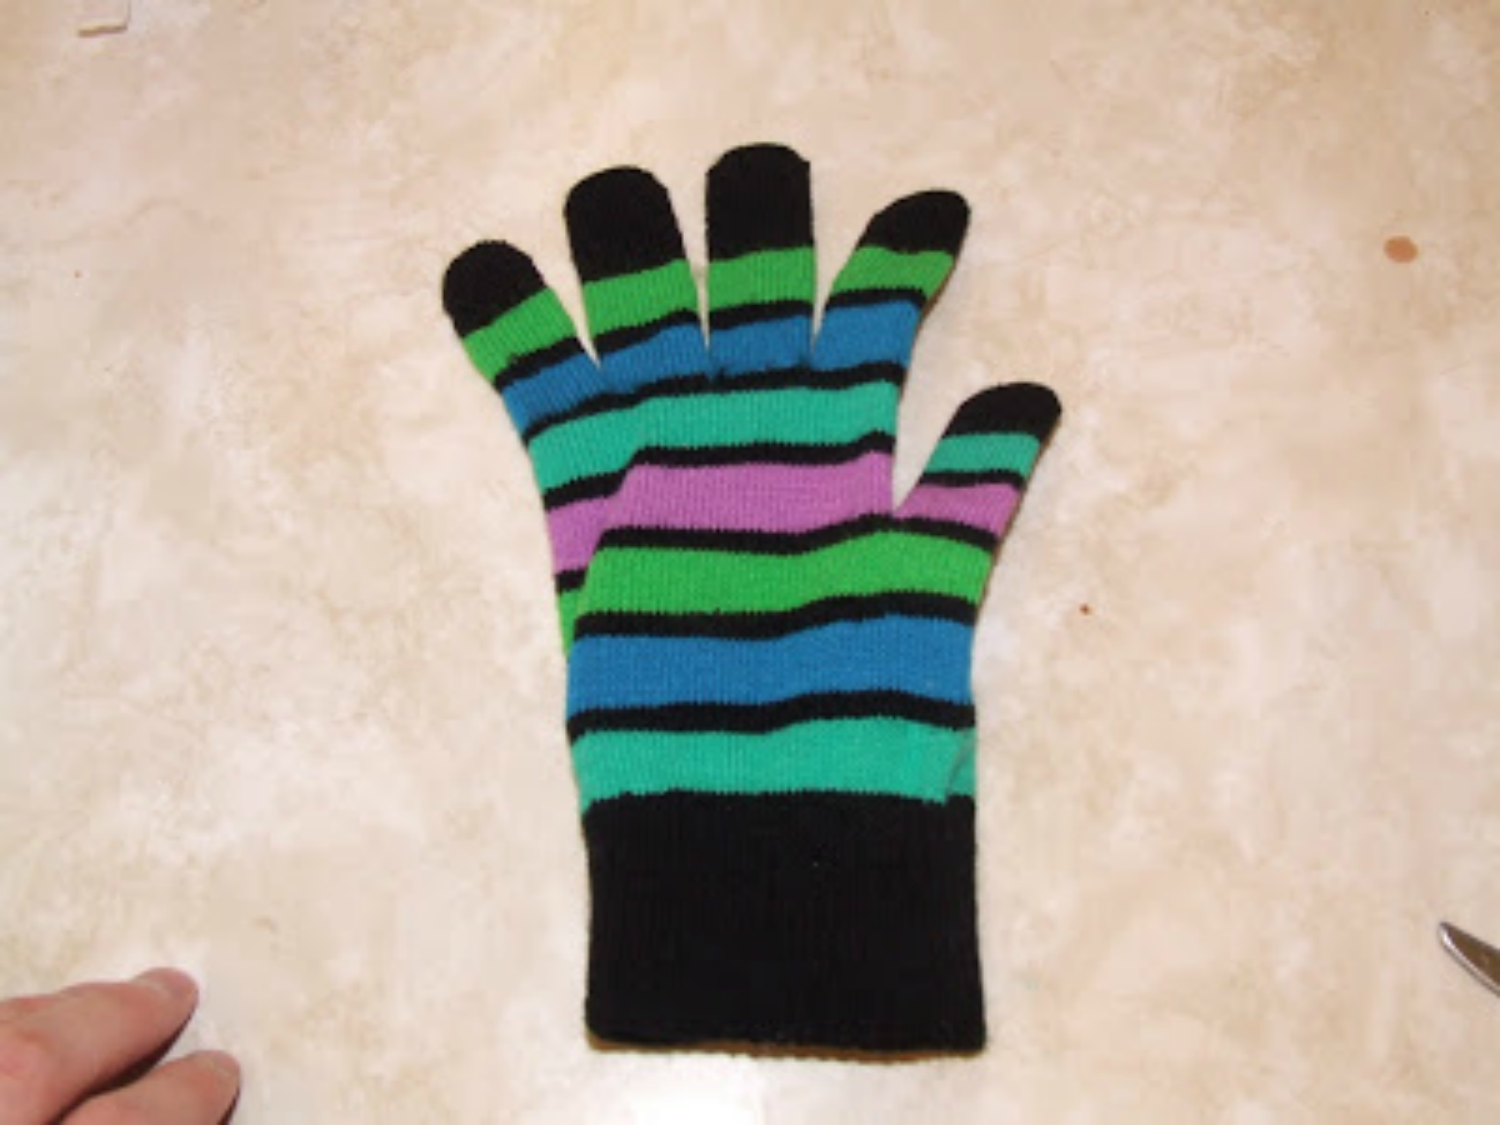
10) I glued the thumb shut and then cut it off.
11) Then I placed it onto the snowman and tied the fingers with the fleece.
For the reindeer:
12) I cut a 2x4 9" long and painted it brown.
13) I put vinyl on it for the face.

14) I painted some popsicle sticks brown and glued them on for the antlers.

For the penguin
15) I cut a 2x4 8" long, painted it black and then decorated it with the vinyl.
For the base:
16) I cut the 2x4 18" long and then painted it red. I cut the letters out with the Silhouette and then transfer it with the transfer paper.

17) I glued it all together with wood glue. For extra support, I screwed them on the bottom. I love how they turned out!! I love how the vinyl looks :)

I made a couple extras, to put in my house. For the tree, I didn't use the laminate because it will be indoors.
Merry Christmas!!
Recent Posts
-
NEW Holographic Eclipse Heat Transfer Vinyl
April 15th, 2024 3 Ways to Use the New Holographic Eclipse Heat Transfer Vinyl from Siser …Apr 29th 2024 -
Hop into Spring with Cute Easter Vinyl Crafts
Do you love our Vinyl? Sign up for Vinyl Club today to get FREE vinyl and save big! …Mar 28th 2024 -

Fixing Wrinkles and Bubbles in Vinyl
How do you get air bubbles out of vinyl? There are a few different ways to ensure a flawless …Mar 26th 2024