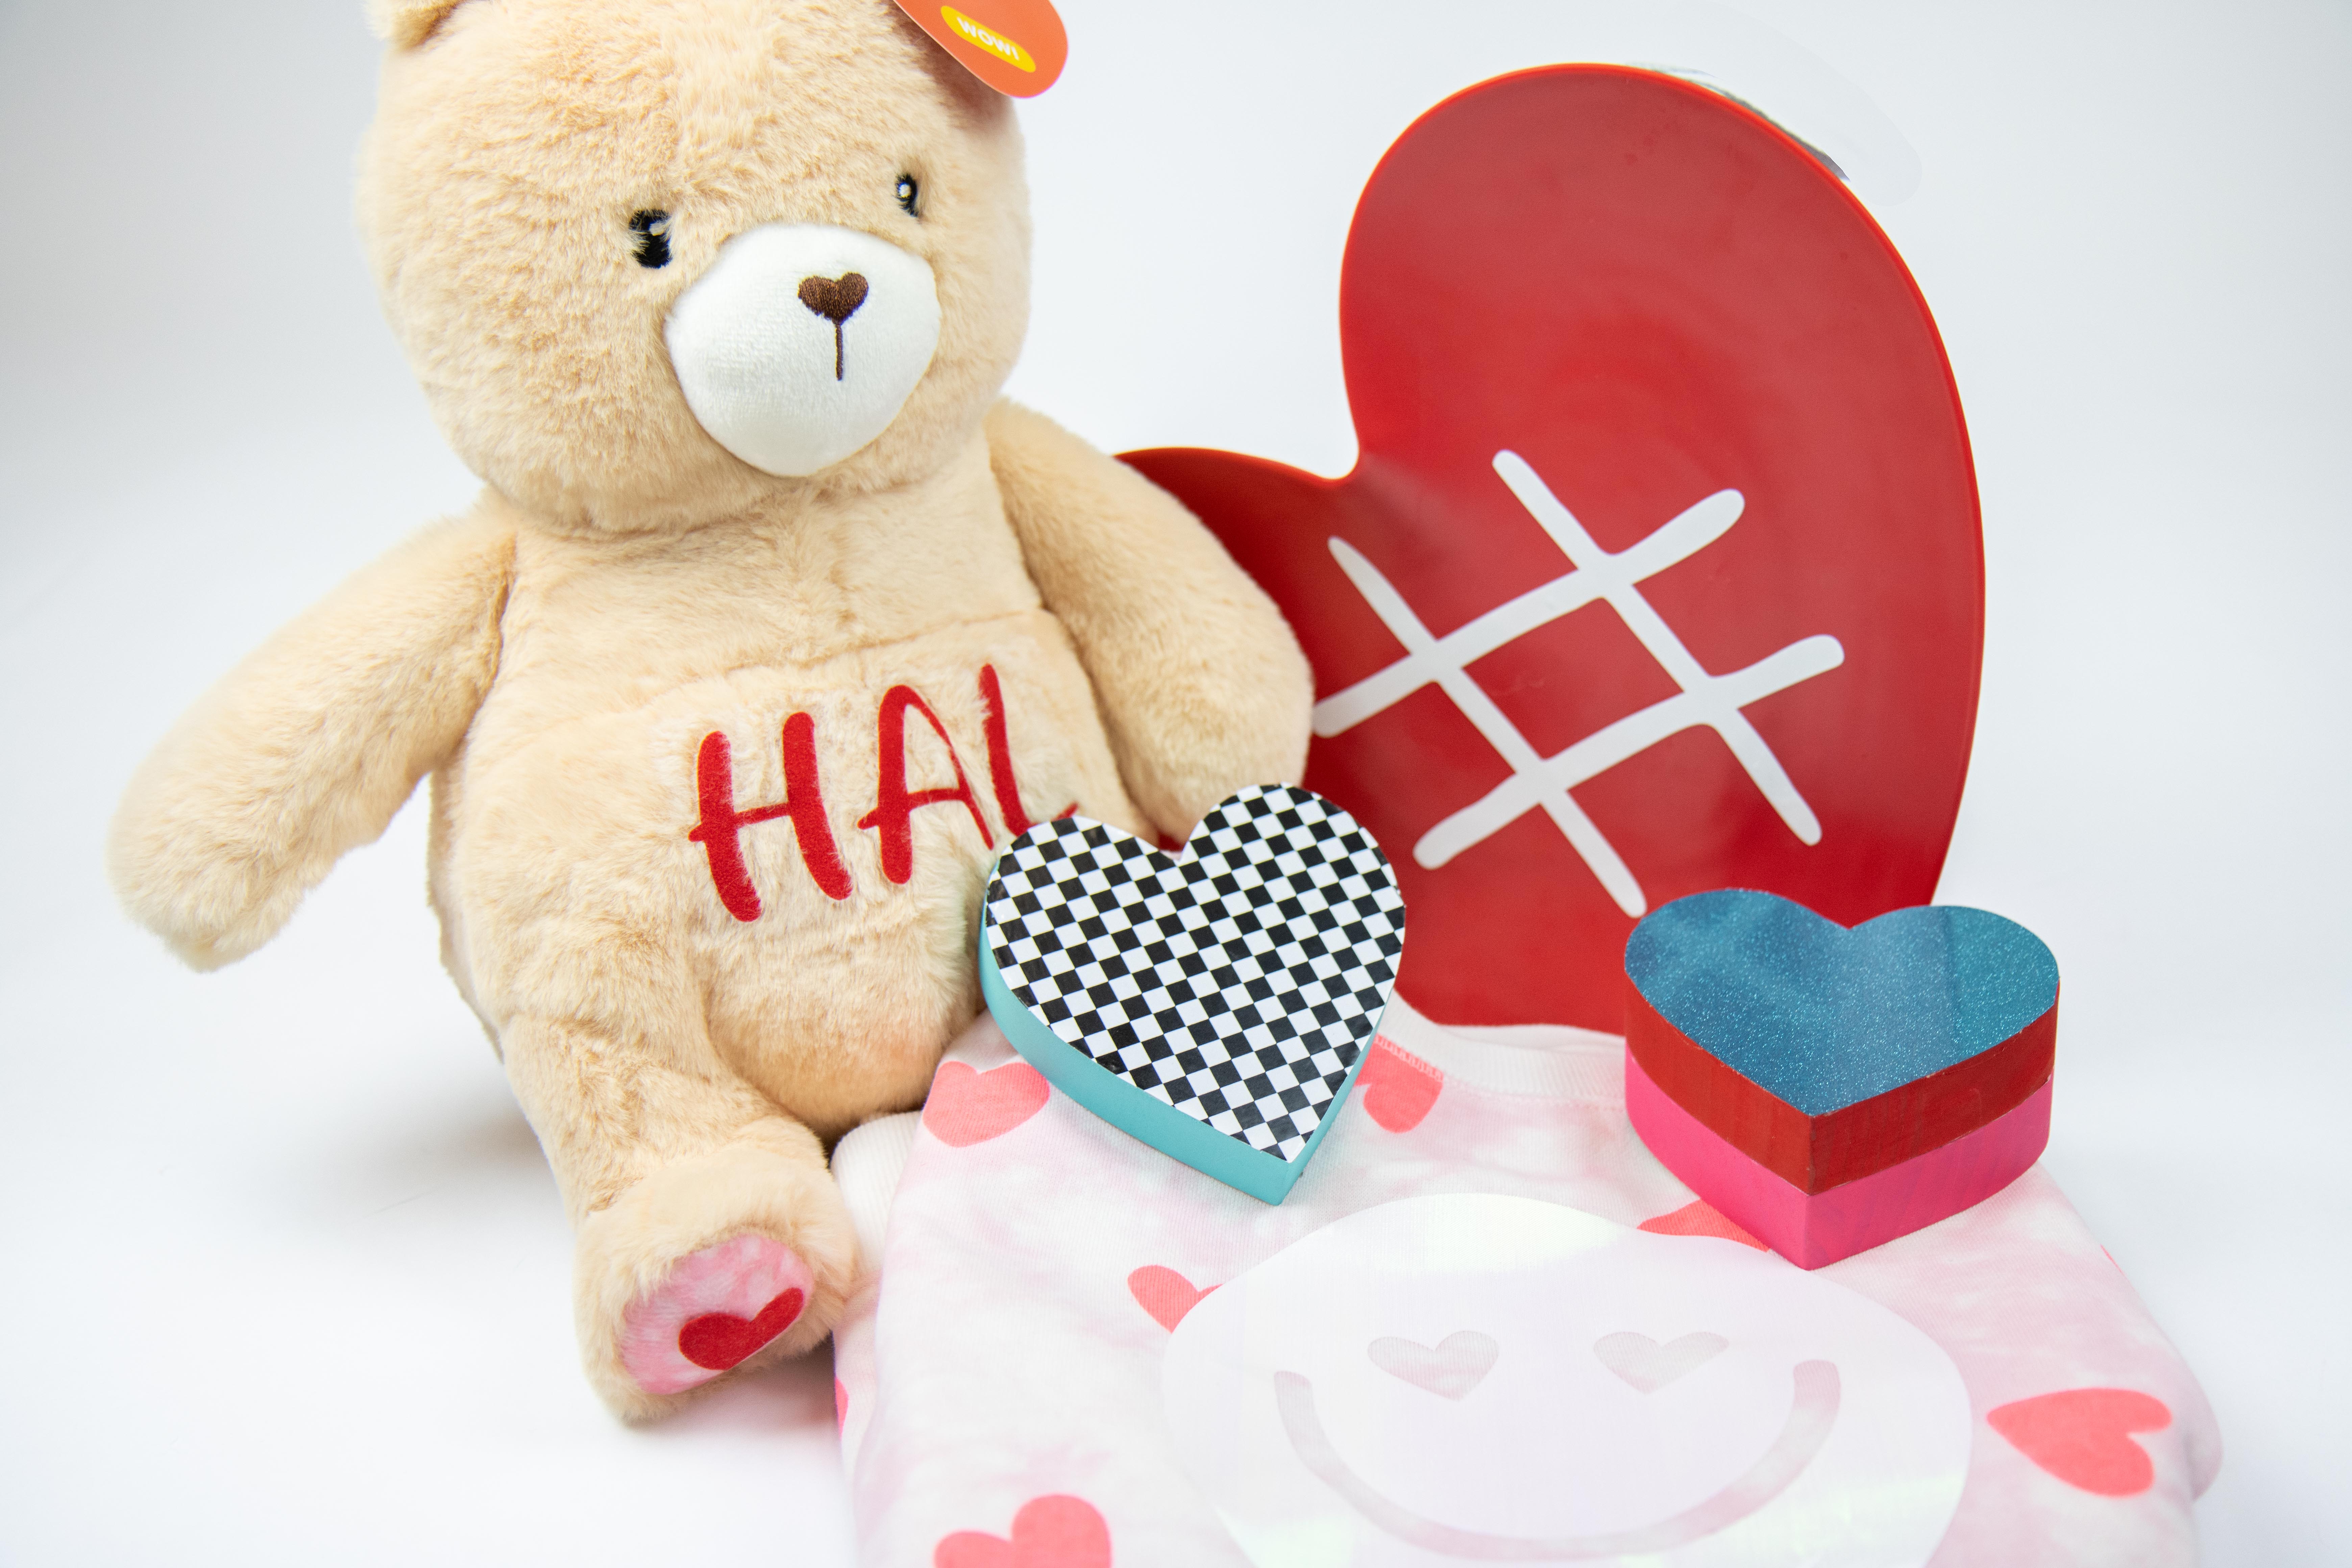
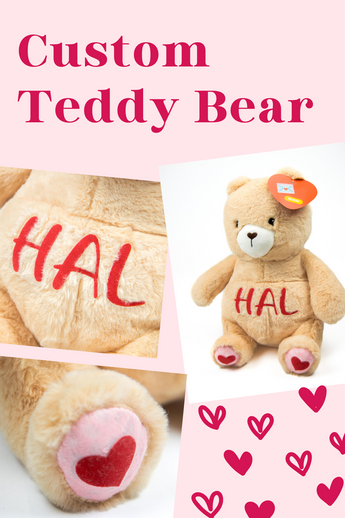
Crafting Love: Personalize Your Valentine's Day By Adding HTV to a Stuffed Bear Project
Valentine's Day is just around the corner, and what better way to express your love than with a handmade, personalized gift? This year, step away from the conventional chocolates and flowers and embark on a heartwarming journey of crafting with the cutest Valentine's Day bear project. With StripFlock Heat Transfer Vinyl, you can add a personal touch to a soft and cuddly stuffed bear that will surely melt your valentine's heart. In this blog post, we'll guide you through the process of creating a one-of-a-kind gift that speaks volumes of your affection.
Materials Needed:
1. Stuffed Bear: Choose a new plush bear or upcycle one of your kid's good condition ones as the canvas for your creative expression.
2. Stripflock Heat Transfer Vinyl: This special type of vinyl not only adds a unique texture but also provides a velvety finish to your designs.
3. Cutting Machine: To precisely cut out your design, you'll need a cutting machine compatible with Stripflock Heat Transfer Vinyl. For cut and heat settings our Machine Settings page has details for Cricut and Silhouette machines.
4. Design Software: Create a personalized design using design software compatible with your cutting machine. Don't forget to mirror your design.
5. Weeding Tool: This tool will help you remove excess vinyl from your design.
6. Iron or Heat Press: To transfer the design onto the stuffed bear, you'll need an iron or a heat press.

Step-by-Step Guide:
1. Choose a Design: Whether it's your favorite quote, initials, or a symbol that represents your relationship, choose a design that holds sentimental value.
2. Prepare the Design: Using your design software, create and size the design according to the dimensions of the bear.
3. Cut the Vinyl: Load the Stripflock Heat Transfer Vinyl into your cutting machine and cut out the design.
4. Weed the Design: Carefully remove the excess vinyl using a weeding tool, leaving only the desired design on the carrier sheet.
5. Position the Design: Place the weeded design onto the stuffed bear, ensuring it is centered and aligned as per your preference.
6. Heat Transfer: Using an iron or a heat press, apply heat and pressure to transfer the design onto the bear. Follow the recommended temperature and time settings for Stripflock Heat Transfer Vinyl.
7. Peel and Reveal: Once the transfer process is complete, carefully peel off the carrier sheet to reveal your beautifully personalized bear.
8. Gift with Love: Present your personalized Valentine's Day bear to your special someone, and watch their face light up with joy.
This Valentine's Day, go beyond the ordinary and showcase your love with a thoughtful, handmade gift. The Stripflock Heat Transfer Vinyl bear project allows you to infuse your creativity into a classic symbol of affection, making it a cherished keepsake for your valentine. Personalize, create, and spread love with this delightful crafting endeavor. Happy Valentine's Day!
Recent Posts
-
NEW Holographic Eclipse Heat Transfer Vinyl
April 15th, 2024 3 Ways to Use the New Holographic Eclipse Heat Transfer Vinyl from Siser …Apr 29th 2024 -
Hop into Spring with Cute Easter Vinyl Crafts
Do you love our Vinyl? Sign up for Vinyl Club today to get FREE vinyl and save big! …Mar 28th 2024 -
Fixing Wrinkles and Bubbles in Vinyl
How do you get air bubbles out of vinyl? There are a few different ways to ensure a flawless …Mar 26th 2024


