
Create a Stencil with the Silhouette CAMEO
Hey, it's Jessica from expressionsvinyl.com., and today I wanted to show you how to make a stencil using the Sillhouette CAMEO machine.
So, the first thing we need are some tools.
- Paint brush
- Piece of wood that is already painted and nice and dry
- Paint
- vinyl
- transfer tape
I am in the Silhouette Studio software.
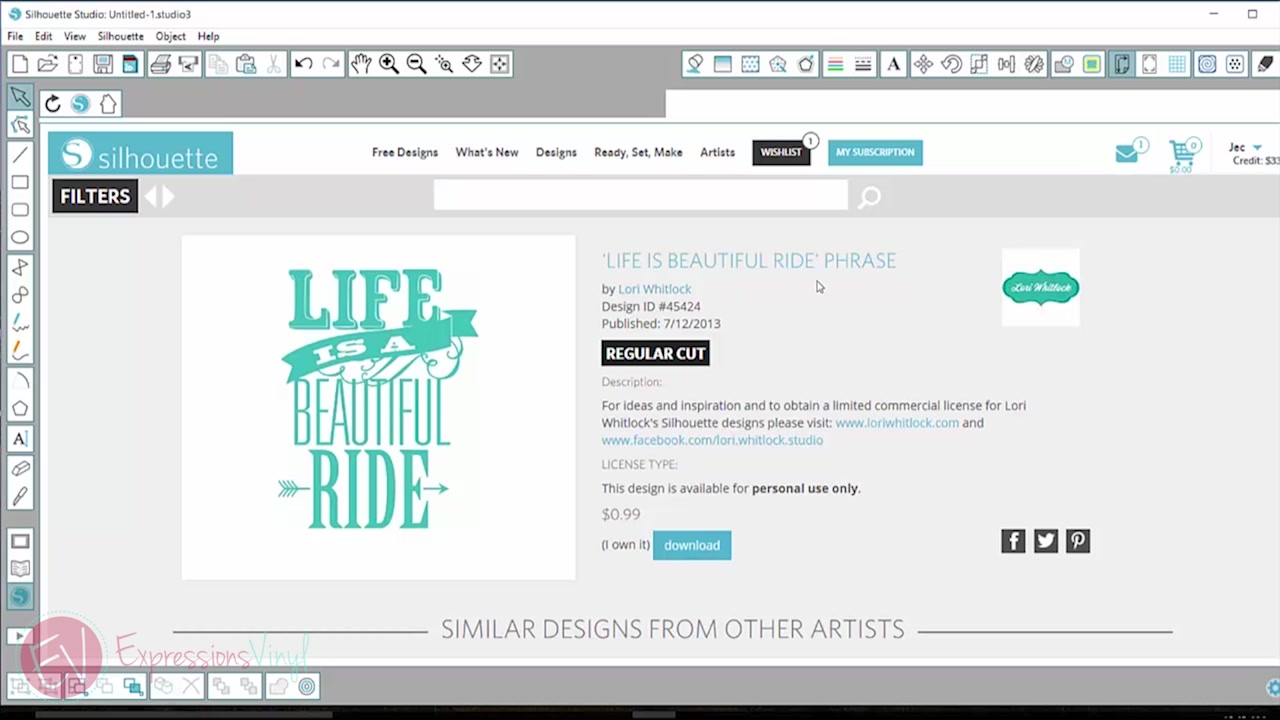
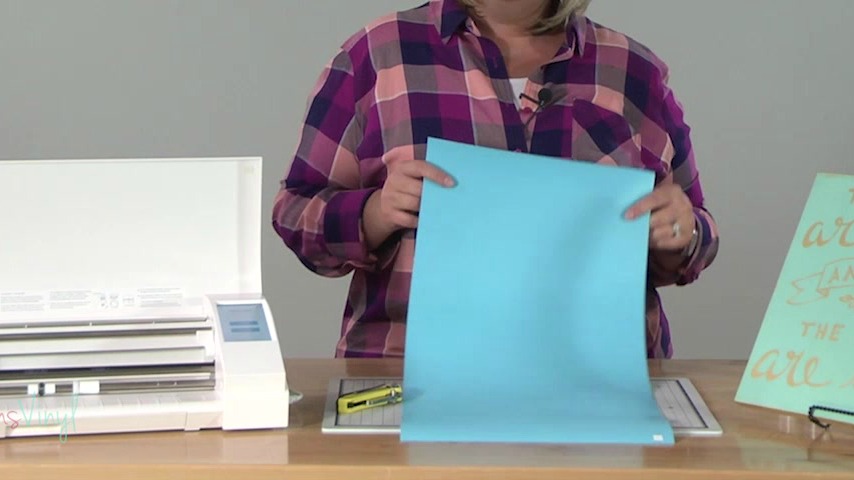
If we go over to the store, this is the file I'm using. It is called Life Is Beautiful Ride Phrase from Lori Whittlock. And I have already purchased it and have it opened up in my program. I measured my board, and it is 11 by 18. So, I went over and drew a box using my draw a rectangle button, and drew a box that was 11 by 18, just using my mouse to drag it over.
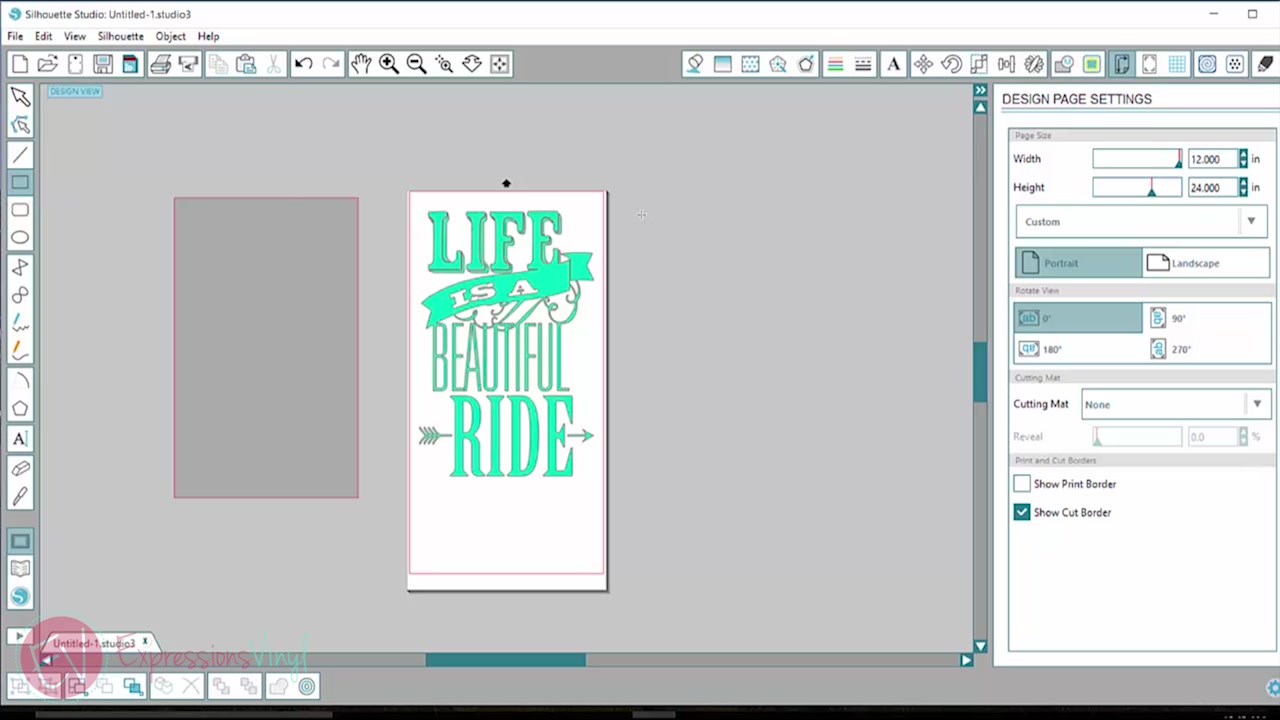
I filled it in grey because I want my board to be grey, just to get an idea of what I'm doing. And then I'm going to fit this Life Is Beautiful right in it. And I've stretched it down a little bit so it could fit, and I'm just going to center that in the middle using my arrow keys.
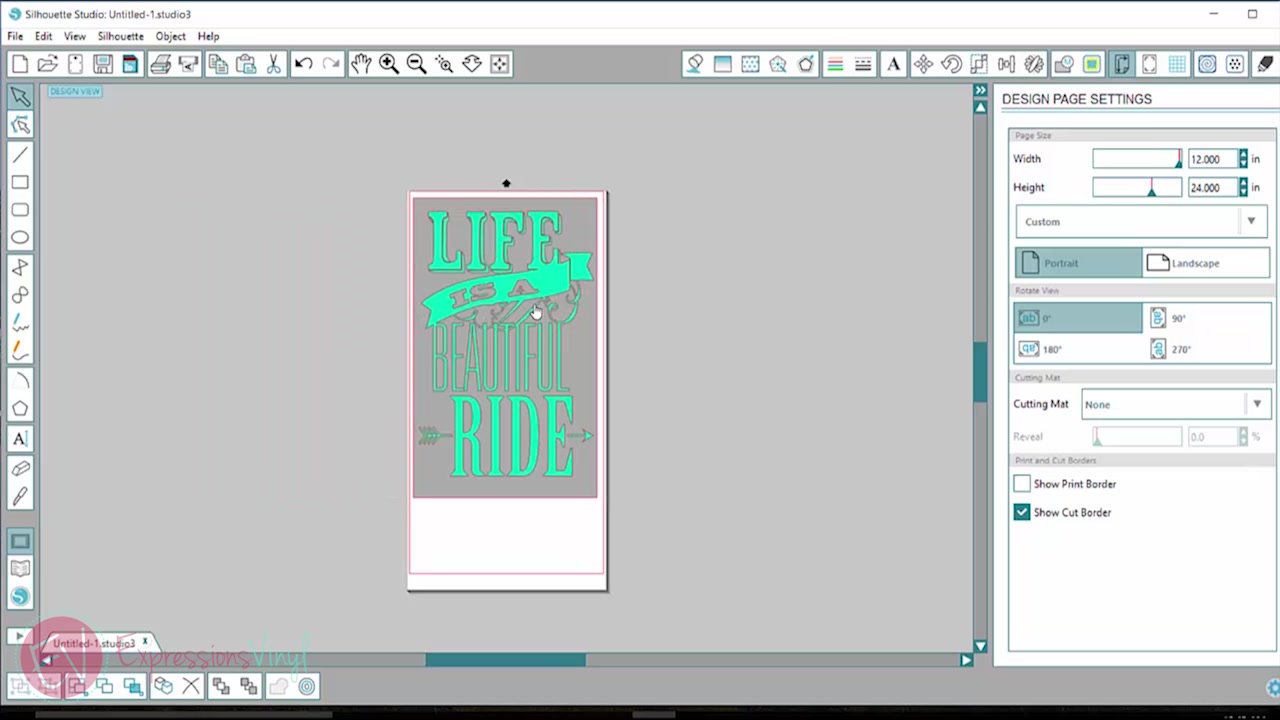
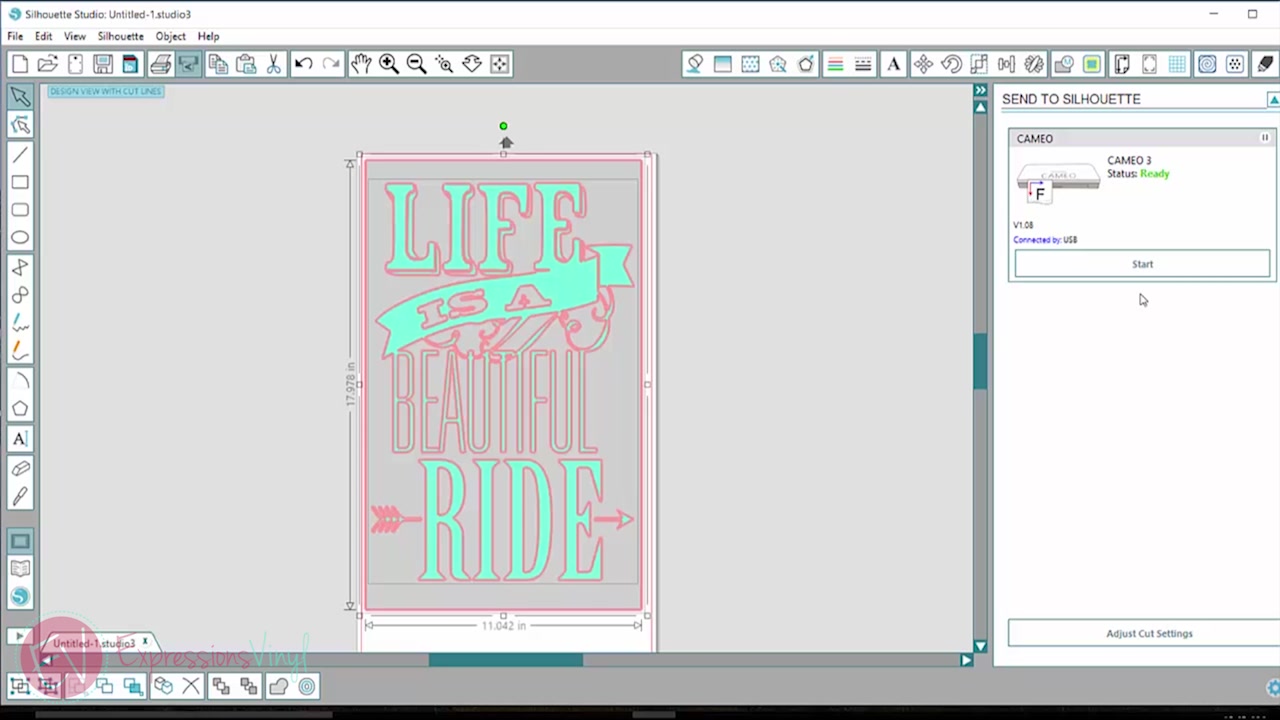
Okay, and I've got those all together. And now I'm going to center it on my mat here, and I am ready to cut. Make sure our cut settings are set correctly and we'll go over and push our cut button, and we're ready to go!
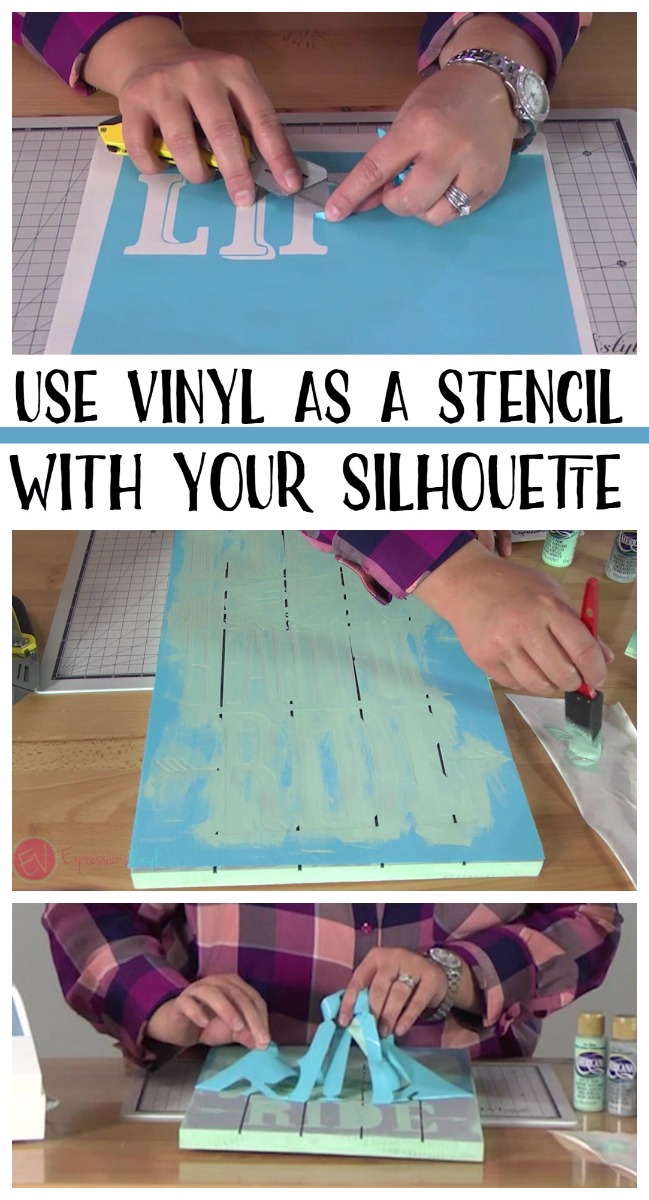
We've got our vinyl all cut. We're going to unload it from our machine, and we're all ready to weed it out.
I want to talk about what type of vinyl to use. So, when you're using vinyl as a stencil, it really doesn't matter what type of vinyl you use. You can use permanent, or removable, or whatever scraps that you have, because color doesn't matter when you're using it as a stencil.
One of the concerns is "oh, it's permanent vinyl, it's going to last forever, it's going to be hard to peel off my project." But if you're using the vinyl as a stencil, you're only leaving it on for a short period of time. So it doesn't really, it's not going to stick long enough for the vinyl to adhere permanently. It'll still be easy to pull up. Just make sure your base coat on your board is nice and dry before you apply your vinyl.
So, let's get into the weeding.
The weeding is the most important part when you're using vinyl as a stencil. You're going to weed out opposite as you would if you were using the vinyl for a sign or on a project.
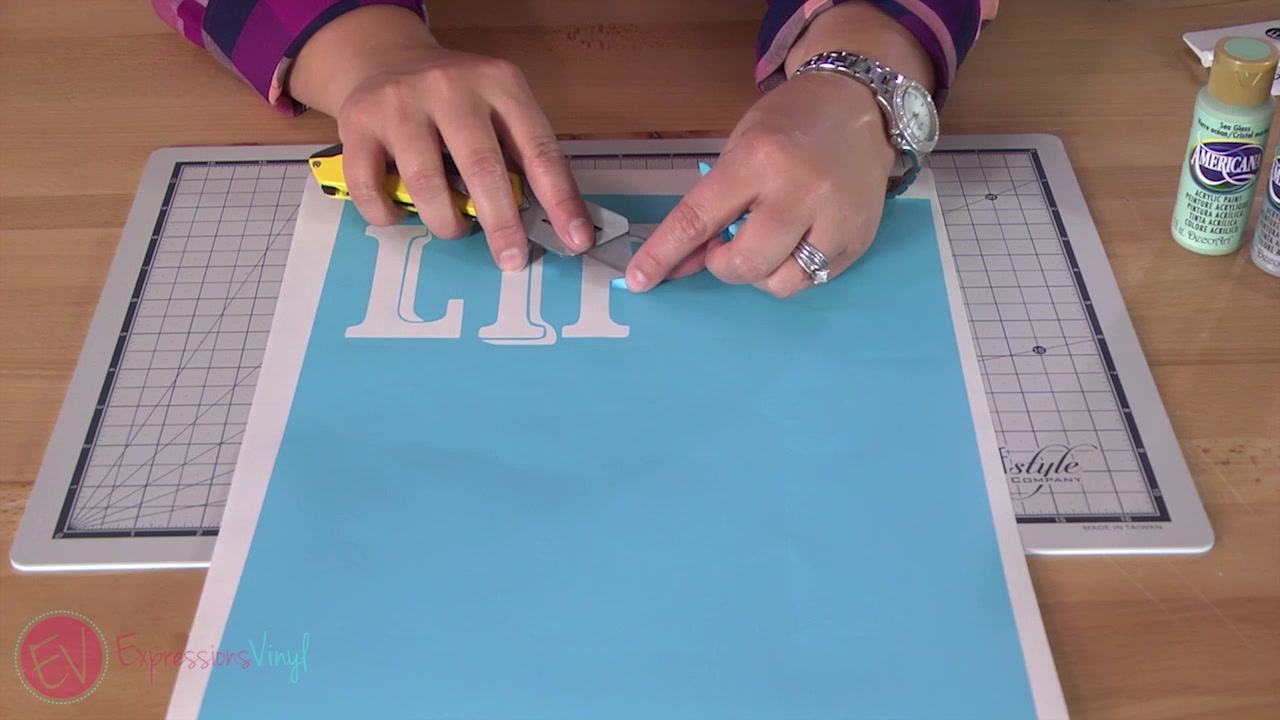
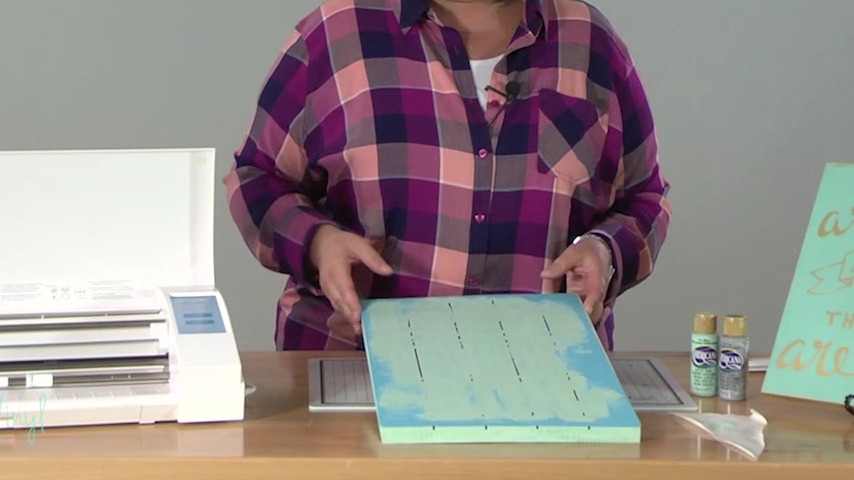
I made that box around my project the same size as my board so it would be easy to lay it on and get it centered. And it's also nice, because now I have this nice, straight line across the bottom I can use for trimming. Then just weed out all the parts that you want to put paint over.

I'm going trim the edges of this the vinyl right along the weeding box.
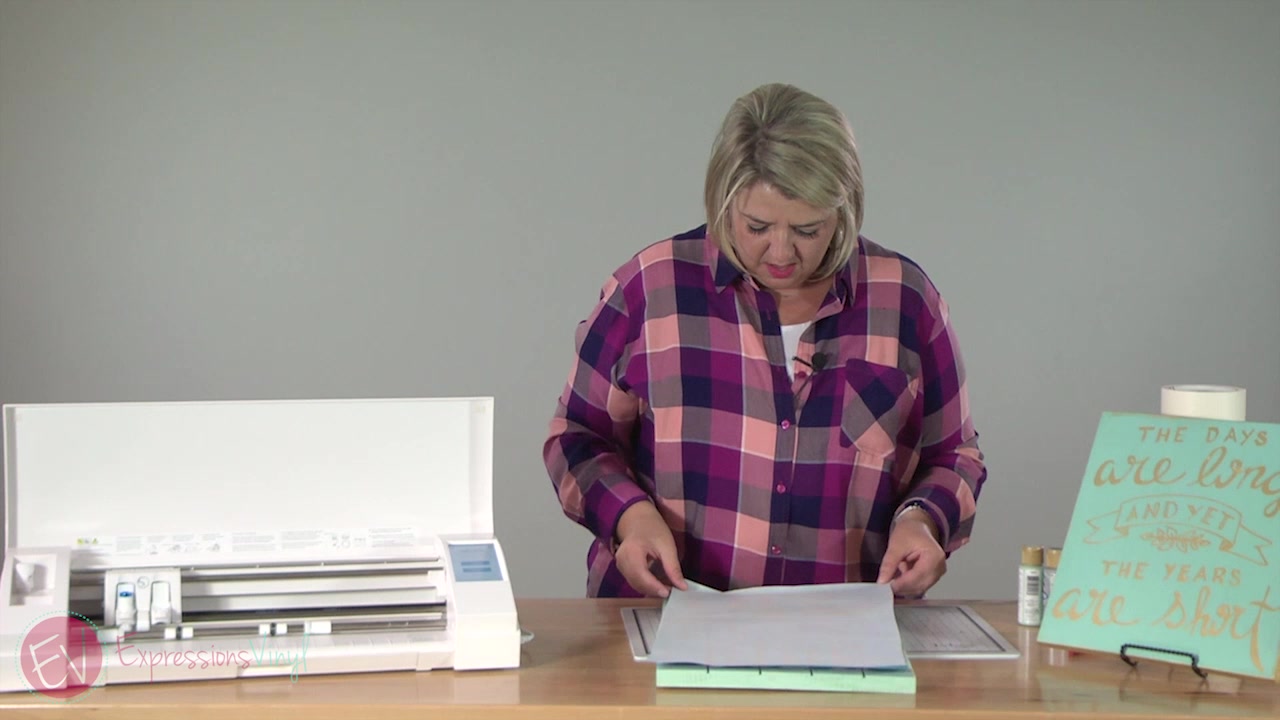
And we are ready for transfer tape! You can use whatever transfer tape you're comfortable with, I'm using our paper transfer tape today in a 12 inch roll.
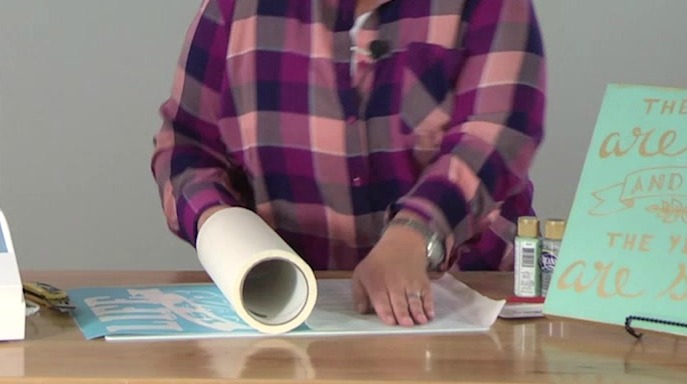
Just lay that down and make sure we're not getting any bubbles in it, or wrinkles. And go over it with our application tool. Just make sure it's nice and stuck down all over. And get all the air out from in between. and trim off the excess around the edges.
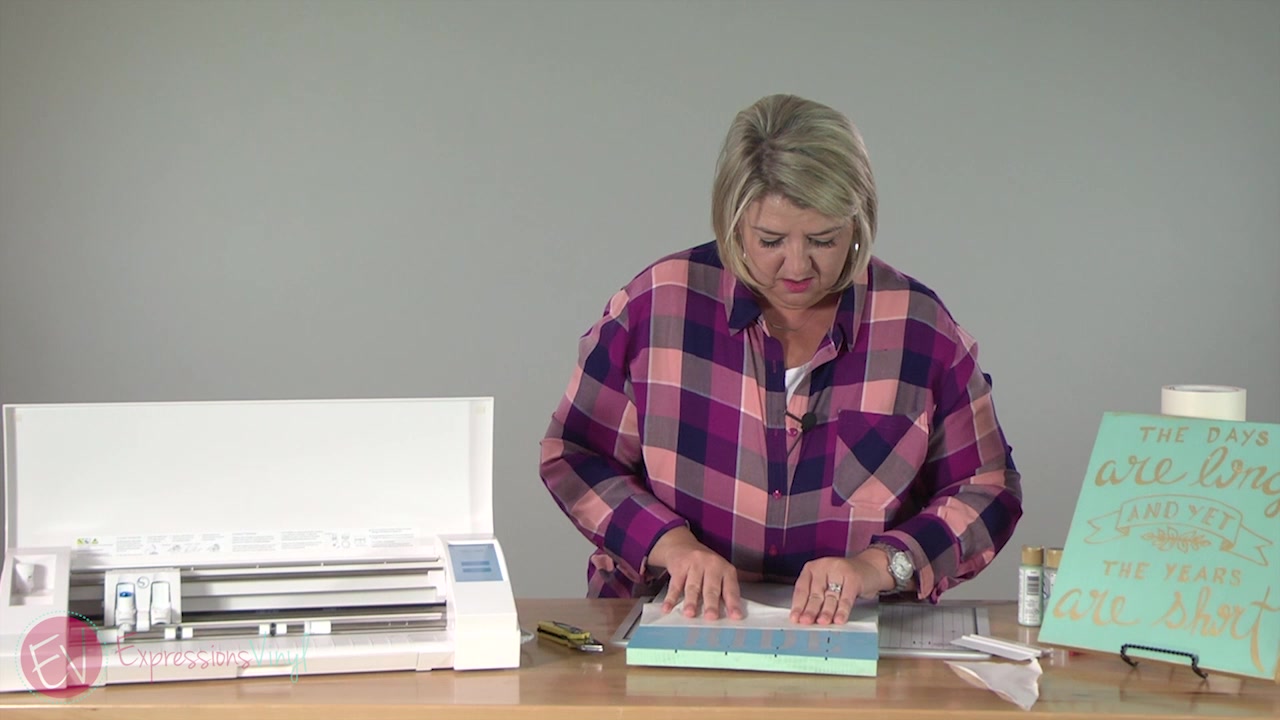
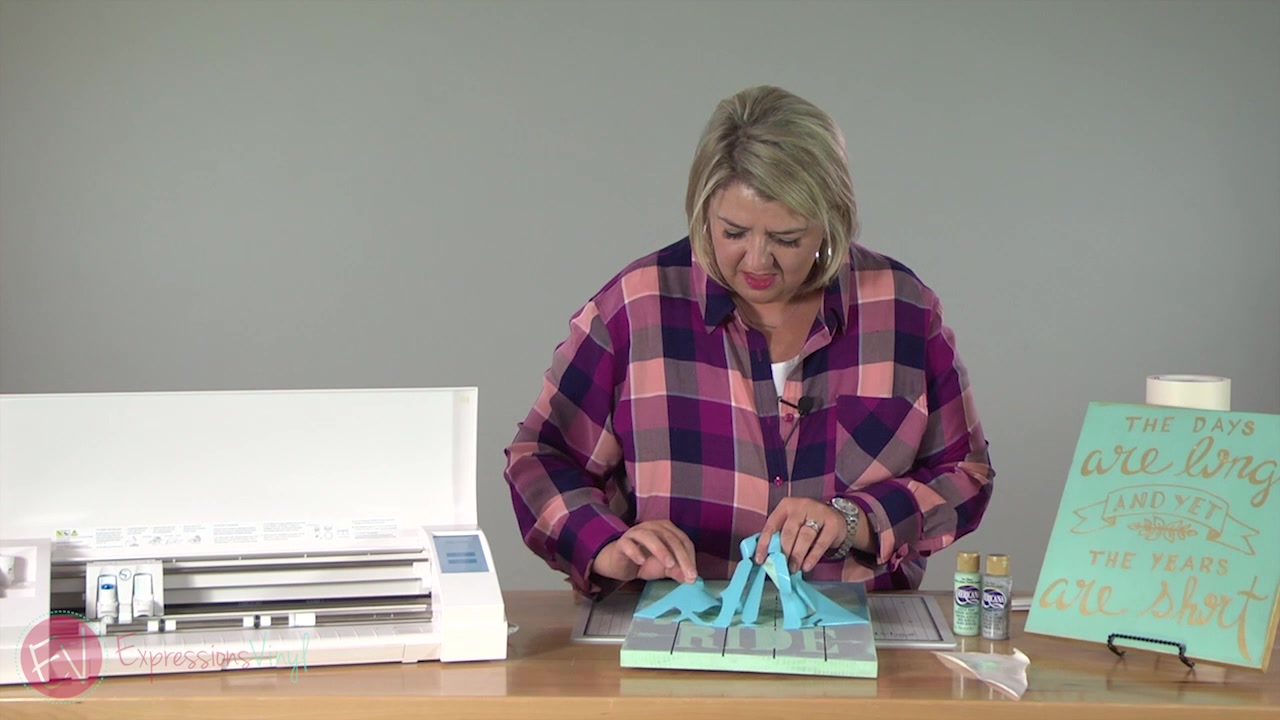
We've got our piece of vinyl that we're ging to use for our stencil, and we are ready to apply it to our board. You want to make sure it's nice and dry before you put your vinyl over the top. So, as you can see, the vinyl is the same size as my board, so it's going to be really easy to line up.
I'm just going to peel off our backing paper, and being careful to make sure there's no little pieces of vinyl coming up. You want to make sure all your letters are staying where they're supposed to. And we'll get it lined up here. I like to make this box as well, because it leaves a nice, wide edge for when you are painting so you don't it on places on your board where you don't want it.
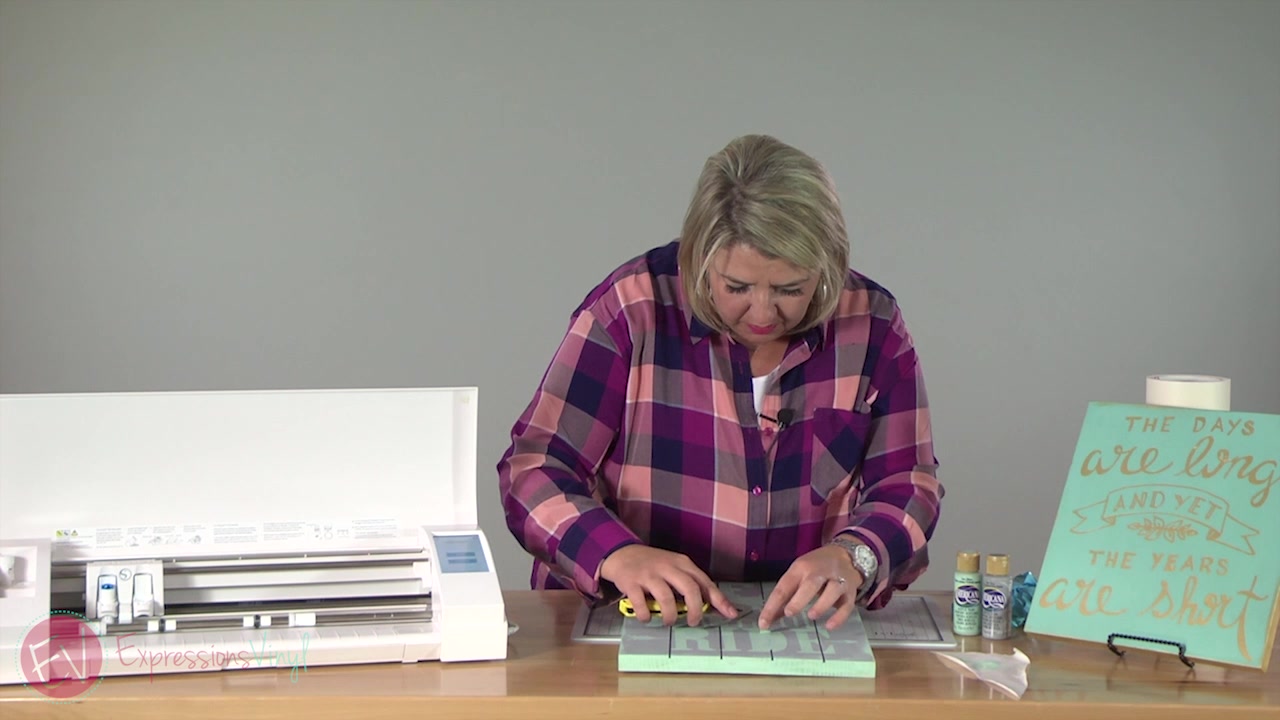
I'm just using my application tool to make sure there's no bubbles in this and is nice and stuck down everywhere.
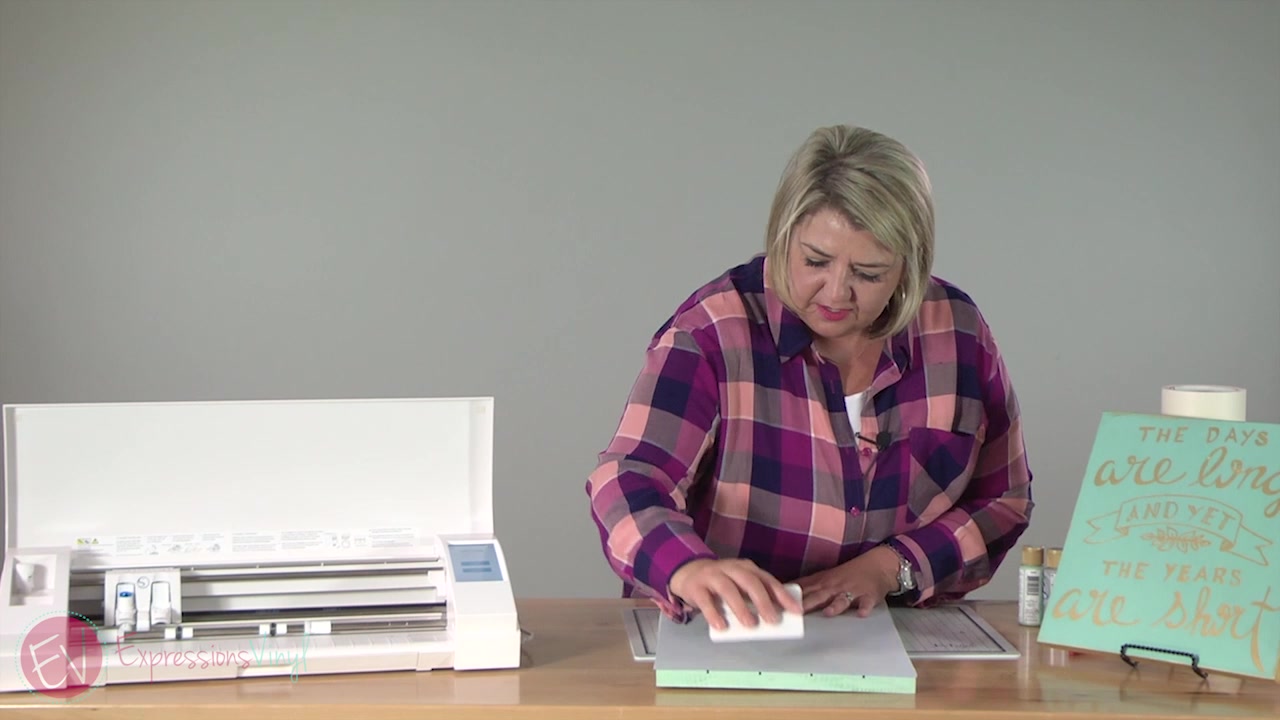
and peel off my transfer tape nice and slow.
And here is a trick-- I'm going to cut off a chunk off the transfer tape-and stick it to my table. and then I will use it to put my paint on when I'm painting so I don't have to go get a paper plate or whatever. And then, when you're all done painting, you can just throw that little piece of transfer tape away and you've got less mess!
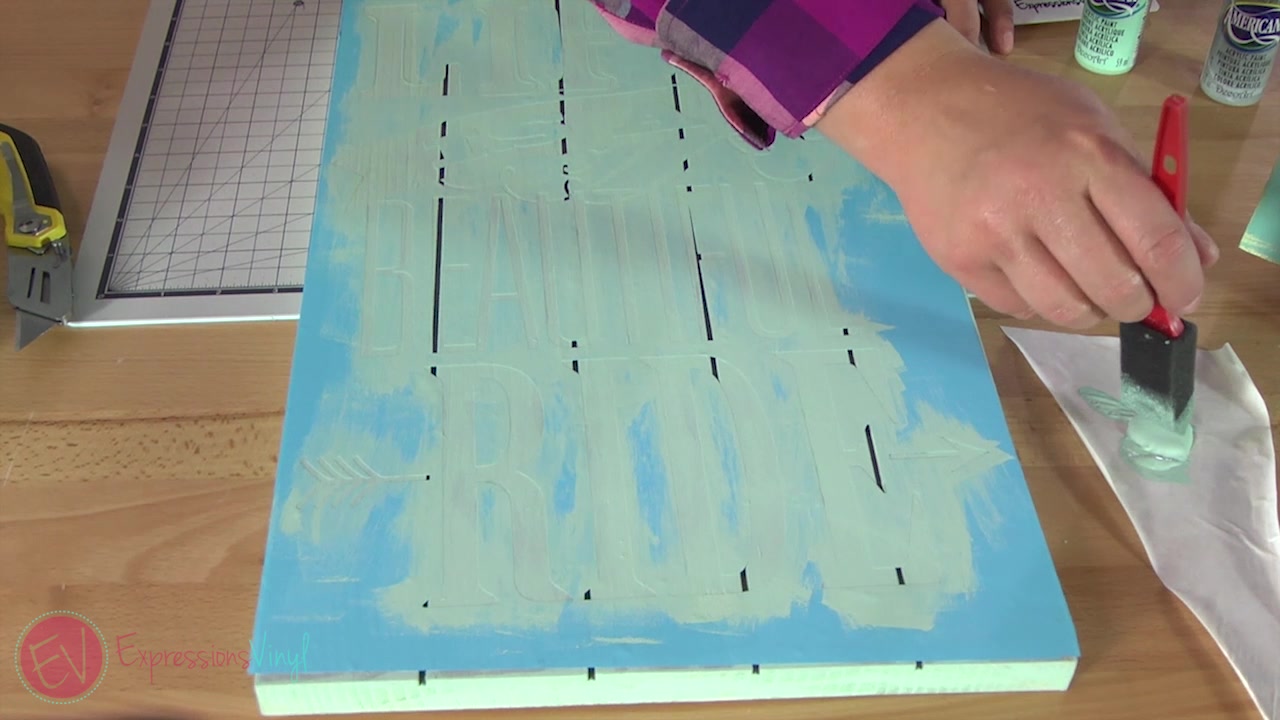
I'm just using a sponge brush. And I'm going to dab it in, and I don't want too much paint. We're just going to do nice, thin, even coats. You don't want to lay it on real thick, or it could seep under your vinyl. So it might take a few coats, but just do nice, thin ones. So, this layer is nice and dry. I'm going to do one last layer. We'll let that dry really good before we peel off our stencil!
Alright, so our paint is nice and dry, and we are ready to peel off our vinyl.
So, this is my favorite part. It's like the final reveal. So, we are just going to slowly peel it off.
Woo-hoo! Alright! You can see we have nice, crisp lines. I'm gonna take my knife and pop out the middles of the letters and the rest of the little things.
And I'm just being really careful not to go underneath the paint. Just getting the little edge of the vinyl up for a nice clean image!
So, now our stencil sign is all done. We have nice, crisp lines, even these little tiny ones.
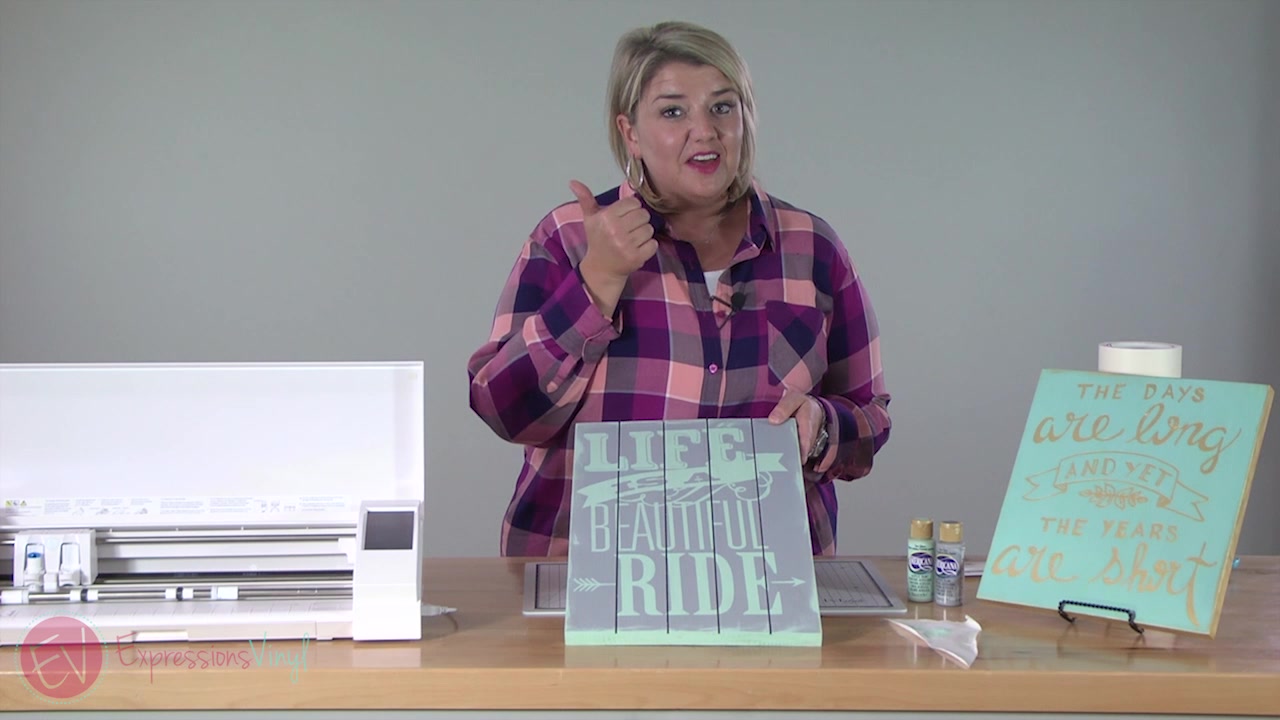
So it's all in painting technique and weeding technique. If you have any questions or comments, we love to read them! Have a great day, thanks!
Recent Posts
-
NEW Holographic Eclipse Heat Transfer Vinyl
April 15th, 2024 3 Ways to Use the New Holographic Eclipse Heat Transfer Vinyl from Siser …Apr 29th 2024 -
Hop into Spring with Cute Easter Vinyl Crafts
Do you love our Vinyl? Sign up for Vinyl Club today to get FREE vinyl and save big! …Mar 28th 2024 -

Fixing Wrinkles and Bubbles in Vinyl
How do you get air bubbles out of vinyl? There are a few different ways to ensure a flawless …Mar 26th 2024