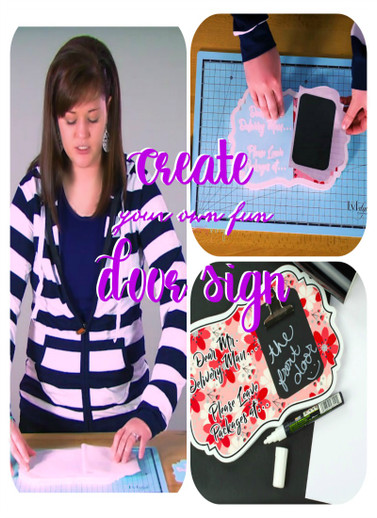
Delivery Door Sign
Hi guys, It's Starla with expressionsvinyl.com, and I've got a fun, Delivery Man Sign project for you to do today. If you are like me and are never home when your packages are supposed to arrive or you can never find them when they show as being delivered, this will be a fun project for you.
We are going to be using a variety of vinyl, so what you will need is:
- Inkjet Vinyl (for this sign, 12x12 was used)
- 12x12 Premium Laminate
- Black 651 Vinyl
- White 651 Vinyl
- Transfer Tape
- White Chalkboard Paint (Walmart Waverly Inspirations)
- Foam Brush
- Large Silver Metal Clips (Hobby Lobby)
- Chalkpaint Spray Sealer (Home Depot)
- Font: Billy Ohio
I have already painted the board with Chalkpaint and sealed with Chalkpaint Sealer.
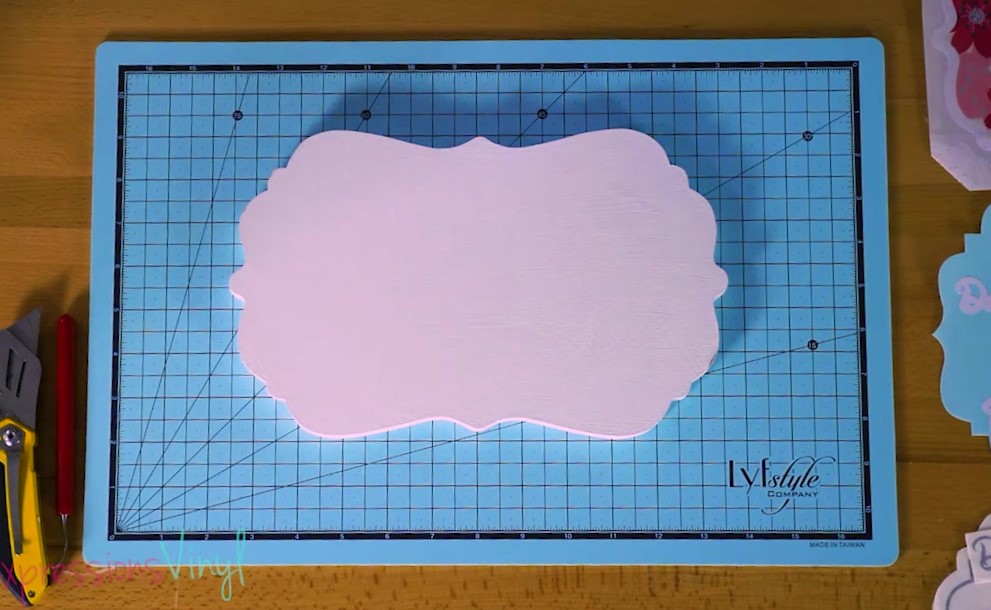
We're first going to start with our base layer, the Inkjet Printable with Premium Laminate, and I have the transfer tape on it already.
Once the laminate has been place the inkjet it can make it a little bit stiff, so I wouldn't necessarily use the transfer tape on this, in this case however I need to line it with this board. The Clear works great for that.
If you're not quite sure if that's where you want it, don't push it down yet, flip over your project, and see it it's lined up for you.
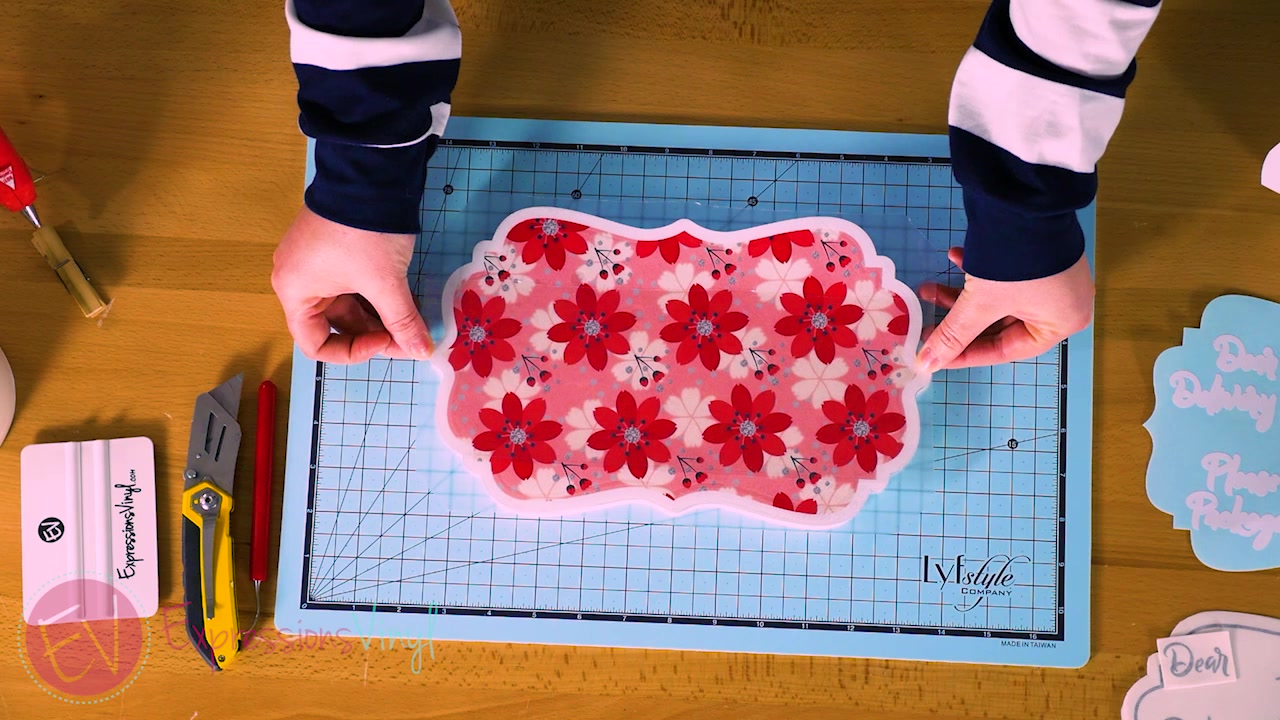
Once you have it lined up where it looks good to you, take your application tool and smooth the transfer tape down well. You will want to remove your transfer tape by rolling back, not up, to avoid any bubbles. I made this the same size as my board, just for an alignment. You probably can't see it, but right along inside of my pattern, I did an internal cut, this makes lining up a wonky shape like this much easier.
Here is a screen shot of the Silhouette Studio of the cut lines:
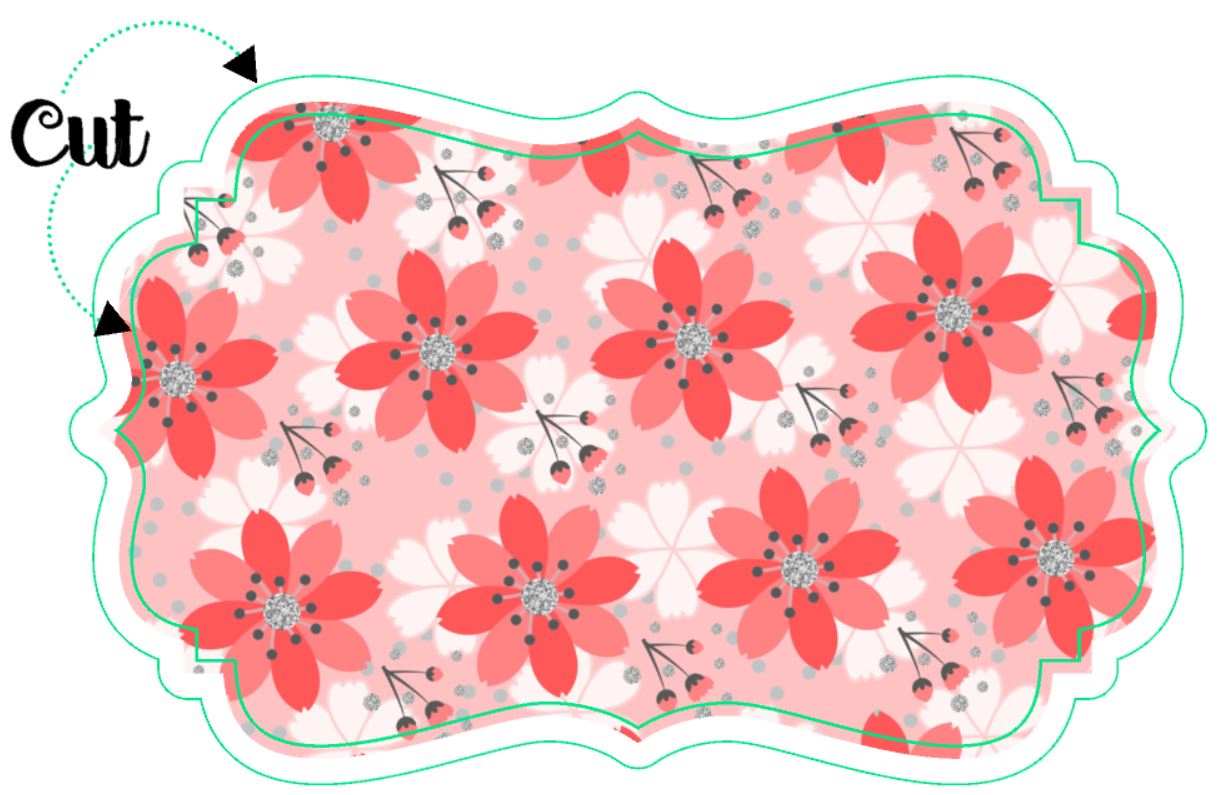
I'm going to take off this outer portion.
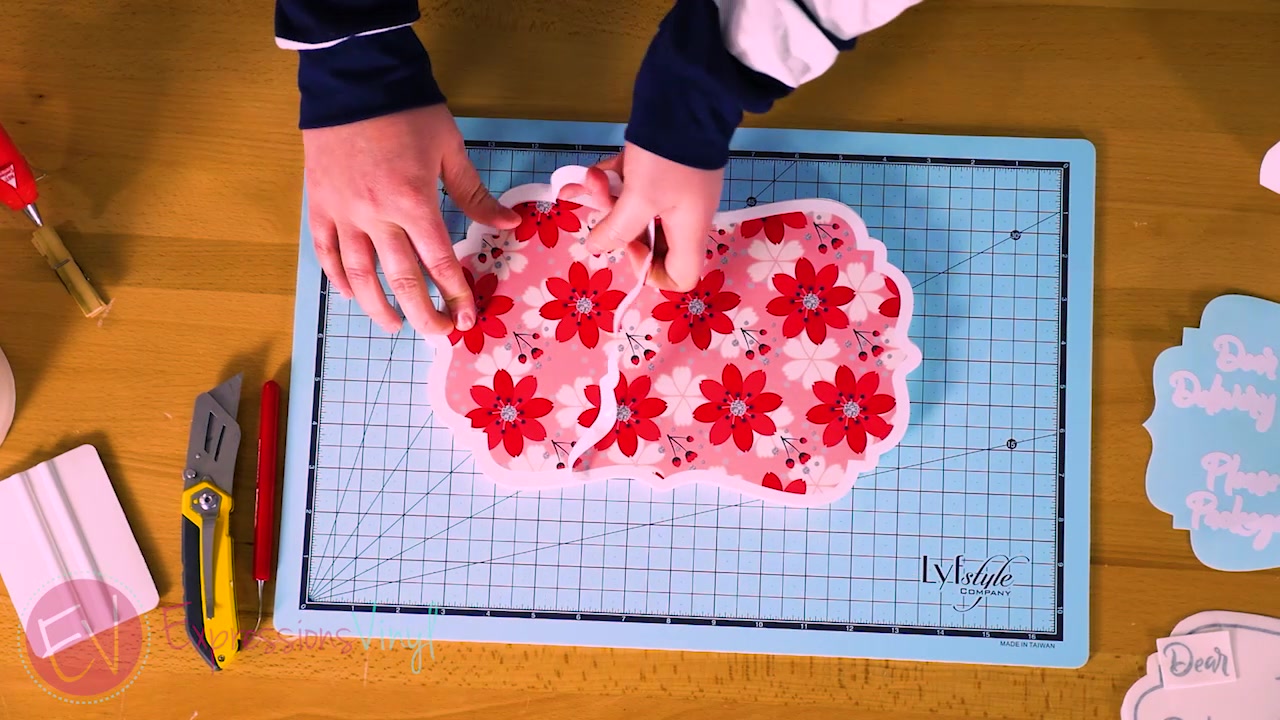
The reason why I did that is because it would have been a lot harder to line up my image evenly on all sides, and you want these irregular shapes and even as possible.
Next, we're going to want to line these up as well.
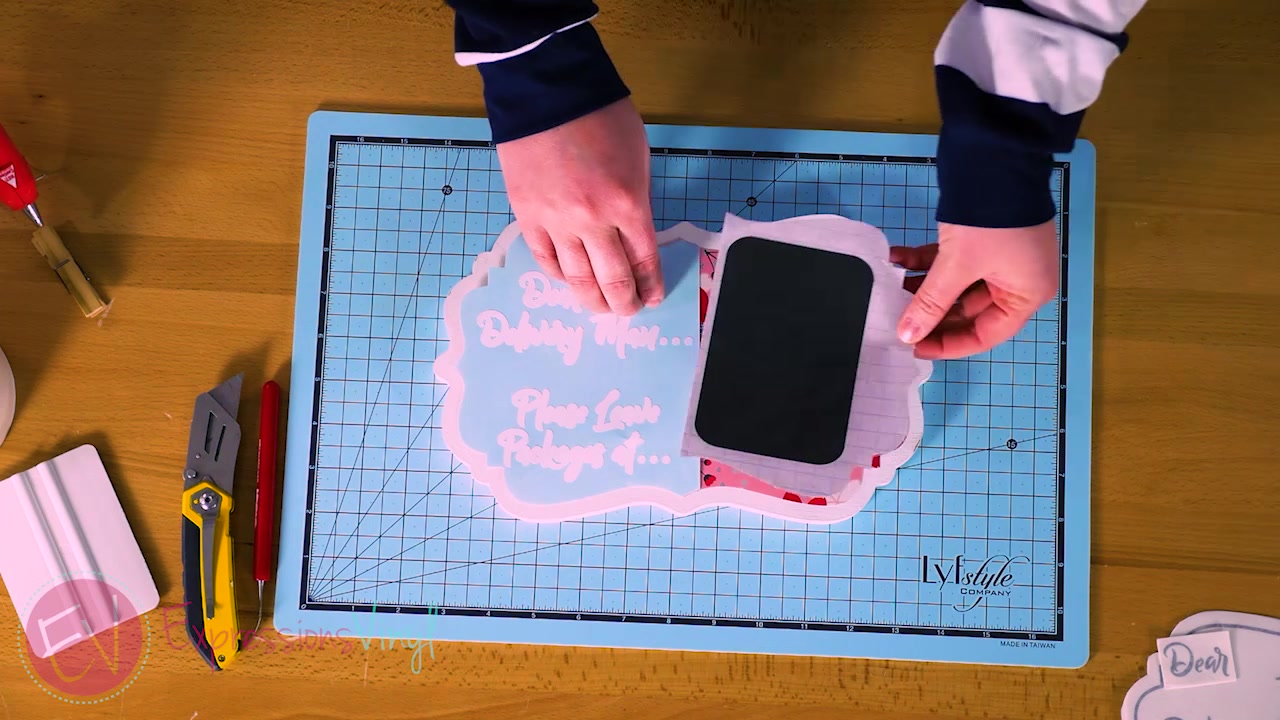
Now this is a different weeding box. I call it a fancy weeding box. And I'm using it, as you can probably see, to line up with the pattern, because I must get that lined up with this, exactly. So, because I want to see it line up I will need the clear transfer tape. I am using our 12 inch by 30-foot roll of Ultra Clear Transfer Tape.
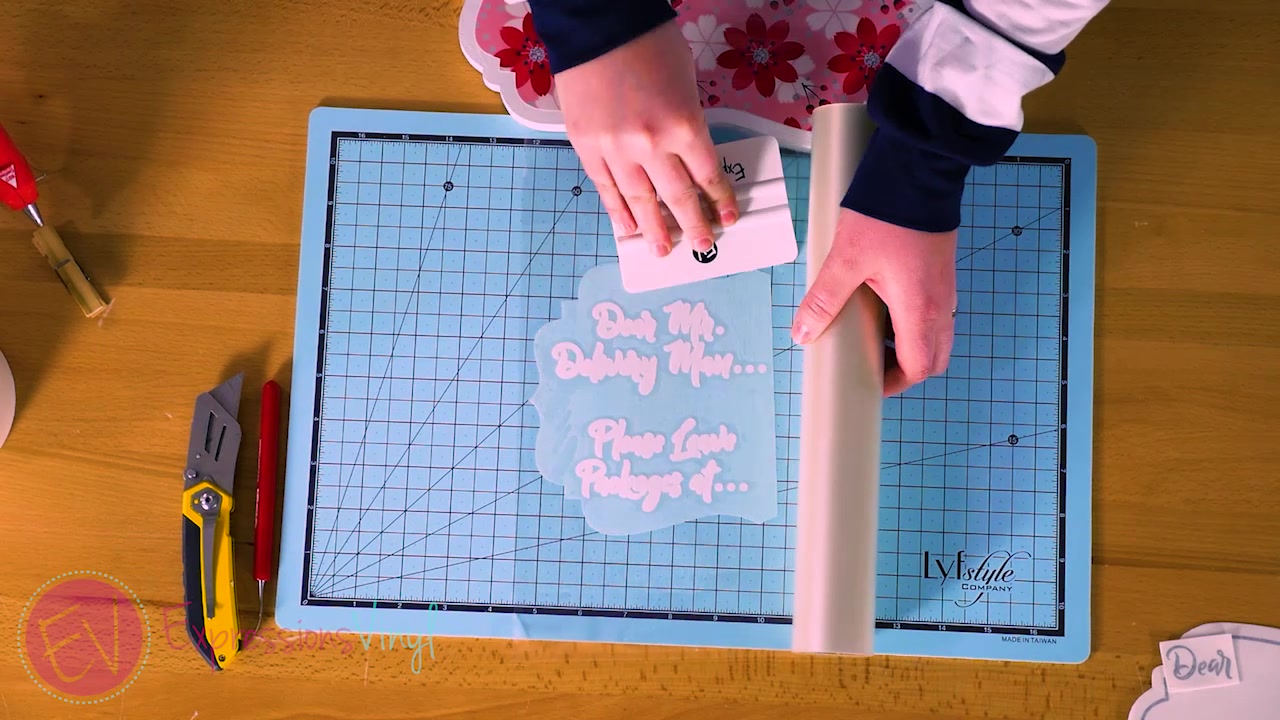
And since this isn't a typical weeding box, Use an X-Acto Knife, or box cutter to go around the shape. We don't have to make it exactly perfect. Like I said, this is just helping us square it all up for our funky little shape we've got cut here.
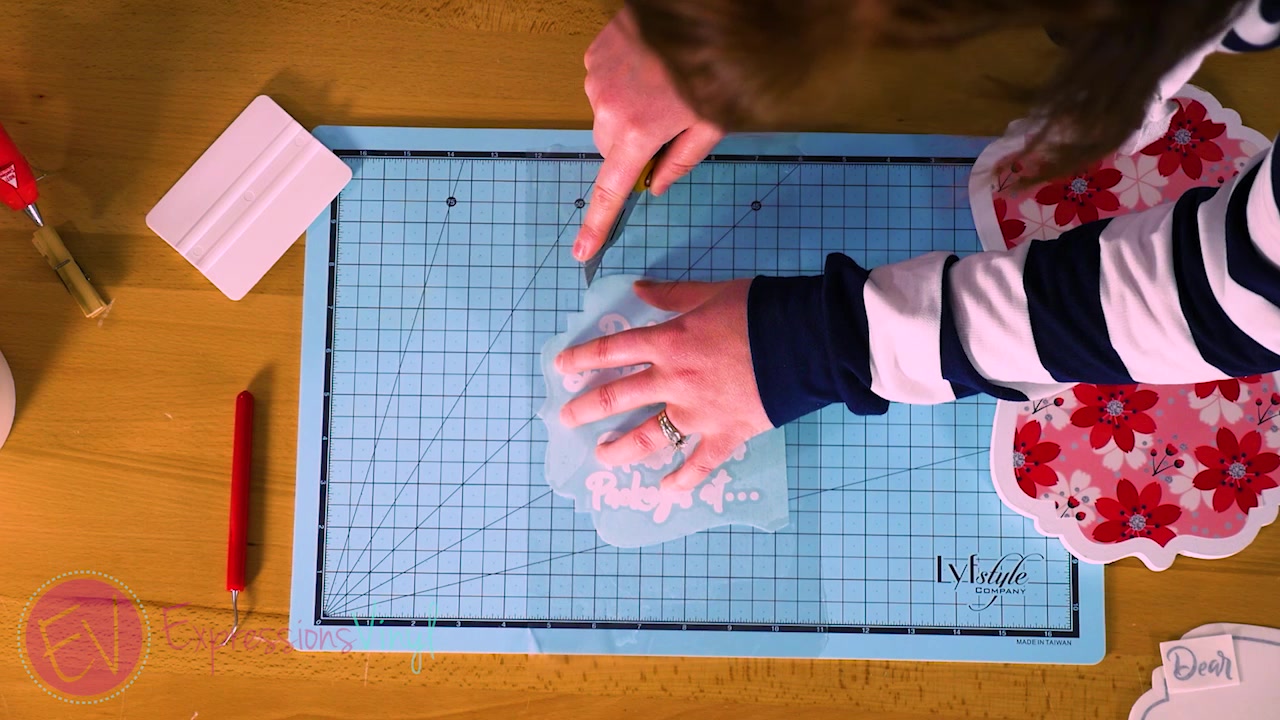
This piece is ready to go. I've already got the tape on my Chalkboard Vinyl.
Starting from this side, I am going to pull it back, just a little bit. I like to do a crease on the back just so it's nice and flat.
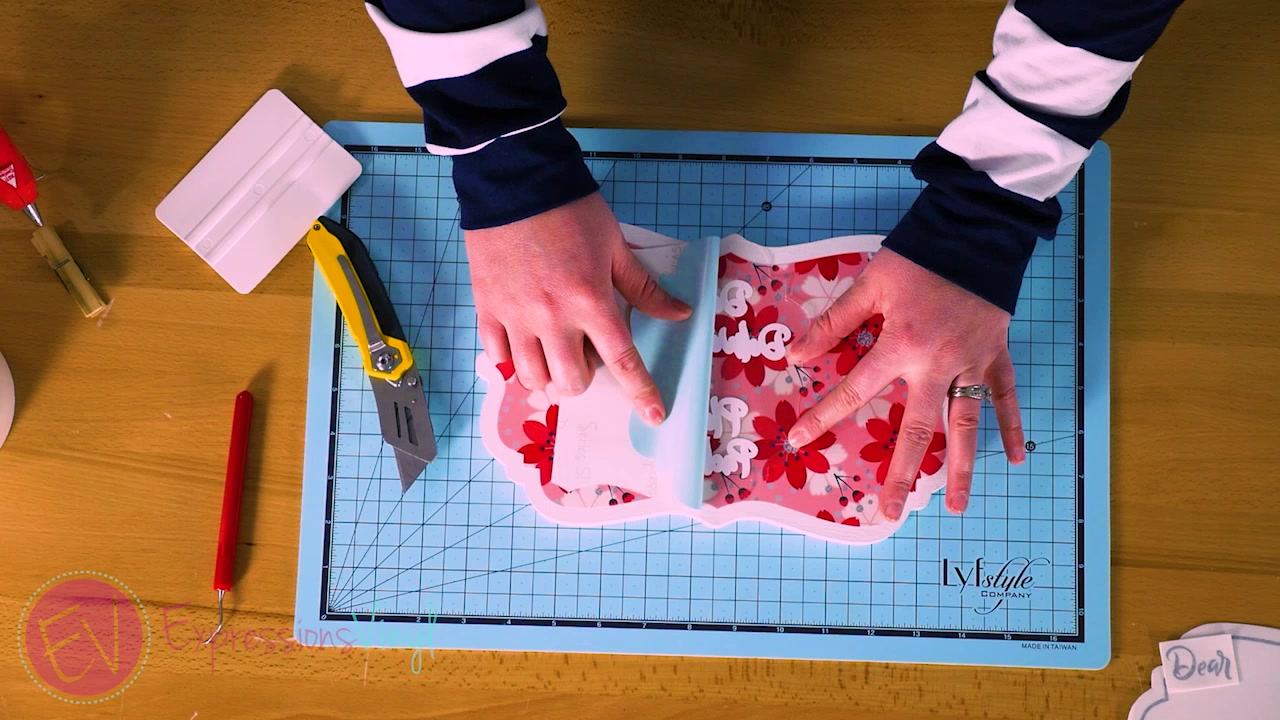
And then I'm going to align this back up. And it should fall right into place. And pull the rest of it off.
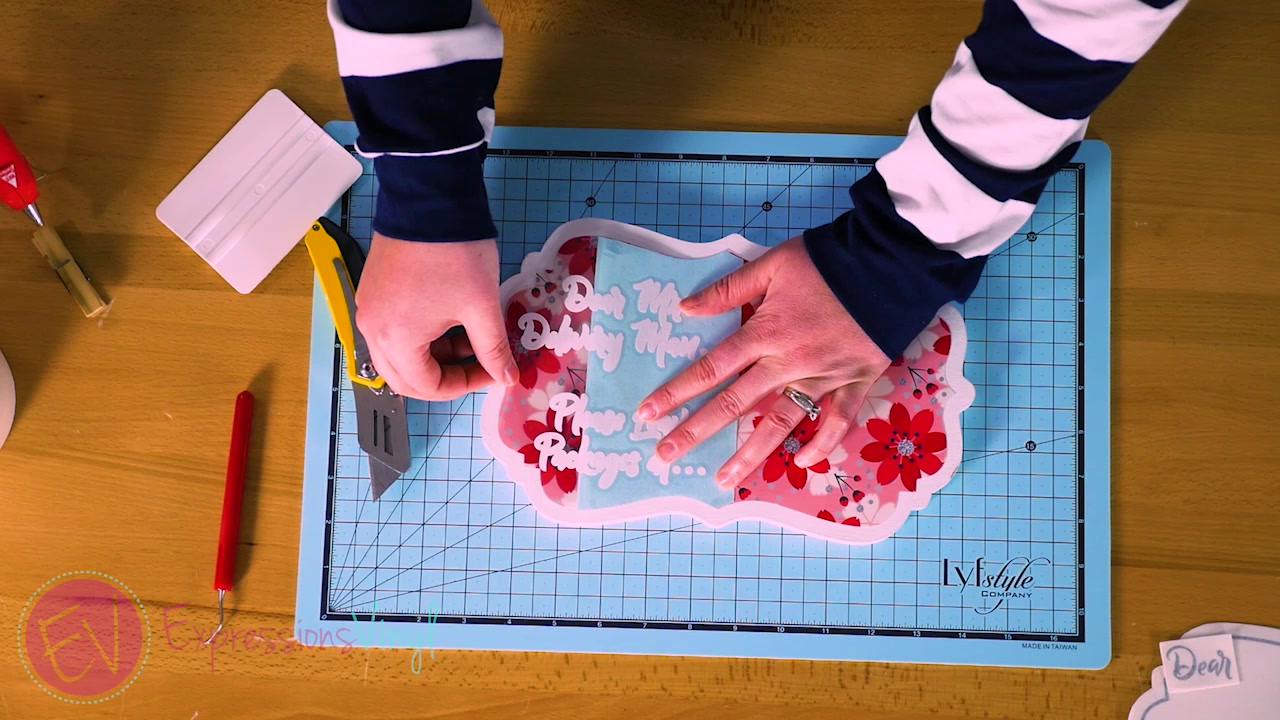
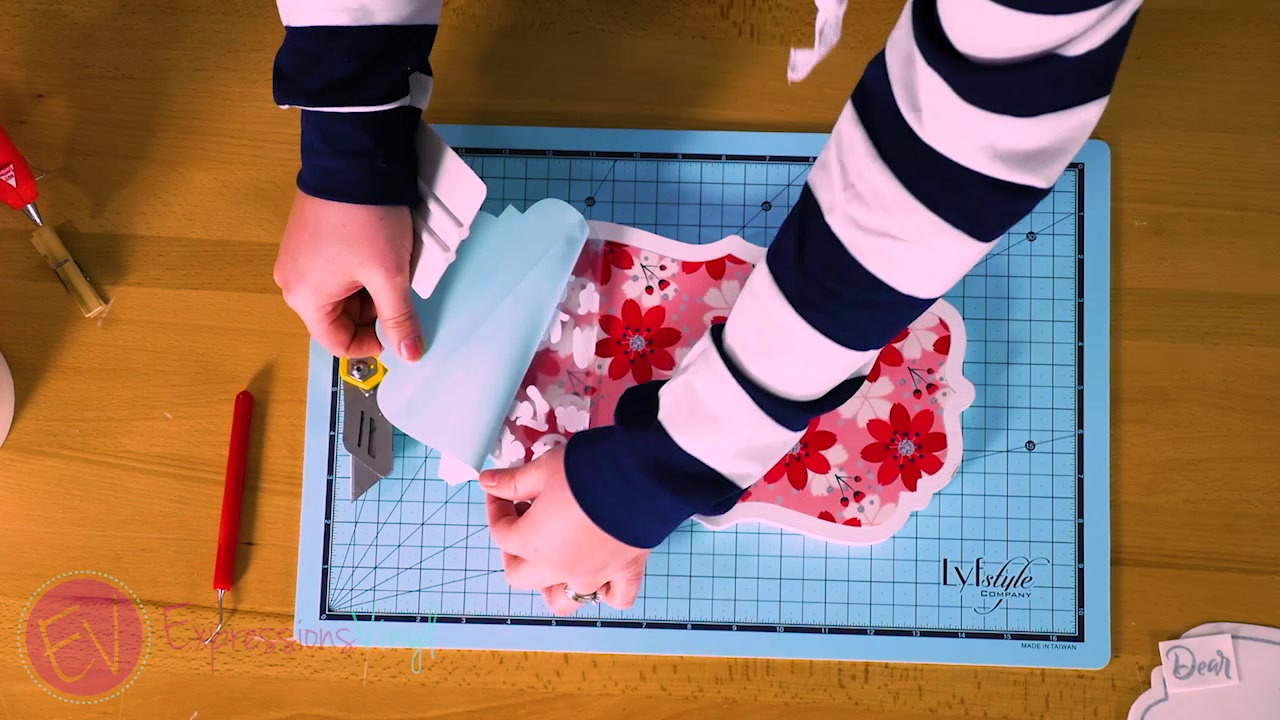
If you use transfer tape to layer, like I did with the regular vinyl and the Inkjet, it's recommended to use the laminate otherwise the transfer tape could lift your printed pattern.
Chalkboard Vinyl is thin so I'm just holding the application tool against to get a nice, smooth application and no bubbles.
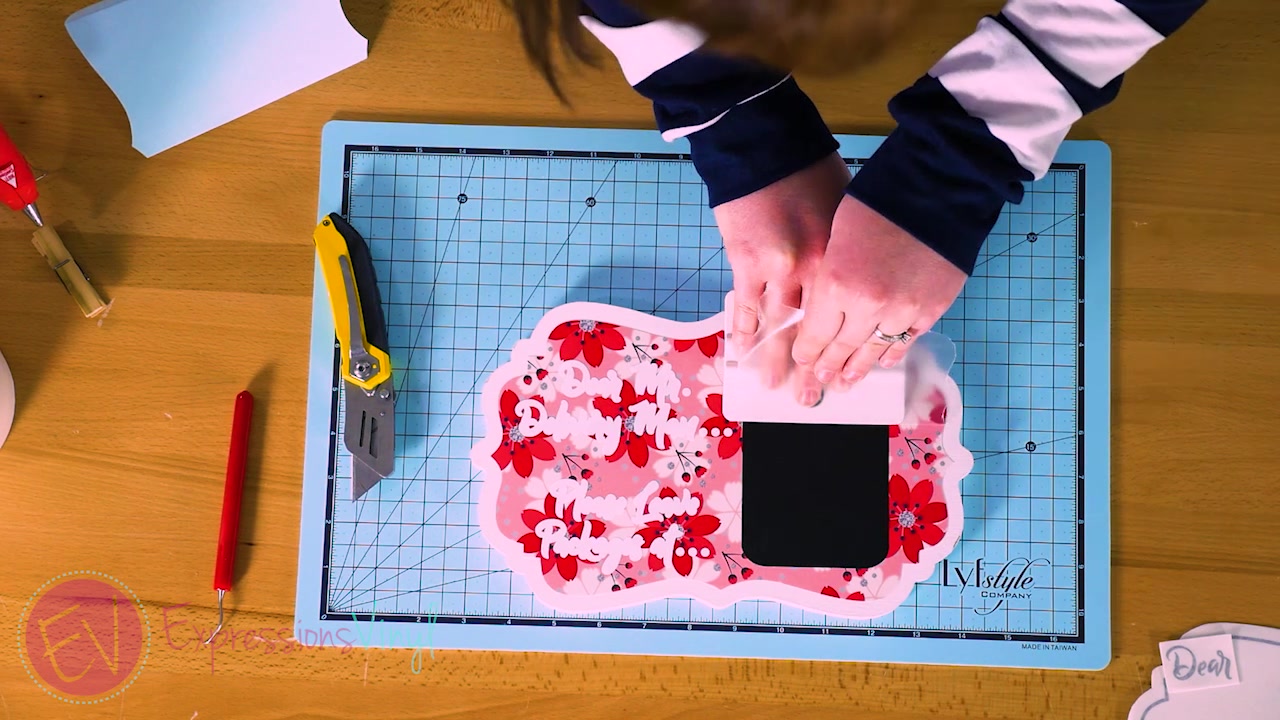
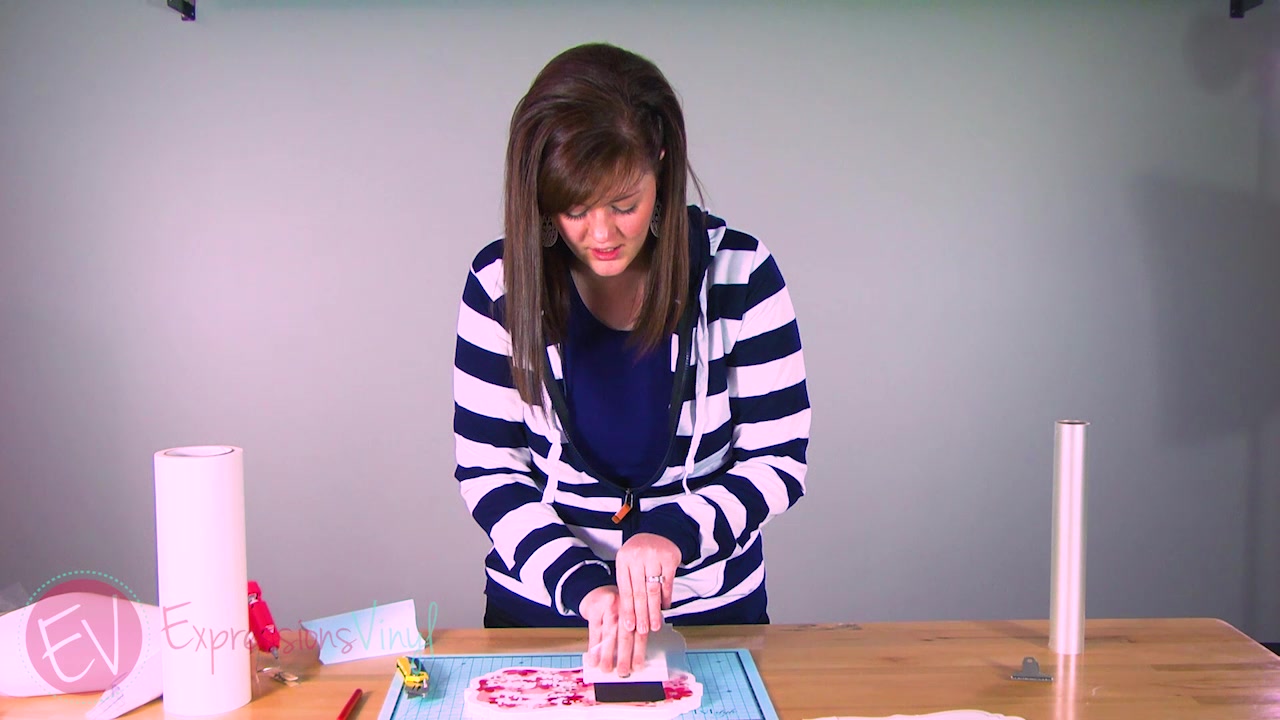
So that was the first layer, and onto the second layer with our funky weeding box.
This one will line right up with the shape.
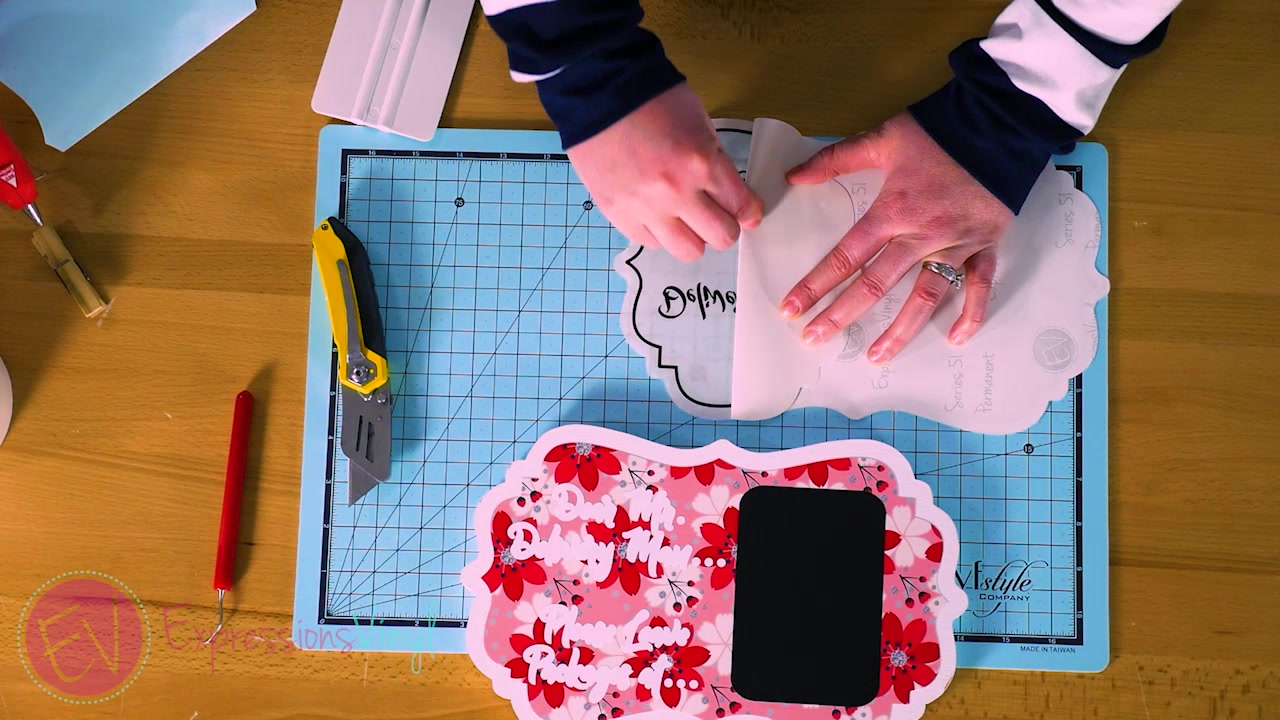
Just like we did with our top layers, we are going to line this up with the full shape of the patterned vinyl. This was Paper Transfer Tape. We sell it in 12 inch by 100 foot rolls for $20 or six inch by 100 foot rolls for $10. I do not necessarily need to see through it because I have my shape to be my guide. And don't be surprised, if you cut your own shapes, if it doesn't line up quite right, because it's hard to get the shapes exactly right when you cut it out of wood.
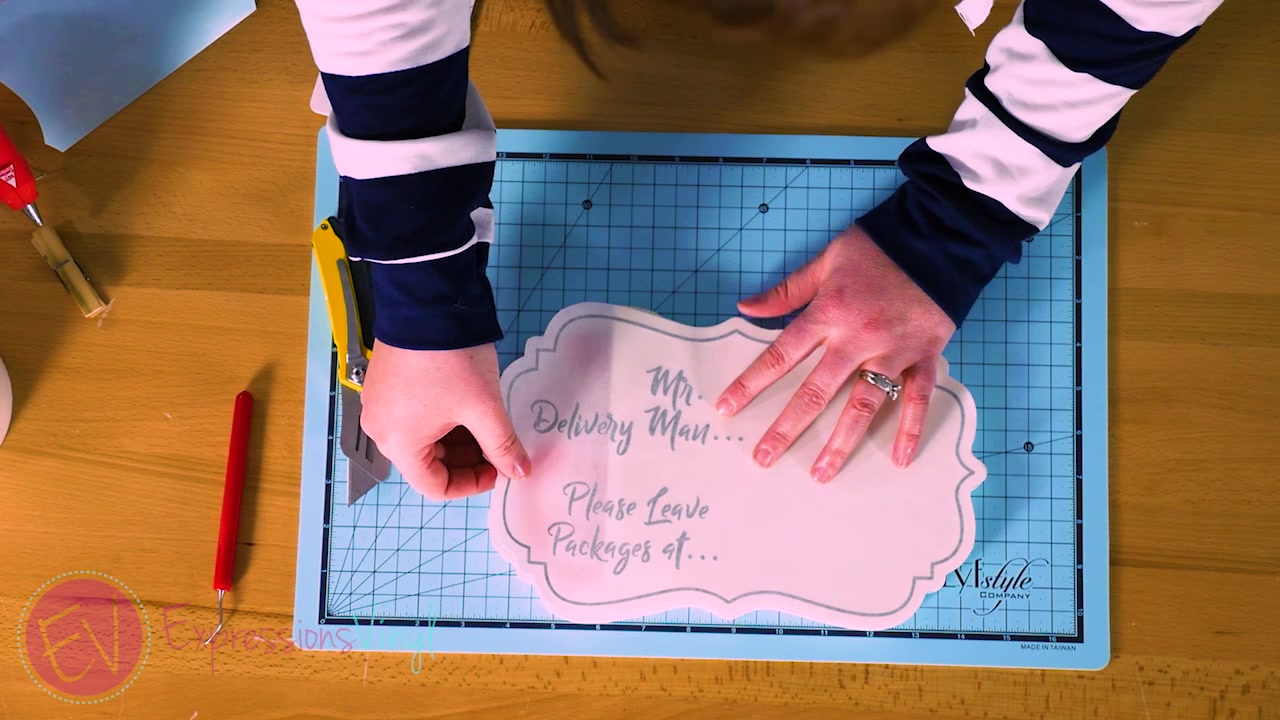
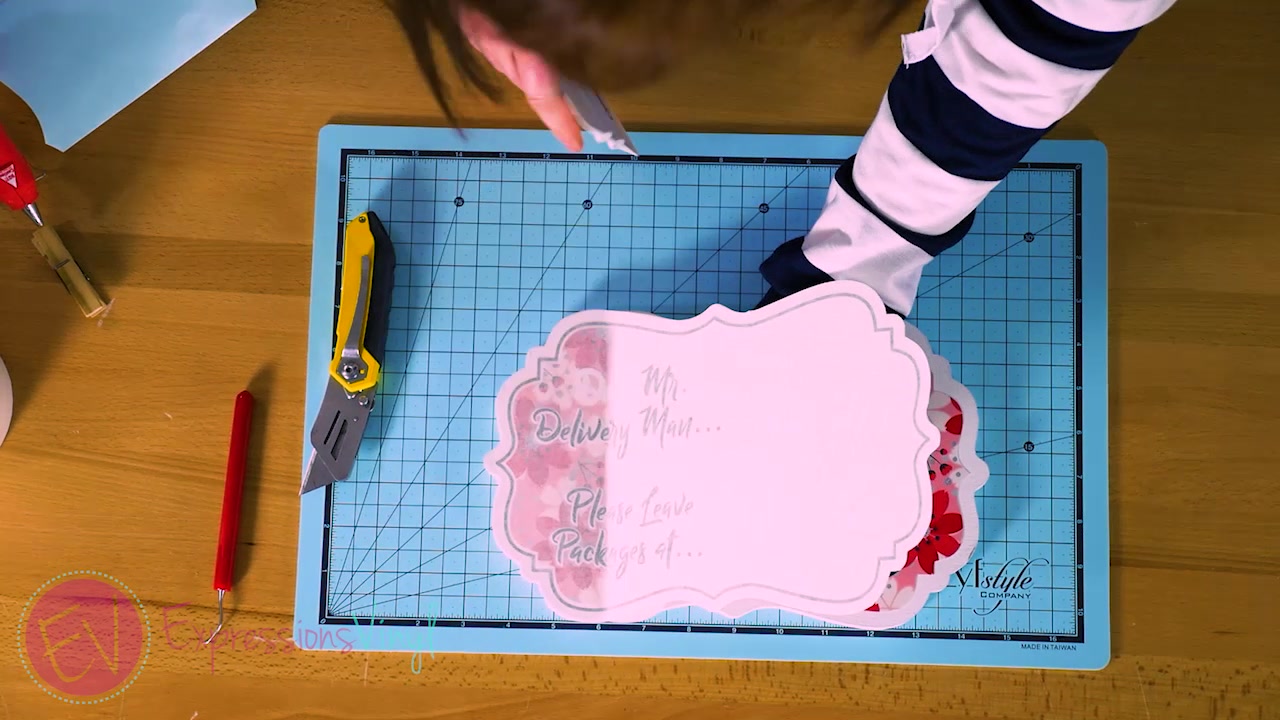
Now roll the rest back, and, you don't want to pull your paper transfer tape up because that can cause some bubbling. So just let it gently fall. and then you can go over it nice and smooth.
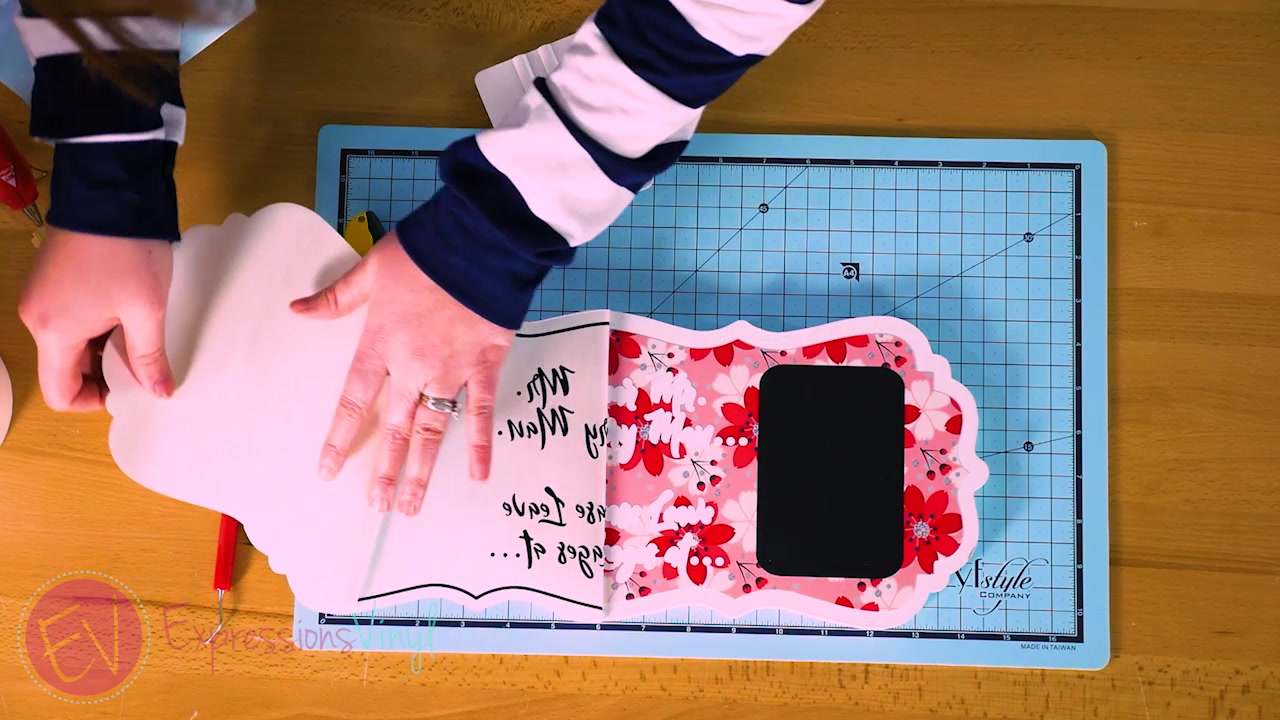
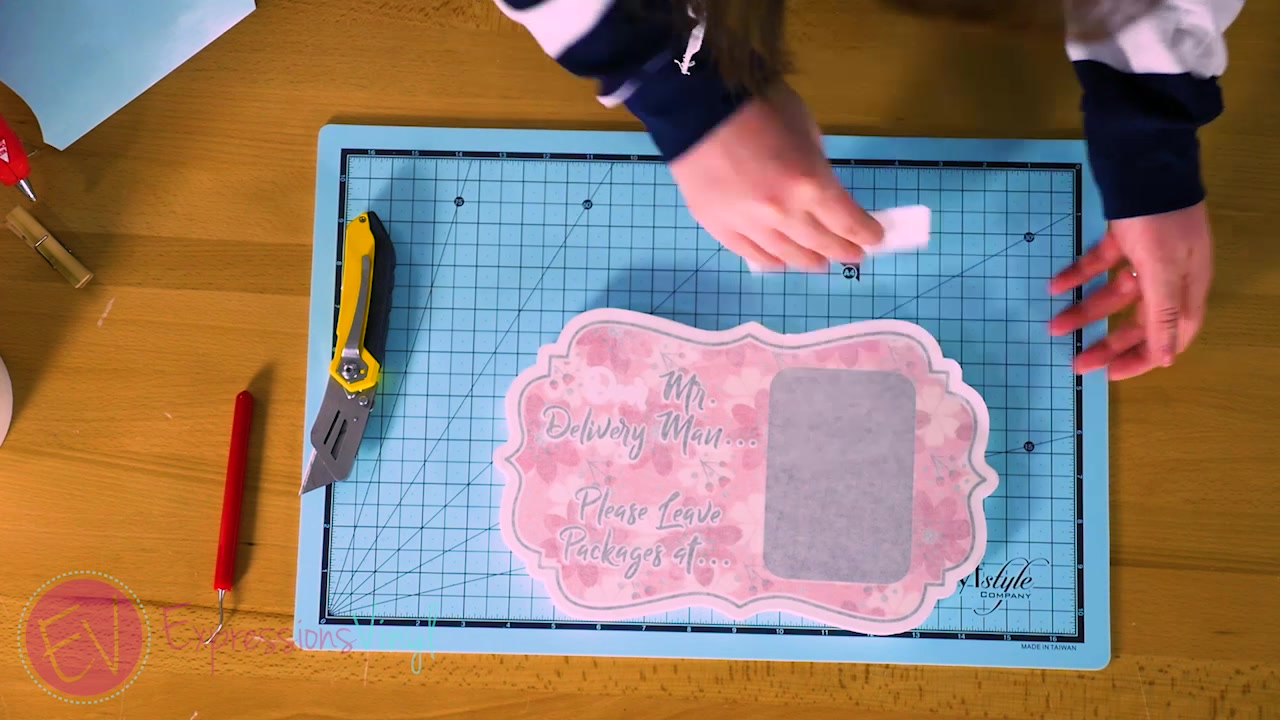
This is permanent vinyl, but it doesn't have the surface area to want to stay nice and flat. So, I'm going to use that same method with the application tool and just kind of force it down as I pull. This is one of my favorite methods to do on rougher surfaces, because then you don't have to fight with pushing it back down. You can also do the rip method if that helps, but taking sections of the tape at a time like so.
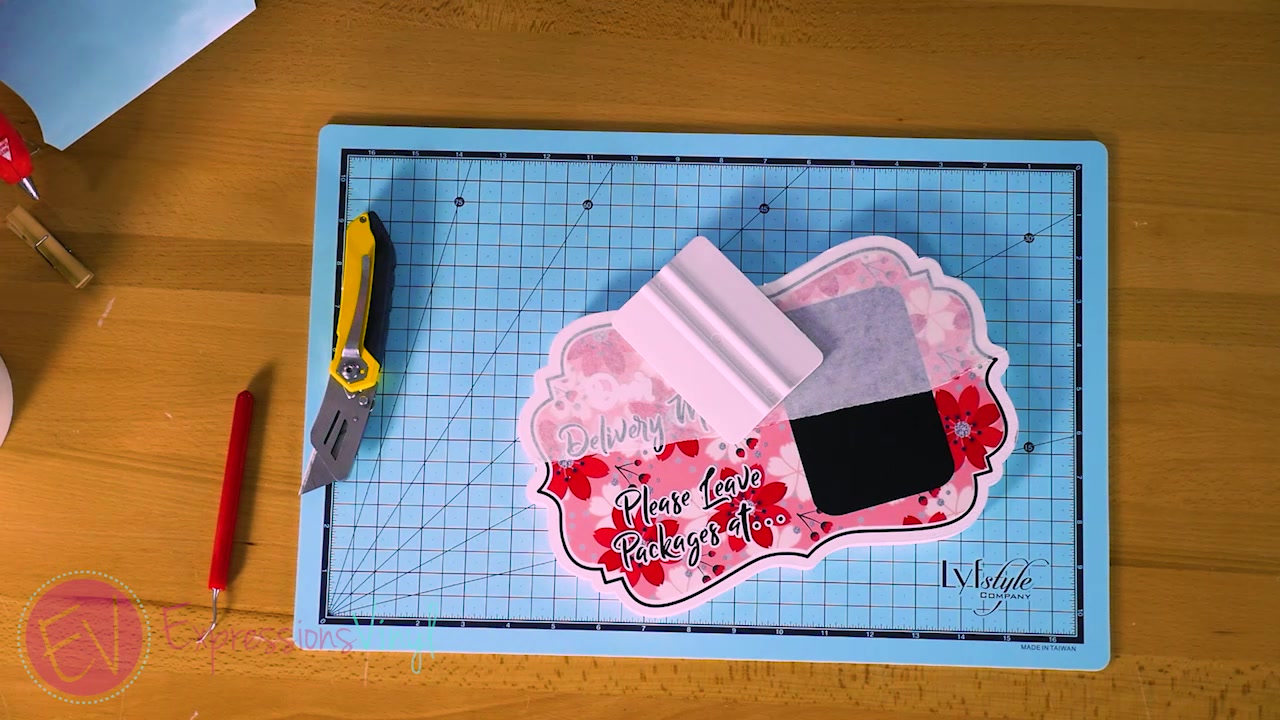
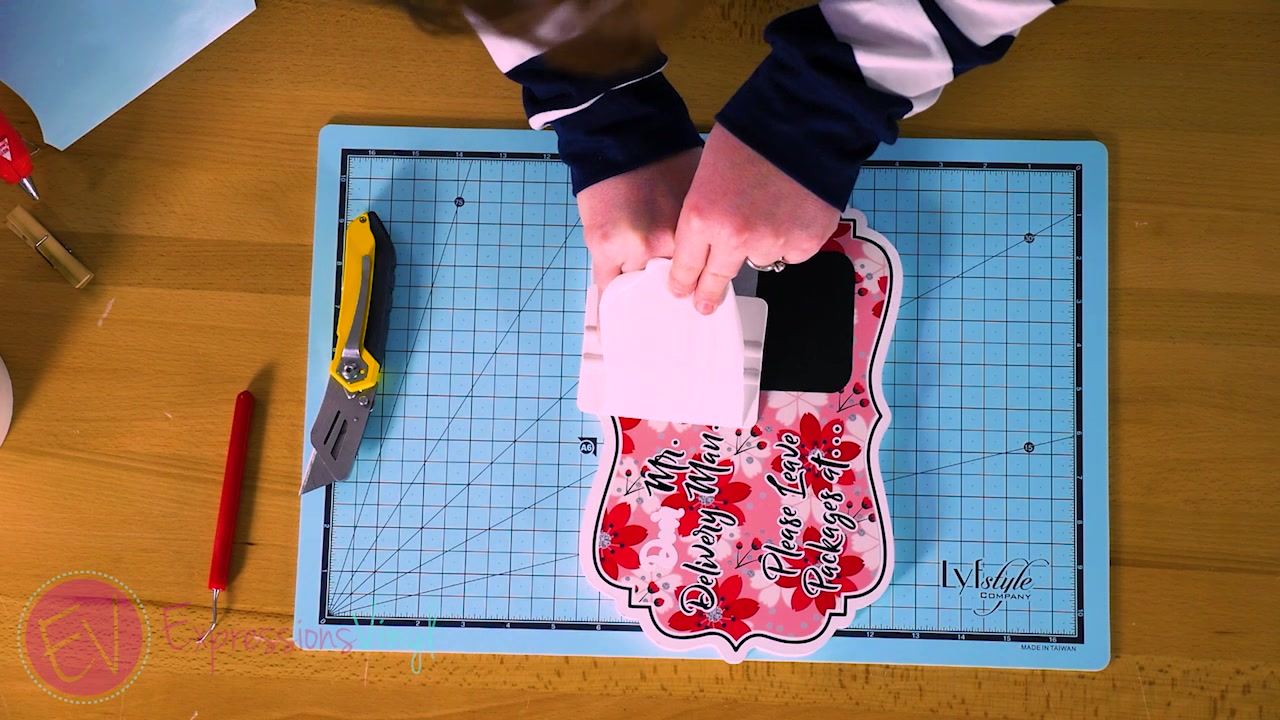
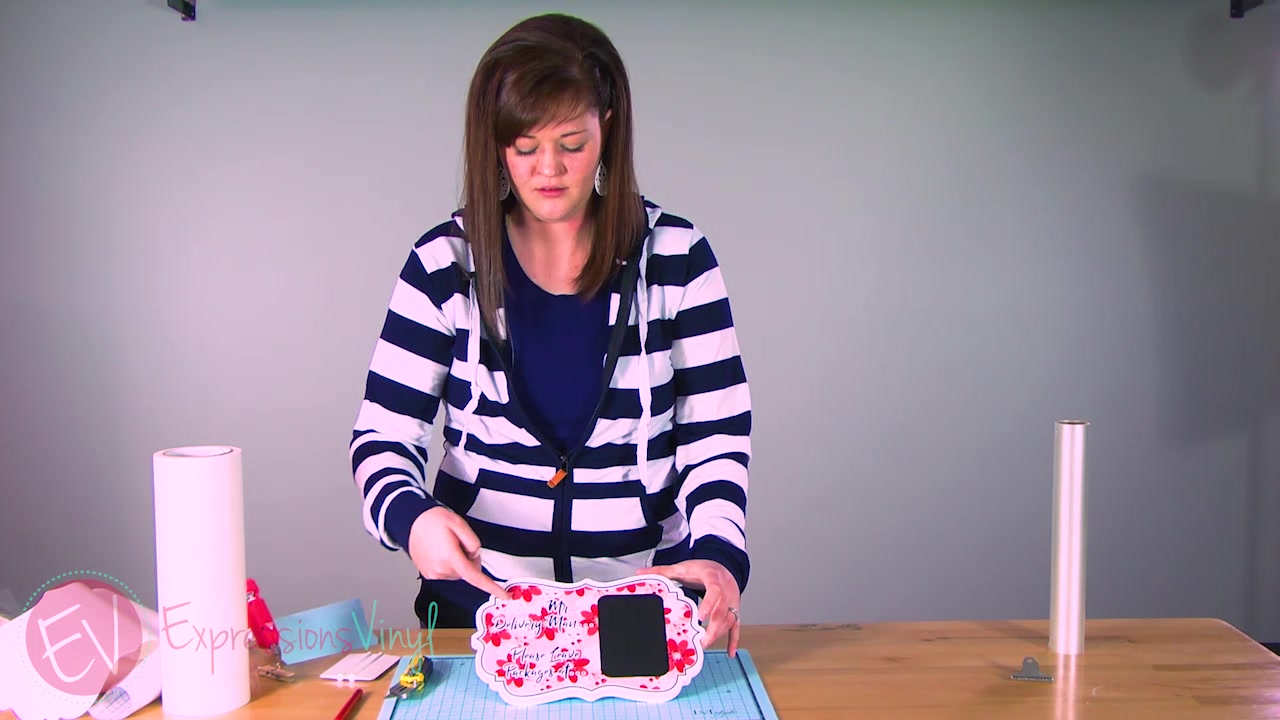
So, if you notice, there's something' missing' there.
When I was cutting this, this word didn't cut quite right and so instead of cutting that whole phrase again, since that's already on there, I just cut the missing work and I’m going to line it up by hand.
For this I probably would have used the Clear tape but I was already applying the paper tape, so I just stuck it underneath.
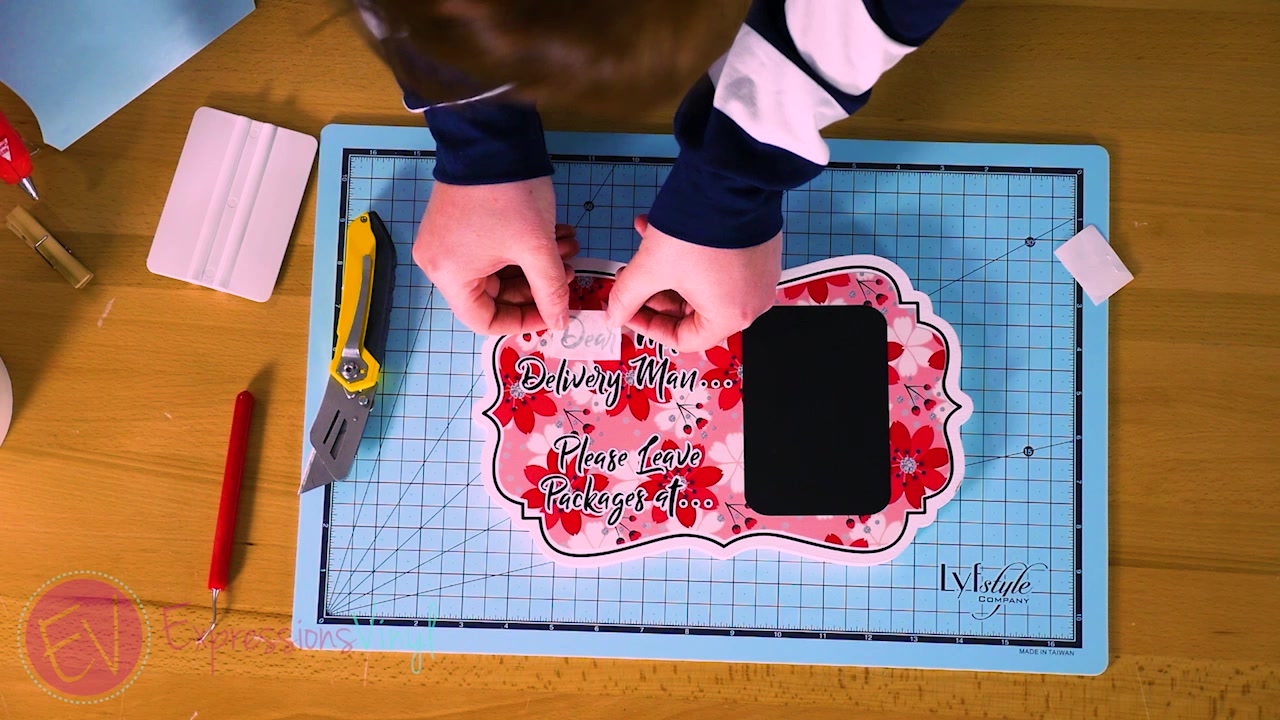
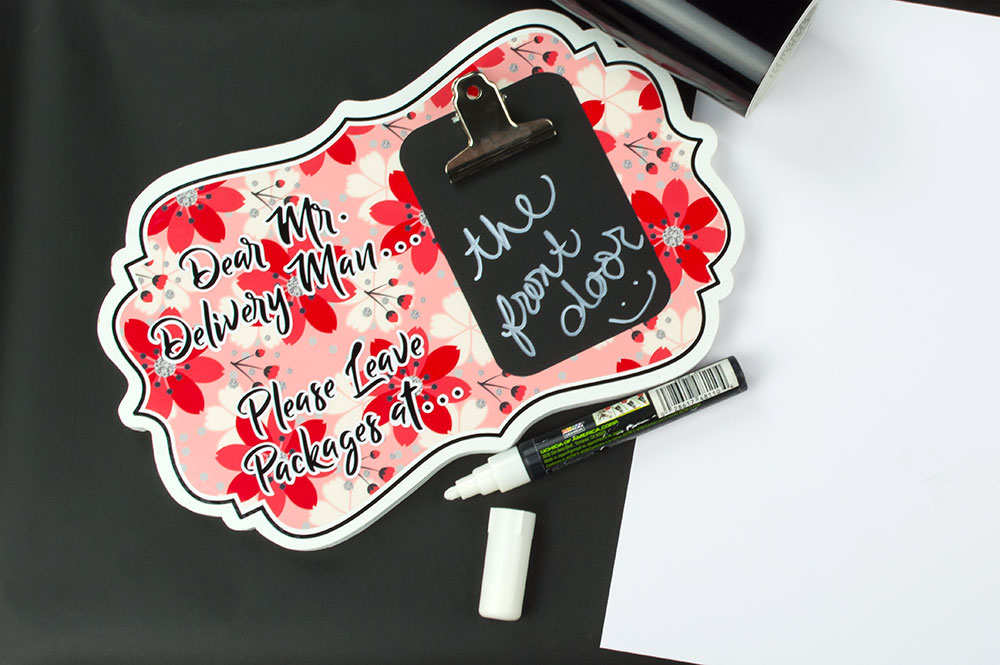
You could just leave it as is, "Dear Mr. Delivery Man "Please Leave My Packages at the Garage", "At the Front Door," whatever you want but I found out the other day that you can actually write your signature if you have to sign for a package, and stick it on the door and they'll accept it, so we're going to add this little clipboard clip, just with hot glue. And you can get these at most craft stores, they're a few dollars. And just place it wherever you like.

Now you have a fun sign for your door and will not have to worry about any missing packages or signing. Let see what you create with these tips and tricks.

Recent Posts
-
NEW Holographic Eclipse Heat Transfer Vinyl
April 15th, 2024 3 Ways to Use the New Holographic Eclipse Heat Transfer Vinyl from Siser …Apr 29th 2024 -
Hop into Spring with Cute Easter Vinyl Crafts
Do you love our Vinyl? Sign up for Vinyl Club today to get FREE vinyl and save big! …Mar 28th 2024 -
Fixing Wrinkles and Bubbles in Vinyl
How do you get air bubbles out of vinyl? There are a few different ways to ensure a flawless …Mar 26th 2024

