
Elephants And Chevron
Our family recently welcomed a new niece into the world.
The concept came from a tutorial over here: http://www.theribbonretreat.
She followed that tutorial pretty closely. The car seat needed to be measured first, front to back and side to side, to make sure that there would be enough fabric. She ended up needing a yard and a quarter front to back and 40" side to side which got her really good coverage.
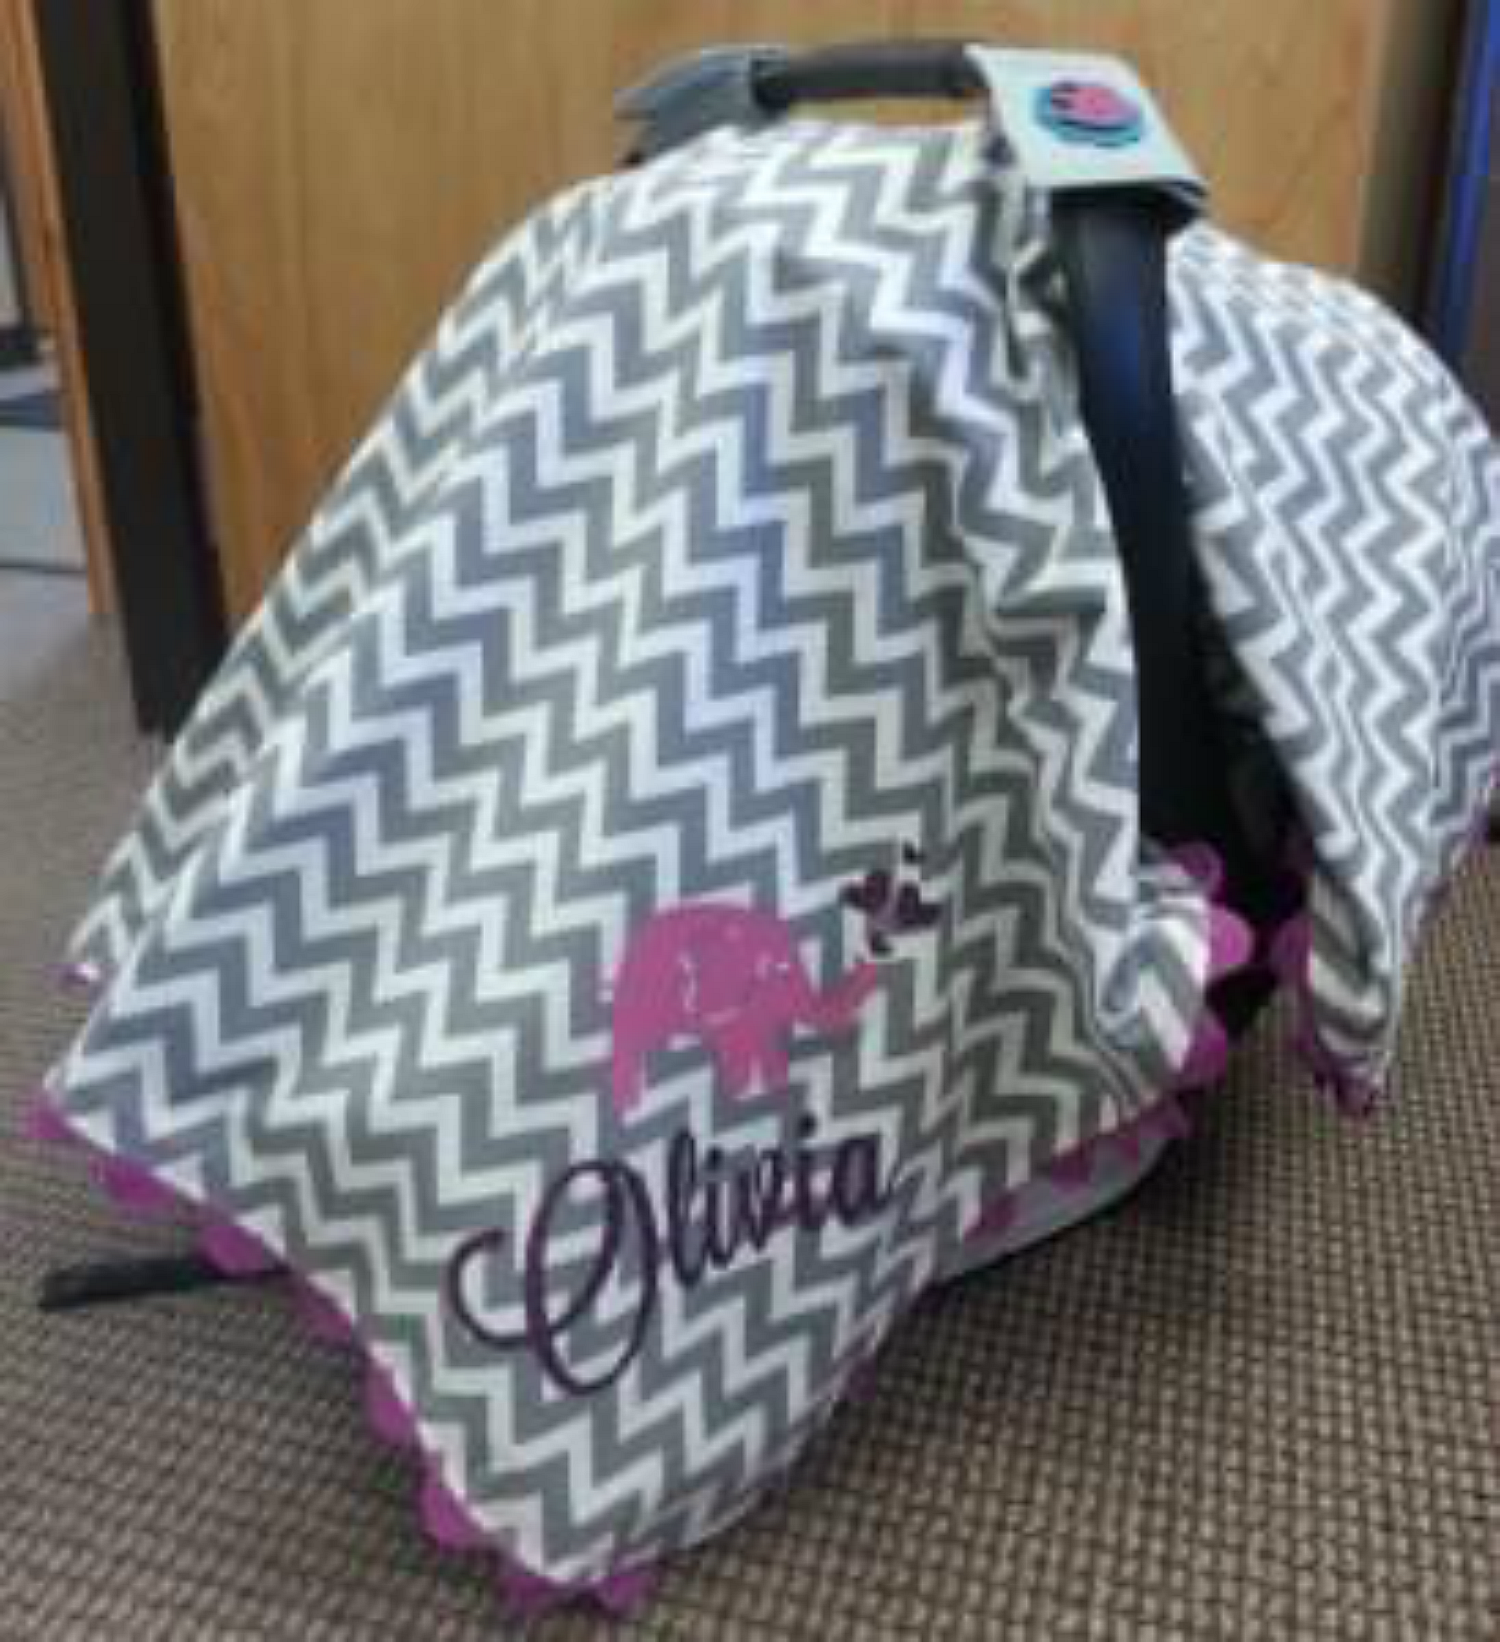
Then came the part when she needed my help. We found an image that we liked and opened it in the Silhouette Studio software (the trace function is my bff). Then we altered it to fit what we were looking for and put her name into it (used the Lavanderia Sturdy font).
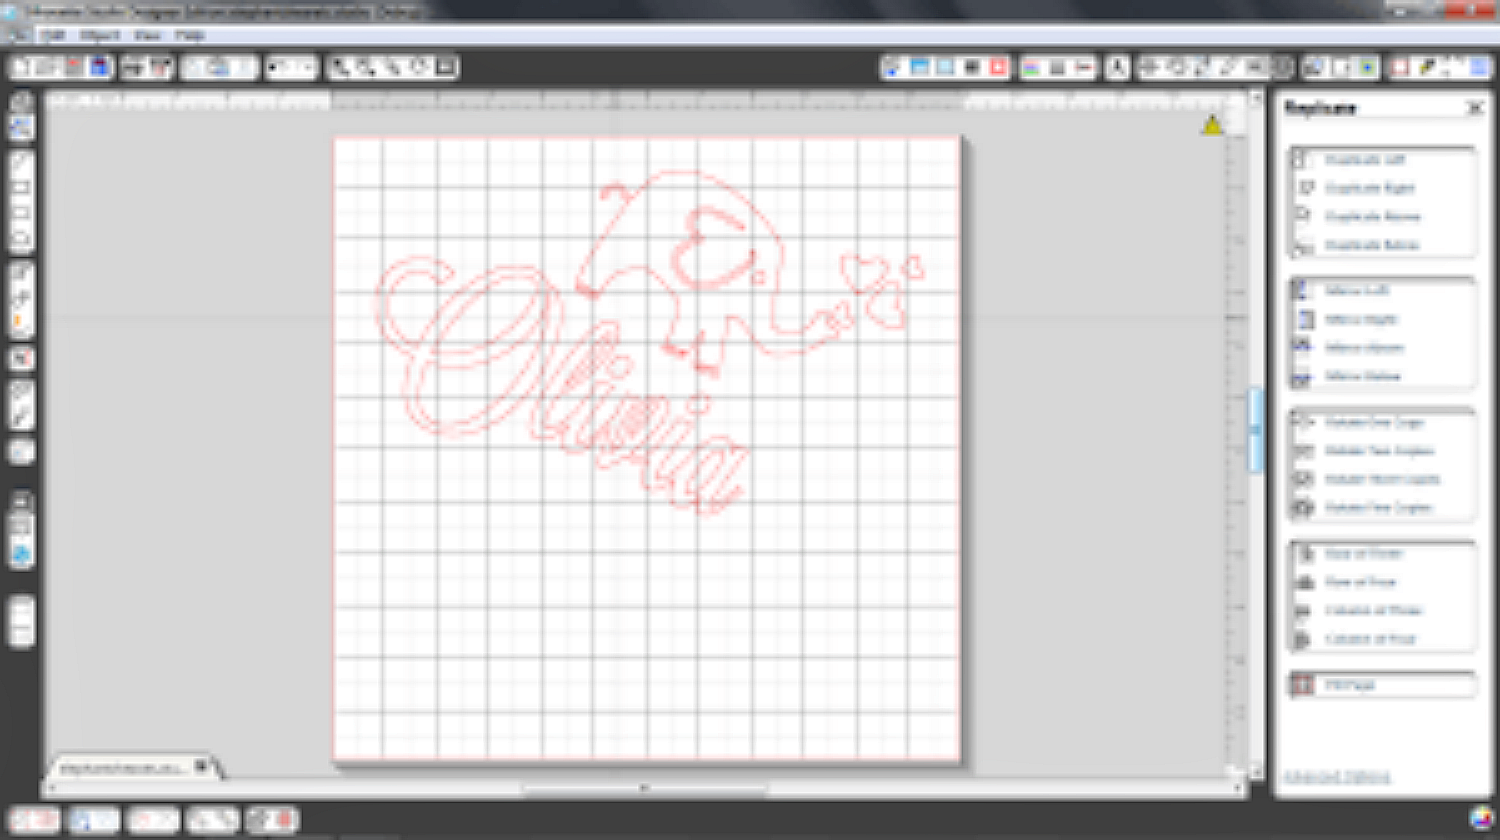
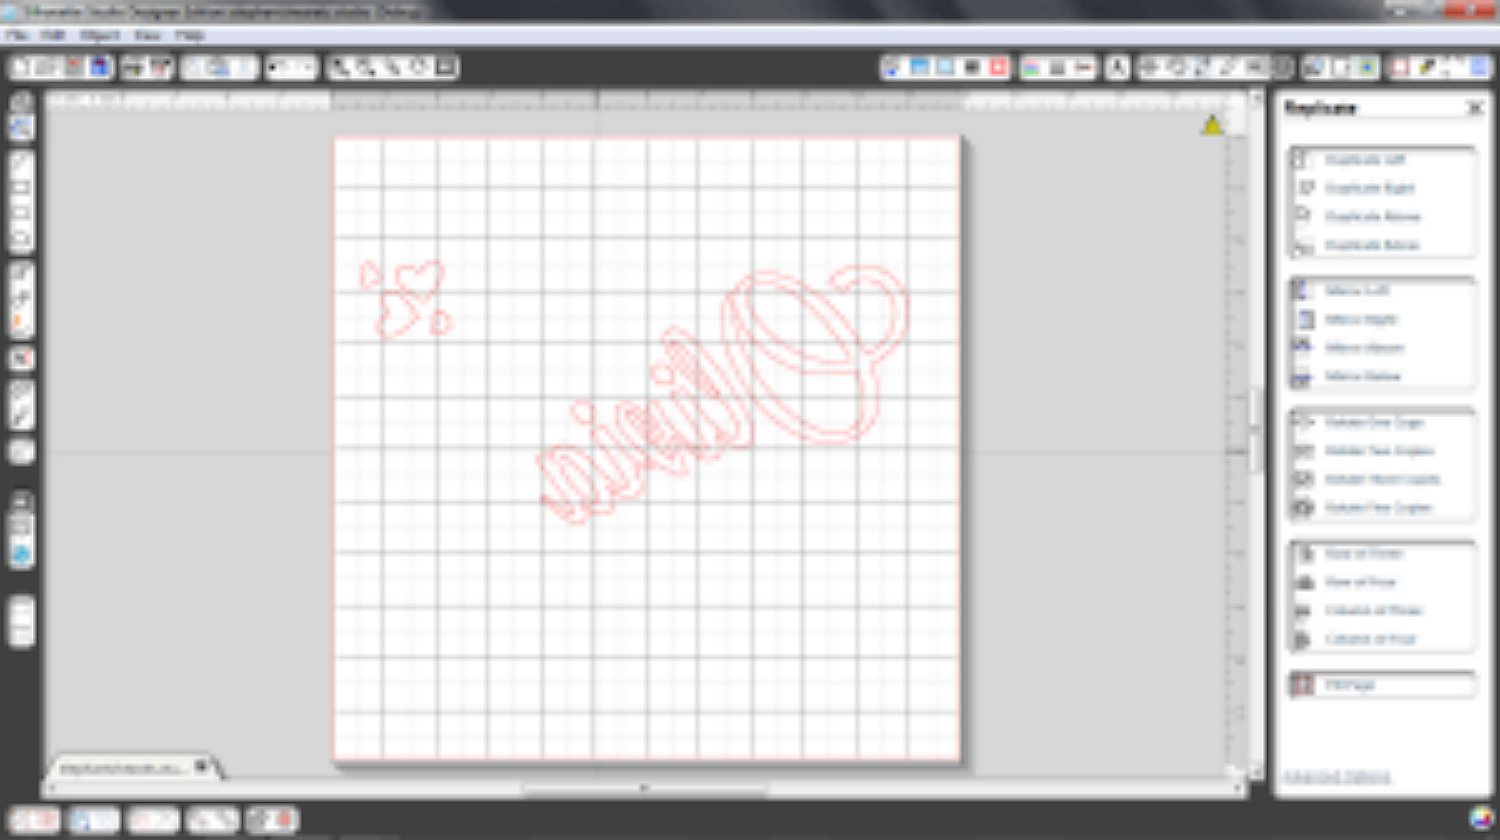
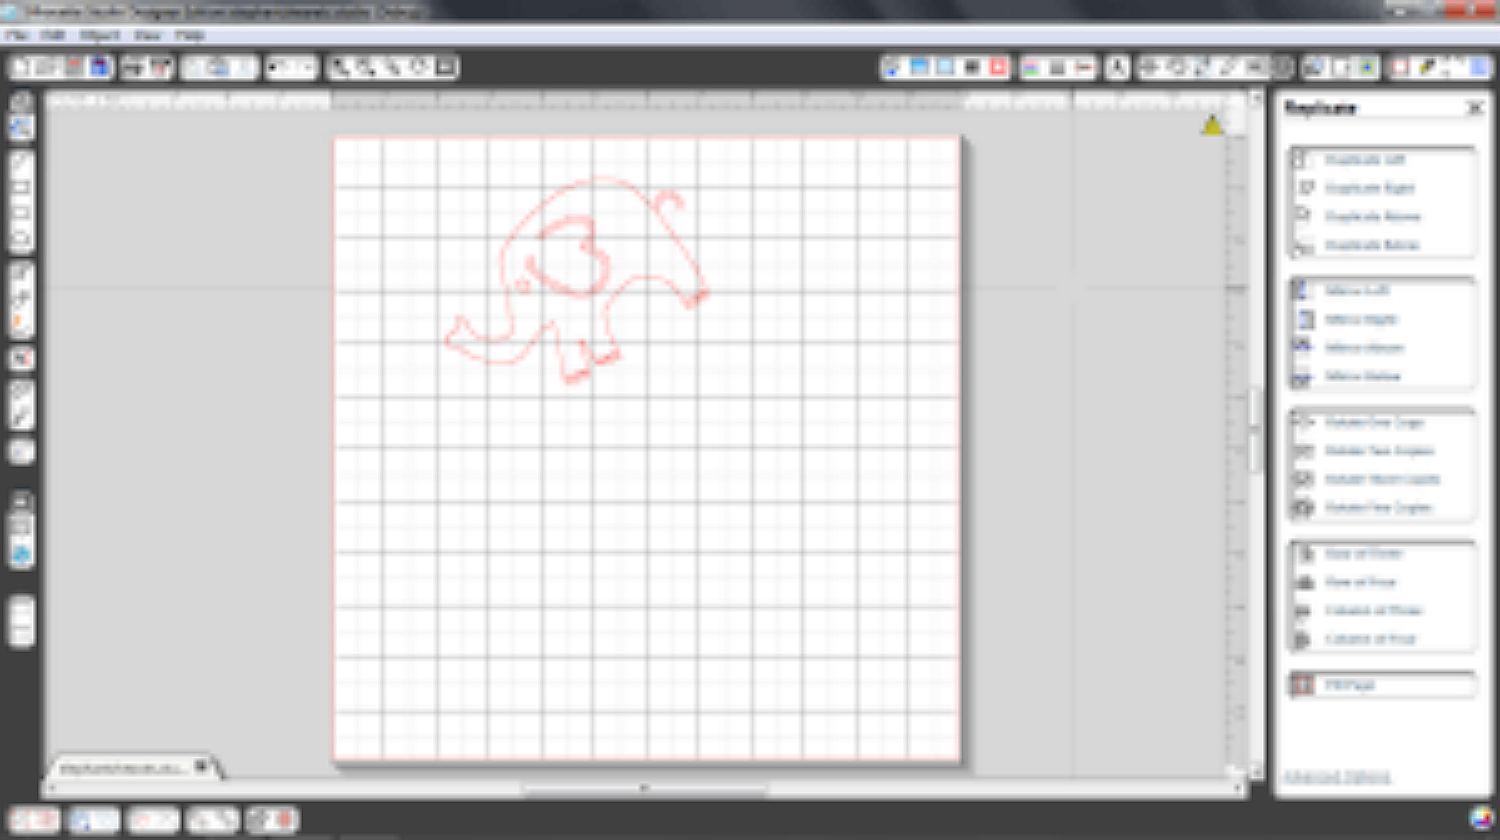
Because it is heat transfer vinyl, we needed to flip the image. Heat transfer vinyl needs to be cut differently than normal vinyl because it needs to be cut from the back side instead of the top side. So we mirrored the image.
We wanted the elephant and the hearts to be one color (Pink Stripflock heat transfer vinyl) and her name to be another color (Purple Glitter heat transfer vinyl). So we separated the two and cut them individually.
Then we applied them. We used 320*F heat for about 15 seconds. We used a heat press and were able to do it all in one press.
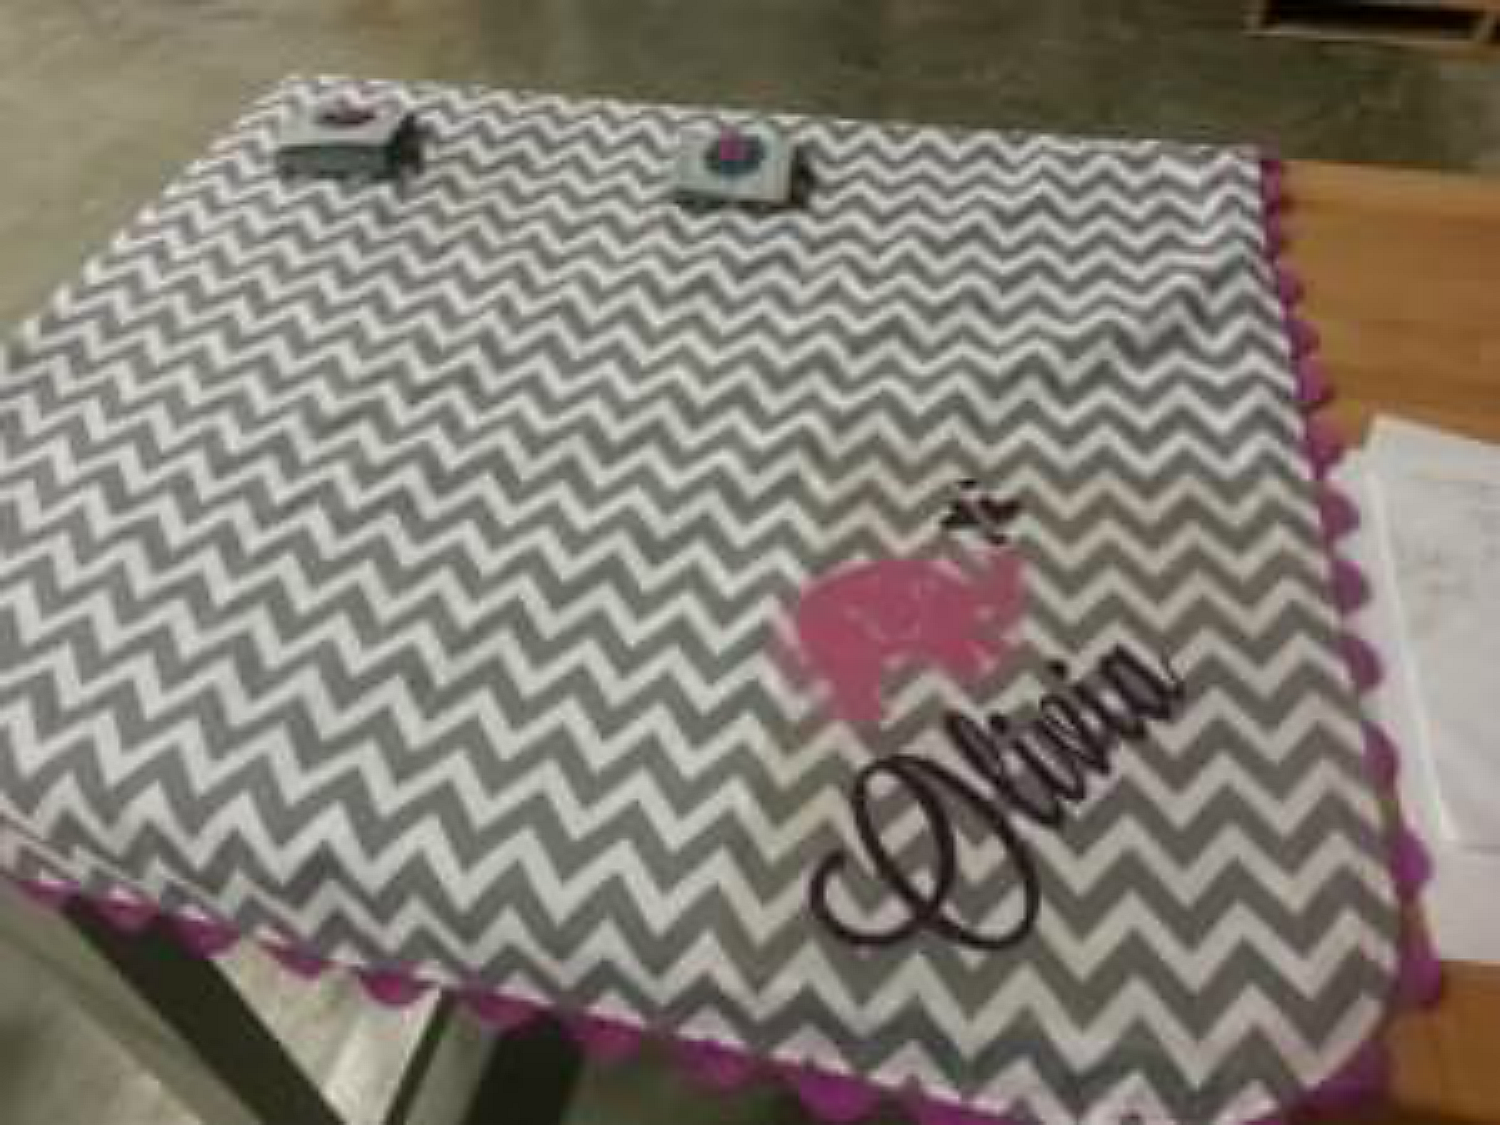
I think it turned out great and Olivia's parents loved it!
Recent Posts
-
NEW Holographic Eclipse Heat Transfer Vinyl
April 15th, 2024 3 Ways to Use the New Holographic Eclipse Heat Transfer Vinyl from Siser …Apr 29th 2024 -
Hop into Spring with Cute Easter Vinyl Crafts
Do you love our Vinyl? Sign up for Vinyl Club today to get FREE vinyl and save big! …Mar 28th 2024 -

Fixing Wrinkles and Bubbles in Vinyl
How do you get air bubbles out of vinyl? There are a few different ways to ensure a flawless …Mar 26th 2024