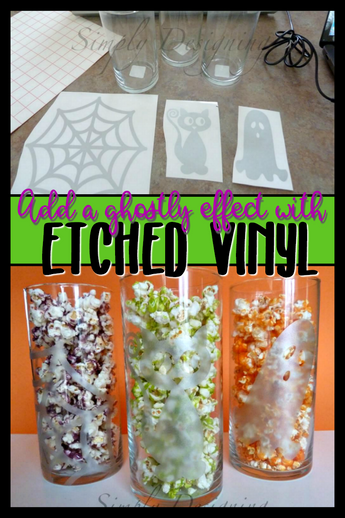
Etched Glass Halloween Jars
Hi! It's Ashley from Simply Designing! I always love to try out new products and I have been antsy for a while to try out Expressions Vinyl's new Etch Glass Vinyl! And in the spirit of the upcoming holiday, Halloween...I knew just what I wanted to create! Some sure cute etched glass candy jars! (because really, who doesn't love candy!?)
These are very easy to create and didn't take much time either! They were also inexpensive!
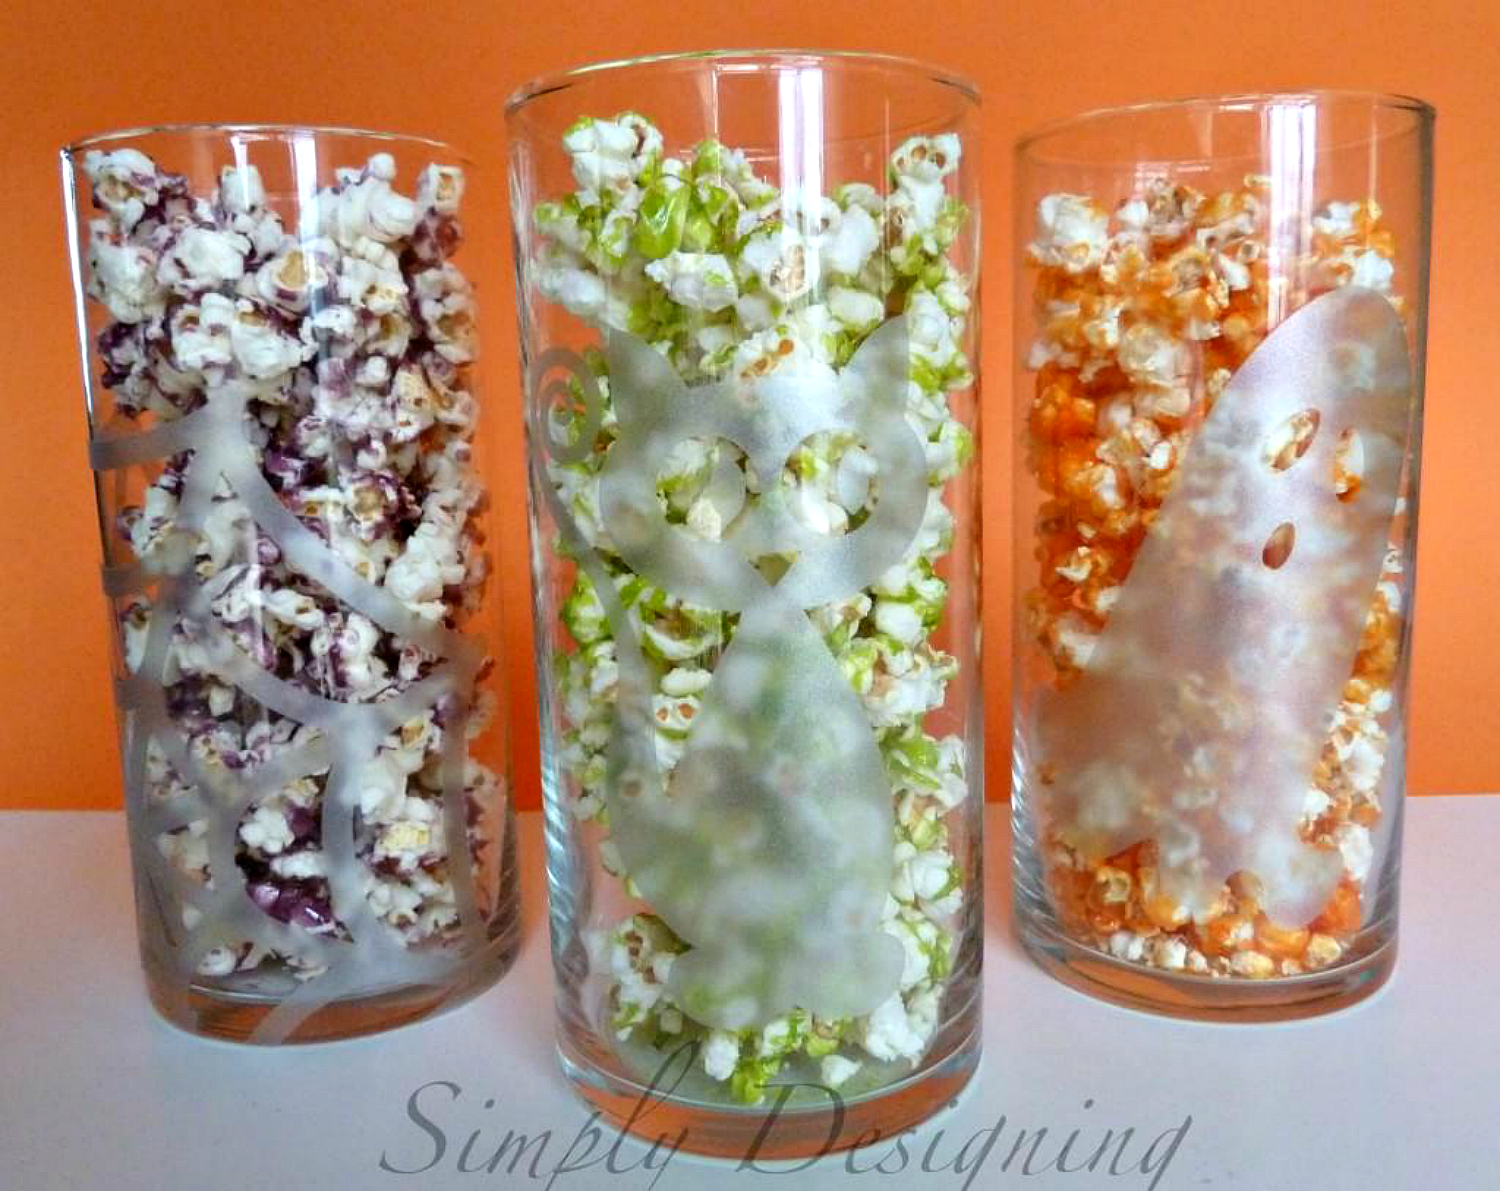
Supplies:
- (3) glass vases (mine are from the dollar store)
- Etch Glass Vinyl, Silver
- Transfer Tape
- Vinyl cutting machine (Silhouette Cameo is my machine of choice!) or scissors
- Scissors
Directions:
1. Select the designs you want on your glass jars. If you have a vinyl cutting machine like the Silhouette, I find it easiest to select from images already pre-made from an online store. I got all three of my images from the Silhouette store.
2. Insert all images into your design / layout area and modify each image to the finished size. If you need to, you can click, and grab on an edit point to make the image taller / shorter or thinner / wider in order to accommodate the size and shape of your glass jar.
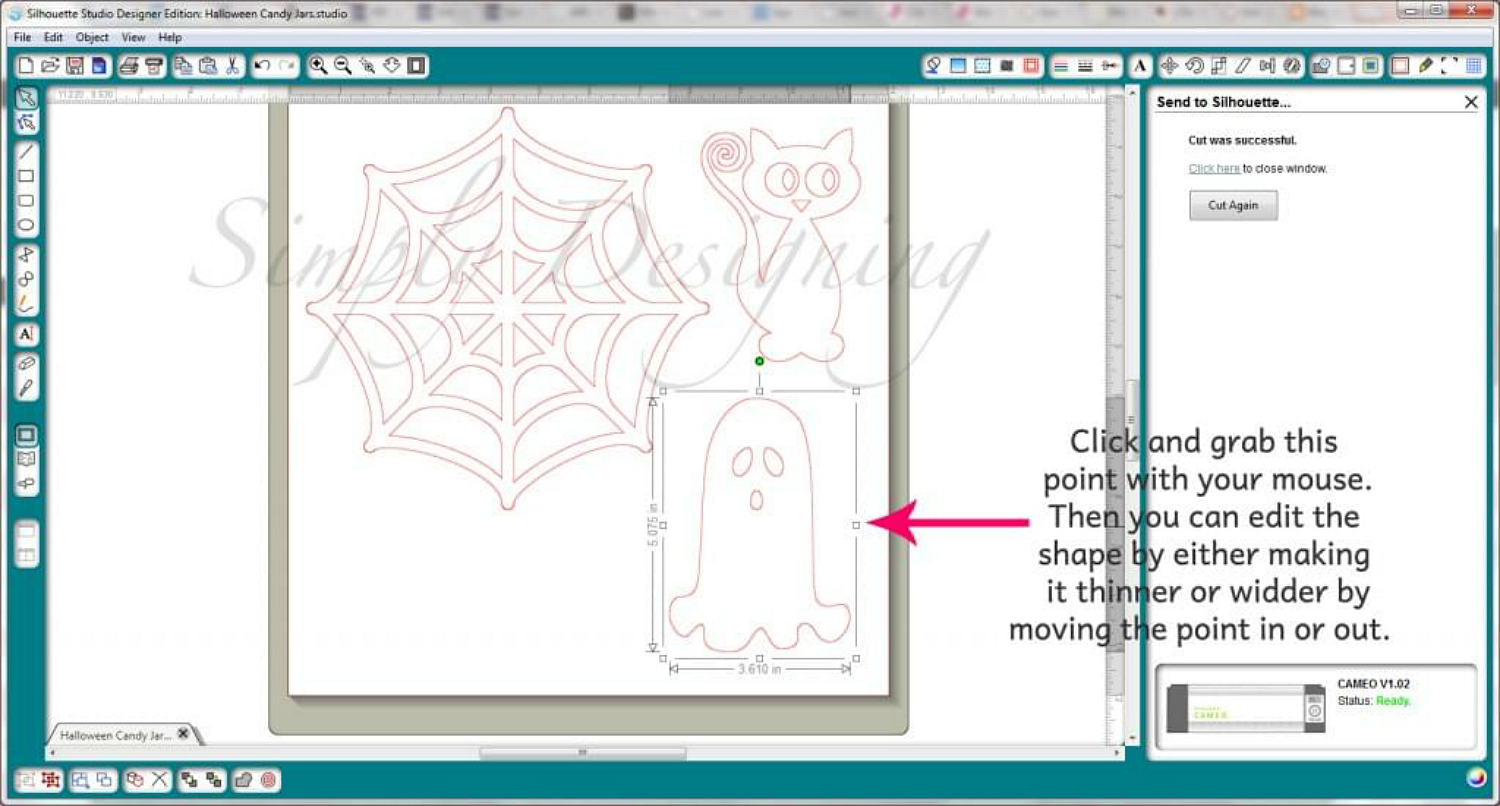
3. I like to fit the images in as tightly as possible so I have as little wasted vinyl as possible. But remember you will need room to cut around each shape, so allow a bit of extra room.
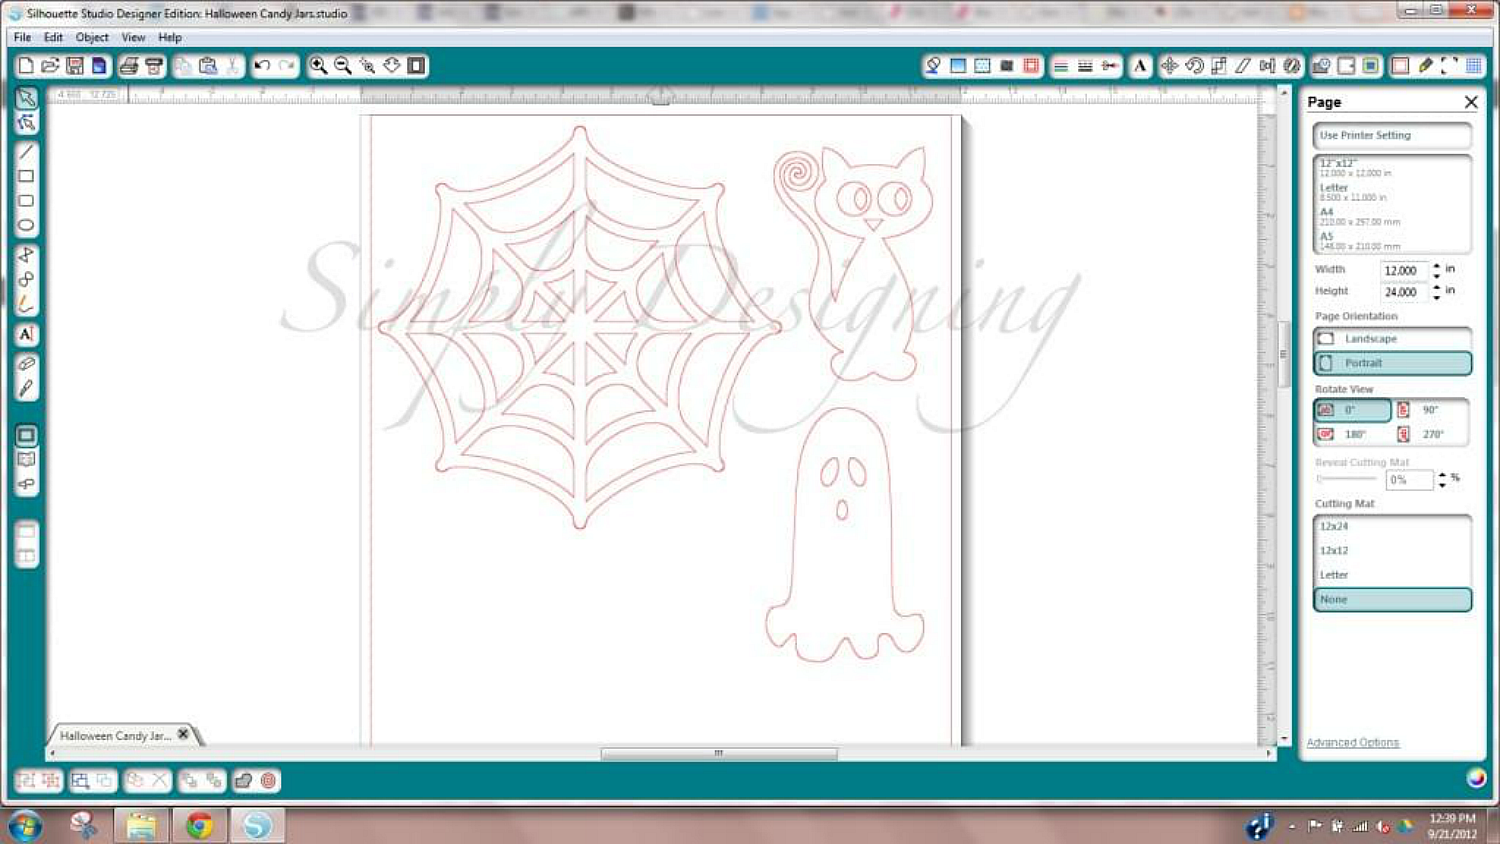
4. Cut your images out of the Etched Glass vinyl and cut the designs apart.
5. Weed the extra vinyl off and apply transfer paper to the vinyl.
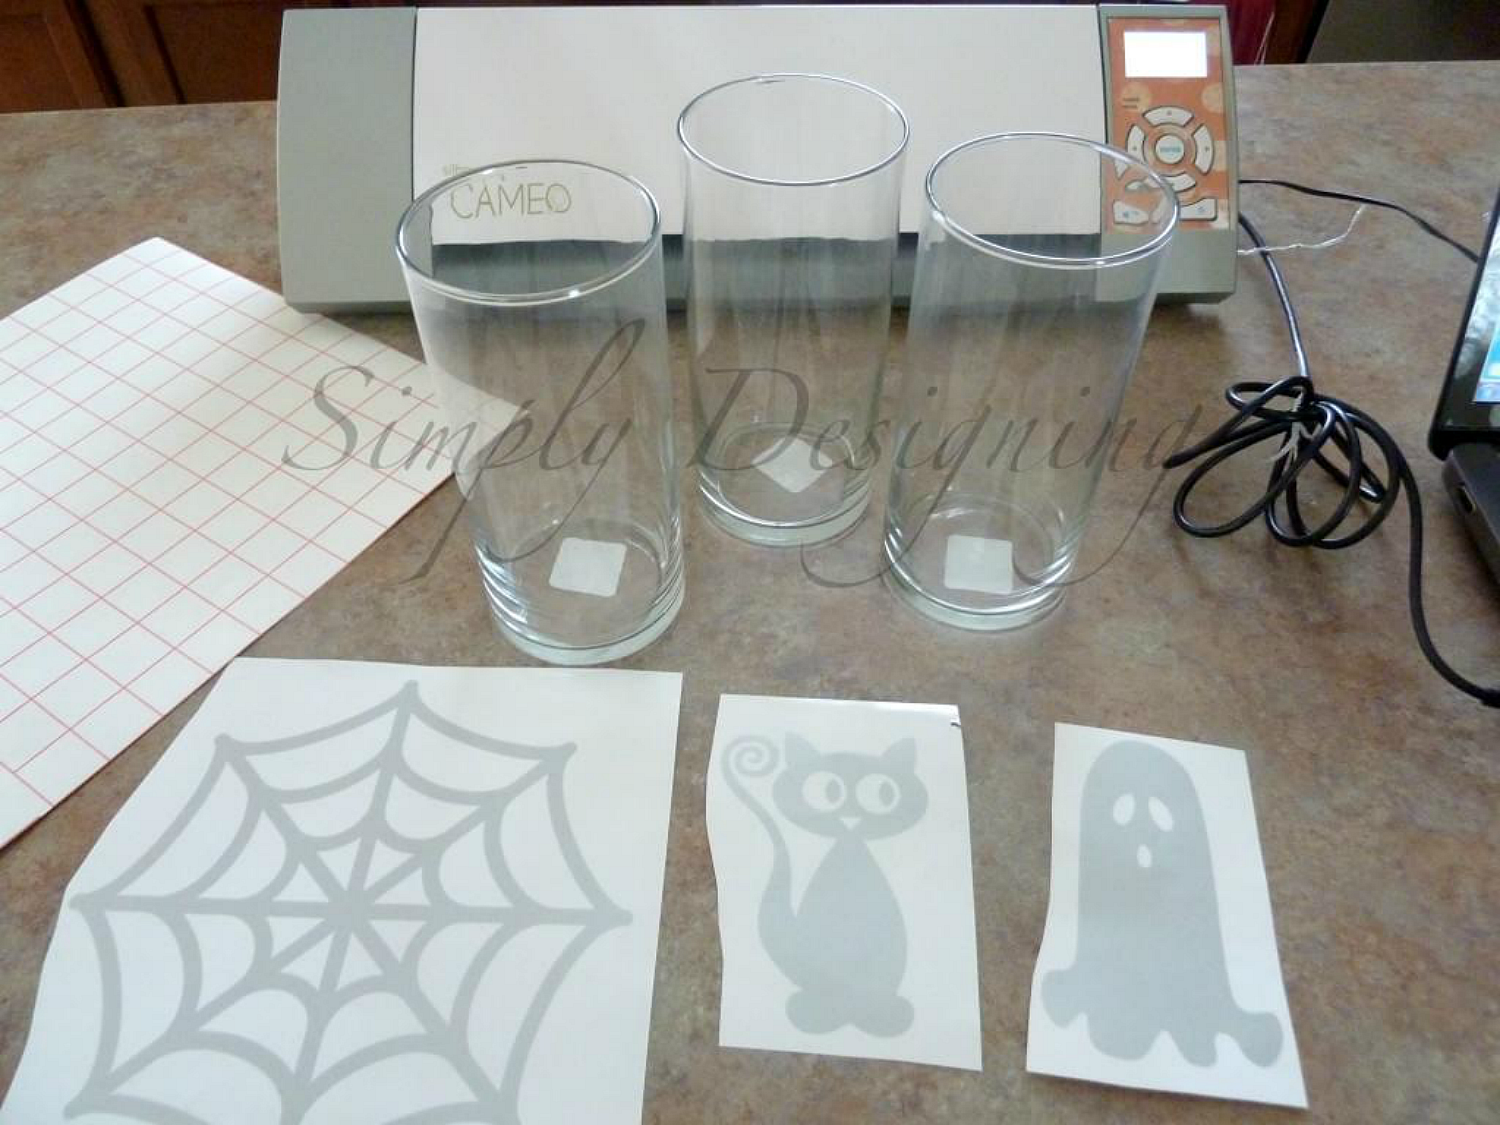
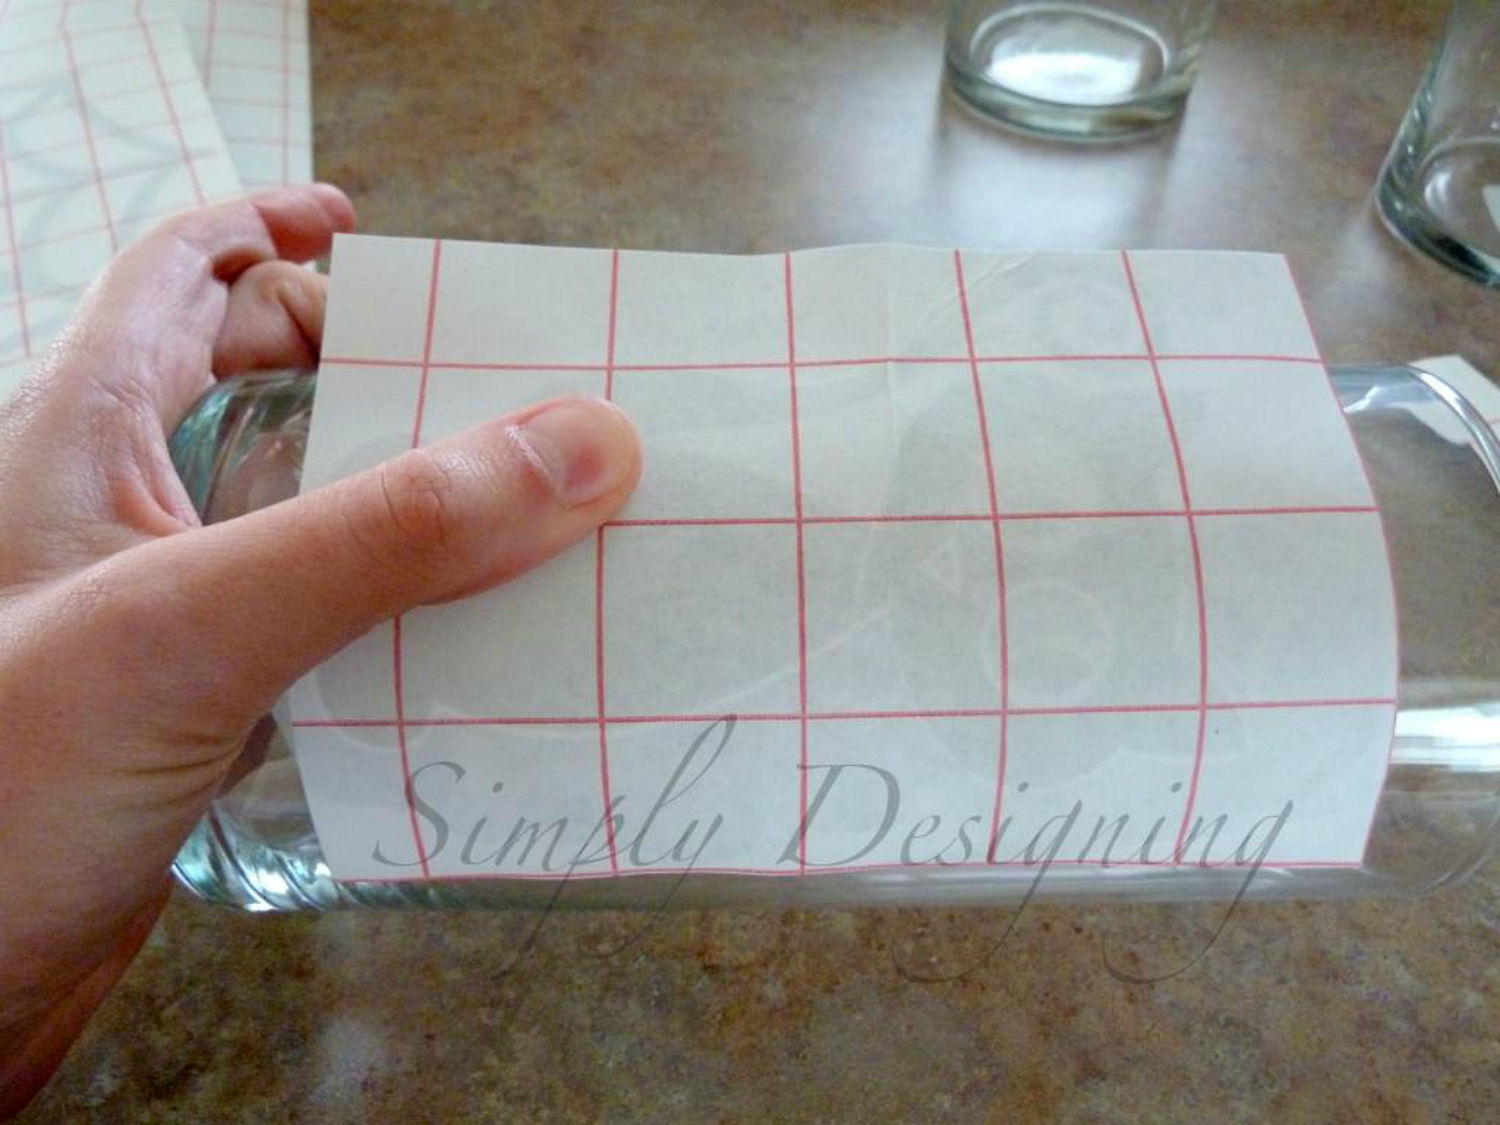
6. Carefully apply the vinyl to the glass jars.
7. *Note: Because you will be applying the vinyl to a rounded surface, I highly recommend taking this slow and steady! First line the vinyl up on the vase then press the vinyl down in the middle of the design first. Slowly working your way to the outside of the design from the middle, press your vinyl design down. Be sure the vinyl is all adhered to the glass vase before continuing.
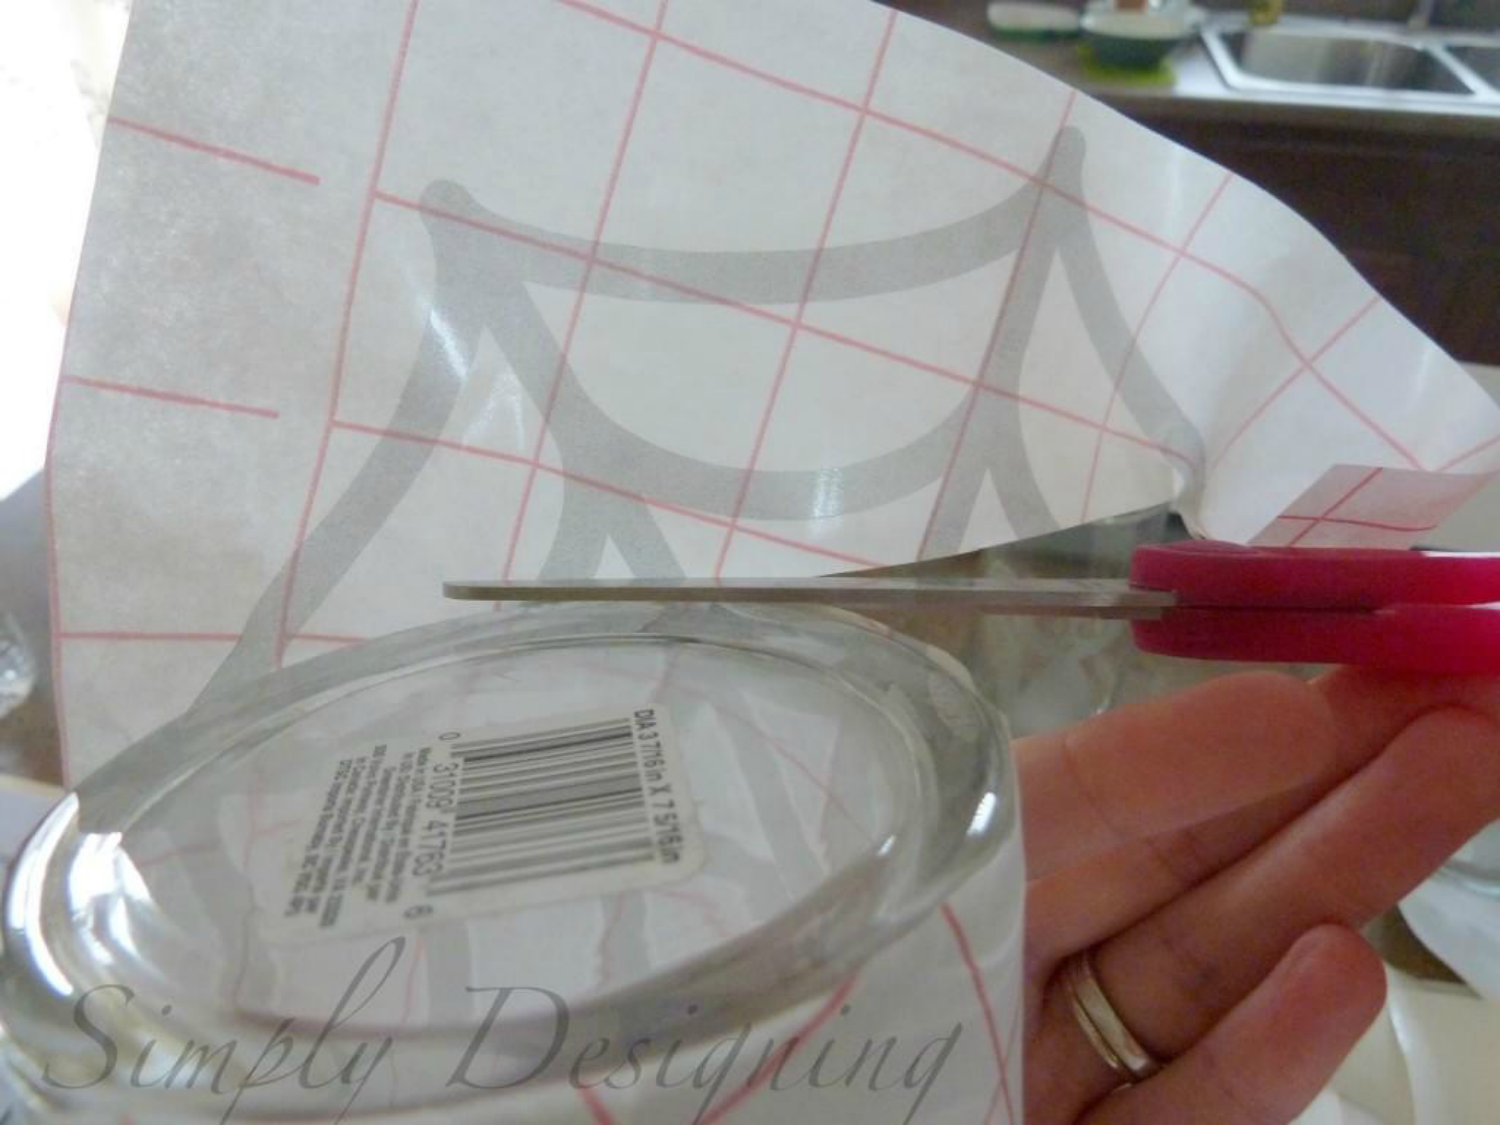
8. If you are letting a design "hang" off the edge of your glass like I did with my spider web, go ahead and, using scissors or an Exacto knife, cut the excess vinyl and transfer tape off at this point.
8. Carefully and slowly peel the transfer tape off of the glass, leaving the vinyl on the jar.
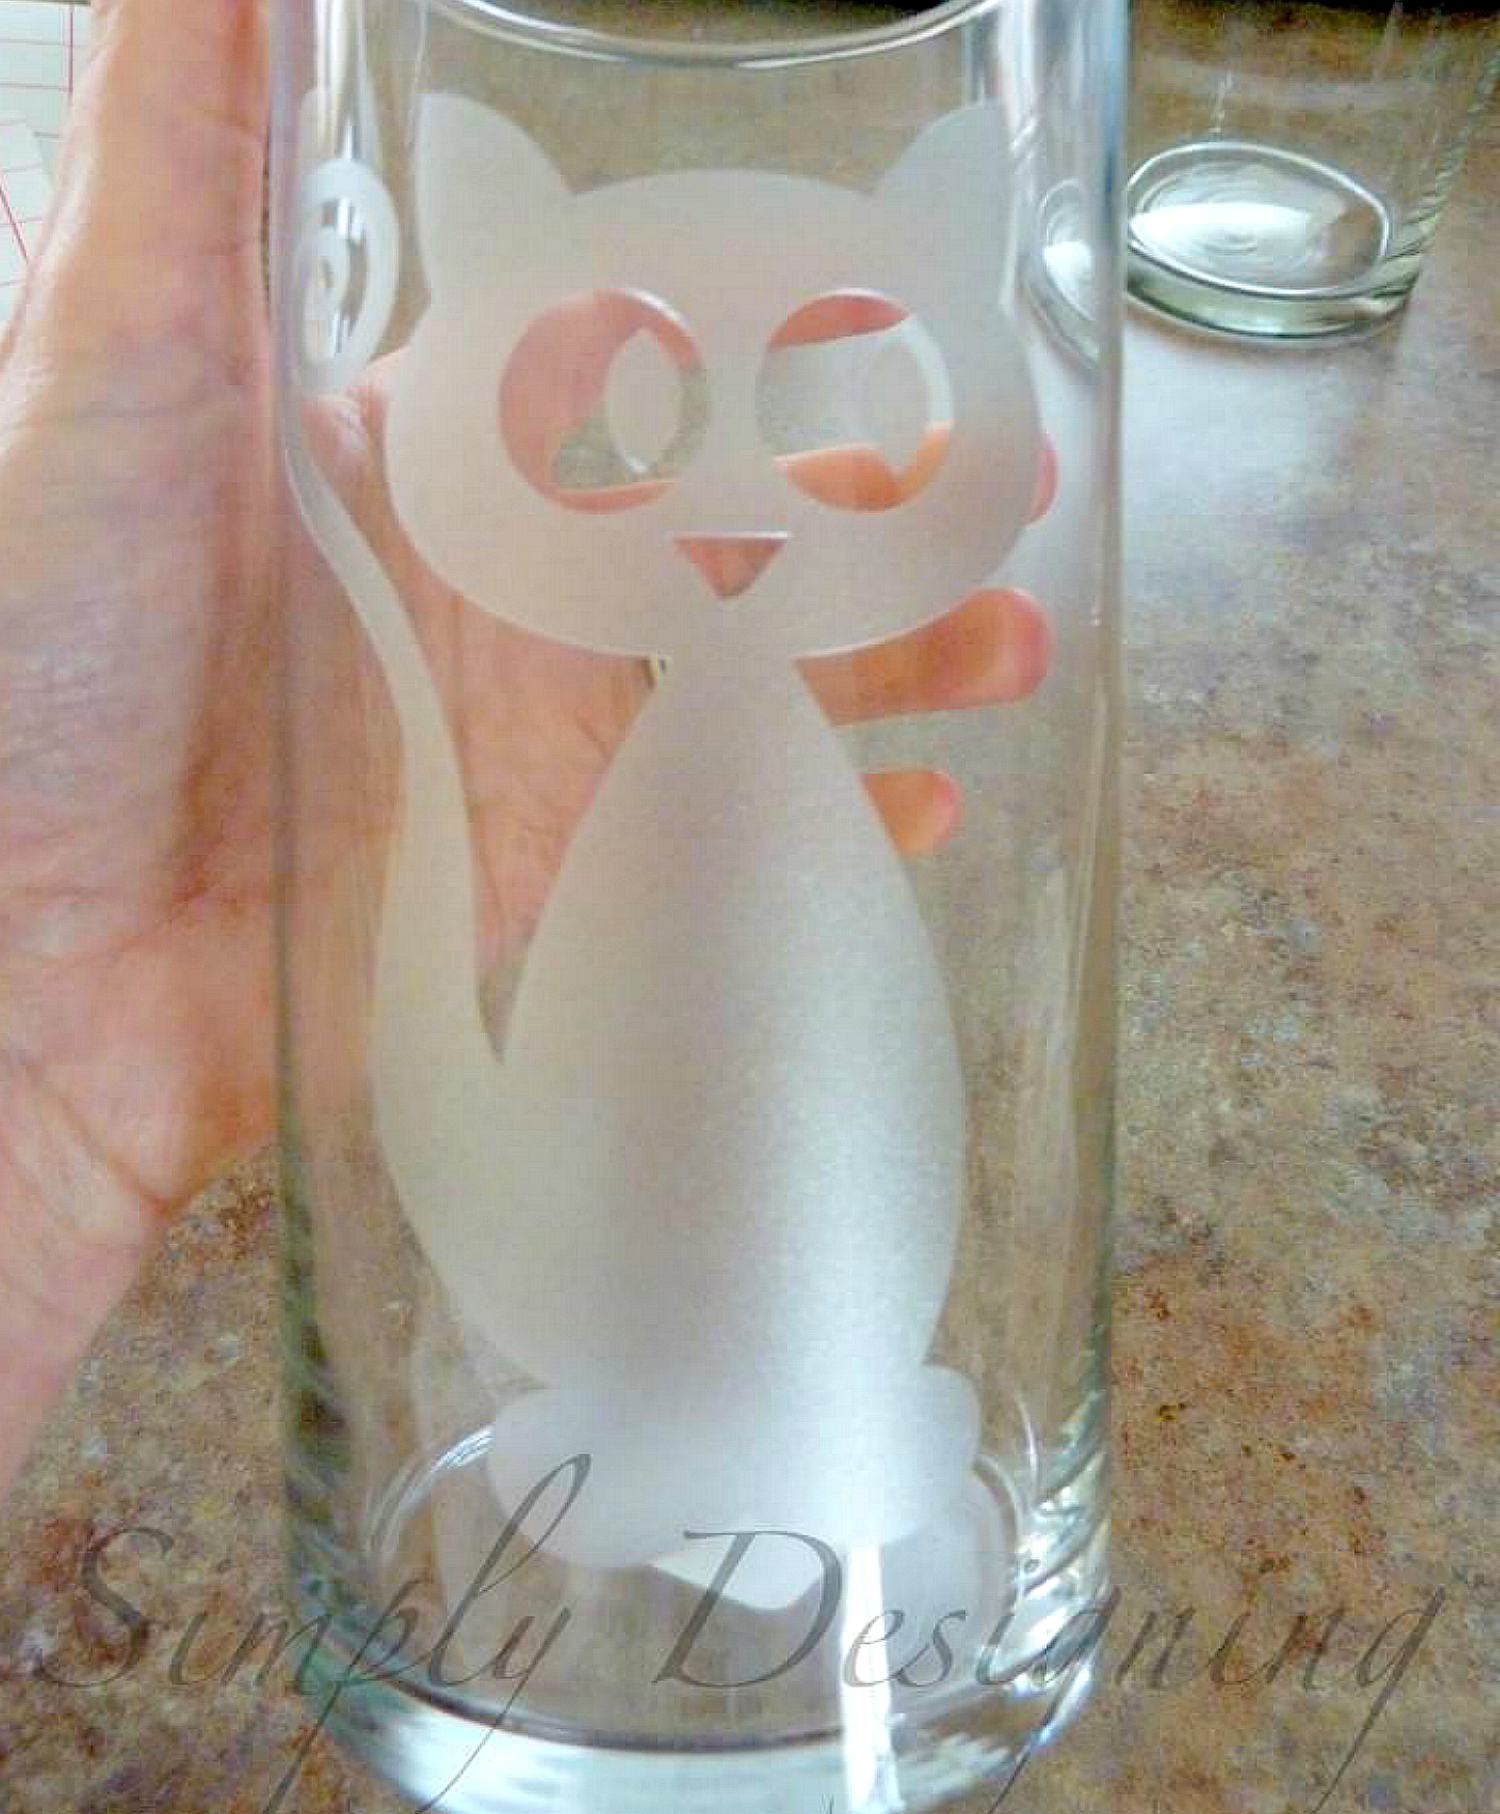
9. Fill with candy or other vase filler and ENJOY!
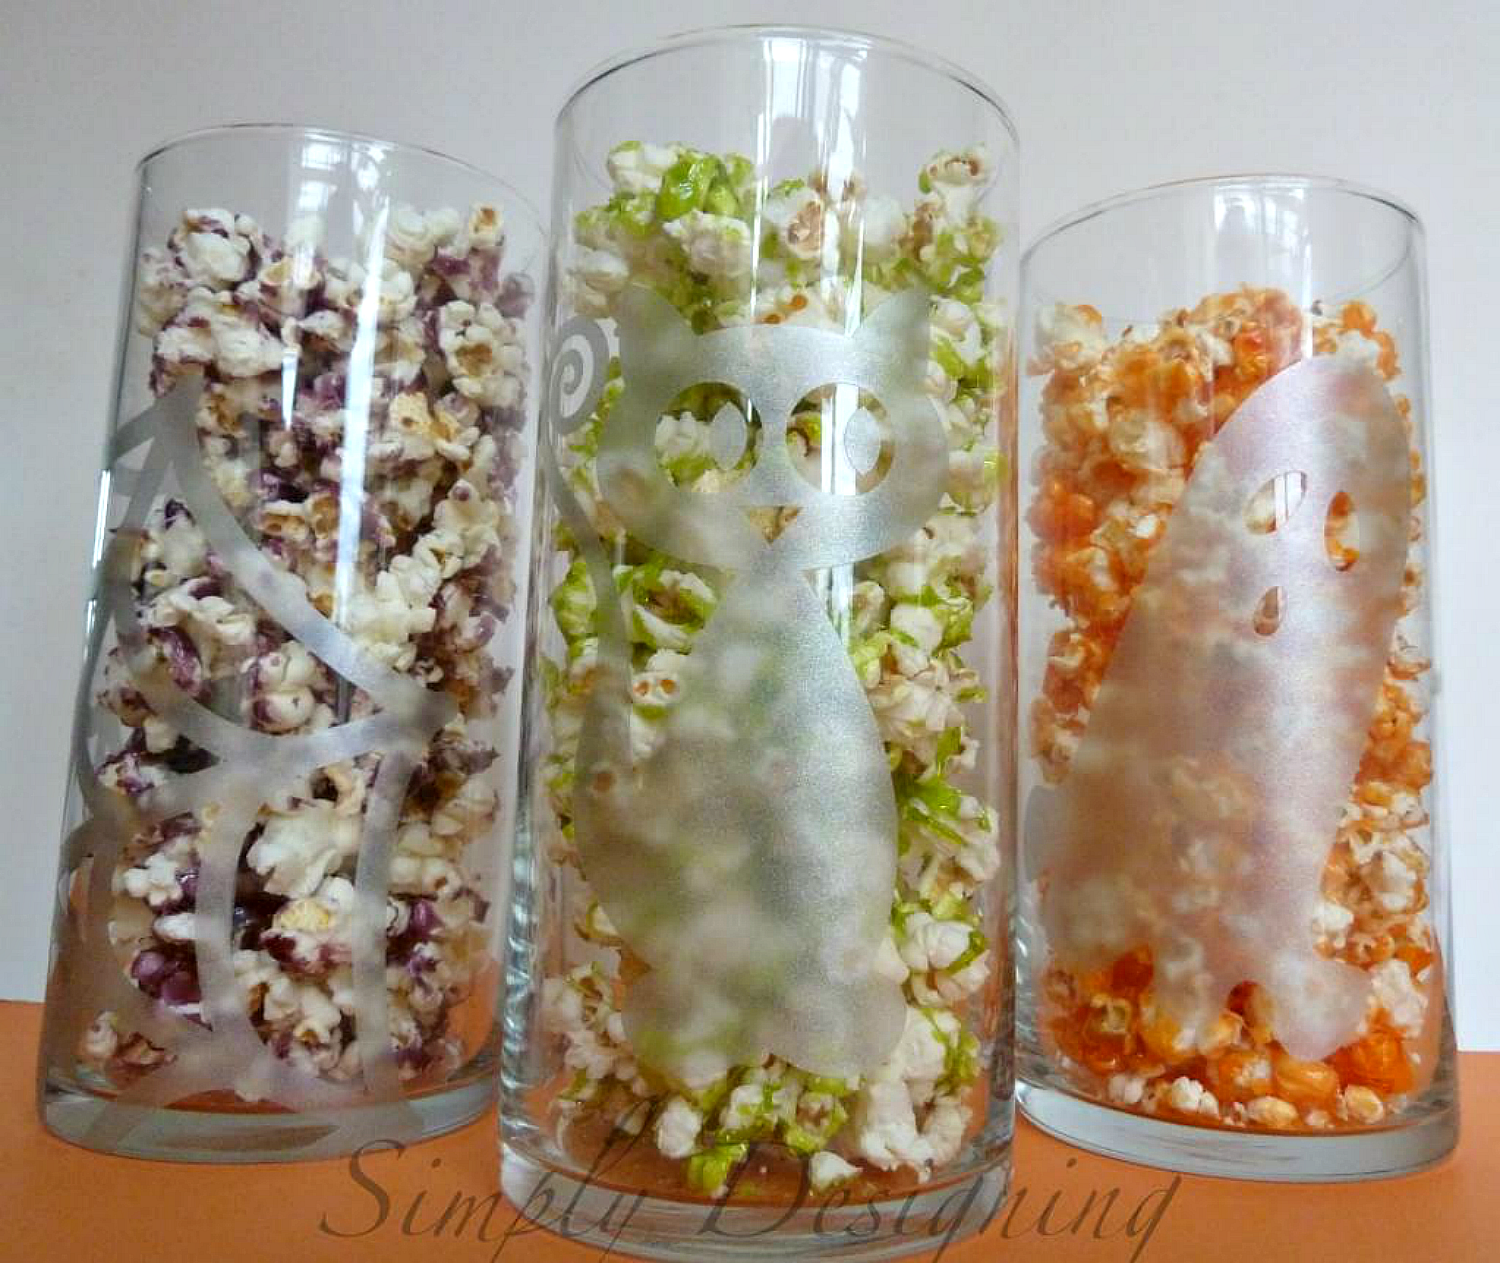
*Go HERE to see my recipe for Colored Candied Popcorn
Enjoy!
Recent Posts
-
NEW Holographic Eclipse Heat Transfer Vinyl
April 15th, 2024 3 Ways to Use the New Holographic Eclipse Heat Transfer Vinyl from Siser …Apr 29th 2024 -
Hop into Spring with Cute Easter Vinyl Crafts
Do you love our Vinyl? Sign up for Vinyl Club today to get FREE vinyl and save big! …Mar 28th 2024 -
Fixing Wrinkles and Bubbles in Vinyl
How do you get air bubbles out of vinyl? There are a few different ways to ensure a flawless …Mar 26th 2024

