
Father's Day Menu Sign
Father's Day is just around the corner! Are you ready to celebrate all the great Father's in your life?
It's Carrie with Designed to be Crafty back to give you ideas for how to create amazing chalkboard art without needing amazing artistic talent.
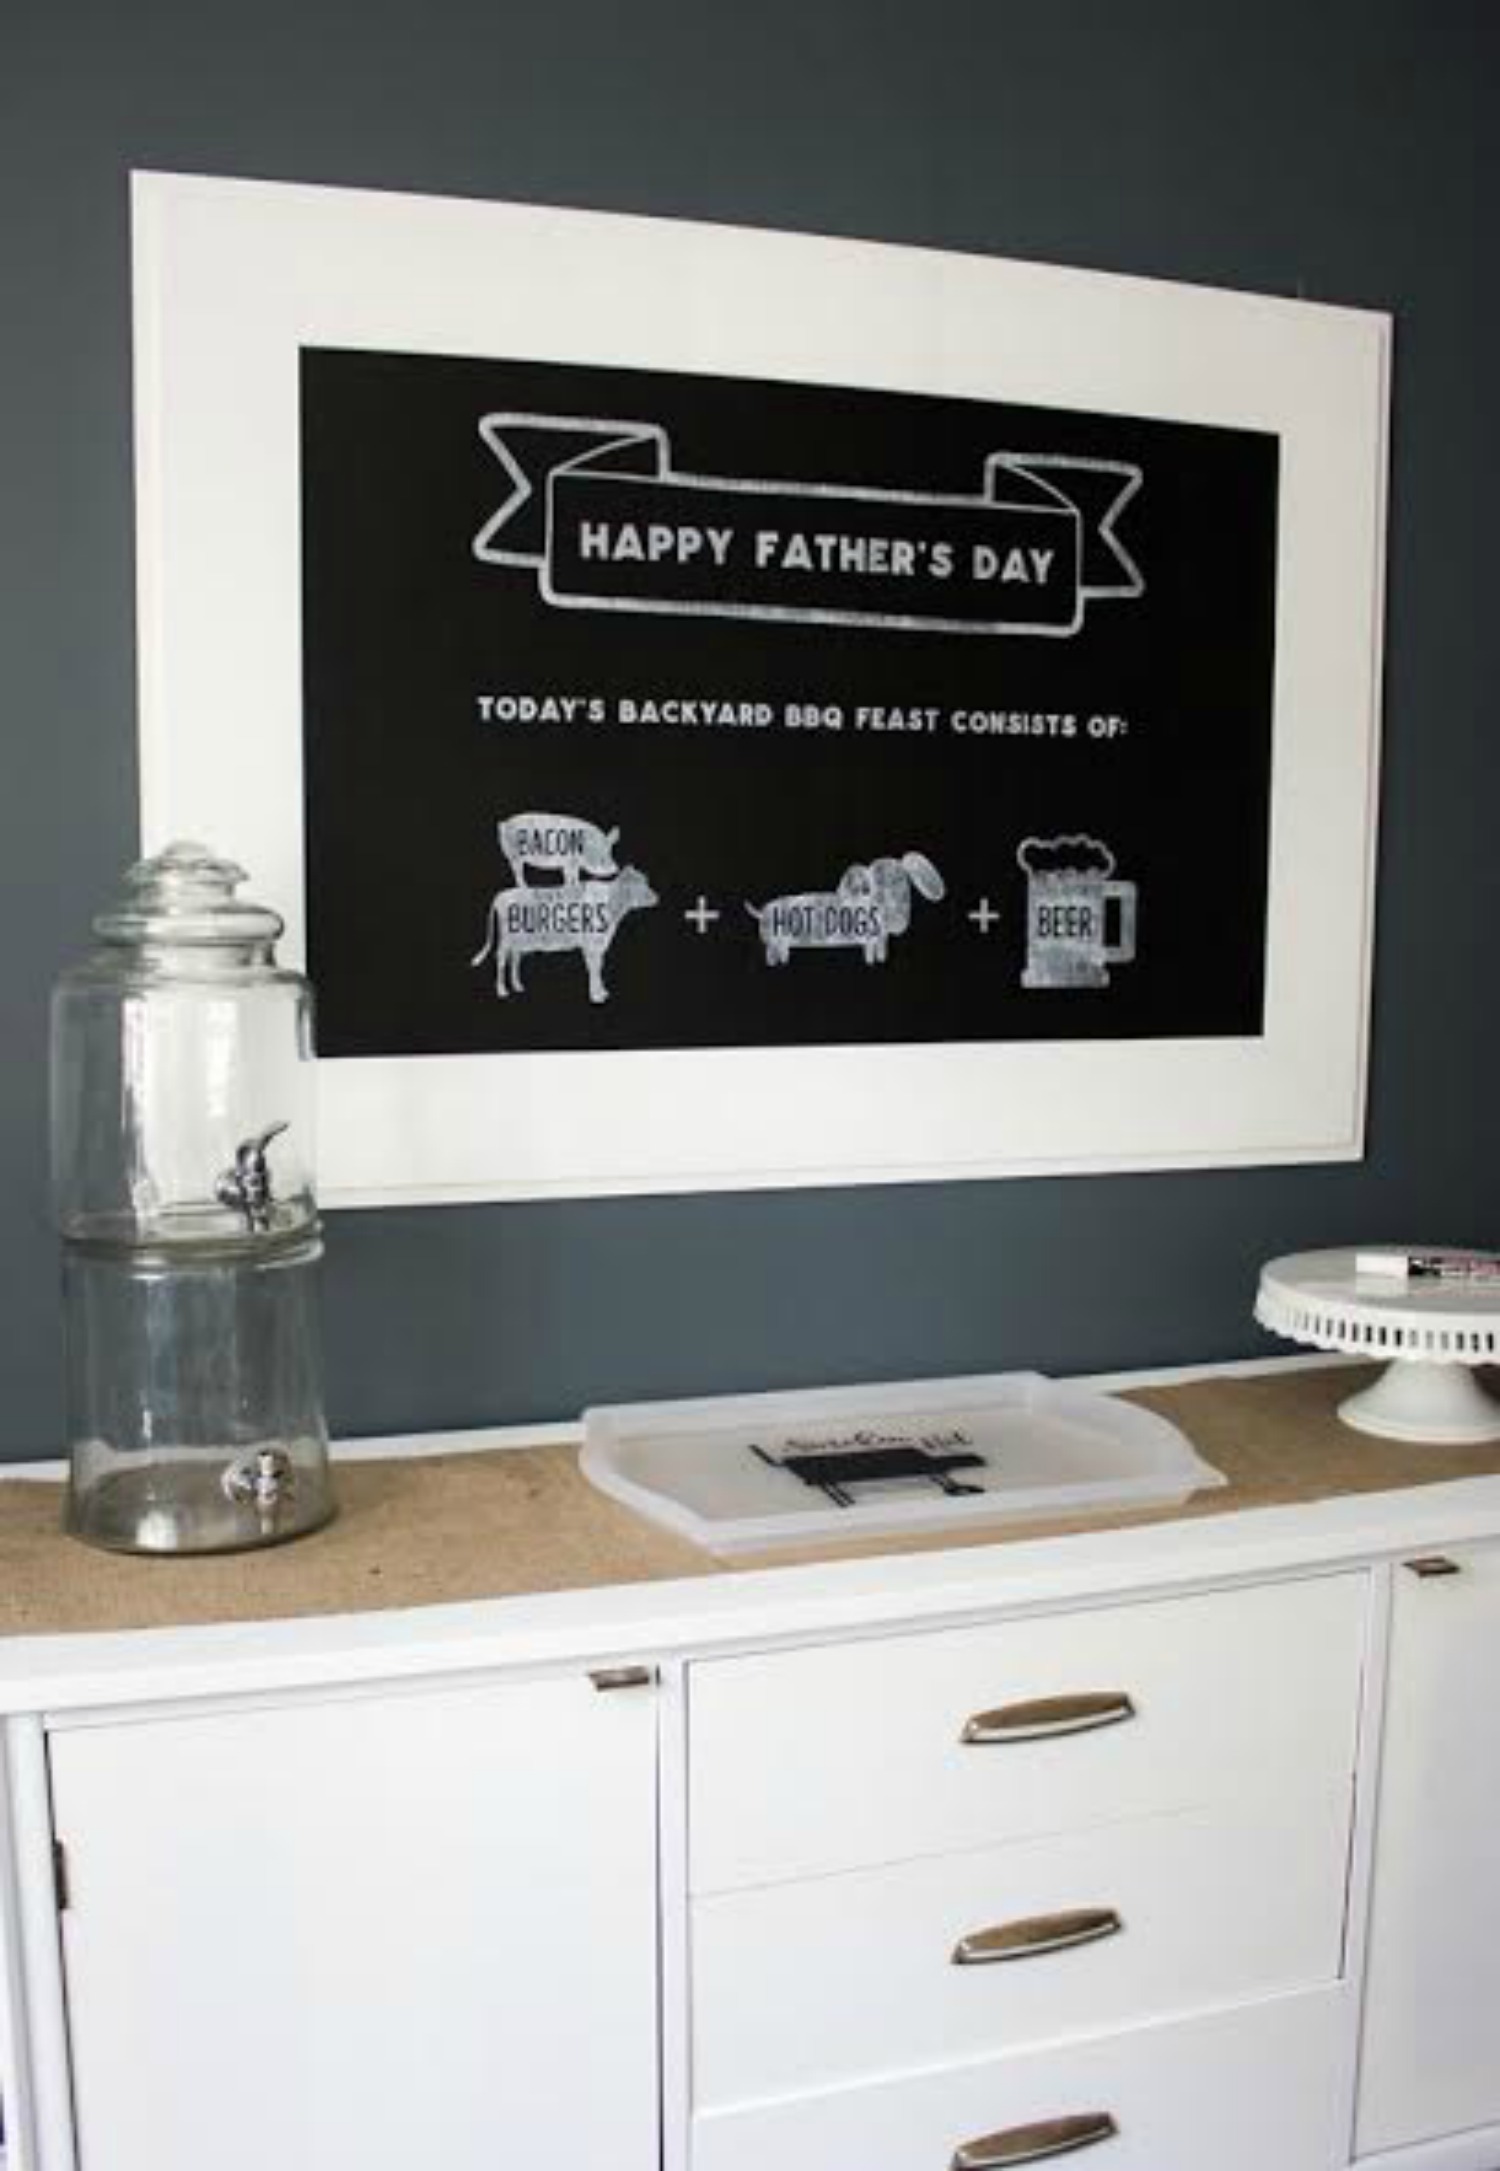
My husband likes to keep things simple and only requested a BBQ with our local family. Meat, beer, and a nice outdoor cookout, easy enough! I have been working on rearranging our dining room with a newly reworked mid century modern buffet I found on craiglist. My vision included a large chalkboard to go above that buffet so I can write fun messages on it for parties and various seasons.
The chalkboard frame is simply 2 long pieces of MDF shiplap that I found at Home Depot and my husband helped me cut it down and miter the corners. The chalkboard is plywood underlayment that we cut down to size and I painted with about 4 coats of chalkboard paint. Total cost was about $25 for a 48" wide x 36" tall chalkboard. BUT here's the problem with my plan...I can't hand draw or letter in a professional-presentable way. I'm crazy jealous of those who possess those artist skills. Trust me I've tried, not pretty! This is where my Silhouette CAMEO and removable vinyl come into play!! We crafty types use vinyl as a stencil for paint all the time so I figured I'll use my awesome chalk marker instead of paint!
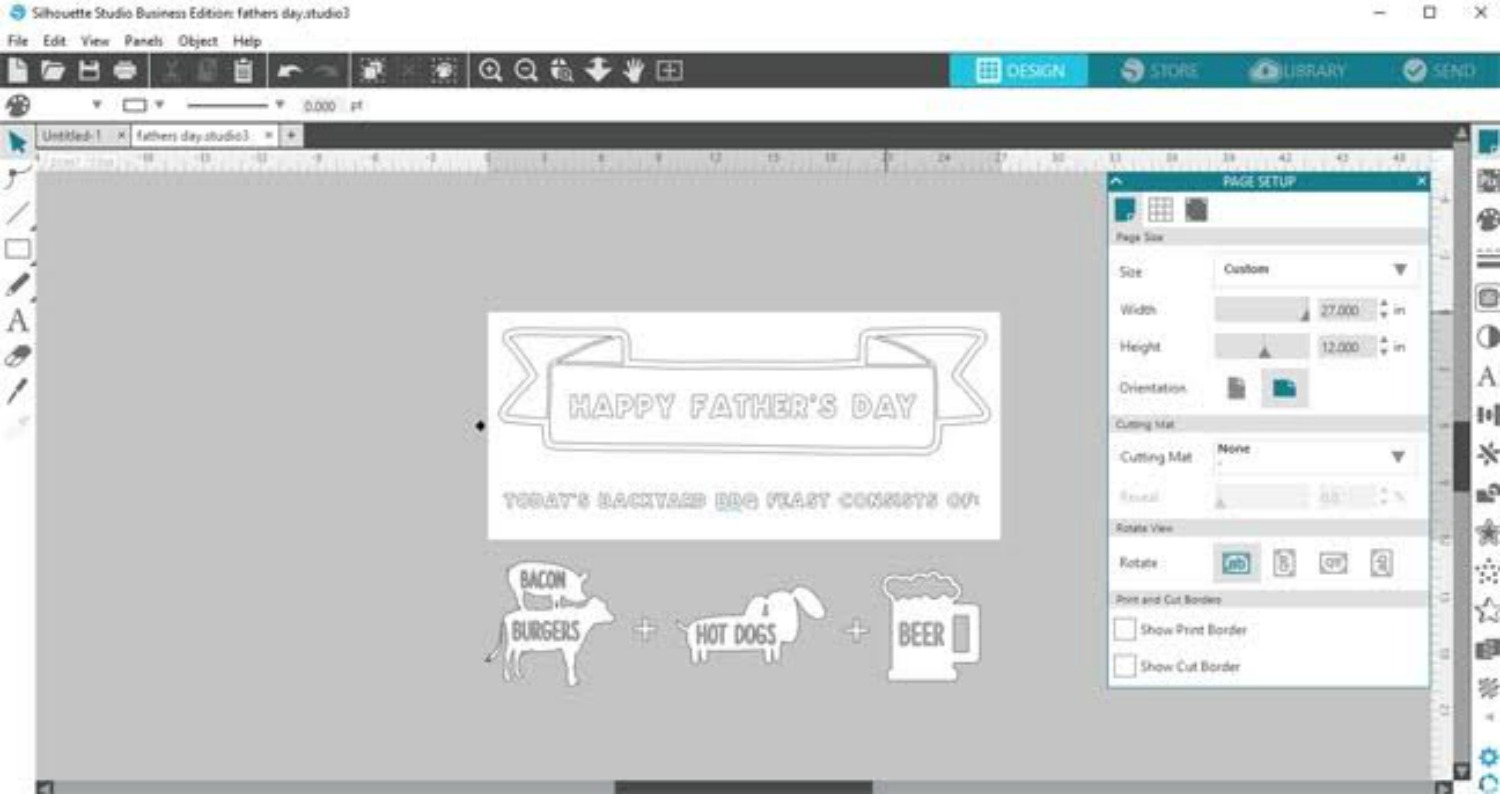
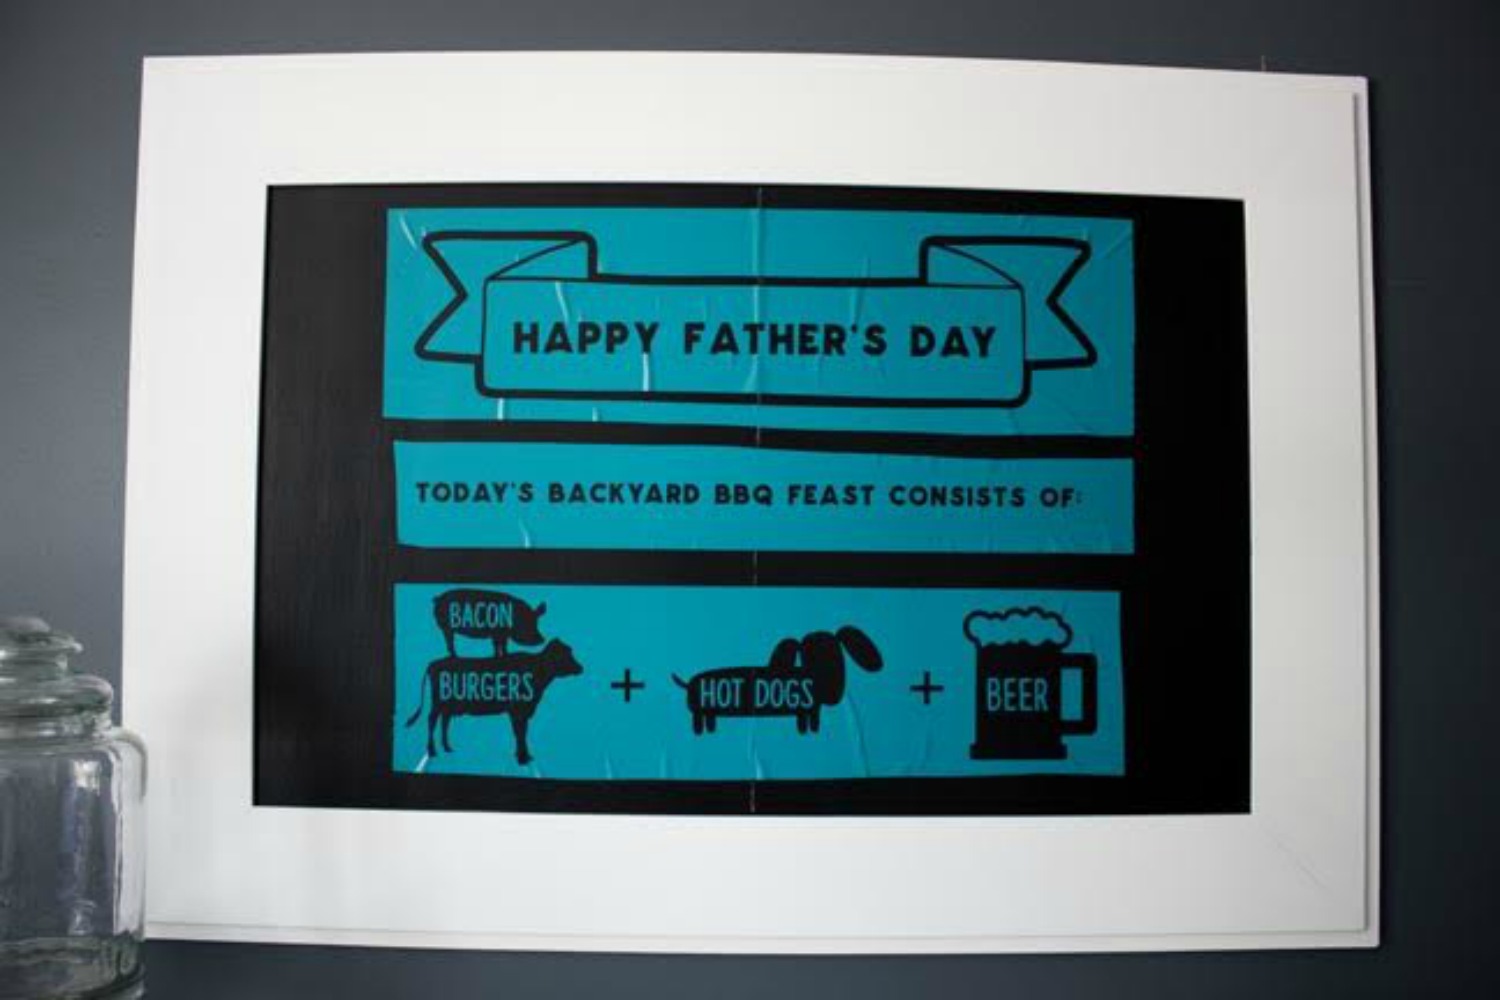
I thought it would be fun to create a manly menu for the event so I designed it up in Silhouette Studio using these files: Farmhouse Animals, Dogs, Barbecue 5, and Banner and a font called Spellbound for the words. To add words inside the animals simply type them in the center and once you love it, make the group a compound path.

I always design in full scale to make sure I have it sized properly. I even mock it up with the correct colors too. Next break it up into parts as needed so it fits the 12" width of the CAMEO. I chose to cut it as one long piece so I didn't have to worry about lining everything up correctly. I used a roll of removable indoor vinyl so it didn't grip the chalkboard surface too firmly and risk pulling the paint off. I recently upgraded to the new 4.0 version of Studio so the screen shots might be a bit different looking to you if you haven't made the switch yet. Just make sure you select 'no cutting mat' if you also need to cut a long piece of vinyl without a mat.
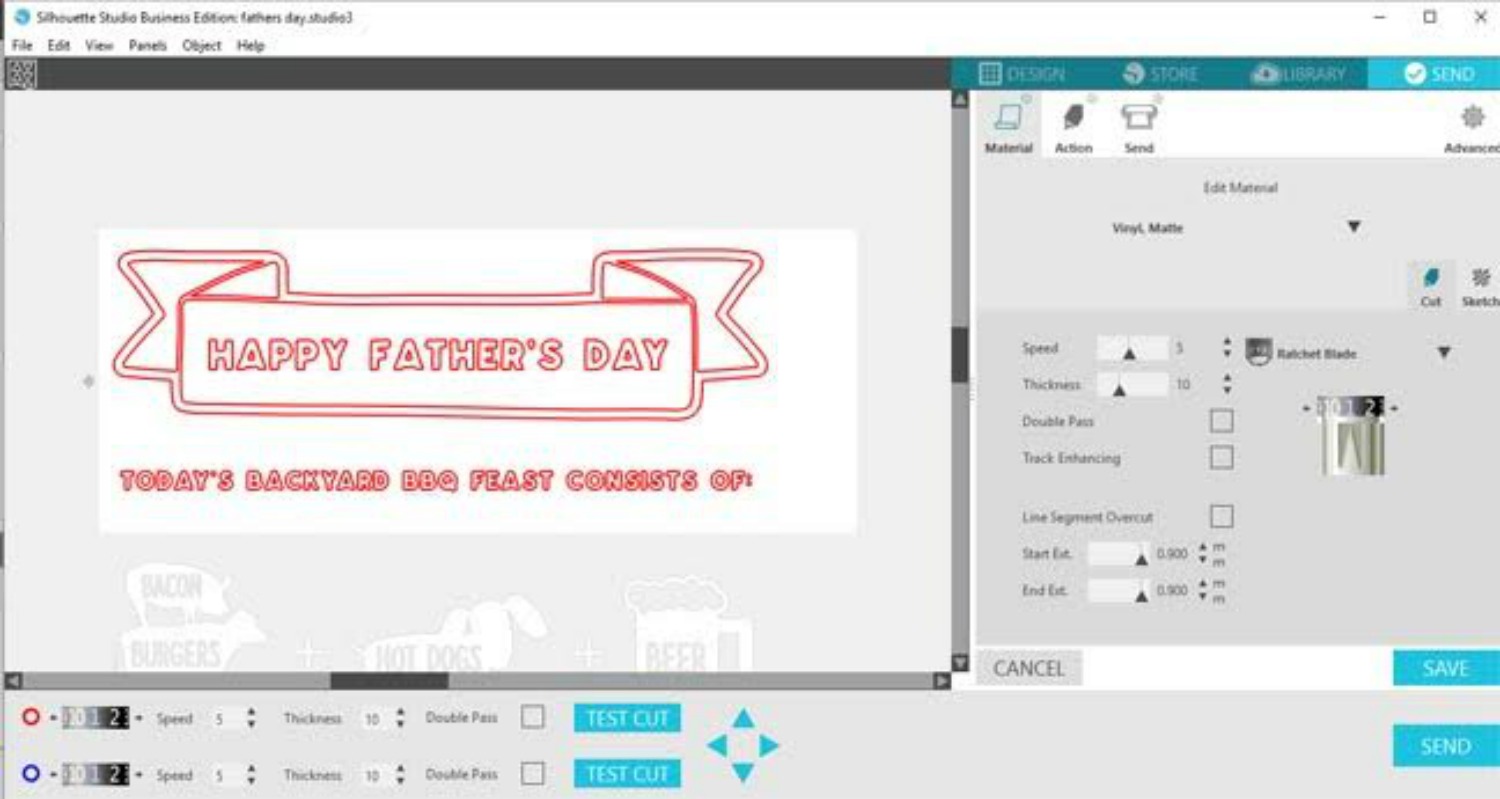
Send to cut. Make sure you do your test cut first before wasting almost an entire roll of vinyl!!
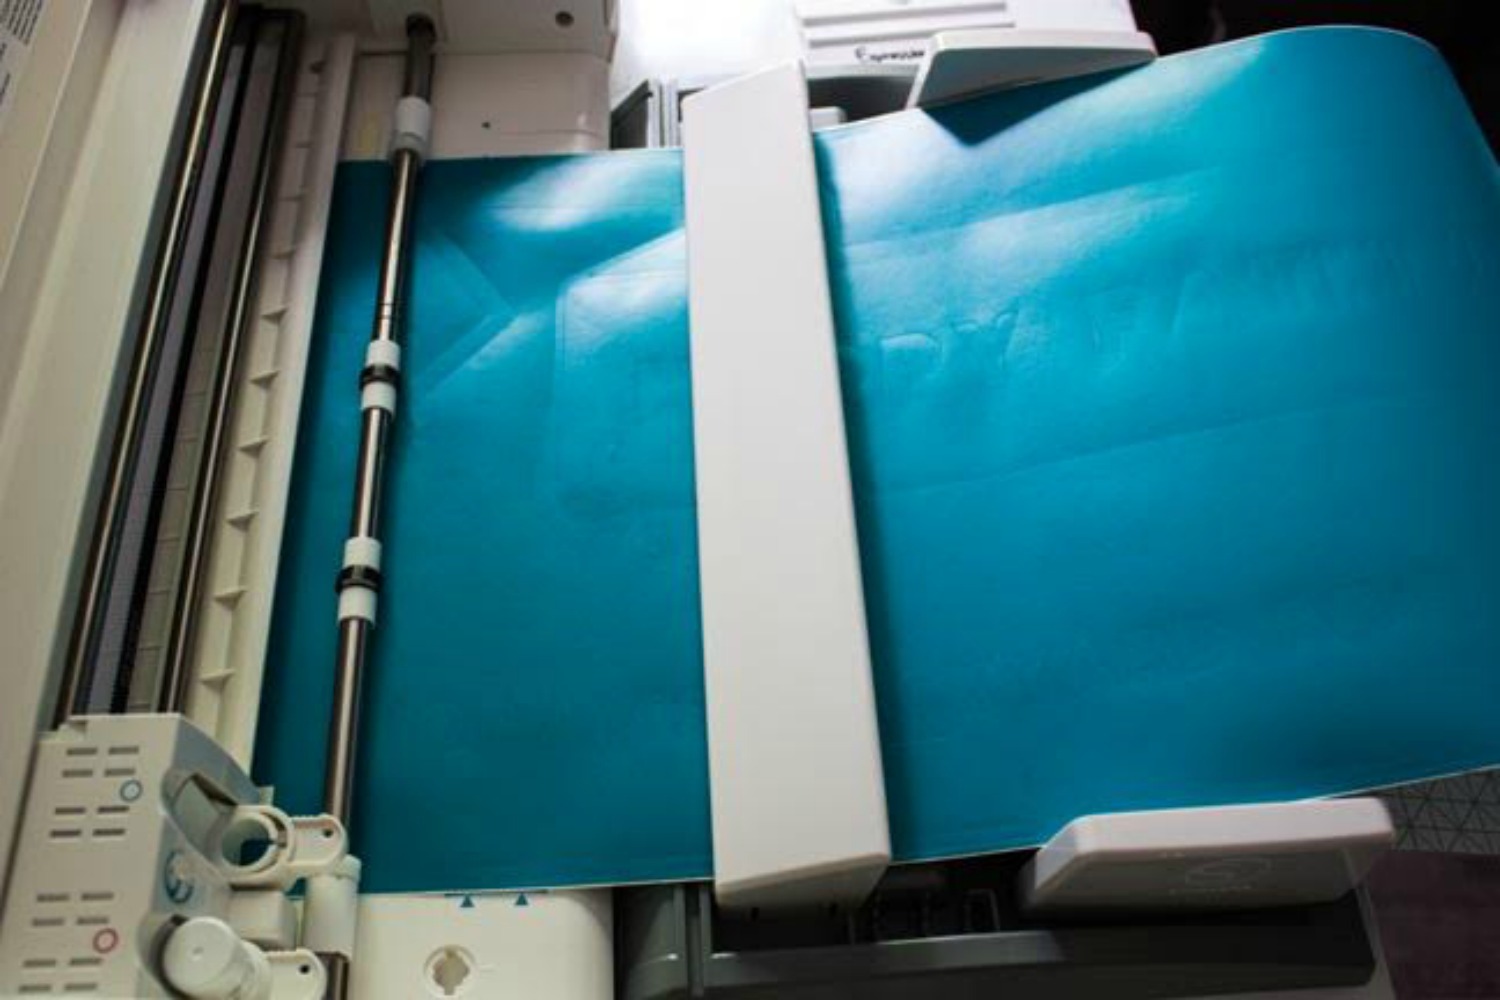
I also HIGHLY recommend using a roll feeder when working with big pieces of vinyl. It's one of my best purchases, before no matter how hard I tried it would always shift around on me.
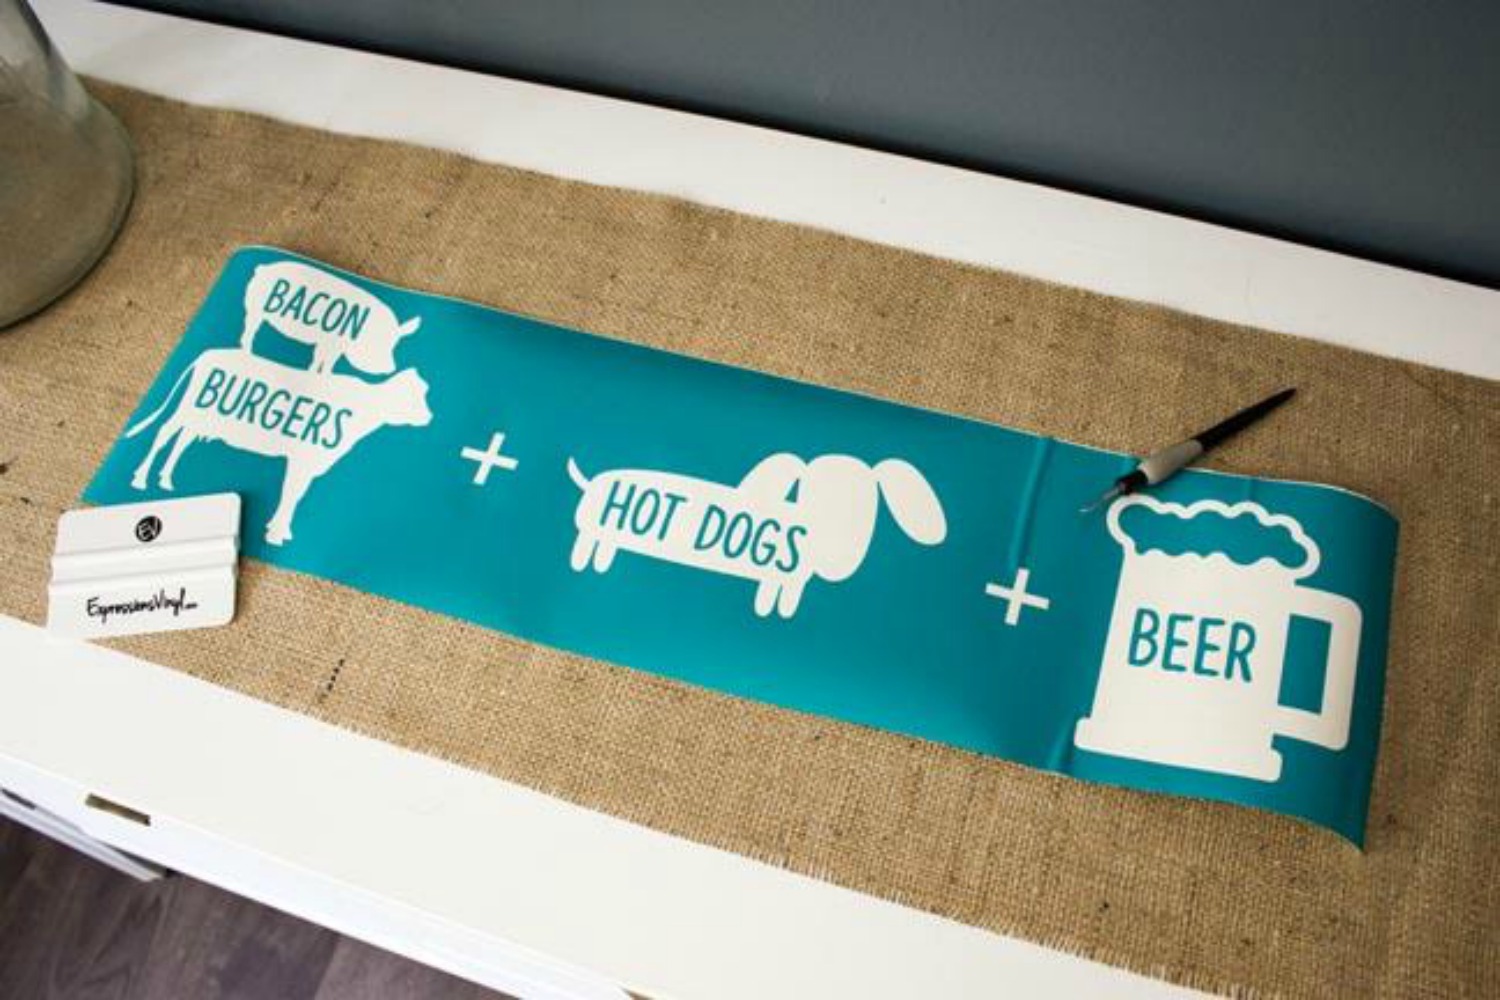
Once you have it all cut, reverse weed the design so you can fill in the shapes with the marker.
After that's complete apply your transfer tape and attach it to your chalkboard. Yes, I know how horrible and bubbly this is attached! I only cared about getting the areas I was going to fill in attached well since this was only staying on for about 30 minutes as a stencil. These were BIG pieces to work with! I drew a line going down the center of the board and folded the vinyl in half so I could easily center them right.
Now it's time for your arm workout! Get to work coloring in all of those large designs using your chalkboard marker (or chalk).
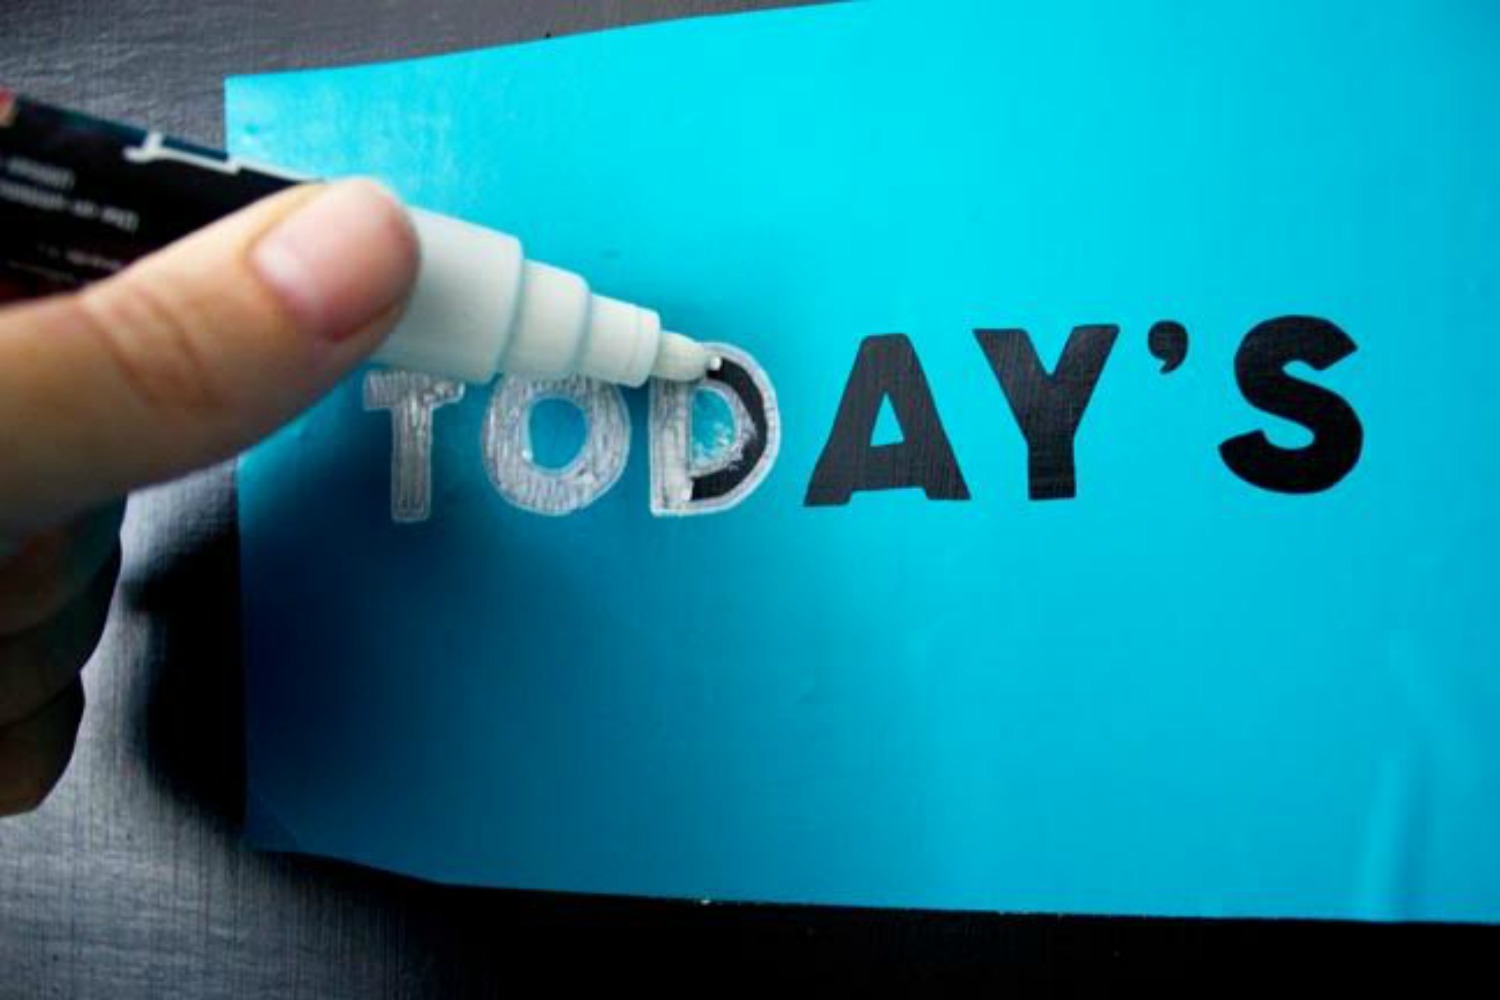
Seriously about half way through this I regretted my life choices, my arm and hand were on fire!
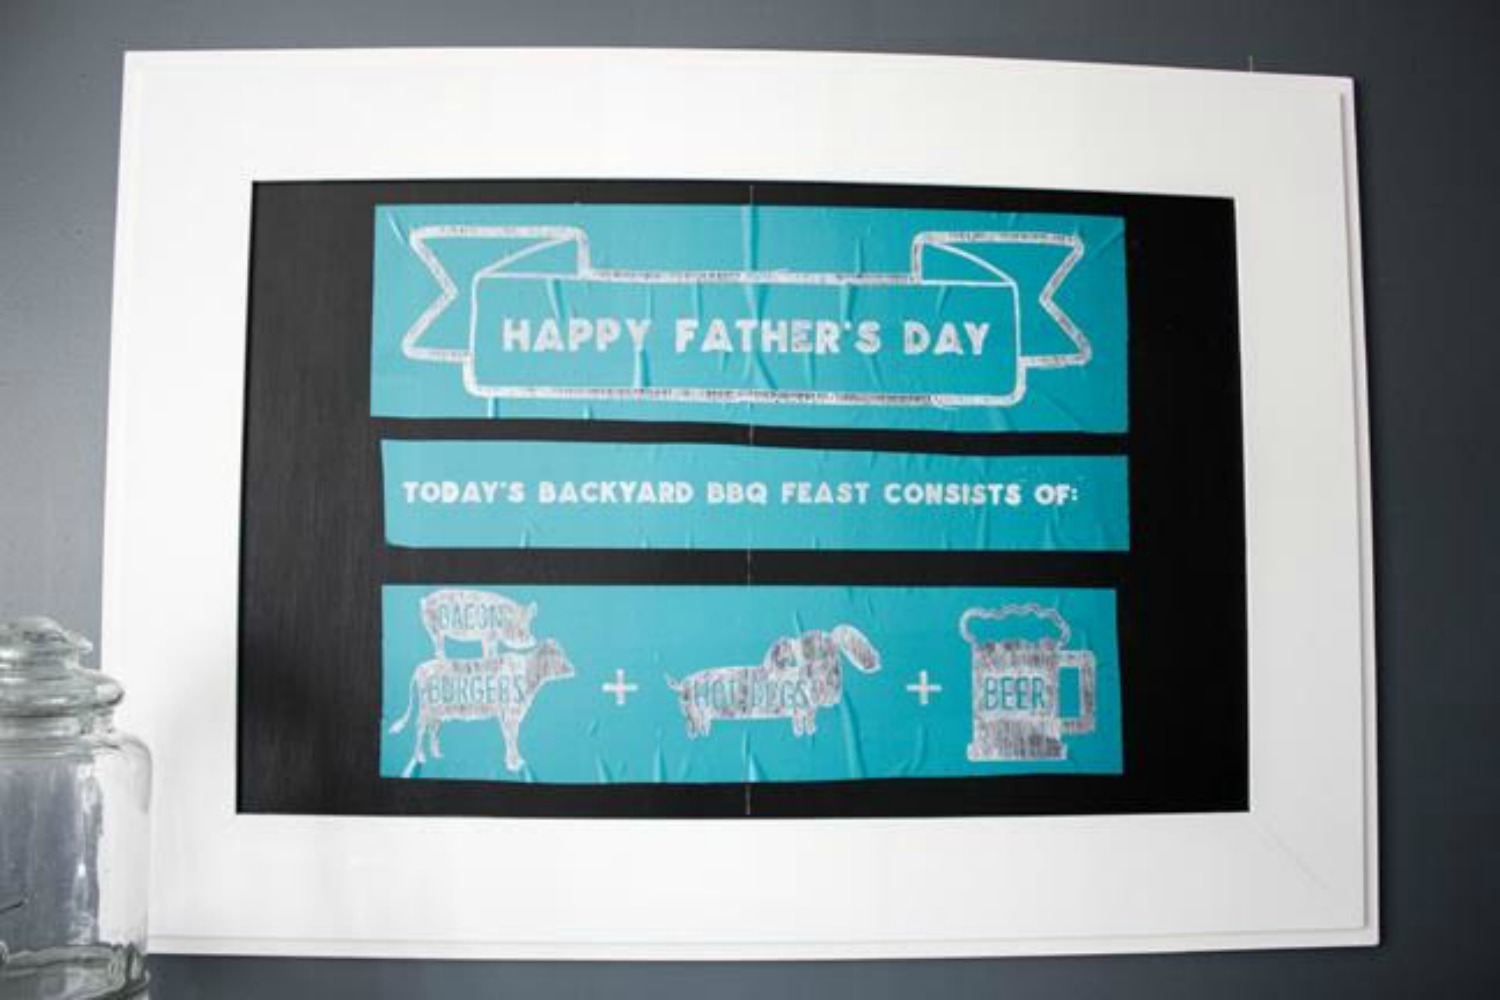
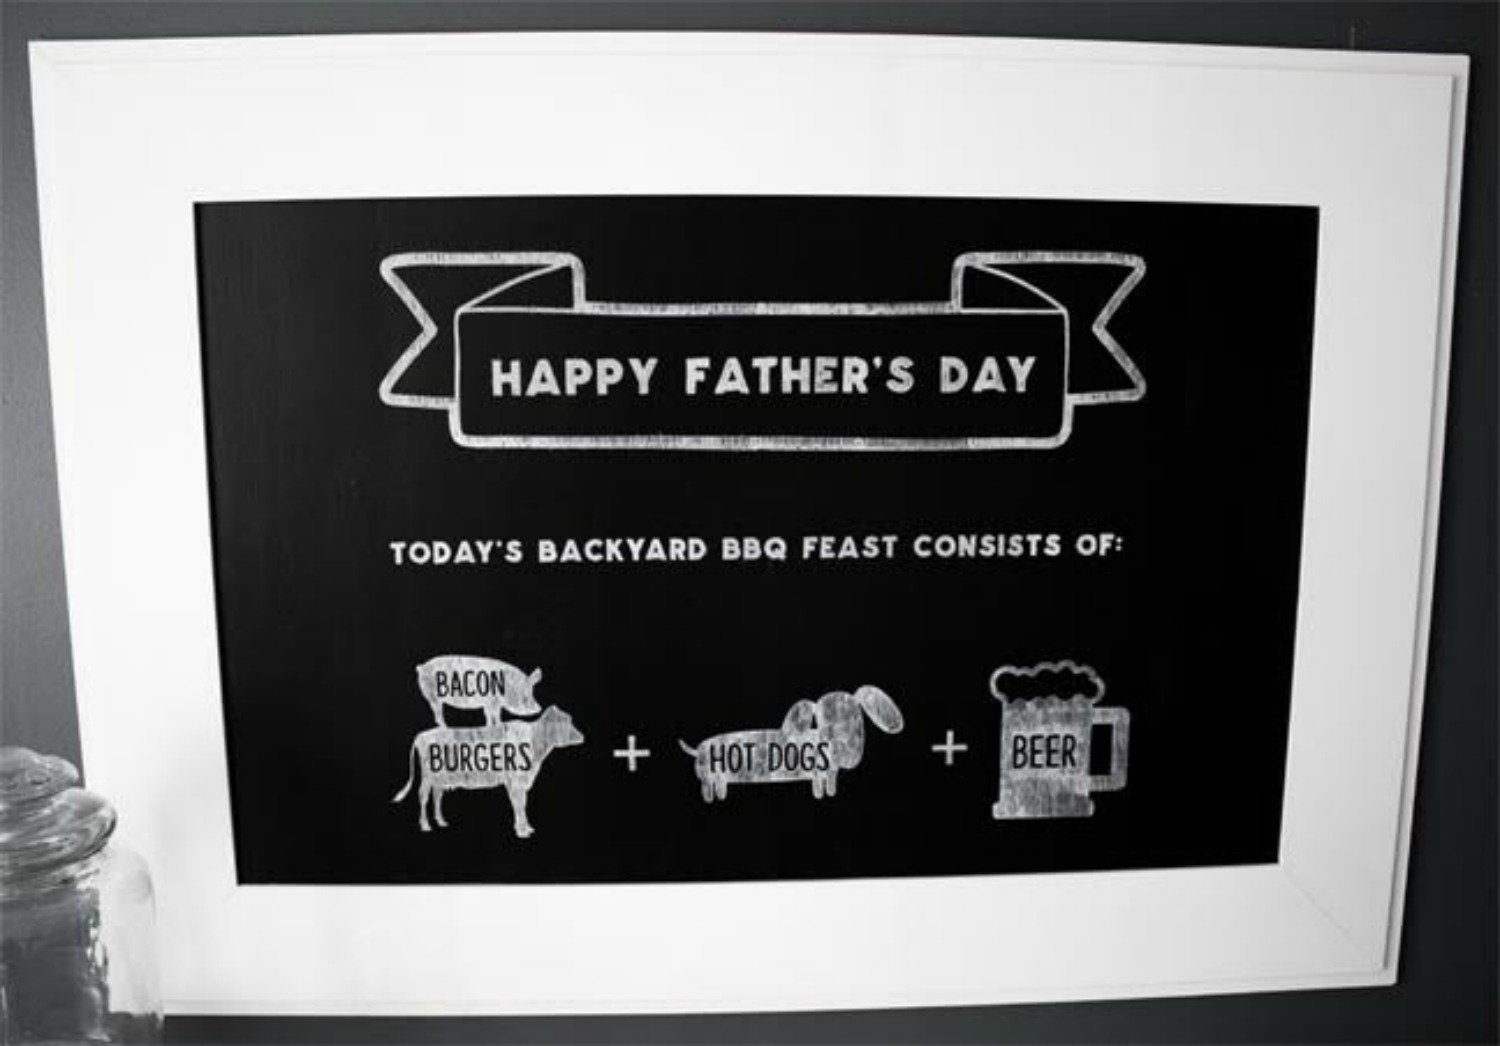
Whew! Now the super rewarding part of pulling off all that vinyl, so therapeutic.
I also whipped up a fun tray quickly to go along with the BBQ theme. It's a tray from IKEA for a few bucks and again I used the removable indoor vinyl so I could change it out for the next event.
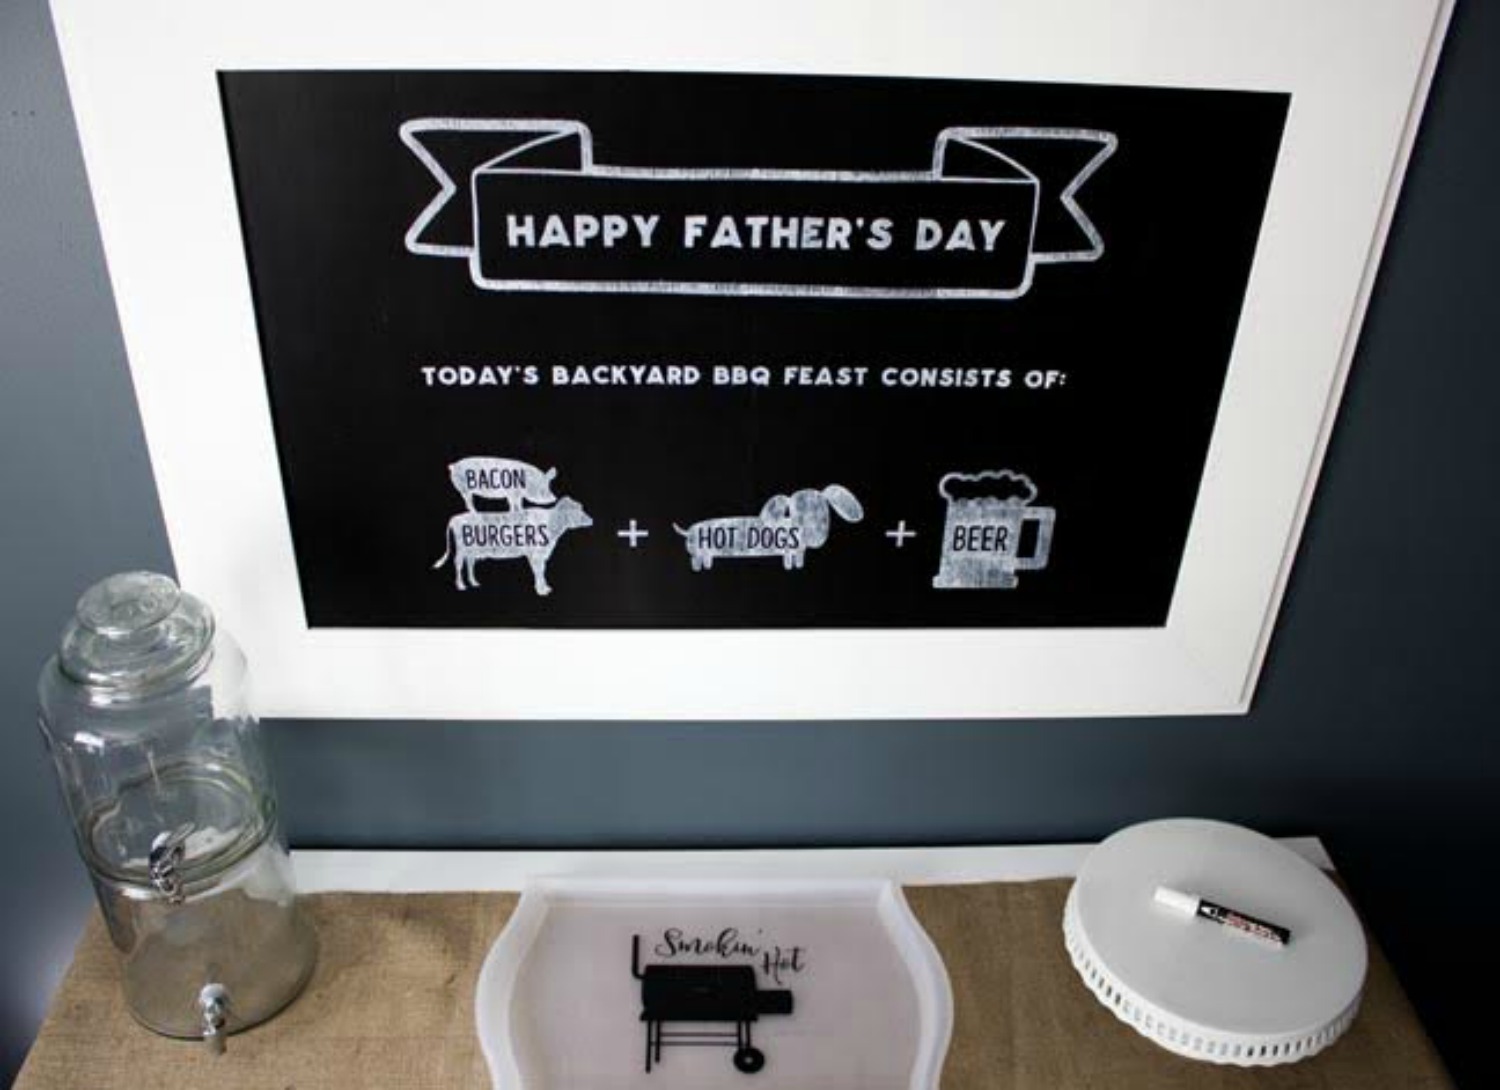
Here's the full look waiting for the big day to arrive!
If you follow me on instagram (please do!) you might have seen my stories about the painting of this buffet and making the chalkboard sign. What are your favorite Father's Day traditions?
Recent Posts
-
NEW Holographic Eclipse Heat Transfer Vinyl
April 15th, 2024 3 Ways to Use the New Holographic Eclipse Heat Transfer Vinyl from Siser …Apr 29th 2024 -
Hop into Spring with Cute Easter Vinyl Crafts
Do you love our Vinyl? Sign up for Vinyl Club today to get FREE vinyl and save big! …Mar 28th 2024 -

Fixing Wrinkles and Bubbles in Vinyl
How do you get air bubbles out of vinyl? There are a few different ways to ensure a flawless …Mar 26th 2024