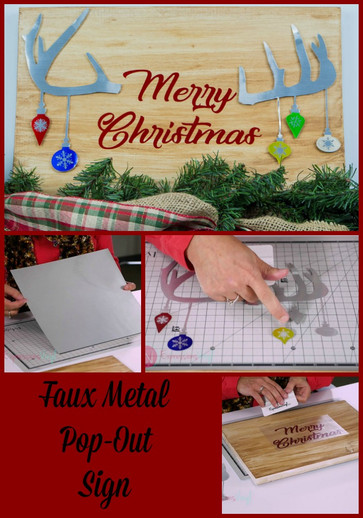
Faux Metal Pop-out Sign
Want the look of a metal sign without using metal?! Here's a great cheat for a faux metal sign! Here's what I used:
Black Cardstock
Capinella ou Beaujolais font
Assorted Christmas Baubles - silhouette Design Store
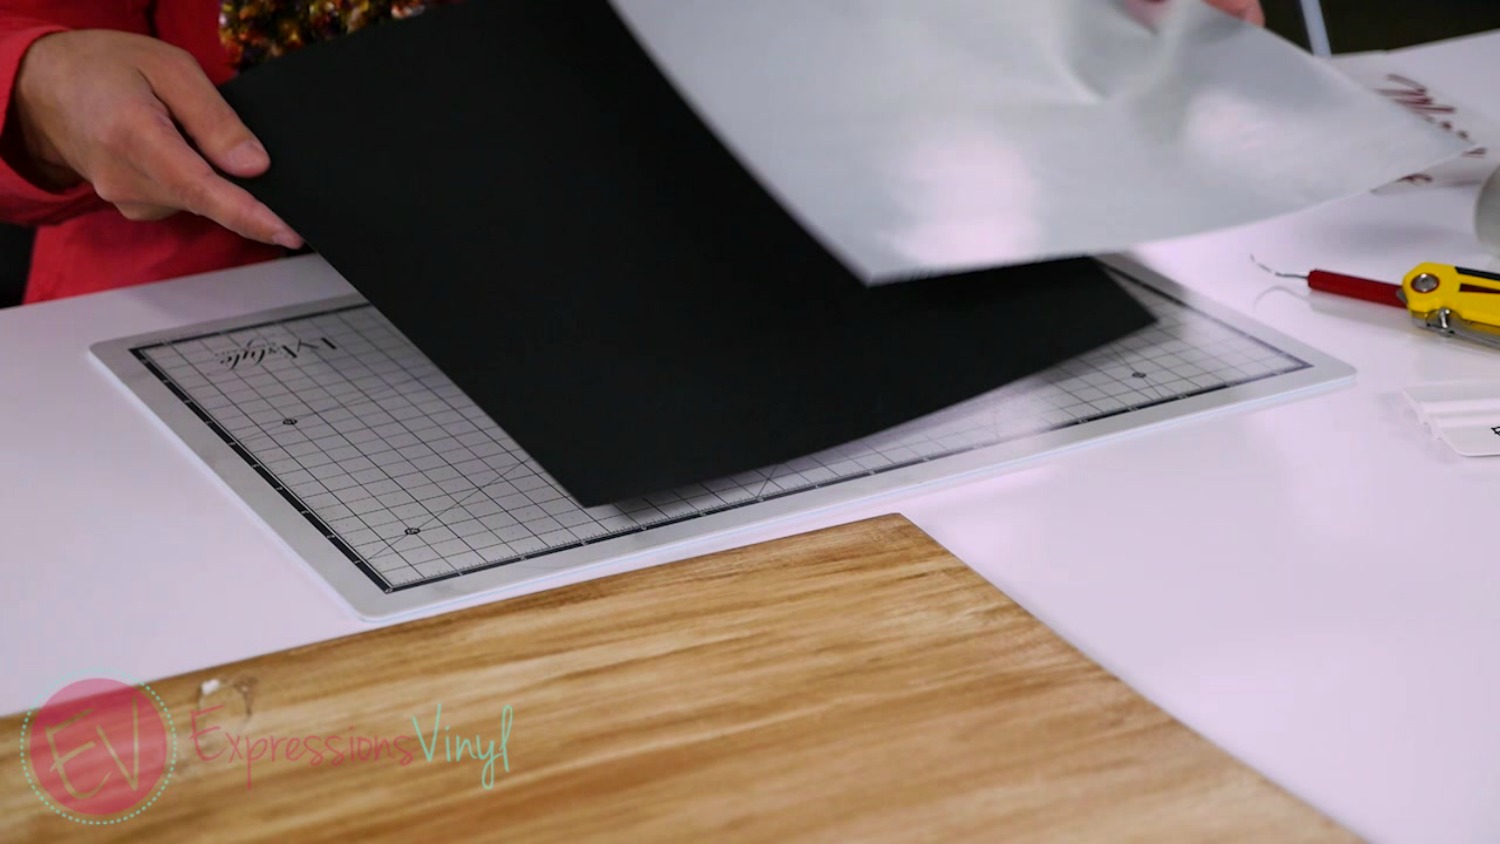
First, I attached the sheet of brushed chrome vinyl to the black cardstock prior to cutting anything out.
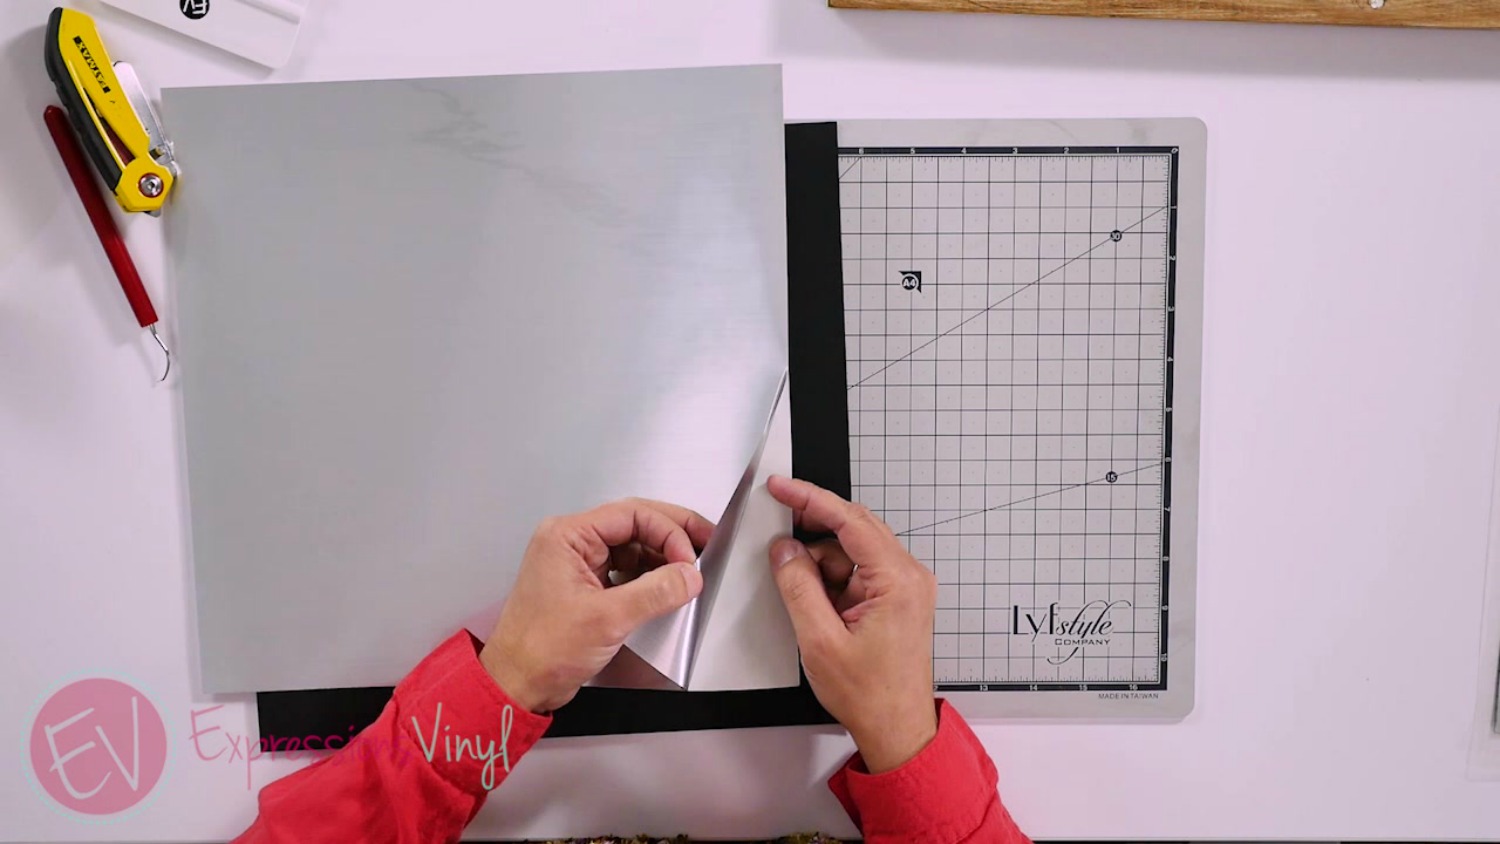
To do this and make sure that there were no air bubbles, I cut a small section of the backing paper off the brushed metal vinyl. This allows you to line up the vinyl with the cardstock without exposing a large adhesive section.
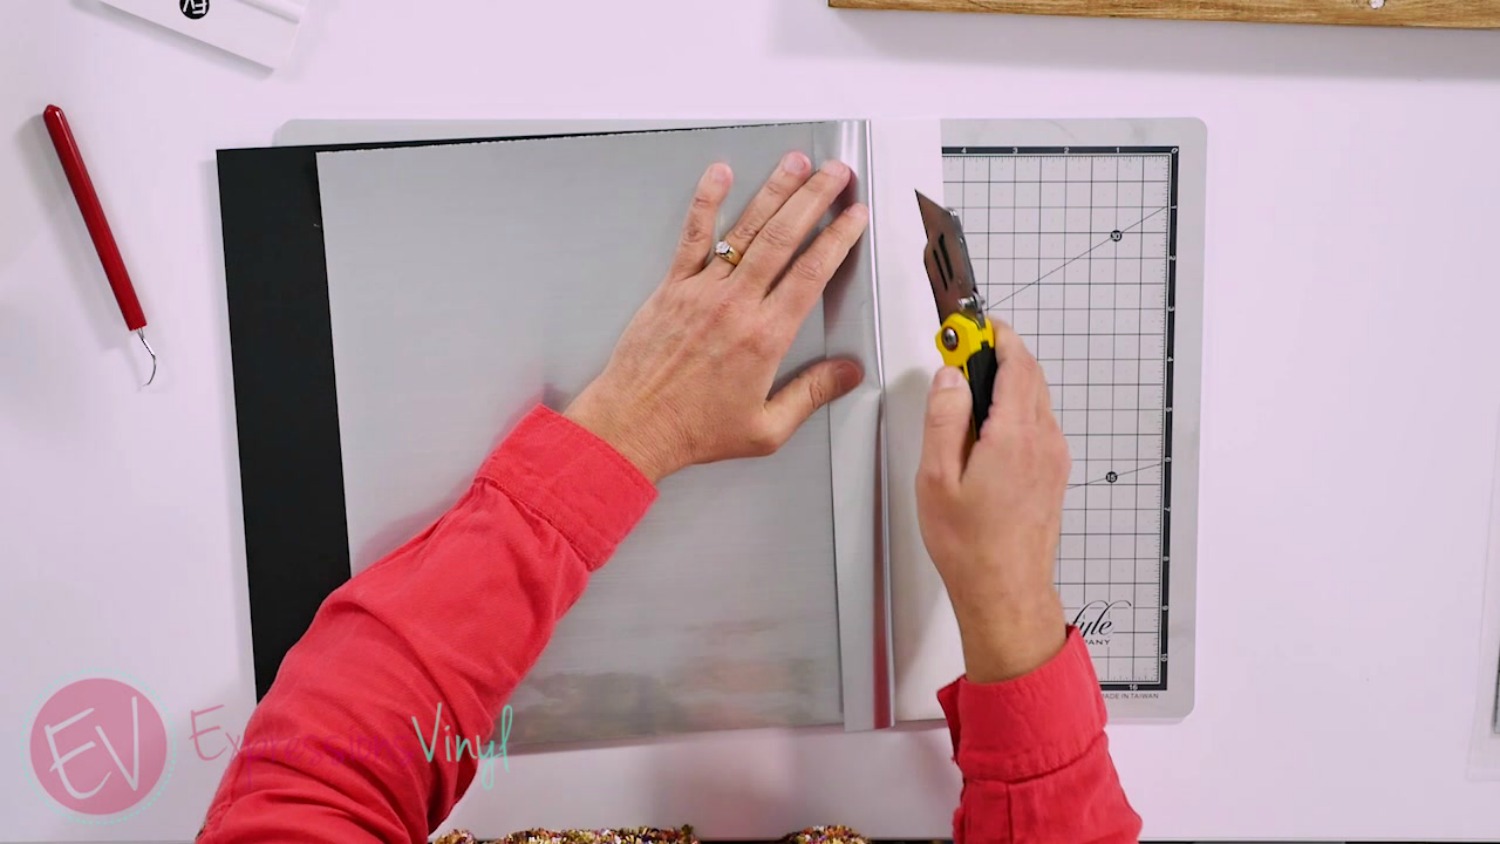
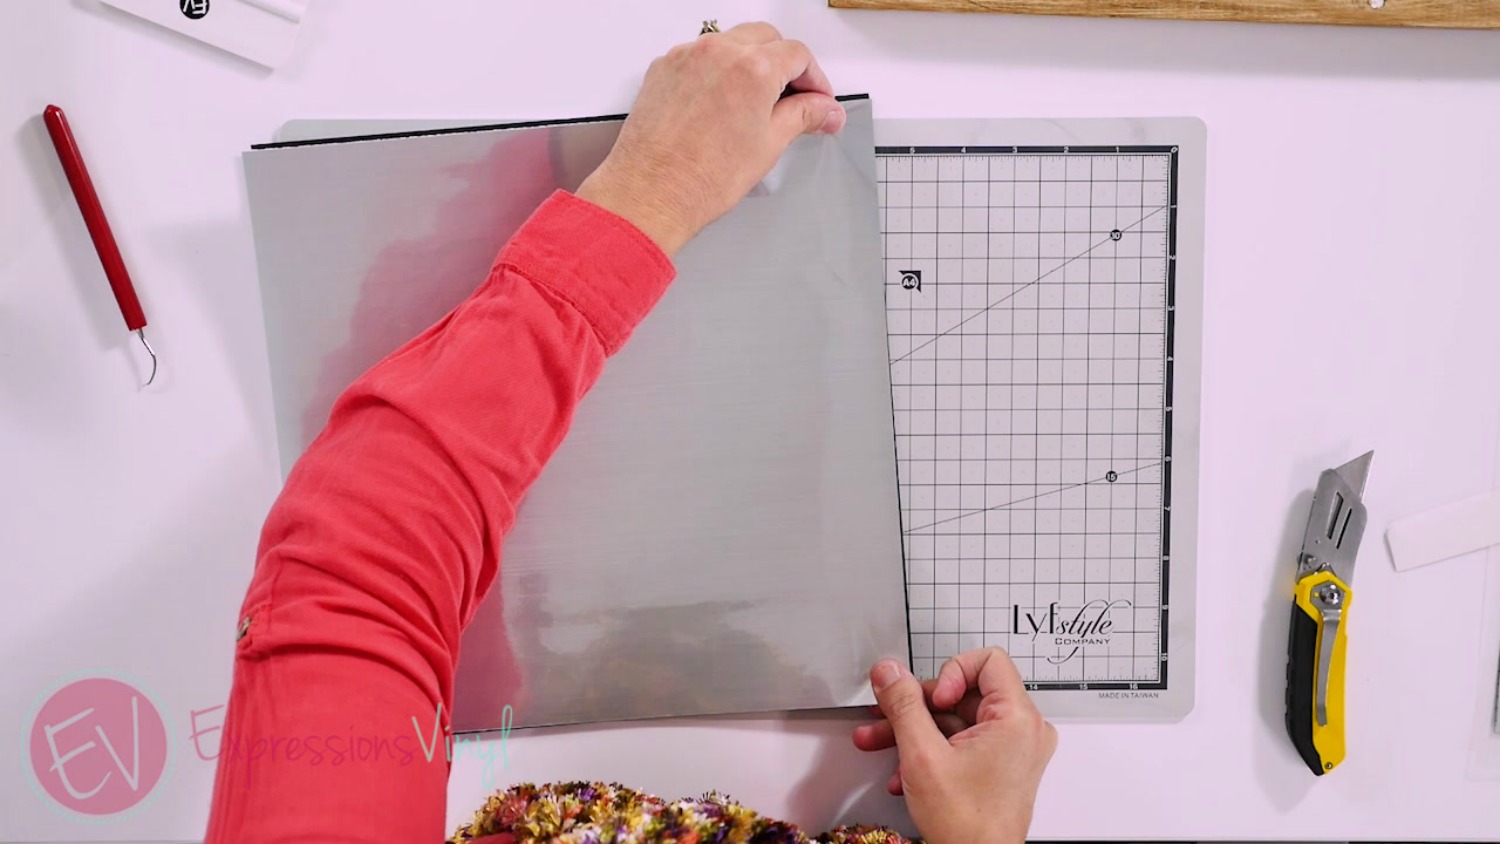
After lining up one section, use the application tool to smooth the vinyl down while slowly pulling off the backing paper.
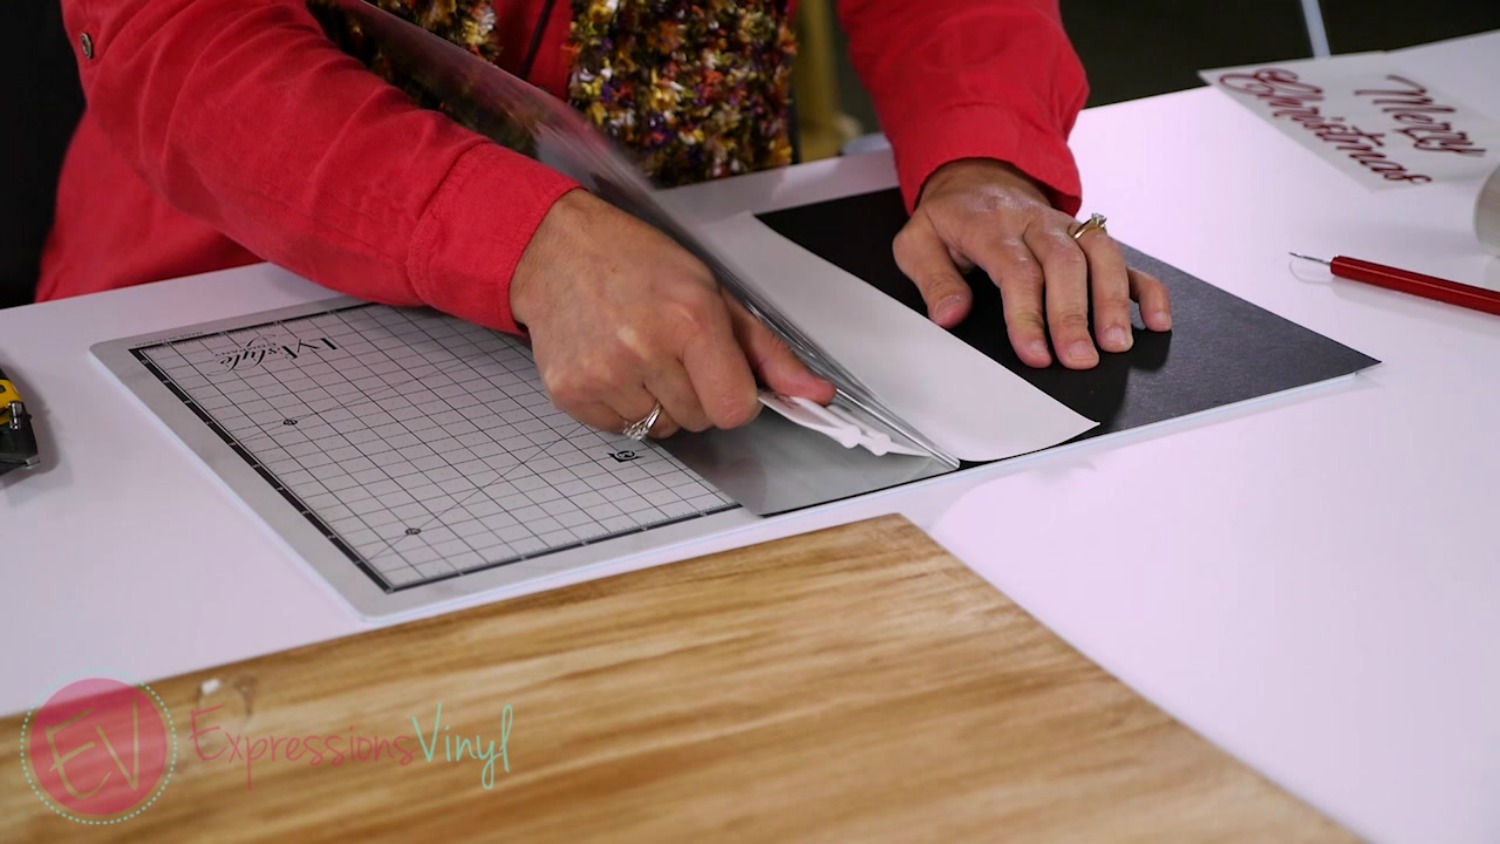
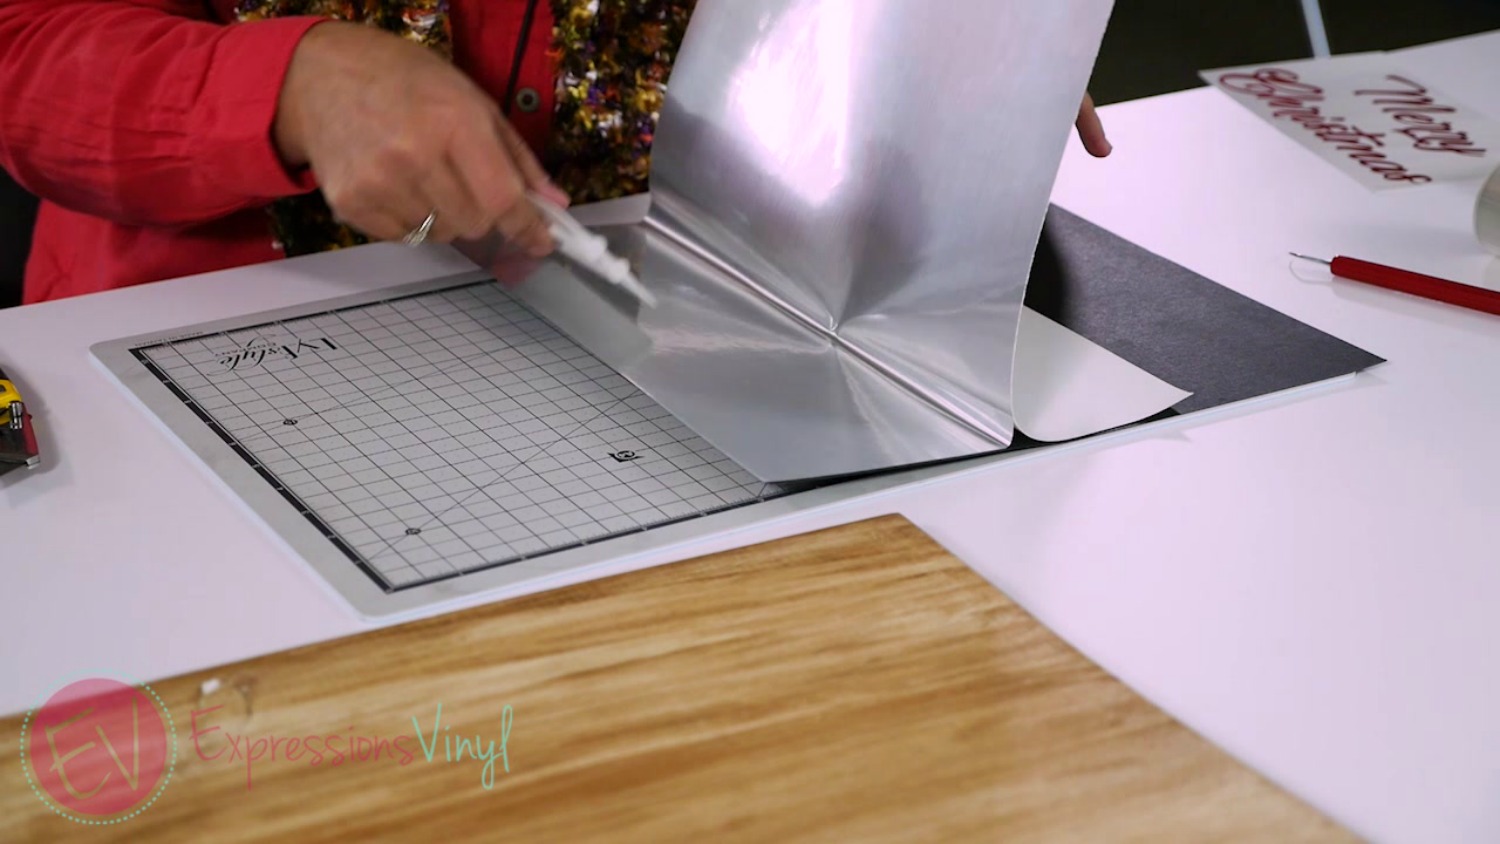
Once the backing paper is removed, your vinyl should be firmly attached to the cardstock and you are ready to cut!
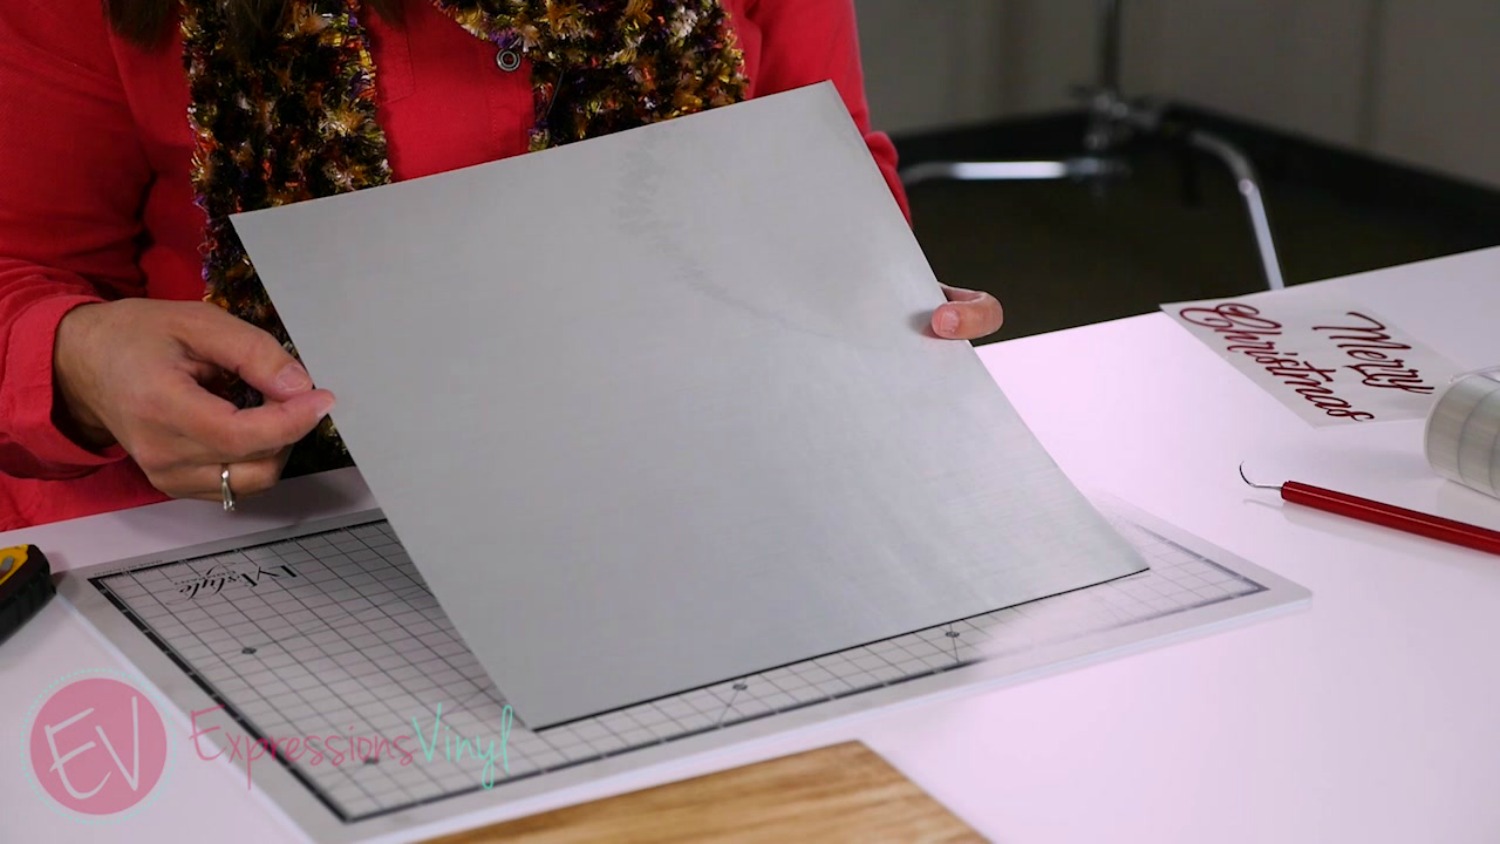
Because the vinyl and cardstock are so thick, you will want to make sure to do a test cut to make sure you are cutting through the whole sheet. For a silhouette machine I used the chipboard setting and for a Cricut machine I used posterboard Plus.
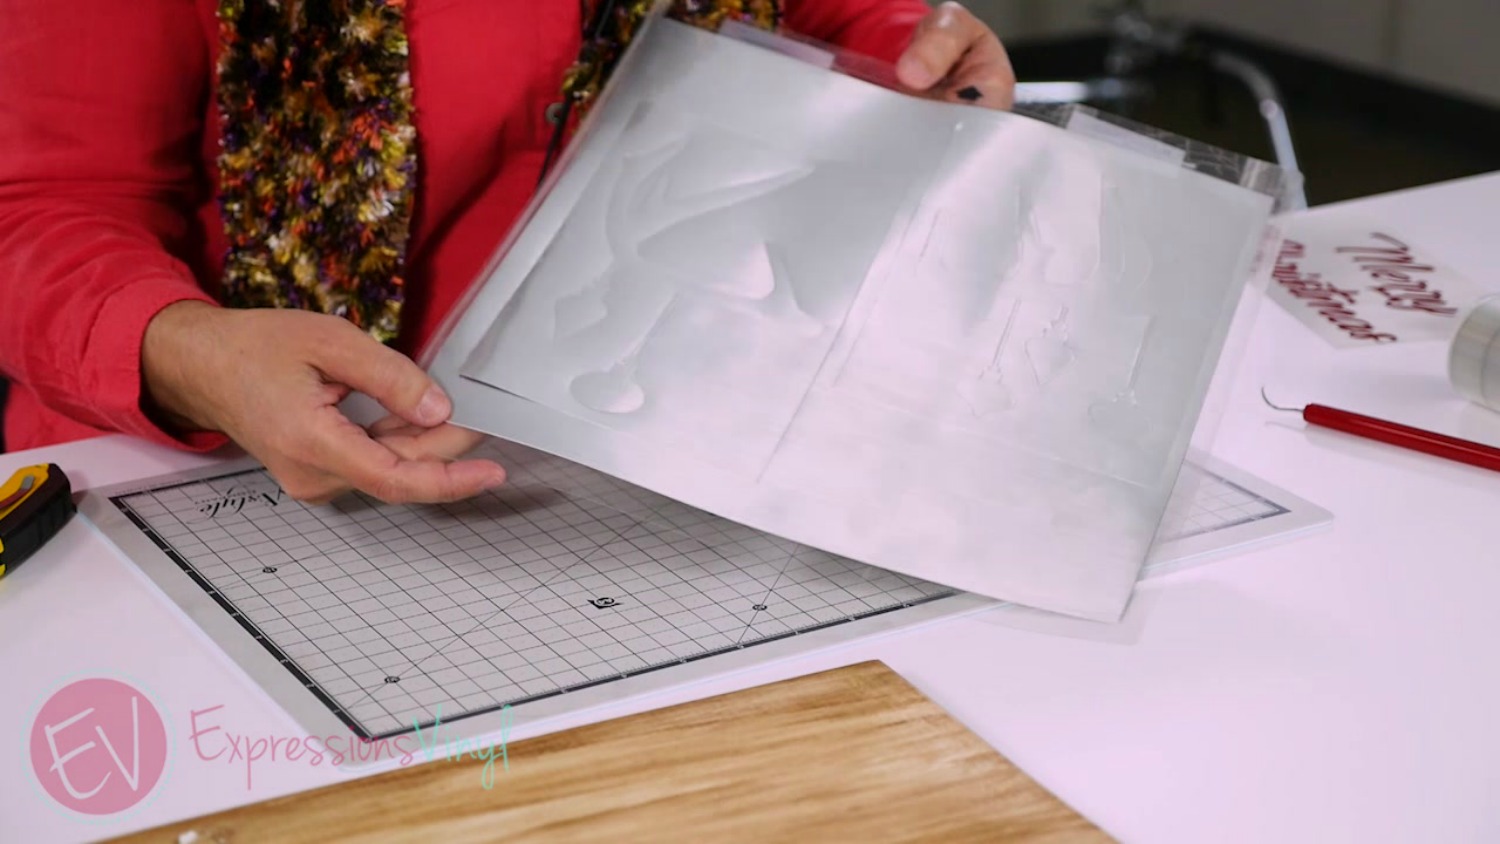
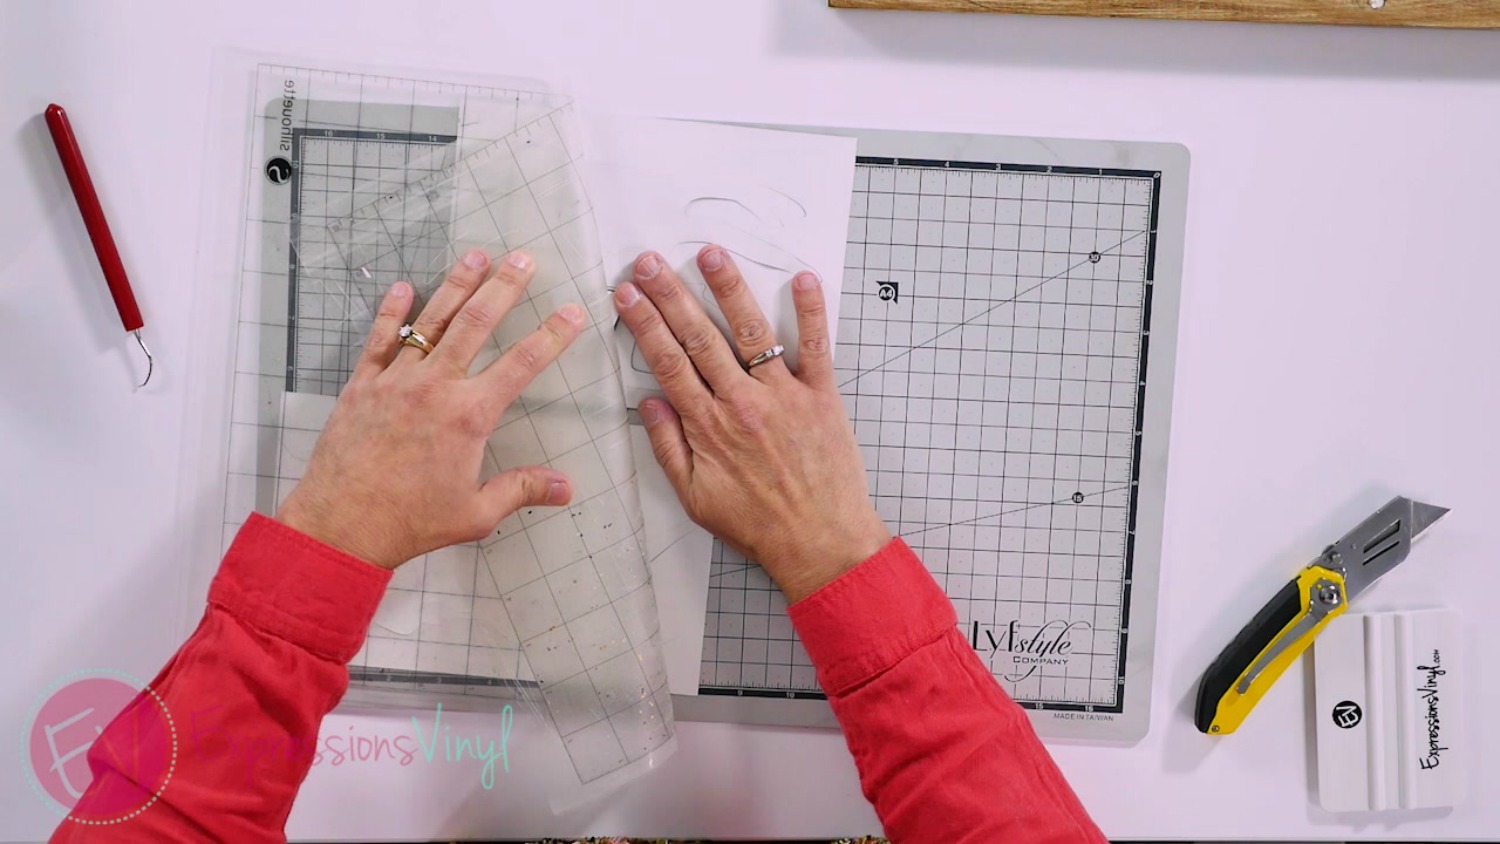
One little trick to make sure the vinyl doesn't bend while taking it off your cutting mat is to place your hand on top of the vinyl and bend your cutting mat back. As you pull the cutting mat back, hold the vinyl down to keep it from bending.
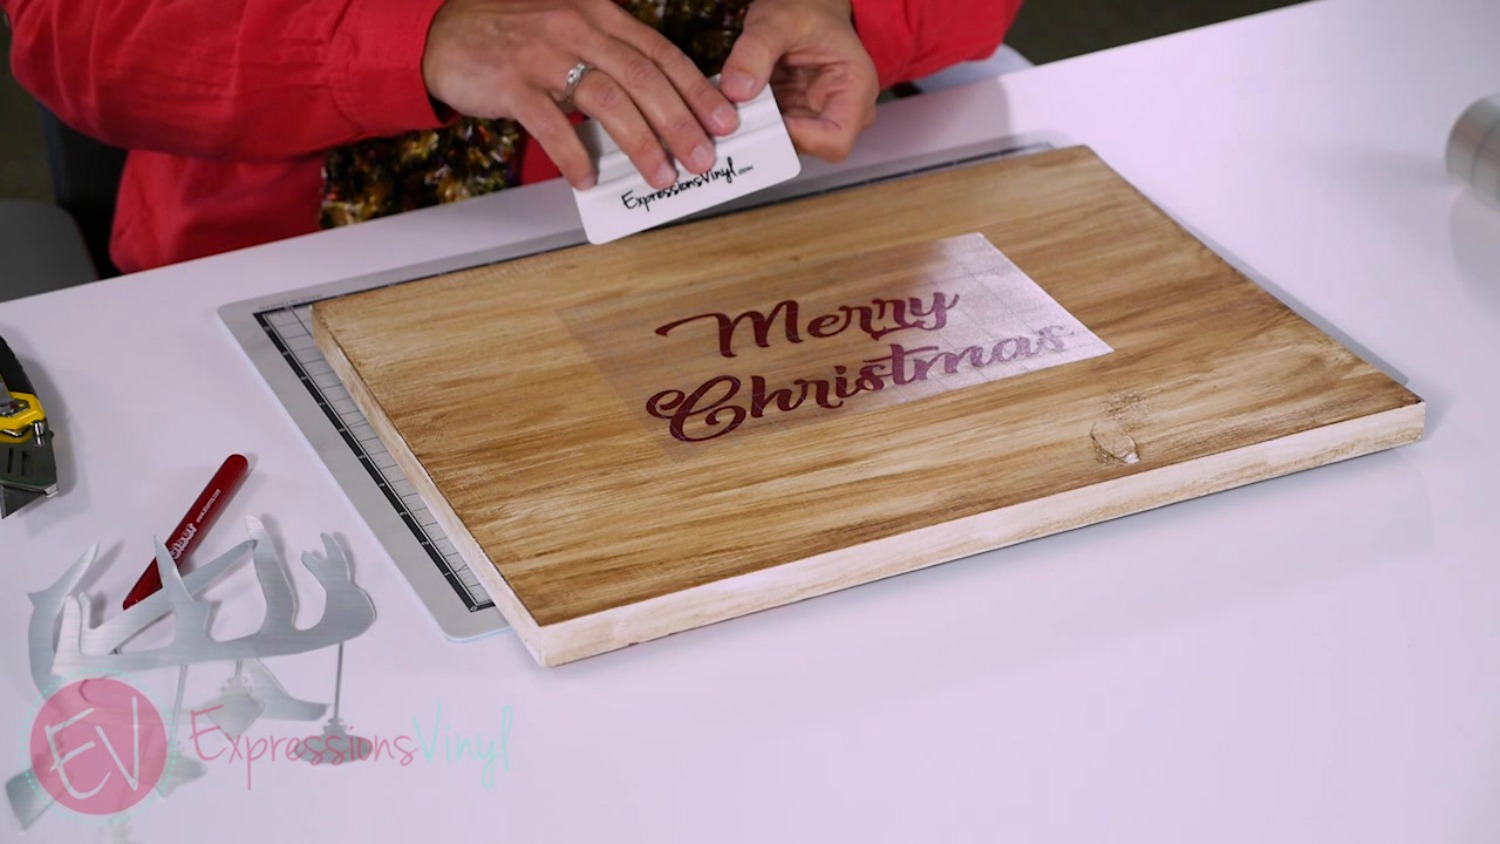
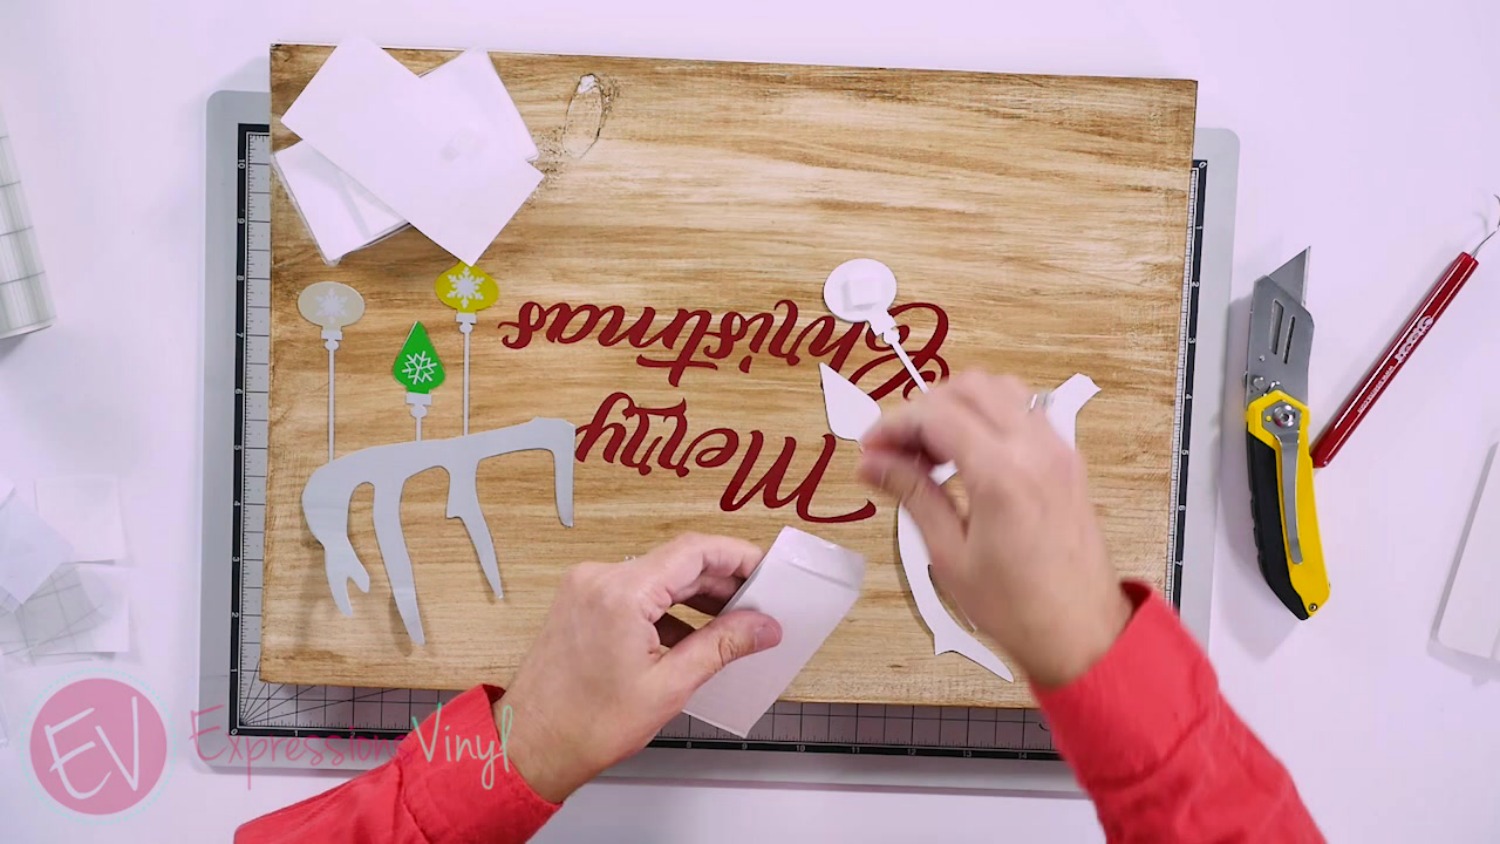
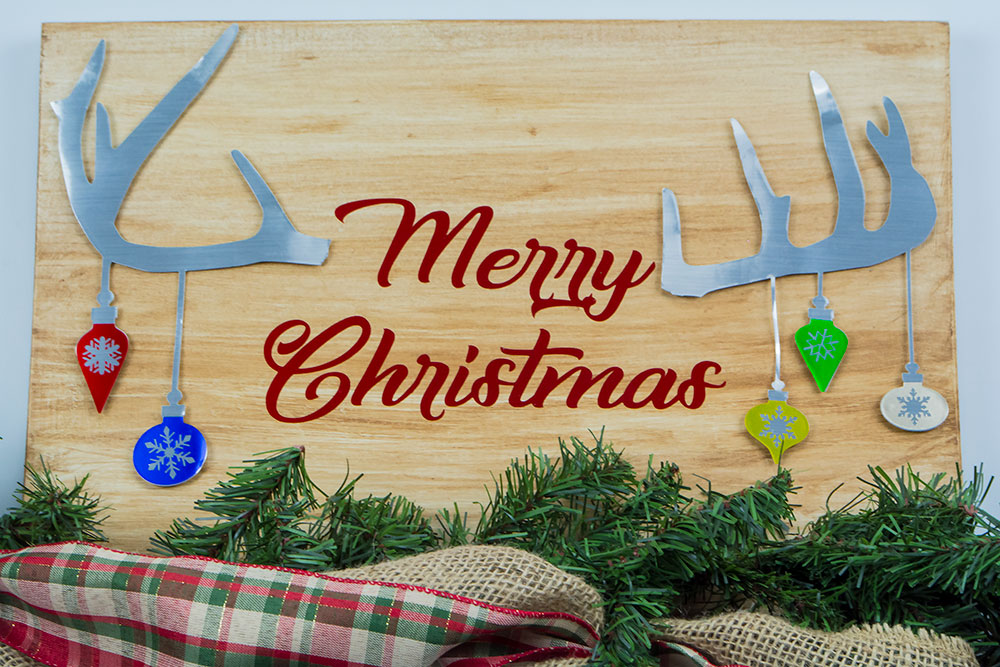
I attached a fun Merry Christmas in the center of the board, and will attach the reindeer antlers on either side of it.
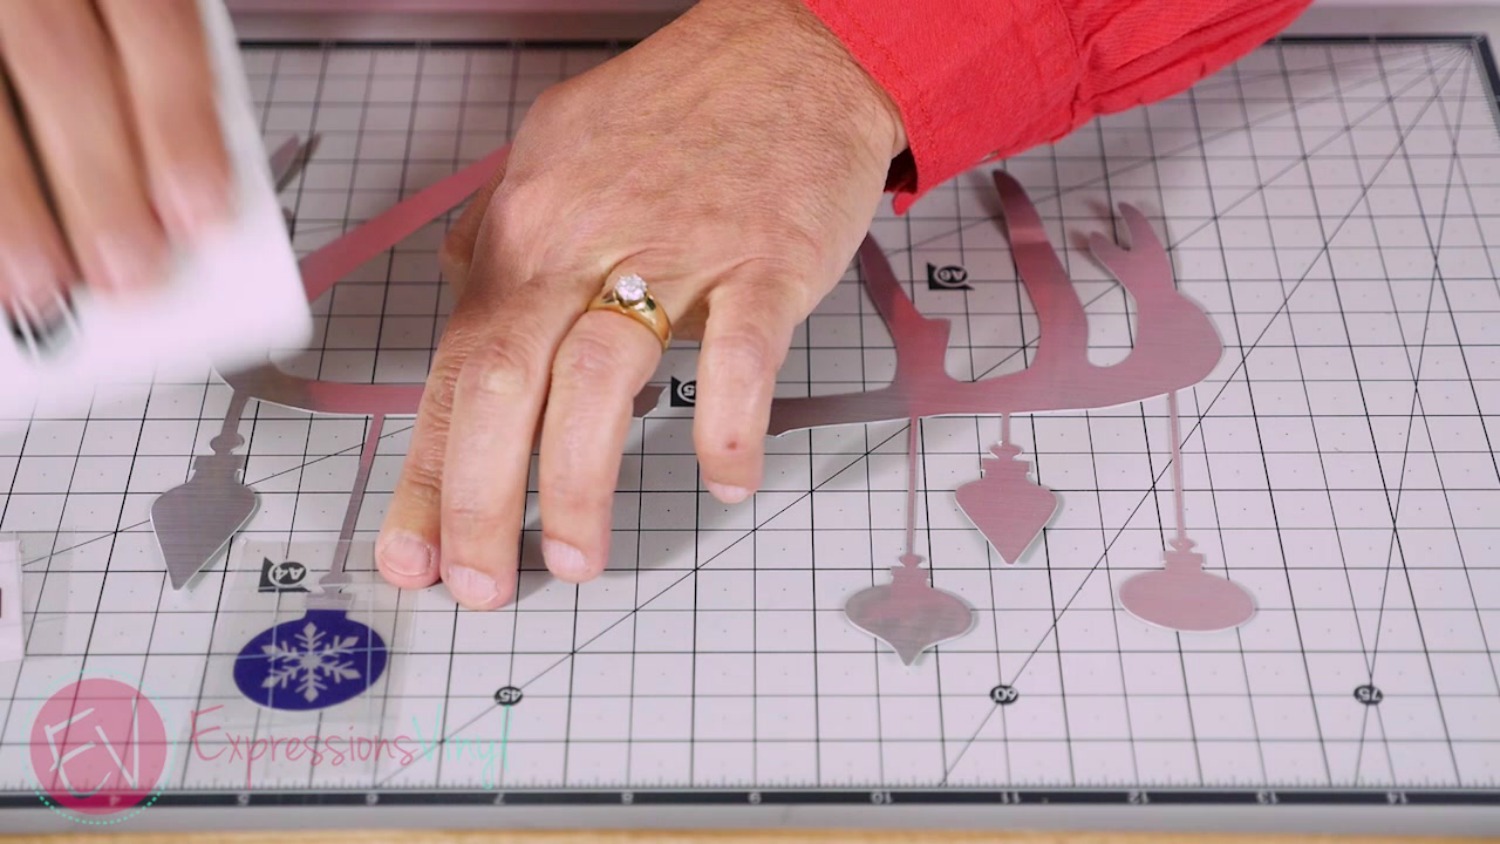
Before attaching the reindeer antlers, I used the polished metal and luster vinyls to add some color to the ornaments.
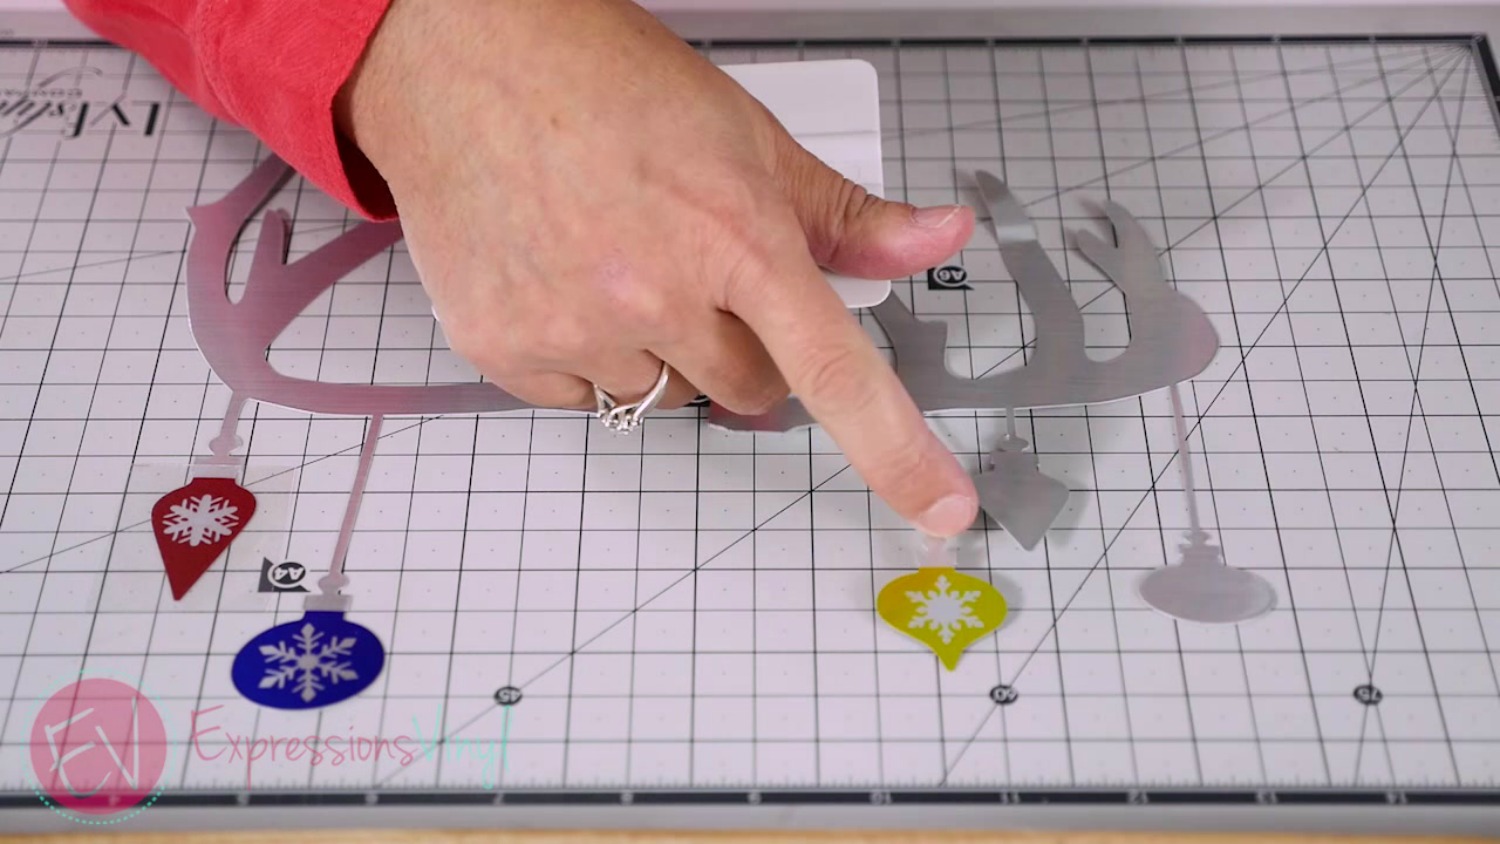
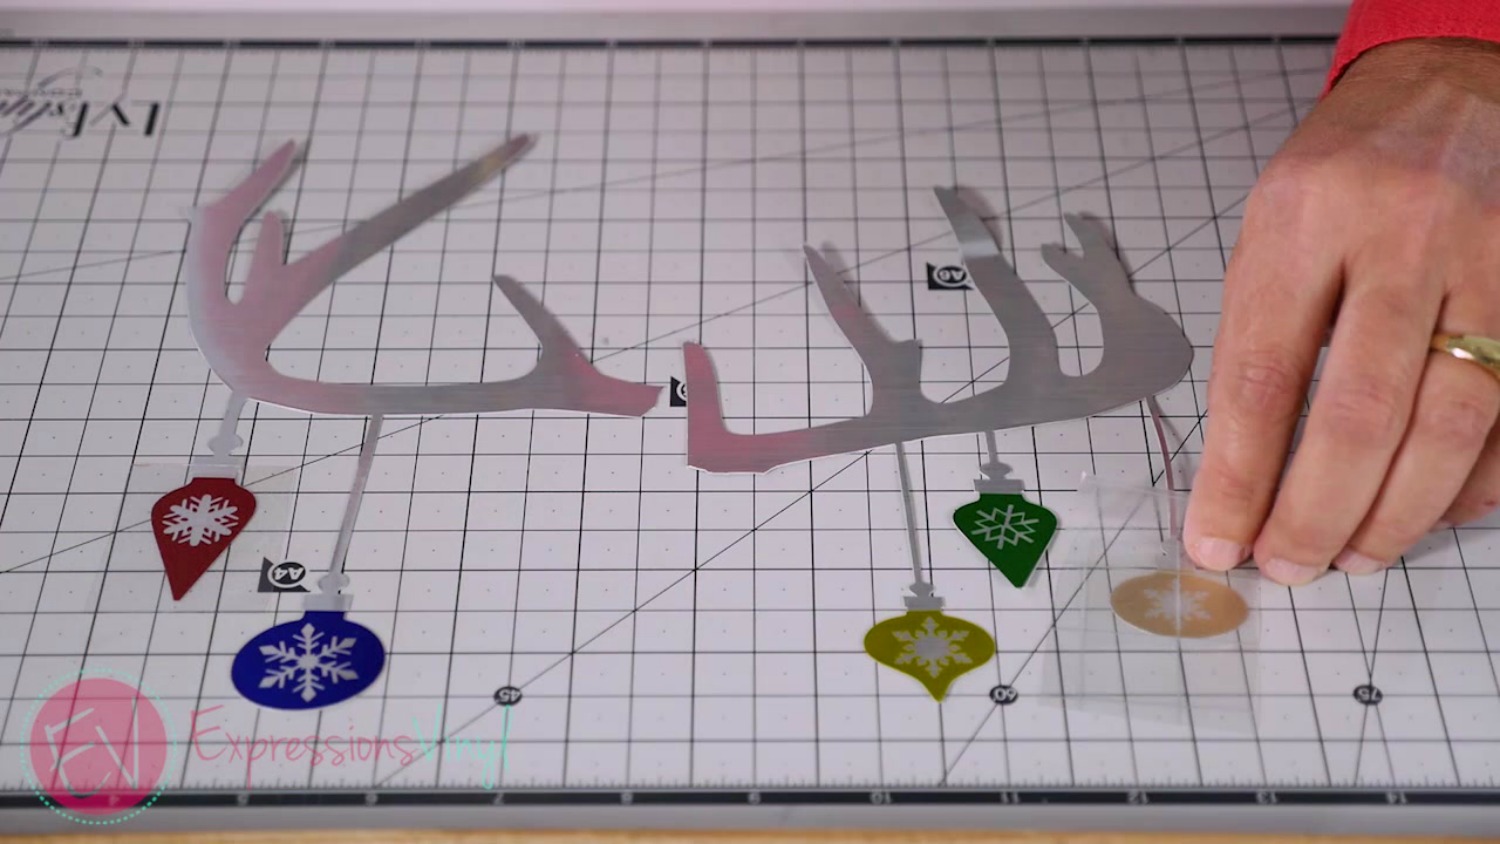
Finally, I used pop outs on the antlers to make the metal antlers really pop out of the project. I love how this looks like real metal instead of vinyl!
Give this method a try and tell me what you think! Don't you love it?!
Recent Posts
-
NEW Holographic Eclipse Heat Transfer Vinyl
April 15th, 2024 3 Ways to Use the New Holographic Eclipse Heat Transfer Vinyl from Siser …Apr 29th 2024 -
Hop into Spring with Cute Easter Vinyl Crafts
Do you love our Vinyl? Sign up for Vinyl Club today to get FREE vinyl and save big! …Mar 28th 2024 -
Fixing Wrinkles and Bubbles in Vinyl
How do you get air bubbles out of vinyl? There are a few different ways to ensure a flawless …Mar 26th 2024

