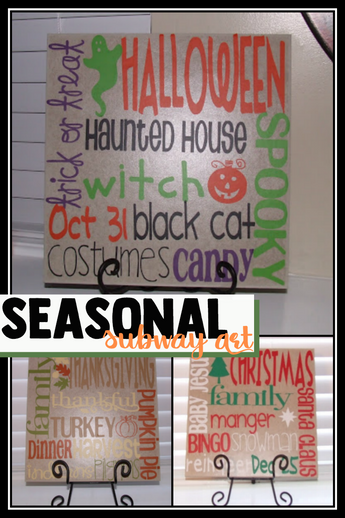
Halloween Tile
Hi again!!! It's Kaysi, from Keeping it Simple. Today I'm going to show you how to make a 12x12 tile with Subway art. I love doing this and do it for every holiday. It's so fun and it's easy to switch out after each holiday.
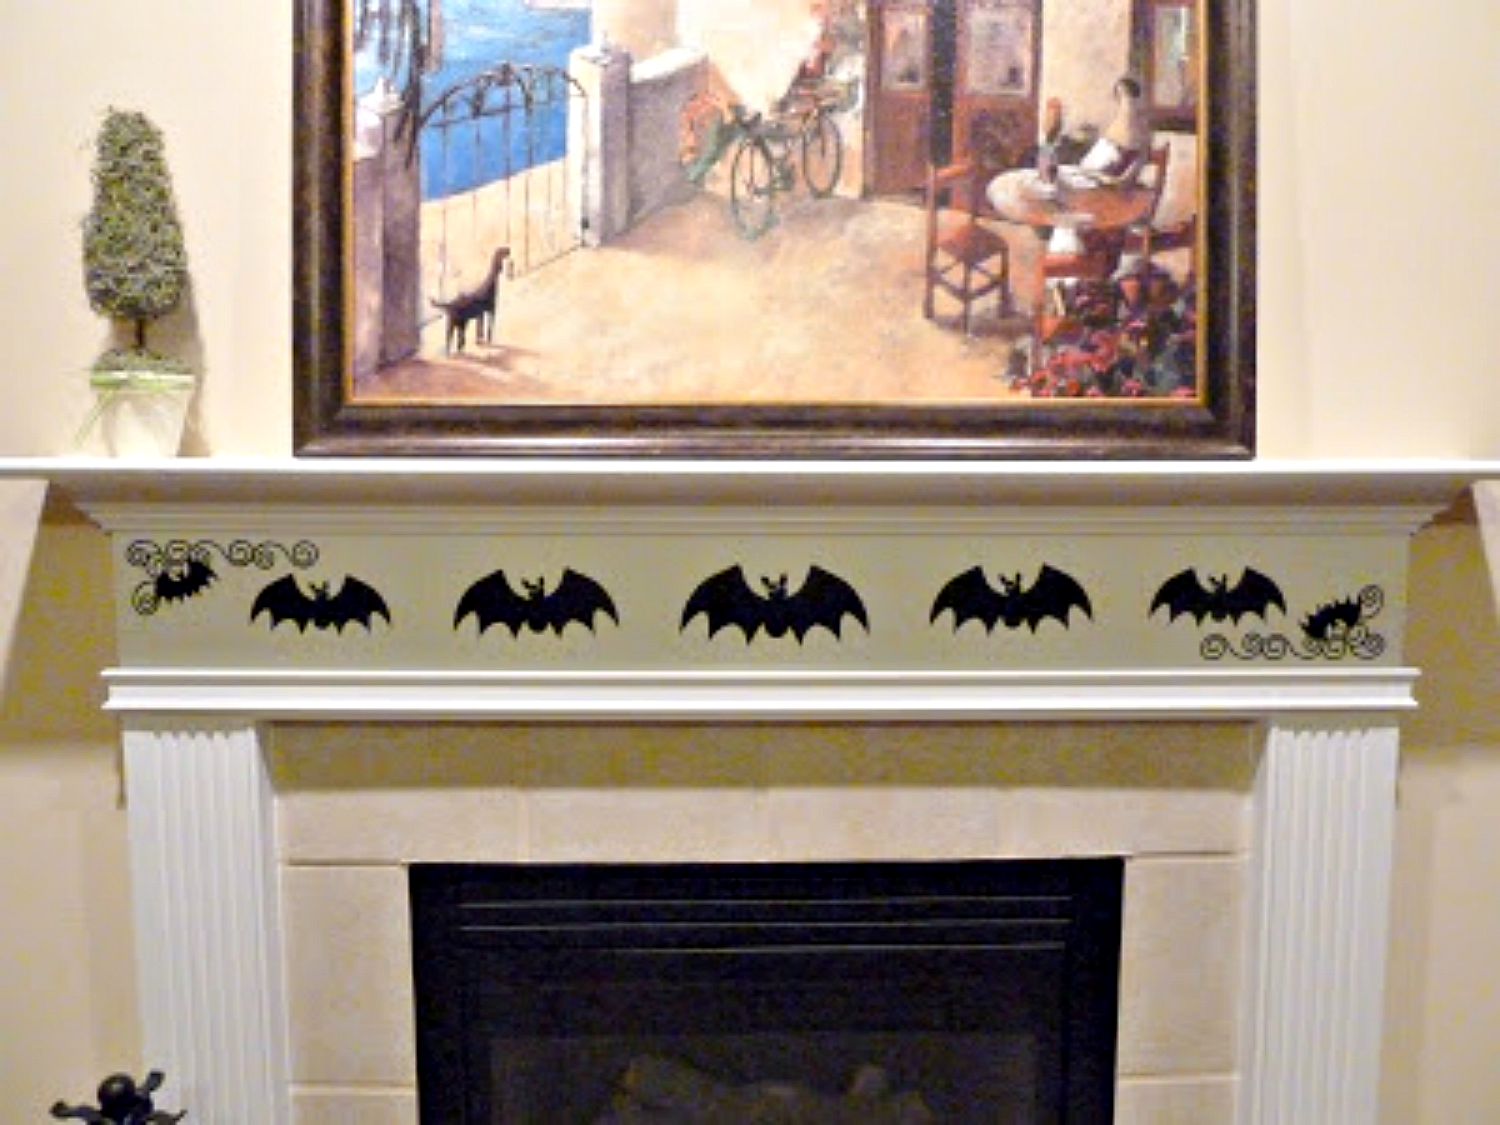
This is how I made it:
1) I first sketch out what words, sizes and colors on a piece of paper. I know it sounds silly but to get things to fit, it's a must.

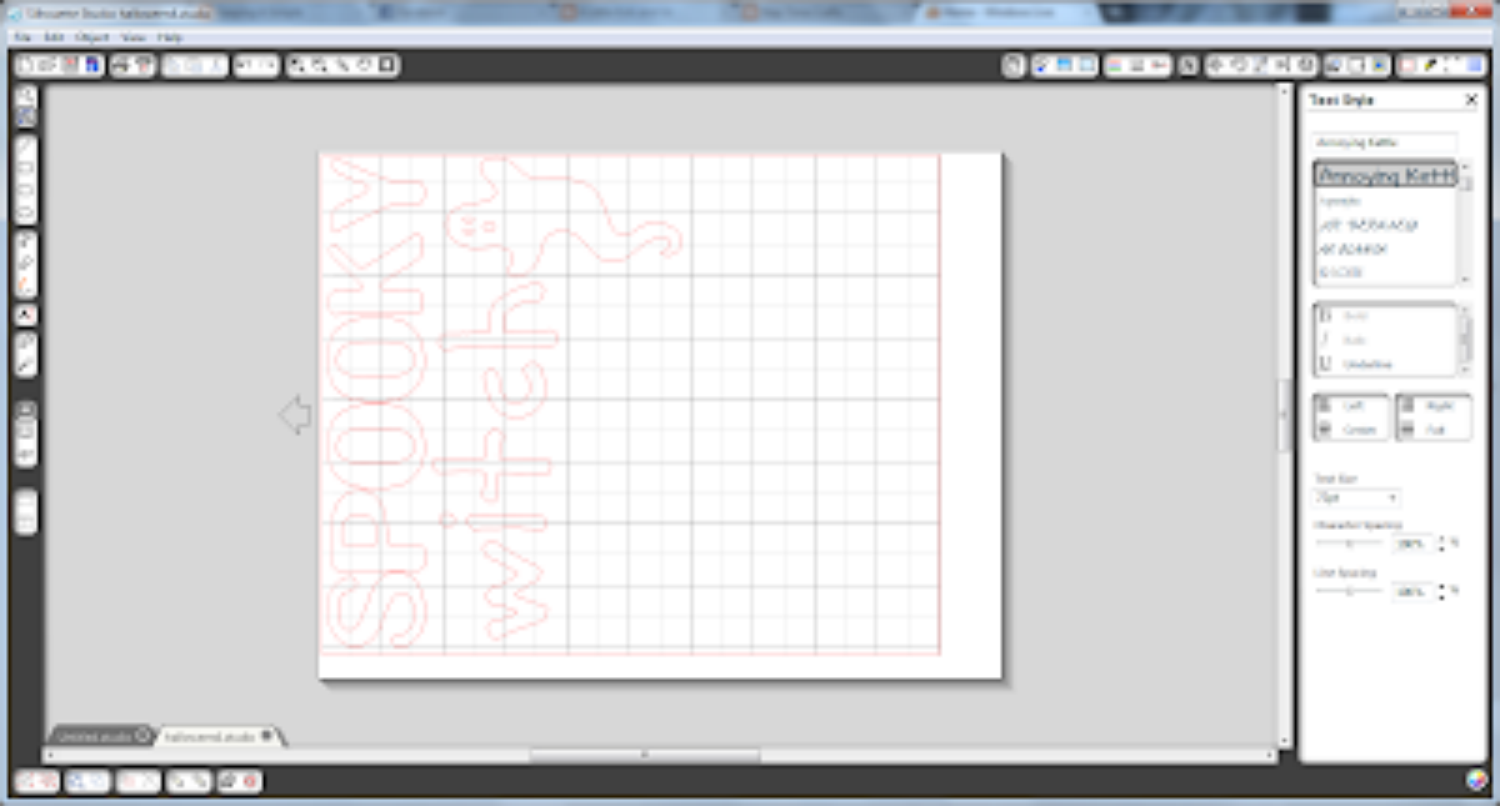
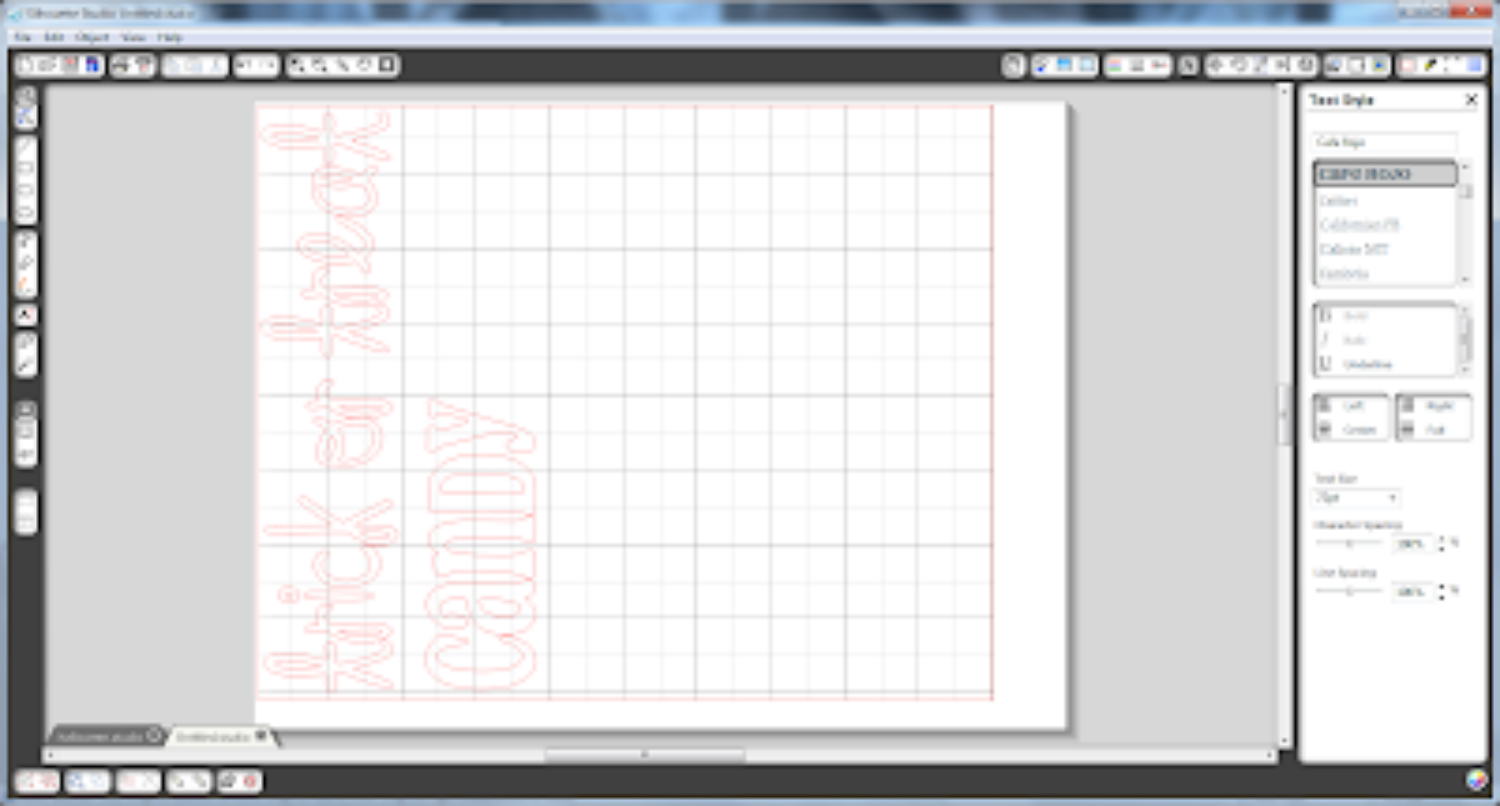
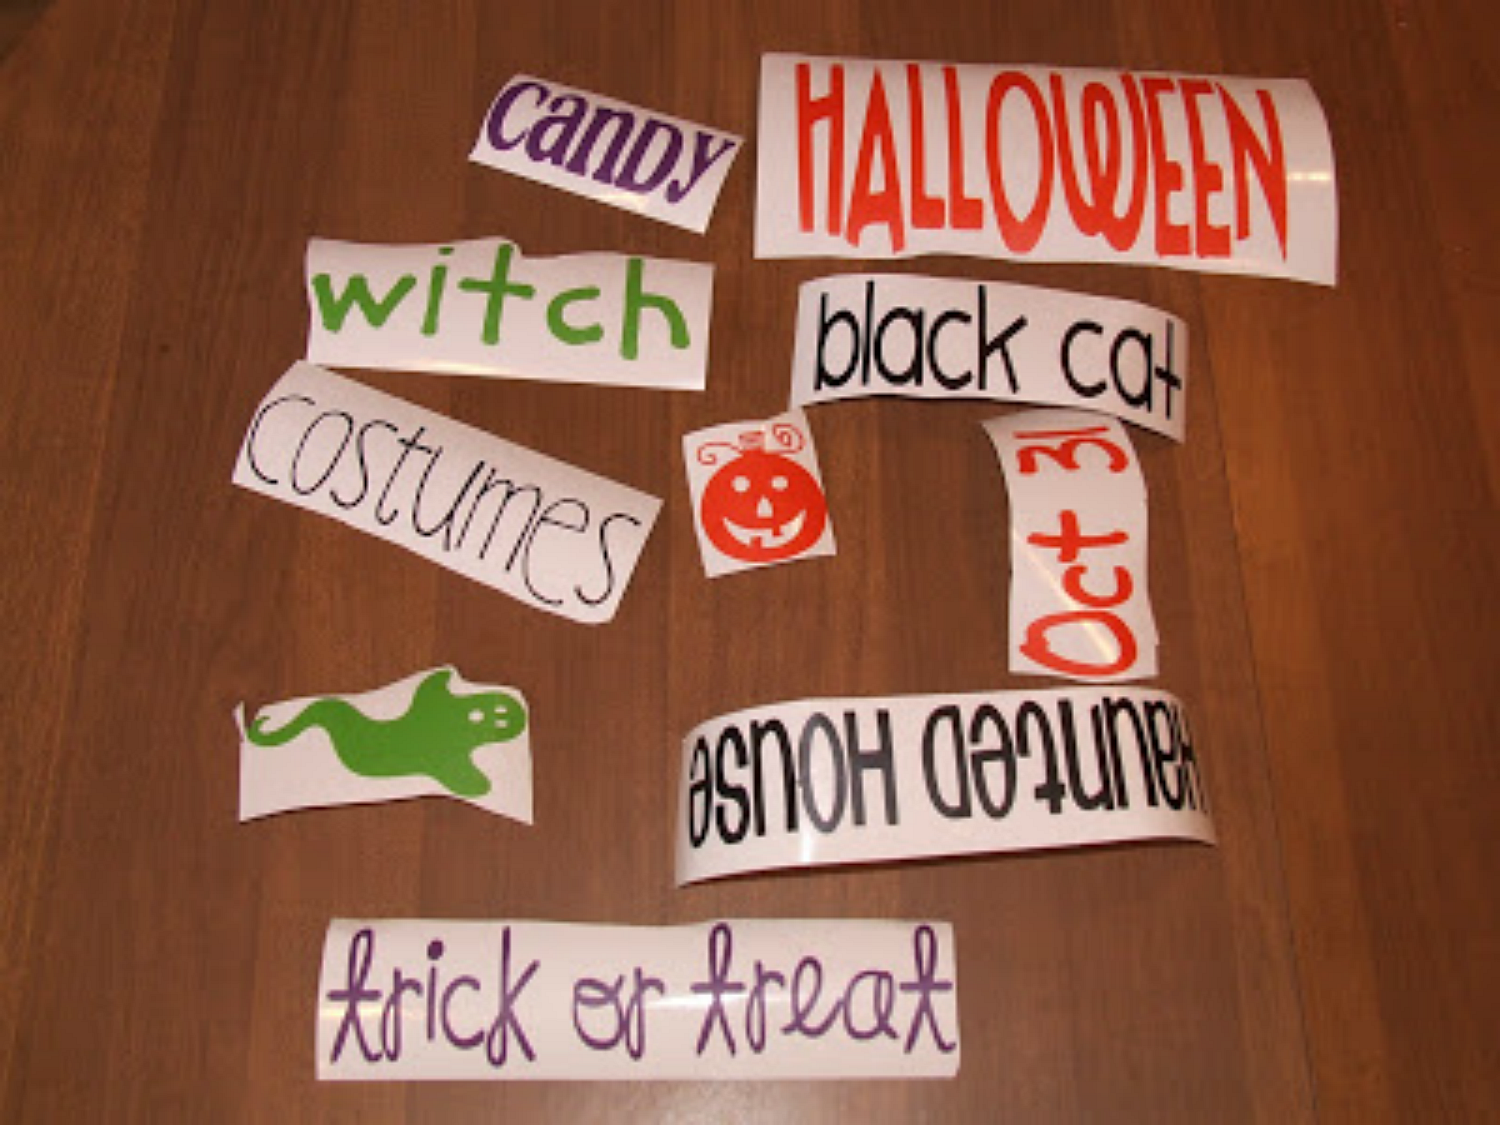
2) Then I separated the words by color and used some fun fonts on my Silhouette studio program.
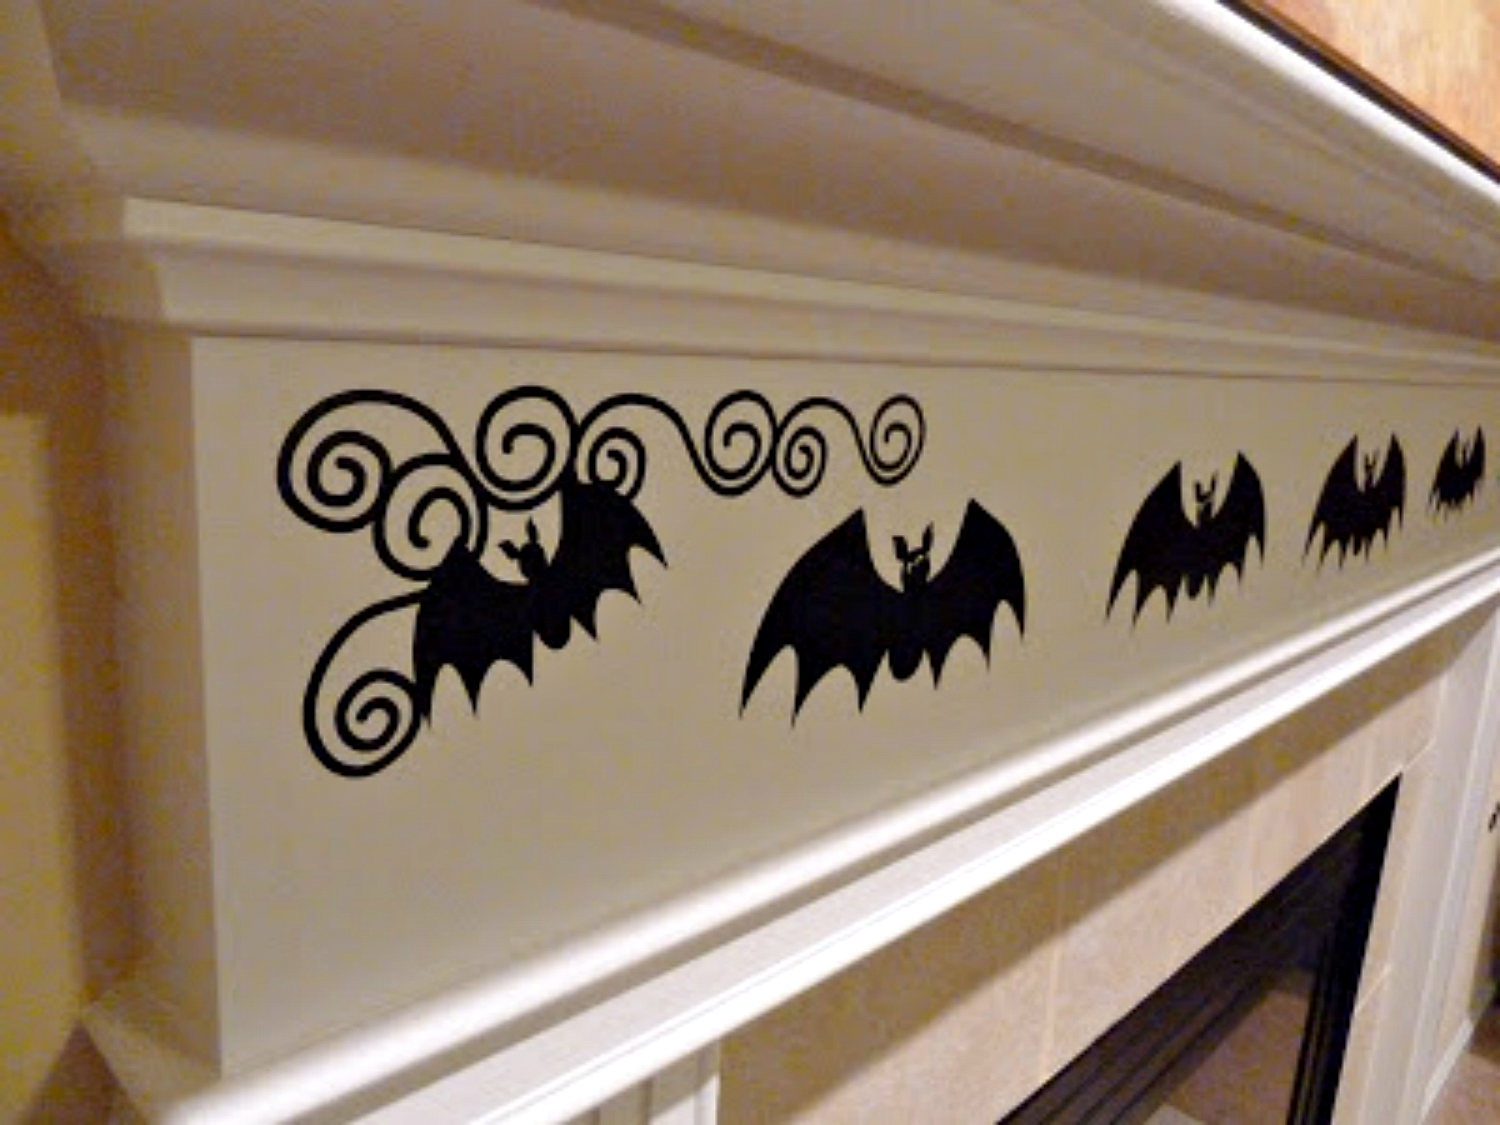
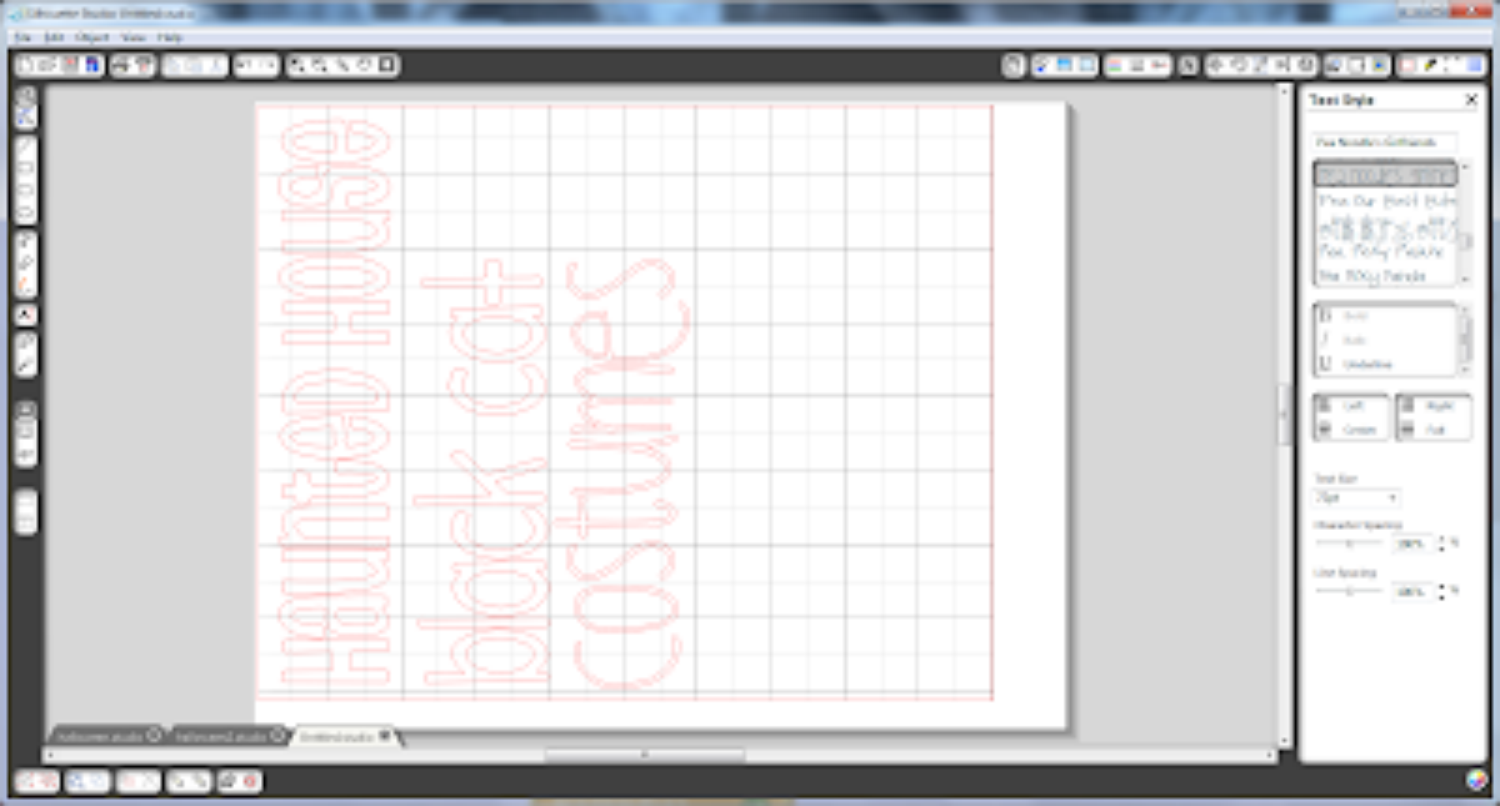
3) Next I cut the words out of my ExpressionsVinyl Vinyl.
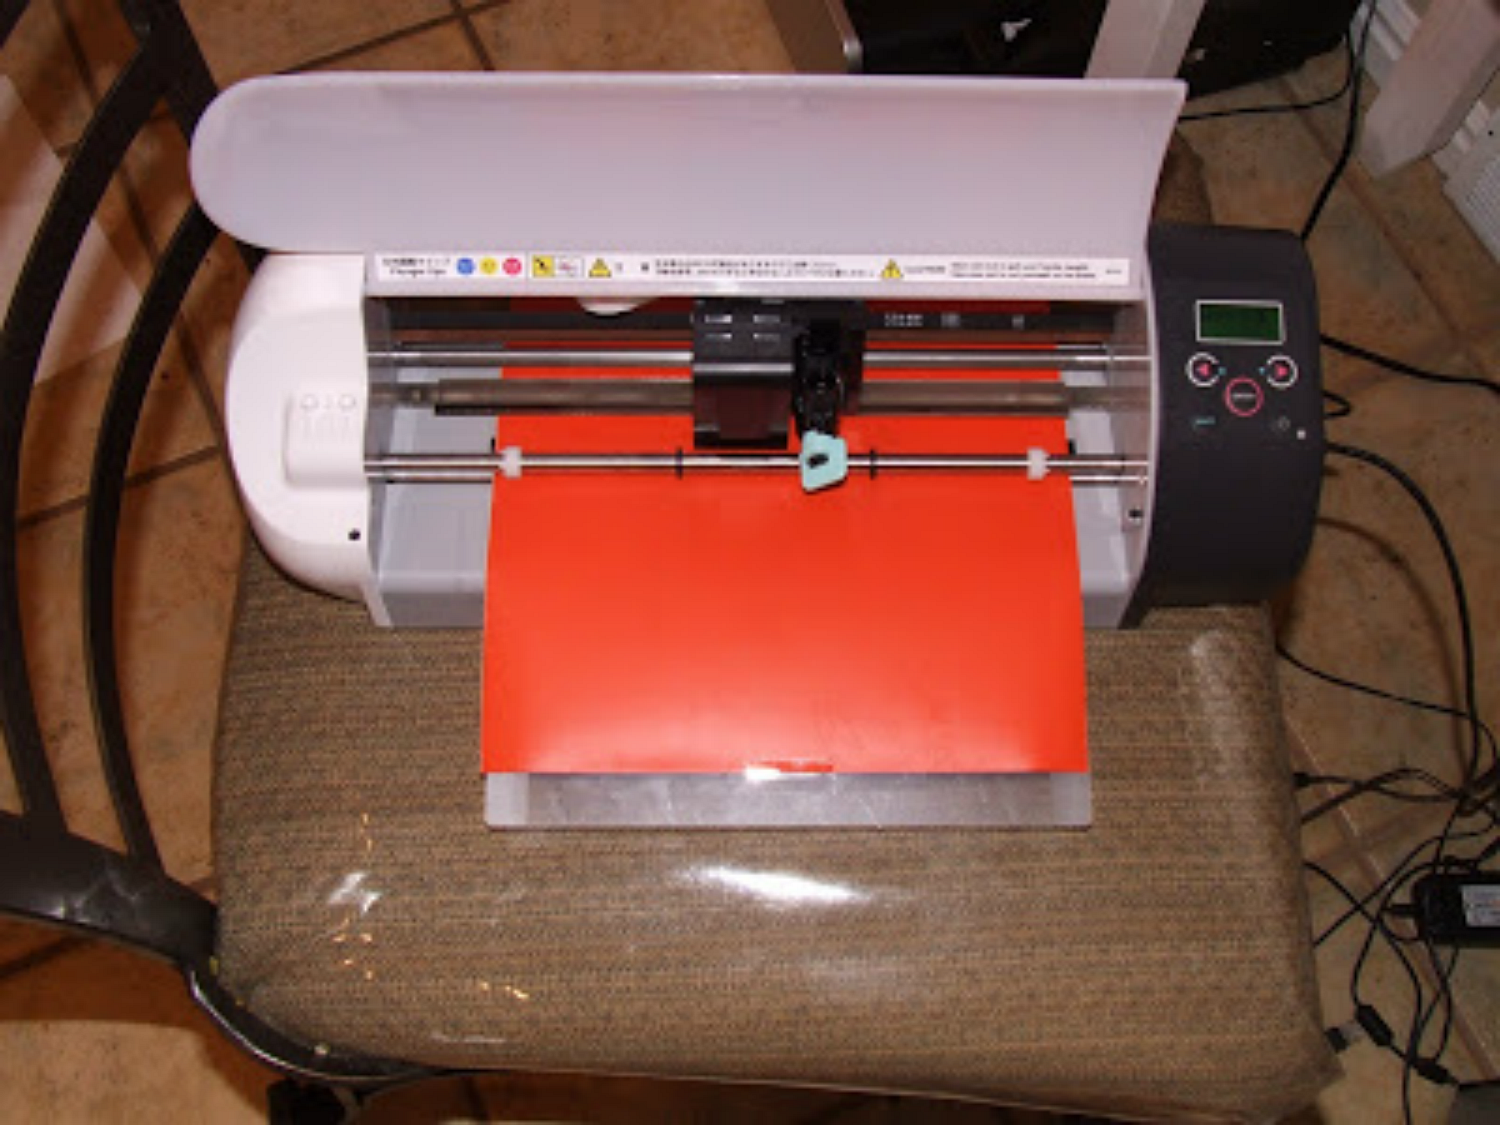
4) I removed all of the excess vinyl. I used colors: orange, black, purple and lime-tree green in the matte finish.
5) Using transfer paper, I rubbed the vinyl onto the tile. I love using tiles because they are cheap (this one was $.68) and you don't have to paint it.
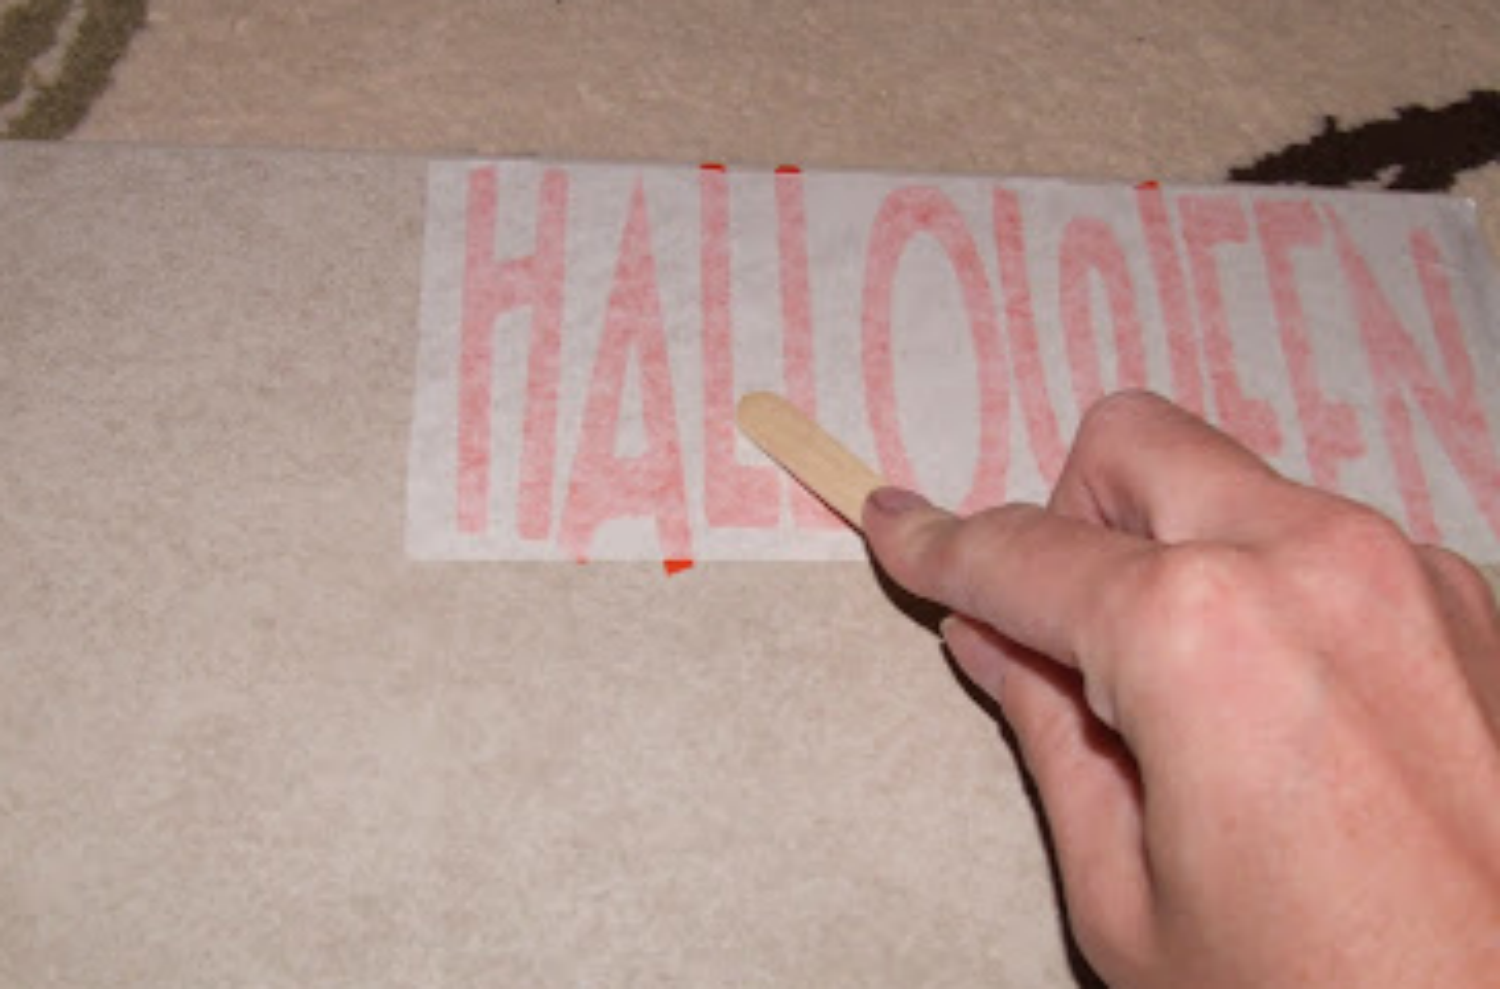
6) I carefully lined up the words and continued to put the vinyl on the tile. Just a little tip, you can use the same piece of transfer paper over. I used just one 4x8 strip for this tile and another one that I made.
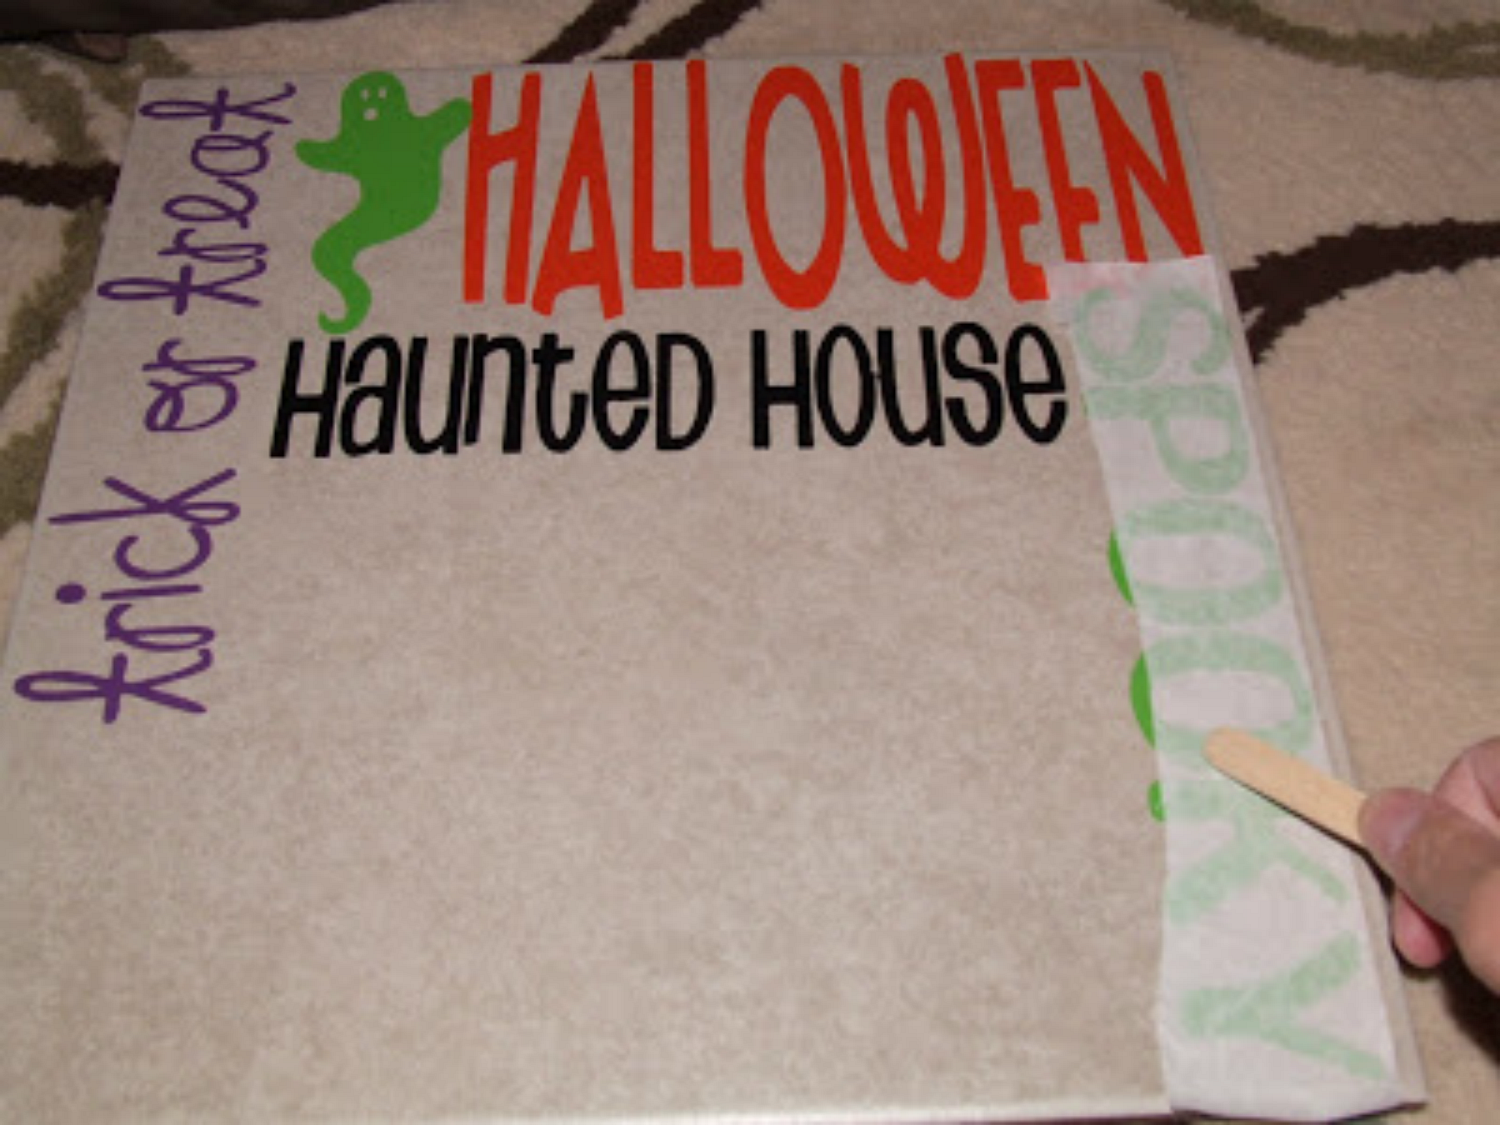
And just like that, I have a fun Halloween decoration!

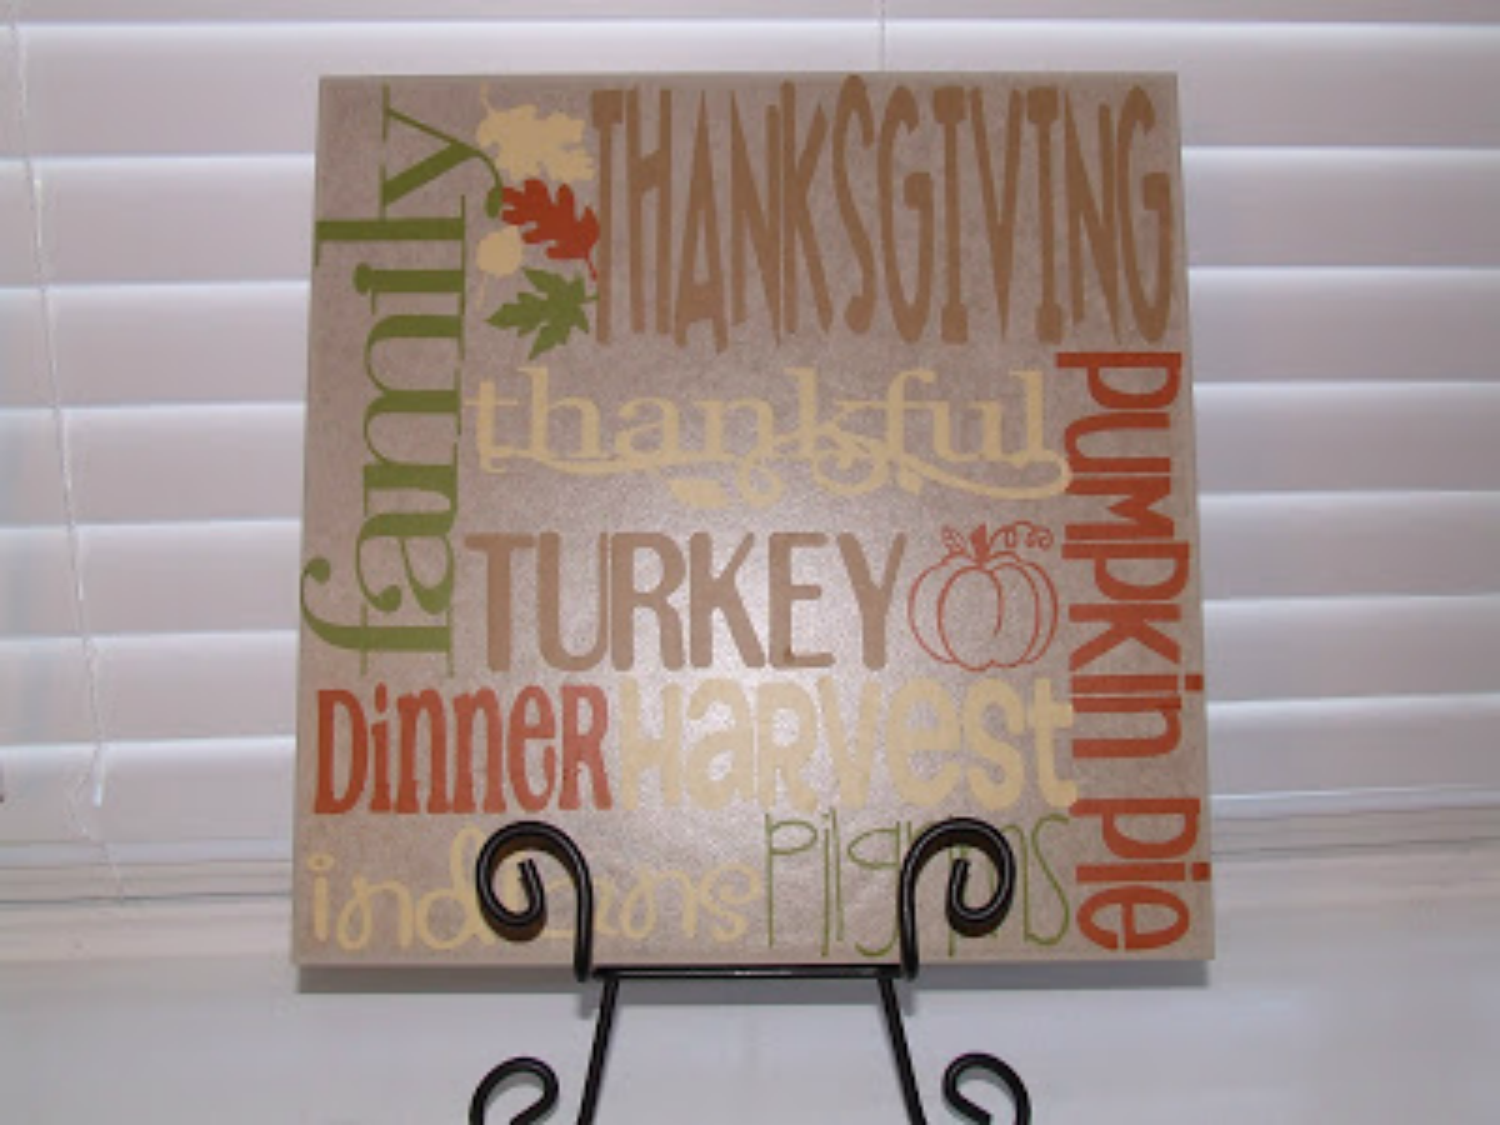
Here is one that I did for Thanksgiving. I used these colors: maize, nut brown, olive and light brown
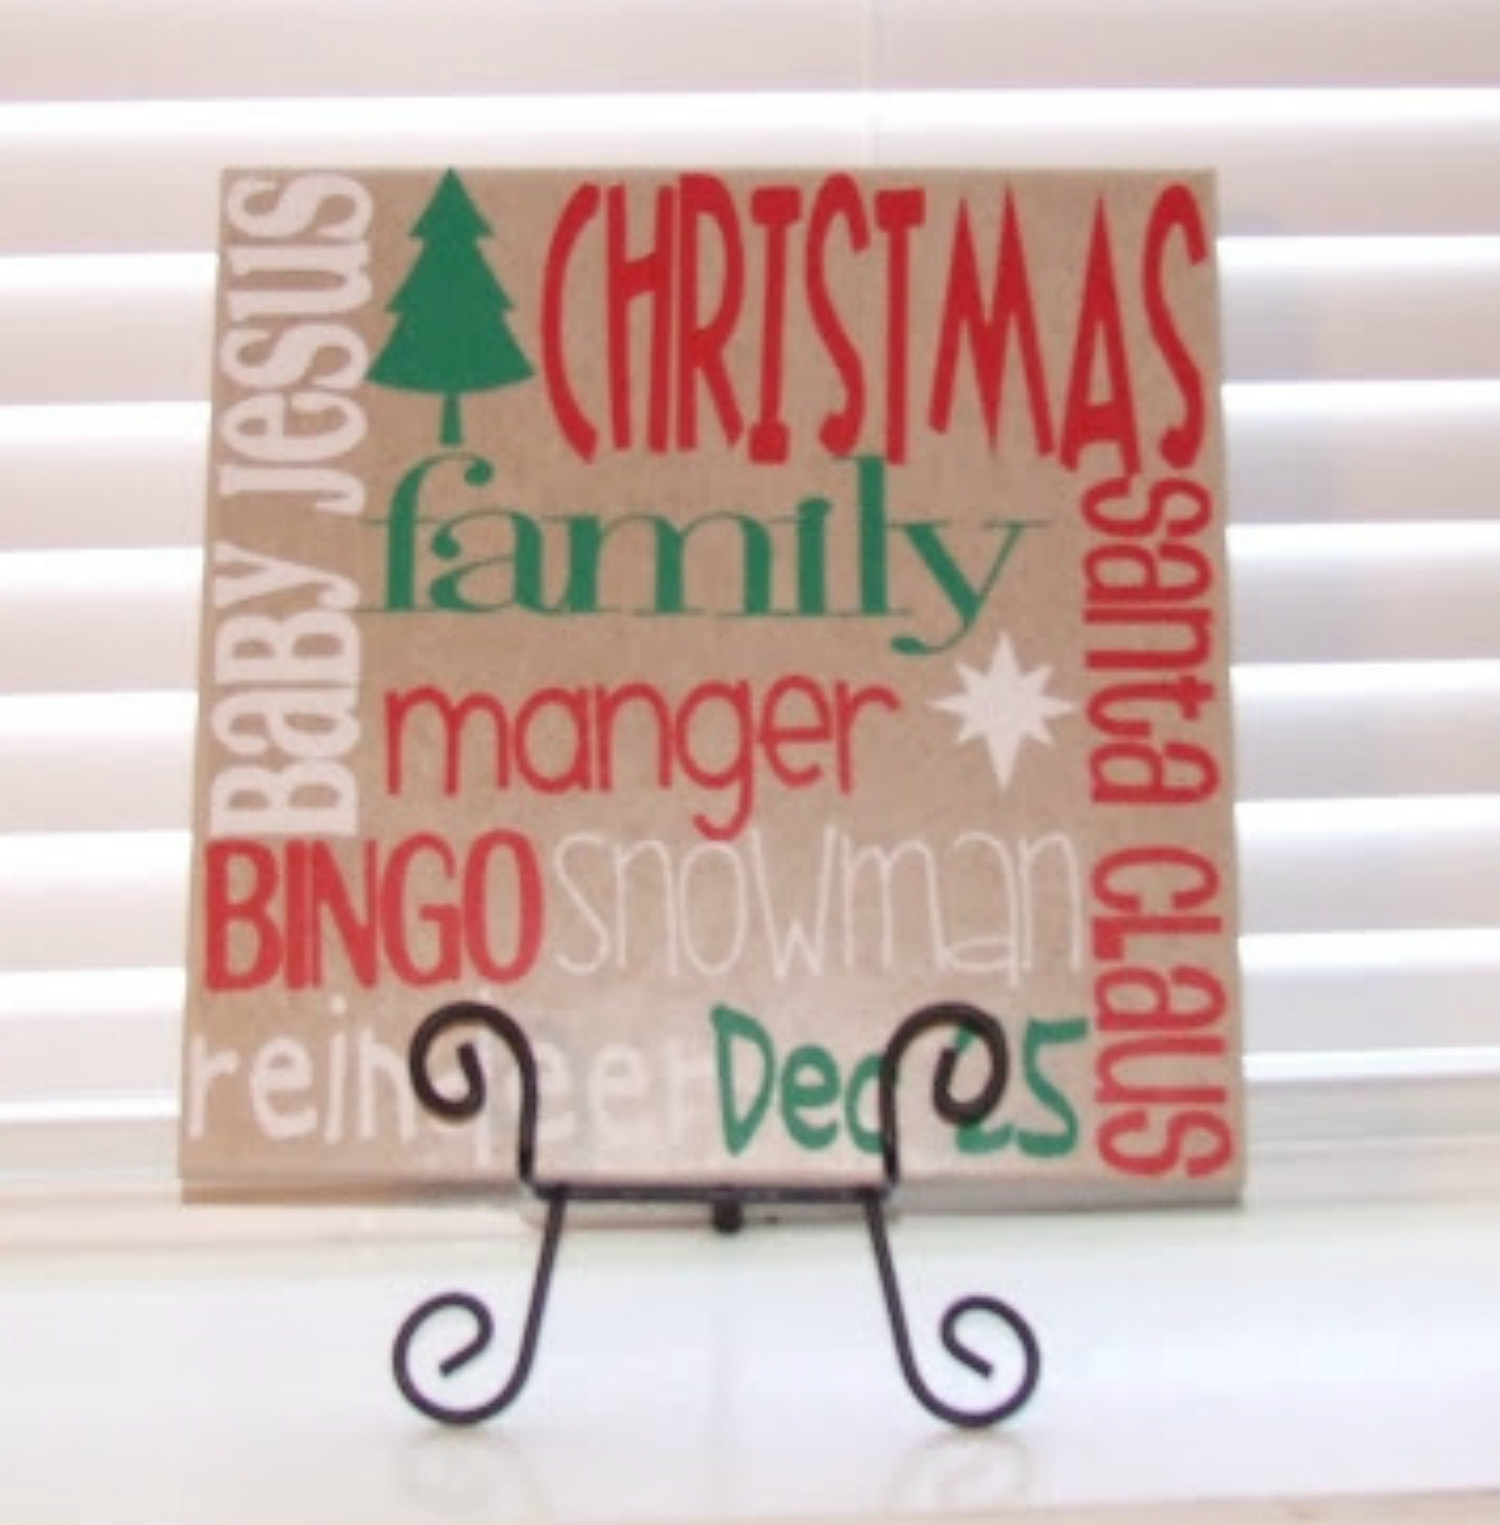
And here is one that I made for Christmas. I used these colors: red, white and green

Recent Posts
-
NEW Holographic Eclipse Heat Transfer Vinyl
April 15th, 2024 3 Ways to Use the New Holographic Eclipse Heat Transfer Vinyl from Siser …Apr 29th 2024 -
Hop into Spring with Cute Easter Vinyl Crafts
Do you love our Vinyl? Sign up for Vinyl Club today to get FREE vinyl and save big! …Mar 28th 2024 -
Fixing Wrinkles and Bubbles in Vinyl
How do you get air bubbles out of vinyl? There are a few different ways to ensure a flawless …Mar 26th 2024

