
Heat Transfer Layering Explained
Hi, everybody, it's Starla from expressionsvinyl.com, and today we're gonna talk about the mysterious technique of layering HTV. Can you do it? Yes. All HTV? No.
ExpressionsVinyl does not recommend layering on top of glitter HTV, holographic HTV, and the metal HTVs.
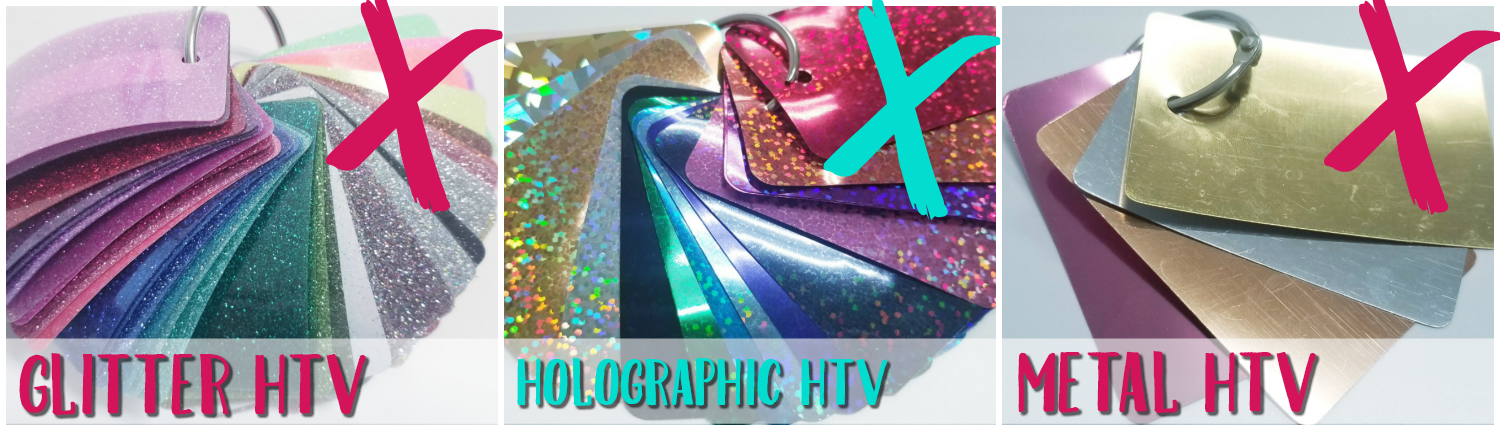
The reason being the texture and the finish of these lines does not give the top layer and good stable bonding base. Giving you a higher chance of your vinyl coming up.
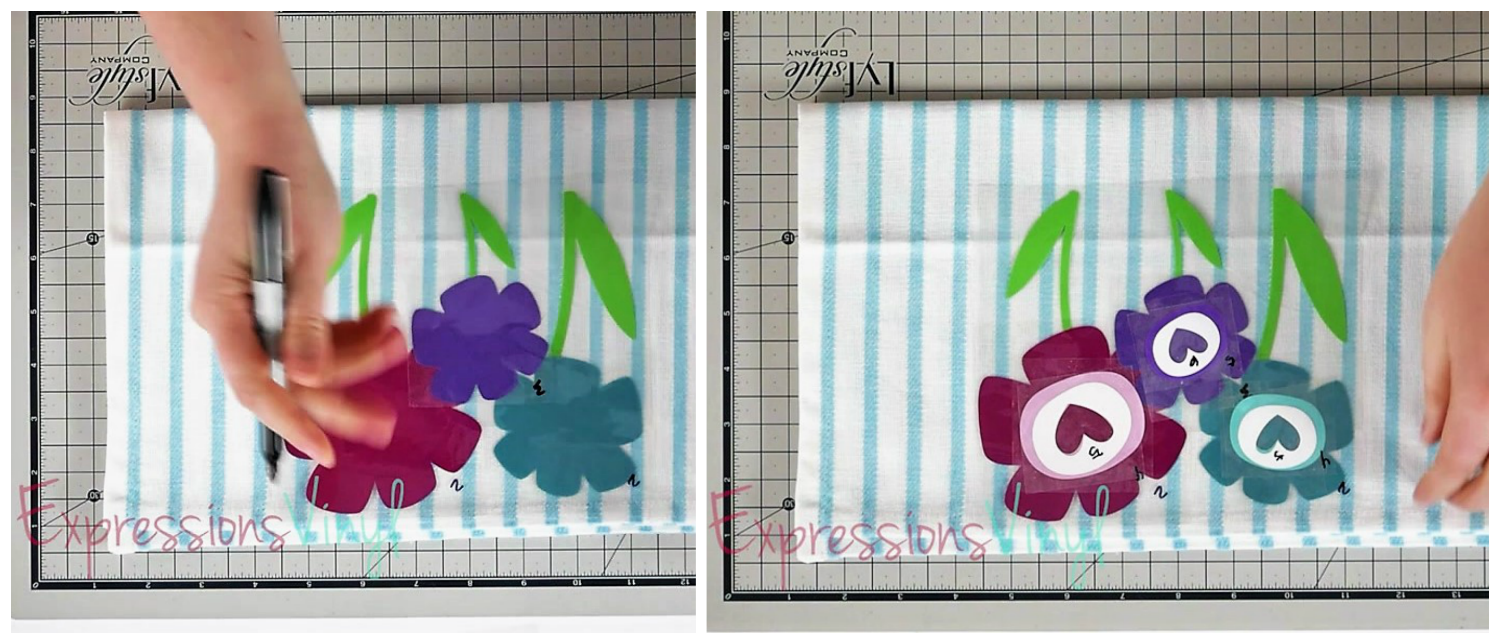
With that being said, lets get started on how to layer HTV, in multiple layers.Start with having your vinyl cut out and ready to go with their weeding boxes.
A quick tip that I like to do to make sure that I placed them in the right order is to number them from bottom starting at 1 and working my way to the top.
Vinyl:
Images:
This will not affect the vinyl in any way. This is just a guide for you to know what needs to go first and so on.
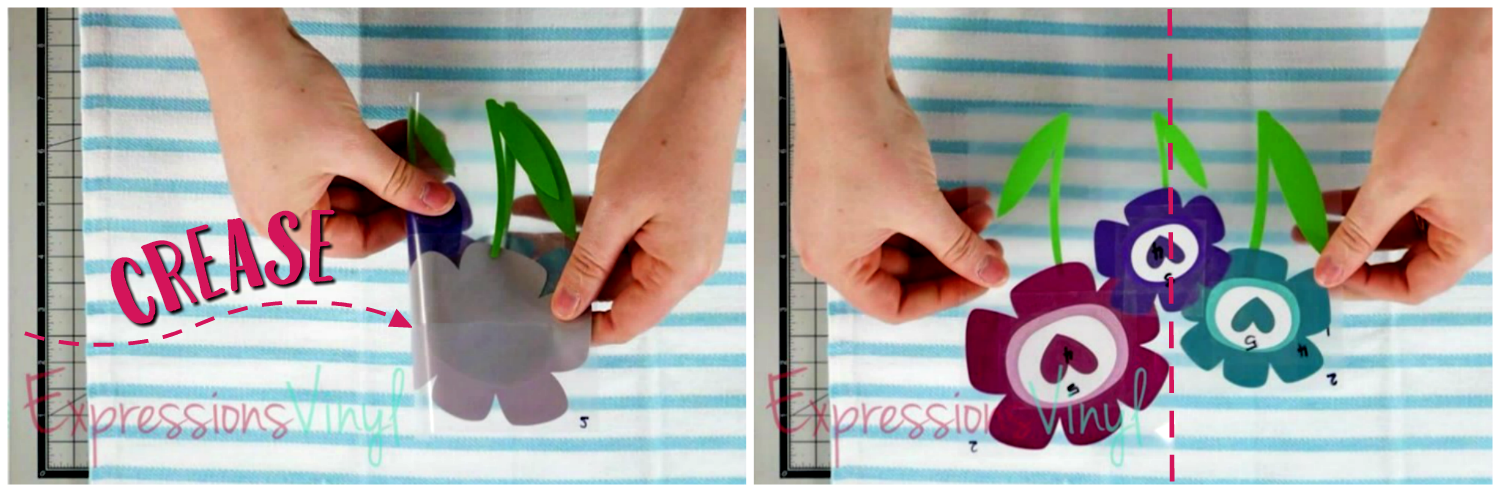
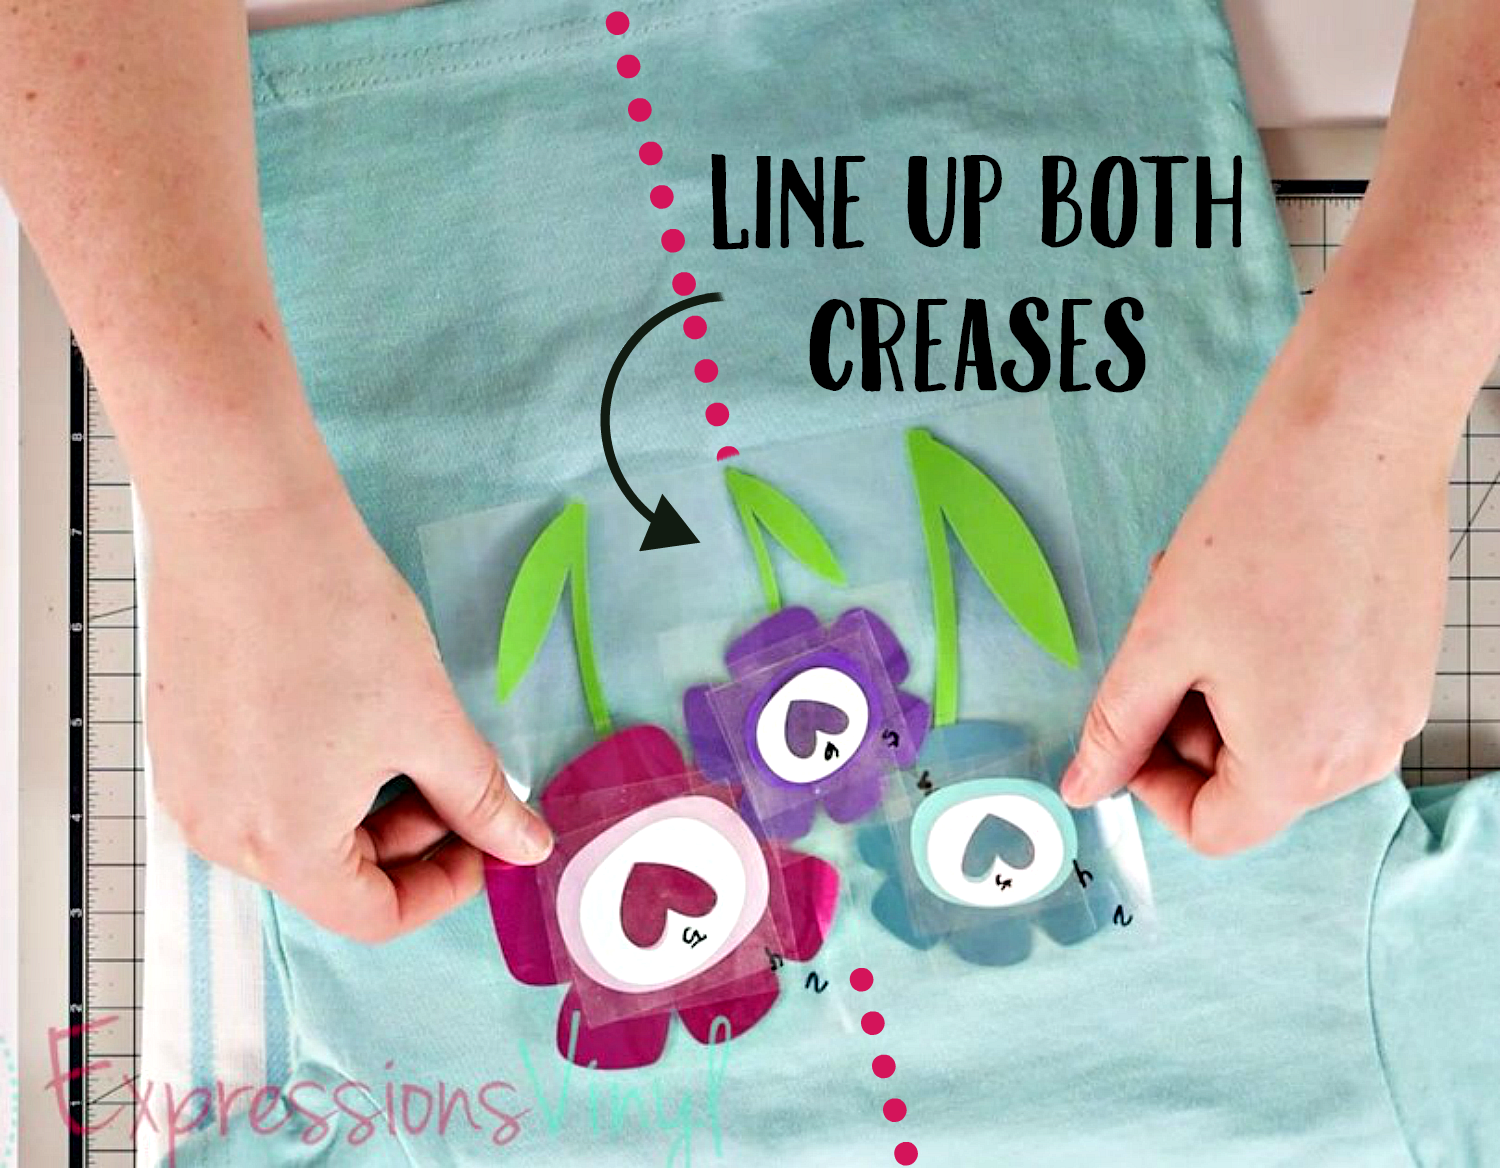
Once they're layered, crease the whole image to find the middle. This will not hurt your vinyl. Just grab the whole thing and crease to the middle.
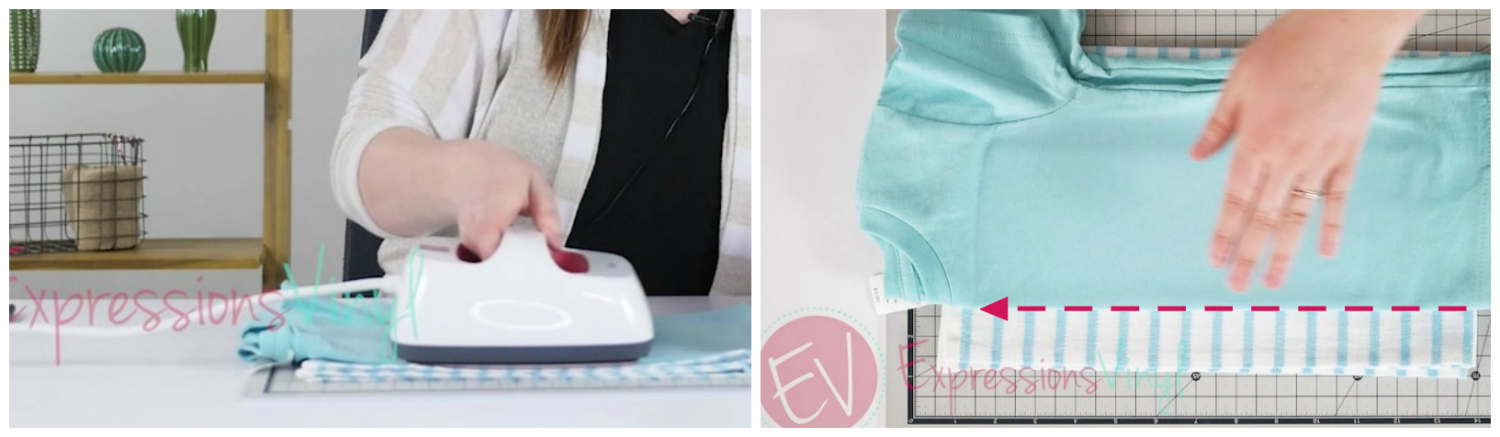
Quick Tip on how to find the center of your T-shirt, simply fold it in half and create a crease down the middle. And then just take your iron. Just iron it right down the middle.
Then taking your vinyl all layered and creased, line it up with the middle and that is where you will begin your first layer and everything will line up and be centered from there making it easy everytime.
But since we're not doing a shirt today, we are going to do it on a towel, so that's not necessary if you are not planning on it being in the middle of the towel.
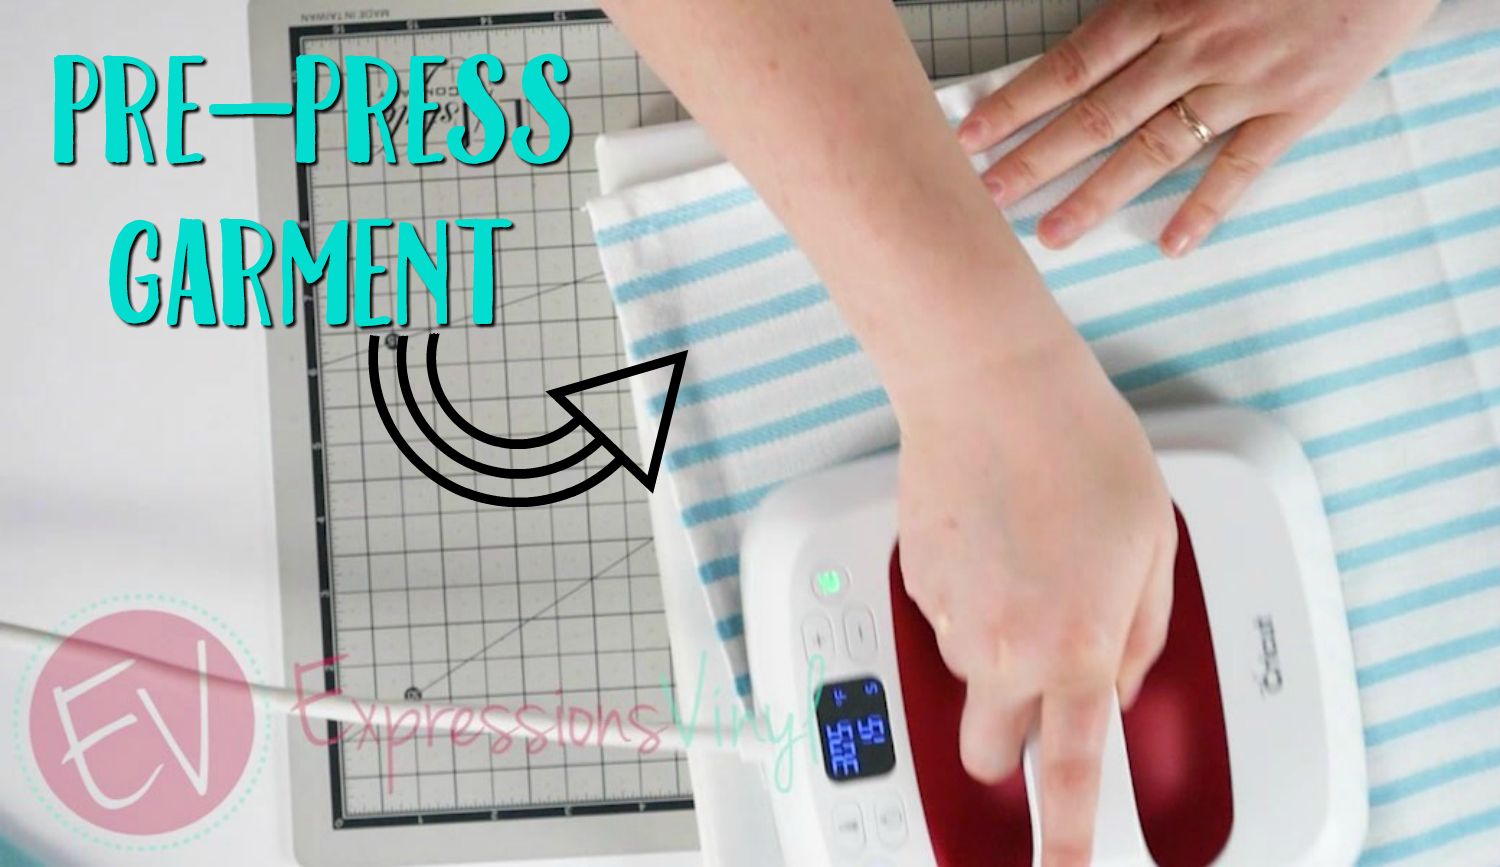
Starting off you always want to preheat your garment to rid it of any moisture it may have retained, it also helps avoid shrinking.
Now that our tea towel is all pressed line up your vinyl where you would like it ,you're going to take off your numbers and leave behind layer number one.
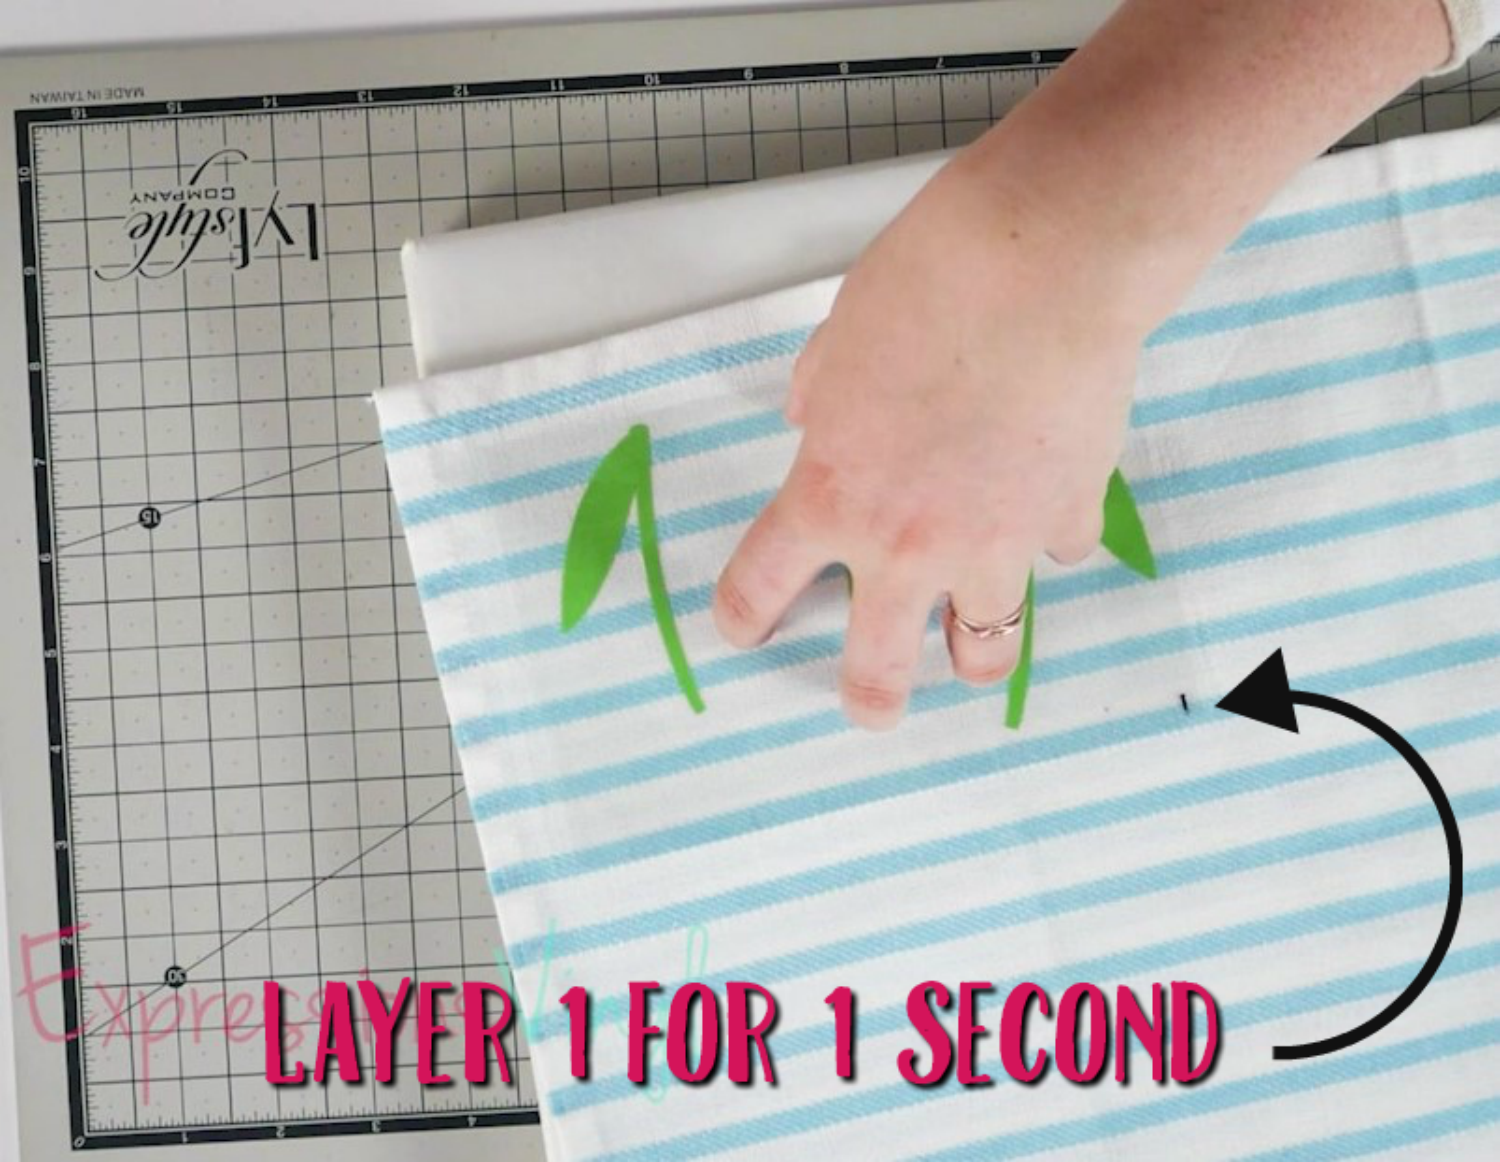
When you're ready to press your EasyWeed, you wanna set it to 305 degrees for 10 to 15 seconds, but you only want to do one-second increments to avoid any shrinking. After 1 second the HTV is not fully adhered to the towel, so if you were to throw this in the wash it WOULD come off. If you were only doing 1 layer do the full 10-15 seconds.
Now that I've got some exposed vinyl, I wanna make sure that I always have it covered. You don't wanna ever iron right on top of raw heat transfer. So take your multi-use paper and put it over top.
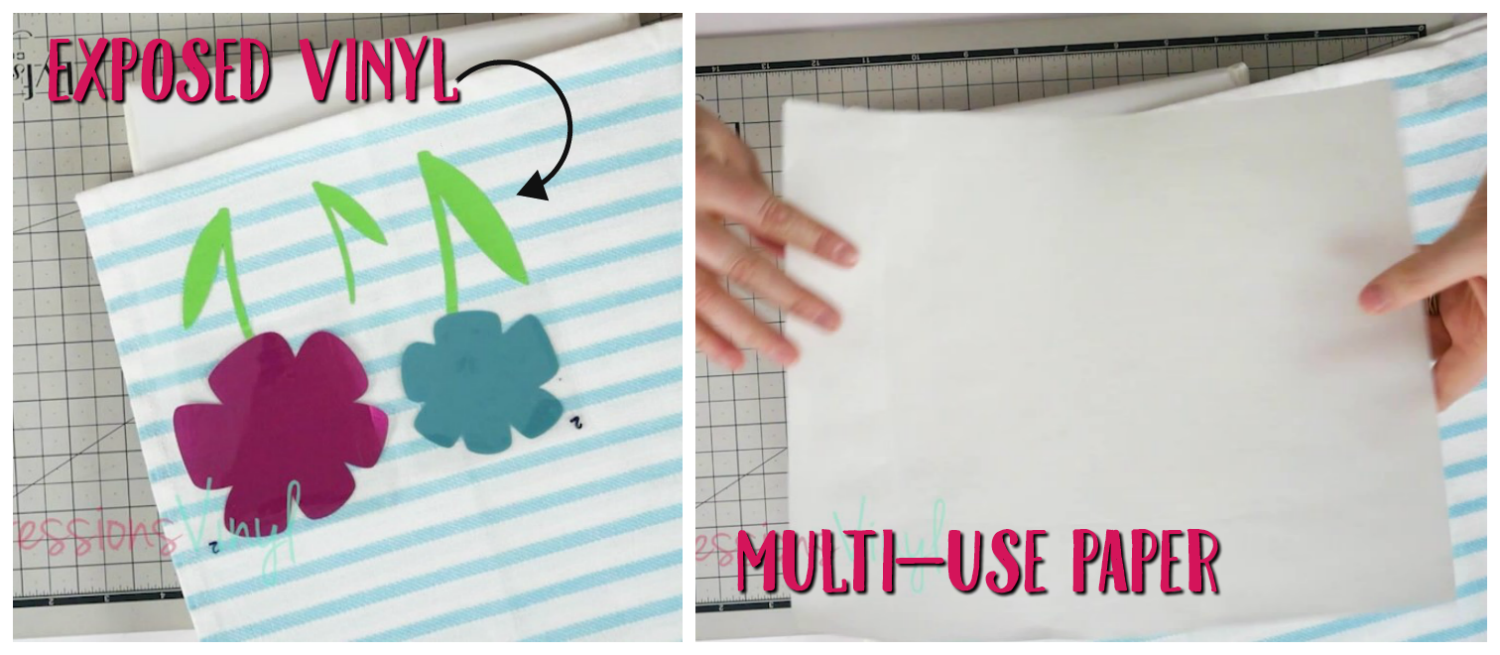
Continue onto each layer number by number for one-second increments until we get to the last layer.And be sure to avoid any overlapping heat transfer onto a carrier sheet.
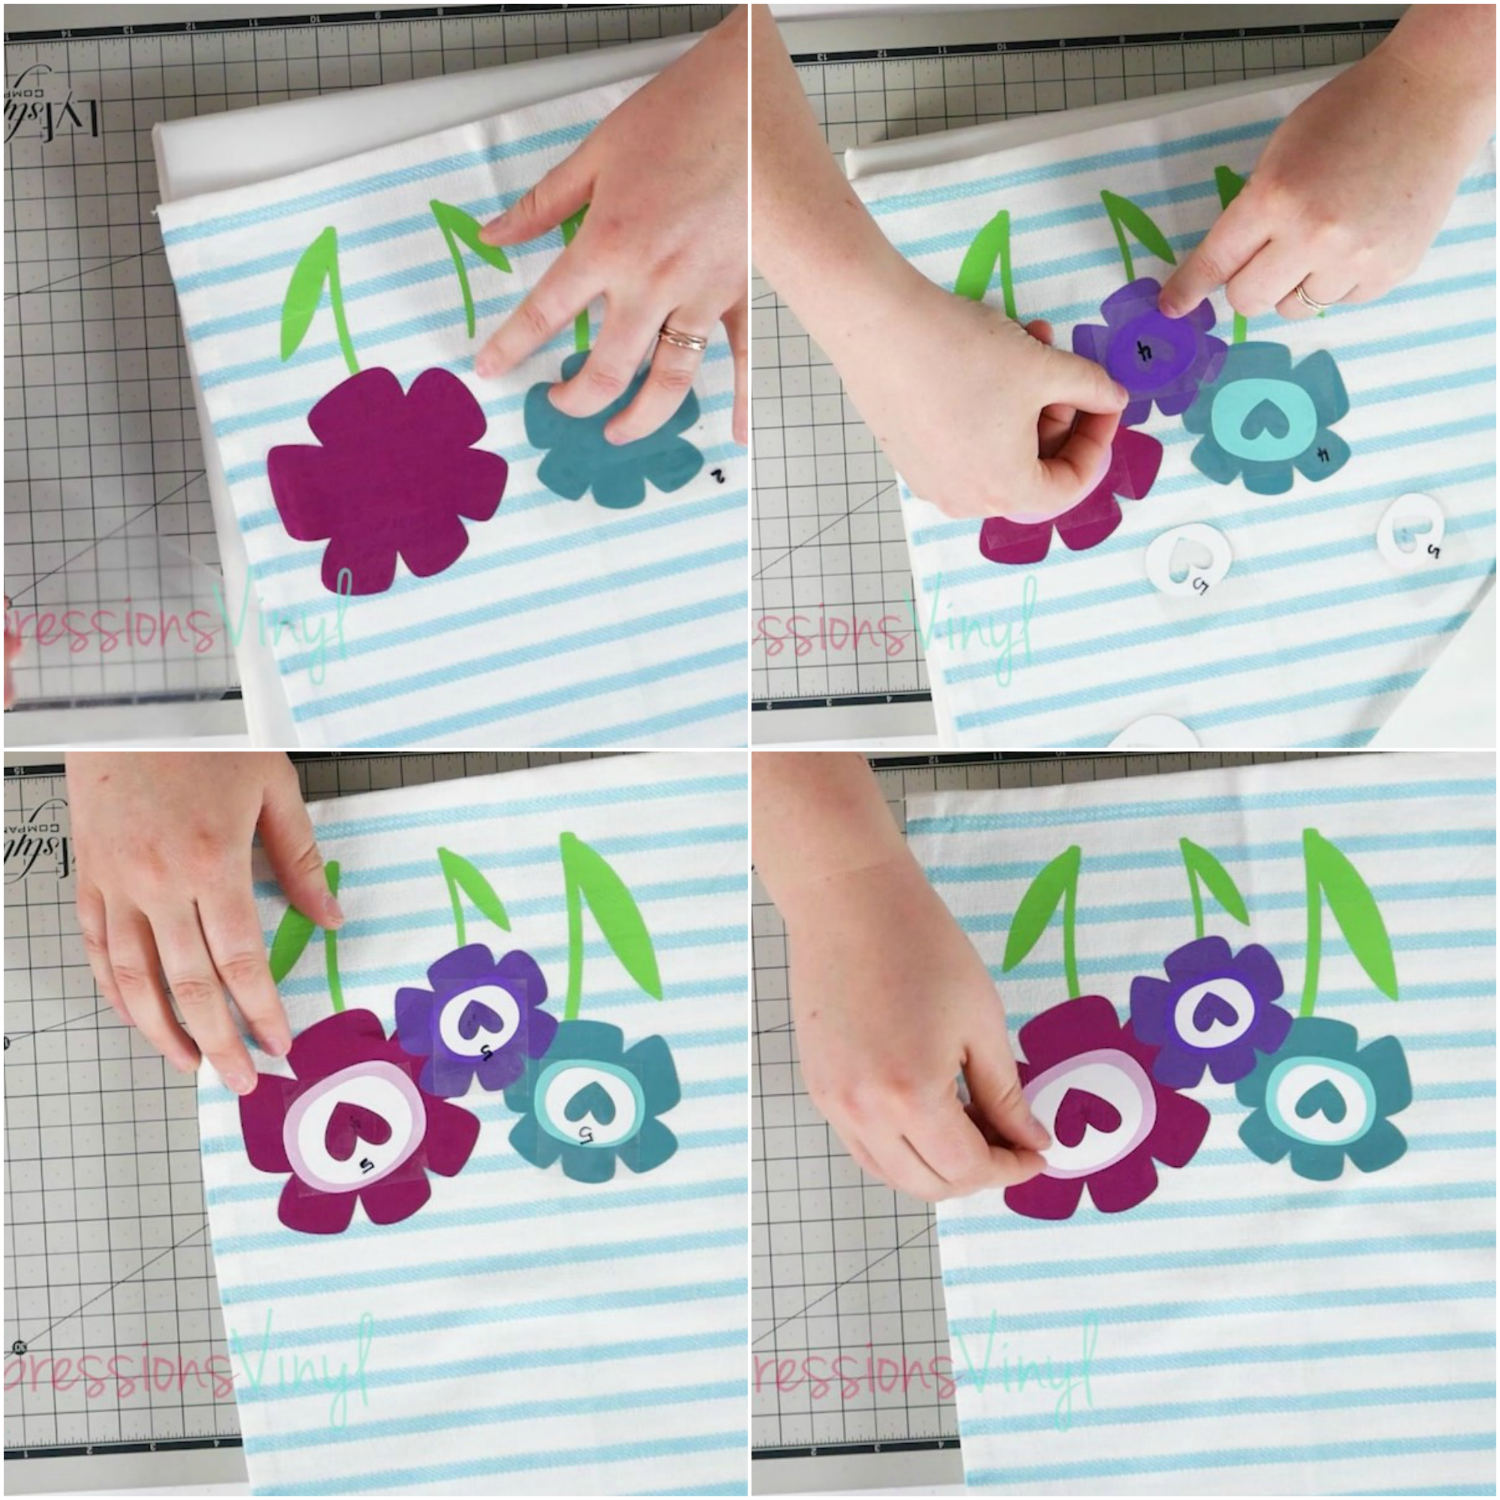
So now that we are at our last layer (Number 5) our vinyl has previously already been hit 4 times=4 seconds, so if you were to keep going in that pattern 5 would be the 5 seconds, so on and so forth.
But since this is our last layer and we have already hit 4 seconds, we have around 6-10 seconds remaining to make up the remainder of time.
Then once your last carrier sheet has been removed, apply a quick press to even everything out for 2-3 seconds. This will smooth any unwanted carrier sheet imprints.
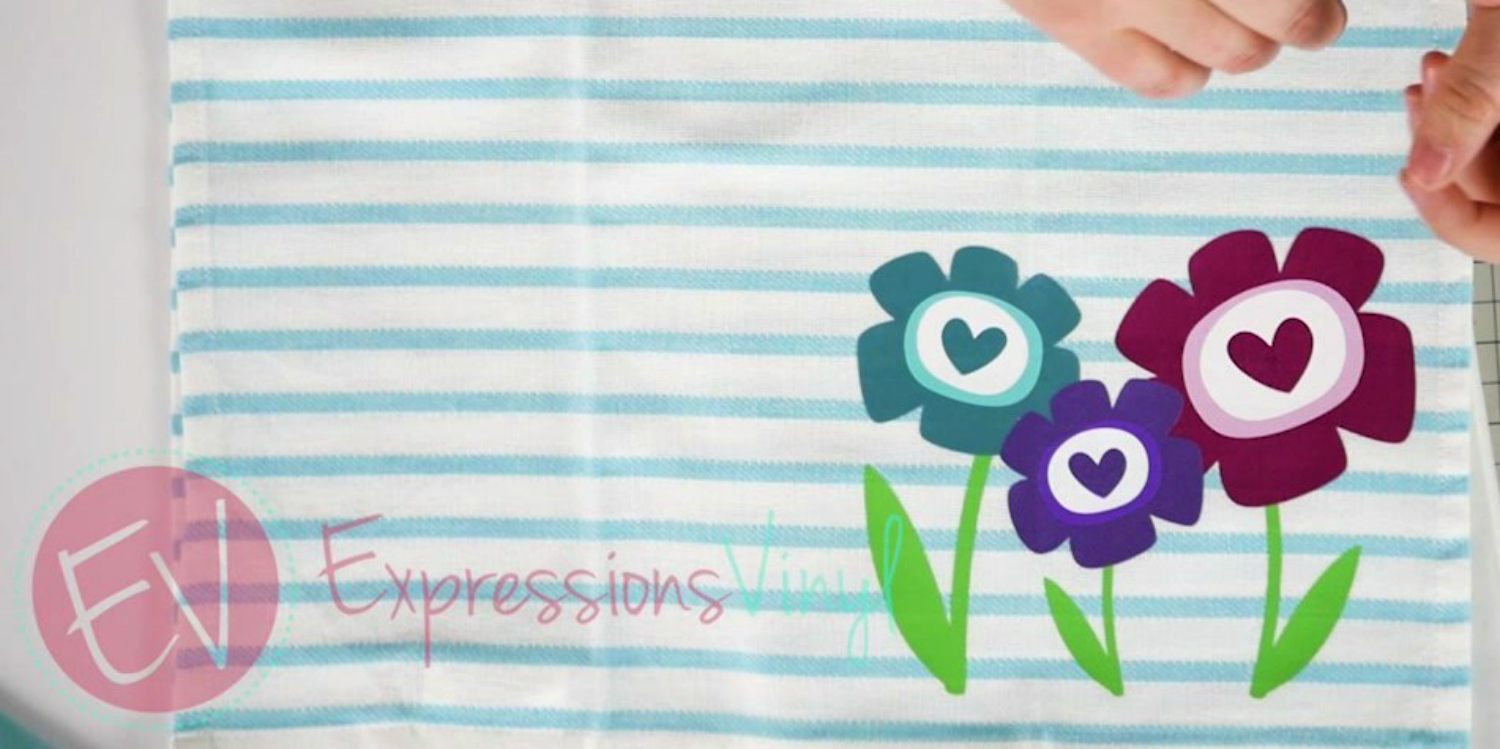
There you go see that was not scary, you just did 5 layers with no shrinking.Its so easy. Just take it slow, and you will be great.
Today I used an EasyPress but the same technique applies when using a heat press or just a home iron.
So if you wanna try this out, go over to Expressionsvinyl.com and grab yourself some Heat Transfer Vinyl.
And we'd love to see what you make.

Recent Posts
-
NEW Holographic Eclipse Heat Transfer Vinyl
April 15th, 2024 3 Ways to Use the New Holographic Eclipse Heat Transfer Vinyl from Siser …Apr 29th 2024 -
Hop into Spring with Cute Easter Vinyl Crafts
Do you love our Vinyl? Sign up for Vinyl Club today to get FREE vinyl and save big! …Mar 28th 2024 -

Fixing Wrinkles and Bubbles in Vinyl
How do you get air bubbles out of vinyl? There are a few different ways to ensure a flawless …Mar 26th 2024