Hello Summer Sign with Printable Vinyl
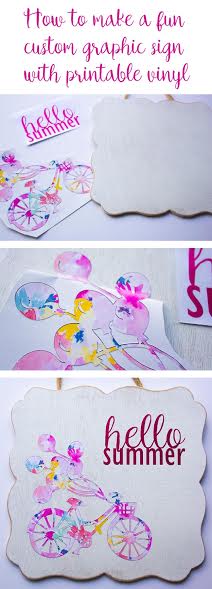
Happy Thursday everyone! Carrie with designed to be crafty again showing you how to make your own fun custom graphic printable vinyl signs. I don't know how the weather is where you live, but I'm in a suburb of Chicago and its FINALLY starting to warm up here and act like summer. No seriously, last week was 40 degrees and rainy every.single.day. I kinda have this thing for always having a fun seasonal sign hanging on my front door. Check out my instagram feed @designedtobecrafty so you see my fun Easter sign and other holidays. I didn't have a summery one yet, so I did what all of us crafters do... made one! Tomorrow also happens to be bike to work day so I figured I'd incorporate a bicycle into this project. I found this happy looking design in the Silhouette design store and thought it would be perfect, but I didn't want it to be one simple color. Did you know you can add patterns inside of designs for print and cut projects? Combine that design skill with printable vinyl and you have endless custom options for adding fun decals to everything you own. I have another tutorialon using it to make keyboard stickers too!!!
For this project you'll need:
- wood sign
- printable vinyl
- luster vinyl (I used magenta)
- transfer tape
Step One: Add your pattern to the design
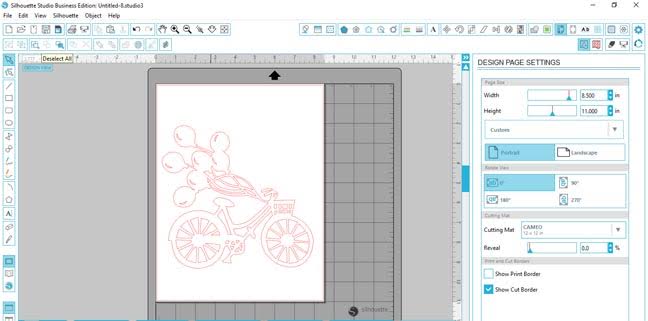
Open the design by double clicking on it.
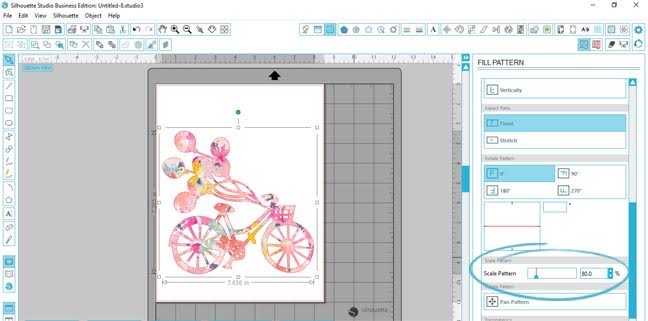
Click on the "fill pattern" tool and select your pattern. I used this one by Angie Makes.
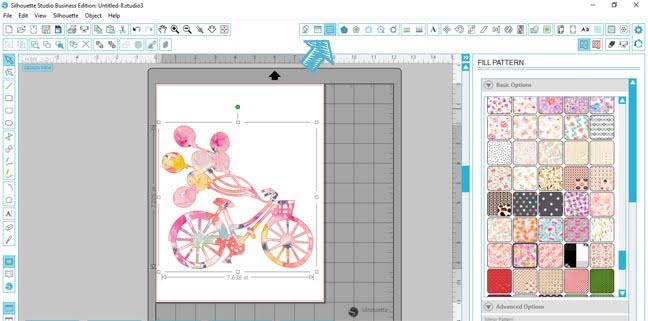
You can scale the size of the pattern larger or smaller, pan around, stretch, etc. by selecting "Advanced Options" I scaled this down to 80% to get all the fun variety of colors in the bike. Doesn't it look like an amazing watercolor?? Would you guess it was a floral design? Note to self: brush up on water coloring skills.
Step Two: Add registration marks
Click on the registration mark tool and select the correct style of marks to add to your work space. I try not to move the inset sizes or location unless I absolutely have to. It reads the marks perfectly on white matte paper if you don't change them. I did need to rotate my design to fit it within the lines.
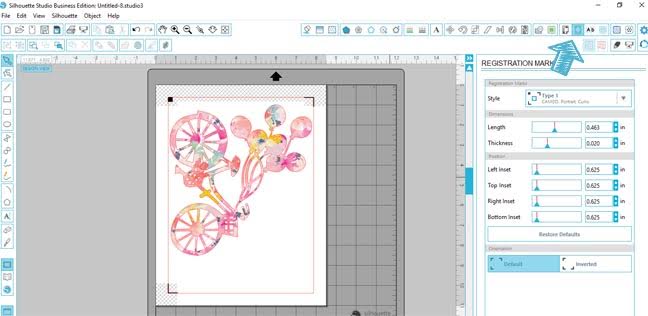
Now go ahead and print then cut this out. Weed the background vinyl away and cut the paper backing smaller so it's just around the design. Don't attach transfer tape!
Step Three: Design your saying
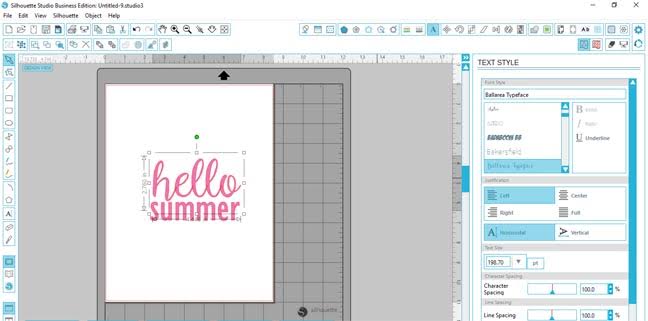
I wanted this to be a summer sign so I simply wrote "hello summer" There was a similar design in the Silhouette design store I loved but I didn't want the parenthesis around it. So instead of trying to modify that one to work I just found similar fonts I already owned to create it. 'hello' is written using Ballarea typeface I bought from thehungryjpeg.com
'summer' is written using Gill Sans MT Condensed which is a standard font probably already on your computer
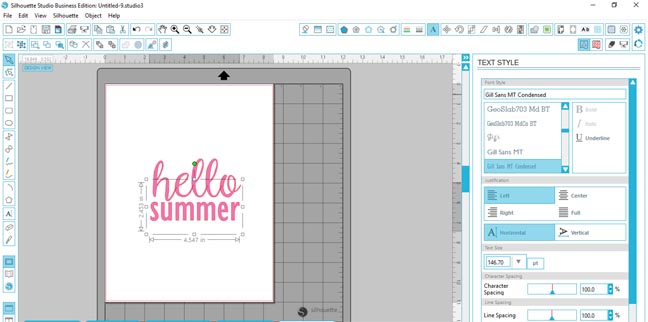
Just size them to be about the same width then align them to be centered. I LOVE the align tool! Here's a secret...I prefer to design things in Silhouette studio vs. photoshop 90% of the time, so much easier to use! Free amazing design software, even if you don't own a Silhouette machine I recommend downloading it.
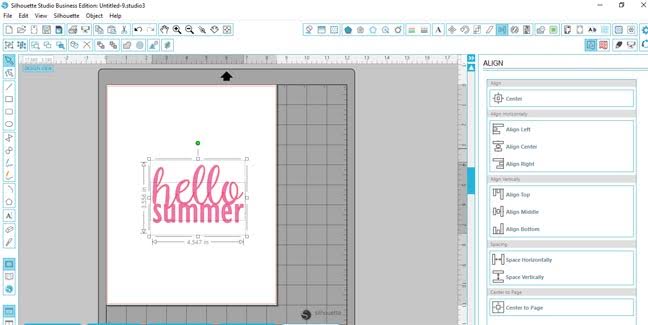
I overlapped the letters so it read more like a graphic image instead of 2 words.
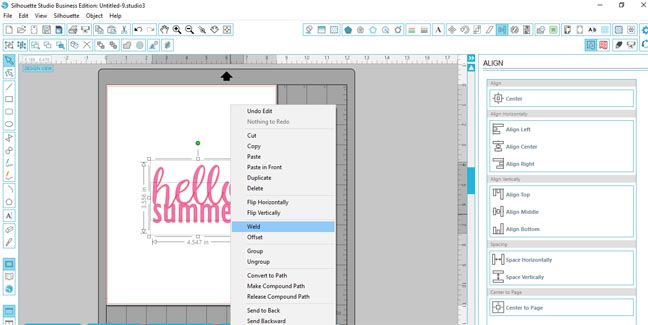
Right click to pull up the quick menu and with both words already selected use the 'weld' tool to join everything together. Don't forget to 'group' it together as well so when you move it around anything loose stays connected.
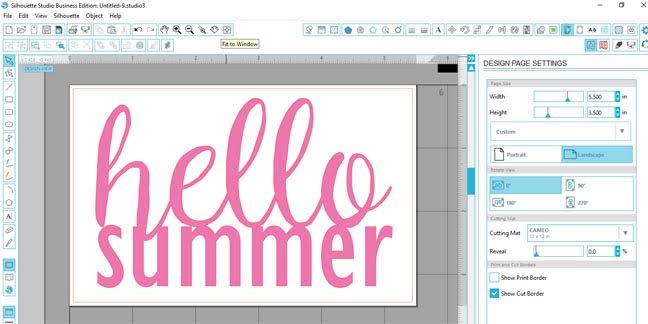
Now you're ready to cut this out of your vinyl. Weed the design and do apply transfer tape. Side note: I used the luster vinyl and I'M IN LOVE!! Just look how pretty even the weeded away part is, so shiny! Must buy all the colors....
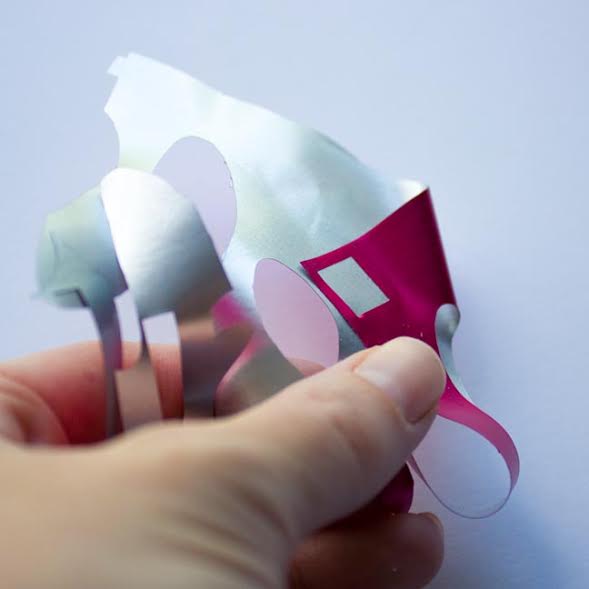
Step Four: Assemble it all together
Now it's time to attach it all together. I started with the printable vinyl part first.
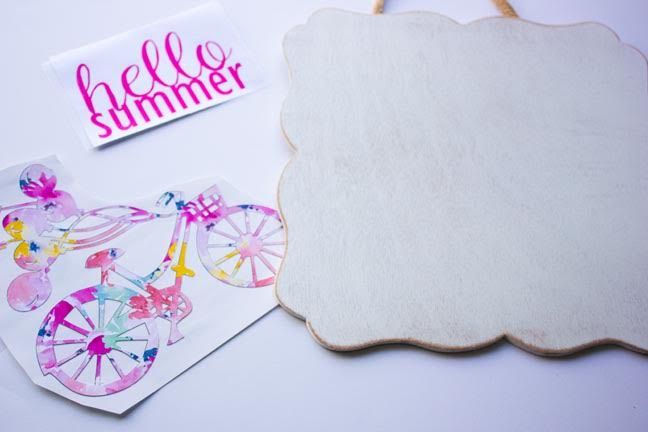
You can't apply transfer tape to the bare printable vinyl, it will pull the ink off. So here's a trick... Fold the backing back to expose about an inch of the vinyl. Attach that to your wood sign and slowly pull away the backing while attaching the vinyl.
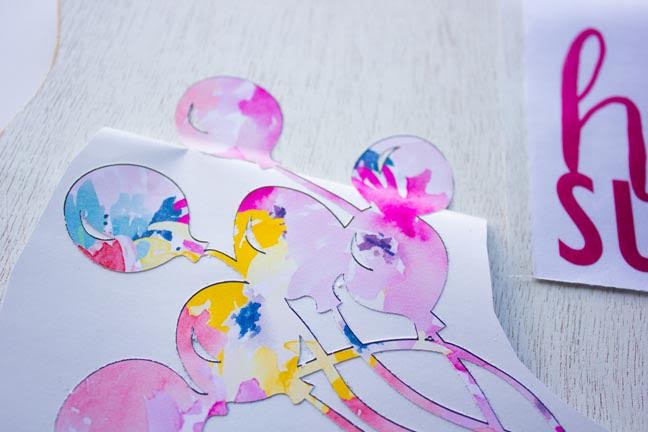
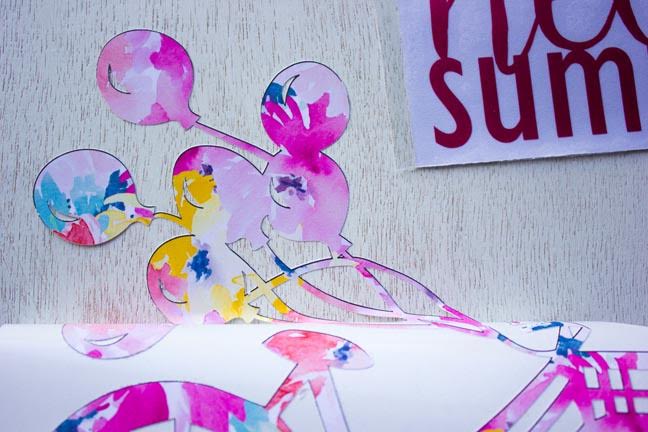
Easy peasy!! Just take your time and pull gently.
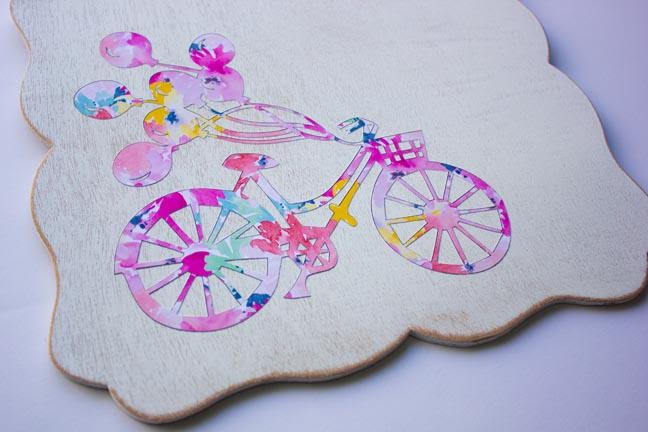
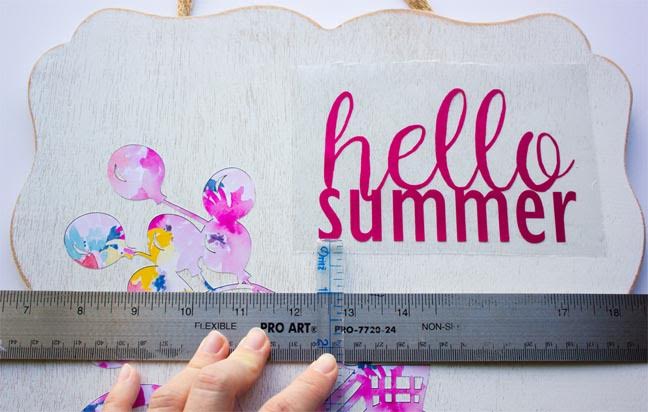
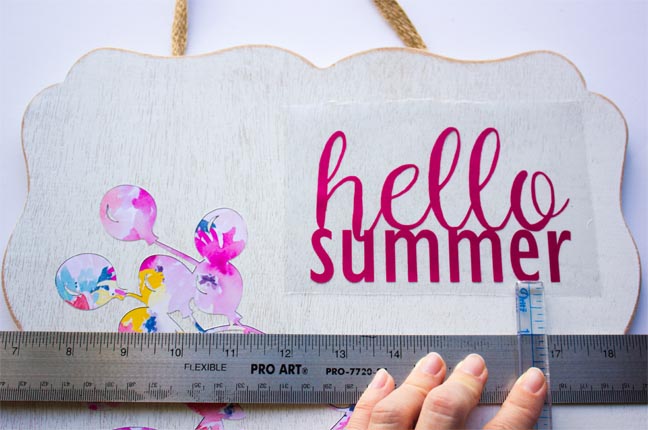
Now attach the words. This is the normal process of using transfer tape. Here's another trick for getting it on straight with a curvy edged sign like the one I used. Take a long ruler and have it lay straight across the scroll indentures. Then take a smaller ruler to line up the bottom text.
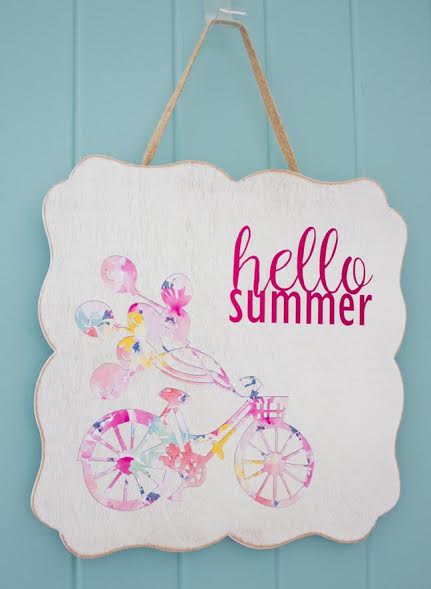
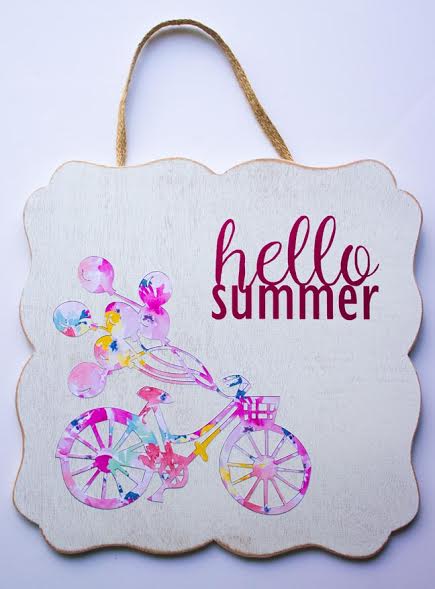
Here is the finished product!!
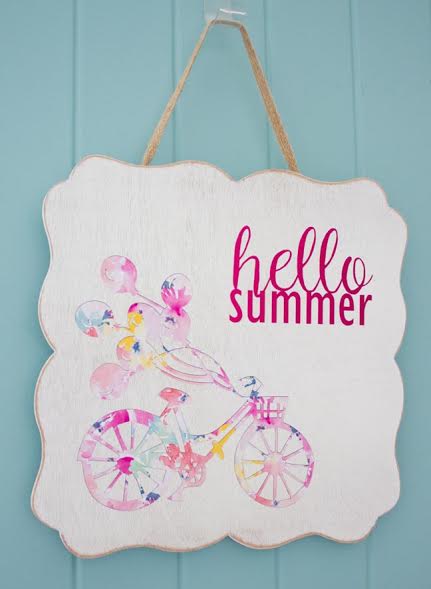
I'm just loving the colors on my aqua blue front door!!
Make sure to follow me on instagram for more fun craft and interior design ideas @designedtobecrafty and on pinterest @design2bcrafty
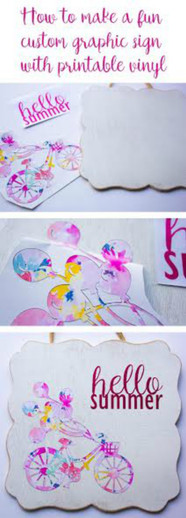
here is an image if you want to Pin this for later:
Recent Posts
-
NEW Holographic Eclipse Heat Transfer Vinyl
April 15th, 2024 3 Ways to Use the New Holographic Eclipse Heat Transfer Vinyl from Siser …Apr 29th 2024 -
Hop into Spring with Cute Easter Vinyl Crafts
Do you love our Vinyl? Sign up for Vinyl Club today to get FREE vinyl and save big! …Mar 28th 2024 -
Fixing Wrinkles and Bubbles in Vinyl
How do you get air bubbles out of vinyl? There are a few different ways to ensure a flawless …Mar 26th 2024

