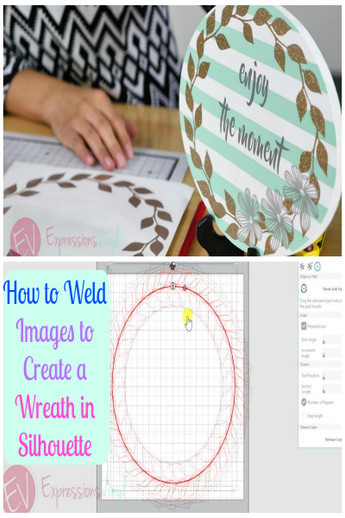
How to Weld Images Using Silhouette
Hello everyone! It's Amy with expressionsvinyl.com and today I'm going to show you how to use the weld feature in Silhouette Studio. If you have no idea what "weld" is, no worries. The purpose of using the weld feature is to link words or images together so they cut out neatly as one instead of separate pieces. Sometimes letters or images overlap other letters or images. That's when welding comes to the rescue! This example, I will show you how to use weld to make a wreath using a leaf image. I found this leaf image from Google.
The first thing to do is to draw a circle using the shapes tool button. This is going to outline the circular shape of the wreath. The size of the circle doesn’t matter right now because we will resize once we finish welding. Next, place the leaf at the top of the circle and center it.
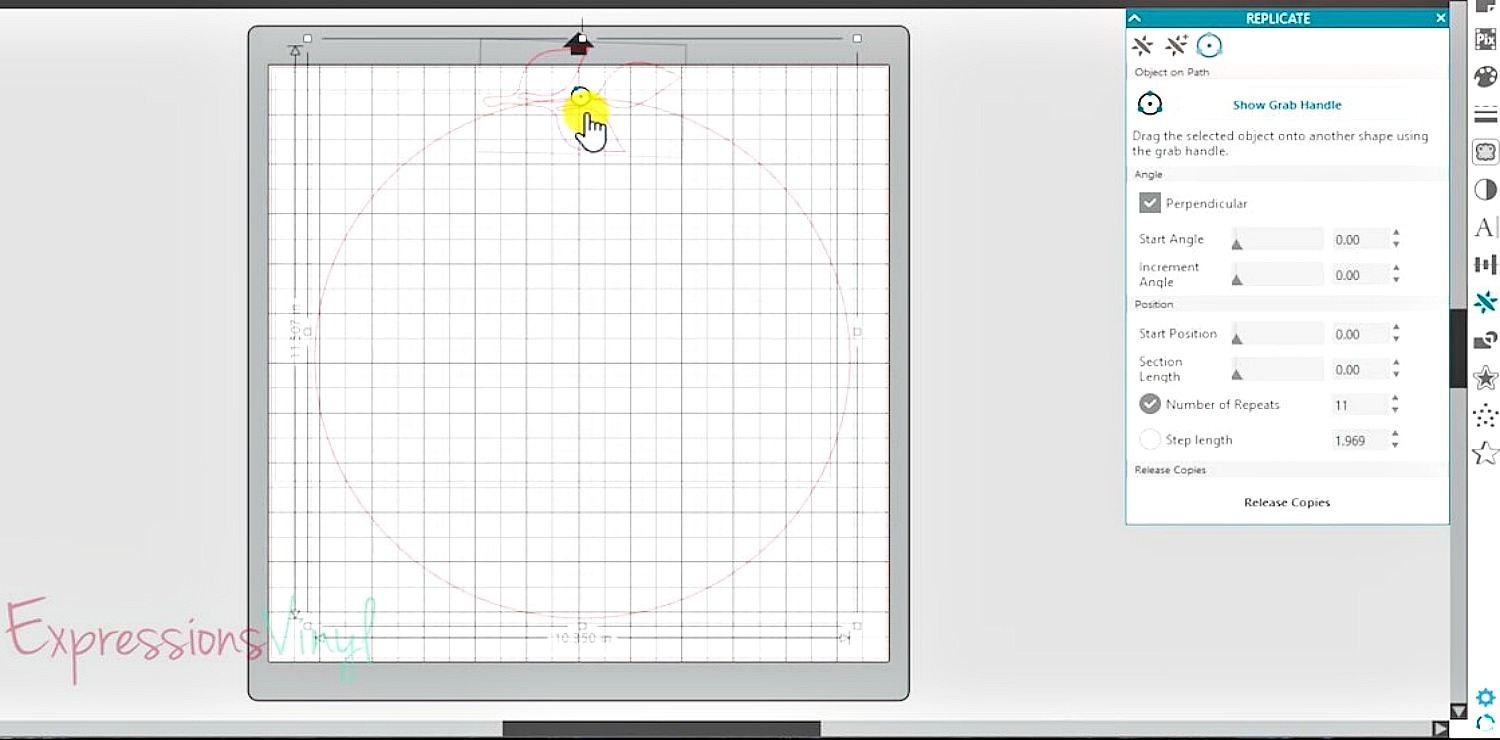
On the right side of the toolbar area, select the replicate button. At the top of the replicate box select the symbol that looks like a bullseye aka “show grab handle.” Once you select that the same symbol will pop up on the leaf. Double click that icon and that will repeat the leaf image around the circle. * Make sure you select the leaf image so the grab handle will show up on your image, not the circle.
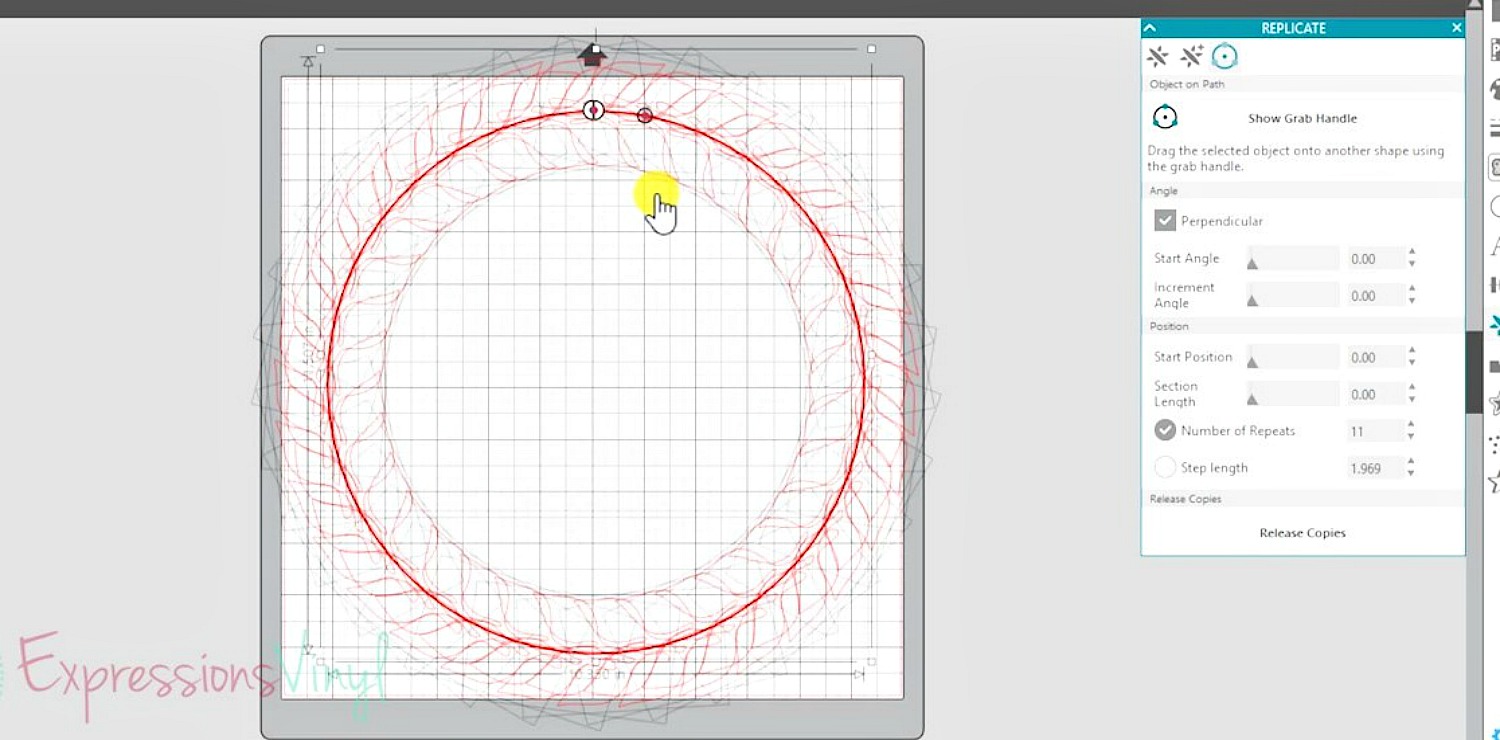
You can see that the leaf was repeated a lot. To reduce or add the number of repeats, you can change the number next to “number of repeats.” For this, I changed it to 11. Then click on “release copies” so it can make those changes.
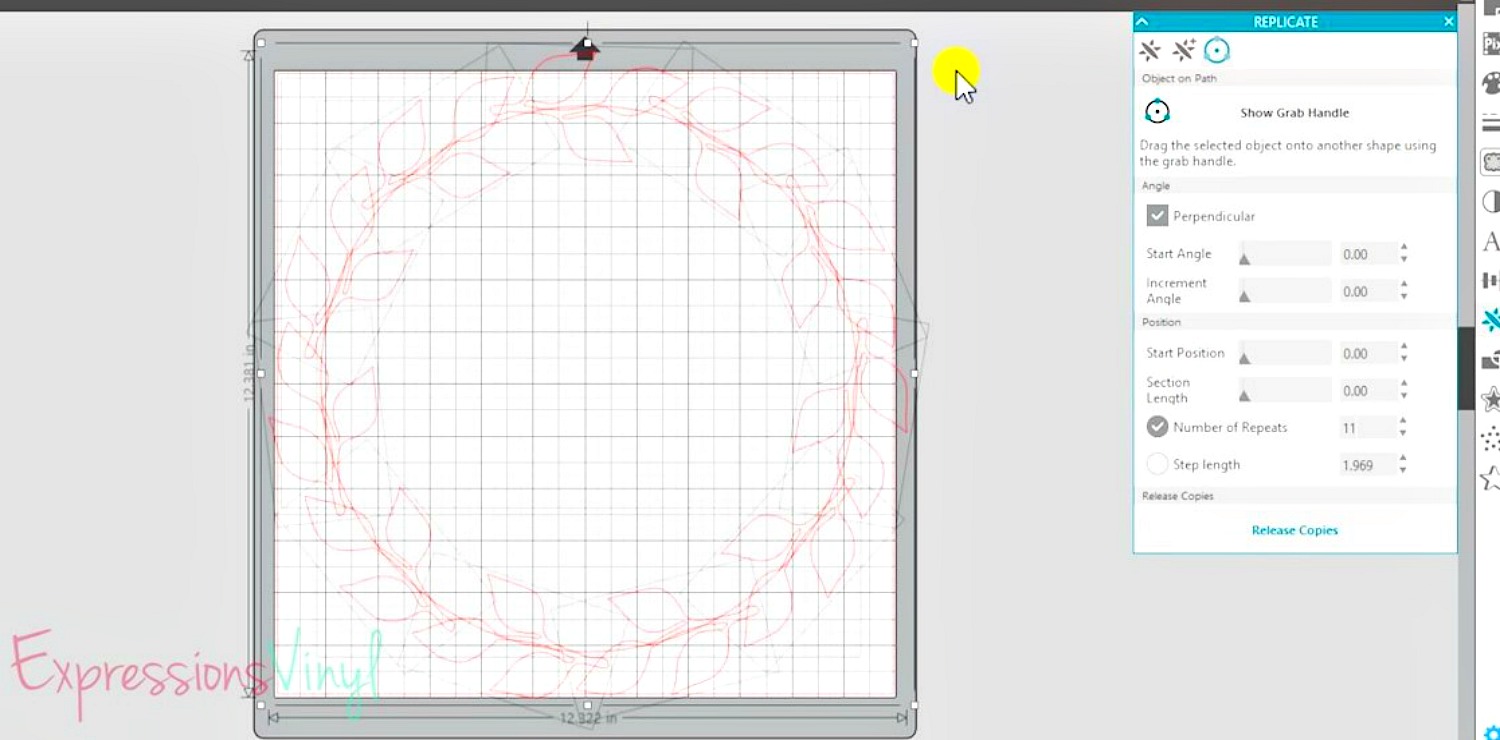
Once you are satisfied with the overall look, remove the circle and we can start welding. Select the entire image and you can find the weld button in one of two places. You can right click and select weld or you can select weld under the modify tab. That is found on the toolbar to the right.
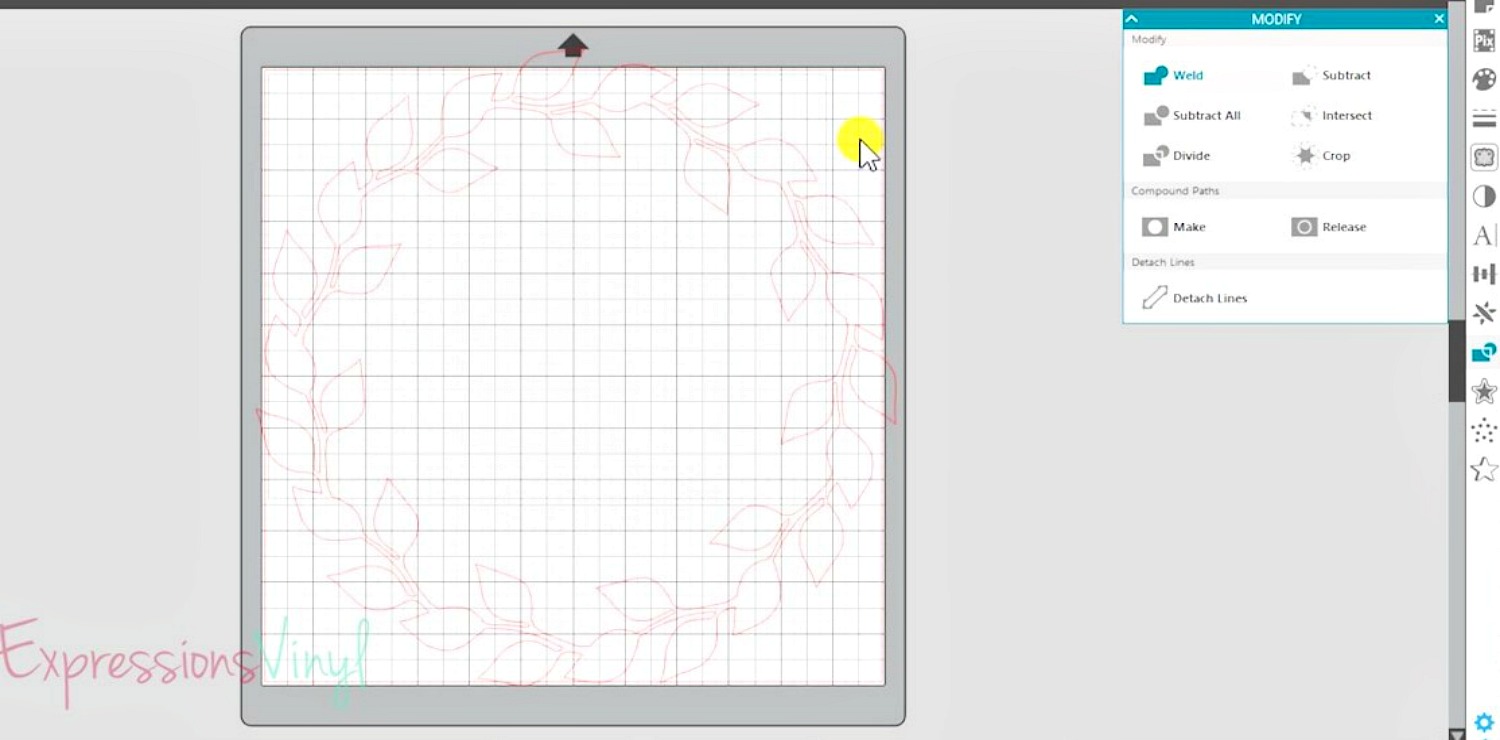
And now you know how to weld an image to create a wreath!

Recent Posts
-
NEW Holographic Eclipse Heat Transfer Vinyl
April 15th, 2024 3 Ways to Use the New Holographic Eclipse Heat Transfer Vinyl from Siser …Apr 29th 2024 -
Hop into Spring with Cute Easter Vinyl Crafts
Do you love our Vinyl? Sign up for Vinyl Club today to get FREE vinyl and save big! …Mar 28th 2024 -
Fixing Wrinkles and Bubbles in Vinyl
How do you get air bubbles out of vinyl? There are a few different ways to ensure a flawless …Mar 26th 2024

