
HTV For Shirts: How To Choose The Right Size Vinyl
It's a question we get quite a bit: how do I know the correct sizing and placement of heat transfer vinyl on t-shirts? People often ask, so today we're going to answer that question and more! Check out the standard sizing and placement for both sleeves/body on onesies, as well as youth, adult, and fitted adult t-shirts. Let's dive in!
How to Align Your Vinyl Properly
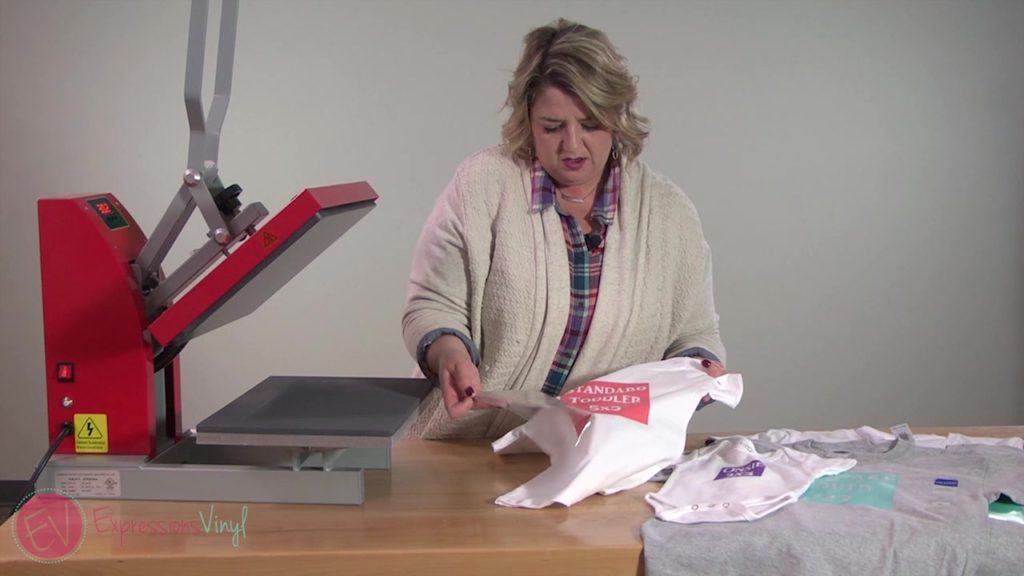
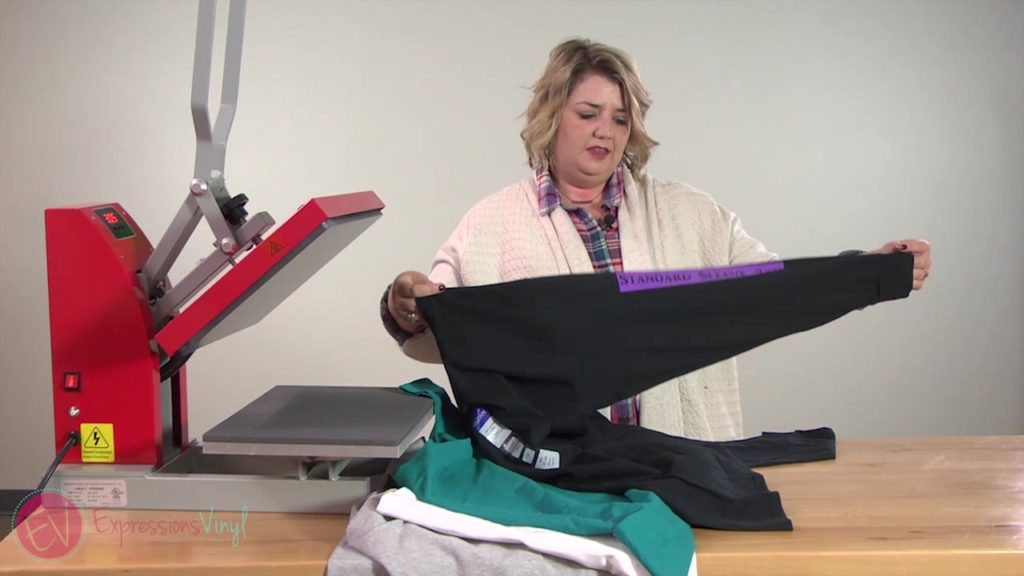
I'm going to show you how I find where to place the heat transfer vinyl. There's lots of fancy rulers and tools you can use but I don't think those are necessary. t I just take my shirt, fold it in half and press it with my iron or my heat press for a few seconds. An iron works well, when using heat transfer vinyl, but I love using a heat press. Buy one now on our website!
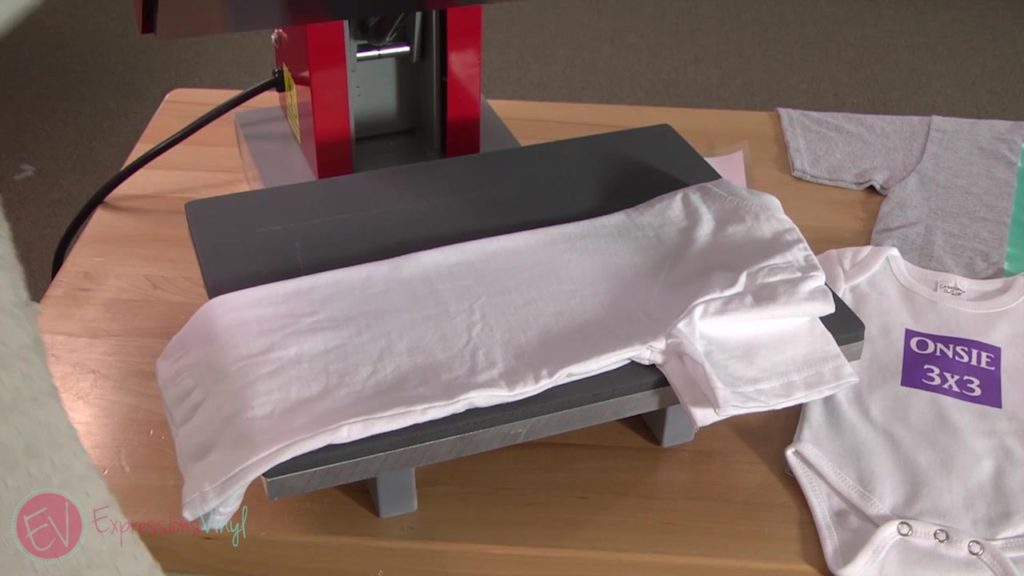
Then I take it, fold it right under the sleeves, and press it for a just a couple seconds.

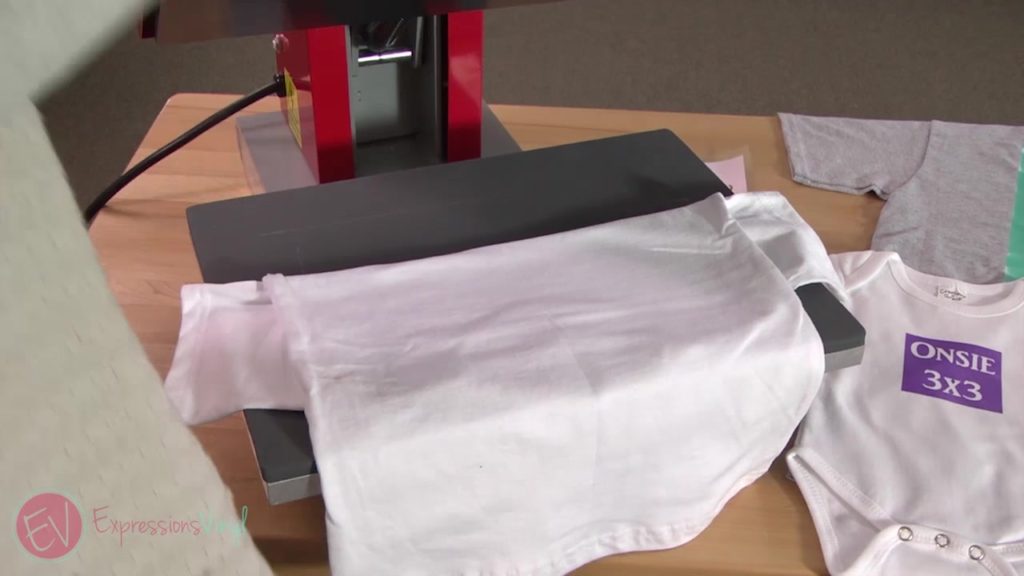
This gives you a nice line right down the middle of your shirt, right across the chest that you can use as guides when you're lining up your vinyl.
I'm also going to take my vinyl piece and fold it in half. I'm folding it in half with the carrier sheet, the sticky side of the carrier sheet on the outside.This won't ruin your heat-transfer vinyl. I'm also going to fold it the other way so I have lines that make a center point.
I'm going to line up the middle of my shirt with the middle of the crease on my heat transfer vinyl.

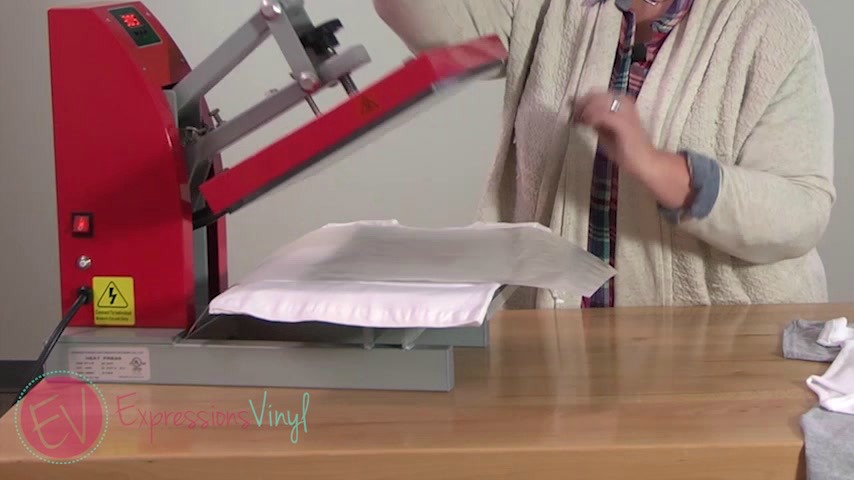
Then cover it with our multi-use paper and press down for 10 to 15 seconds.
Peel off the carrier sheet. Hopefully you have a cuter design than this. Click here for some awesome design ideas!
Sizing
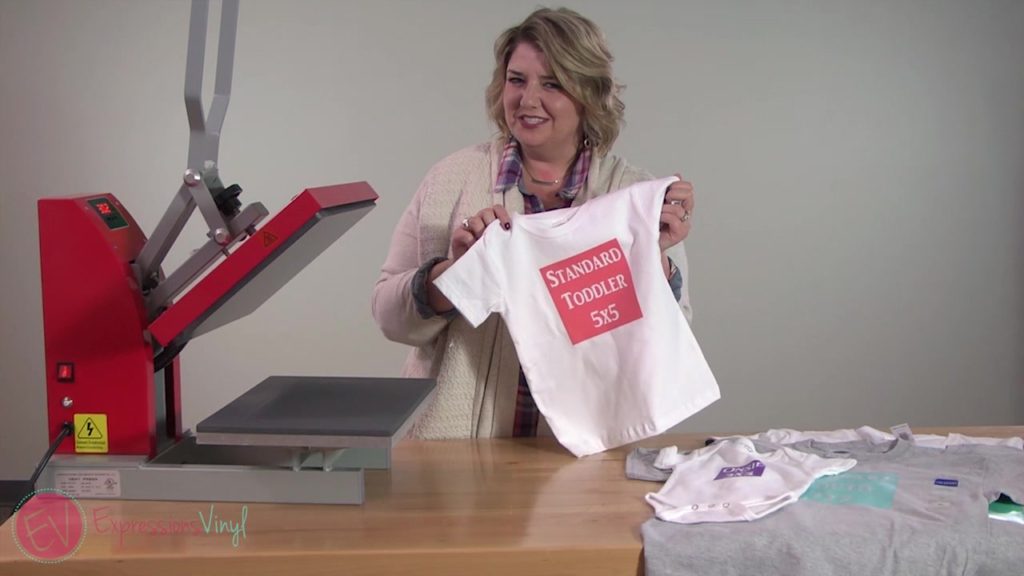
For a standard toddler shirt, start with around 5x5 (and remember you can go up and down a few inches! This is just a starting point!)
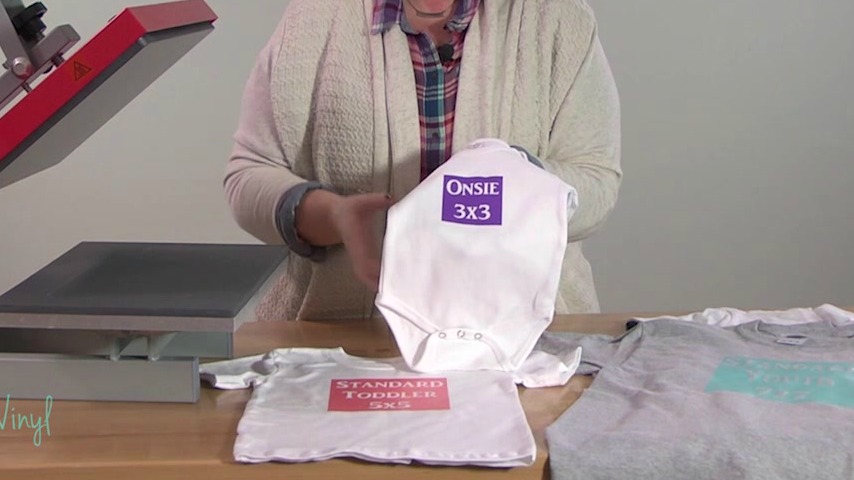
A baby onesie is around 3x3.
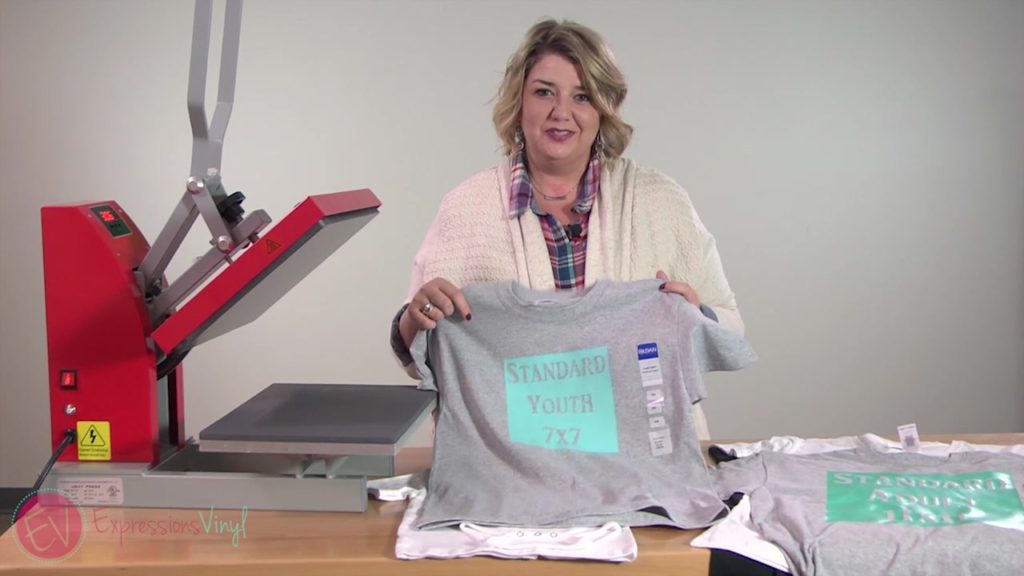
This shirt is youth size medium (and of course you want to take off the tag before you heat press! I just didn't want to forget what size it was!) 7x7 is great for youth sizes.
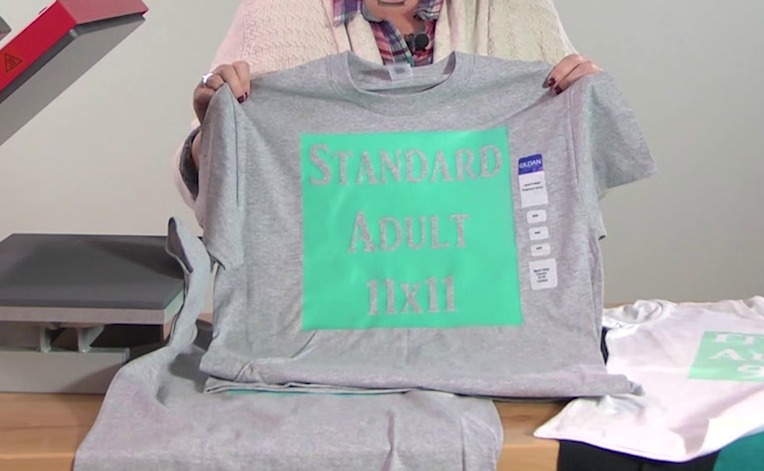
This is an ADULT medium...and we have done an 11x11 here. Remember, if you are doing an XXL you will want to add an inch or two!
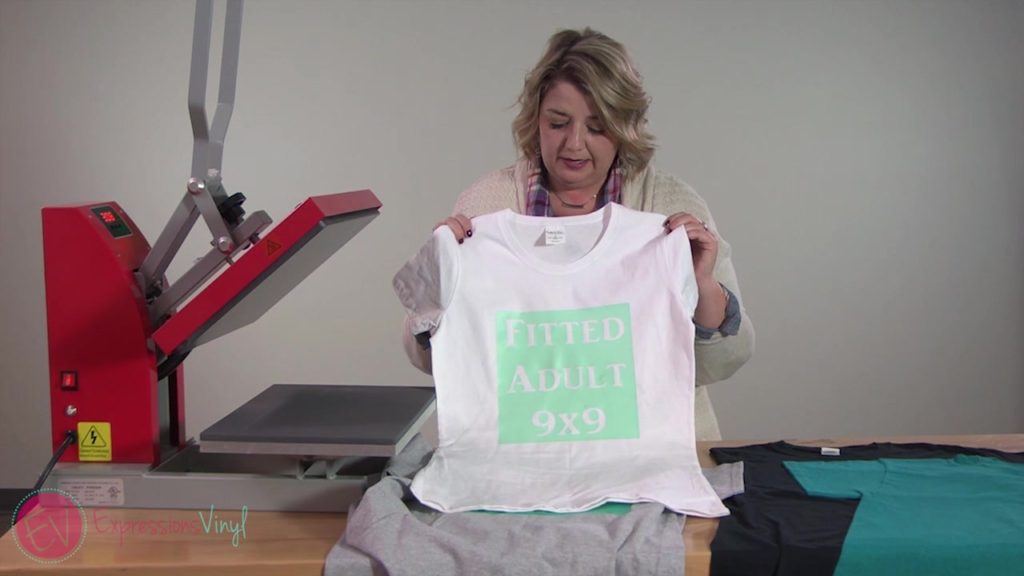
This is a more fitted shirt for ladies. So a 9x9 design works great on these shirts.
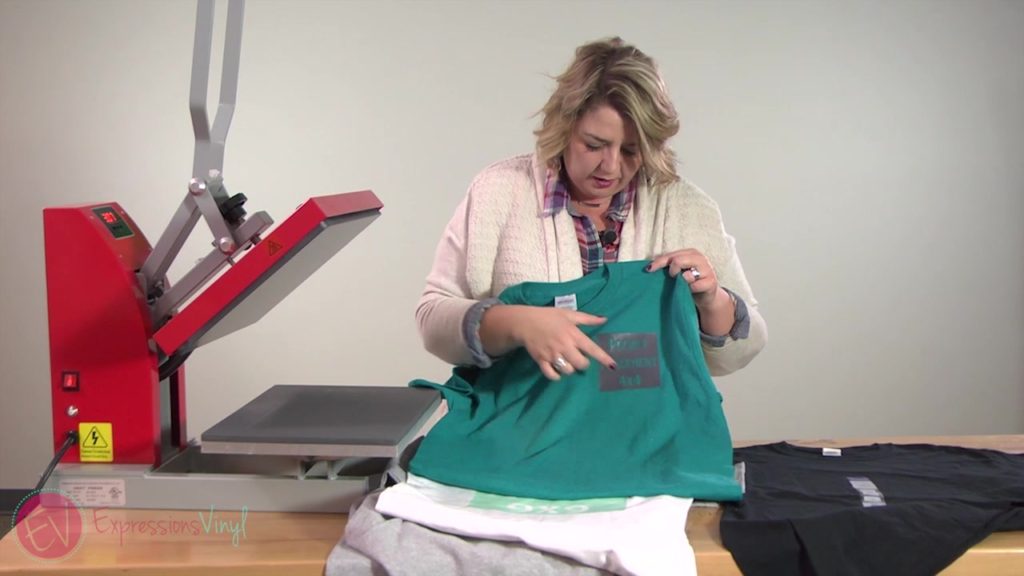
You can even add a fun pocket detail or a logo on a pocket--this is a 4x4 inch design. This is where folding in half and then folding across the chest is handy because now we have this nice square over the heart that we can see where to place, so it's completely even.
...and you can even add some vinyl down the sleeve (2x11).
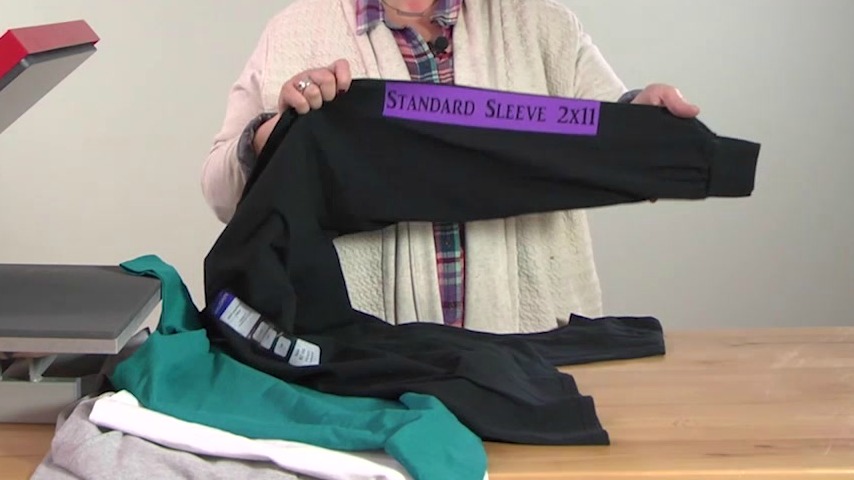
I use the same technique as the shirt by folding it and pressing to find the top of the sleeve and then folding it in half to find the middle. Now I know right where to place the heat transfer vinyl!
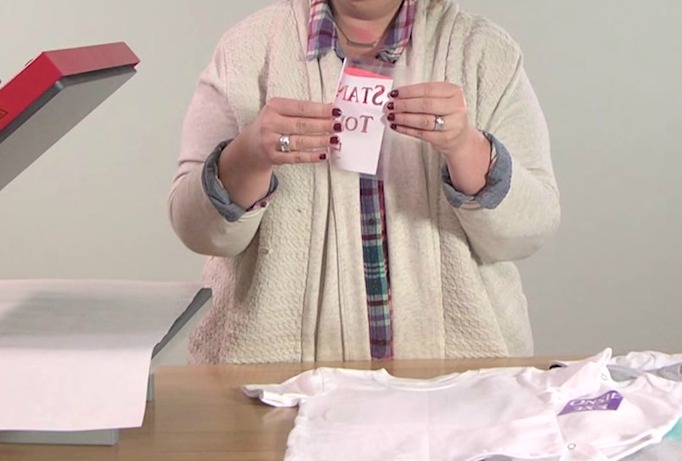
Another awesome tip I like to do is actually print out my design on a piece of paper and then you can place it on your shirt and kind of measure how big it's going to be before you cut it out with your heat-transfer vinyl.
Please let us know if you have any questions! and remember--you can also grab lots of awesome colors of heat transfer vinyl HERE!
This entry was originally posted on January 10, 2017
Recent Posts
-
NEW Holographic Eclipse Heat Transfer Vinyl
April 15th, 2024 3 Ways to Use the New Holographic Eclipse Heat Transfer Vinyl from Siser …Apr 29th 2024 -
Hop into Spring with Cute Easter Vinyl Crafts
Do you love our Vinyl? Sign up for Vinyl Club today to get FREE vinyl and save big! …Mar 28th 2024 -

Fixing Wrinkles and Bubbles in Vinyl
How do you get air bubbles out of vinyl? There are a few different ways to ensure a flawless …Mar 26th 2024