
Layering Adhesive Vinyl
Hi guys it's Jessica with expressionsvinyl.com and today I want to talk to you about layering adhesive vinyl. As you can see, these projects have tons of layers.

It looks kind of scary, but I'm going to show you my technique and that it's not scary at all. AND you get an awesome result with all the layers.
It's all about the setup in your program. So, let's go over to the Silhouette Studio and I'll show you how I set it up. If you want to check out our Silhouette Cameos head over to our website!
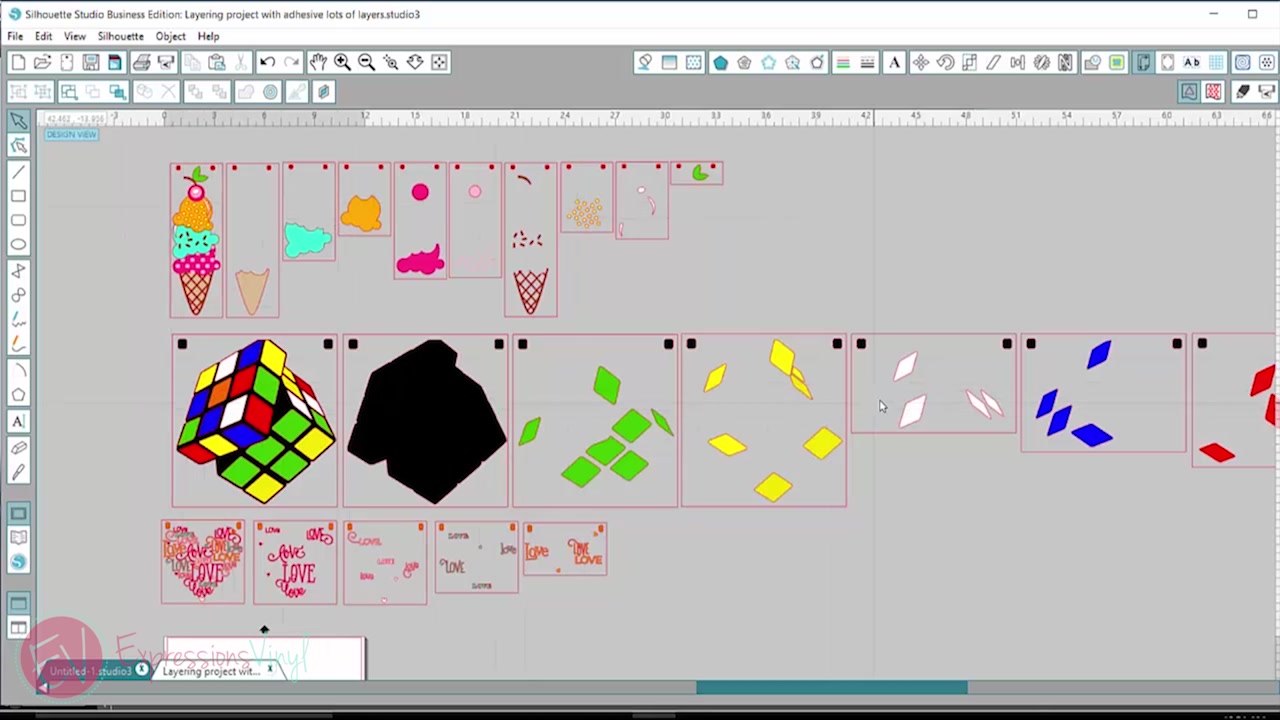
Okay so I've got my program open here. You can see all the layers of my ice cream cone project and all the layers of the Rubik's Cube project.
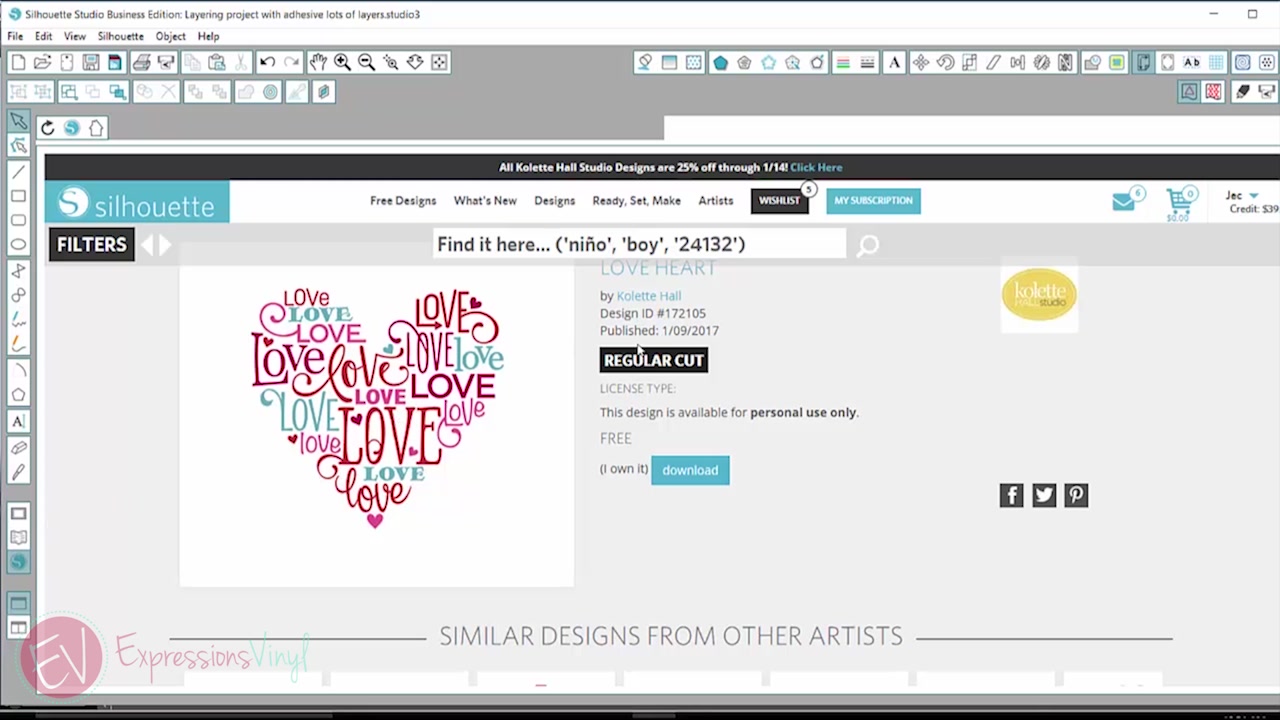
If you watch our videos, we did this same Rubik's Cube on a t-shirt with heat transfer vinyl. I wanted to show you how we can do that with adhesive. For this tutorial I'm going to work on this heart with all the different sizes and colors of the word love. The image below is the Silhouette store where you can buy it. It's from Kolette Hall and it's called Love Heart. Super cute!
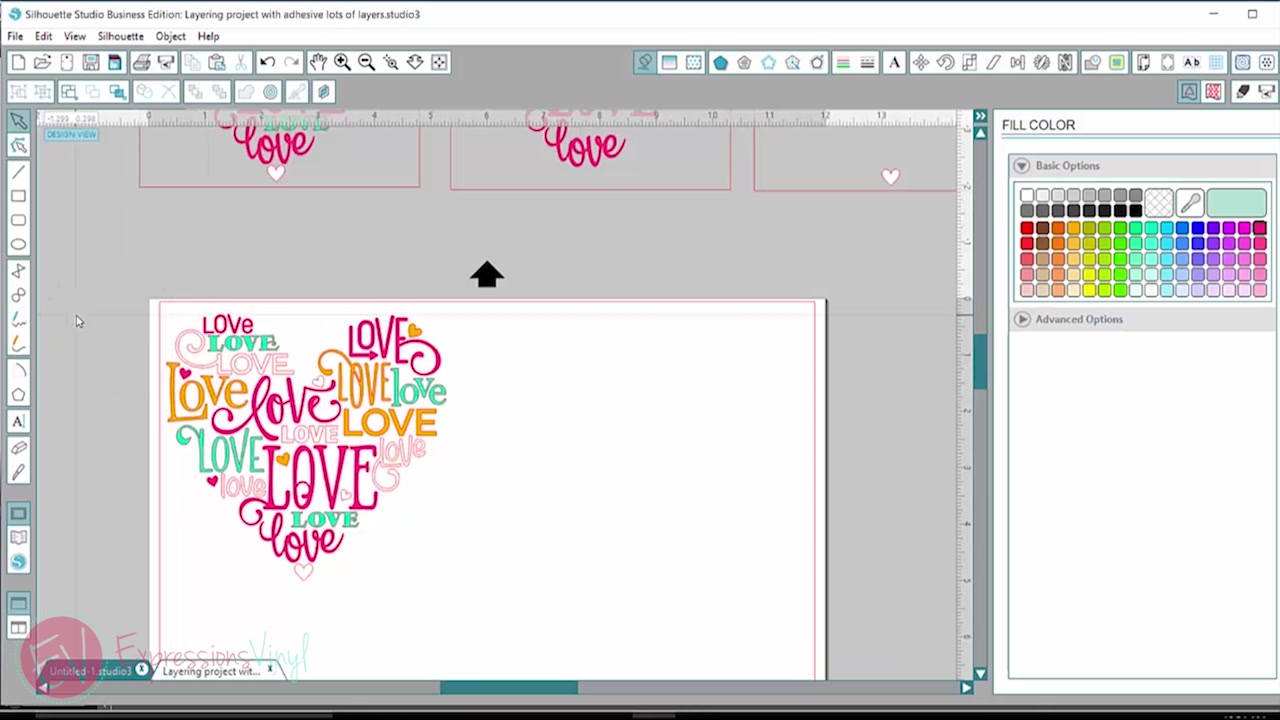
So I've already downloaded it and it's in my library. If I double-click, it's just going to drop right onto my mat. Then size it--I want it to be about five inches.
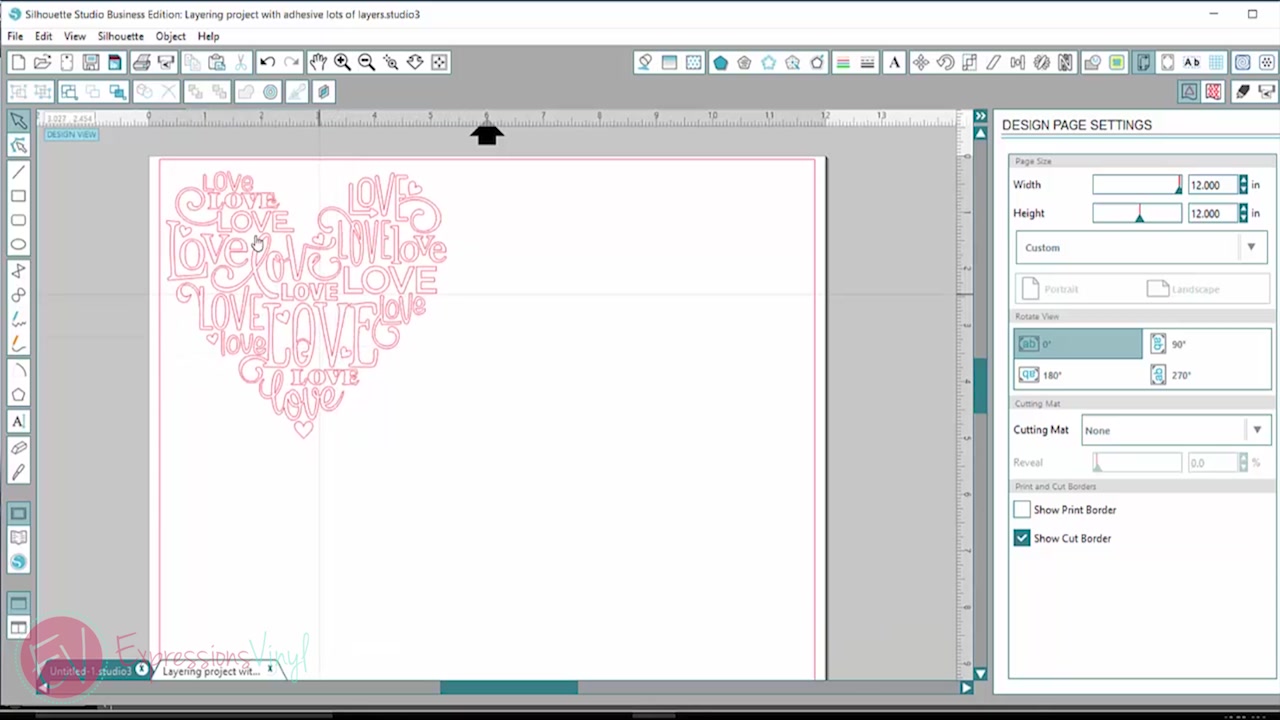
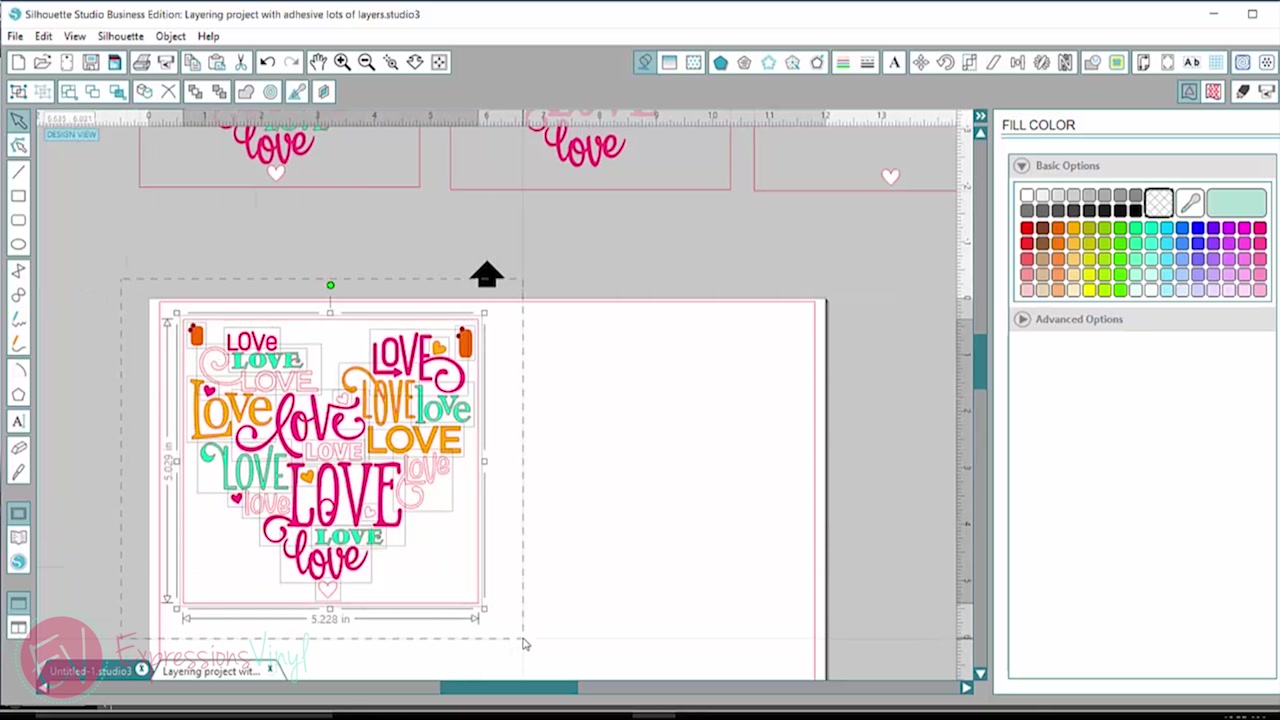
Right now I don't have any colors. So I'm going to right click and select ungroup. That's going to ungroup all the little loves and all of the little hearts. Next, we need to color it in. As you can see, at the top we've got all the different colors from the design I already cut. Those are the different colors of vinyl I'm going to cut. To fill in the color, go up to the little paint bucket and click where you want to fill in that color.
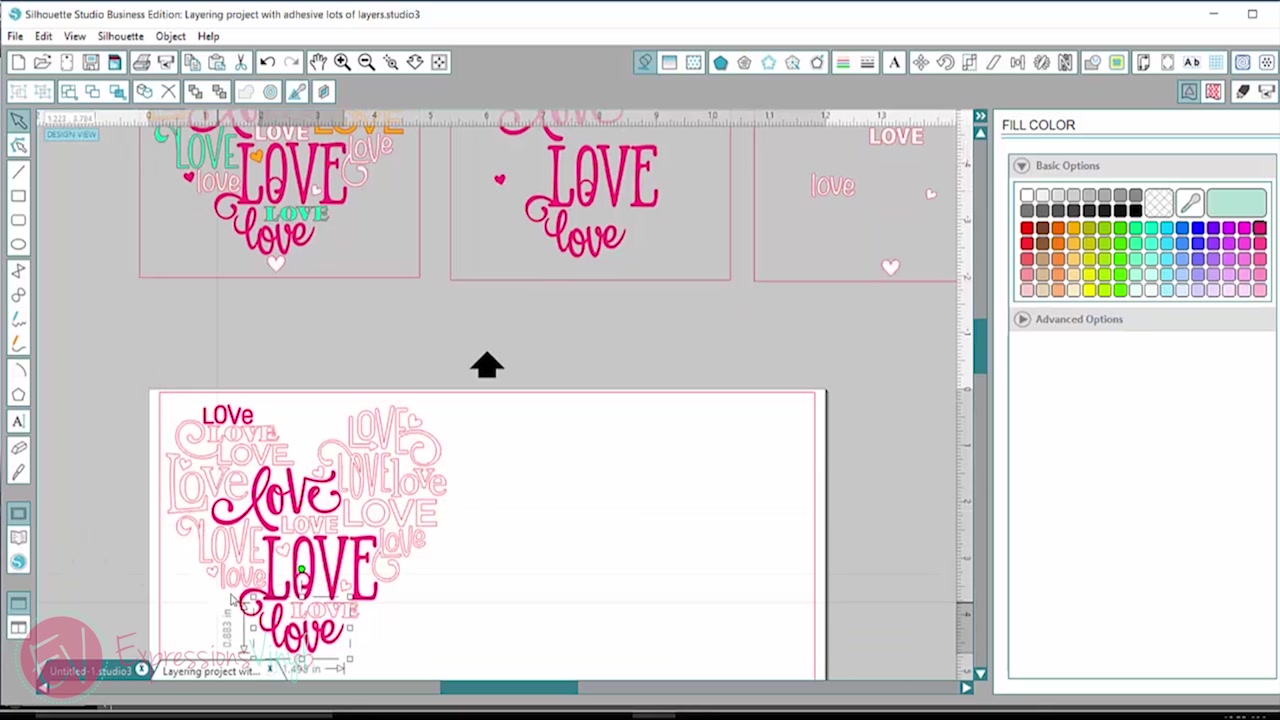
You can do whatever colors you like. You just need to click on bucket and then select the color you want, it fills it in for you.
Now I'm going to draw my weeding box. If you watch our videos you know I love my weeding box. This is going to help us keep everything aligned and easier to weed. Just draw a box around the whole design.
.
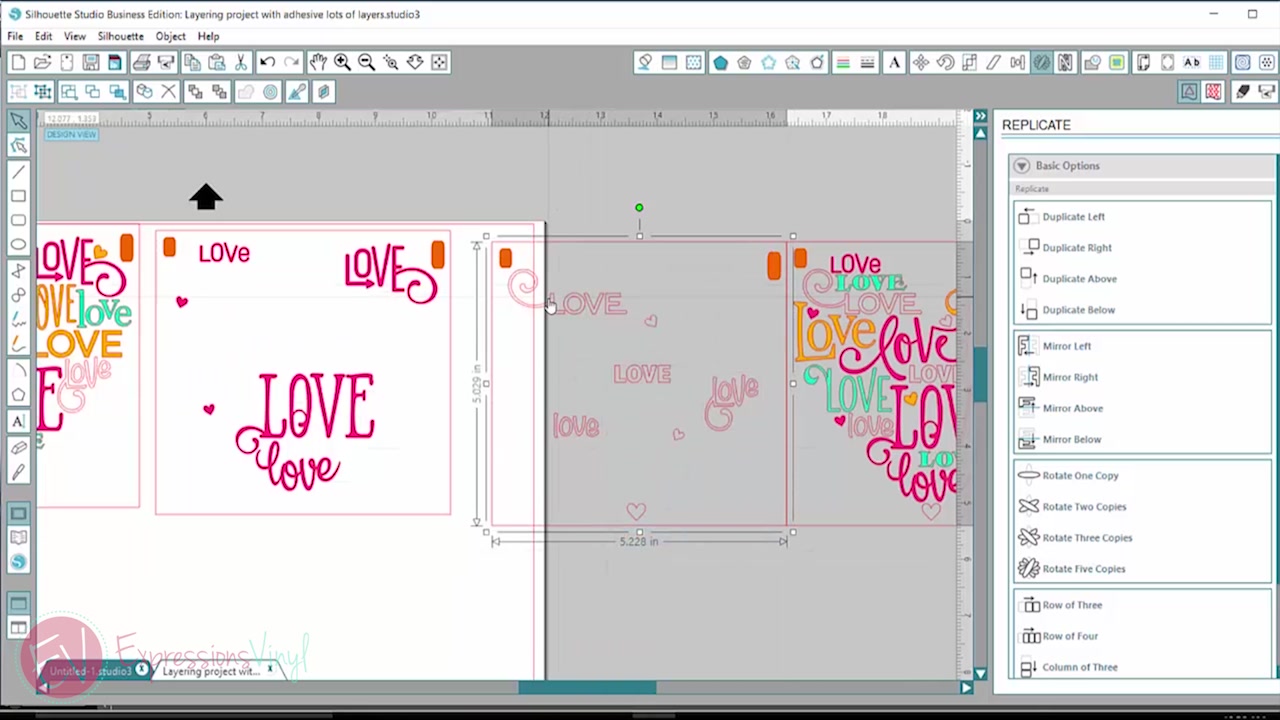
Okay, now this is where I'm going to draw in my little tabs right up top.
This is going to help us line up all our different layers. You can use a rectangle, a triangle, a circle, whatever shape you like. I like a rectangle cause it gives me a little more room. The color totally doesn't matter on these.
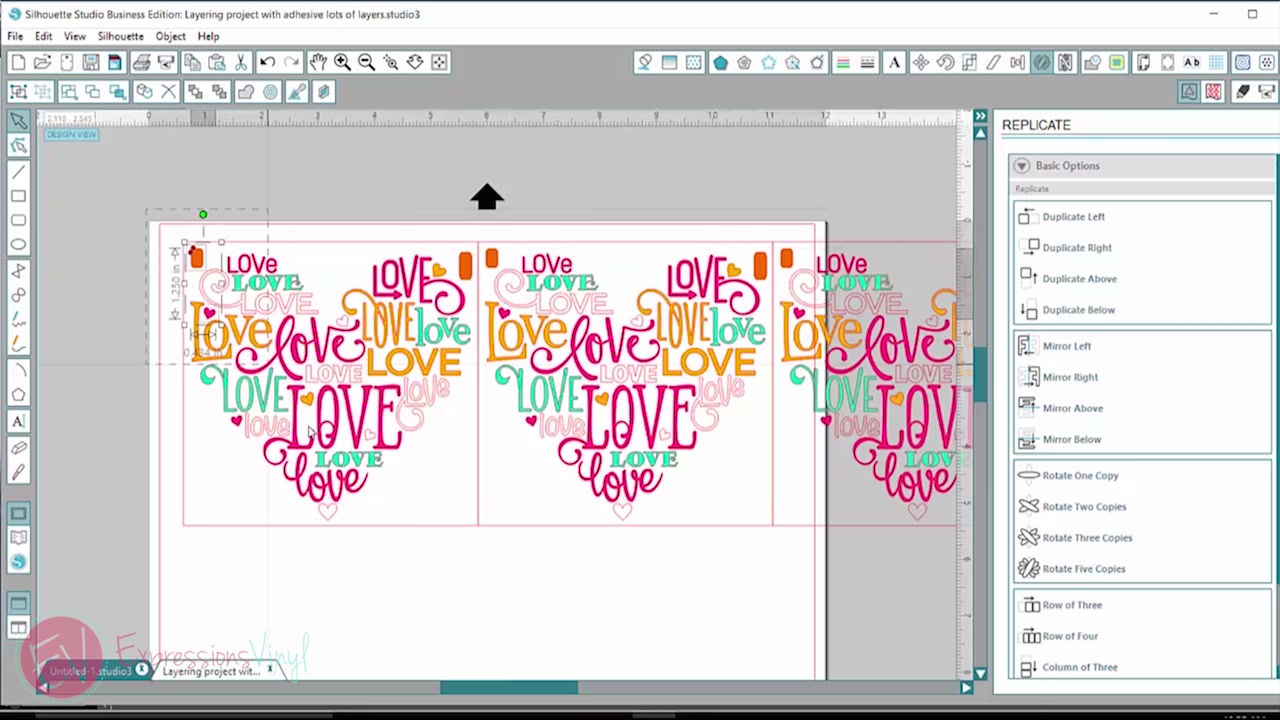
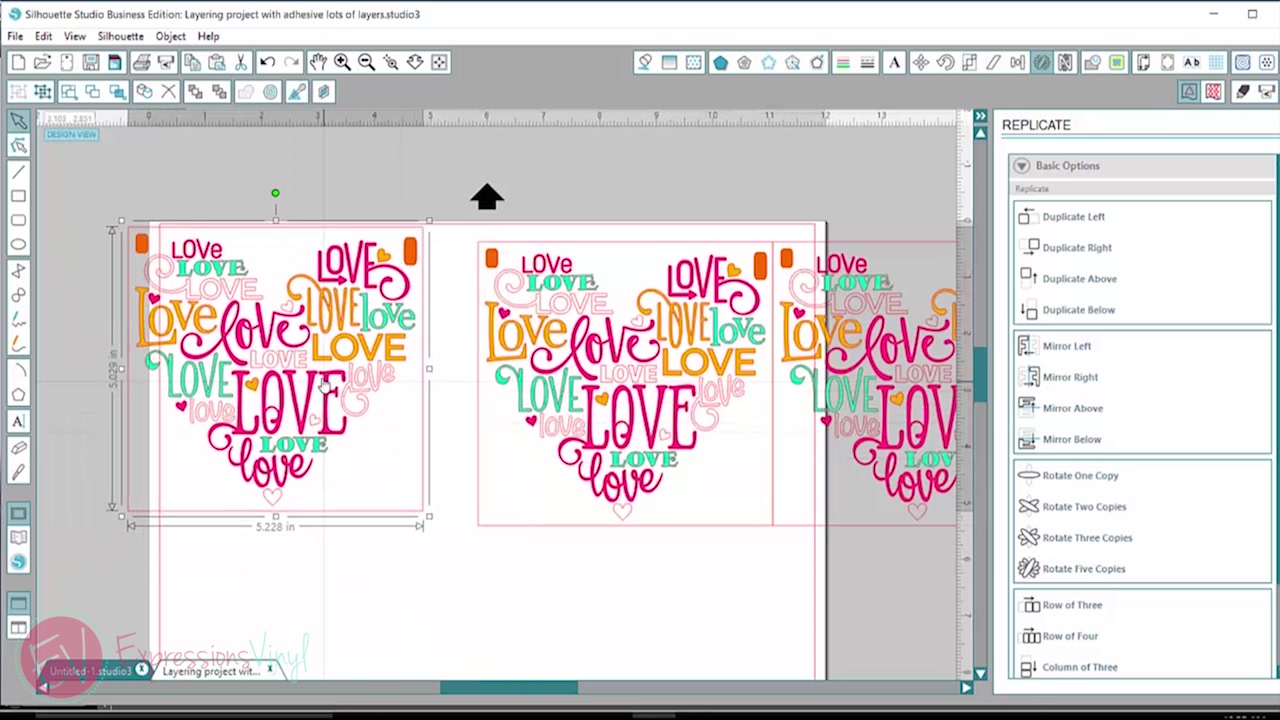
Now we're going to drag across this whole thing and select everything. Next go to the replicate window and select duplicate right three times. We need enough copies for all of our layers.
I'm going to select this all again, right click and group together.
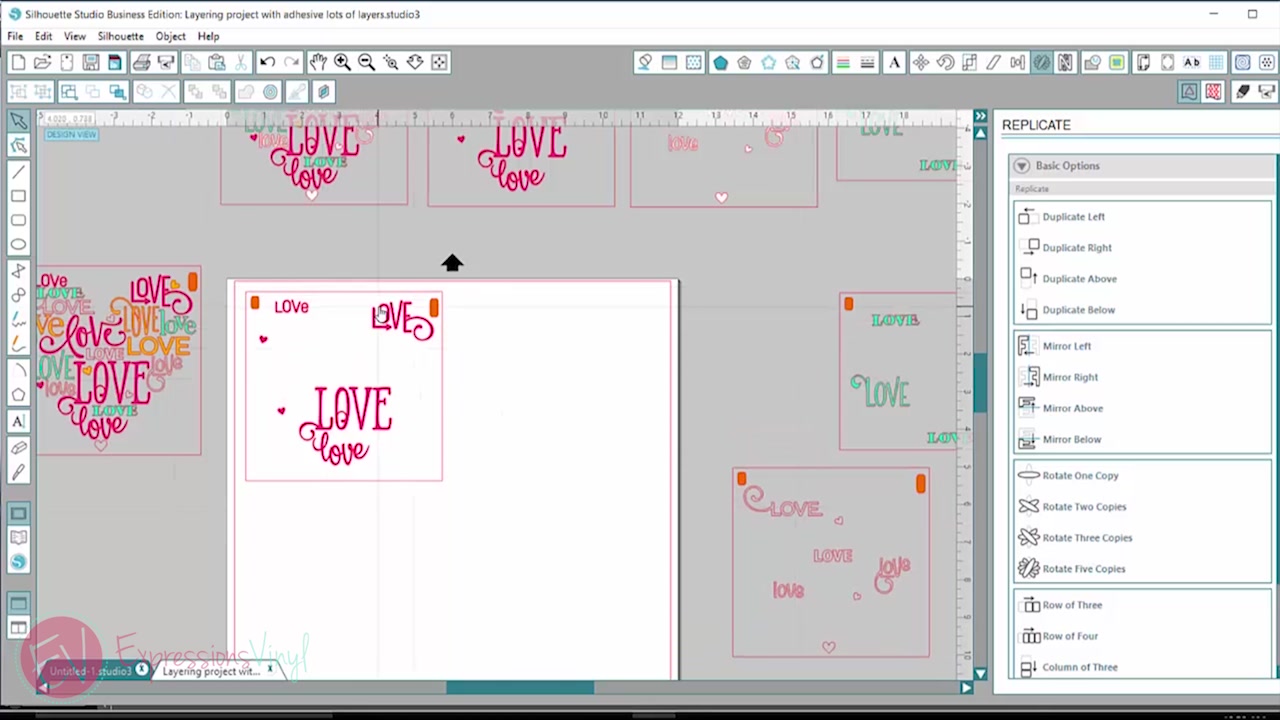
This makes it so it's all one piece. This will be my master copy. Ater I'm done with that layer, we'll go onto our next piece. We're going to make this our pink layer and delete all the little words that aren't colored pink.

You just click on it and using the delete button on the keyboard. I find that to be fast for me, but do whatever is comfortable for you. Now I am going to drag across everything, select it and then group it all together so it's one nice piece.
Now that we've got our pink layer, we can take out all the pink pieces.
The next layer will be white. So I want to delete everything out except for the pieces that I want to be white Then we will group them together. Now you'll notice I'm keeping those tabs here that we made in the first layer, on every layer. We want to make sure those stay exactly where they're at because that's going to help us keep everything lined up. So we've got our pink layer and our white layer.
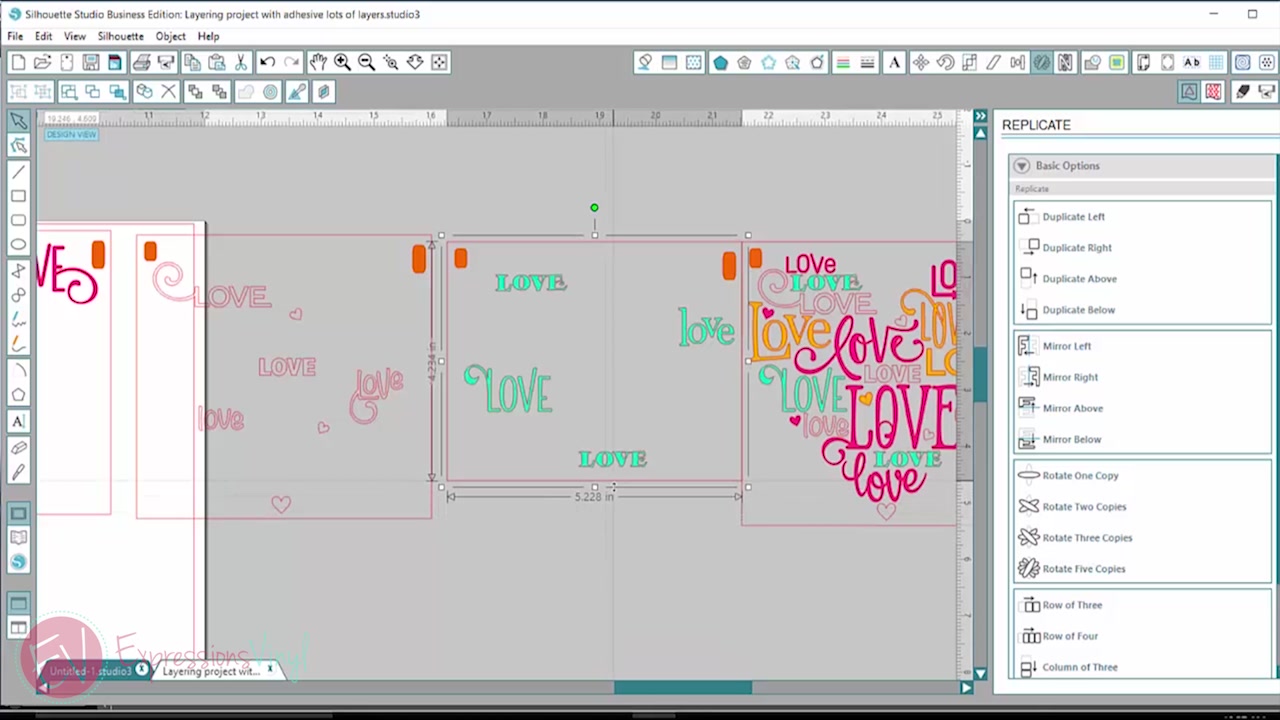
The next layer is turqoise. You see we've got some empty space down here. I'm going to bring up the weeding box just to save a little bit of vinyl when we're cutting. I'm going to group those together.
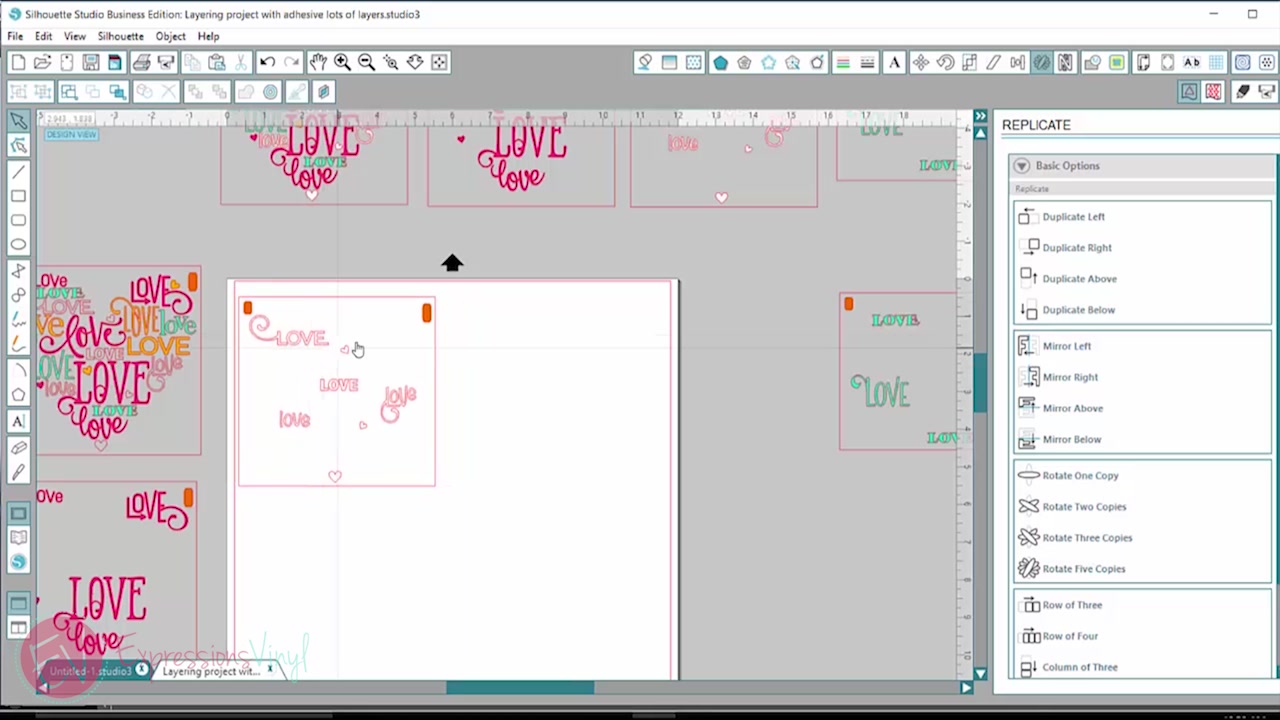
The last layer is going to be the gold layer. So we can delete out everything except for the ones we've colored in gold. This is goinng to be a short one as well, so I'm gonna take the weeding box and just shorten it up. I don't wanna move the top because I don't want to interfere with the tabs. I'm just going to move it from the bottom and make sure we get everything in the group together.
Now all our layers are ready to cut!
The first one I want to cut is my pink. So I'm going to make sure that only the pink is on my cutting space here.
Then I'll put this through my Silhouette Cameo and cut it out on my pink vinyl. After that's done, I'll cut out my white vinyl, turqoise and so on until the rest of the layers are cut.
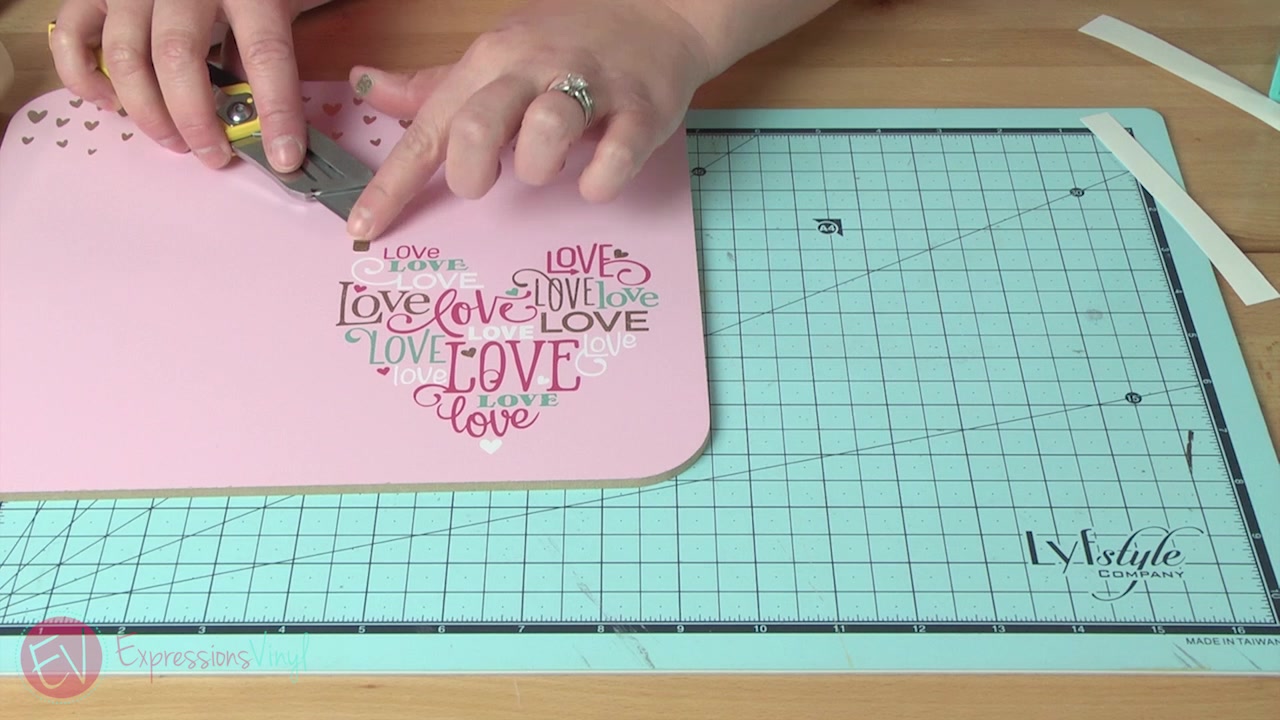
Now we're going to show you how to put all those together. We've got all our layers setup and we've got everything cut out. I haven't put transfer tape on my pink layer yet so I'm going to do that. I am using our clear transfer tape. When you're laying it's easier to see through with the clear. So pop that on.
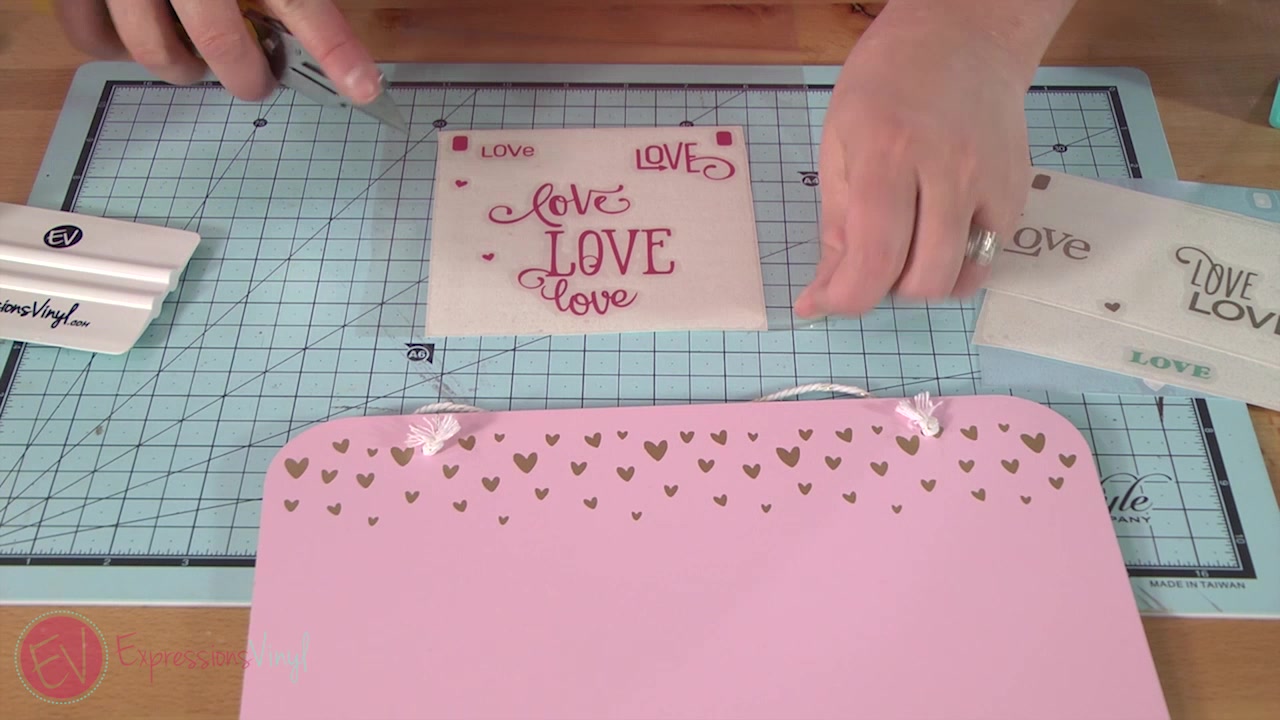
Trim off. I'm gonna take my application tool and just make sure everything's nice and smooth. I don't want to have any bubbles between my transfer tape and my project. I'm just trimming off the excess transfer tape. Now we are ready to layer. So we've got our little board here. I'm gonna do my pink layer first cause it's the biggest. So I'm gonna take off that transfer tape with the vinyl away from the paper backing. We are gonna lay this down and then get it lined up nice and straight.

Then take our application tool and rub that down. Now we will just peel off this layer of transfer tape. If it comes up just rub it back down and go slow.
All right, so we've got our first layer on there. We've got our little tabs and we want to leave those on there until the end. Our next layer will be the white layer. This is where we want to do a little trimming. So I am gonna pull up my transfer tape just where those little tabs are. I just wanna reveal those. Make sure they're coming up. Then I'm gonna take and trim off the backing paper so only the little tabs are showing.
We still have our backing paper on the rest. That'll help us line up. Once we get those tabs lined up, we're going to line them up right on top of our pink ones.
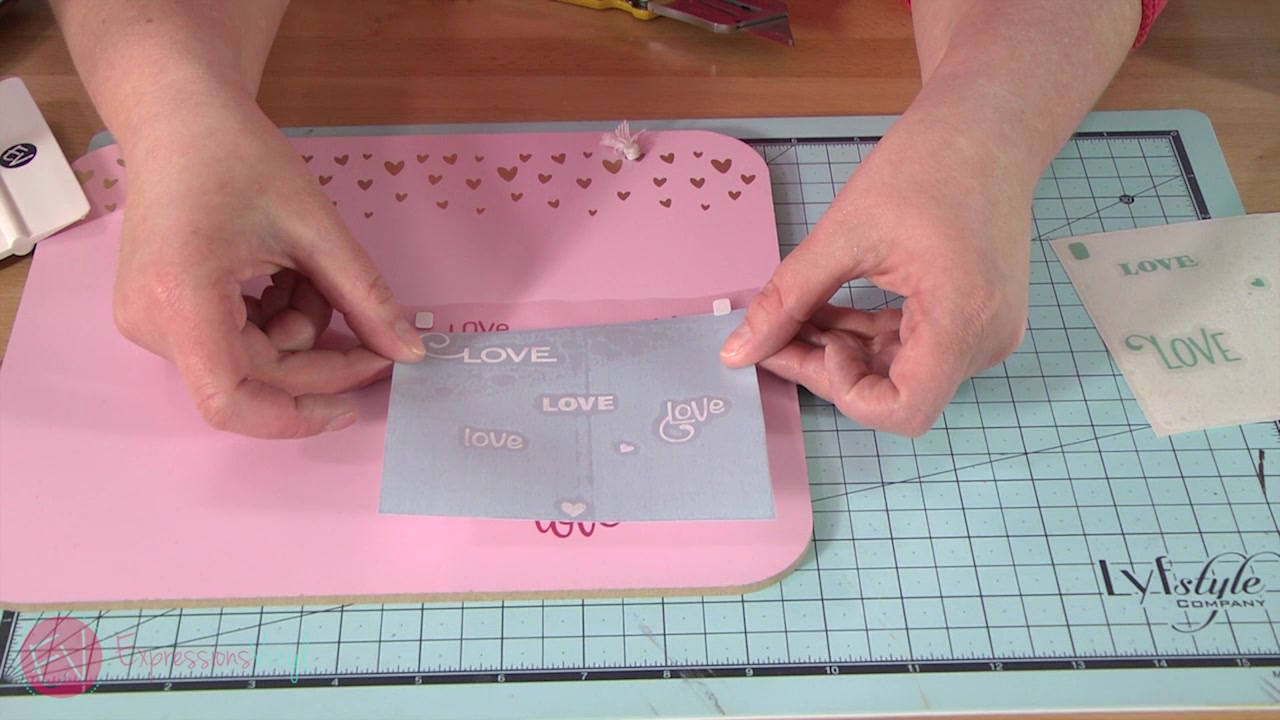
Stick those down and now we can just carefully peel off our paper backing.
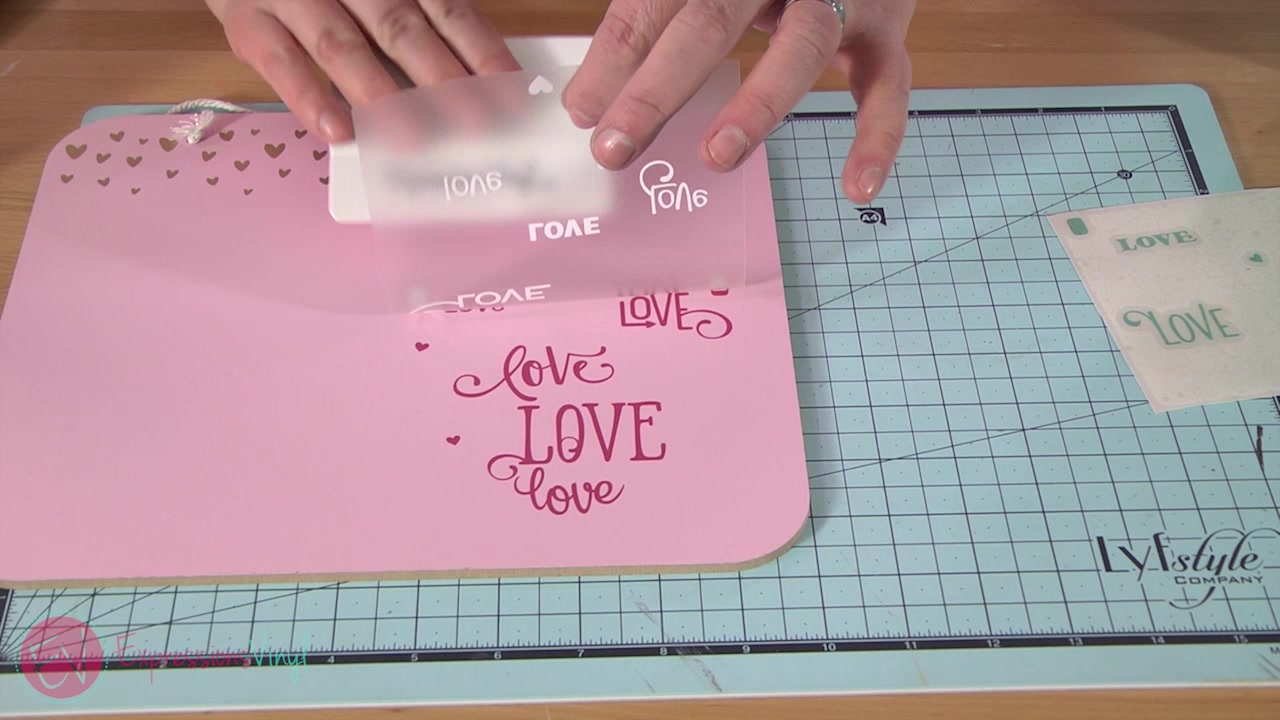
Make sure you get all your letters on there. Then slowly peel off that layer of application tape. Now we're ready for our turquoise layer.
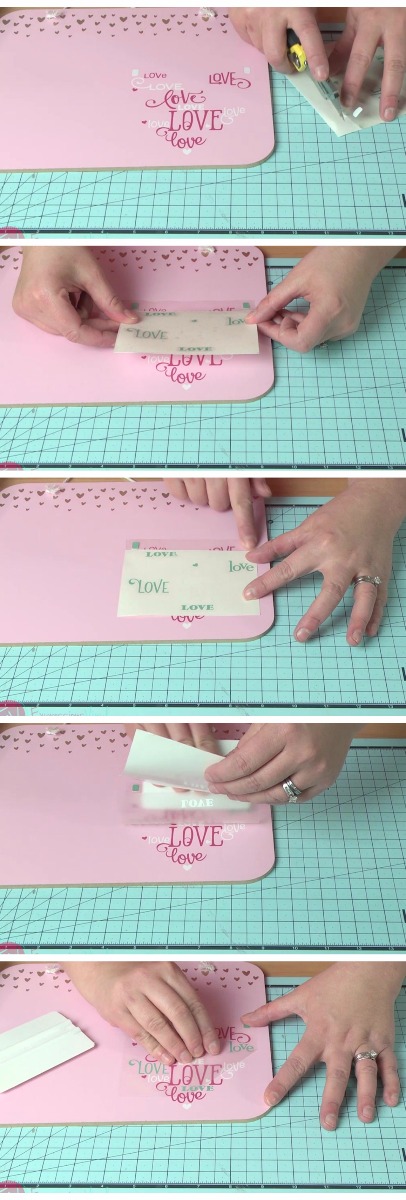
We're going peel that off our backing paper so the rest of our vinyl is still protected. We're going to line these up. Then peel off our backing paper. Rub that down. Then peel off the transfer tape. As you can see, it's coming together. You can see all our different layers. Repeat the same thing with our last gold layer. Those tabs just help us line everything up so nice. You can use this with lots of different projects if you've got layers you're trying to line up or like this just different colors you want in the right spots.
Now we can just peel it off and pop off our little guide tabs!
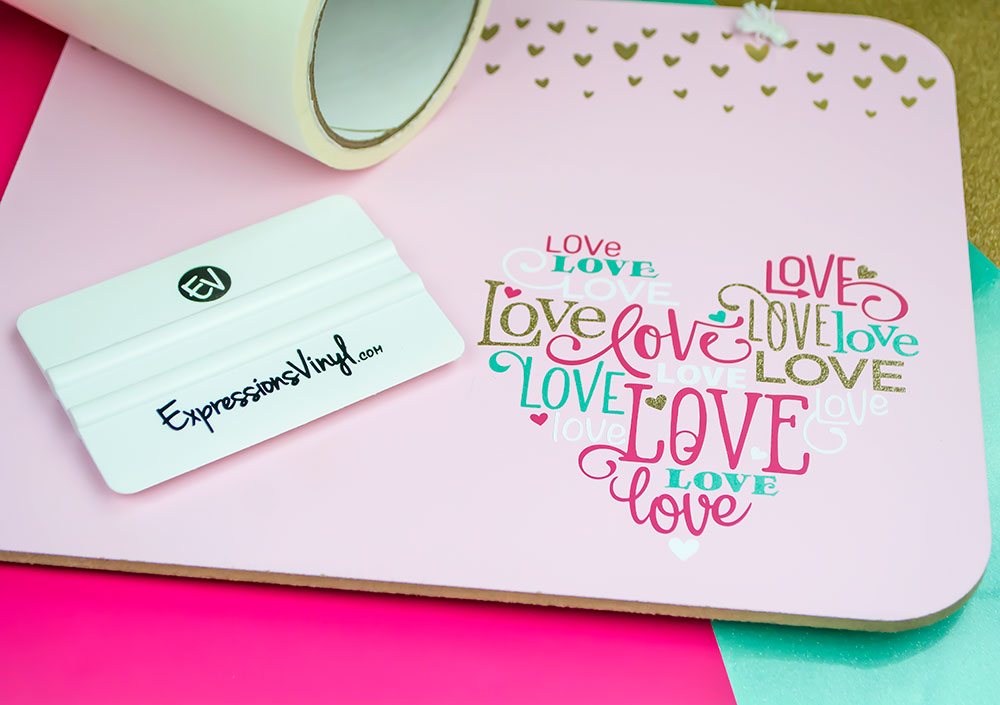
You're all done. You've got a cute layered project and all the layers are just right.
If you have any questions about the products used leave a comment down below or check out our website!

Recent Posts
-
NEW Holographic Eclipse Heat Transfer Vinyl
April 15th, 2024 3 Ways to Use the New Holographic Eclipse Heat Transfer Vinyl from Siser …Apr 29th 2024 -
Hop into Spring with Cute Easter Vinyl Crafts
Do you love our Vinyl? Sign up for Vinyl Club today to get FREE vinyl and save big! …Mar 28th 2024 -

Fixing Wrinkles and Bubbles in Vinyl
How do you get air bubbles out of vinyl? There are a few different ways to ensure a flawless …Mar 26th 2024